

As a hero-based battle royale, Apex Legends has Legends that give players the opportunity to have an offensive, defensive, or supportive role in every match. Technically-speaking, each Legend in the Respawn battle royale offers unique Tactical Skills that define their unique role throughout the squad. Of course, using these Tacticals efficiently can secure the advantage for the team. However, a Legend's Ultimate Skills can also eliminate entire squads quickly if used properly.
RELATED: Apex Legends: 10 Best Tactical Skills, Ranked
As the name implies, Ultimate Skills need time to recharge but almost always triggers an awesome effect. These come in the form of deadly ordinances, quick mobility perks, or other utility skills that can define a difference in the match. However, just which Apex Legends Ultimates serve as the game's deadliest?
10 Beast Of The Hunt (Bloodhound)
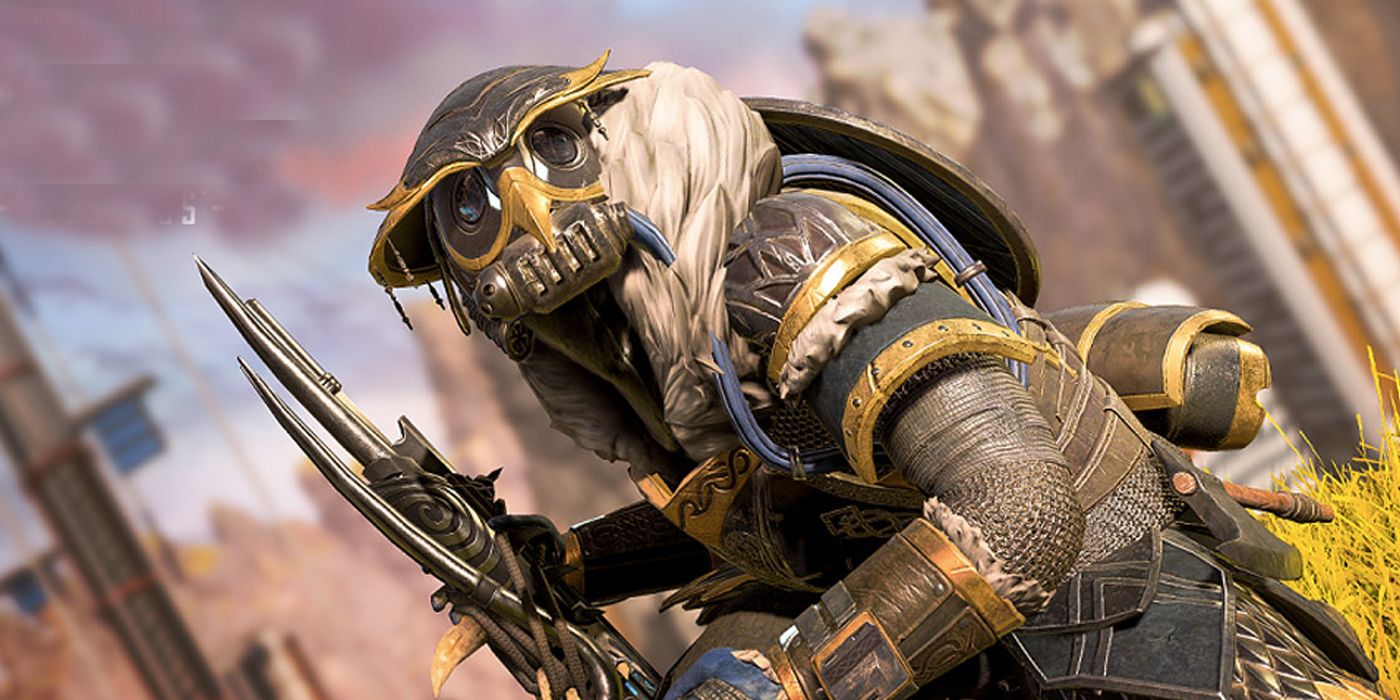
It's one thing to track an opponent - but it's another nightmare to be stalked by a predator. This is exactly what Bloodhound's Beast of the Hunt does - it transforms Bloodhound into a killing machine by turning his vision into black and white, with red highlighting enemies, footsteps, explosions, and enemy abilities.
In terms of stats, the Beast mode lasts 35 seconds, with each knockdown increasing that duration from 5-to-15 seconds. With this state, Eye of the Allfather (Tactical) gets an 8-second CD, enabling Bloodhound to bestow his sights to allies much faster.
While the Beast of the Hunt doesn't cause any damage, it does give a hunting edge to an aggressive player. Thanks to the Beast's enhanced tracking and Bloodhound's Tracker (Passive), an offensive player can have an easier time chasing enemies or even blazing through a firefight. With a Supply Drop weapon like the Prowler (SMG) or the Peacekeeper (Shotgun), Bloodhound easily becomes an Apex Predator.
9 Black Market Boutique (Loba)
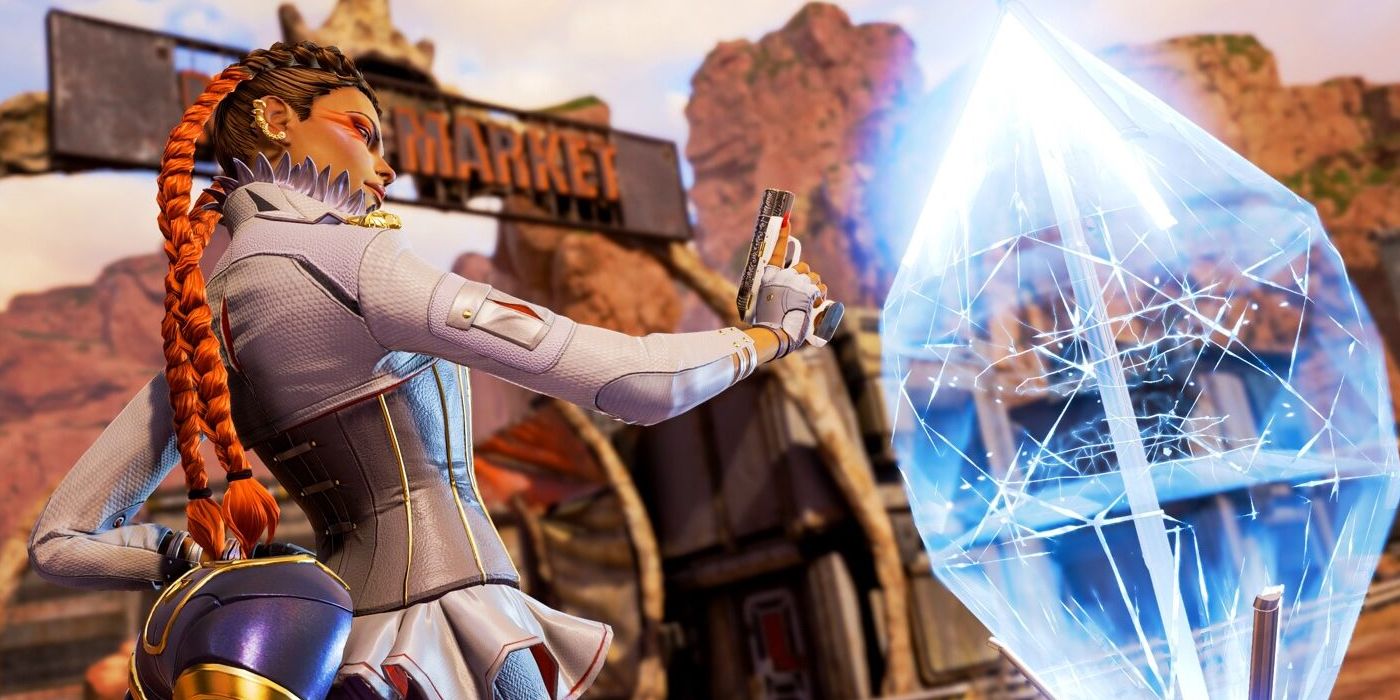
Just because Loba's Black Market Boutique doesn't do any damage doesn't mean it's any less deadlier. True to her theme, the Black Market lets Loba and her allies steal nearby items without having to get near them.
Technically-speaking, the Black Market gives its users (even opponents!) access to all items within a 112.5-meter radius. Users can get any two pieces of gear plus all the ammunition until their carrying capacity.
Interestingly, Loba's ability becomes deadly with its execution. Using this inside high-tier loot areas will get Loba's crew fully-kitted with specialist gear in seconds. Moreover, proccing the Black Market near Explosive Holds, Supply Pods, and even Care Packages can steal powerful gear even before enemies get to them. As a plus, Loba starts the match with her Ultimate with 50-percent charge!
8 Black Hole (Horizon)

It's not enough that Horizon can soar the skies with Gravity Lift (Tactical) - her Black Hole can pull players away from firefights, too! Its name immediately declares its effects - N.E.W.T. generates a small black hole that pulls nearby players towards it.
In the game, Horizon activates Black Hole by deploying N.E.W.T. to a nearby area in the span of a few seconds. Stats-wise, the black hole lasts for 12 seconds, and the drone has 175 HP - making it prone to destruction. Aside from highlighting enemies behind the drone, the black hole also pulls enemies from behind doors and walls!
However, Black Hole also shines in terms of its interactions. For instance, anyone facing a Caustic could procc a Black Hole to redirect is trajectory - potentially making a toxic area safe. It can also enhance the effects of area-specific skills by dragging them towards the AOE of Grenades, Nox Gas Grenade (Caustic), Silence (Revenant), or even the Motherlode (Fuse). Sadly, Black Hole doesn't deal damage and can be disabled by Drone EMP (Crypto) and Interception Pylon (Wattson).
7 Death Totem (Revenant)
Sometimes, it's longevity - not damage output - that makes a Legend just as deadly as the champions that come before them. And with Revenant's Death Totem, his squad immediately gets the upper hand by toying with life itself. When activated, Revenant and his teammates can transform into shadows for up to 30 seconds each. This essentially acts as a second life.
RELATED: Apex Legends: 10 Beginner Mistakes That Can Cost You The Match
In terms of stats, a user's shadow mode has 100 Health, disables Shields, and can't use healing. While this form is inherently weak, a squad can use this to flush enemies out, force them to waste bullets, or even reduce the risk for using a Respawn Beacon in open battle.
The only caveat of Death Totem is that users who "die" in shadow form will get back to the Totem with 30 Health. It doesn't help that "returning" to the Totem releases a red wisp that enemies can use to track the Totem's location.
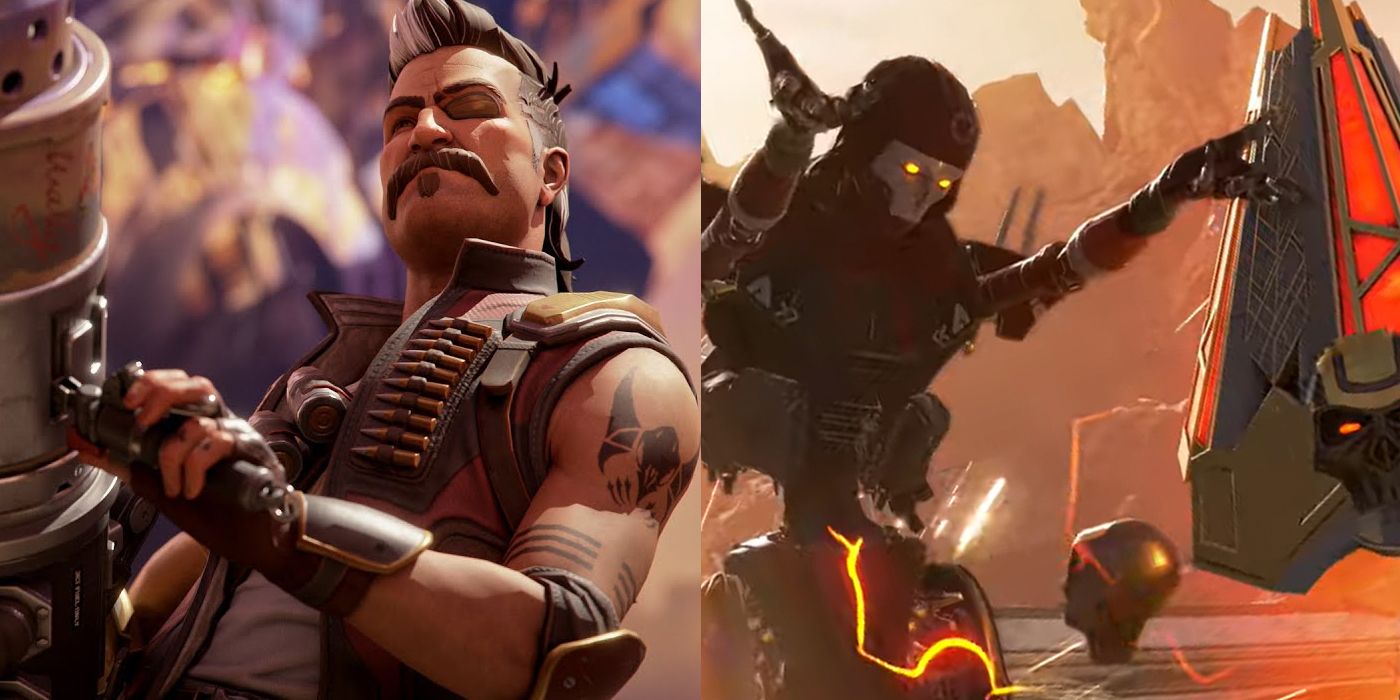
6 The Motherlode (Fuse)
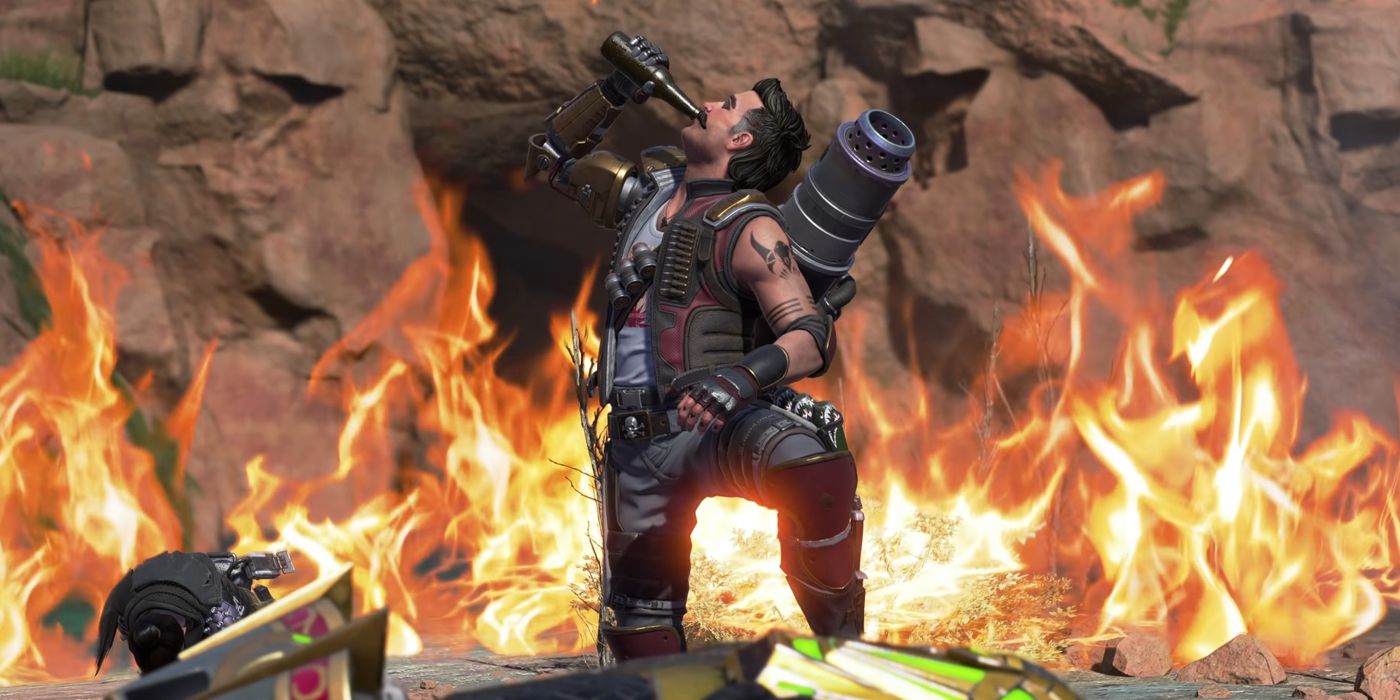
There's no one deadlier with a grenade than Fuse, and his penchant for explosives becomes apparent with The Motherlode. With this Ultimate, Fuse launches a bombardment that explodes in mid-air. Afterward, its shrapnel spreads to the edge of his assigned area, encircling it in flames for 17 seconds. Aesthetically-speaking, the Motherlode creates a flaming ring in the center of an area - perfect for trapping enemies.
Stats-wise, just touching the fire causes 35 damage and lights up the target in flames. While burning, the target gets 8 damage per second across five seconds - and the touching/burning effect repeats once the target ends up aflame while the Motherlode is intact. Interestingly, its innate appeal lies in its usability - Fuse can fire the Motherlode from 200 meters away and it comes with up to 3x-zoom ADS. This makes the Motherlode perfect to ruin an ongoing fight or even trap recovering enemies.
Unfortunately, the Motherlode loses its appeal due to its sheer technical nature. Players need to remember that the Motherlode encircles its AOE's edge in flames, not the area inside it - which is new for deployable Ultimates.
5 Emplaced Minigun "Shiela" (Rampart)
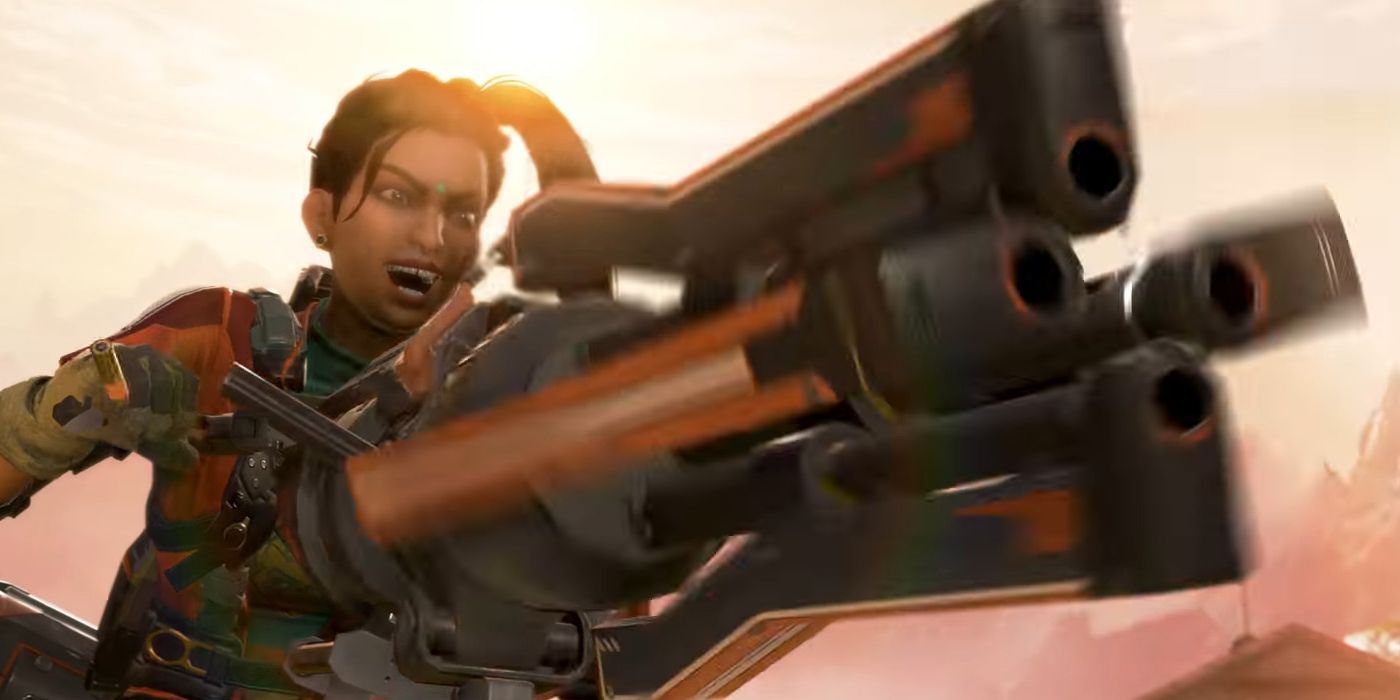
Rampart's Emplaced Minigun "Shiela" makes Bangalore's "Eating lead!" quip feel like eating from a buffet. Serving as a perfect pair to her Amped Cover (Tactical), proccing the Emplaced Minigun will have Rampart set a massive minigun for everyone's use.
Based on sheer stats alone, Shiela is a beast to behold. The Minigun has 350 health and a whopping magazine size of 150, with infinite reserve ammo! True to Rampart's LMG specialty, Shiela has a fire rate of 20 bullets per second, with each pellet dealing 14 damage. This damage gets a boost when used from inside Amped Cover.
However, where Shiela shines is through Rampart's signature overkill sense of style. Rampart can deploy as many as three Shielas, effectively giving each squadmate a means to rain down hell from any defensive position. Its only caveat is its long deployment time and stationary nature - meaning it's only efficient when facing an enemy's origin point.
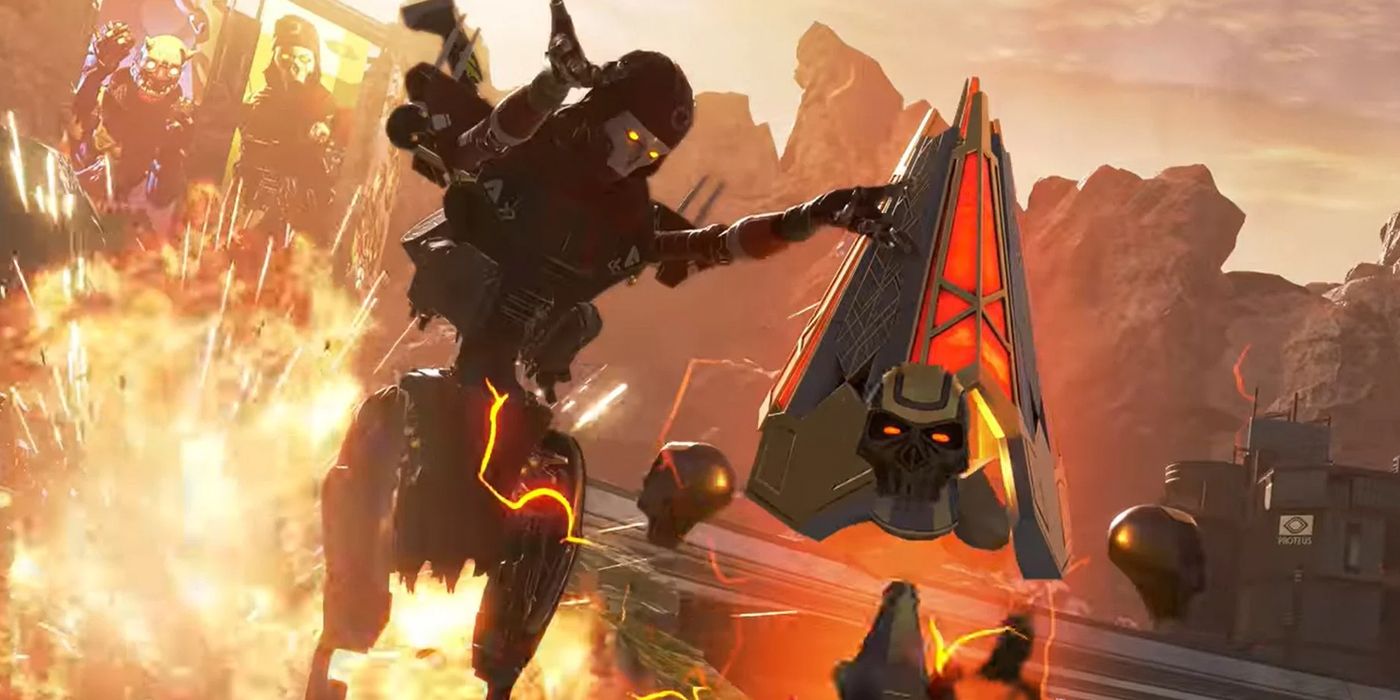
4 Drone EMP (Crypto)
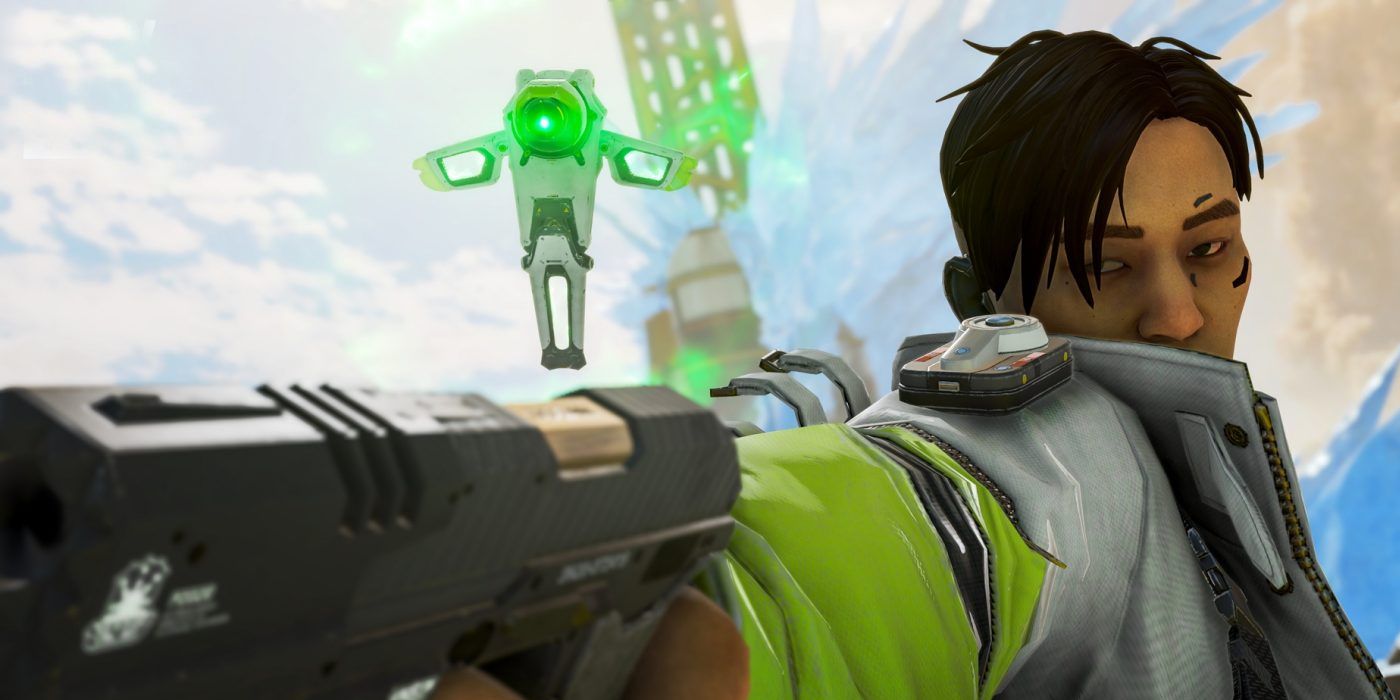
What better way to ruin a Legend's day than to shut down their electronics? With Crypto's Drone EMP, his trusty Surveillance Drone (Tactical) transforms into a behemoth of a bomb. Anything the Surveillance Drone highlights via Neurolink (Passive) becomes a part of Drone EMP's blast radius.
RELATED: Apex Legends: 10 Best Guns For Newcomers, Ranked
Essentially, Drone EMP deals 50 Shield damage against opponents and causes a minor slow and visual static - perfect for ambushes. However, where Drone EMP shines is in its innate ability to make deployable Tacticals and Ultimates useless.
In turn, Drone EMP becomes the death wish of defensive deployables such as the Heal Drone (Lifeline), Amped Covers (Rampart), Dome of Protection (Gibraltar), Perimeter Fences, and Interception Pylons (Wattson). Additionally, Drone EMP also destroys Nox Gas Traps (Caustic), Life of the Party clones (Mirage), and even another Crypto's Surveillance Drone. Octane isn't spared, too, as the EMP deals 100 damage to his Launch Pad (Ultimate).
3 Nox Gas Grenade (Caustic)
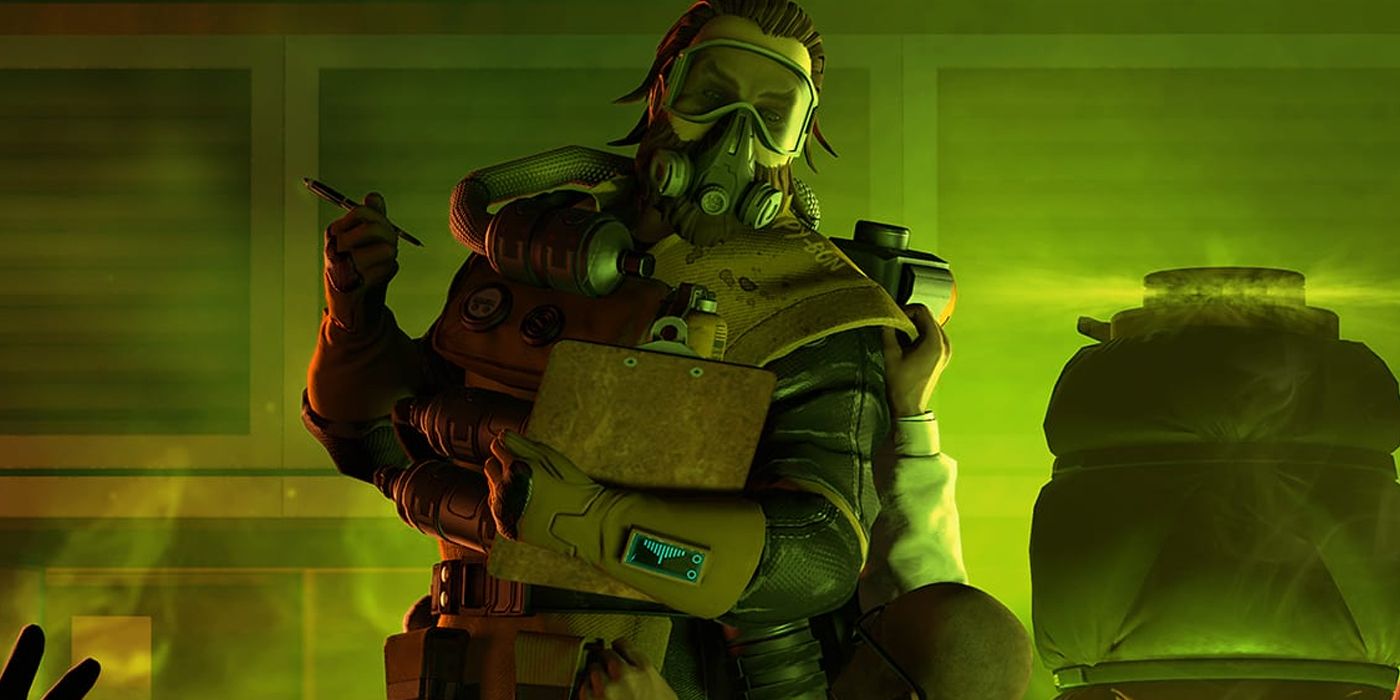
A slight modification can make the simplest weapons into WMDs - that's the sweet catch behind Caustic's Nox Gas Grenade. Unlike other Ultimates, Nox Gas Grenade is simply his Nox Gas Trap (Tactical) with twice the diameter. Given their similar nature, a Nox Gas Grenade envelopes an area with toxic smoke that deals five damage per tick. In addition, the Ultimate's damage won't stack with that of the Tactical. Simple, right?
However, this "simple" adjective has a ton of implications. For instance, the Nox Gas Grenade is easily an area denial tool. It's not as useful in open areas, but it's a death trap in enclosed spaces such as buildings or in the limited area in the final rounds of a match.
The only setback of this Ultimate is that its damage numbers aren't as imposing as Rolling Thunder of Defensive Bombardment. However, this does compensate in psychological terror. In emergencies, propping the Grenade will make the player's immediate area as dangerous territory - making it useful when reviving allies or securing spaces.
2 Rolling Thunder (Bangalore)
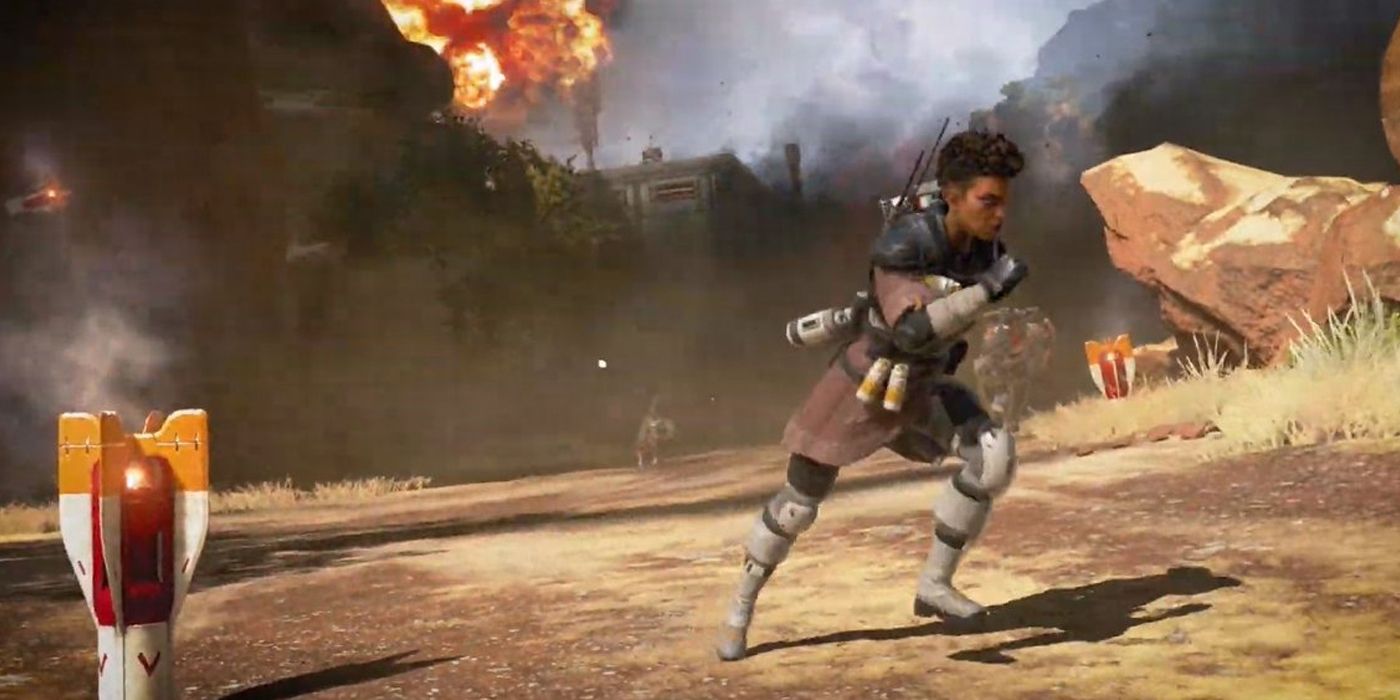
The sheer tactical potential of Rolling Thunder fits weapon specialist Bangalore. With this Ultimate, Bangalore can direct rows of explosive missiles in front of a flare she will deploy. These missiles explode after six seconds, with each explosion dealing 40 damage and a temporary slow targets.
While its damage output isn't enough to score eliminations, Rolling Thunder shines in strategic implementation. Remember, Bangalore's Smoke Launcher (Tactical) already gives her access to a handy smoke grenade. With Rolling Thunder added into the mix, Bangalore can flush enemies out of open hiding areas or lure enemies into flanking teammates. After all, a measly 40 damage will hurt if it's a bunch of missiles going off at once.
Perhaps the only disadvantage of Rolling Thunder versus the likes of Defensive Bombardment is its six-second timer. After all, this timeframe is more than enough for enemies to run away for cover - if there's any available.
1 Defensive Bombardment (Gibraltar)
For a tank like Gibraltar, his protection isn't just about defense. Opposite his protective Dome of Protection (Tactical) is his devastating Defensive Bombardment. With this, Gibraltar throws a smoke grenade that calls a mortal strike within a 24-meter radius.
As the name implies, the strikes will rain down that area for six seconds, with each player suffering 40 damage per hit alongside a minor stun. Since Defensive Bombardment can still damage Gibraltar (not his allies), a simple Dome will do a good job protecting him from incoming damage. And should enemies try to get in the Dome for added protection - well, that's almost a free kill for Gibraltar's squad.
Thanks to the sheer level of control the Defensive Bombardment Offers, this air strike ties with Rolling Thunder among the best damaging Ultimates. After all, players can precisely choose its destination and it triggers as soon as Gibraltar release the grenade. Its only caveat is its scattered target zones, as its wide AOE won't guarantee hits.