


When it comes to requests, few courses in New Pokemon Snap have more of them than Elsewhere Forest. There are 18 of them in total, which, when combined with the course's eight unique areas and multiple branching routes, can make completing them all a bit of a nightmare. Thankfully though, there are methods to easily navigate the forest once players have reached research level 3 for the course.
RELATED: New Pokemon Snap: Every Pokemon In Elsewhere Forest & Where To Find Them
Many of the requests can technically be completed much earlier, although it's definitely easier for players to wait until they are able to use Espeon to determine their route. It's also worth remembering that both zooming in with the camera and facing backwards will slow the momentum of the NEO-ONE, which can be incredibly useful for some of the more complicated requests not just here, but in all of the courses in New Pokemon Snap.
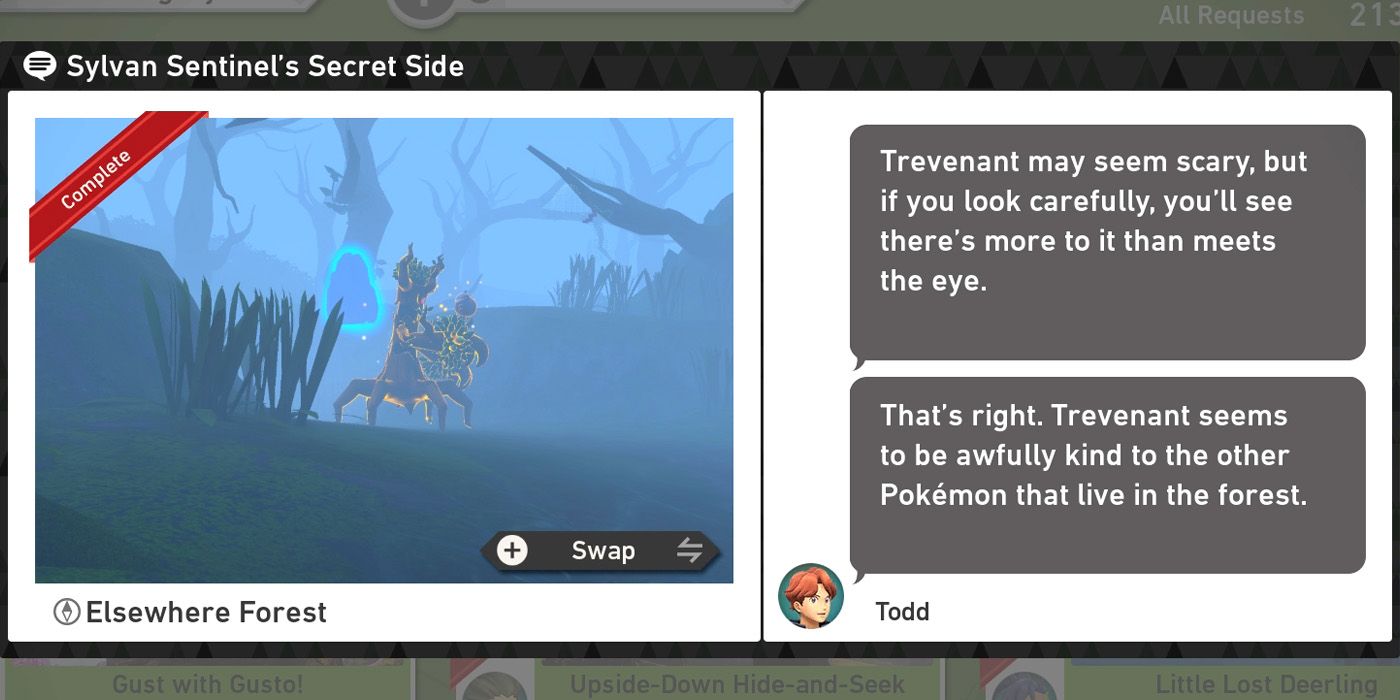
To complete the Sylvan Sentinel's Secret Side request, players will need to use scan near the Espurr on the ledge near the floating blue boulder so that it comes down to ground level. At this point, they'll then need to guide it over the Trevenant that blocks the path to the winter area of the course using Fluffruit and then hit them both with Illumina Orbs once they are close enough together.
If done correctly, the Espurr will climb onto the Trevenant's branches and players can take a photo that's focused on Trevenenant to fulfill the request. There's not a lot of time to get this one done, although players can throw a Fluffruit in front of themselves so that Espeon blocks their path and buys them a few more seconds. It's also worth keeping the camera zoomed in constantly as this will slow the NEO-ONE down a little.
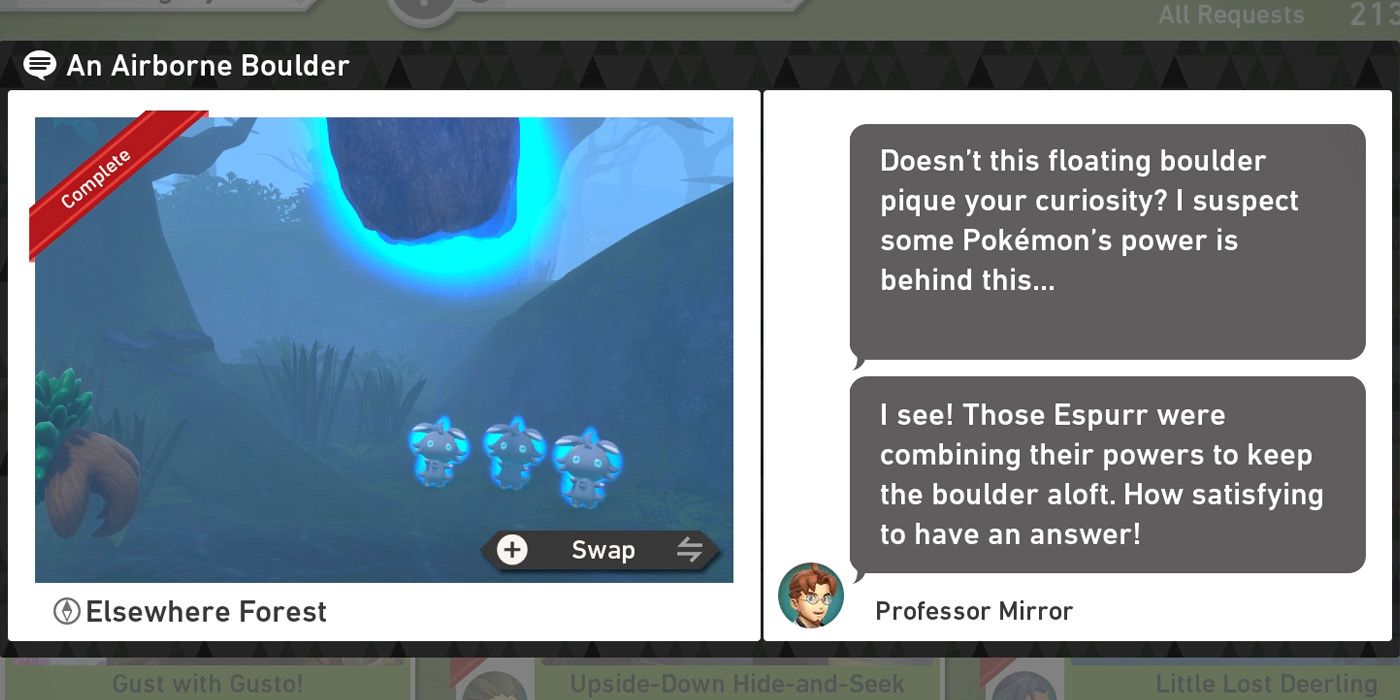
Once players reach research level 3, using the Melody Player near the Trevenant at the end of the first foggy section will cause it to move and grant access to a new route. Players should scan the area and follow the newly opened path and then turn their attention to the floating blue boulder on their right.
Beneath it are three Espurr that are using their powers to keep the boulder afloat. Players need to take a photo of the trio in action while also being sure to get the boulder somewhere in the shot. After that, it's simply a case of handing it in to Professor Mirror to complete the An Airborne Boulder request.
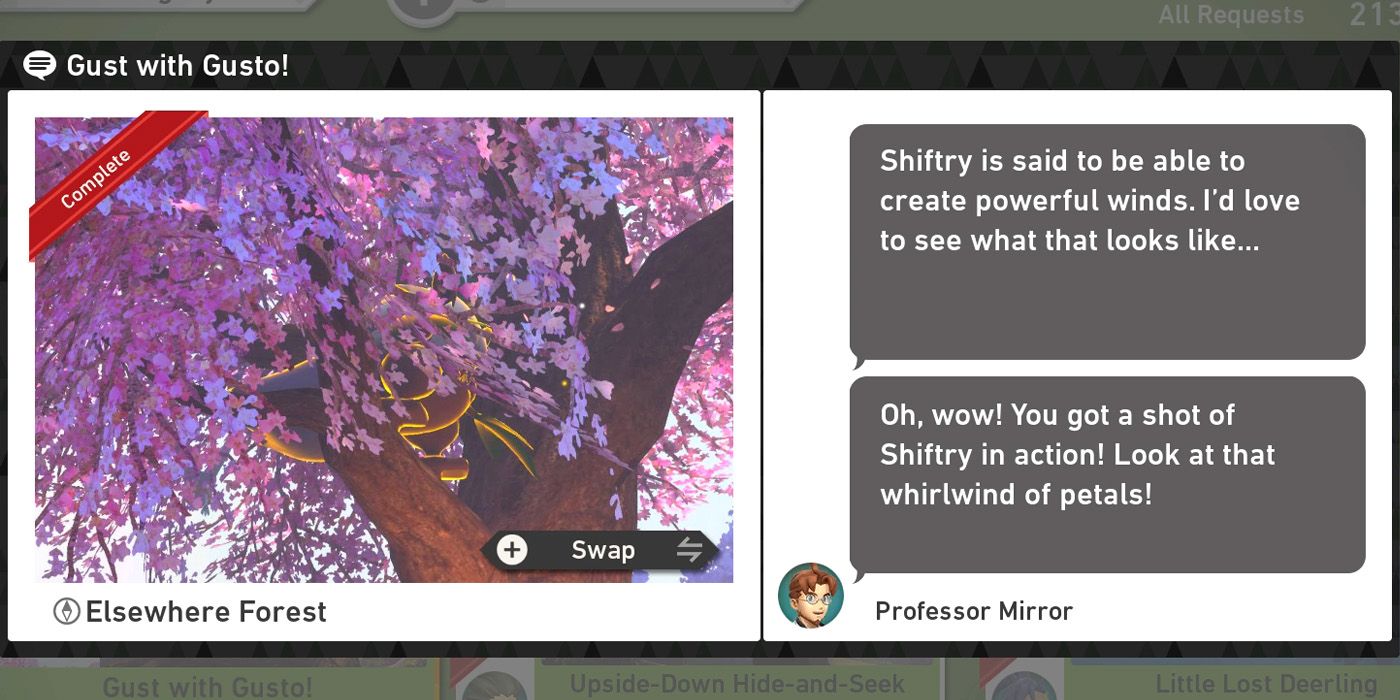
The Shiftry needed for the Gust with Gusto! request can be found in a tree on the right hand side of the spring area. To get there, players will need to attempt to feed Espeon a Fluffruit when it stops at the end of the first foggy section. It won't eat it, but it will take players to the right area if they stick to the default route.
Upon arriving, players should locate the Shiftry and then hit it with a Fluffruit. It will leap from branch to branch and if players hit it with an Illumina Orb around the time of its third jump, it will run and climb into a nearby tree. Once it's up there, players will need to illuminate the Crystabloom near the trunk of the tree and then get a photo of Shiftry using its attack. It doesn't matter if visibility is poor, although is players want a cleaner shot, it's best to wait until after the Sawsbuck blocking the NEO-ONE's path starts moving before beginning the process.
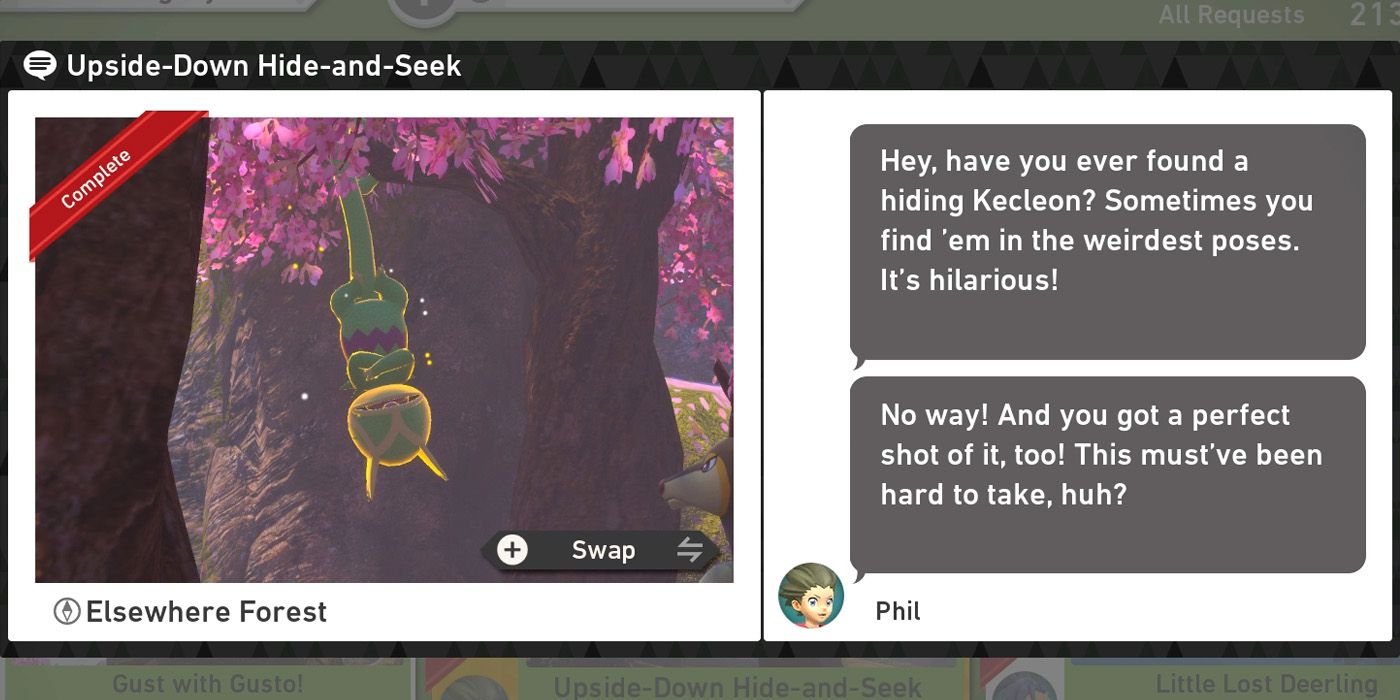
Players will need to return to the spring area to fulfill the Upside-Down Hide-and-Seek request, so if they're not already there, they'll again need to try and feed Espeon a Fluffruit at the end of the first foggy section. Once in the spring area, players should look in the branches of the trees on their right for the outline of a Kecleon or just use scan if they're having trouble spotting it.
After locating the hanging Keckleon, hitting it with an Illumina Orb will cause it to become visible for a few seconds and this is the moment that players will need to capture on camera. Not only will doing so fulfill Phil's request, but it will also provide players with a nice four star photo of Keckleon for their Photodex.
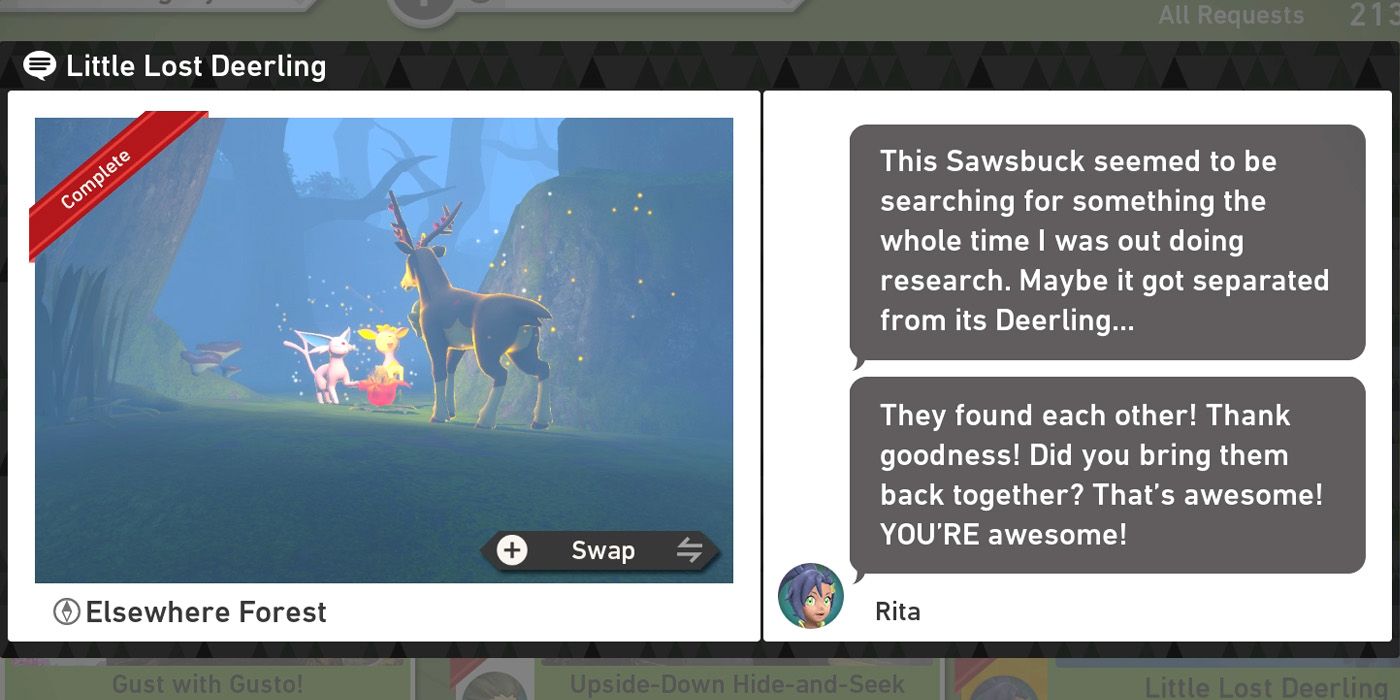
After reaching research level 3, players will be able to take on the Little Lost Deerling request in the second foggy area of the course. As they make their way through, they'll see a series of Crystabloom on their right and lighting these up with Illumina Orbs will create a path for the lost Deerling. There's one alcove with two Crystablooms though and players should make sure to only illuminate the one that's furthest away from them.
If done correctly, Sylveon will leap out at the final Crystabloom and meet up with the Deerling. A few moments later, Sawsbuck shows up and the three Pokemon celebrate the reunion together. When taking a photo of the moment, players should be sure to focus their camera on Deerling and also make sure it's still in its celebratory phase.
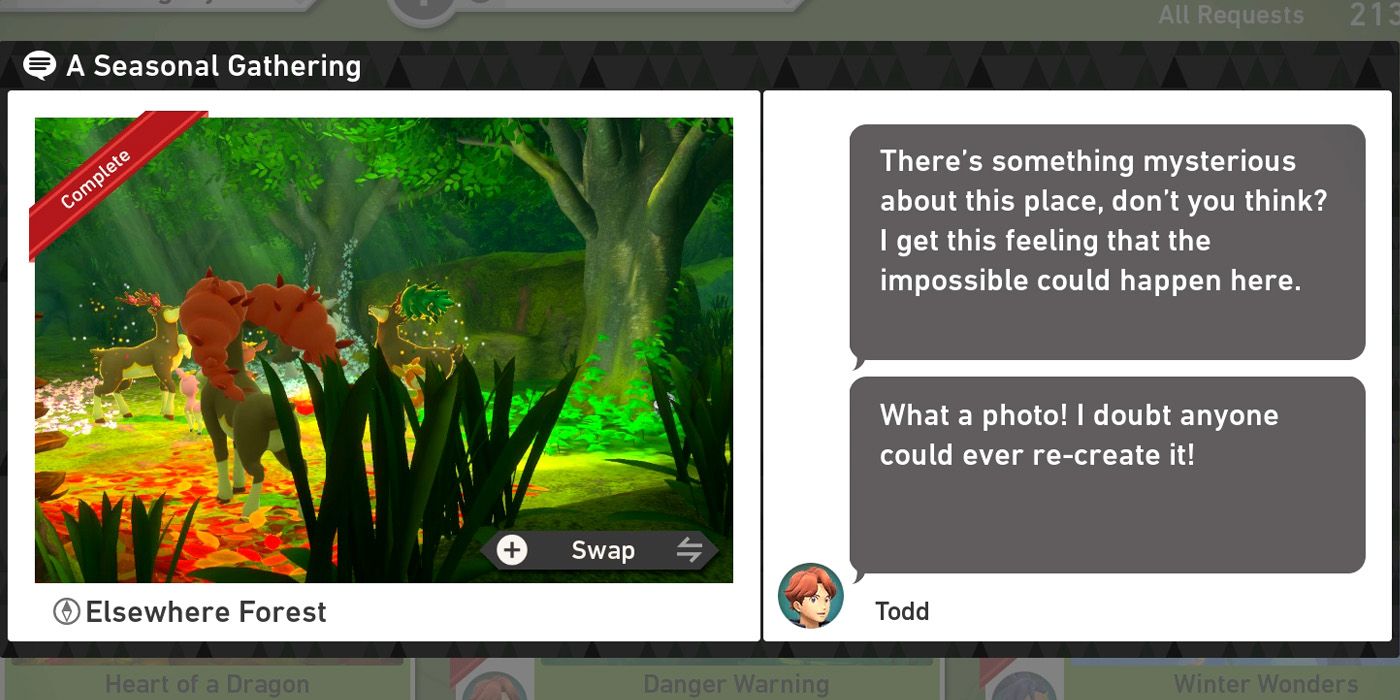
If players complete the steps required for the Little Lost Deerling request, they'll gain access to a new area that branches off from the right of the second foggy section. The sunny plains section features a spot where every season meets and players will need to snap a photo of all four types of Sawsbuck howling here to complete the A Seasonal Gathering request for Todd.
To do this, they should look to their left after entering the sunny plains section and use scan to bring Espeon down to ground level. Next, they;ll need to feed it a Fluffruit and then hit it with an Illumina Orb so that it climbs up onto a rock to their right. Once it's there, hitting it with more Illumina Orbs will make it summon the final type of Deerling and, once they're all gathered, players can Illuminate the Crystabloom and use the Melody player to get them all to celebrate. Sawsbuck needs to be the subject of the photo and all four variants need to be in the shot for it to count. If players are having trouble with timing, it can really help to face backwards and zoom the camera in to slow the NEO-ONE down while waiting for Espeon to do its job.

The nesting Unfezant needed for the Egg Patrol request can be found in the summer area, so at research level 3, players should hit Espeon with an Illumina Orb and follow the default route. The request can be completed at lower research levels too, although players will need to get lucky when it comes to the second area they're sent to.
The Unfezant's nest is on the left hand side near the very end of the summer area. Once players arrive in the vicinity, they should throw a Fluffruit at the Unfezant to make it stand up in anger and then snap a photo of it and its eggs before it has a chance to sit back down. The eggs don't need to be clearly visible, so providing the Unfezant is still in motion, any photos taken should count towards the request.
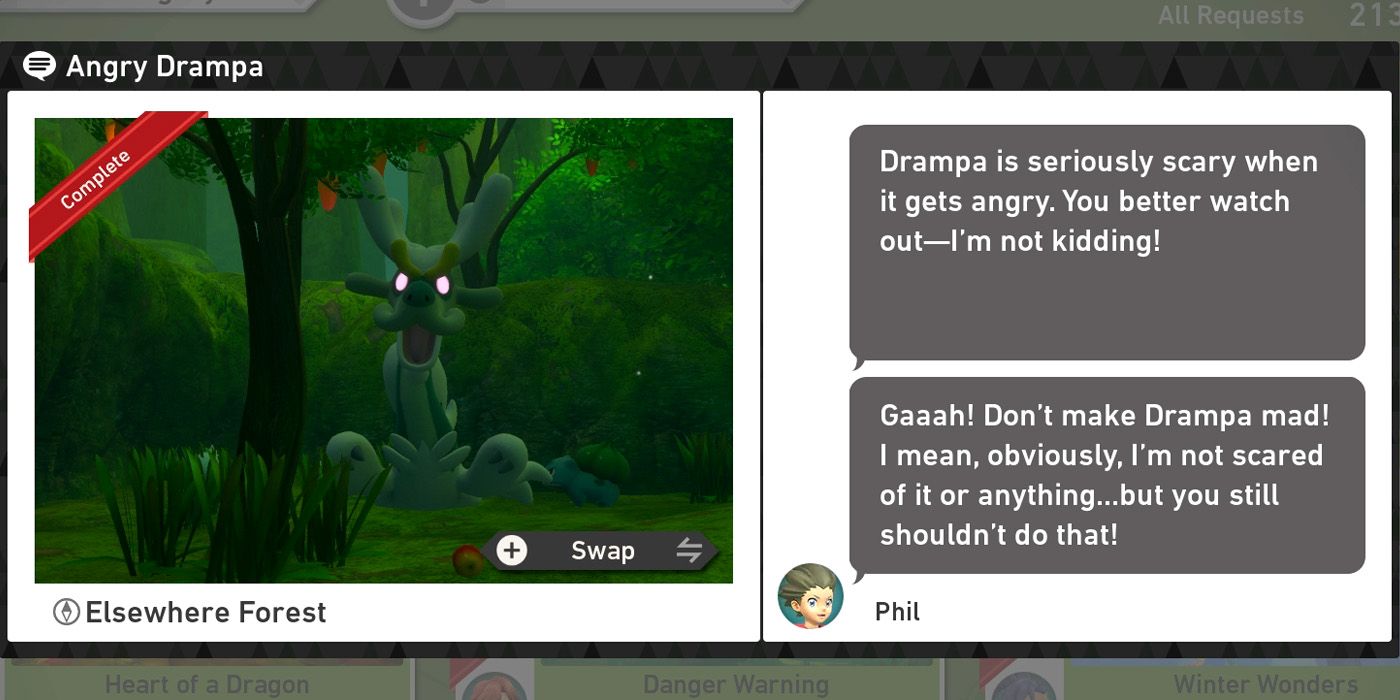
In order to complete the Angry Drampa request, players will once again need to visit the Summer Area. They'll have to be at research level 3 this time around though, so hitting Espeon with an Illumina Orb at the end of the first foggy section is the fastest way to get there.
Players don't actually need to do anything while they are in the summer area, although it can be helpful to hit the Drampa on the right hand side with a single Illumina Orb now for one of the other requests. Upon leaving the area, players will return to the second foggy section and should take the alternate route to the sunny plains rather than going to the ancient ruins. Just before the exit, they'll see Drampa, Pancham and Bulbasaur and hitting either of the two smaller Pokemon with a Fluffruit will make Drampa angry. After that, hitting Drampa with one will also do the trick.
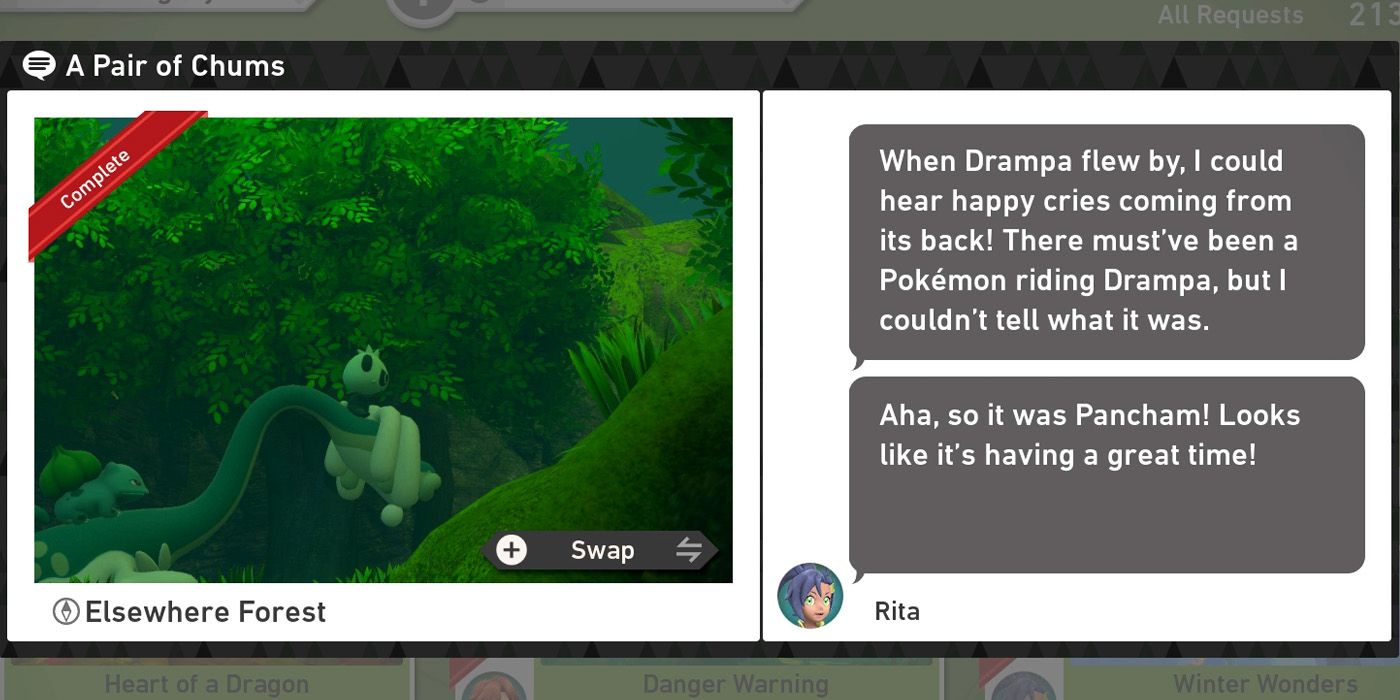
If players passed through the summer area near the beginning of the course they will find Drampa, Pancham and Bulbasaur in the sunny plains area. Normally they'll just be hanging around by the exit, but if players hit Drampa with an Illumina Orb earlier on when they saw it in the summer area, the trio will instead enter the plains in a rather unusual way.
Bulbasaur will be riding on Drampa's back and Pancham will be sat on its head and it's this photo that's needed to complete the A Pair of Chums request for Rita. Pancham should be the subject of the photo, although both Bulbasaur and Drampa must also be in the shot for it to count.
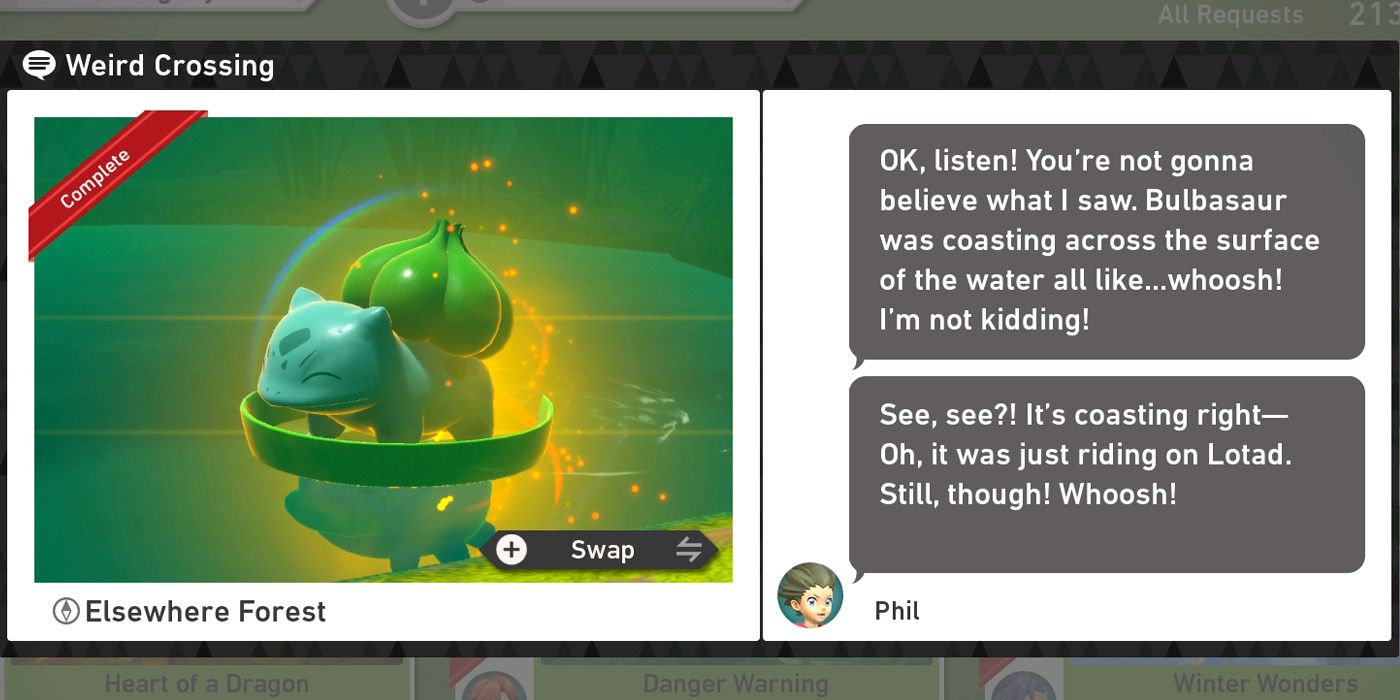
The Weird Crossing request is one of the easiest ones in Elsewhere Forest, although players will need to time their actions in order to get the right shot. At the end of the ruins section, they'll see a Bulbasaur running around near a pool of water as well as a Lotad swimming around in the same pool.
Shortly after players arrive in the vicinity, Bulbasaur will make its way to the water's edge and at this point players should hit Lotad with an Illumina Orb. A few moments later, Lotad will start to change its direction and when it does, players should throw an Illumina Orb at Bulbasaur too. If timed correctly, Lotad will swim to the shore and allow Bulbasaur to hop on its head and a photo of the starter Pokemon in this position is all that's required to complete Phil's request.
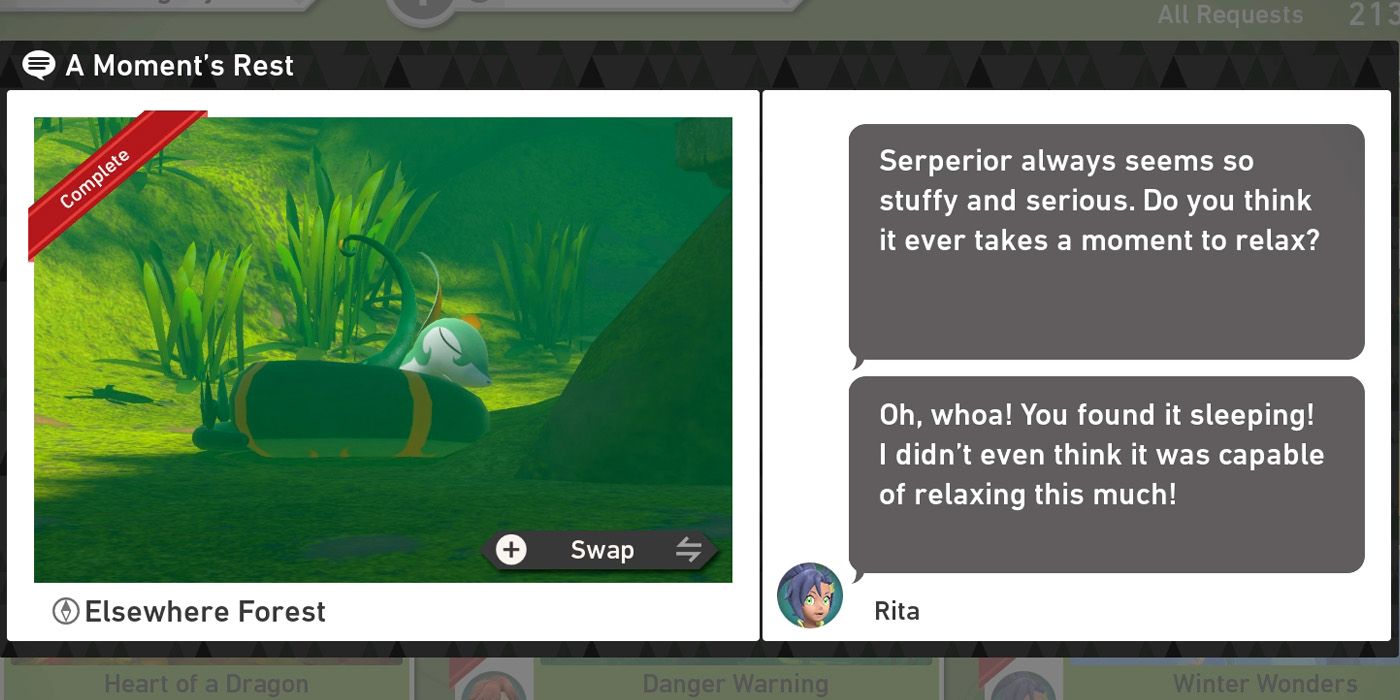
Towards the ends of the ruins section, players will see some ancient ruins on their left. Sticking out of the entrance is A Serperior's tail and hitting this with an Illumina Orb will cause it to come outside and look around. When it does, players should throw a Fluffruit near it while being careful not to hit it by mistake.
After a few moments, the Superior will eat the Fluffruit and after it finishes, players can use the Melody Player to put it to sleep. This is all that's needed to fulfill the A Moment's Rest request, so players should snap a few pictures and then hand one of them in to Professor Mirror once they have completed their run.

Players will unlock the Heart of a Dragon request after visiting the autumn area for the first time, although it's easier to complete it at higher research levels due to the RNG required to get there again. At research level 3, however, players can simply scan the alternate route in the first foggy section and then attempt to feed Espeon a Fluffruit when it stands near the exit.
Regardless of how players get to the autumn area though, they'll need to look to their left almost immediately after arriving. There's an Applin on the ground beneath the first tree they come to and it will perform the pose needed for the photo request when the nearby Deerling approaches. Players can lure the Deerling over there with Fluffruit if they need to, but on most runs it should make its way to the right spot naturally without any player intervention. Players will just need to make sure that the Applin is the subject of the photo that they take and turn in.
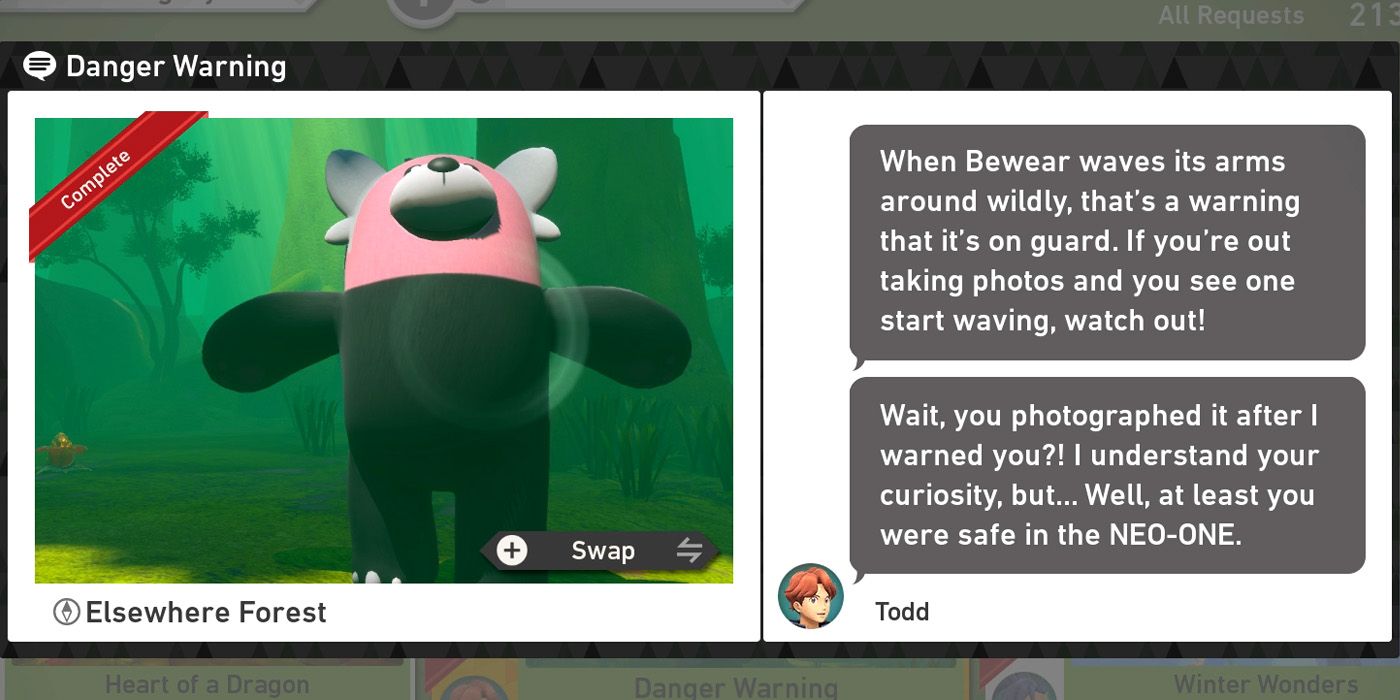
The Danger Warning Request is one of the easiest and most Bizarre requests in New Pokemon Snap. To complete it, players will need to make their way to the ruins section at the end of the course and then look for a Bewear in front of them once they arrive. Due to its size and bright pink head, it shouldn't be too hard to spot.
Next, players just need to repeatedly pelt it with Fluffruit until it gets angry and raises its arms in the air. When it does so, players should quickly snap a photo for Todd. After that, the Bewear will chase the player through the area right up to the exit and many more Bewear will appear out of nowhere to help their friend out.
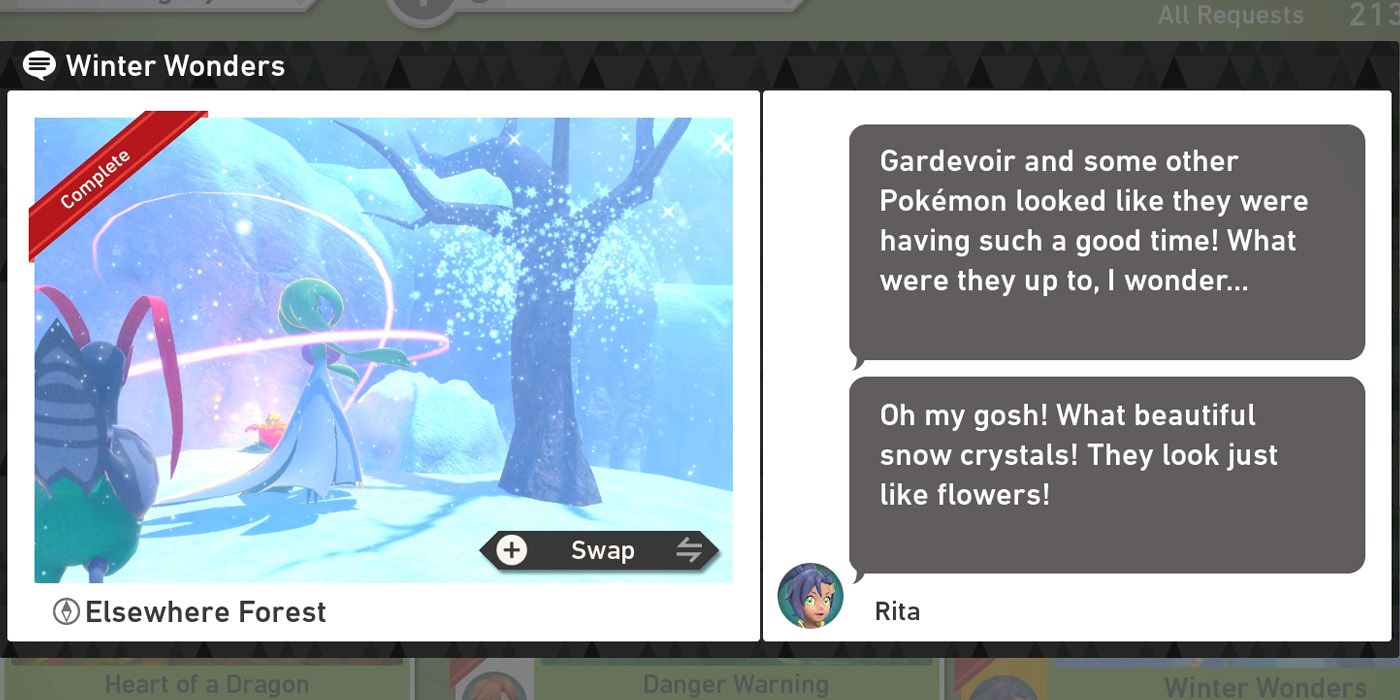
As its title might suggest, the Winter Wonders request must be completed in the winter section of Elsewhere Forest. To get there, players should use the Melody Player near the Trevenant at the end of the first section and then scan the area once it moves to gain access to an alternate route. Espeon will run ahead and stand by the exit and players should hit it with an Illumina Orb so that it guides them to the right place.
Upon arrival, a Gardevoir will spawn directly in front of players and they'll need to repeatedly hit it with Illumina Orbs to make it disappear. If they keep illuminating it every time it reappears (in a tree and then near Alolan Ninetails' snow platform) it will eventually end up near a tree with a Crystabloom right by it. If players then illuminate the Crystabloom, Gardevoir will use its magic to put frost leaves on the tree and capturing the moment on camera will fulfill Rita's request.
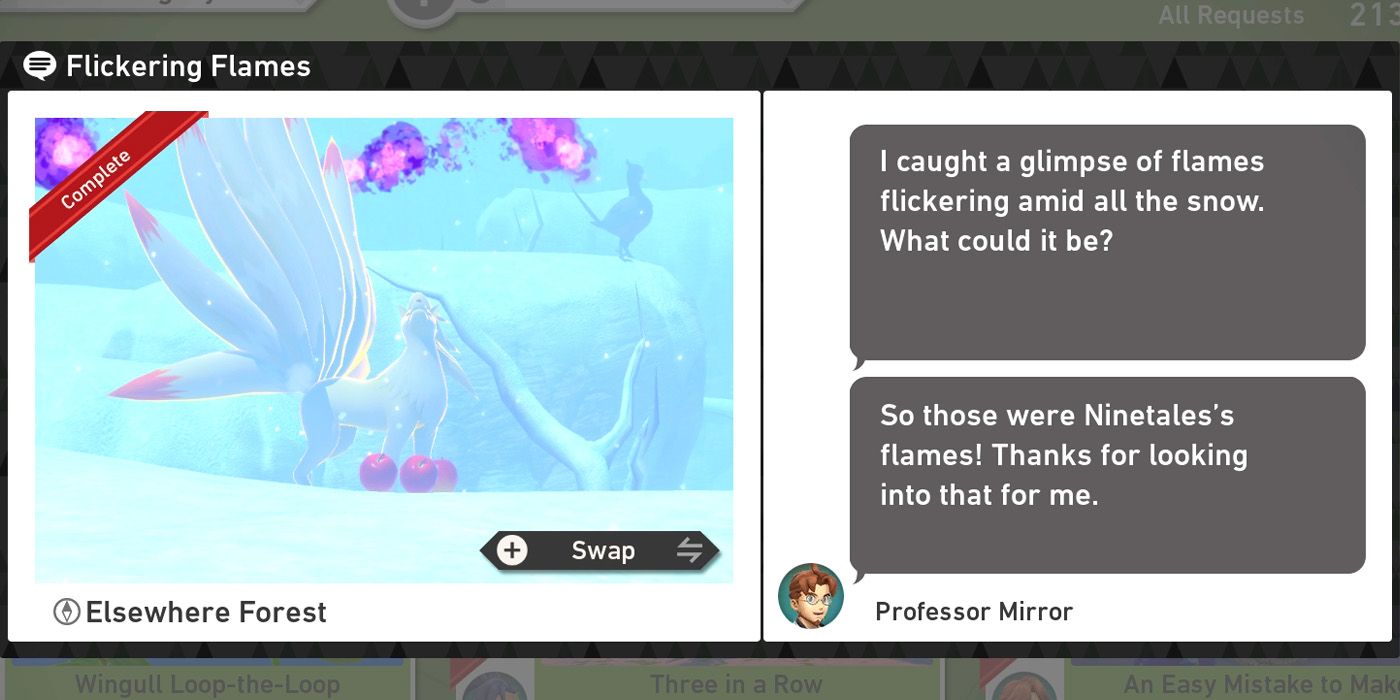
Players will again need to visit the winter area for the Flickering Flames request and so should take the alternate route in the first foggy section and then hit Espeon with an Illumina Orb. They should pelt Gardevoir with Illumina Orbs once more, but this time will need to stop when it gets to the spot near Alolan Ninetails' snow platform (the one before the tree with the Crystabloom).
After entertaining the two Deerling, Gardevoir will disappear for good, at which point players should use Fluffruit to guide the Deerling a little closer to Alolan Ninetails. Once the latter starts looking over, players will need to feed one of the Deerling a Fluffruit and then hit it with another one before it finishes eating. This will anger Alolan Ninetails and cause it to jump down. Hitting it with an Illumina Orb and then a Fluffruit will cause it to use Will-O-Wisp and players can capture the moment on camera to fulfill the request. The timings can be very tight here, so it really helps to keep the camera zoomed in at all times and face backwards while waiting for Gardevoir to disappear to slow the NEO-ONE down a little.
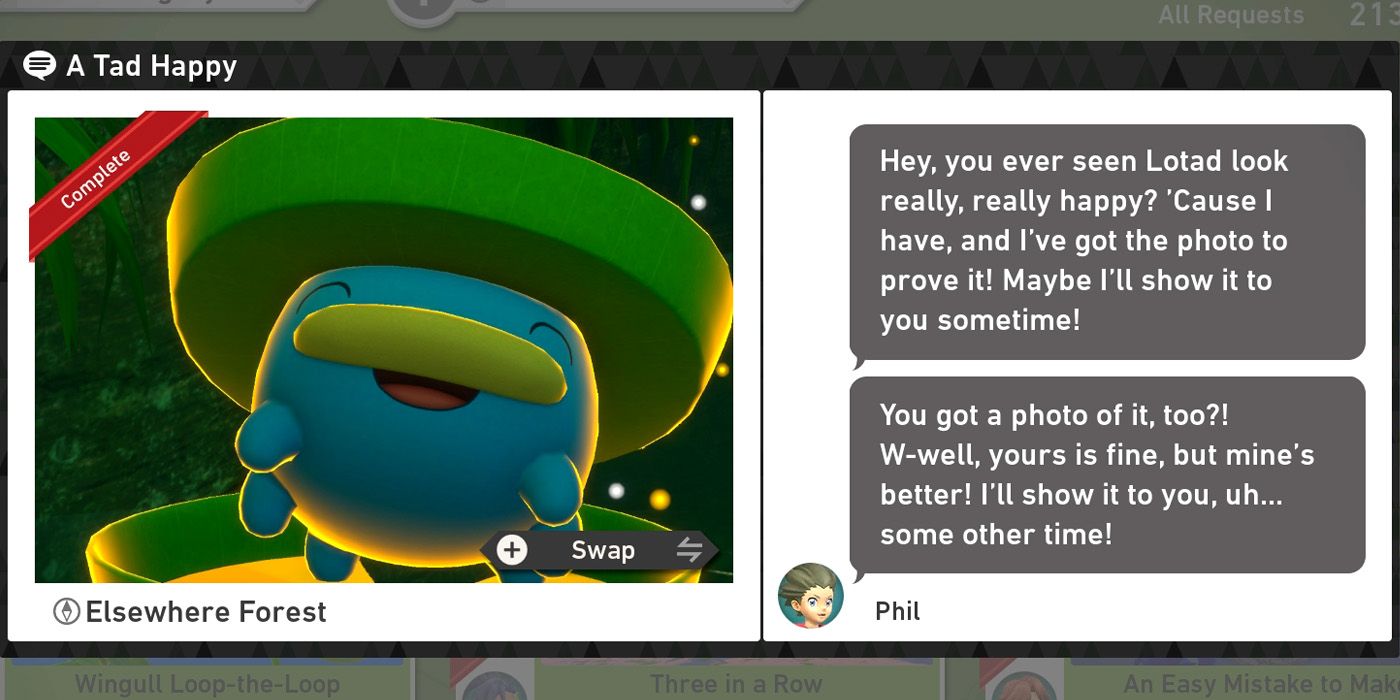
The A Tad Happy request needs to be fulfilled in the sunny plains area, so assuming players have already reunited the lost Deerling with the Sawsbuck, they should head to the second foggy area and scan the alternate route on the right. As soon as they arrive, they'll need to hit the Lotad on their right with a Fluffruit and then wait for it to resurface next to the two Lotad in the water a little further on.
As soon as all three Lotad have surfaced, using the Melody Player will cause them to form a three-Lotad column. Once it's assembled, players should hit the one on top with an Illumina Orb and then zoom in on its face and take a picture. For whatever reason, a wider shot with all three Lotad often won't count towards the request, so it's best to focus on only the top one just to make sure.

After unlocking the alternate route to the sunny plains area once, players will be able to take it whenever they like without having to reunite the lost Deerling with its parent every time. Regardless of whether they do or don't though, players will be able to find Espeon sleeping on their left shortly after entering the area and can call it down by using scan.
Once it hops down, it will finally accept the player's Fluffruit and so they should throw one near it, wait for it to start eating and then snap a photo. If they haven't already done so and have received it from Todd, now would be a great time to work on the A Seasonal Gathering request too, as most of the steps required for it have already been completed.
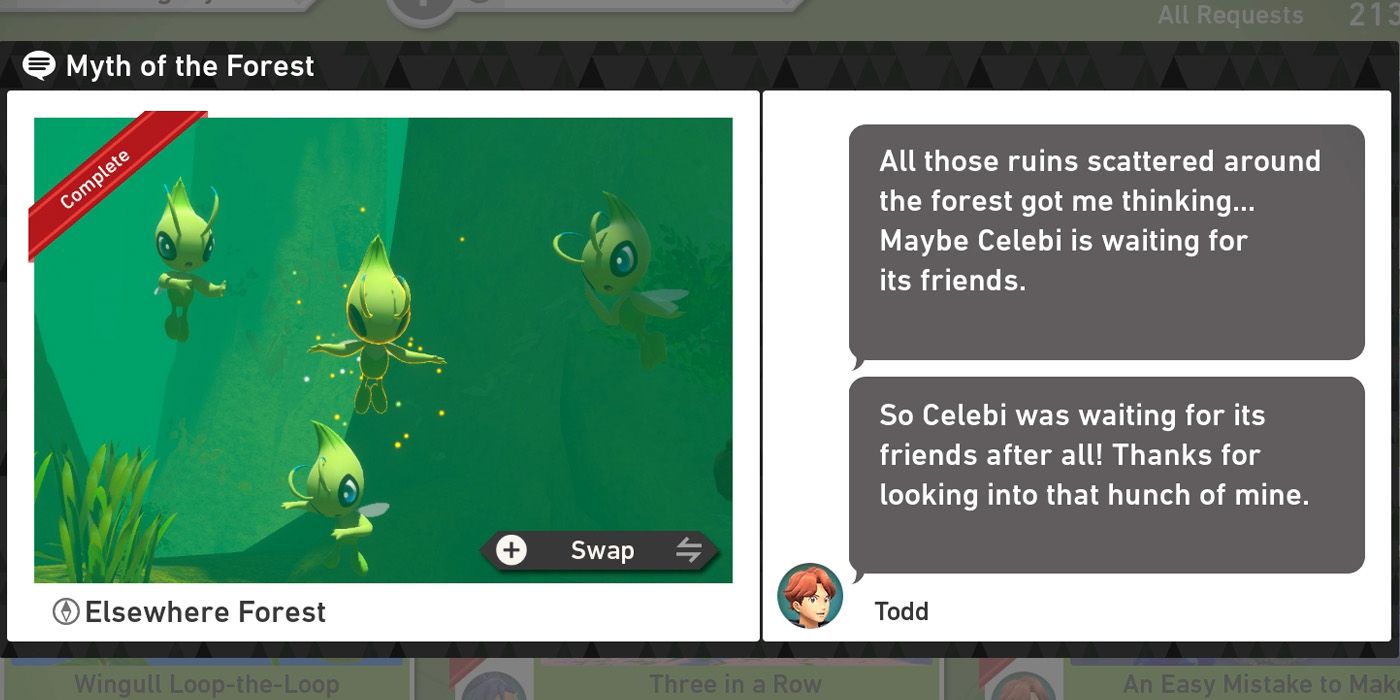
Once players have completed the game, Celebi will start showing up in the ruins section at the end of the course. It appears right at the beginning, but will disappear for good if players don't hit it with an Illumina Orb fairly quickly. If they do, it will teleport away, but players can summon it back with the help of Fluffruit.
As they pass under some tree roots a little later on, they should see a pile of fruit and berries on the ground to their right and tossing in a few extra Fluffruit will cause Celebi to reappear. After it eats, it will disappear again and then pop up on top of the ancient ruins over on the left. Here, hitting it with another Illumina Orb and then using the Melody player will cause more Celebi to fly over and snapping a picture of them all dancing is all that's required to complete the Myth of the Forest request.
NEXT: New Pokemon Snap Complete Guide for Tips, Tricks & Pokemon Locations