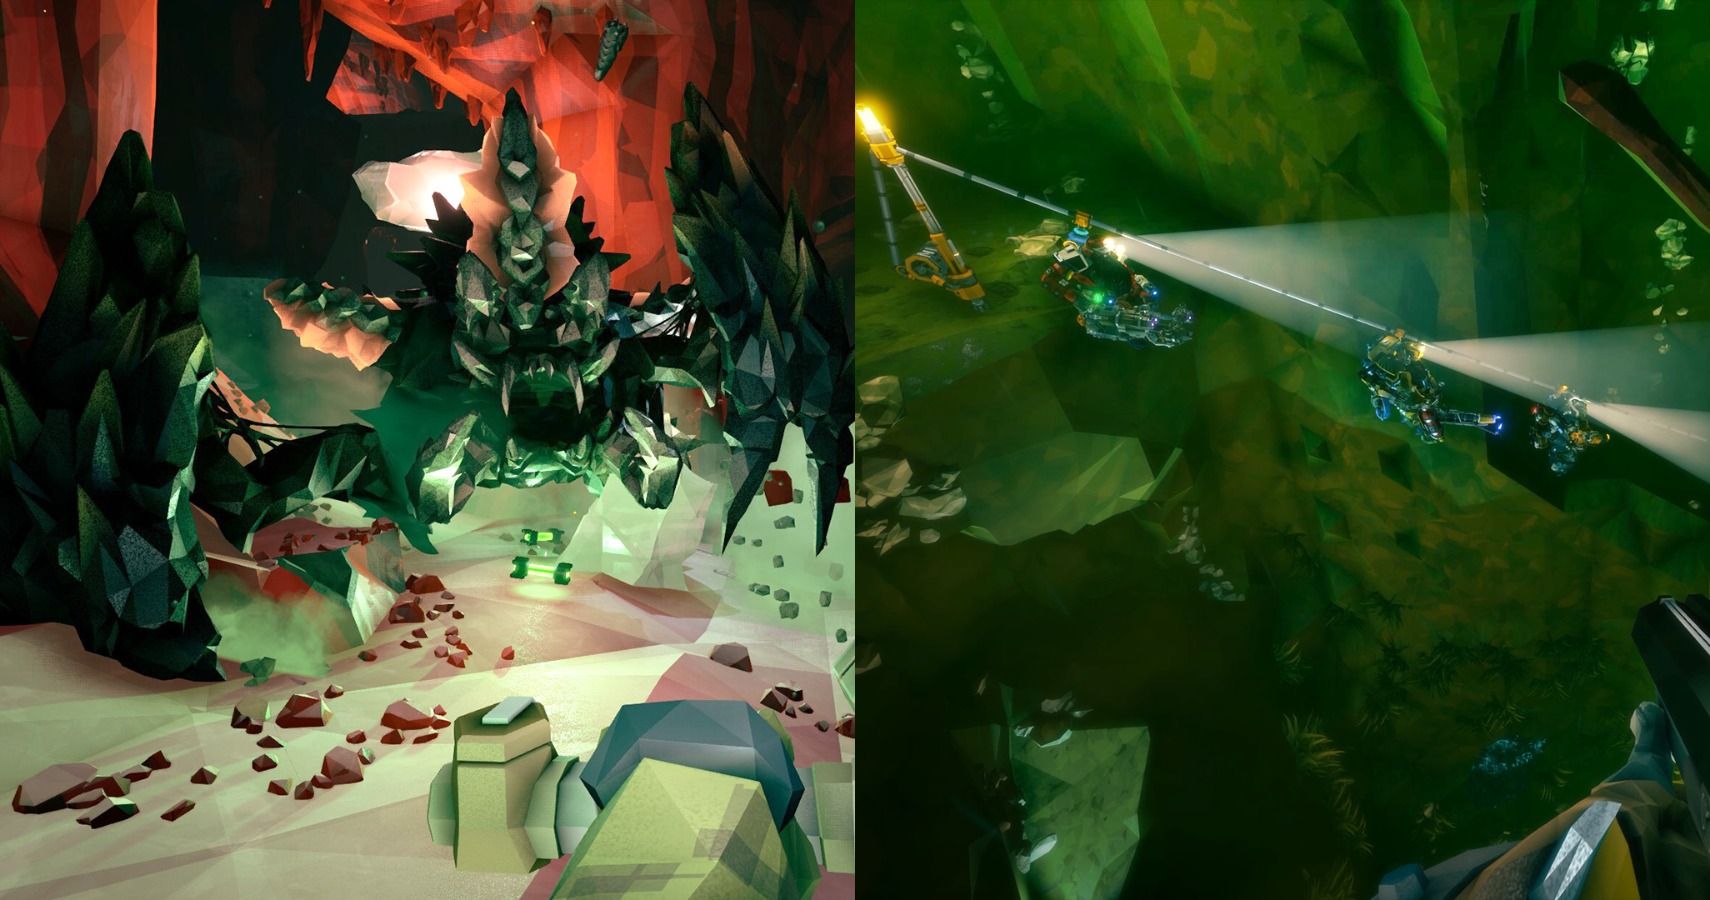
The Gunner fills an interesting role in Deep Rock Galactic. Many players make the mistake that the Gunner simply shoots things given the name, but it’s much deeper and more complex than that. The Gunner is about gunning down waves of enemies, but it is also about protecting allies and prioritizing what it shoots at.
RELATED: The 10 Best Multiplayer Games Of The Decade (According To Metacritic)
There are a number of strategies and tips players can implement to become more effective at this important role in the multiplayer game. For players considering stepping into the shoes of the Gunner, here are some Gunner-based tips to become more effective at it.
Updated May 17th, 2021 by Ben Baker: The Gunner is important for the survival of the team when things become chaotic. Between weakening the enemy and protecting the team, it's important for the Gunner to know how best to fulfill their role. To emphasize this point, these tips have been updated to provide greater clarity and reiterate the importance of certain strategies. That way, players can better help their teammates, offering up a much greater chance for survival as a unit.
14 Gunners Should Utilize The Terrain In Fights
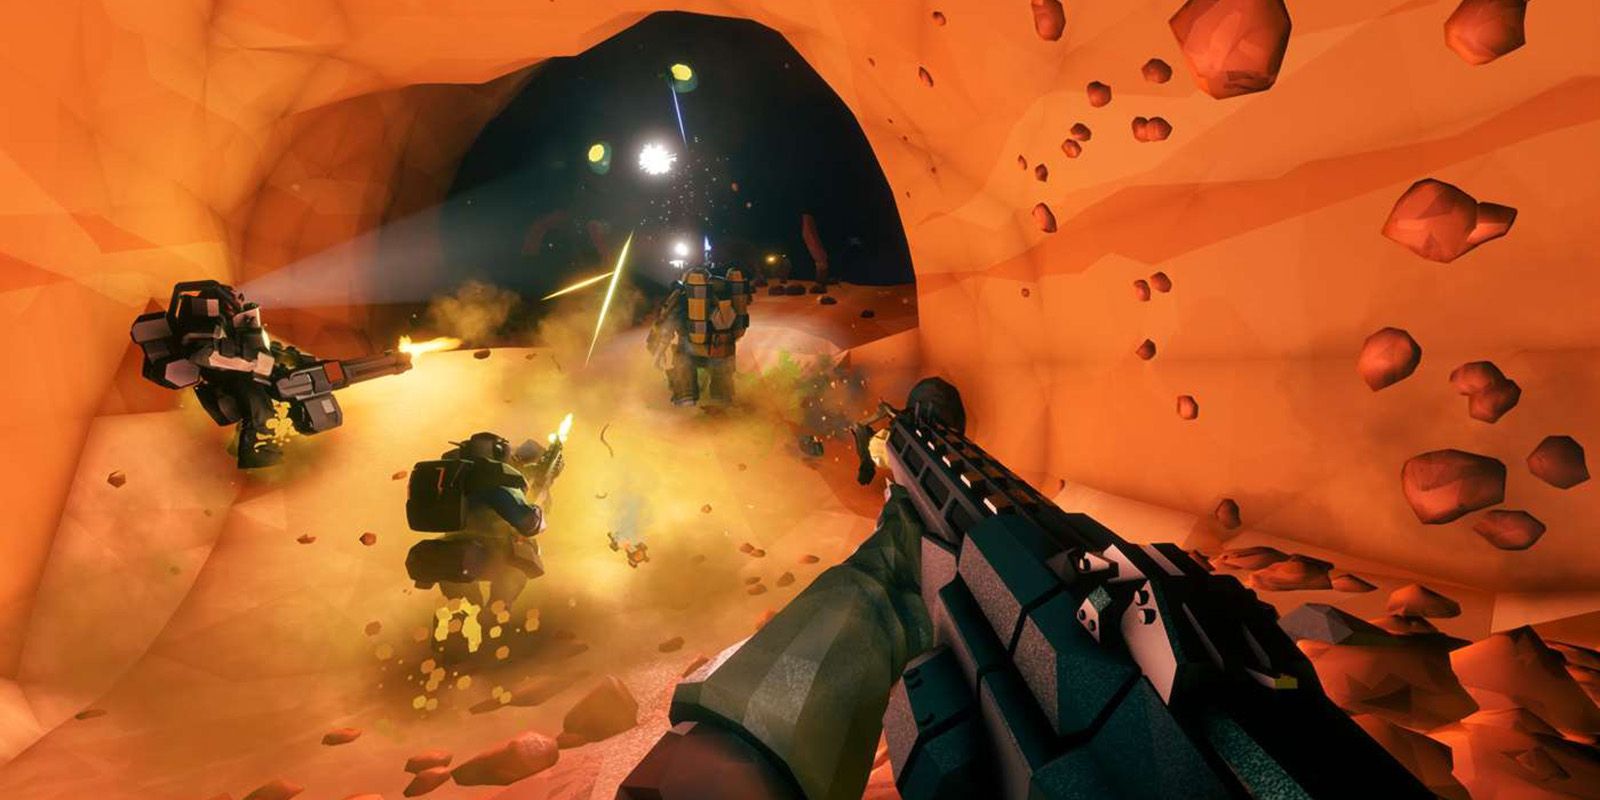
When a fight is about to happen or if the player is in the middle of a fight it’s important for the Gunner to take advantage of the terrain. Often times a room will generate with natural chokepoints that enemies can be funneled through or obstacles they need to navigate, buying the team time.
RELATED: Deep Rock Galactic: 10 Pro Tips For Playing The Scout
A good Gunner will rally the team to stand on the high ground, create kill boxes, and even help the Driller with their job to better tweak the environment to the team’s advantage. It doesn’t cost anything to fight from the top of a hill, but it makes a huge difference in battle.
13 Zipline Gunning Is Powerful For The Gunner
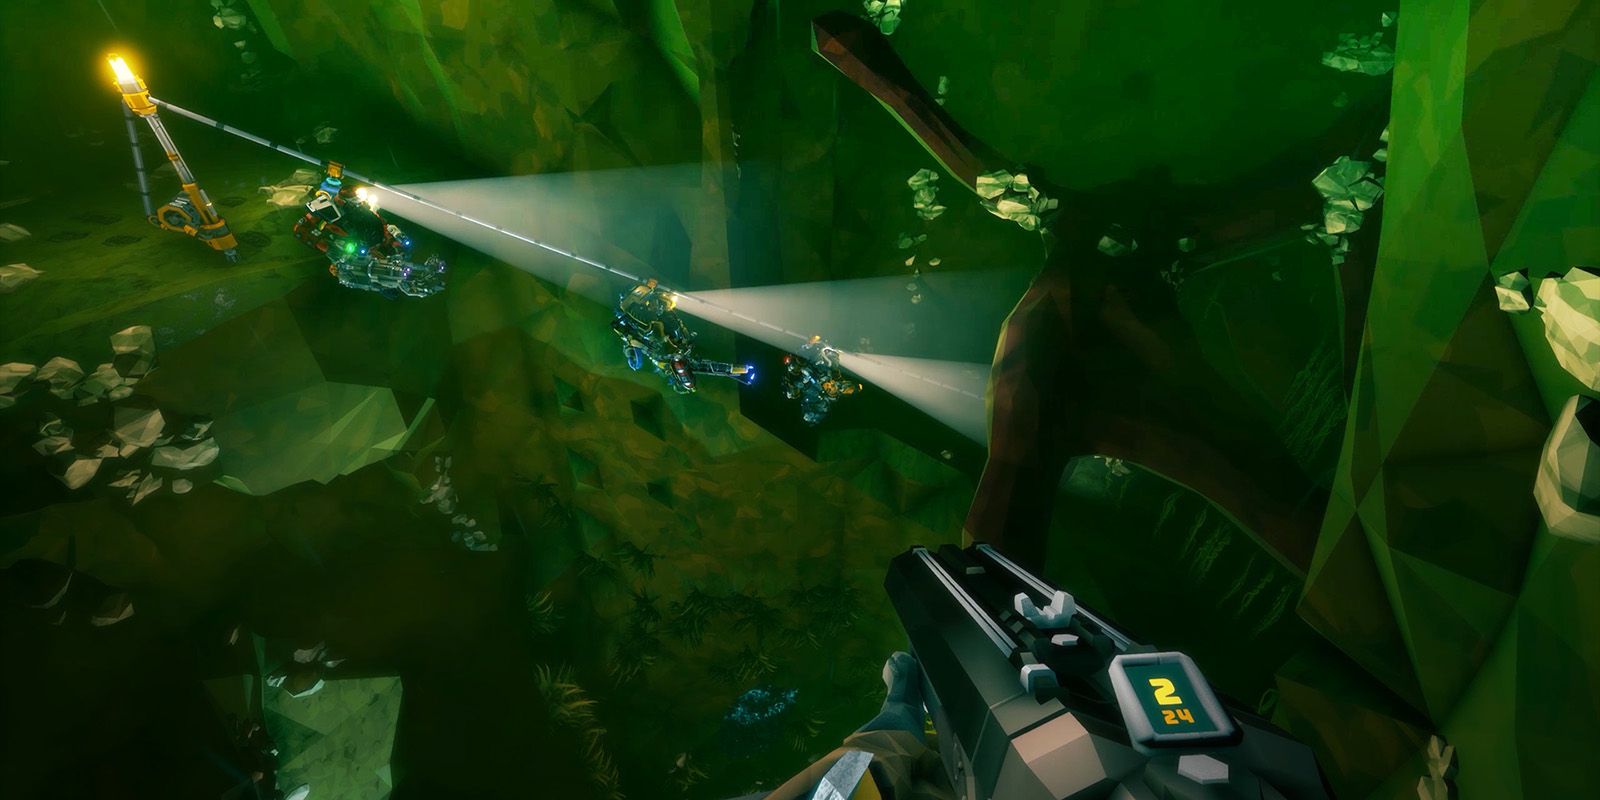
The minigun is a powerful weapon that can shred apart enemies in a hail of bullets. The problem is that it can also rip apart allies if the Gunner isn’t careful. In the middle of a swarm, it's very easy for the Gunner to get overzealous and gun down an ally.
One way to avoid this is to drop a zipline in the middle of a room, grab on and zip back and forth while firing on enemies. This minimizes friendly fire incidents and ensures more bullets hit targets. The only downside is that the Gunner won’t be drawing any aggro so they shouldn’t stay up there too long.
12 Outside Of Fights Gunners Should Act As Fill-Ins
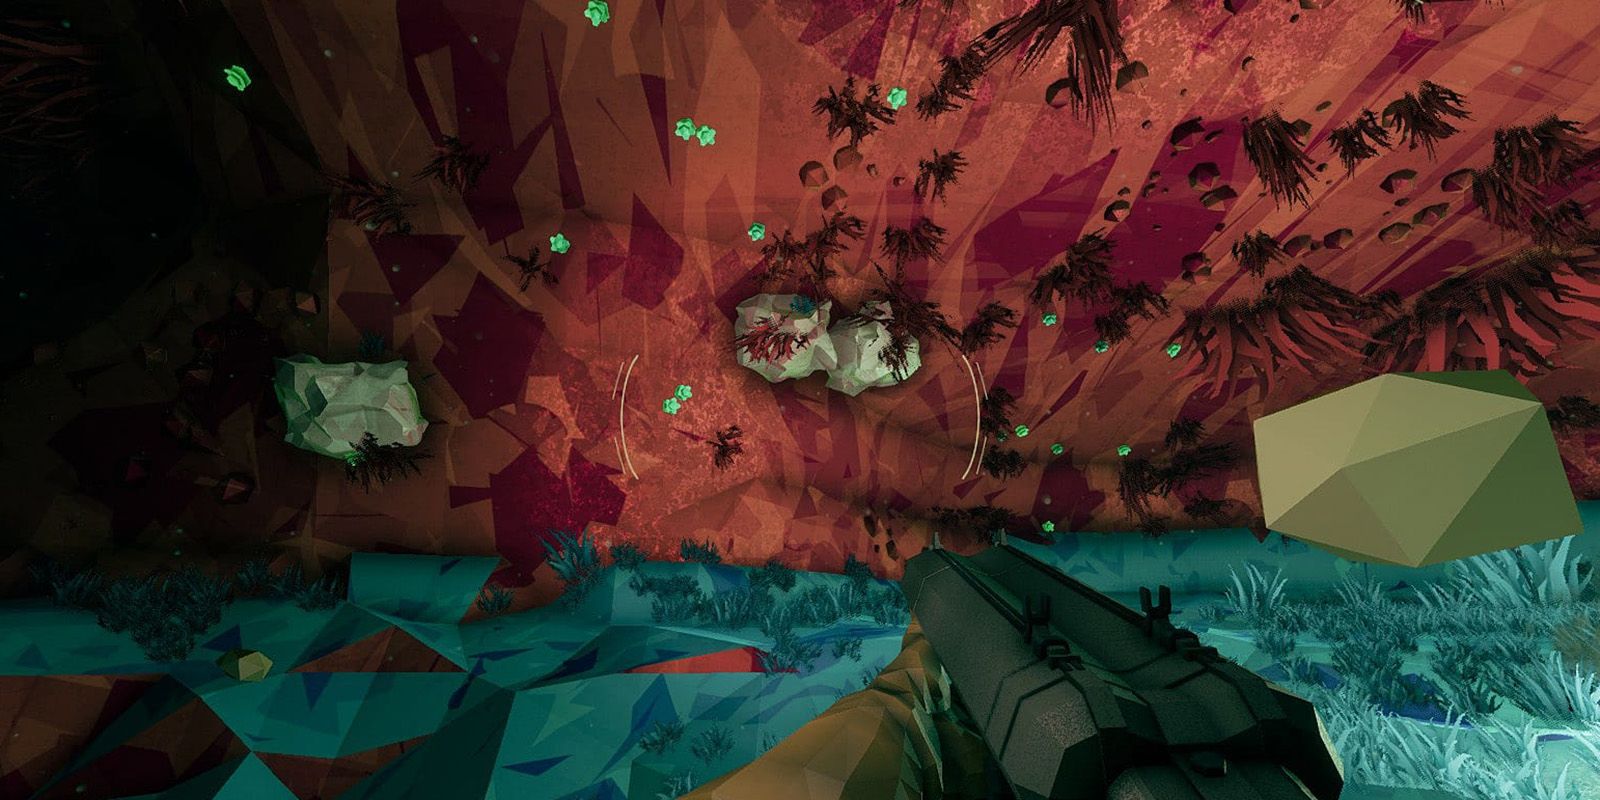
When there isn’t anything to shoot, the Gunner should be stepping up to help the other roles with their job. They should be gathering ground-level resources, helping establish turrets, or working with the Driller to shape the terrain.
RELATED: Deep Rock Galactic: Pro Tips For Playing The Engineer
At the very least, the Gunner should be pulling their scanner to study the surrounding terrain or identifying strategic positions for upcoming fights. The Gunner is a second pair of hands for whoever needs it when the bullets aren’t flying.
11 Gunners Keep The Others Alive
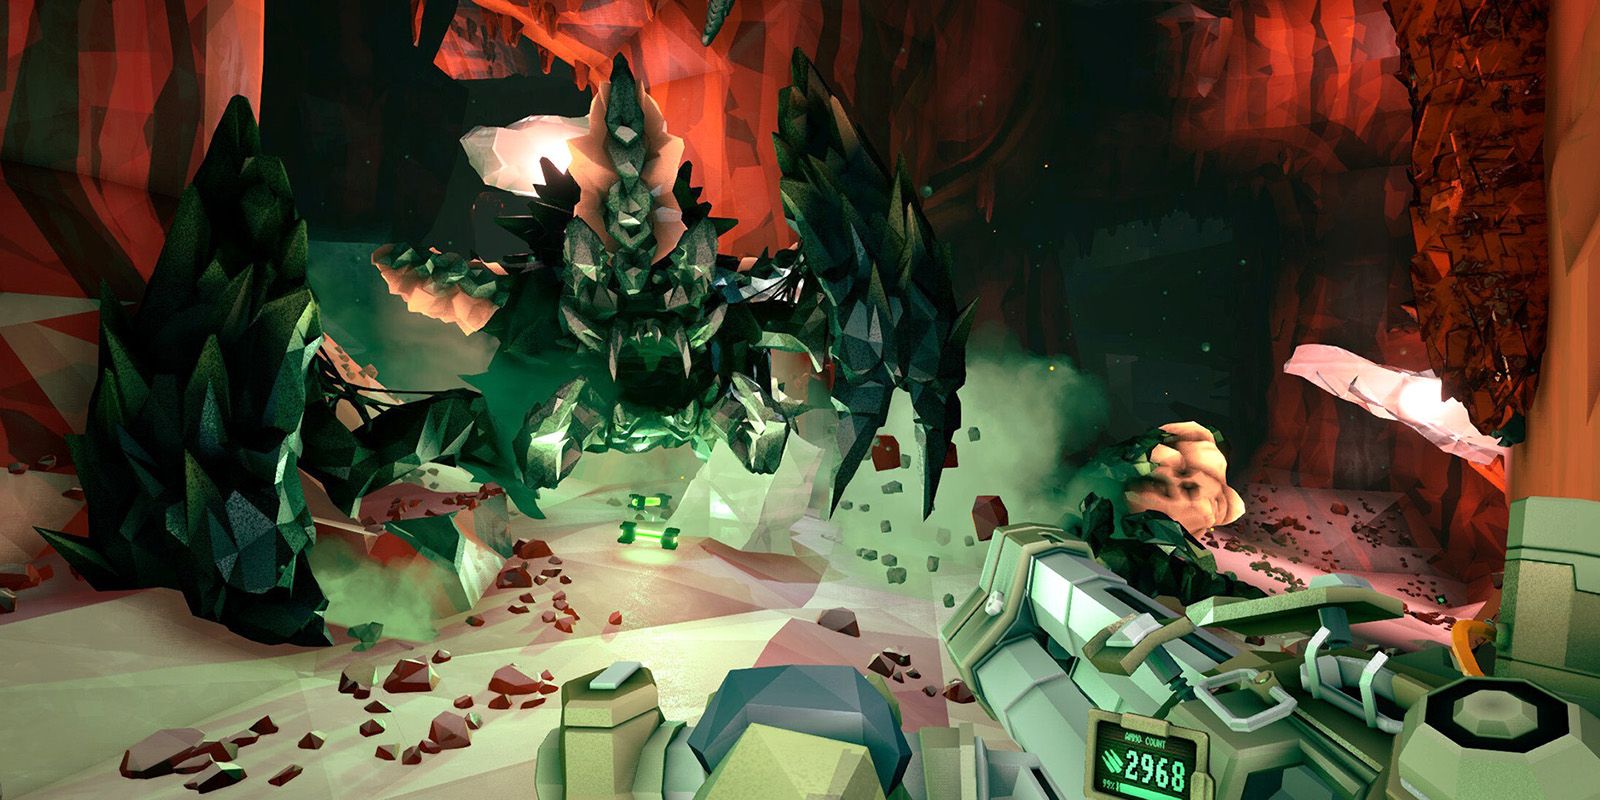
A Gunner’s main priority, above all else, is to keep teammates alive. Whether that means gunning down the most problematic enemies, shielding downed players, or even aggroing the enemy the Gunner should do whatever it takes to keep everyone else alive.
It’s a tough pill to swallow, but the reason for this is that the other roles are simply more useful outside of combat. The Gunner isn’t the one chasing down stray resources, digging to the exit point, or building platforms to access new areas. Their job is to fight. If the only player left alive is the Gunner it’s because they weren’t doing their job.
10 Gunners Shield Downed Allies
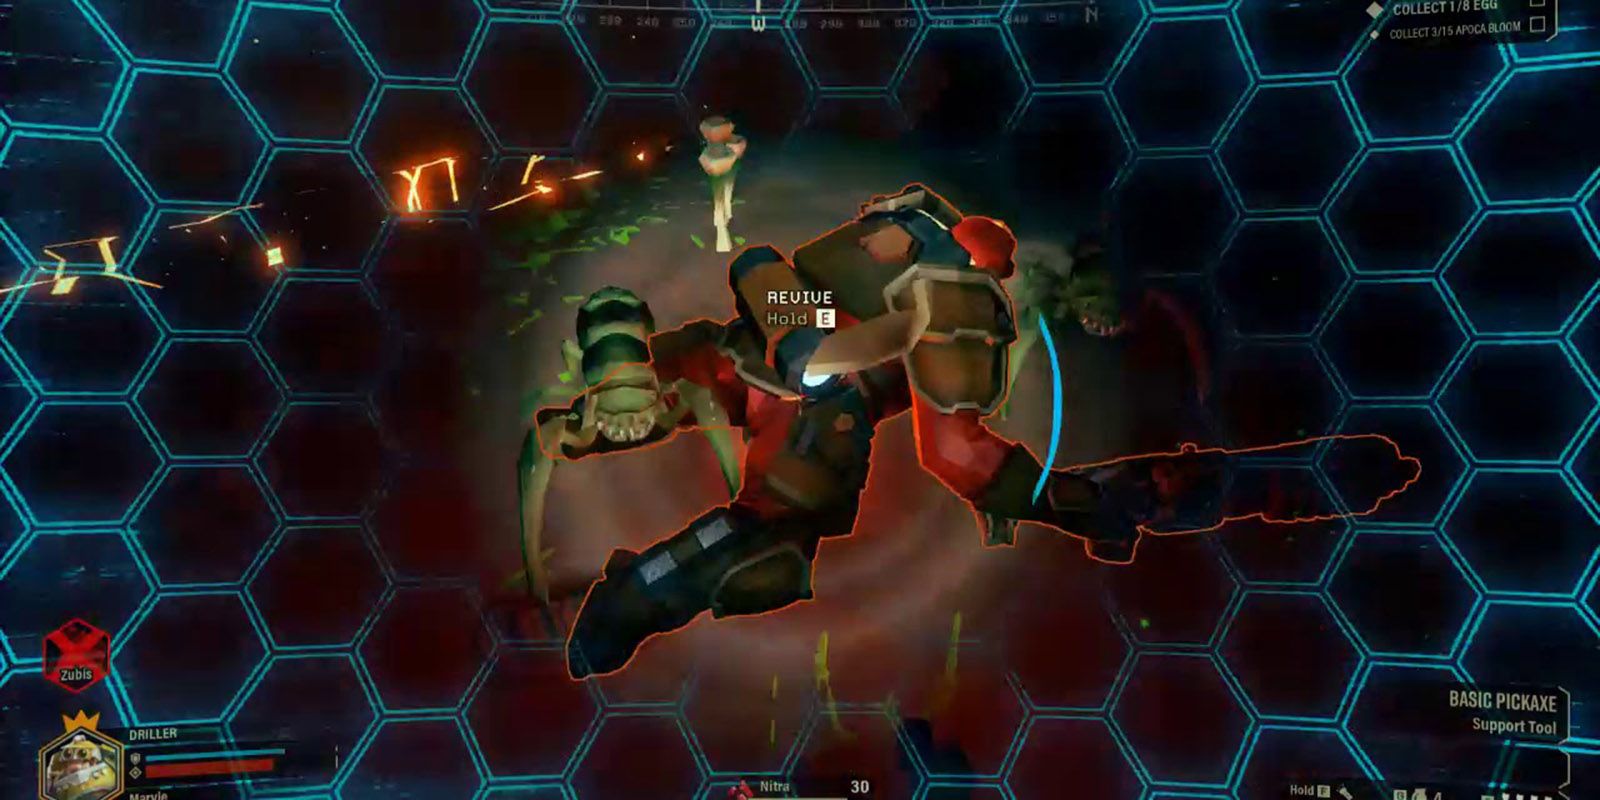
The Gunner’s shield provides a bubble of invulnerability for about 10 seconds. The amount of shields are limited and should be used wisely. One wise use of bubbles is to throw one over an ally that has fallen in battle.
This gives the Gunner a 10 second window to quickly get them up and on their feet without being mobbed by enemies. With 10 seconds the player can revive an ally, reload, and start firing as the bubble drops.
9 Zipline Long Chasms
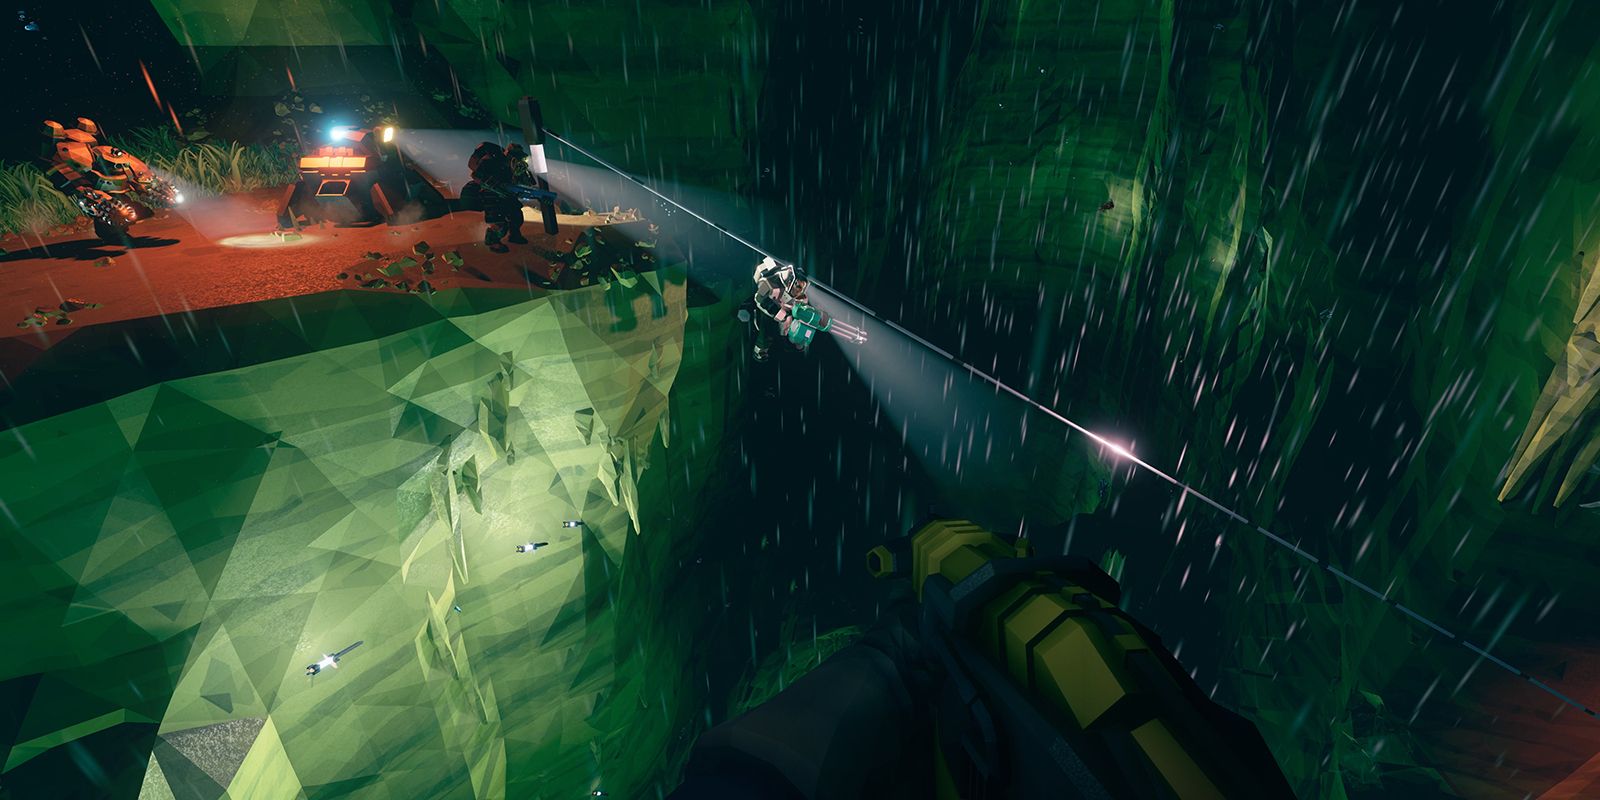
Many players when acting as Gunner make the mistake of leaning on the Engineer to bridge all gaps in the game. While the Engineer is responsible for smaller gaps, the Gunner is responsible for large gaps.
What modifications the Gunner should use entirely depends on the map being played. For instance it’s better to have the increased firing angle for Dense Biozone given the varying heights of areas found there. Meanwhile extra cable length would be better for the long chasms in Sandblasted Corridors.
8 Big Guns For Big Things
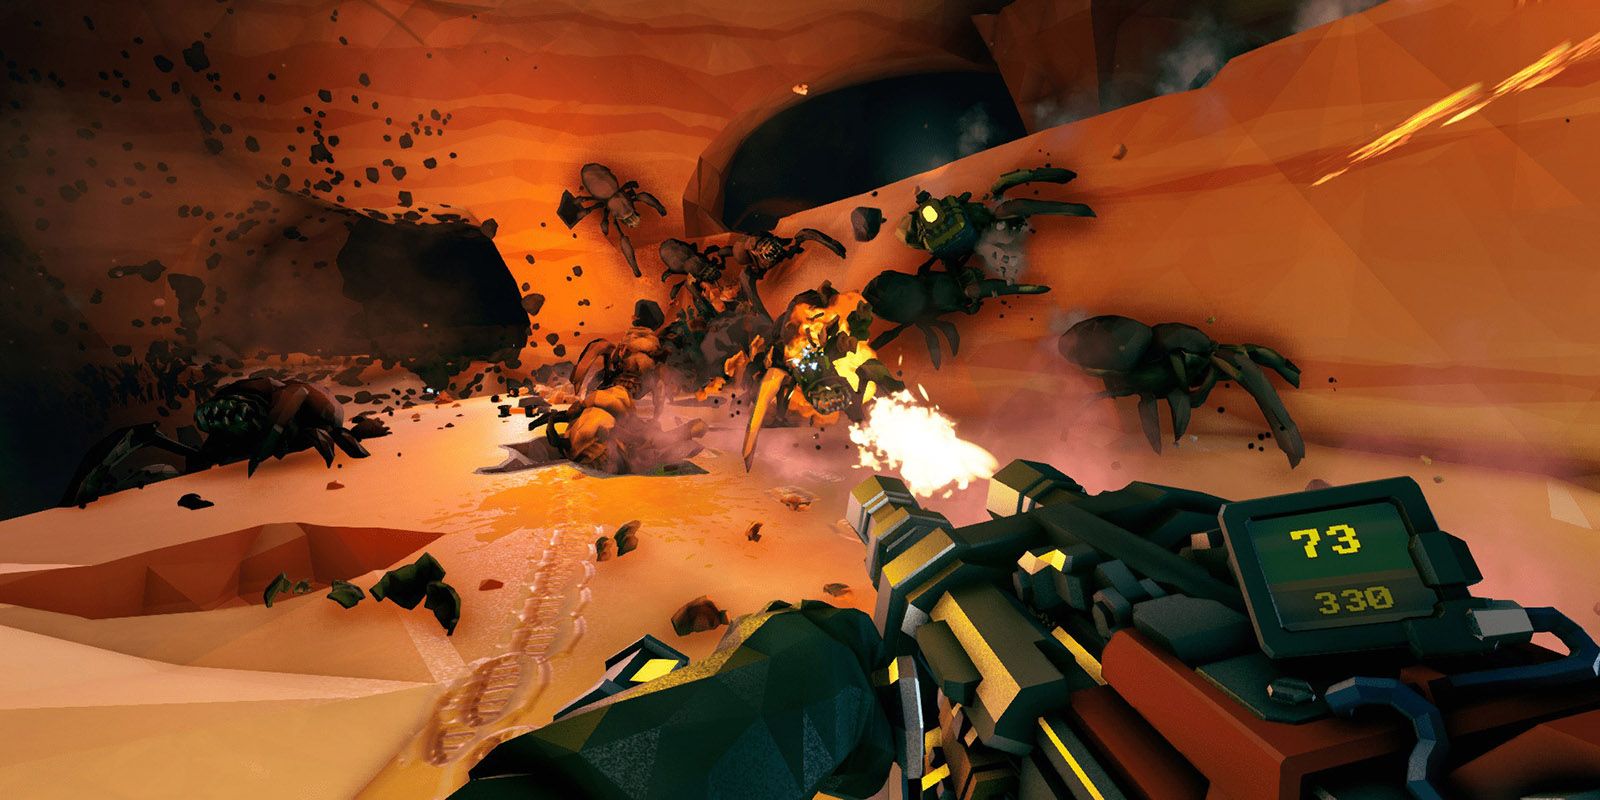
A good rule of thumb to follow when fighting as Gunner is that the big guns are for big things like big waves and big enemies, etc. While the small guns are for small things like small waves and small enemies.
The larger guns are ammo greedy and it’s easy to run out if they’re being used for every enemy that appears. They can also be incredibly inaccurate and are best reserved for large enemies that are harder to miss or large hordes where other enemies will catch the missed shots.
7 Shield The Supply Drop
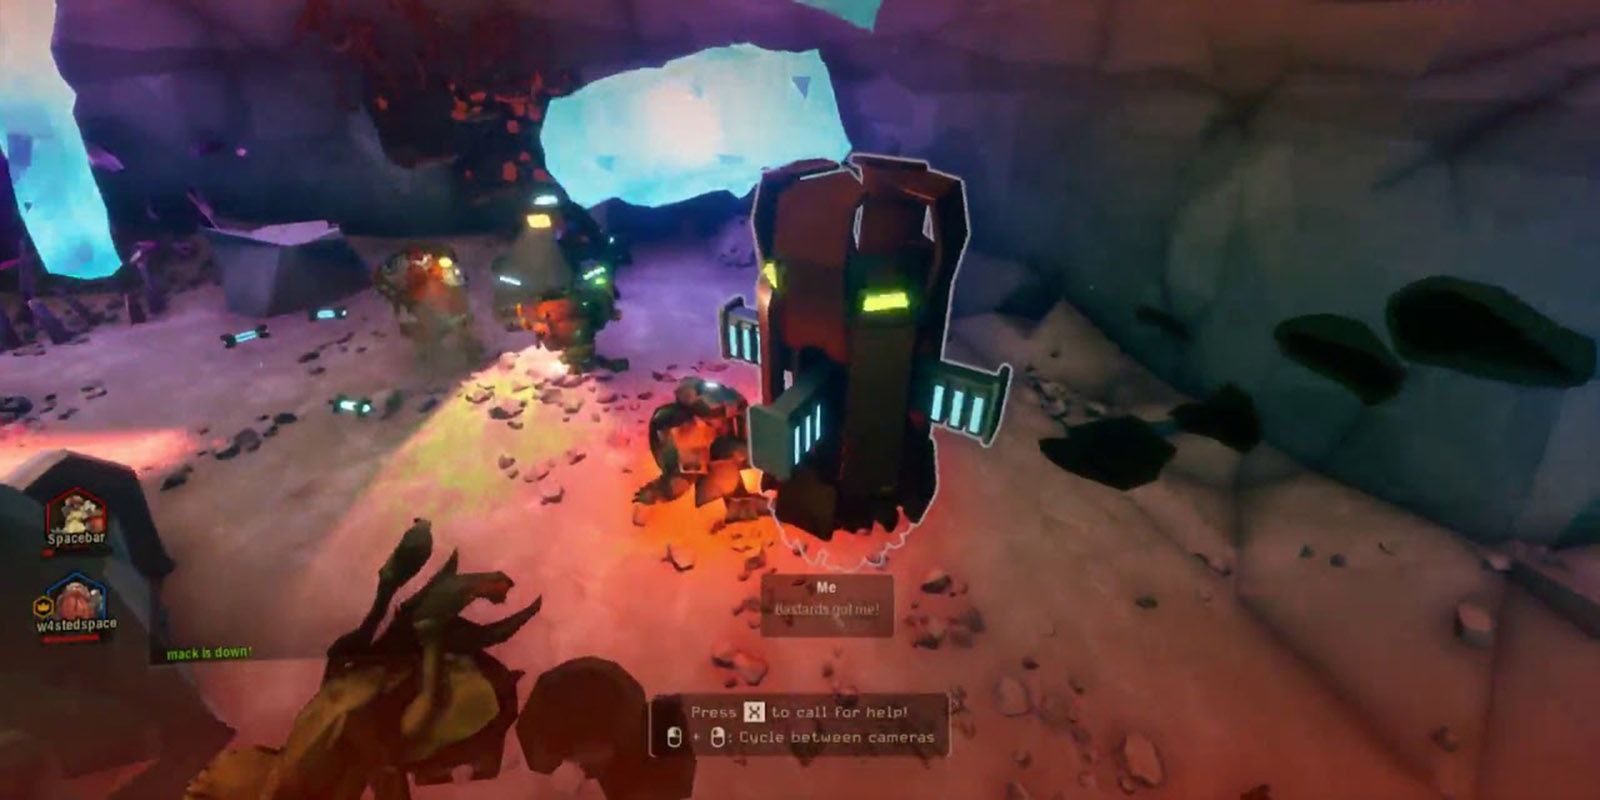
One tactic that can provide some breathing room during a tough fight is to shield the Supply Drop. Supply Drops will restock one shield for the Gunner so using one to get one isn’t a terrible trade.
RELATED: 5 Multiplayer Games Best Play Solo (& 5 With Friends)
More importantly it will allow allies to gather supplies and ammo during an intense swarm without suffering damage. This can let everyone stock up, reload, and come out of the collapsing shield with guns blazing.
6 Emergency Shield Is A Powerful Gunner Tool
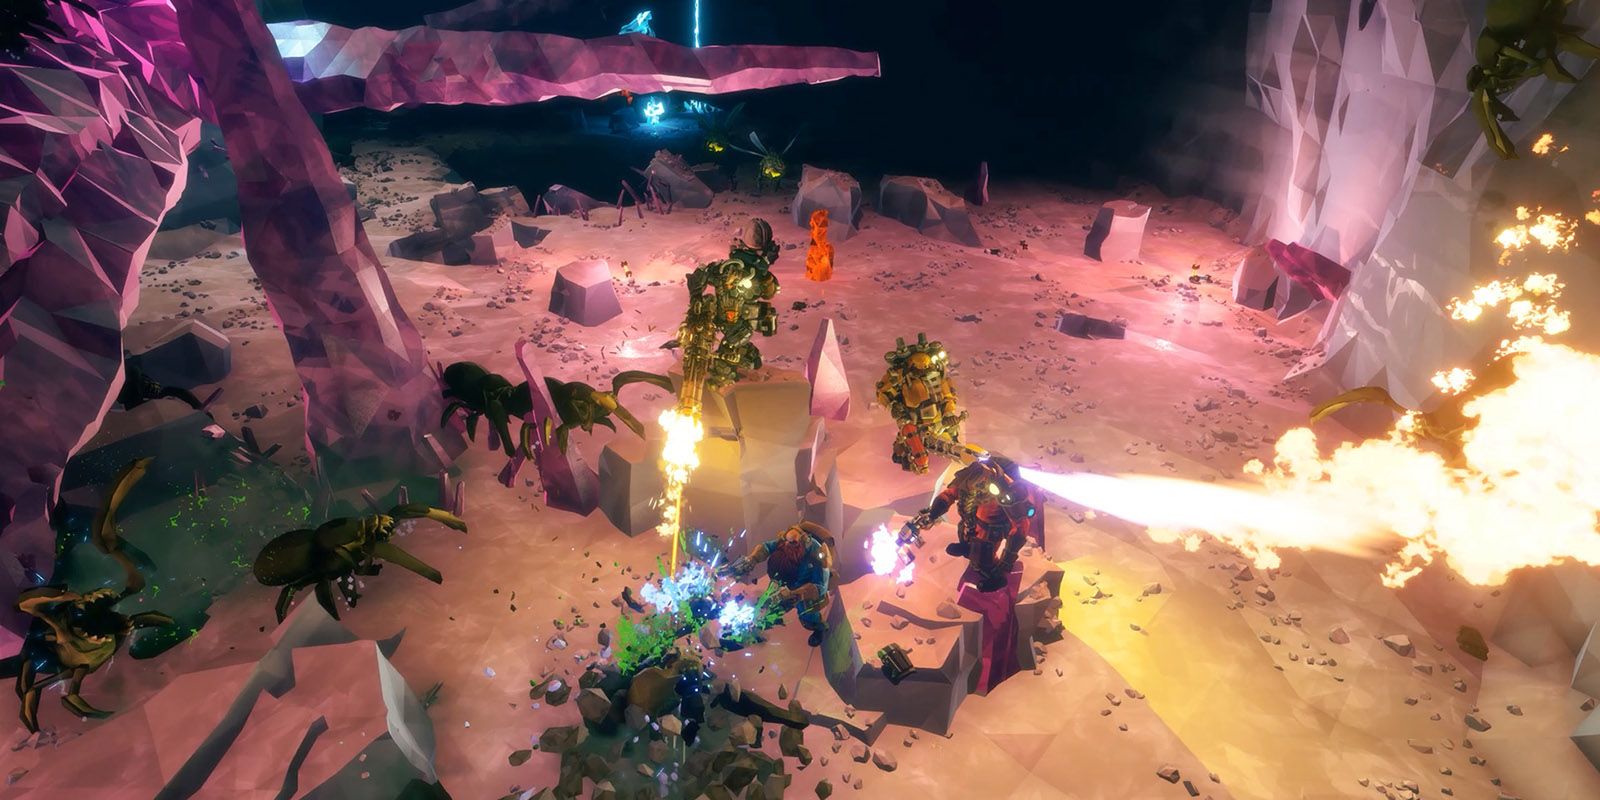
An important tip for Gunner's is to have one emergency shield on hand for when the team is getting swarmed and all hope is lost. A single well-placed shield can buy precious time to survive, recover, revive allies, let powerful weapons cool down, or even thin out the herd.
Many Gunners make the mistake of using up their shields only to find themselves needing one in the largest battles of the round. Conversely players should avoid finishing a mission with a shield in their possession given how useful they are.
5 Mining Nitra Is The Gunner's Priority
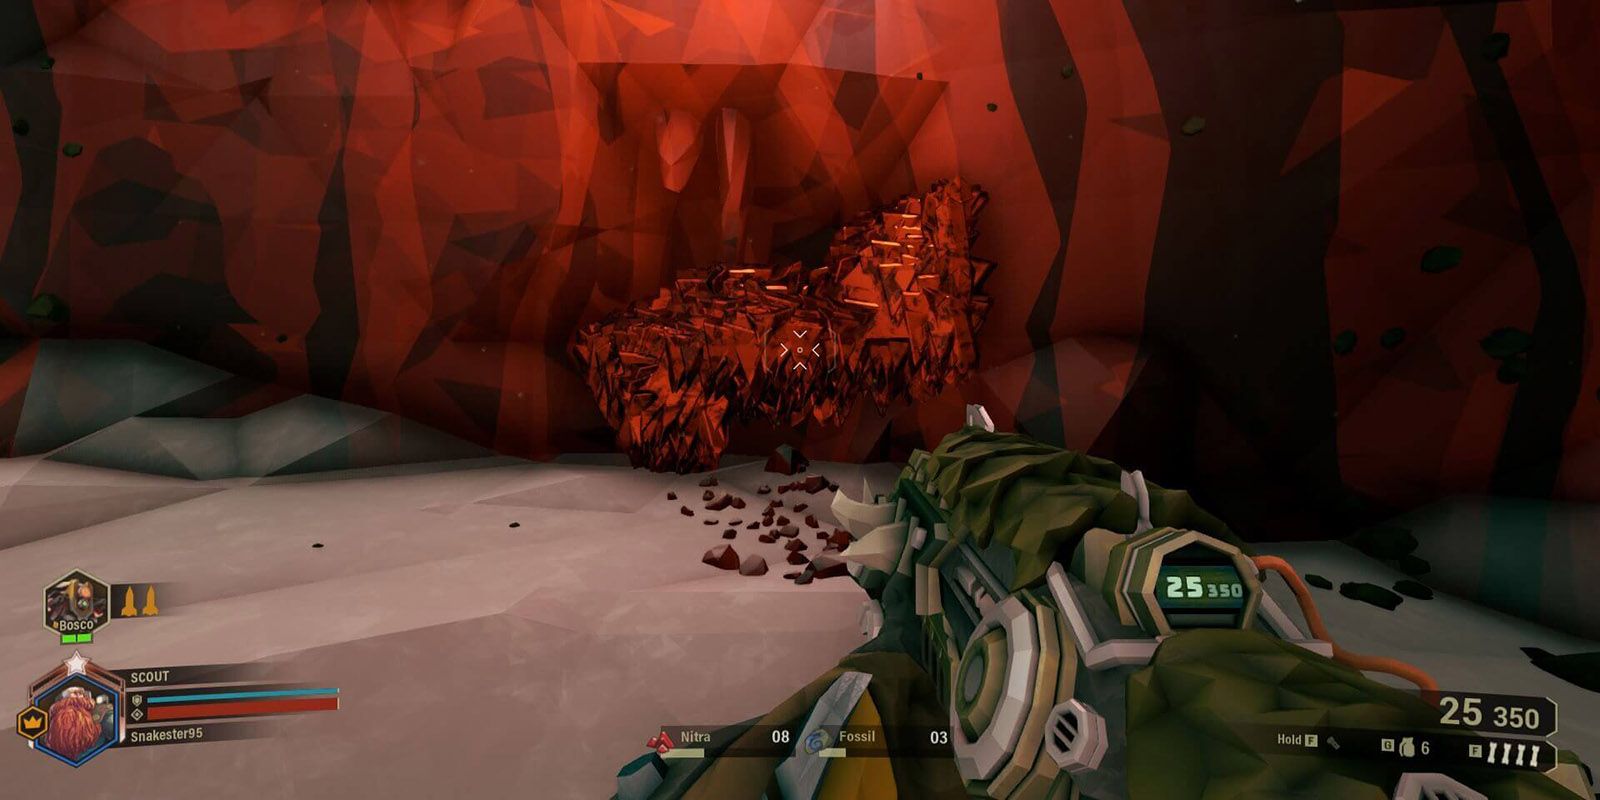
Each member of the team has a priority when it comes time to mine and the Gunner’s priority is Nitra. The Scout will get the out of the way minerals, the Engineer will lay defenses, and the Driller will gather the priority.
The reason the Gunner should focus on Nitra is to ensure the team can call in supply drops when needed. The Gunner is there to ensure the safety of the crew during combat and having a steady supply of ammo and utility supplies is vital to a mission’s success.
4 Gunners Should Prioritize The Tough Units
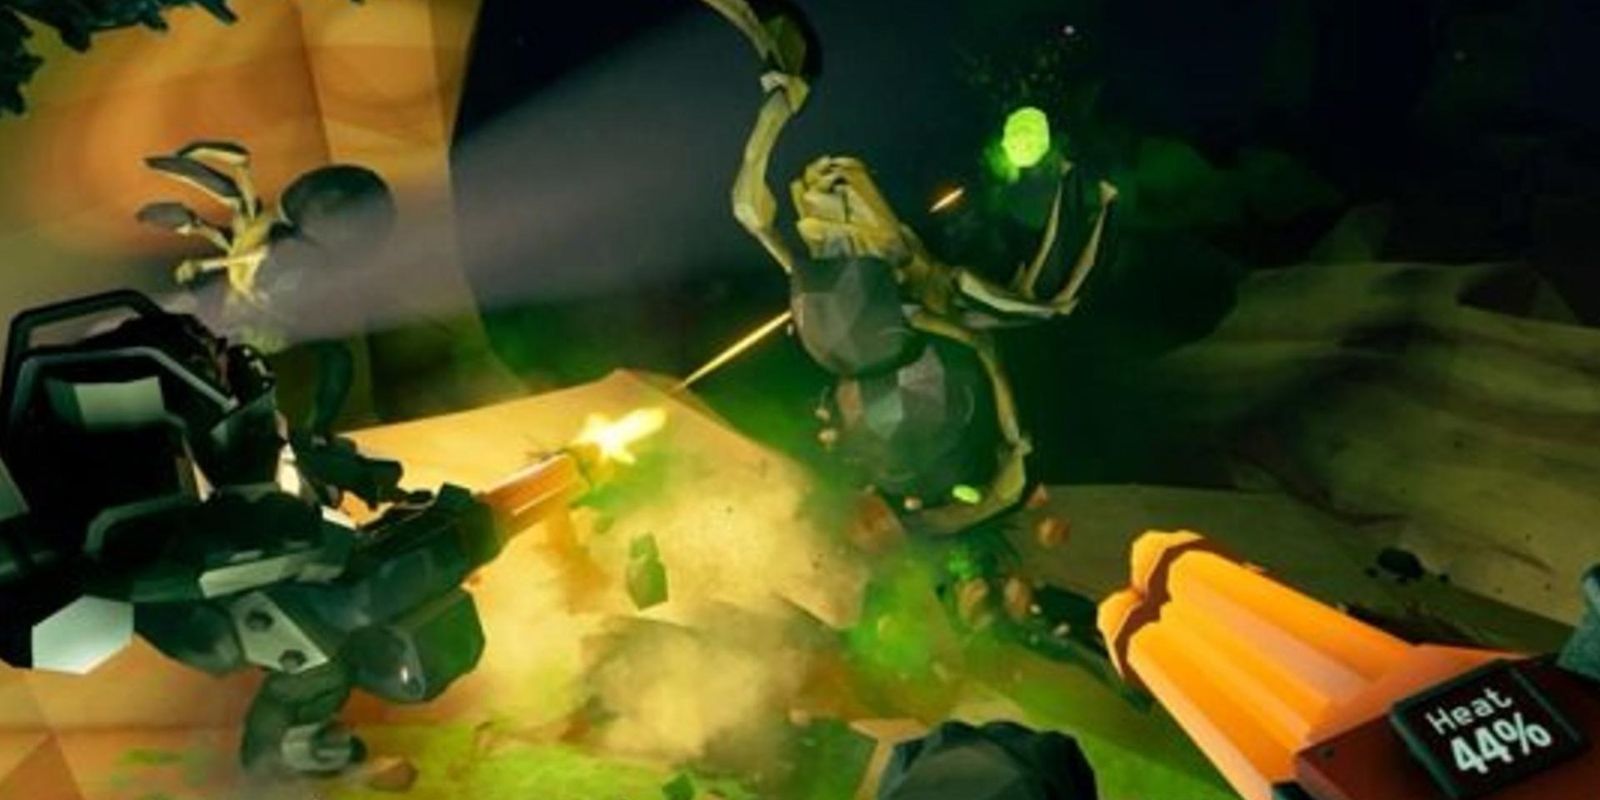
When the bugs start pouring out of the walls it’s important for everyone to know what their role is. For the Gunner this role is taking down the tougher units first. The Engineer will cull the weak, the Scout will divide their forces, and the Driller will hinder their efforts. But the Gunner needs to bring down the major threats.
It might feel strange to occasionally ignore the weaker enemies swarming the team, but it is vital to bring down the heavy hitters quickly. That’s not to say a few bullets shouldn’t be spared for the masses, but the priority should always be the greatest threat.
3 Destroy The Enemy's Armor
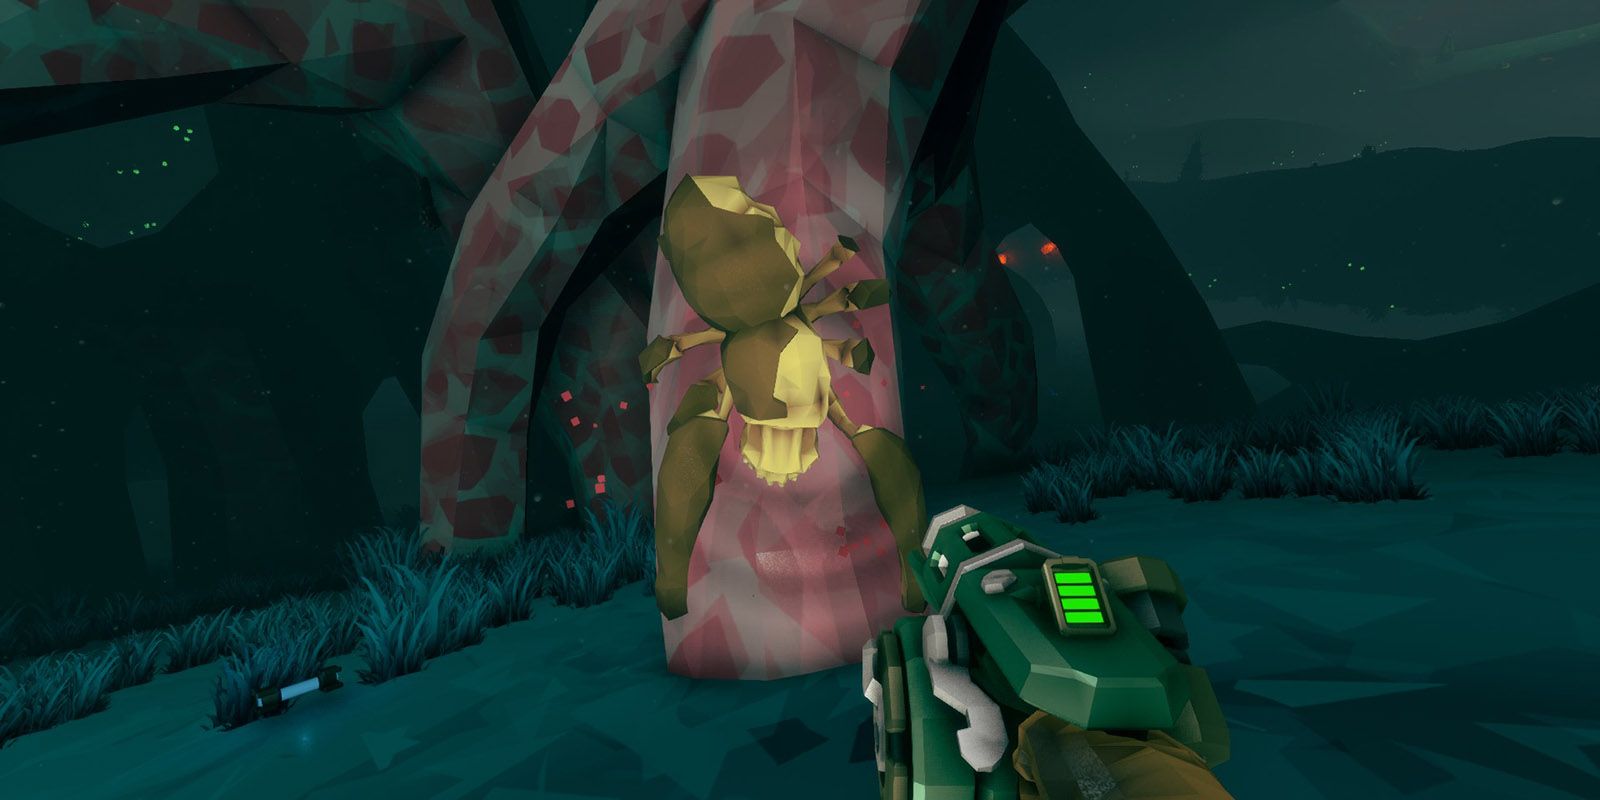
Because the Gunner’s job is to bring down the big bugs it’s important to maximize armor destruction. Being able to shoot off the armor allows teammates and the Gunner to do more follow up damage.
RELATED: The 10 Hardest Online Multiplayer Games, Ranked
Having Armor Penetration on weapons, which doubles the damage done to armor, and Armor Breaking helps a lot with this. Some players may think it’s meaningless to shoot off armor when you can shoot the enemy, but that damage negation helps the bugs survive longer.
2 Gunners Soften Up Enemies For Allies
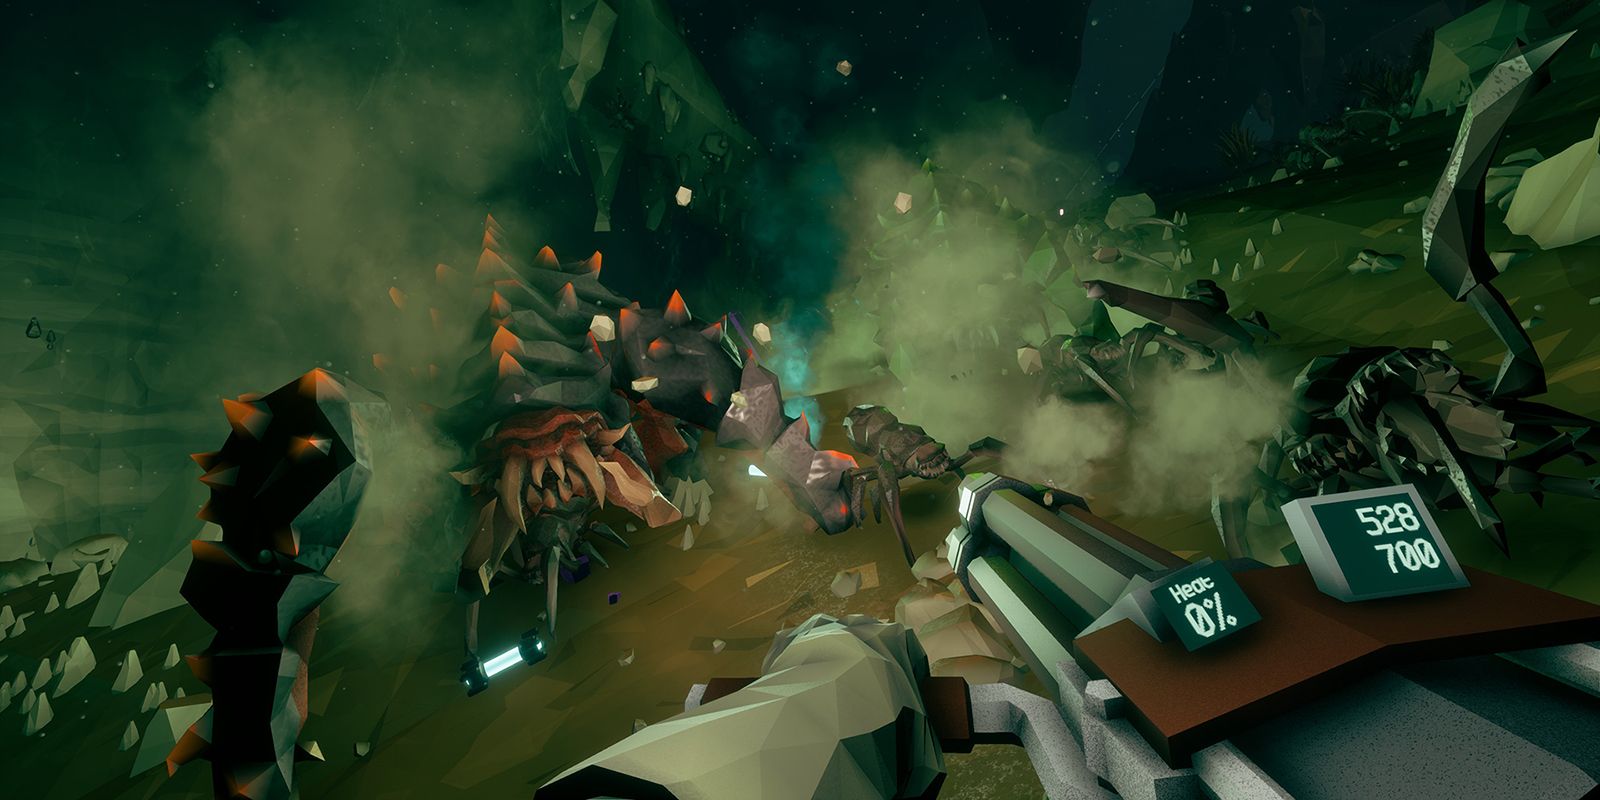
Perhaps the main mistake players make when playing as the Gunner is assuming their job is to kill everything in a hail of bullets. In this multiplayer game, that’s the Engineer and to some extent the Driller’s job. The Gunner is meant to make it easier for them.
Sure the Gunner should prioritize on taking down big targets, but aside from that they should be chipping away the armor and health points of everything else. It’s a one-two-three punch with the Driller slowing everything down, the Gunner removing armor and lowering health, so the Engineer’s turrets can obliterate everything.
1 Shield, Plant, Fire
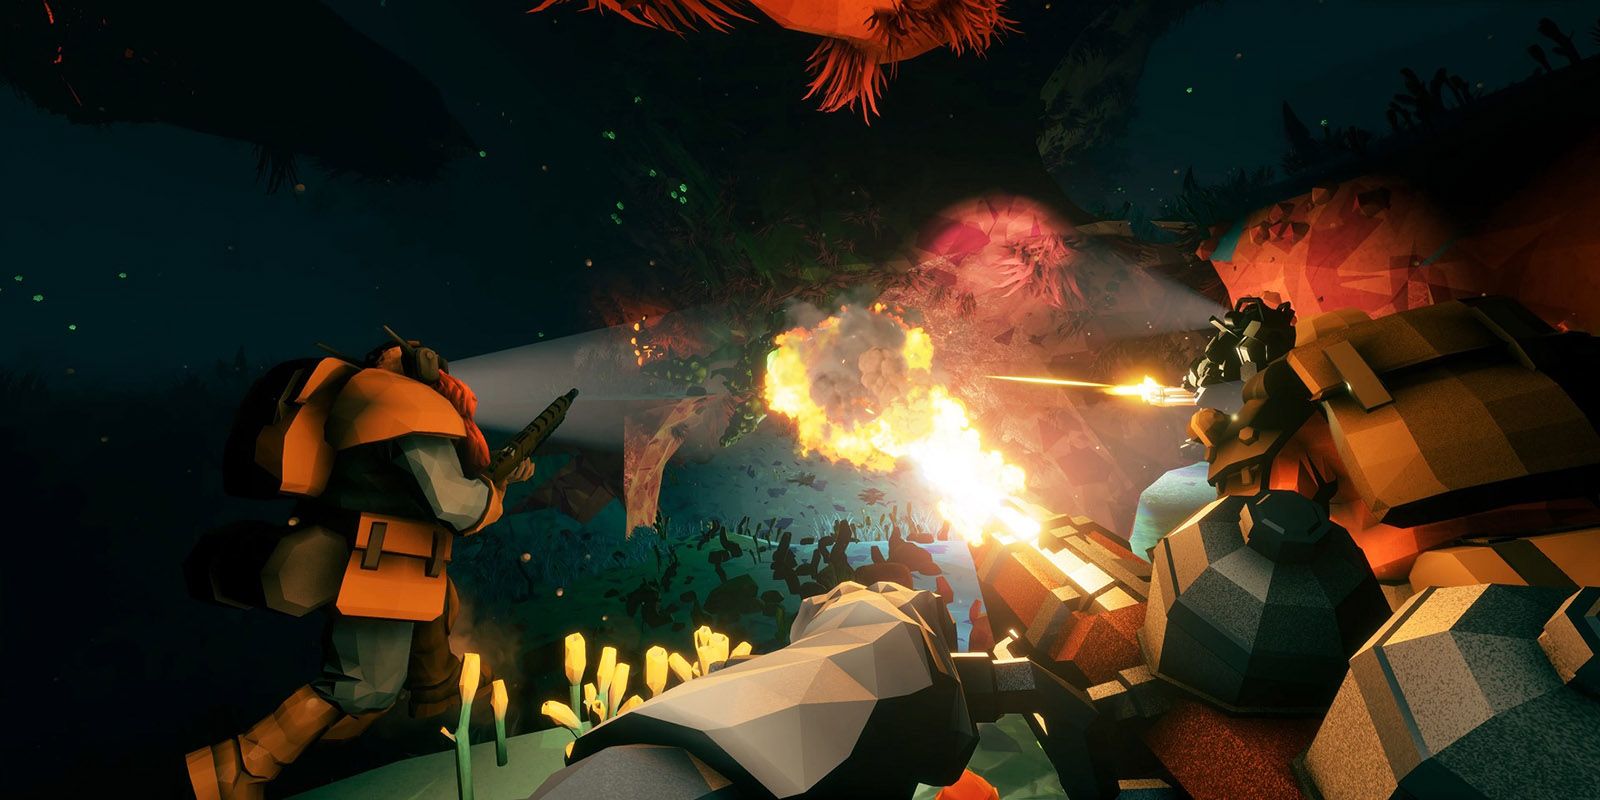
Sometimes the Gunner will find themselves alone surviving against the swarm and need to quickly drop some bugs. A brutal tactic the Gunner can use is to drop a shield, pull out the minigun, and blast the nearby enemies.
For those 10 seconds or so the Gunner doesn’t need to worry about mobility, survival, or kiting. All they have to do is ensure every bullet counts and get ready to move when the minigun overheats or the shield is about to drop.
NEXT: The 10 Best Online Multiplayer Games That Nobody Is Playing

