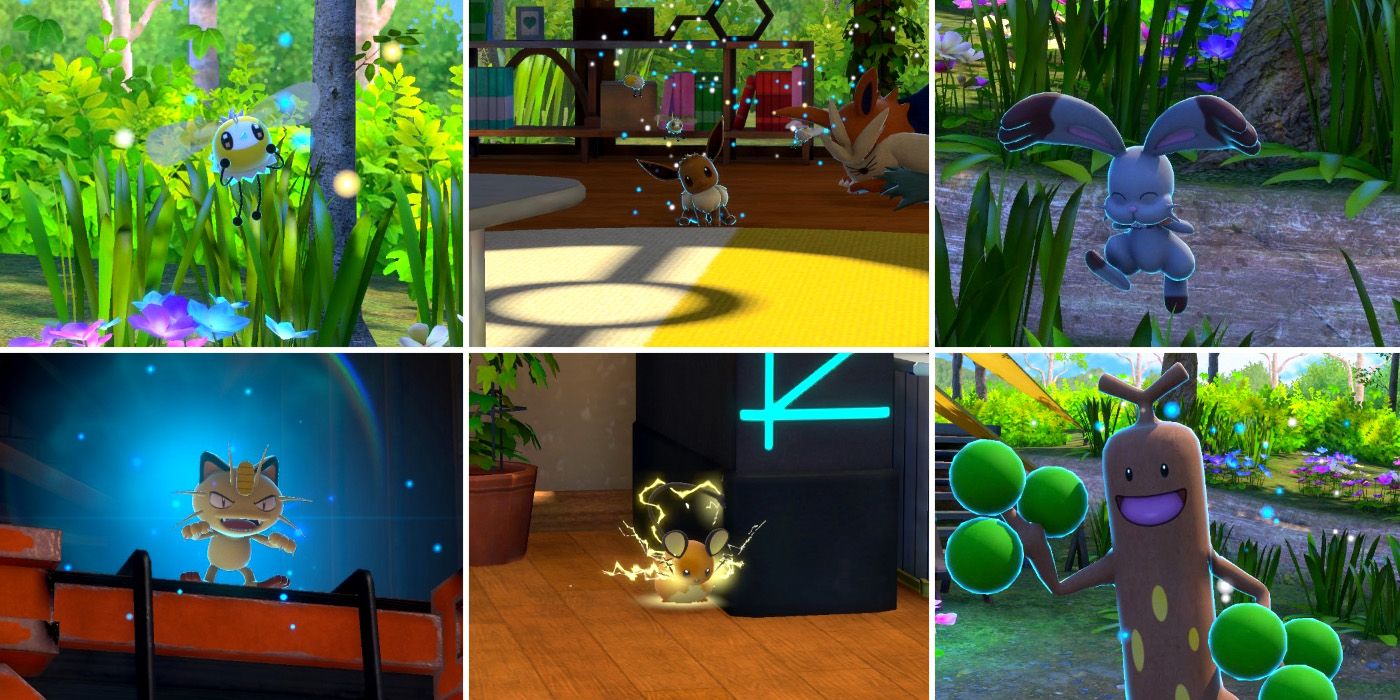
New Pokemon Snap players will gain access to the L.E.N.S. Research Camp once they have photographed their second Illumina Pokemon. Not long after, they'll also gain the ability to begin their expeditions there from a different starting point by visiting the course once, returning to the main menu and then reentering the course. This mechanic will be incredibly important for players who are attempting to complete the course's 11 LenTalk photo requests, as each one can only be fulfilled when starting a run from a particular point in the camp.
RELATED: New Pokemon Snap: Every Pokemon At The Research Camp & Where To Find Them
One of the routes begins near the research lab while the other has players starting out by the camp's main entrance and they'll be able to tell which one is currently selected by looking at the background picture on the main menu. If they see the lab, they'll be starting from a spot near some unused NEO-ONE, while a shot of the campfire means they'll begin by the welcome sign at the camp's entrance. This is important as although the Pokemon found in the camp don't change, where and when players will be able to find them does.
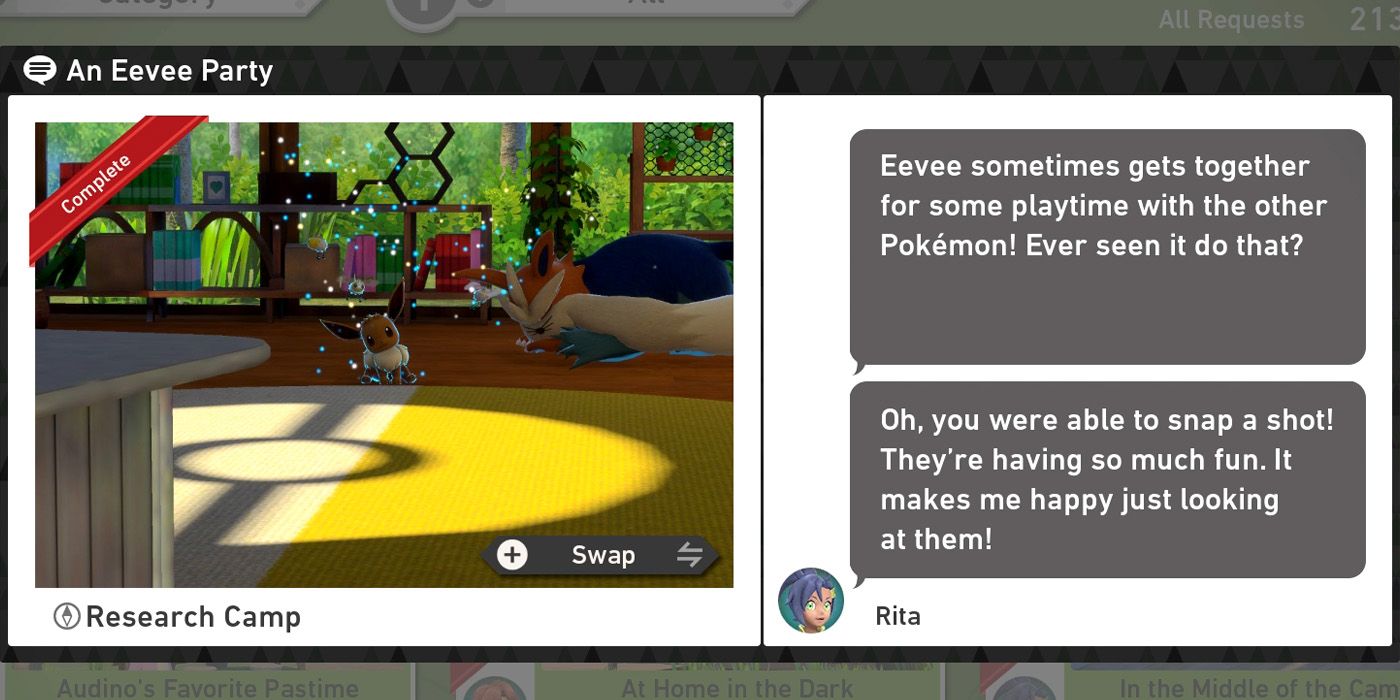
In order to complete the An Eevee Party request for Rita, players will need to start the course from the camp's entrance and then make their way into the lab by performing a scan by the wooden decking. As soon as they enter, they should throw an Illumina Orb at the sleeping Eevee and then perform a scan immediately after so that it wakes up.
Once Eevee is up and about, the next step is to scan the television screen which will cause three Cutiefly to fly out. Players will then need to repeatedly hit them with Illumina Orbs so that Eevee begins to chase them. Eevee will eventually get tired and sit down and it's at this point that players should snap a four star photo of the Pokemon swaying its head to fulfill the request requirements.
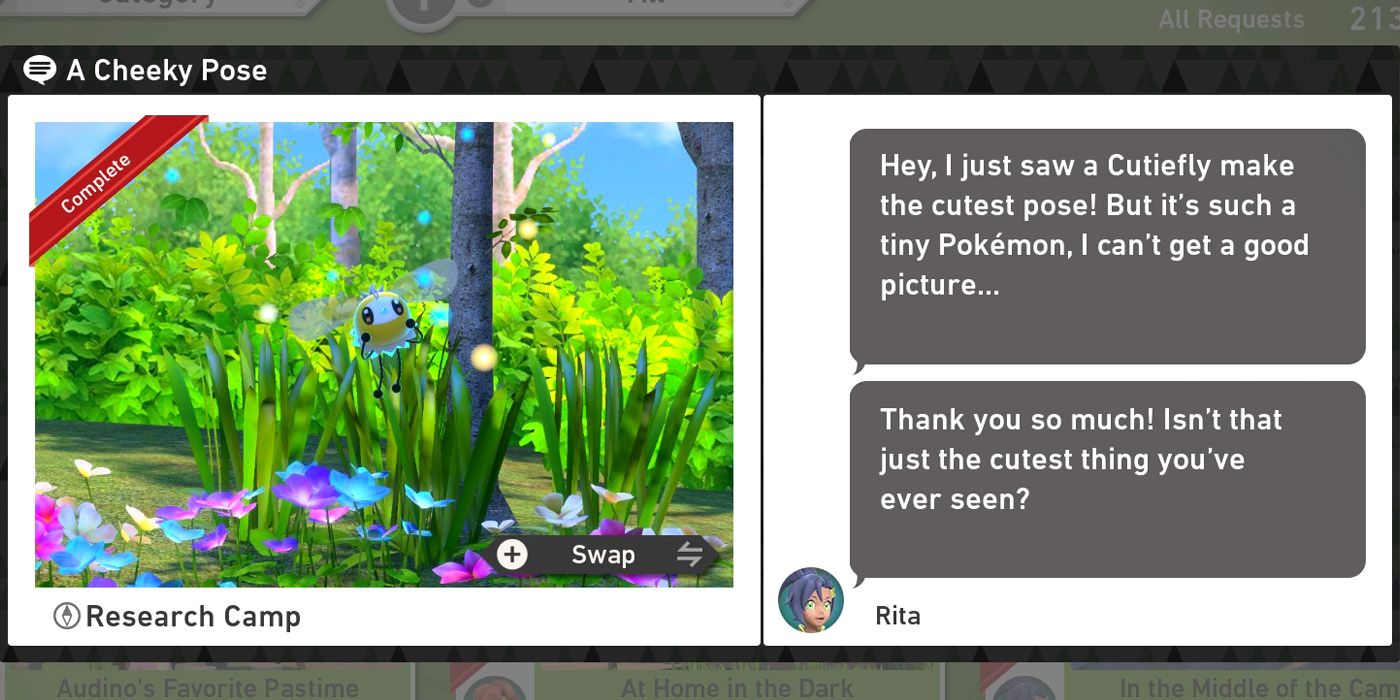
For the A Cheeky Pose request, players should start the course near the lab and then follow the path around to the bushes just past the camp's welcome sign. There'll be several Cutiefly hiding in among these bushes and players will need to summon one of them out into the open by hitting it with an Illumina Orb to make it fully reveal itself.
Once the Pokemon is flying around in front of the NEO-ONE and while it is still glowing, players should use the Melody Player so that it begins to dance. As it does so, there'll be a point where the Cutiefly puts its hands on its cheeks and bobs around. Players can now take a four star photo of the moment and then turn it in to the Professor to complete Rita's request.
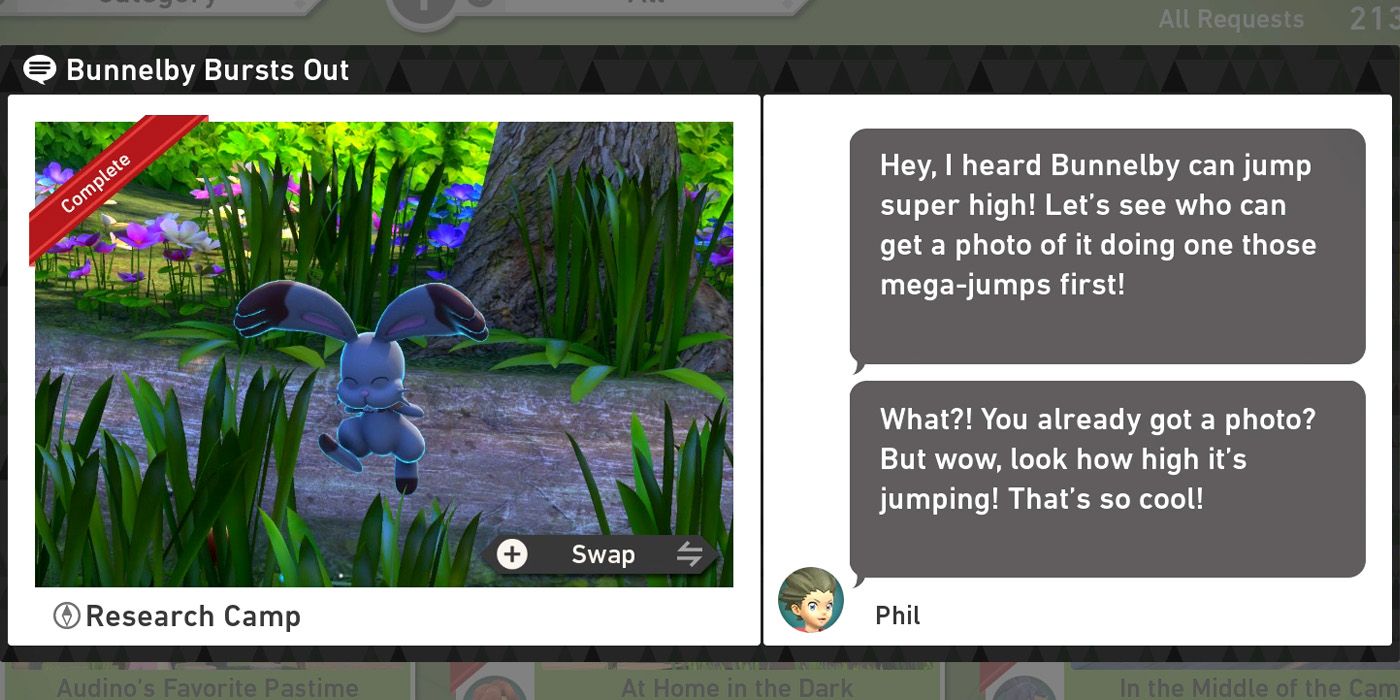
Players will need to start their run from the spot near the lab for the Bunnelby Bursts out request and should then make their way to the area of the camp with the three holes in the corner. For those having trouble finding it, it's just past the campfire near one of the wooden huts and a Crystabloom. Once there, they'll see a Bunnelby's ears periodically peering out of the holes similar to a Whack-a-Mole game.
Rather than smashing Bunnelby with a mallet though, players will instead need to hit its ears with a Fluffruit. After being struck, the Bunnelby will poke its ears back out of the hole for a moment as it prepares to leap out and it's at this point that players will need to hit it with an Illumina Orb. This will make it jump higher than it usually would and players should get a four star photo as it leaps into the air in order to fulfill Phil's request.
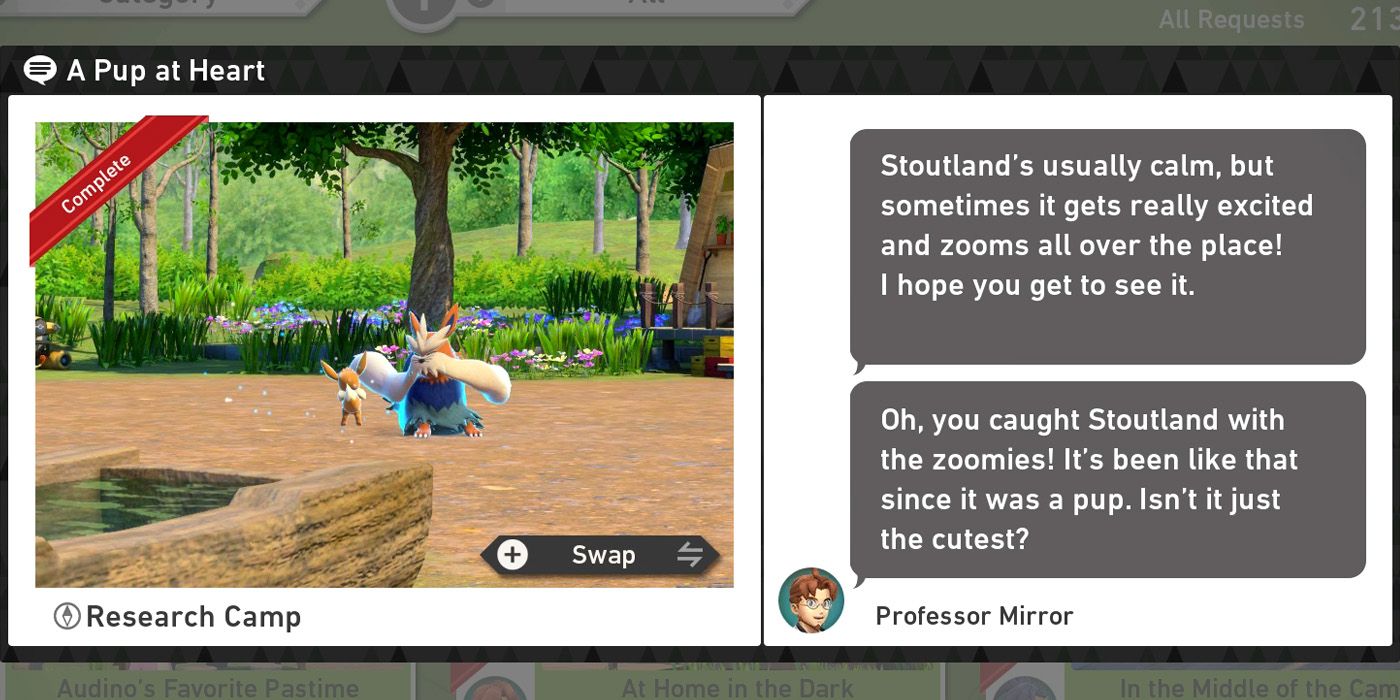
The A Pup at Heart request is another one that can only be completed when starting the course from the spot near the lab. From here, players should feed the nearby Stoutland two Fluffruit which will make it move into the center of the camp. After this, players should turn their attention to the Trubbish sat on one of the picnic tables past the wooden decking and hit it with a Fluffruit so that it attacks Eeevee.
The disgruntled Eevee will begin to make its way to the center of the camp and players should use Fluffruit to try and guide it as close to Stoutland as possible. Providing players can land Fluffruit between the pair, this shouldn't be too difficult. Once they're near each other, hitting Stoutland with an Illumina Orb will cause both it and Eevee to get excited and players can snap a four star photo of the happy Stoutland to complete the Professor's request. Eevee doesn't need to be in the shot and it can either be of Stoutland spinning in circles or jumping up and down afterwards.
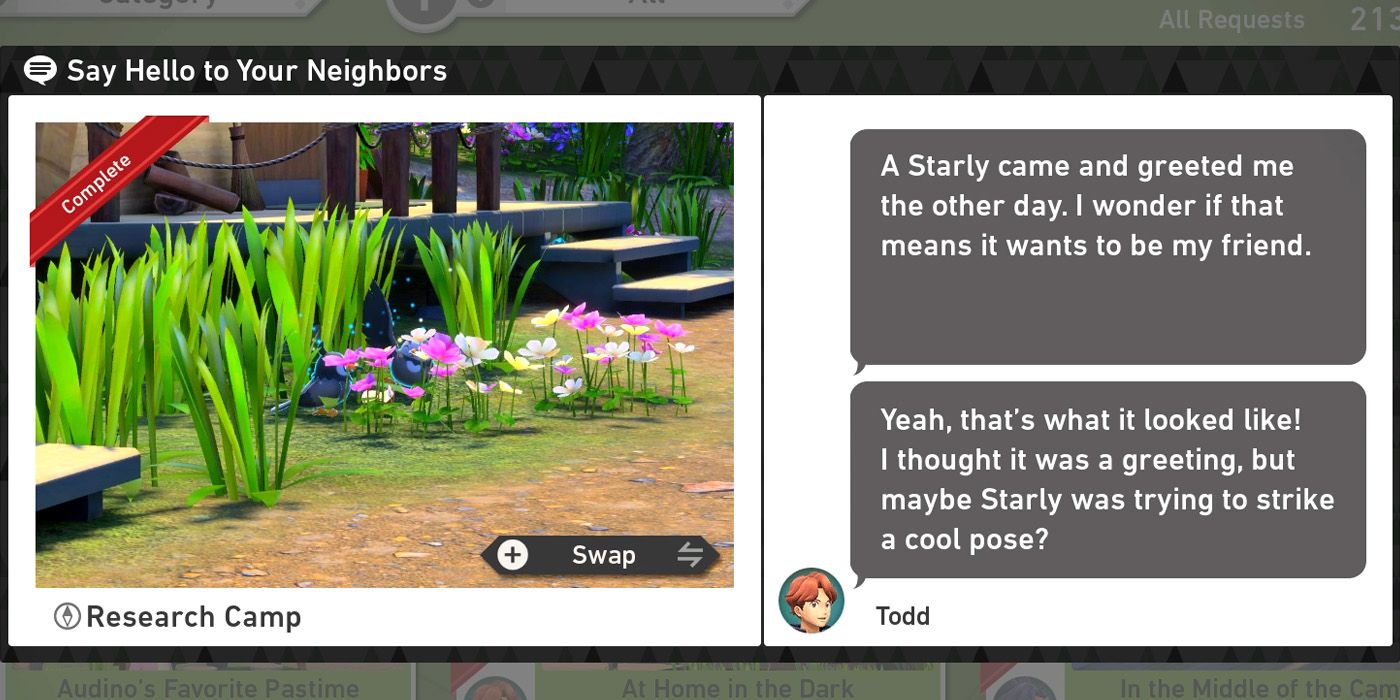
To complete the Say Hello to Your Neighbors request, players should begin the course from the camp's entrance near the wooden welcome sign and follow the path around past Bunnelby's holes. They'll now see two wooden huts on their right and some Starly walking around in the long grass between them. Once they do, they should start throwing Fluffruit as close to the Pokemon as possible while being careful not to hit them.
The aim here is to get one of the Starly to eat two Fluffruit, after which it will raise one of its wings and wave to the player. It's this four star photo that Todd is after, so they'll need to be ready to capture it on camera as soon as one of the Starly finishes eating its second Fluffruit. Timing can be a little tricky here due to the speed of the NEO-ONE and so it can really help to keep the camera zoomed in at all times to slow its momentum and buy a few extra seconds before the Pokemon are out of range.
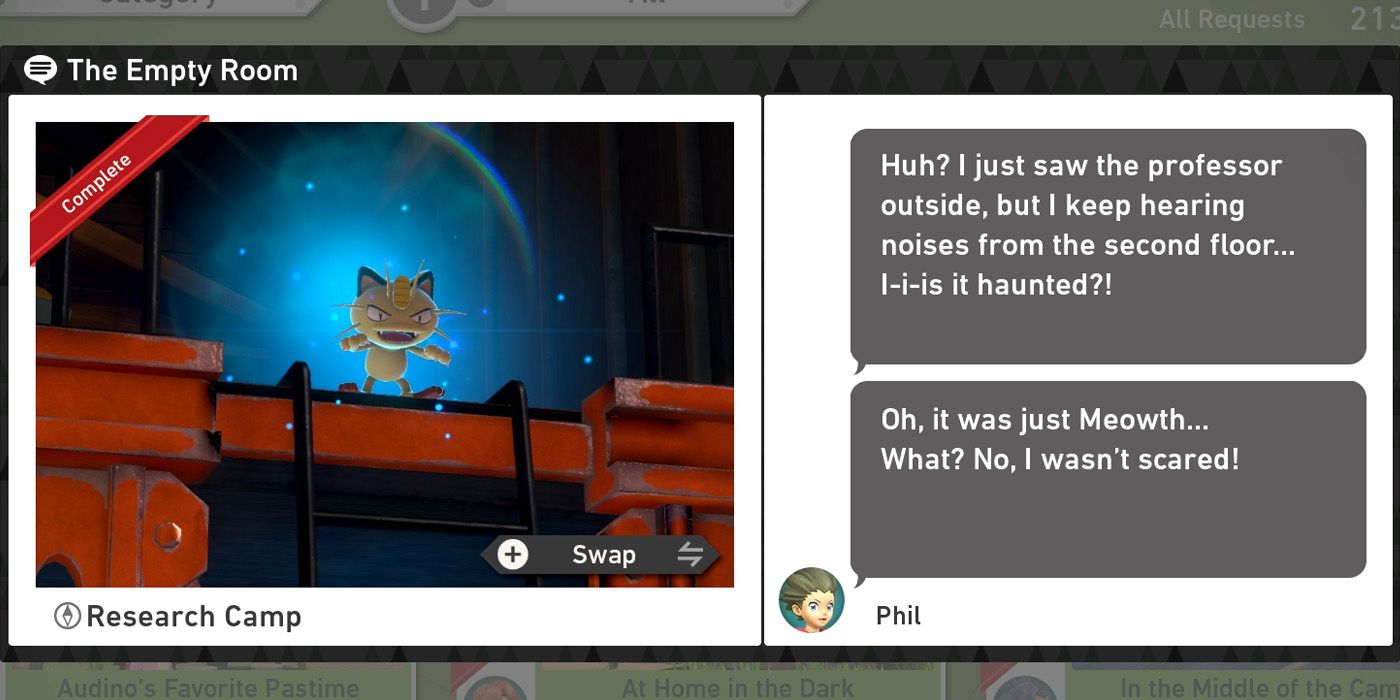
Players will only be able to tackle the The Empty Room request when starting their run from the entrance side of the course near the welcome sign. From here, they should make their way around to the lab and scan near the wooden decking to enter. If Eevee and Stoutland aren't there, they've probably entered the course from the wrong starting point and should therefore quit out to the main menu and reenter the course to switch it.
Assuming that Eevee and Stoutland are there though, players should look up and to their right and start throwing Fluffruit into the area above the garage. The first one should prompt an angry cat noise while throwing another will cause a disgruntled Meowth to appear near the top of the ladder on the right hand side. Its pose here will be classed as a three star photo and this is all that's needed to fulfill the request's requirements.
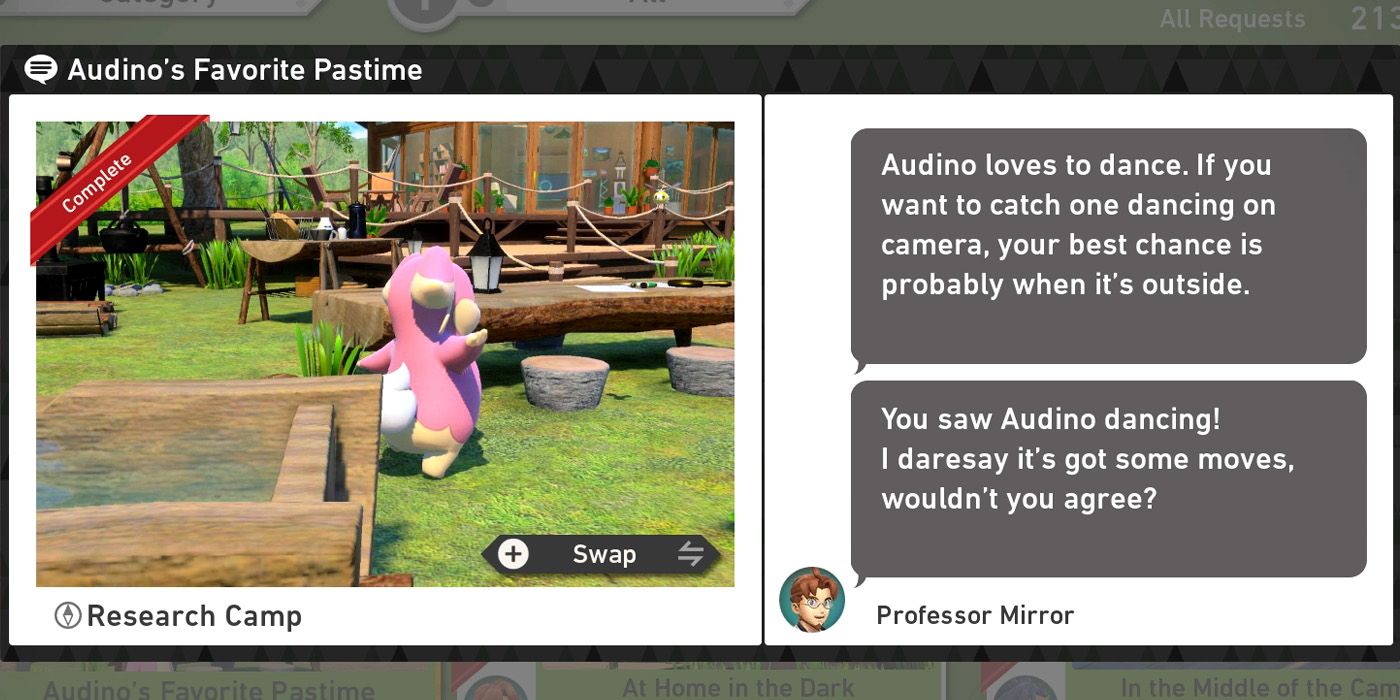
For the Audino's Favorite Pastime request, players should start their run near the camp's entrance and follow the course around past the unused NEO-ONE. With the lab now on their right, they'll see a Cutiefly buzzing around in some flowers just before the steps that lead up to the wooden decking area and will need to feed the little guy two Fluffruit. This will cause the Cutiefly to fly over towards the nearby Audino.
As it approaches, Audino will get excited and perform a short twirling dance. Players will need to have their camera ready as it really doesn't last long at all and should aim to get a photo of the moment that Audino spins around. The resulting photo should be a three star shot and handing this in to the Professor at the end of the run is all that's required to fulfill his request.
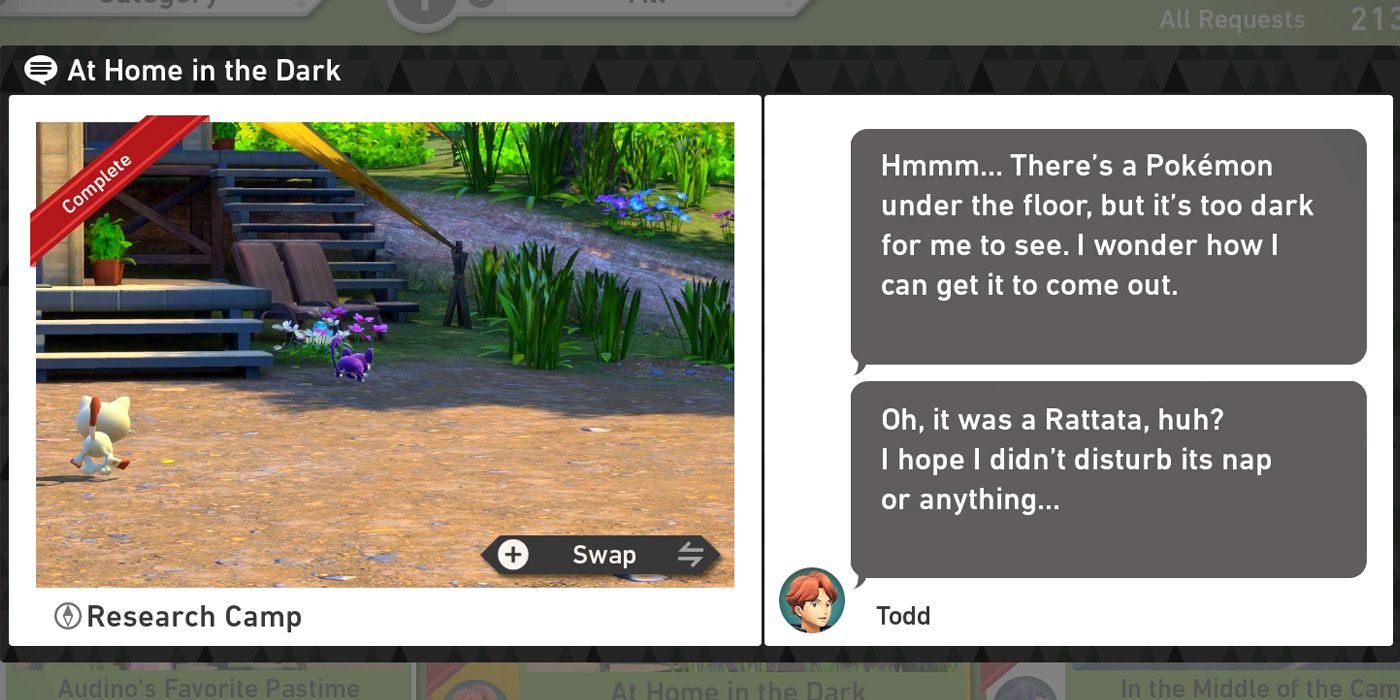
For the At Home in the Dark request, players should start their run over by the lab and immediately wake the sleeping Meowth. This can be achieved by using scan or simply by throwing a Fluffruit at or near it. Once it's awake, players will need to use more Fluffruit to lure the Meowth over towards the decking area near the lab. It might take a few attempts, but the process can be make easier by using scan whenever the Meowth gets distracted or starts eating one of the Fluffruit.
If players are having trouble figuring out the exact spot that they're supposed to be guiding the Meowth to, they can use scan near the decking to find the large blue question mark. After the Meowth gets into the long grass near this point, it will run underneath the wooden decking and emerge a few moments later chasing a Rattata. To fulfill the request's requirements, players should get a photo of the Rattata as it flees with the Meowth somewhere in the shot.
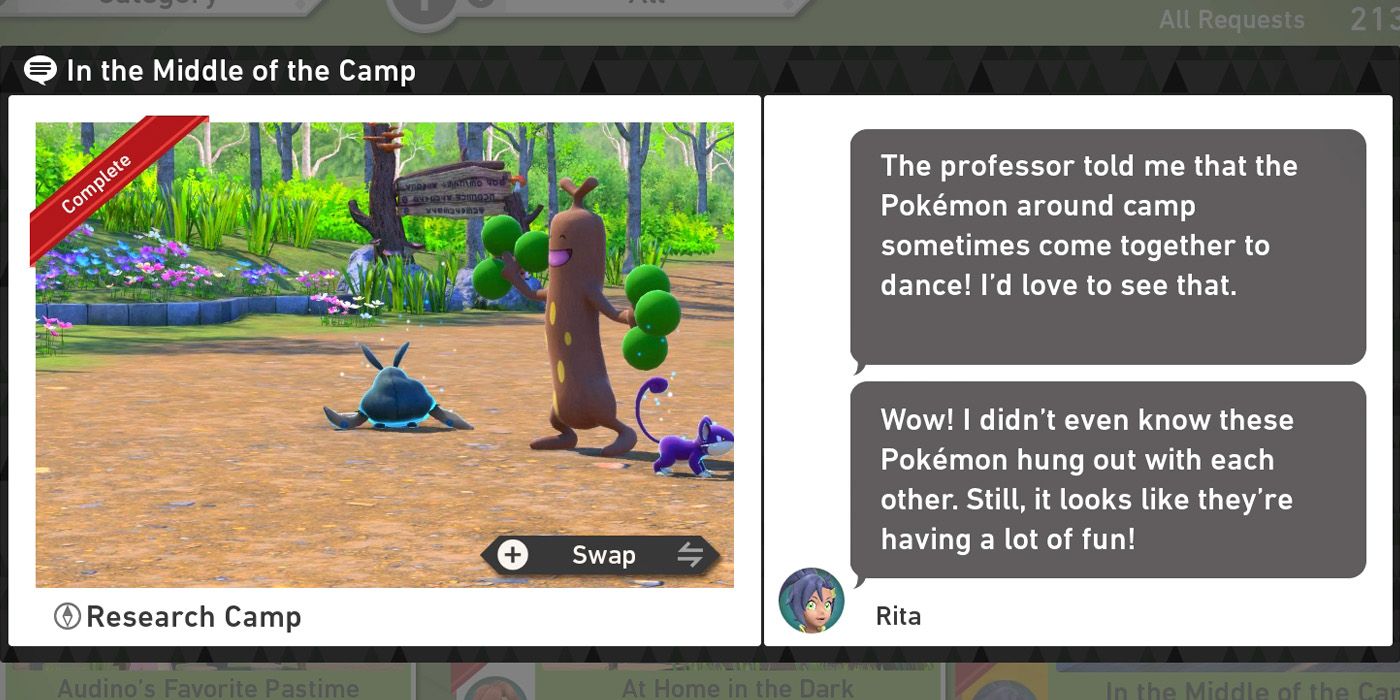
Players will only be able to complete the In the Middle of the Camp request for Rita when starting from the camp entrance near the wooden sign. From here, they'll need to follow the course around to the area near the campfire and then wait for the Sudowoodo to get near the Crystabloom near the wooden hut. If this is taking too long, it's possible to lure the Pokemon there with Fluffruit.
Once Sudowoodo is where it needs to be, illuminating the Crystabloom will cause it to start dancing and then march over to the middle of the camp. Trubbish and Rattata will soon follow and once all three have arrived, using the Melody Player will cause them all to start dancing. As they do, players should snap a four star photo of Trubbish and make sure that both Sudowoodo and Rattata are also in the shot to complete the request.
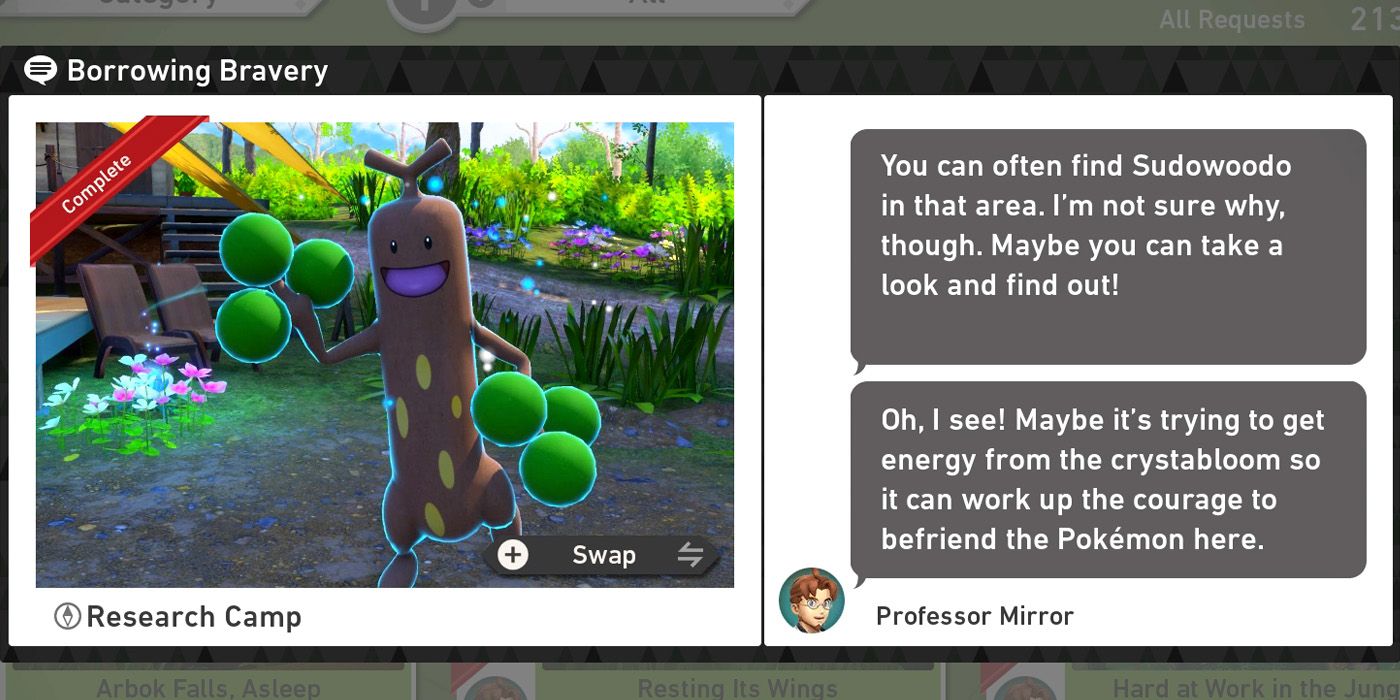
The Borrowing Bravery request is best completed at the same time as the In the Middle of the Camp request as the steps required to do so are pretty much the same. This means starting the run near the wooden sign at the camp's entrance and then following the path around to the area near the campfire and Bunnelby's holes.
Once here, players should guide the Sudowoodo over towards the Crystabloom using Fluffruit or wait for it to wander over there by itself. Once it's close enough, illuminating the Crystabloom will cause the Sudowoodo to start glowing and begin dancing its way over to the center of the camp. To complete the Professor's request, players just need a three star photo of it marching over there.
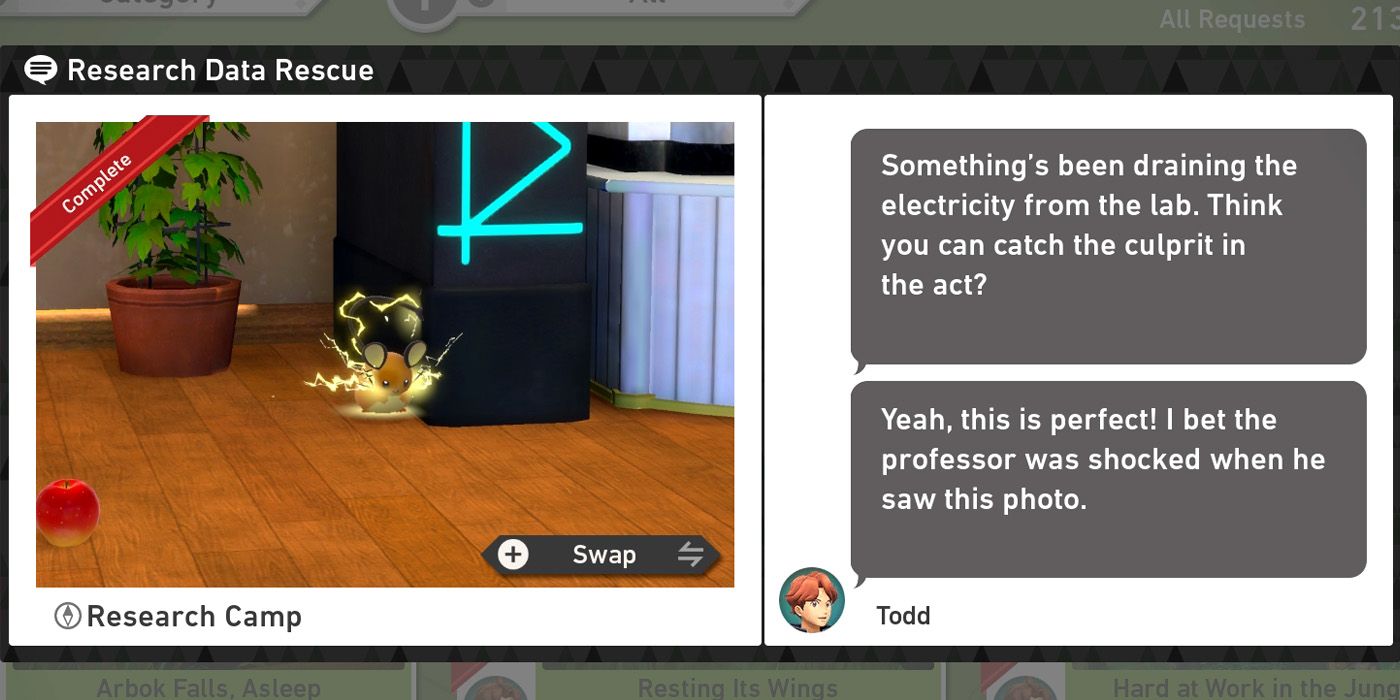
When tackling the Research Data Rescue request, players should start their run over by the lab and then scan near the wooden decking to go inside it. As soon as they enter, they'll need to start throwing Fluffruit to lure the Dedenne over towards the black and blue computer tower to the right of the television. The next part happens pretty quickly, so players should be ready to hit the A button to snap a photo.
As soon as the Dedenne gets close enough to the lab computer, it will begin to absorb electricity from it for a second or two. Players can get themselves a nice four star photo while the Pokemon is doing so and turning this in to Professor Mirror at the end of the run is all that's required to complete Todd's request. If players are having trouble getting the Dedenne to the right spot, it can really help to use scan whenever it gets distracted or starts eating one of the Fluffruit.
NEXT: New Pokemon Snap Complete Guide for Tips, Tricks & Pokemon Locations

