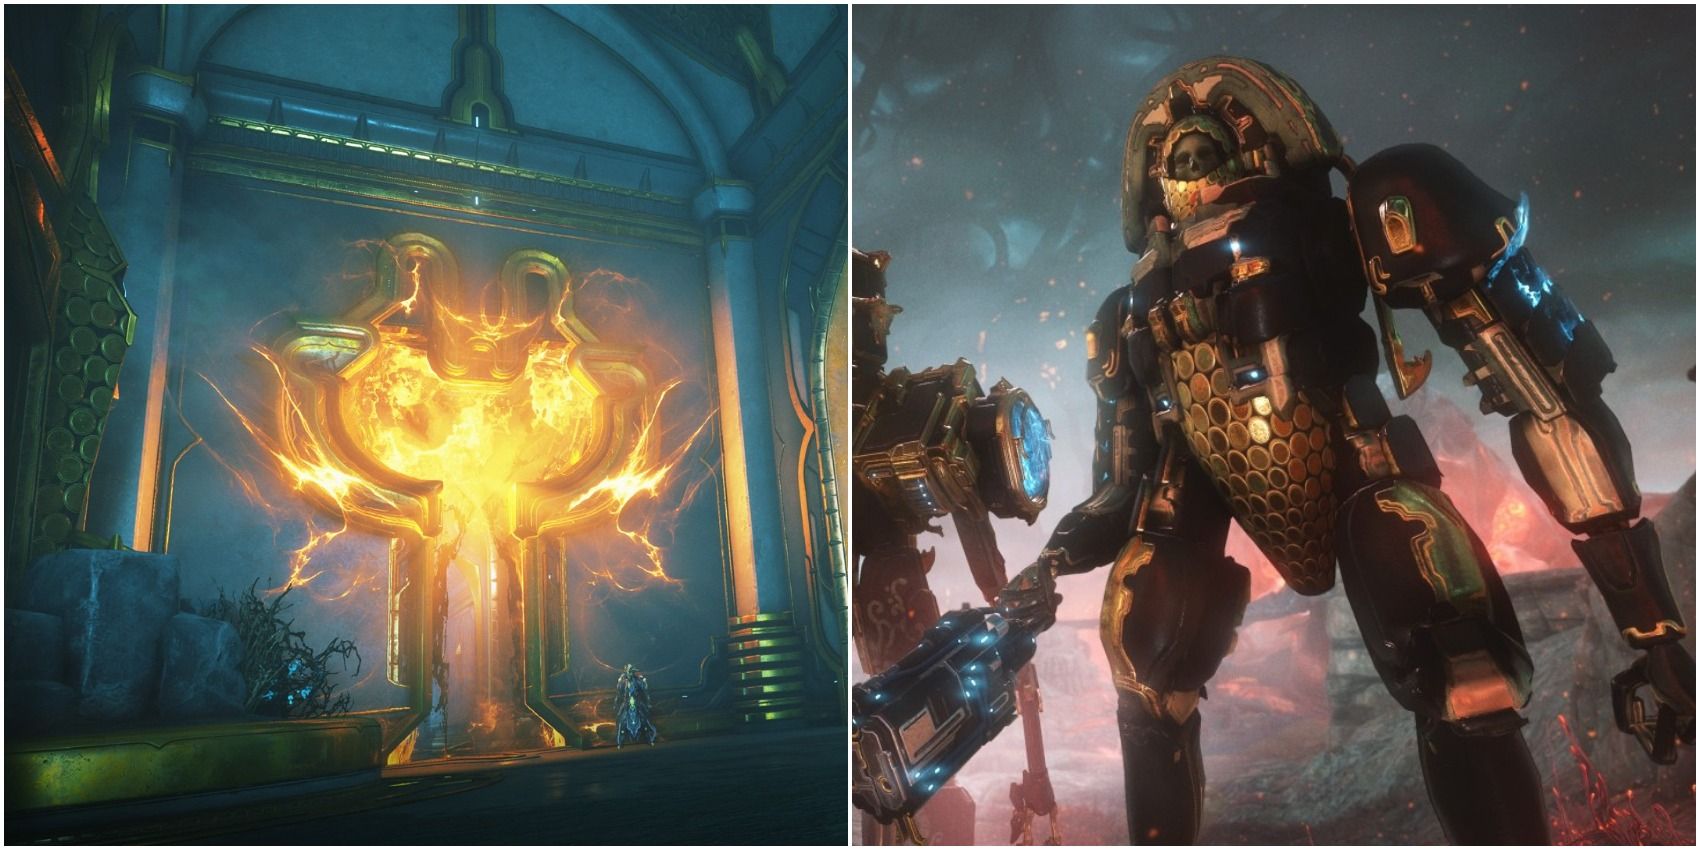
Cambion Drift, Warframe's latest open world, takes the standard formula of open worlds and twists it slightly with the inclusion of the Infested alongside new bounties. One of these new bounties involves looting Isolation Vaults. These are the closest thing the Cambion Drift has to Eidolon Hunts or Orb fights, and while it isn't nearly as intense, they offer a lot of rewards.
RELATED: 10 Games To Play If You Like Warframe
Rare materials, Necramech parts, and reliable resource drops are just a few things players can expect from the new bounty type. These aren't trivial, however, as Necramechs and high-tier Infested can prove to be a serious challenge for some groups. For those new to Vault runs or players looking for tips, here is a complete guide to completing Isolation Vault bounties in Warframe.
Updated January 29th, 2021 by Charles Burgar: Digital Extremes have made some changes to Isolation Vault bounties since its first incarnation. Players don't have to grind up to tier three bounties anymore, and the introduction of Arcana bounties has added some variety to this mission type. This article has been updated to reflect these additions and changes.

Talk to Mother in Necralisk and obtain the Isolation Vault bounty. Once the player is out in the open world, either alone or with a squad, Loid will ask players to collect residue to create bait. This residue is marked on the map for players to easily find. The amount needed seems to scale with party size, with solo players typically needing six and four-player parties needing up to 12. After obtaining enough bait, head to the waypoint Loid marks and create some bait to enter the Vault.
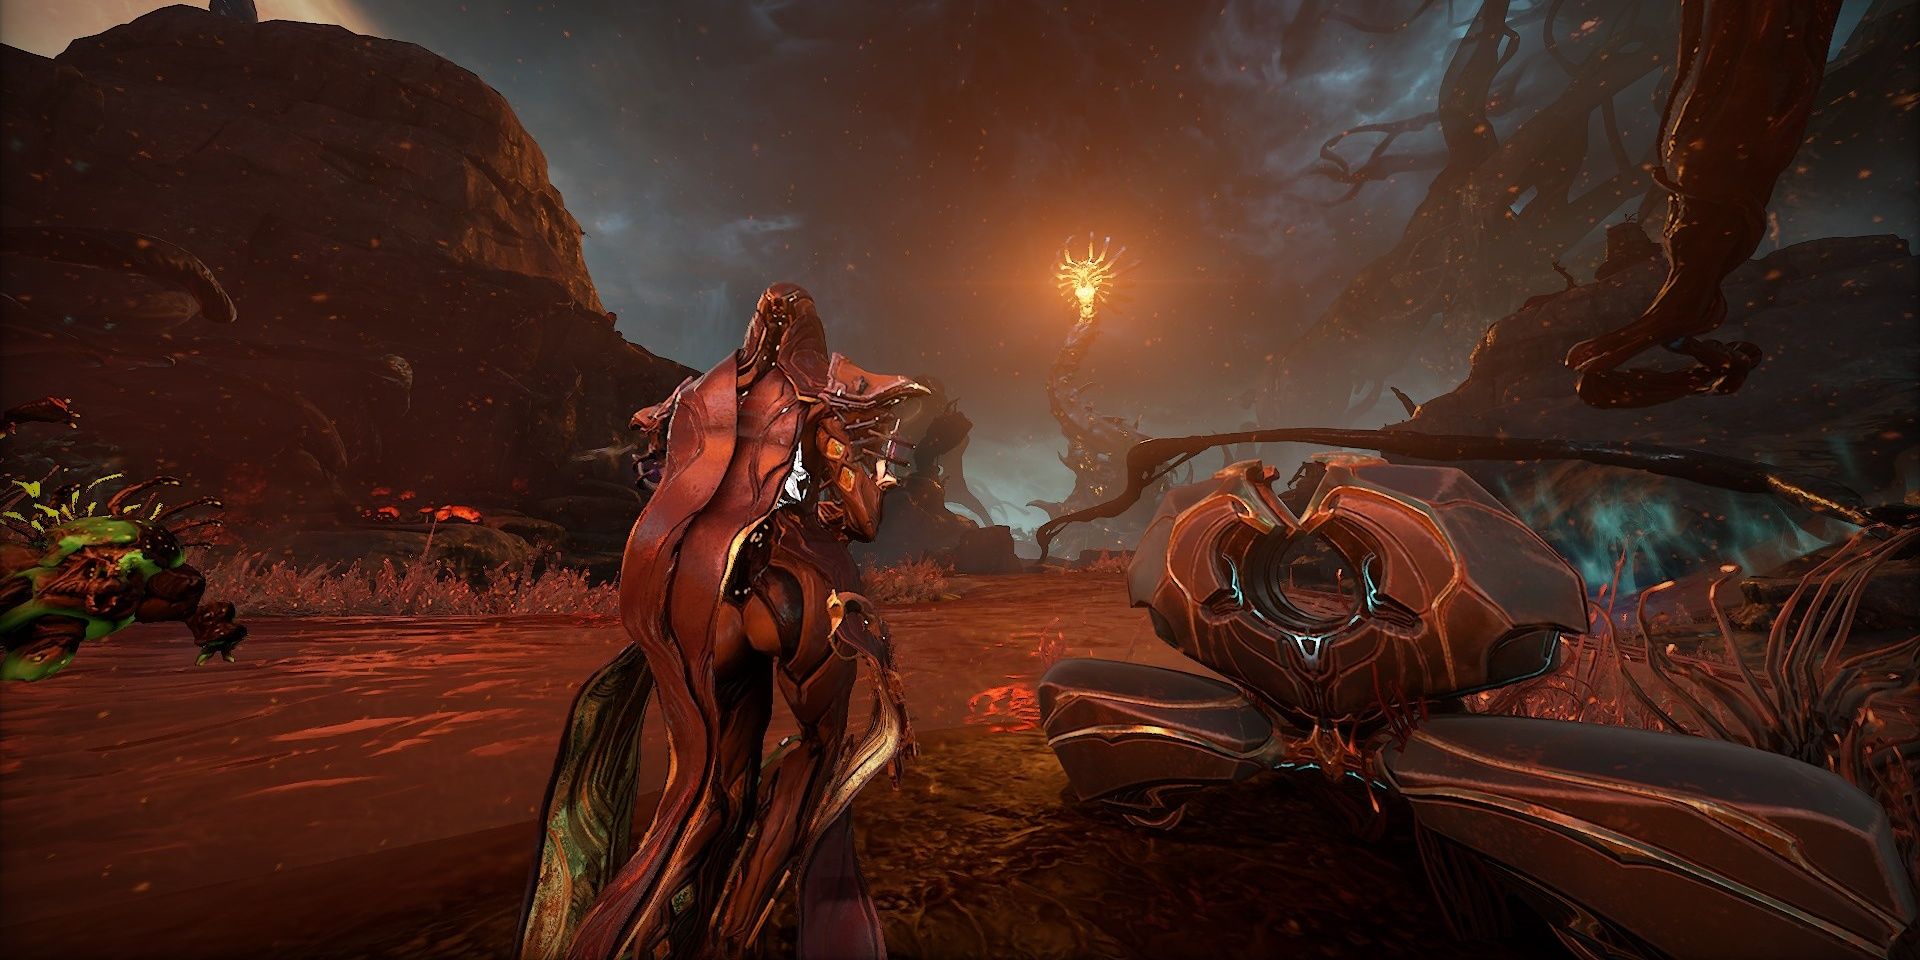
Crafting the bait takes a few minutes, during which tons of Infested will begin to converge on the station. Similar to a Defense mission, players must fight against the Infested while keeping the point alive. Warframes that can pull enemies away from the objective, such as Nidus or Khora, are invaluable here.
When Loid is done making the bait, one player must grab the canister and proceed into the caves below. Players will reach an Infested door that can only be opened with this bait. Use the alternate attack button to throw the canister into the door, opening it for the squad after a second. If players miss the throw, they will need to start over. Should the objective bug out, players will need to return to Necralisk and restart the mission.
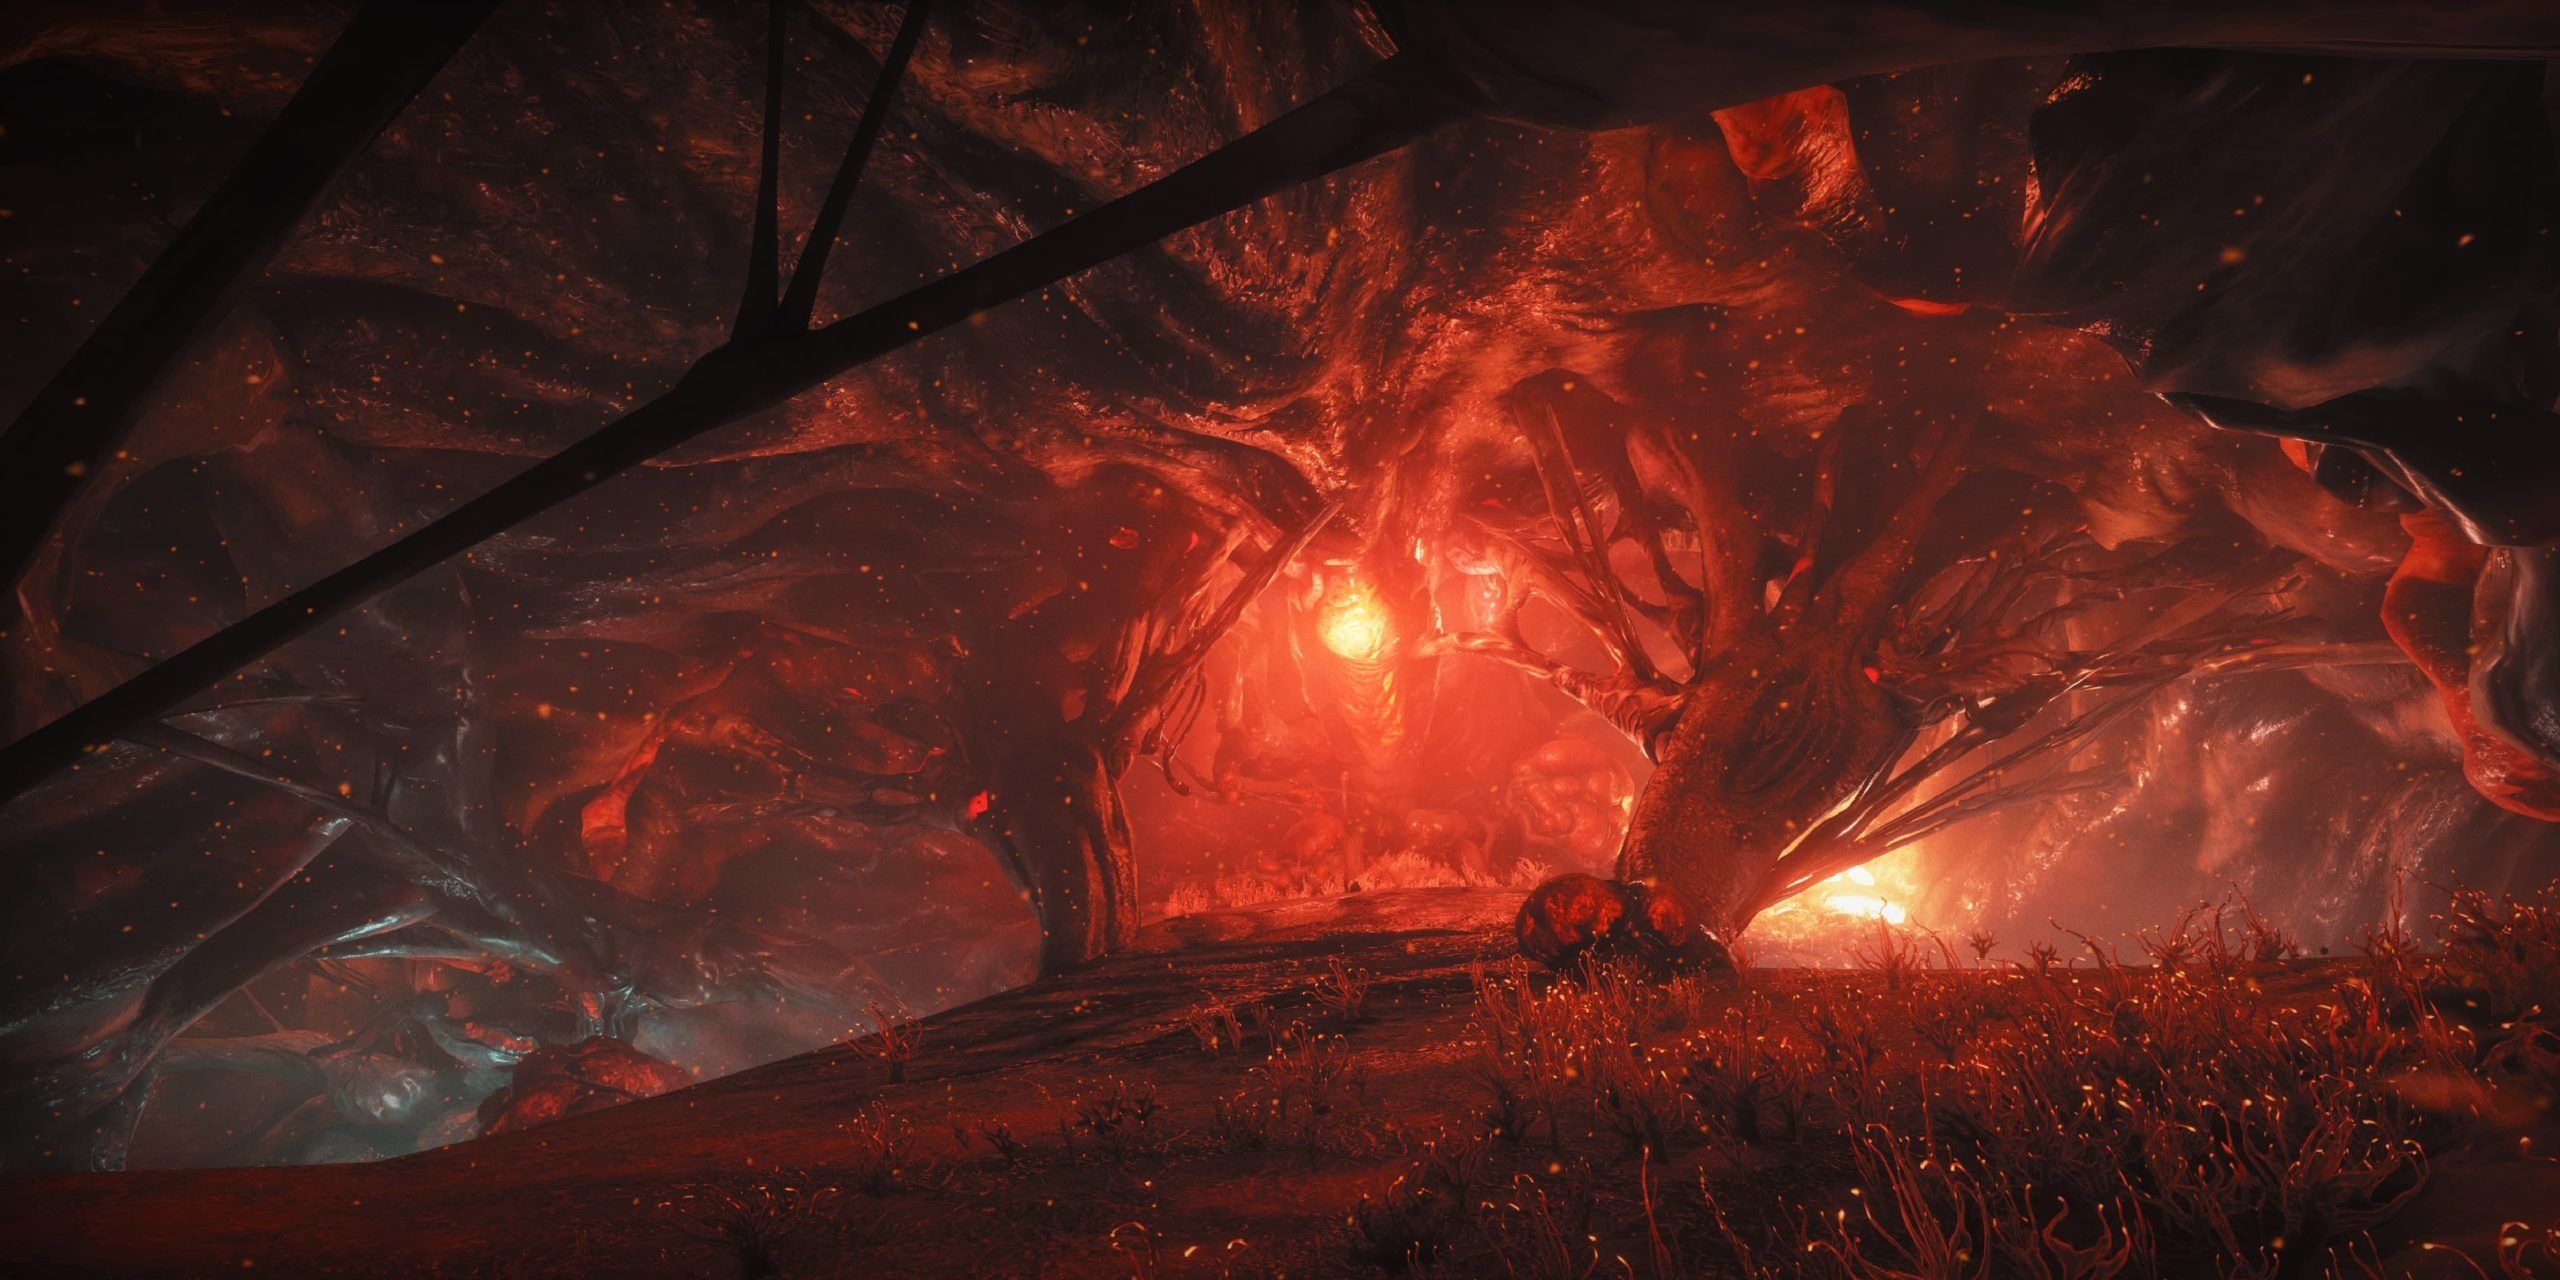
Entering the cave will start the next portion of the bounty. These caves are incredibly toxic due to the abundance of Infested within, so players will need to defeat as many Infested as possible during a short timespan without letting the Toxicity levels reach critical.
RELATED: Warframe: 10 Ways To Earn Platinum, Ranked
Think of this objective as an inverse Survival mission; instead of grabbing life support from dead foes, players reduce the toxicity level from killing enemies. The arena is quite small but has plenty of headroom. Equinox, Mesa, Ember, Khora, and Volt are fantastic choices for this section to kill enemies right as they spawn.

Reducing the Toxicity levels of the cave will allow players to progress into the Vault proper. Inside will be up to three Necramechs based on what tier of Vault the squad is doing. For a player's first Vault run in a particular worm cycle, there will always be one Necramech in the Vault.
Necramechs are incredibly tough to take down. Players should focus on the Necramech's arms first to remove its weapons. Once its arms are destroyed, shoot at the mech's back. It will have a giant blue scar denoting its vulnerability. When the Necramech has an invincible icon on its health bar, do not shoot at it. It will reflect all damage dealt back to the player, instantly killing them. Use Void damage either from an Operator's Amp or from Xaku's first ability to get rid of the reflect shielding safely.
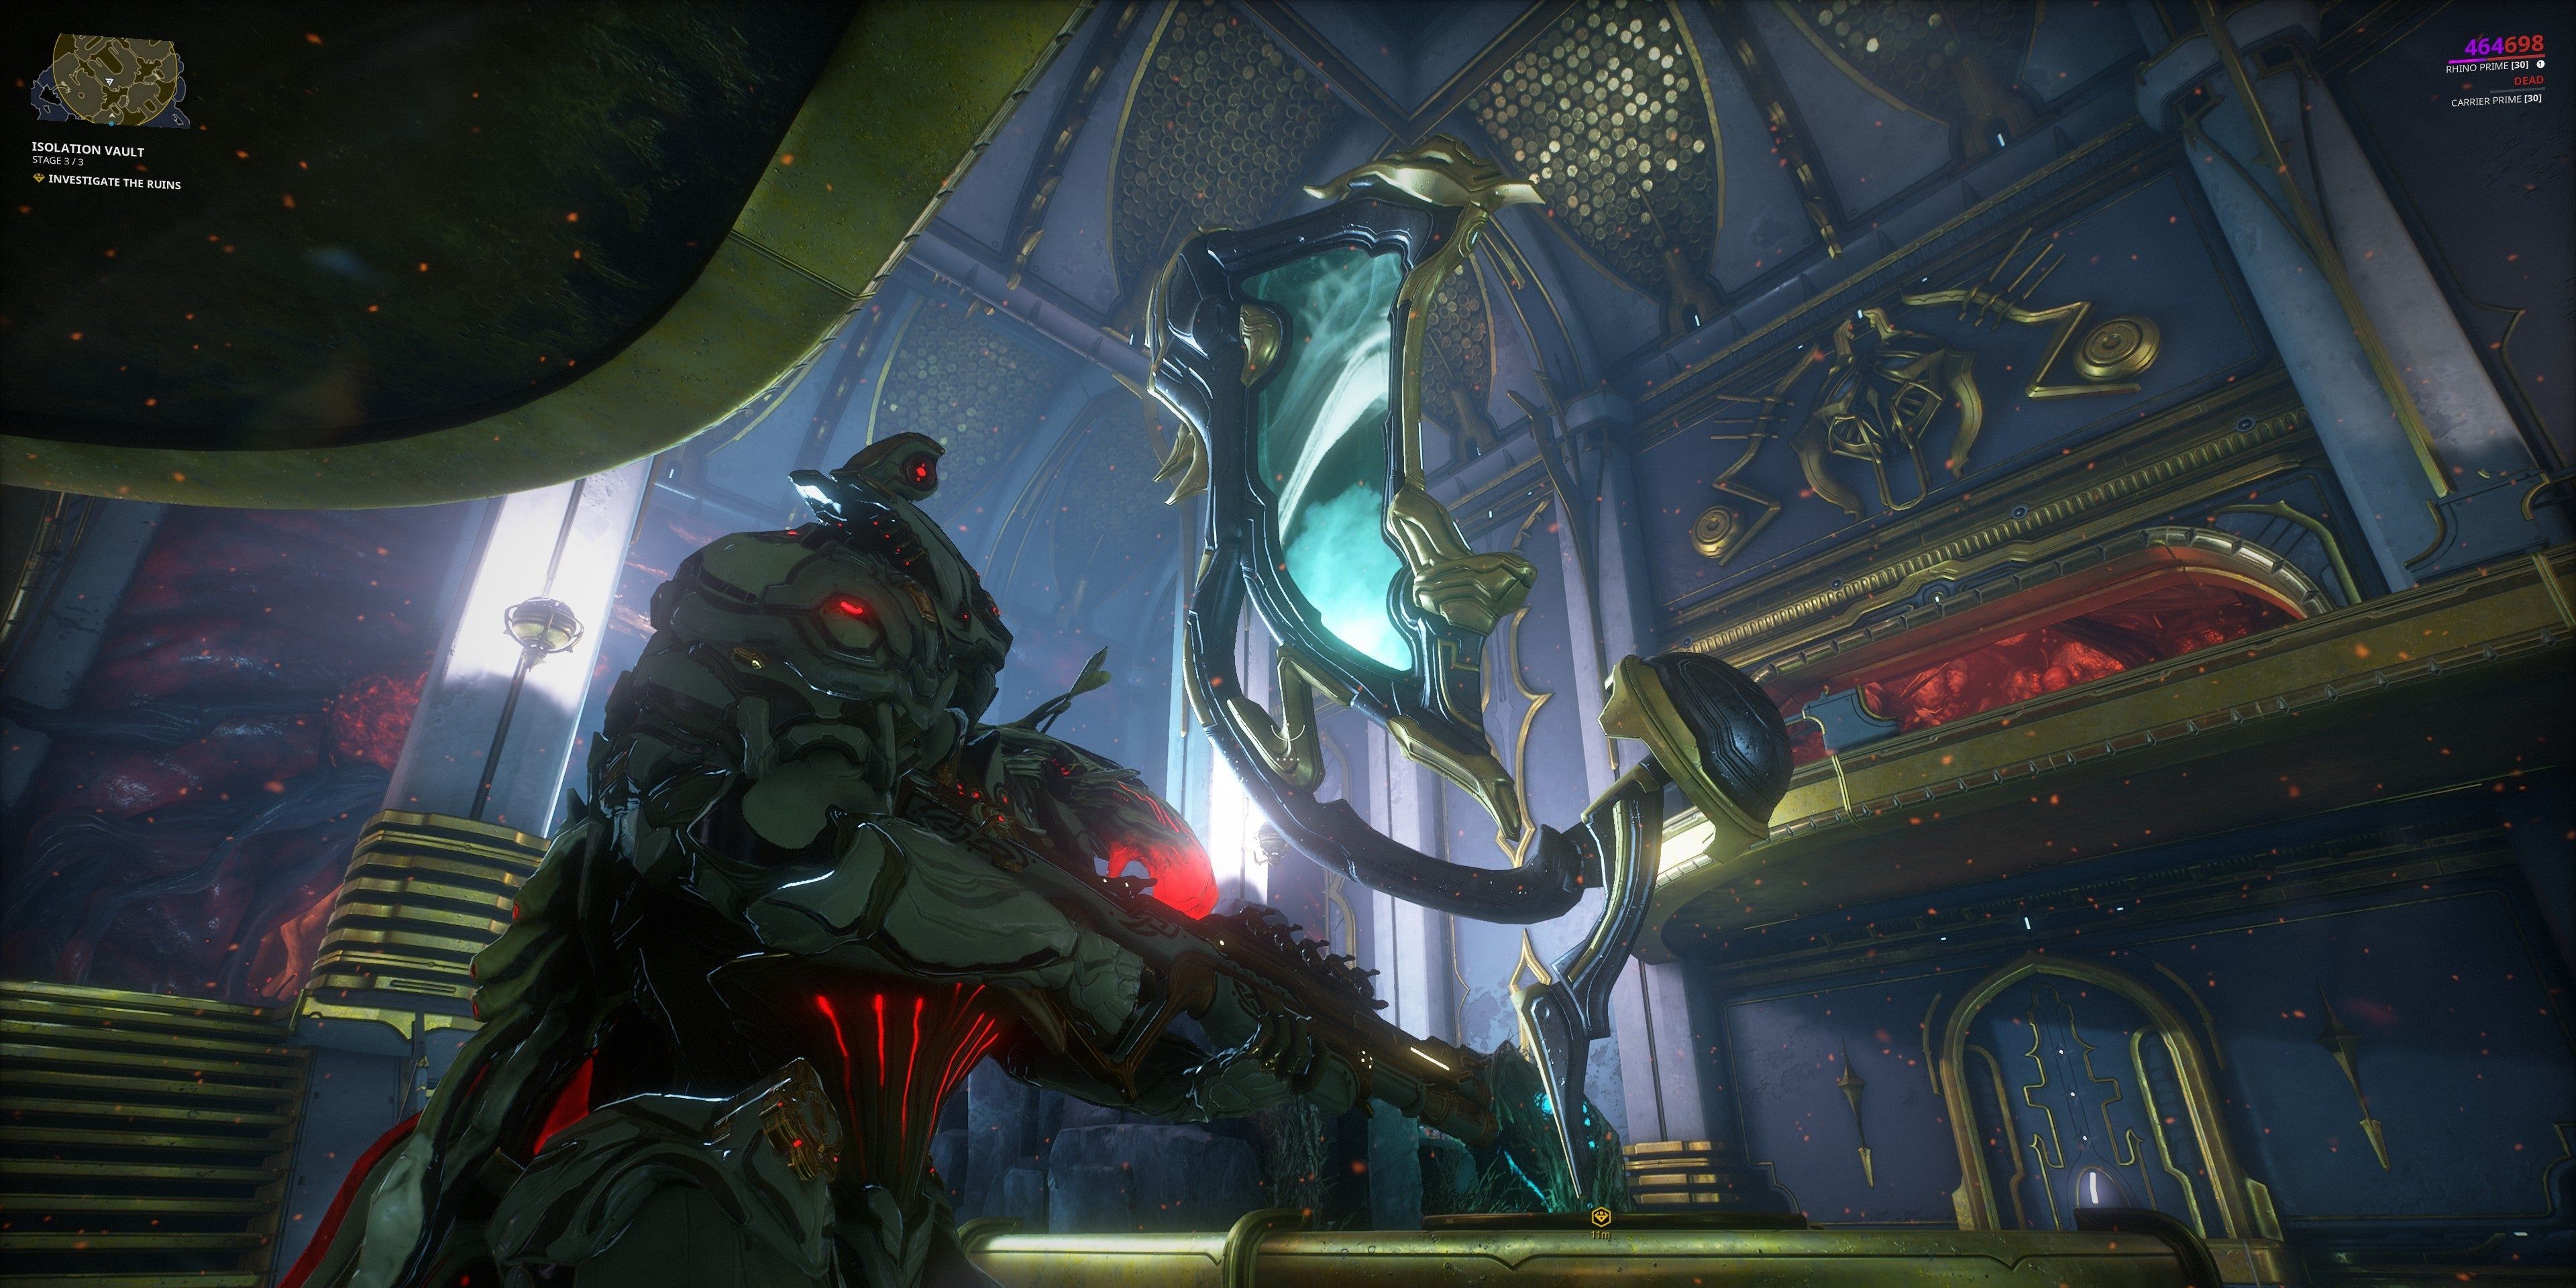
At this point, players can either leave via the Esophage that spawns or activate the Vault's Reactive Crystal to summon Loid. For those that wish to farm Necramech parts, leaving and restarting the bounty isn't a bad idea. Those short on resources should stay, as the Isolation Vault's rewards provide a great amount of Deimos resources and loot.
To summon Loid, search the Vault for the four-symbol Vault door. There should be a Reactive Crystal in the middle of the small room. Shoot it with Void damage to spawn Loid.
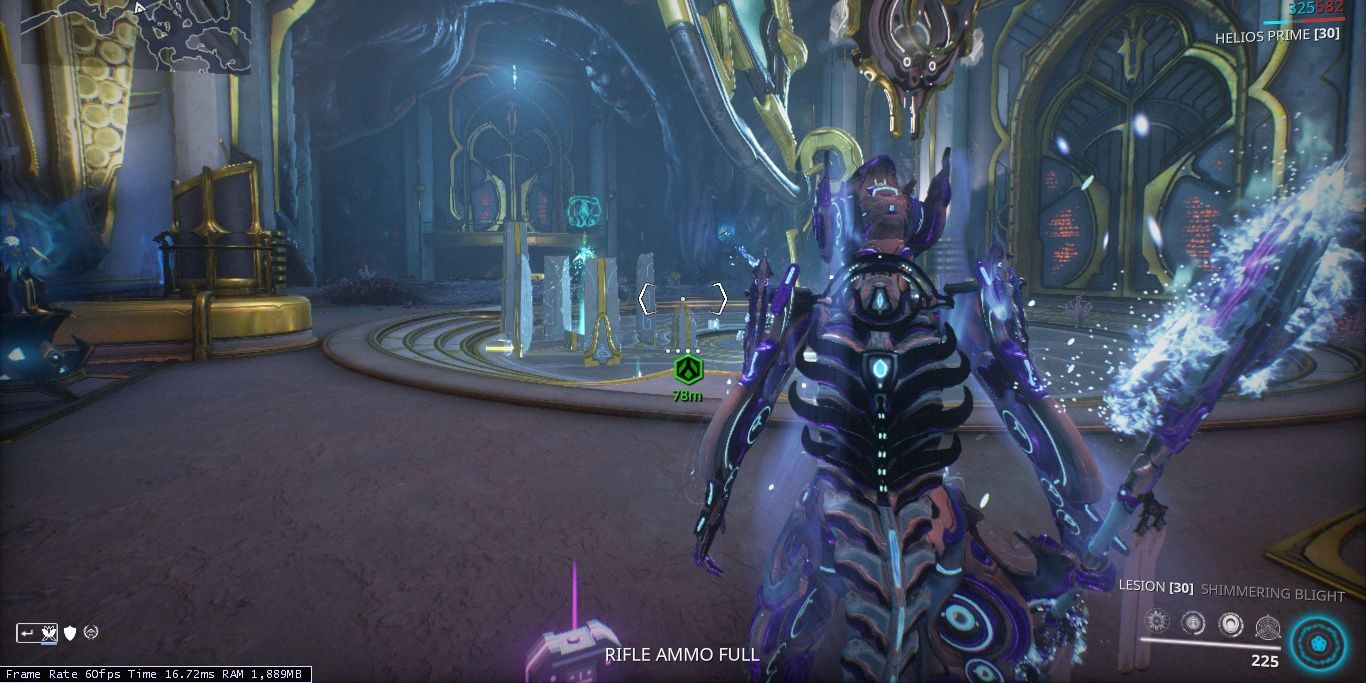
Before players decide to summon Loid, they might wish to farm the Requiem pylons that exist inside of the Vault. Each Vault has at least one pylon to complete, although some have two. Players can enter their Necramech to start these encounters and complete the challenge tied to that monolith to earn a vast quantity of resources. The Infested will keep spawning during this stage until players either leave or summon Loid.

Summoning Loid will begin the next objective. Loid will navigate to four different Reactive Crystals throughout the Vault, during which he must be defended as he activates them. He does have a rather large health pool, but Loid can still easily die if players don't take care of the Infested waves that spawn.
RELATED: Warframe: 10 Fixes The Game Needs
To speed up this portion of the bounty, bring Wisp and place down Haste Motes for Loid. He will pluck the Motes and gain the full movement speed increase from it, making this objective take much less time. Loki can also Switch Teleport Loid while Nova can teleport him. Using an Operator's Void Blast on Loid will also heal him for 500 Health.
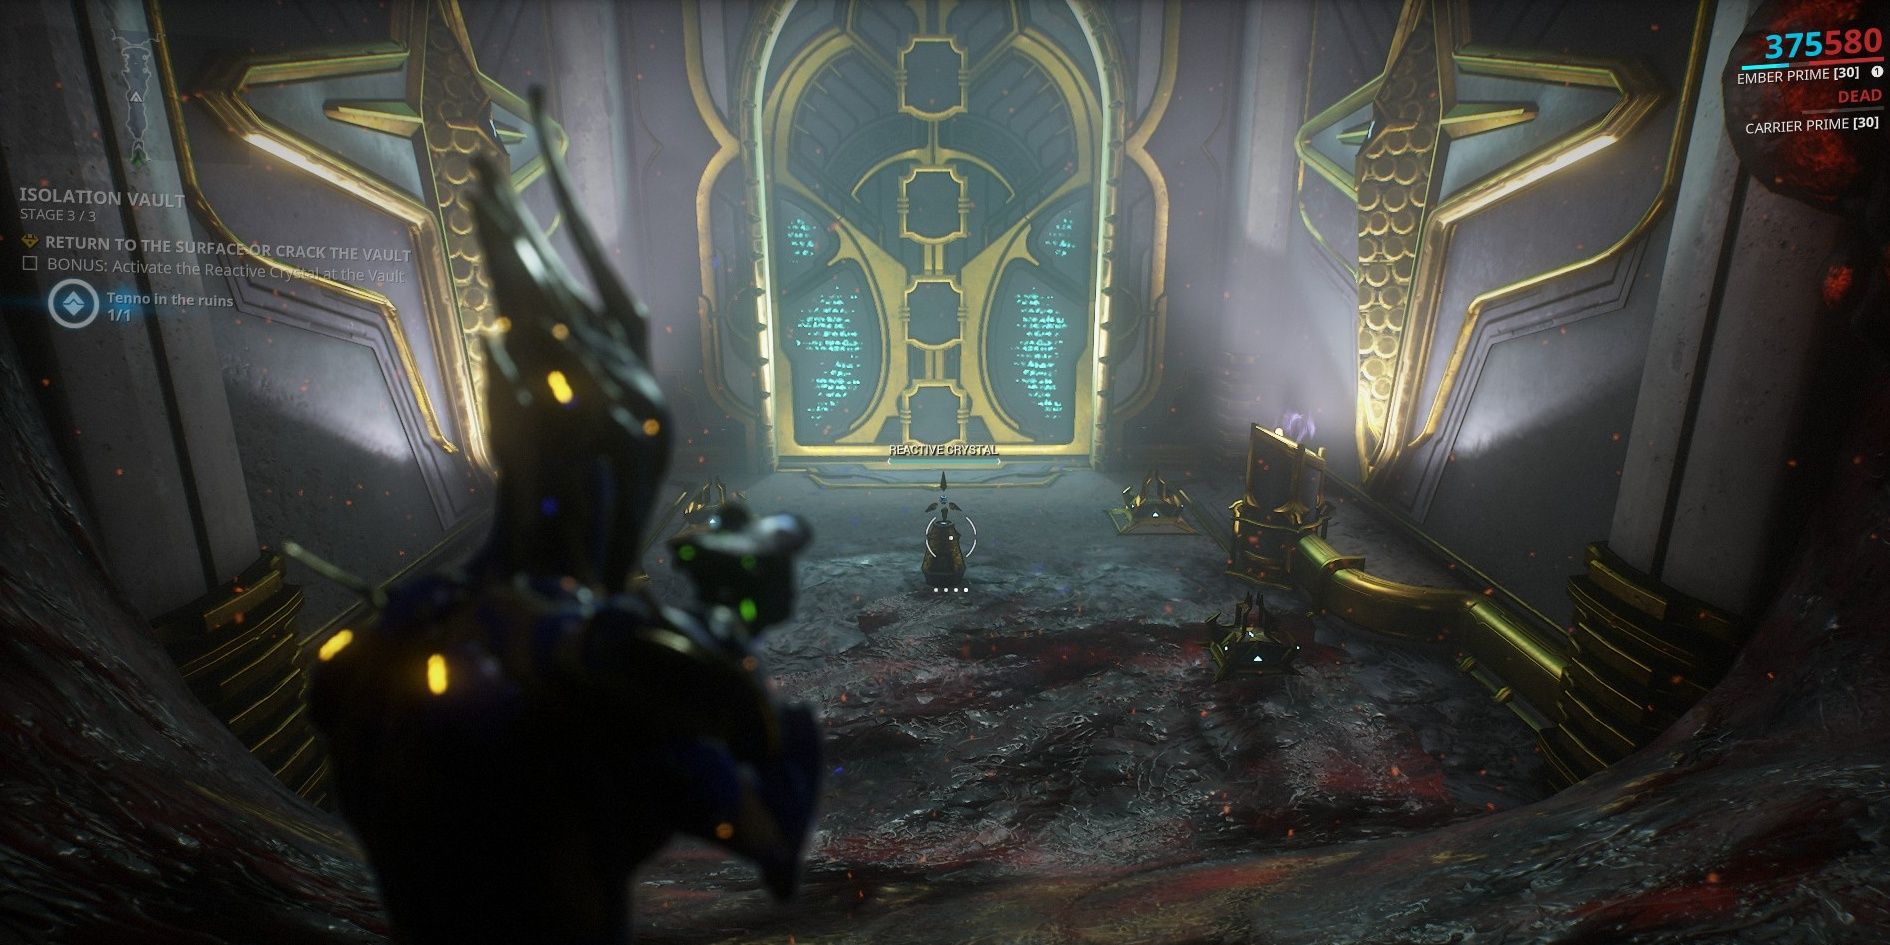
When Loid is finished, he will travel to the Vault door that players spawned him from. Four symbols will appear on the door. Players must activate all four Reactive Crystals in the same order that appears on this door. The squad gets three tries. Failing this part will lock the Vault door, meaning players need to restart the bounty entirely.
Fortunately, this part is much less stressful than it sounds. Have an Operator ready for when Loid reaches the door. Once the symbols pop up, immediately begin firing at the Reactive Crystals in the order provided. If done fast enough, one player should be able to open the door without having to memorize anything. Should this be too taxing, create callouts for each of the Requiem symbols to make it easier to remember the order.
Entering the correct combination will open the door. Smash the containers inside and take everything in the room. Head back to the surface to either return to Necralisk or start another Vault bounty.

Teams that decide to farm Vault runs repeatedly can do so without ever leaving the Cambion Drift. Look for Mother's Infested pod throughout the map and interact with it. The location of the Mother pod determines what tier of Vault bounty she will offer.
To unlock higher tiers, players must first complete subsequent Vault tiers. Tier two is unlocked after completing a tier one bounty, while tier three Vault bounties are locked behind the completion of tier one and two Vault bounties. Once a bounty tier is unlocked, it will always be available. Her location and respective bounty tier are as follows:
- Tier One: Found in the Undulatum.
- Tier Two: Located between Albrecht's Prospect and Catabolic Gutter.
- Tier Three: Found in The Abscess.
Additionally, players can obtain tier three Vault bounties from Mother in the Necralisk hub town, provided they've been unlocked.
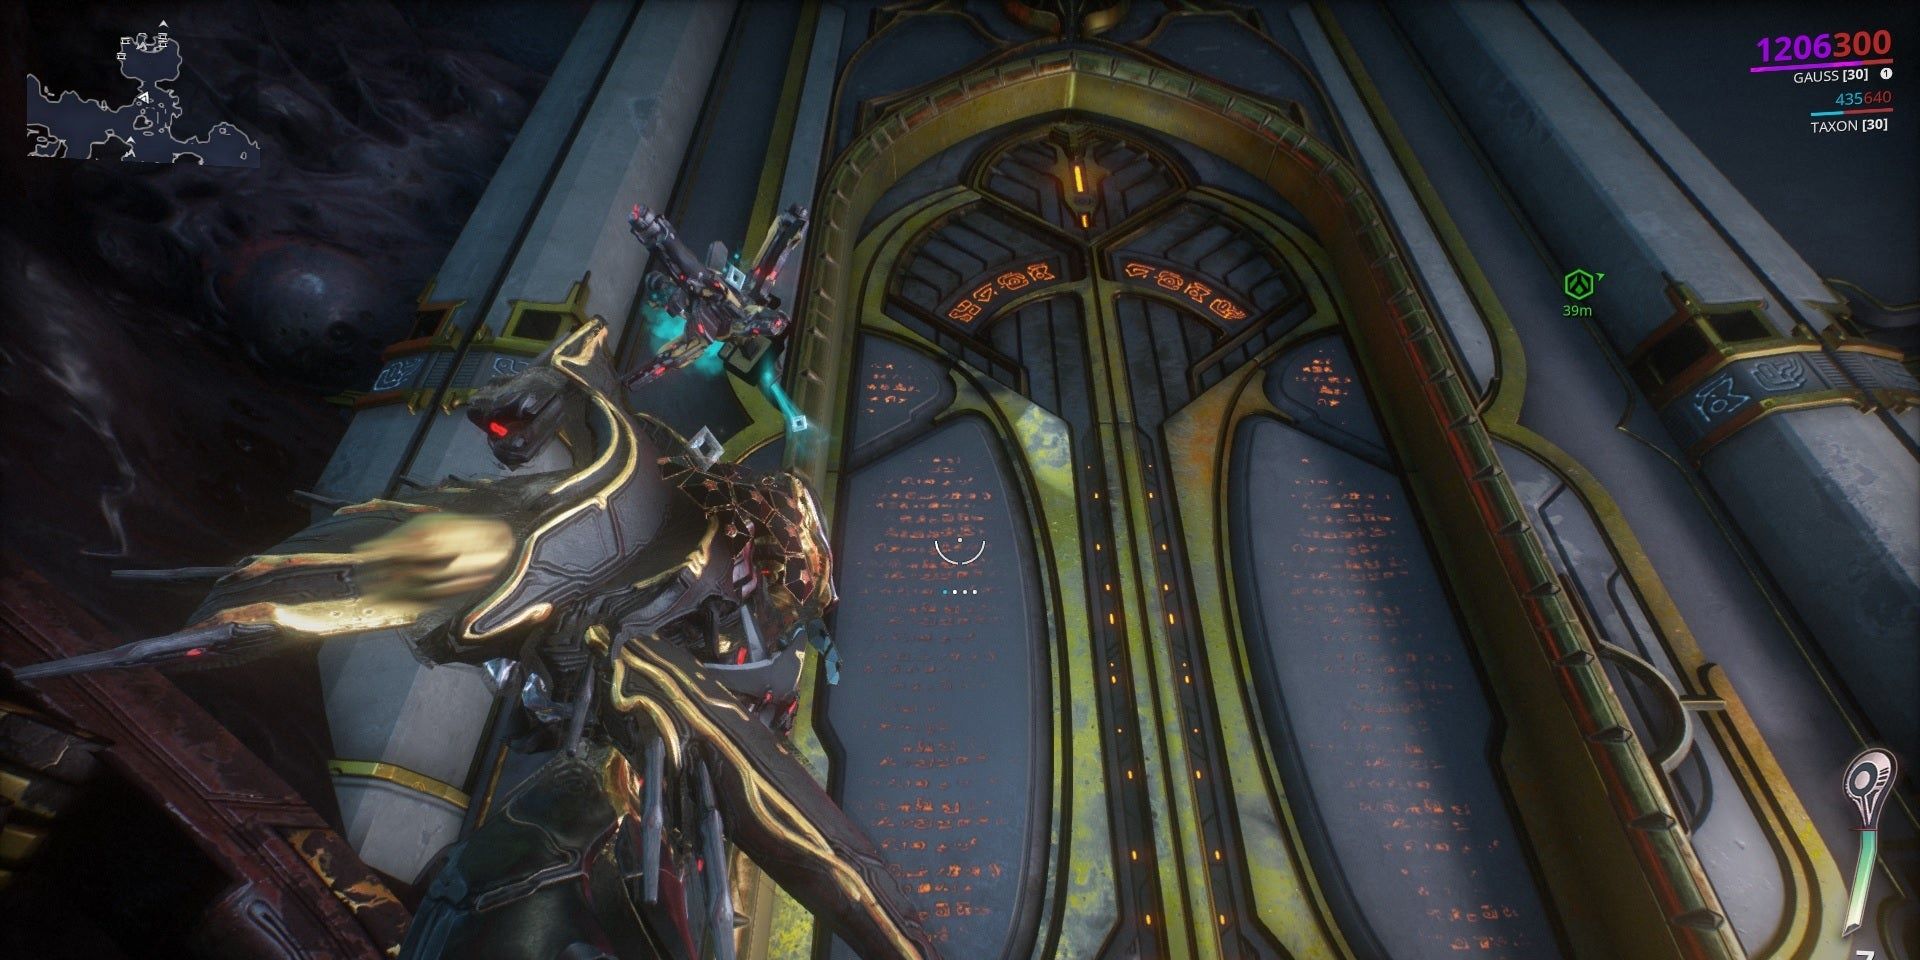
There are six Vaults in the Cambion Drift currently. Four of these Vaults have hidden rooms for players to find. All of them can be unlocked by finding hidden Reactive Crystals in the arena and activating them with Void damage. Keep an eye out for these Crystals as they can unlock rooms with additional loot.

When players finish an Isolation Vault run for the first time, they will unlock the ability to start Arcana bounties. These bounties differ in objectives and rewards, tasking players with clearing out the exterior sections of certain Vaults. Rewards include Necramech Mods, parts for the Sporothrix and Arum Spinosa weapons, and typical Vault rewards such as Relics and Orokin Matrix parts.
Arcana objectives can be any of the following:
- Assassinate a Mitosid Rex. Bonus rewards for keeping the Cauldron above 80% HP.
- Recover a cache from an Infested Hive. Bonus rewards for destroying all Hive Tumor Nodes with 40 seconds left on the clock.
- Collect plant samples after activating a Purifier. Bonus rewards for activating the Purifier five times or less.
- Destroy three Hives. Bonus rewards for destroying all three with four minutes remaining.
- Keep control of a zone against waves of Infested. Bonus rewards for keeping the control level above a certain threshold.
- Defeat a Juggernaut after it collects three Fungal Polyps. Bonus rewards for keeping the Juggernaut's health above 50% during the escort section.
- Collect fluid sacks and destroy marked targets. Bonus rewards for collecting no more than three fluid sacks.
- Seal fissures on Deimos, similar to the Orb Vallis' Thermia Fracture activity. Bonus rewards for breaking no more than two Emitters.

