Arguably, the most useful Champion Power available in The Legend of Zelda: Breath of the Wild, is Revali's Gale. It allows Link to climb higher cliffs than normal stamina would allow, escape dangerous situations, and initiate paragliding attacks among many other things.
RELATED: Breath Of The Wild: Vah Rudania Walkthrough
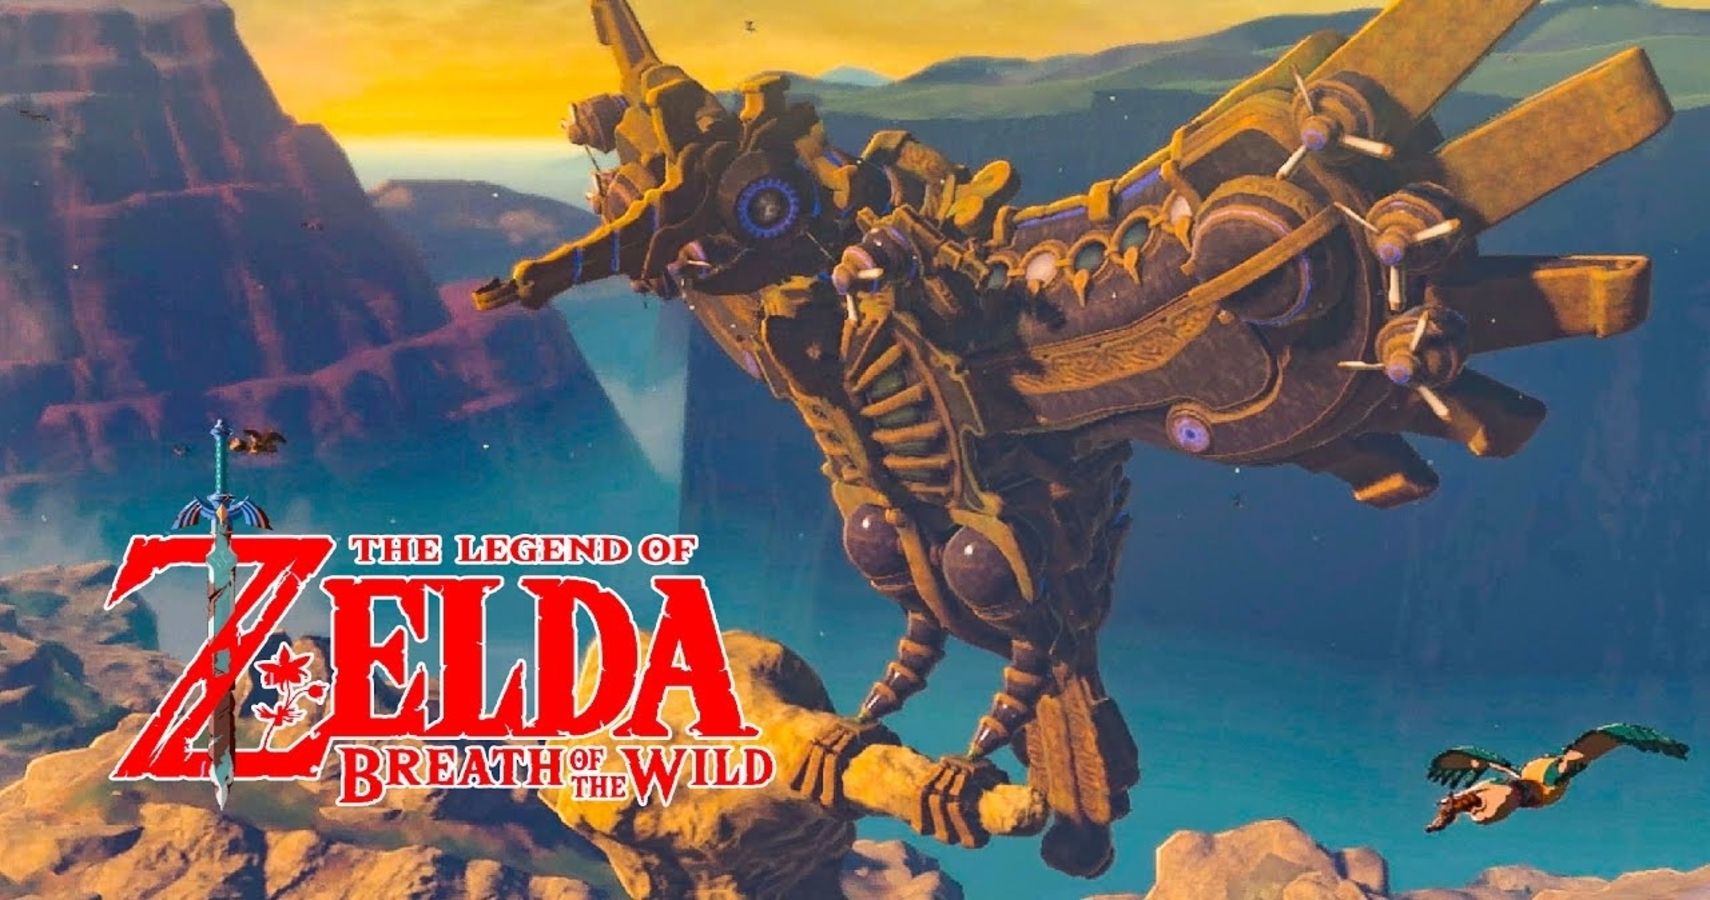
However, to acquire Revali's Gale, the player must first free the Divine Beast, Vah Medoh, from Calamity Ganon's control. Here is a full walkthrough to help you accomplish that task.
9 Preparation
This is the easiest Divine Beast in terms of both combat and puzzles, in addition to having a fairly easy boss. Some recommendations include 5+ heart containers, the Snowquill Armor (preferably upgraded at least once) several cooked foods, and as many weapons, bows, and arrows as you can carry. Especially arrows, you want lots of those for this dungeon.
8 Dungeon Map

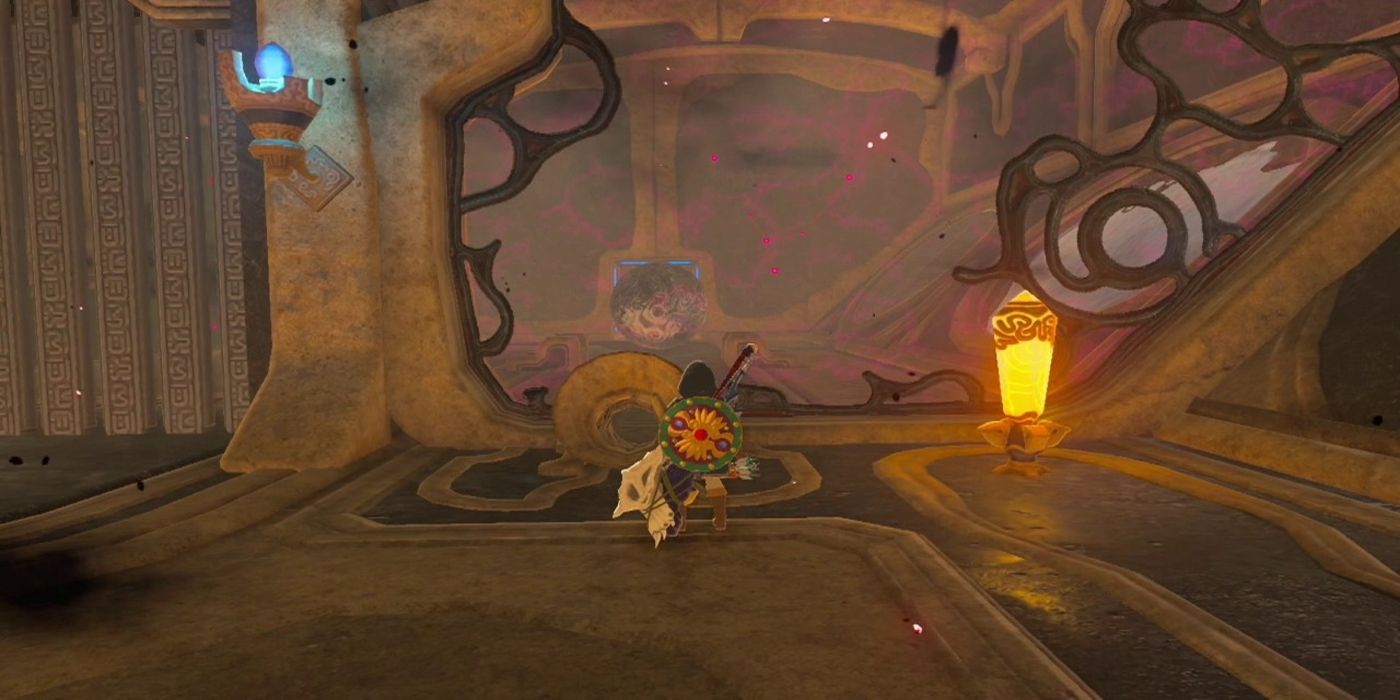
At the beginning of the dungeon, you’ll see a glowing eye on the wall. Shoot it with an arrow to destroy it and make your way to the other side of the room. You'll find some metal blocks in the center of the room that can be used to create a path. You can also use the nearby updraft with the Paraglider to get to the other side. Defeat the Guardian Scout just after this point and activate the pedestal.
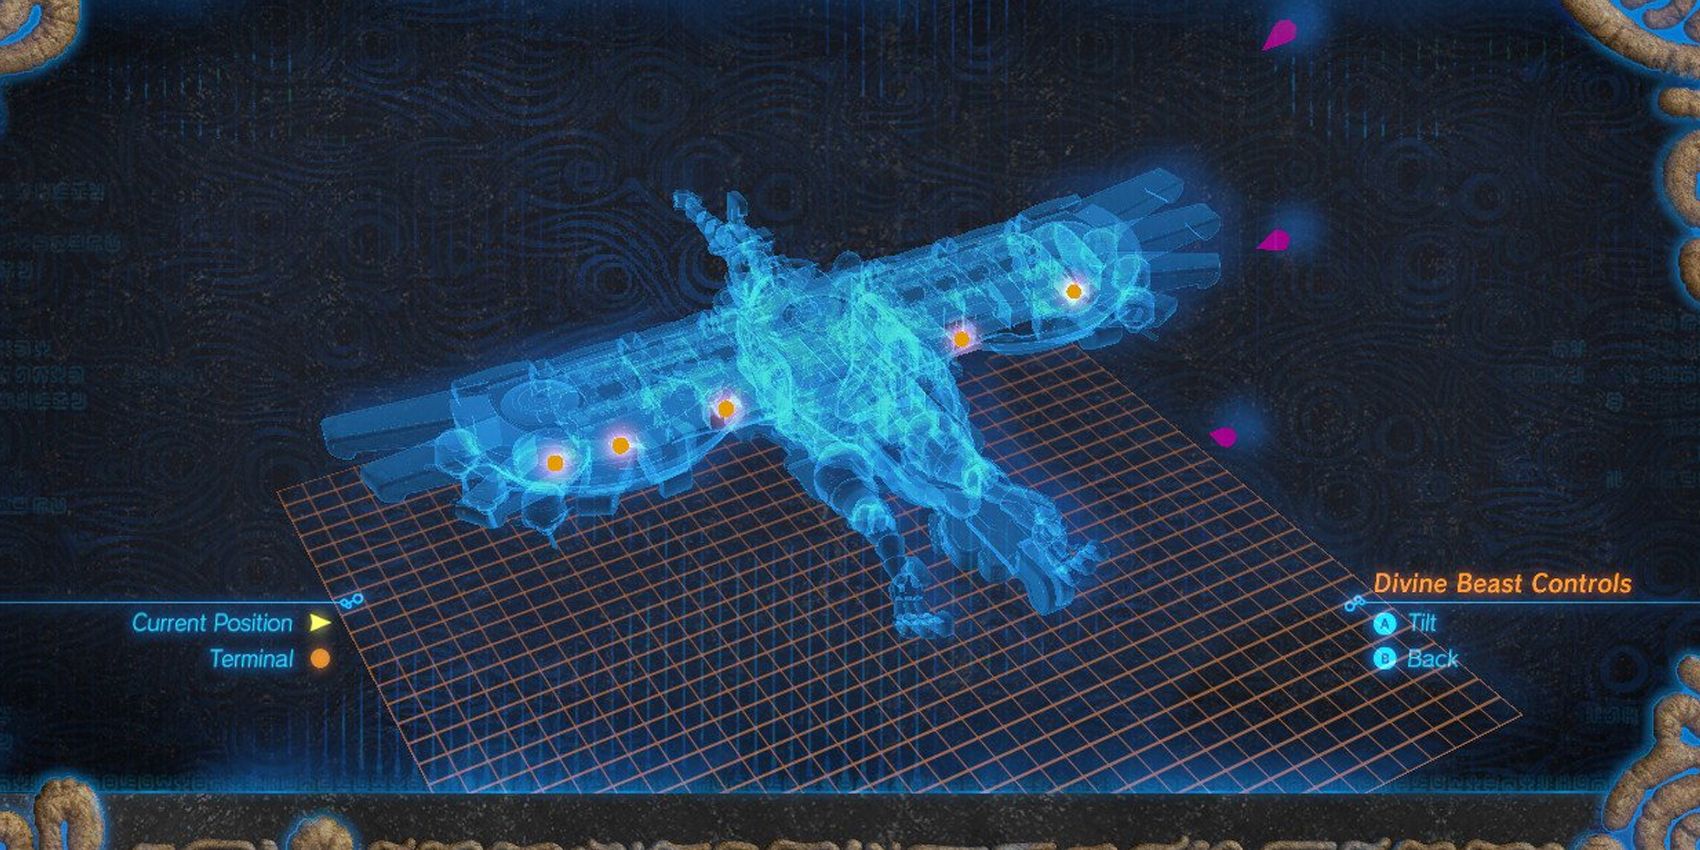
This will give you the dungeon map and the controls for Medoh. You can tilt the entire dungeon with these controls, and that causes the platforms and other objects to shift accordingly.
7 First Terminal
At the bottom of the main room head through the passage located on the left. There is an eye in the distance that you can use your bow to kill. Tilt the dungeon using the top option on the map and a platform will move towards you. Walk onto it and set the tilt to the bottom option on the map to move the platform back. This will take you to the first terminal.
6 Second Terminal
Move through the door and kill the glowing eye located above you so it doesn't get in the way later. Open the map and tilt the dungeon downwards to find a battering ram move against the wall near the door you came from. Following the rails that lead to the battering ram you'll find a glowing switch that needs to be pushed in, but it is blocked by some gates.
Above said rails, there are a pair of windmills that need to spin in order for the gates to open. Looking nearby, there is a switch you can hit with a weapon that will make a window open, causing the wind to blow, making the windmills activate.
You need to hit the switch using the battering ram at full power to push it all the way in. Start by having the tilt of the dungeon set downwards, then change it to upwards, so that the battering ram will move. This makes the second windmill also move though, which will close the gates. Use either the Magnesis or Stasis Runes to hold the windmill in place to keep the gates open and activate the second terminal.

5 Third Terminal
Go back to the main room using the nearby updraft if you ever fall. While staring at the main room from this updraft, glance to the left and look upwards to see a glowing eye that can be killed with your bow. Below the platform where the eye used to be is a wall, you can use to climb. Open the map and set the dungeon upwards so the platform shifts to this side of the room. Step onto the platform and set the dungeon downwards. Adjust the platform so that it stops in front of the wall and climb up and up to the treasure chest containing an Ancient Core.
Use the Paraglider from this point to fly to the next room. There is a glowing eye above here that can be shot to disperse the nearby Malice. The terminal is can be found on a ledge and that can be reached by climbing the nearby staircases on both sides of the room, then tilt the dungeon so that the ledge supporting the terminal is at a lower elevation. Use the Paraglider to fly and activate it.
4 Fourth Terminal
While still in this room, you can tilt the dungeon upwards and use the Paraglider to glide over to the treasure chest that is above the door to get a Knight’s Claymore.
In the room with the third terminal, there is a small hole that lets you drop a spherical bomb as long as the dungeon is tilted up, which will make the bomb roll towards the boulder ahead. Detonate the bomb to destroy it.
Drop another spherical bomb into the hole and let it roll all the way to the other side. Hit the crystal switch right next to where the small hole is to activate some wind and that will move the bomb to the other side. Detonate the bomb and it will destroy a wall revealing a large ball.
Tilt the dungeon downwards and the ball will roll towards you, allowing you to use the Magnesis Rune to grab and adjust it so that it lines up with the switch. Tile the dungeon and the ball will activate the switch, giving you access to the fourth terminal.
3 Final Terminal
Return to the main room and fall from the updraft to head through the door on the left. The final terminal can be seen beyond the gap. Face to the right and you'll see a ledge that is closer. Open the map and move the dungeon upwards so that you can Paraglide to the final terminal.
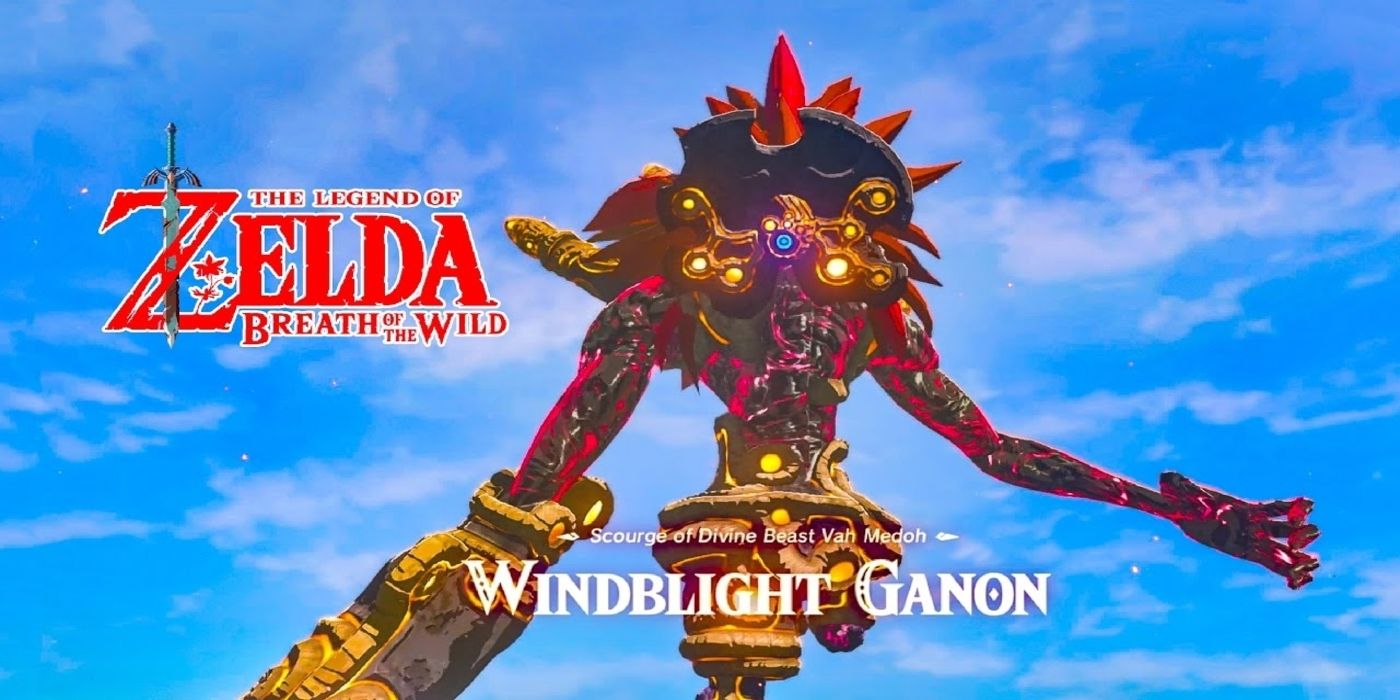
In the main room of the dungeon, use the updraft to get to the top of the dungeon and access the Main Control Unit. Make sure you are fully healed before you turn it on. This will begin the battle with Windblight Ganon.

2 Windblight Ganon, Phase 1
It is recommended you have a lot of arrows for this fight, as they are very useful later.
Windblight Ganon will teleport to various parts of the arena and can execute 2 different attacks. It can summon a very small tornado that can really only be avoided, or it will fire 4 lasers from its cannon, which will cause it to stop moving for a bit. If the boss is grounded, it is able to be attacked with your weapon, a one-handed one, in particular, is useful here. The lasers can be easily avoided just by not going near them. You'll want to move away from Windblight Ganon after hitting it a few times, as it will retaliate.
1 Windblight Ganon, Phase 2
After half of its health is depleted, Windblight Ganon will now begin phase 2 of the battle by spawning some satellite looking devices. When it uses the laser attack, the laser will bounce off the satellites in more complicated patterns, but you can still dodge them pretty easily. The tornado attack has also been upgraded, it will now spawn 2 at the same time.
The satellites can be destroyed with your bow, but they do eventually revive themselves, so it is up to you if you want to take them out. Windblight Ganon will sometimes lower to the ground level and shoot some arrows at you. You can get in close range and attack it with your weapon, although this is not as effective as before. The safest strategy is to assault Windblight Ganon with many arrows, as the updrafts in the arena make it easy to enter the slow-motion falling, allowing very easy shots to be fired at its eye.
Windblight Ganon will eventually start firing some charged lasers when its health is very low. These can be avoided completely by hiding behind something, or by using a perfectly timed shield bash to deflect them. Keep fighting and Windblight Ganon will eventually die.
It should be noted that any treasure chests or dropped weapons/shields/bows will be permanently lost when you leave, so make sure you have everything you want before pressing forward. The chests in Divine Beasts never contain anything necessary for 100% completion or required completion, so they can be completely ignored if you wish.

