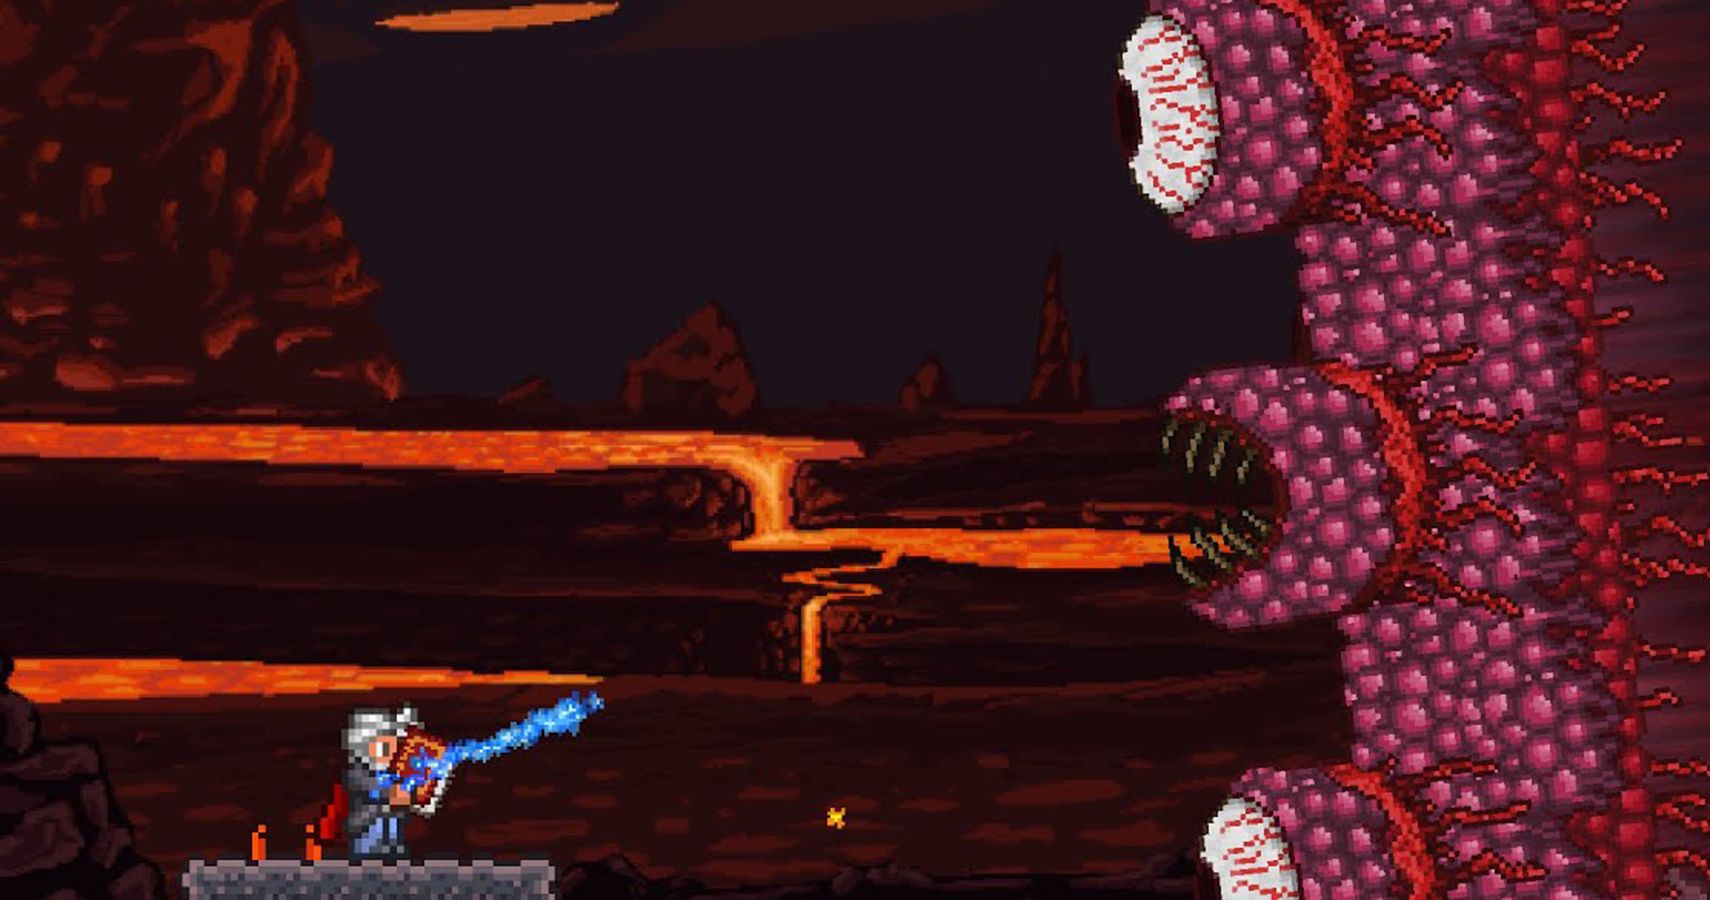
The Wall of Flesh is the last boss in Terraria before the player enters Hardmode. Defeating this boss sees the world transition to an even darker and more difficult place to survive in, but continues the story. For many players this is a brutal hurdle to overcome.
RELATED: 15 Games To Play If You Like Terraria
There are some important aspects of this boss that make it more challenging than previous foes. There are also some things players can utilize to give them in edge in this brutal fight. For players looking to tackle the final boss of the game before Hardmode, here’s how to find it and kill it.
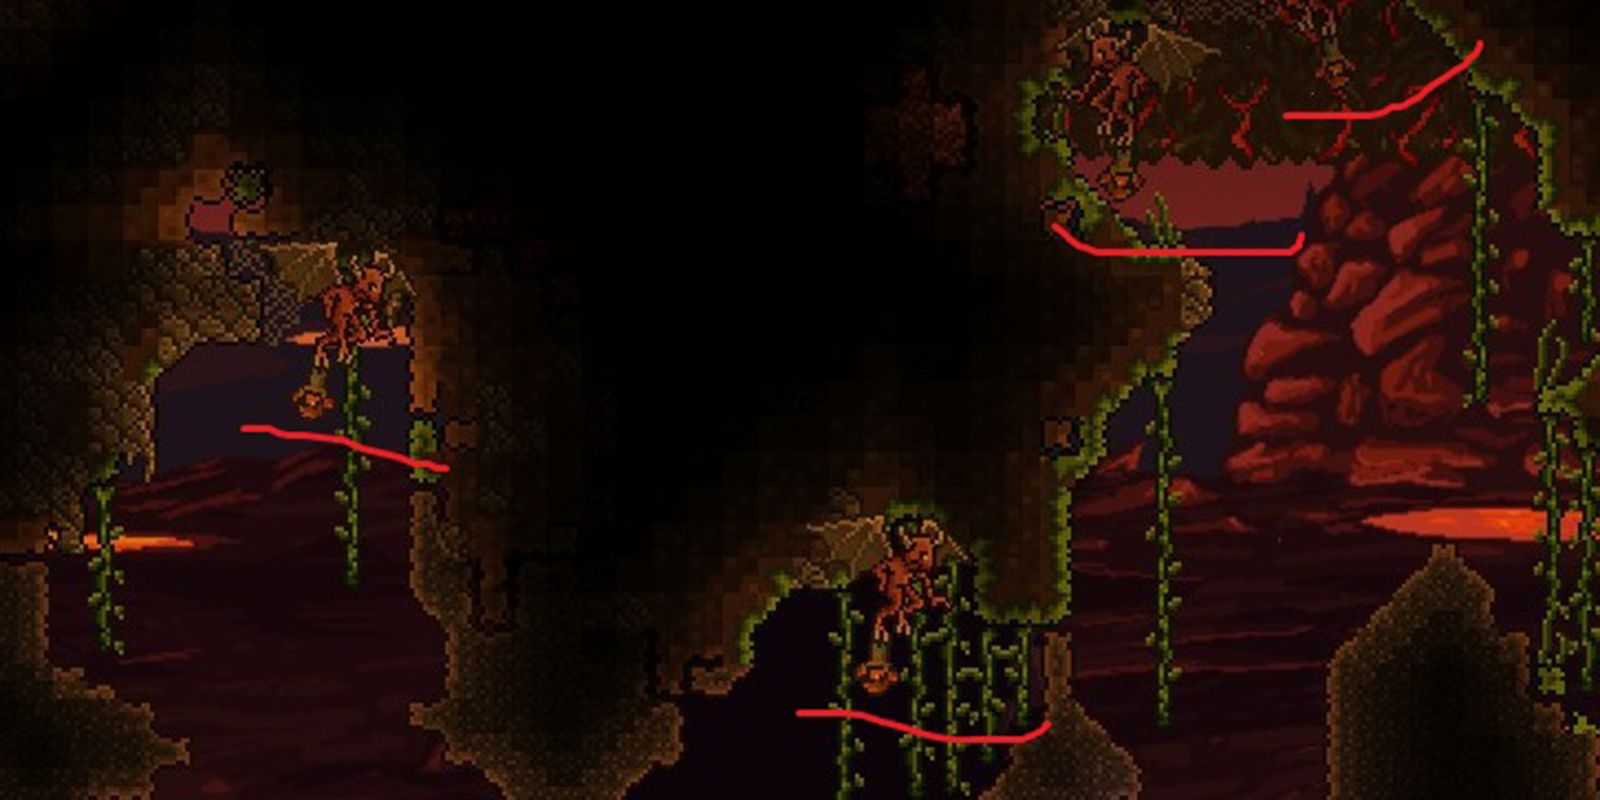
There are two ways to bring the Wall of Flesh into the world:
- Throw a Guide Voodoo Doll into lava in the Underworld.
- Kill the Guide in the Underworld while he’s touching lava.
Guide Voodoo Dolls are rare items that can only be obtained from Voodoo Demons. These are rare enemies that only appear in The Underworld. While they are guaranteed to drop a Guide Voodoo Doll, their rarity makes them a pain to farm.
Some players opt for luring the Guide into the Underworld for the second method, but some players my find this to be equally a hassle. Whichever route the player picks the Guide must be alive for it and it must be done with lava found in the Underworld.
Once the Guide or the Doll meet their demise in lava the Wall of Flesh will appear. It will appear facing right if the player is on the left side of the world for summoning and vice versa for the other side.
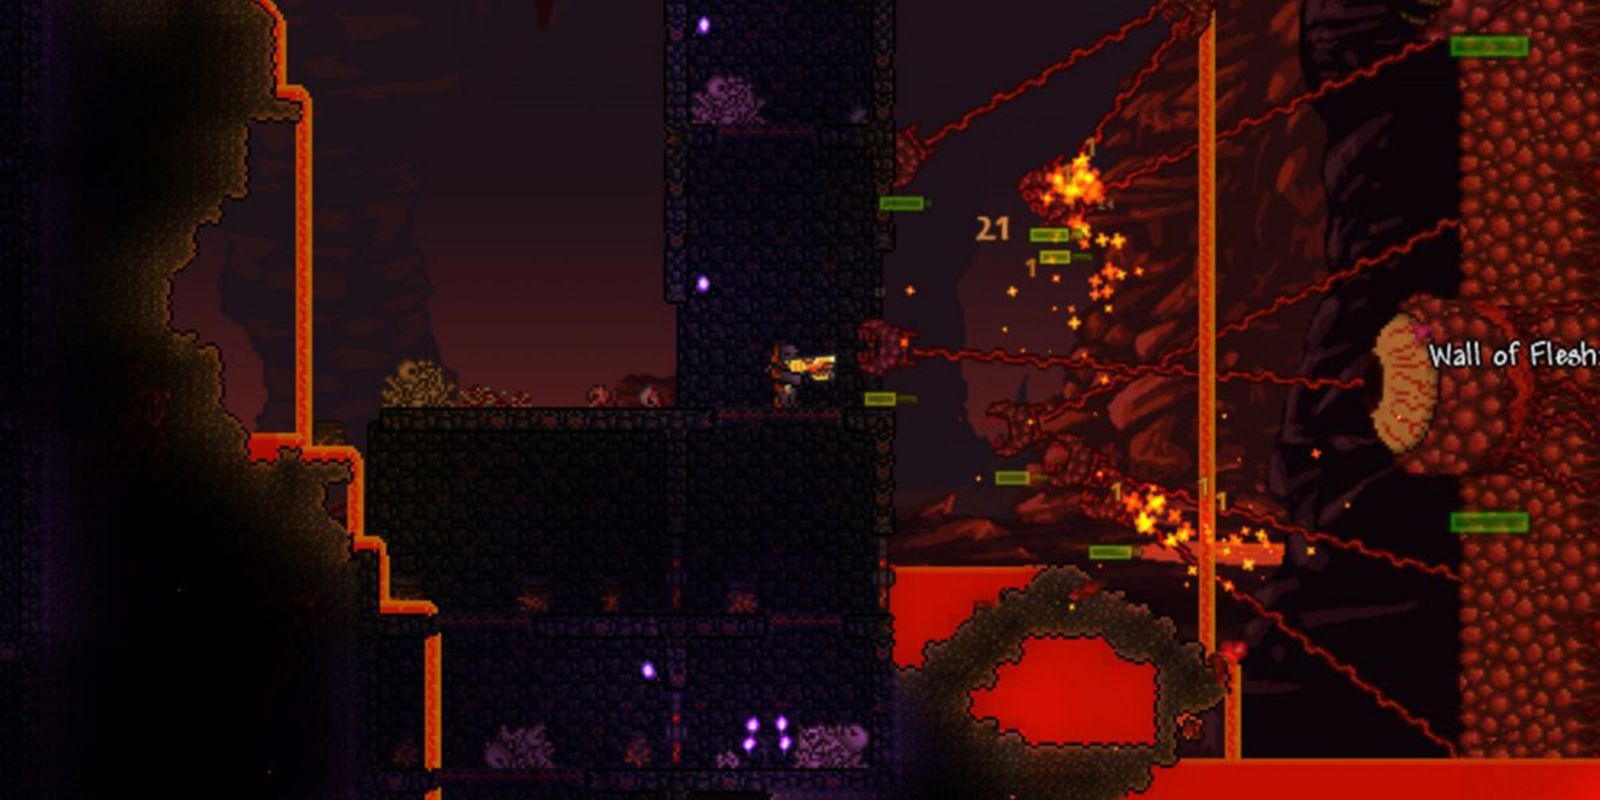
Once spawned the Wall of Flesh begins a slow crawl across the entirety of the map. If it reaches the opposite end of the map it will disappear and kill all players instantly. The Wall of Flesh’s movement speed increases as it drops down to 75%, 50%, 25%, and 10% of its health.
The Wall of Flesh has three main methods of attack:
- The Hungry
- Eyes
- Leeches
The Hungry are small mouths that move towards the player to take a bite out of them and are attached to the wall by veins. Their damage increases as the Wall of Flesh takes more damage and becomes more resilient to attacks. If the player damages them enough The Hungry will break away and attack the player as a flying enemy. Killing them drops a Heart.
Eyes stay on the Wall of Flesh and fire lasers at the enemy. As their health drops they fire their laser more frequently and it sees an increase in damage.
RELATED: Terraria: The 10 Best Cosmetic Items In The Game
Leeches are small tendrils with mouths on the end that launch from the Wall of Flesh at the player. They do not see an increase to their damage and drop Hearts when killed.
In Expert and Master Mode the Wall of Flesh has more health, greater damage, and its movement speed increases more often. It sees a speed boost at 66%, 33%, 5%, 3.5%, and 2.5% health. It will reach a max speed of 41 mph which will outpace even the Bunny Mount which travels at 39 mph.
If the player ever gets behind the Wall it will shoot out a tongue and grab the player drawing them ito their mouths. If this happens the player will receive heavy damage and death will be all but guaranteed.
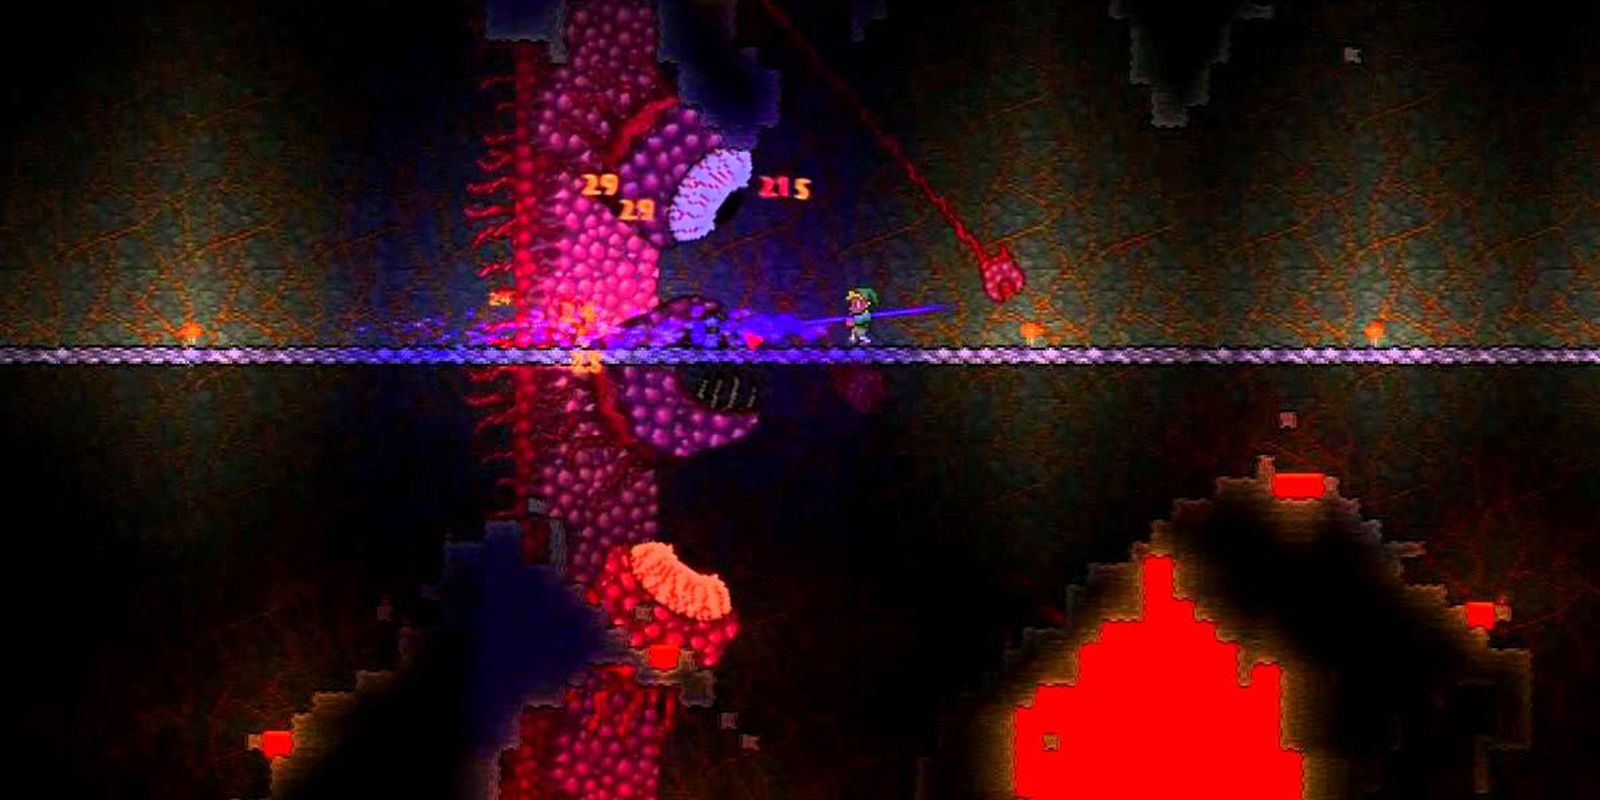
The main priority is to stay ahead of the Wall of Flesh no matter what. But it’s also important not to get too far ahead or it will grab the player and drag them back. The key is to keep a reasonable distance.
Players should focus on doing damage with the following priority in mind:
- The Hungry
- Eyes
- Mouth
- Leeches
- Larger Mass
The Hungry are the main threat with the Leeches being more of a nuisance. While the Larger mass is considered a lesser priority it is the primary way to defeat the boss. Players should be damaging the Larger Mass whenever possible, but focusing their attention on dealing with the other entities as they pose the greatest immediate threat.
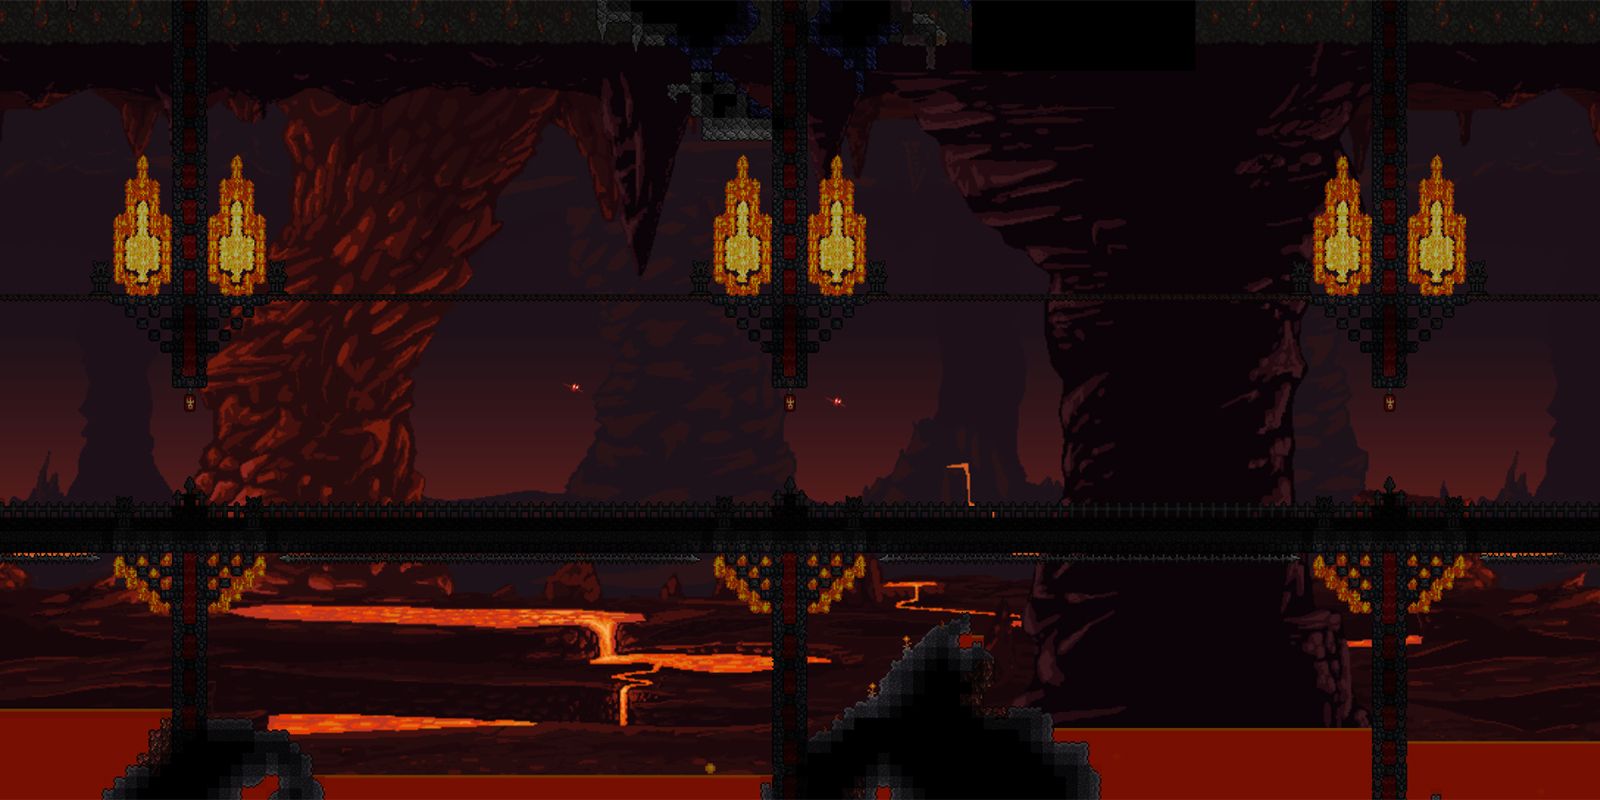
The fight will obviously take place in the Underworld but players should strongly consider taking a moment to shape the terrain a bit. With so many appendages to dodge and a tongue that can drag the player around the last thing the player wants to worry about are environmental hazards. Taking a moment to lay down a long bridge and scooping out the terrain goes a long way to making this fight easier.
A strong consideration should be to flatten out a space near the end of the biome, especially on Master Mode. The boss starts moving very quickly and players will be in a race to stay ahead of it. Having that flat space gives room to run and focus on doing damage.
It’s also helpful to lay down a few items around the map to provide light and helpful boosts such as:
- Campfires and Torches
- Heart Lanterns (Light & Health Regeneration)
- Stars in Bottles (Light & Mana Regeneration)
- Bast Statues (Defense Boost)
- Garden Gnomes (Damage Reduction & Luck-Based Damage Boost)
- Honey Pools (Health Regeneration)
- Sunflowers (Movement Speed Boost)
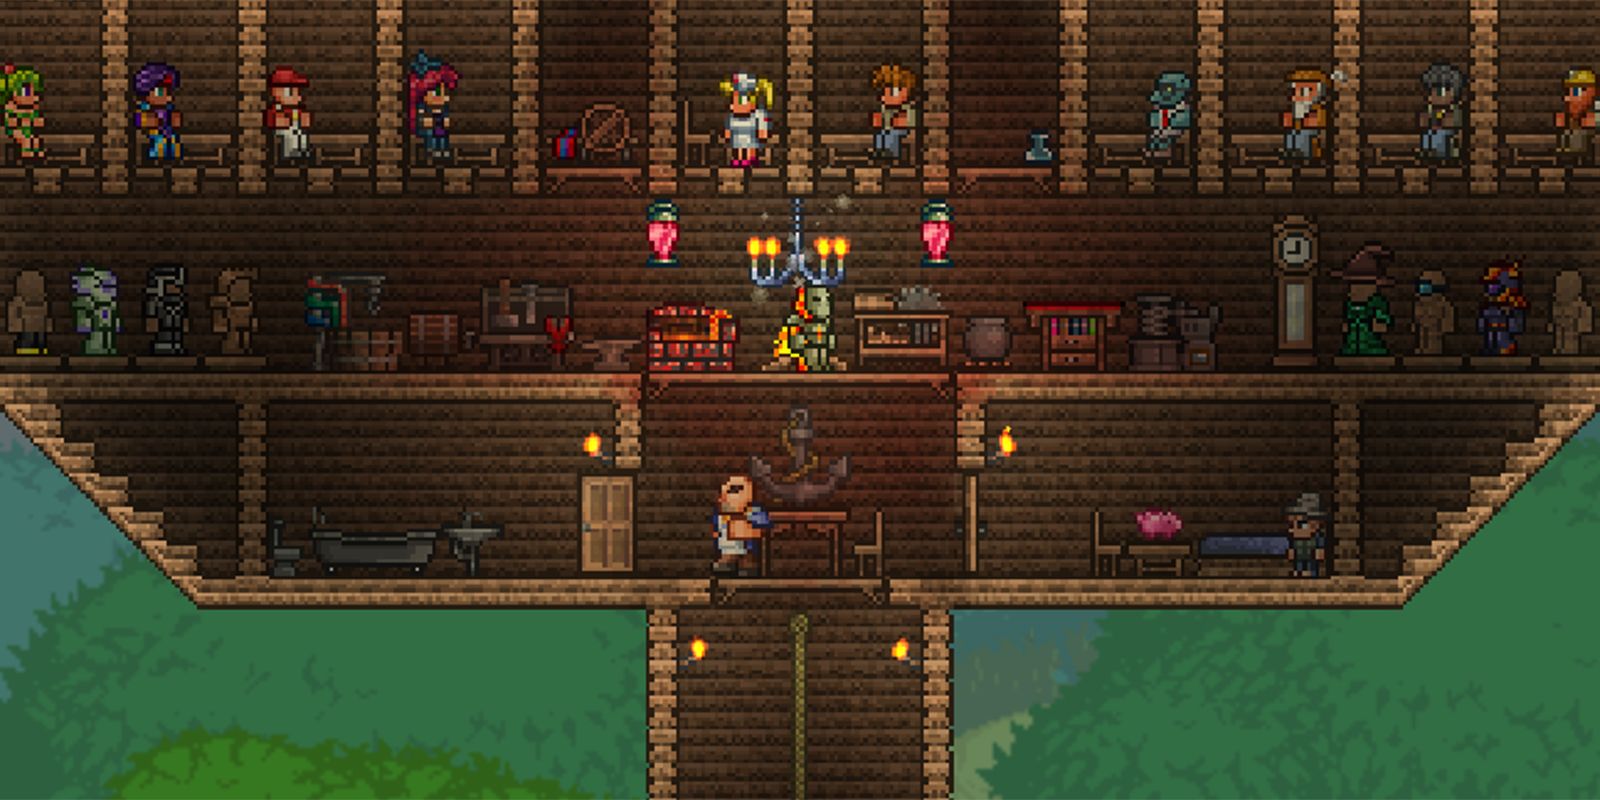
Like any boss fight it pays to gather a few helpful buffs before entering the fight:
- Sharpening Station (Sharpened Buff)
- Ammo Box (Ammo Box Buff)
- Crystal Ball (Clairvoyance Buff)
- Bewitching Table (Bewitched Buff)
- Slice of Cake (Sugar Rush Buff)
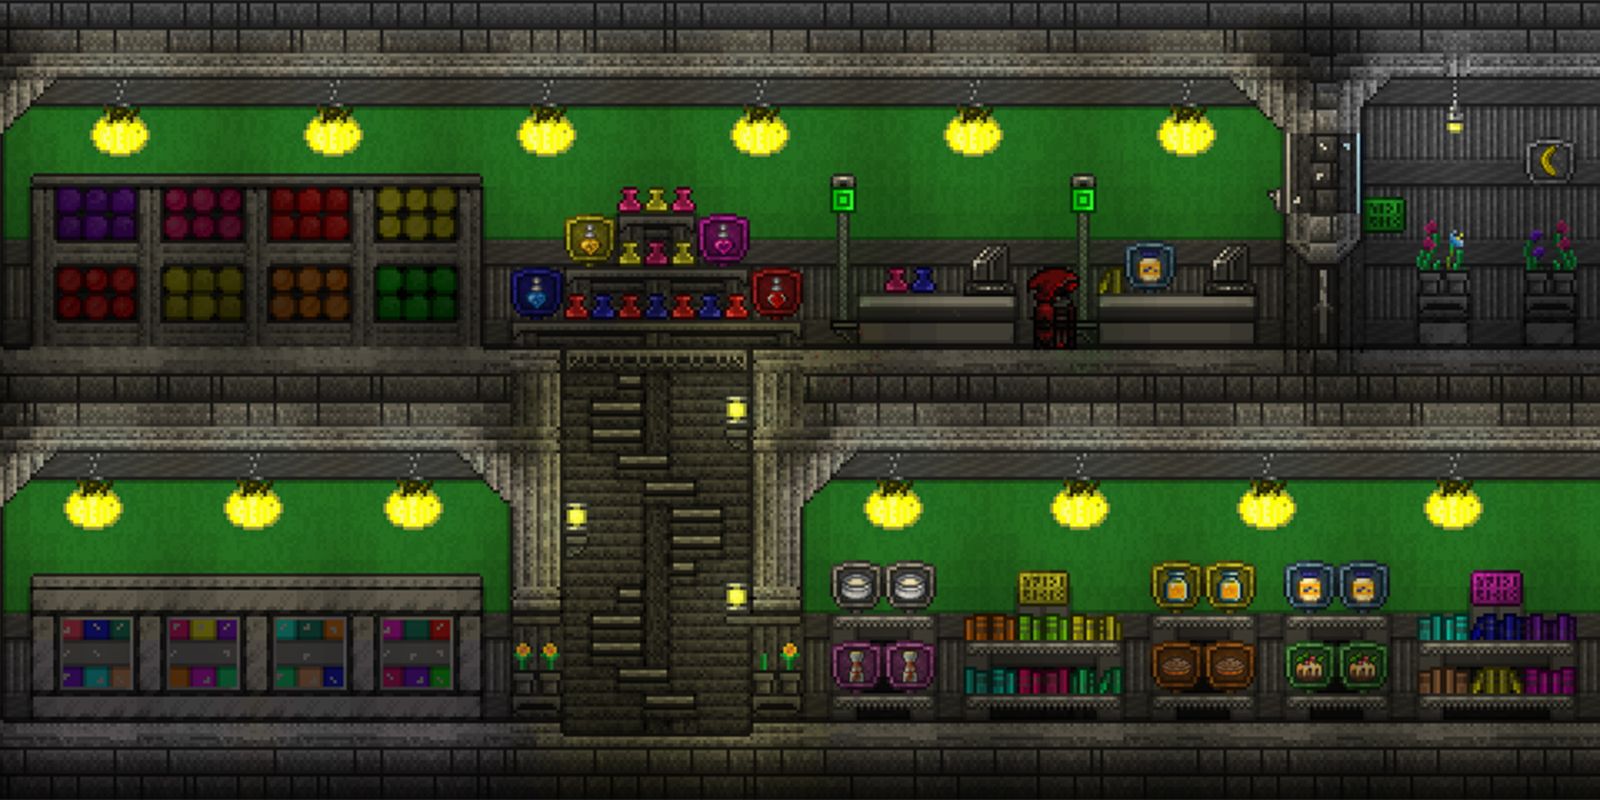
There are a variety of potions that can give players an edge in this fight. Generally speaking anything that boosts damage, survivability, and speed will be of most help. There are some specific potions the player should strongly consider having.
- Heartreach Potion (Helps Gather Hearts)
- Inferno Potion (Sets Hungry & Leeches On Fire With Attacks)
- Titan Potion (Wards Off Hungries)
- Obsidian Skin/Water Walking Potion (To Avoid Lava)
- Gravitation/Featherfall Potion (To Avoid Fall Damage)
- Calm Potion (Minimize Minion Summons)
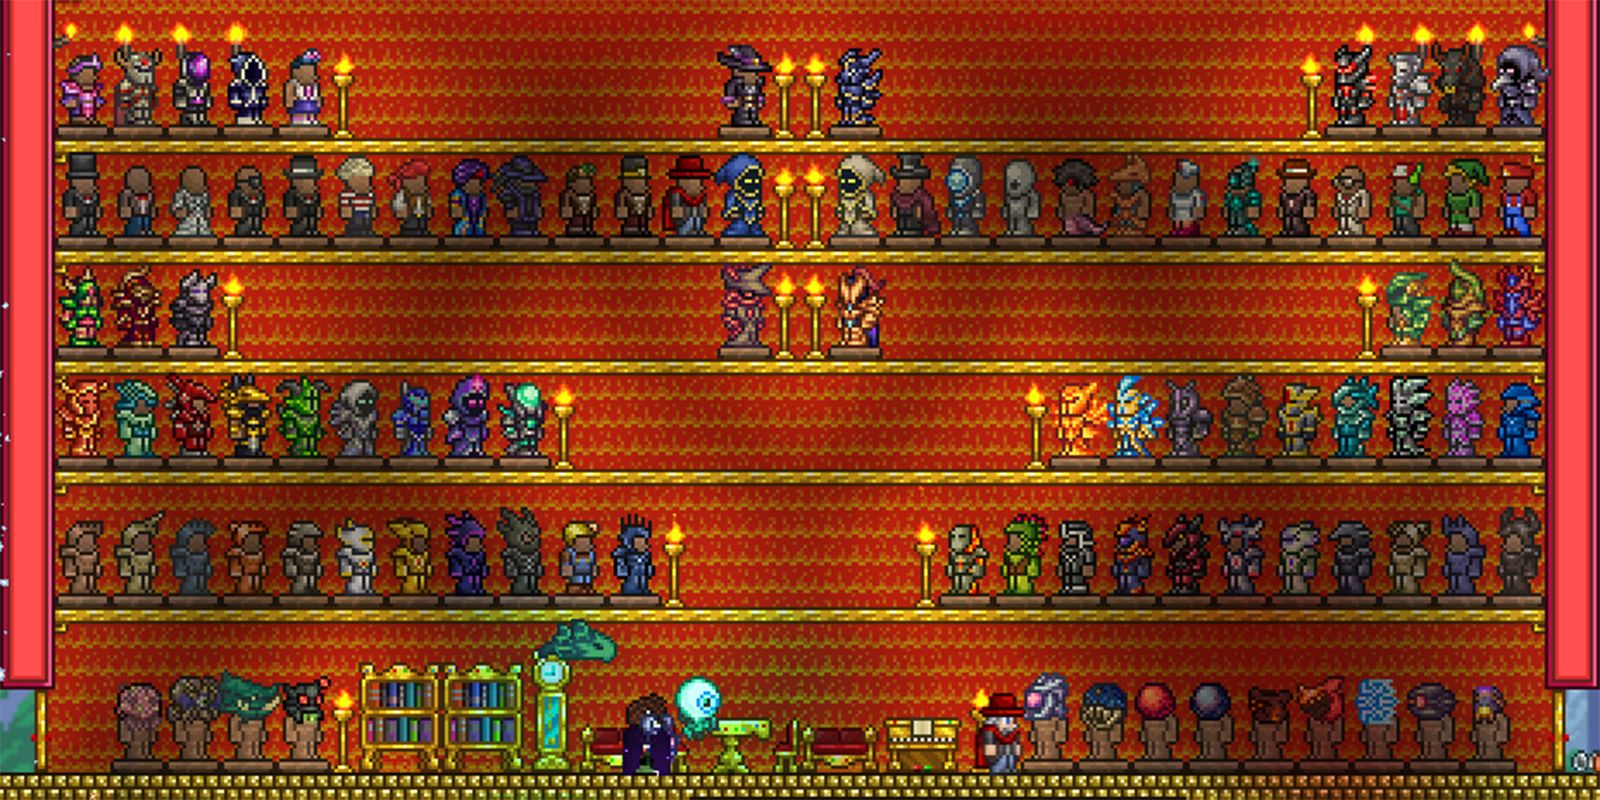
The best armor choices largely depend on the player’s build, playstyle, and overall strategy for the fight.
- Melee – Molten Armor (High Defense & Melee Damage Bonus)
- Sword/Spear – Shadow Armor (Boosted Melee Speed)
- Tanking – Crimson Armor (Health Regeneration & Damage Boost)
- Ranged – Necro Armor (Increased Critical Hit Chance & Less Ammo Consumed)
- Magic – Wizard set (Magic Boost)
- Players using magic might consider using Jungle Armor or Meteor Armor as the Wizard set doesn’t provide the best protection.
- Summoner – Bee Armor (Extra Minion Slot) or Obsidian Armor (Whip Damage Boost)
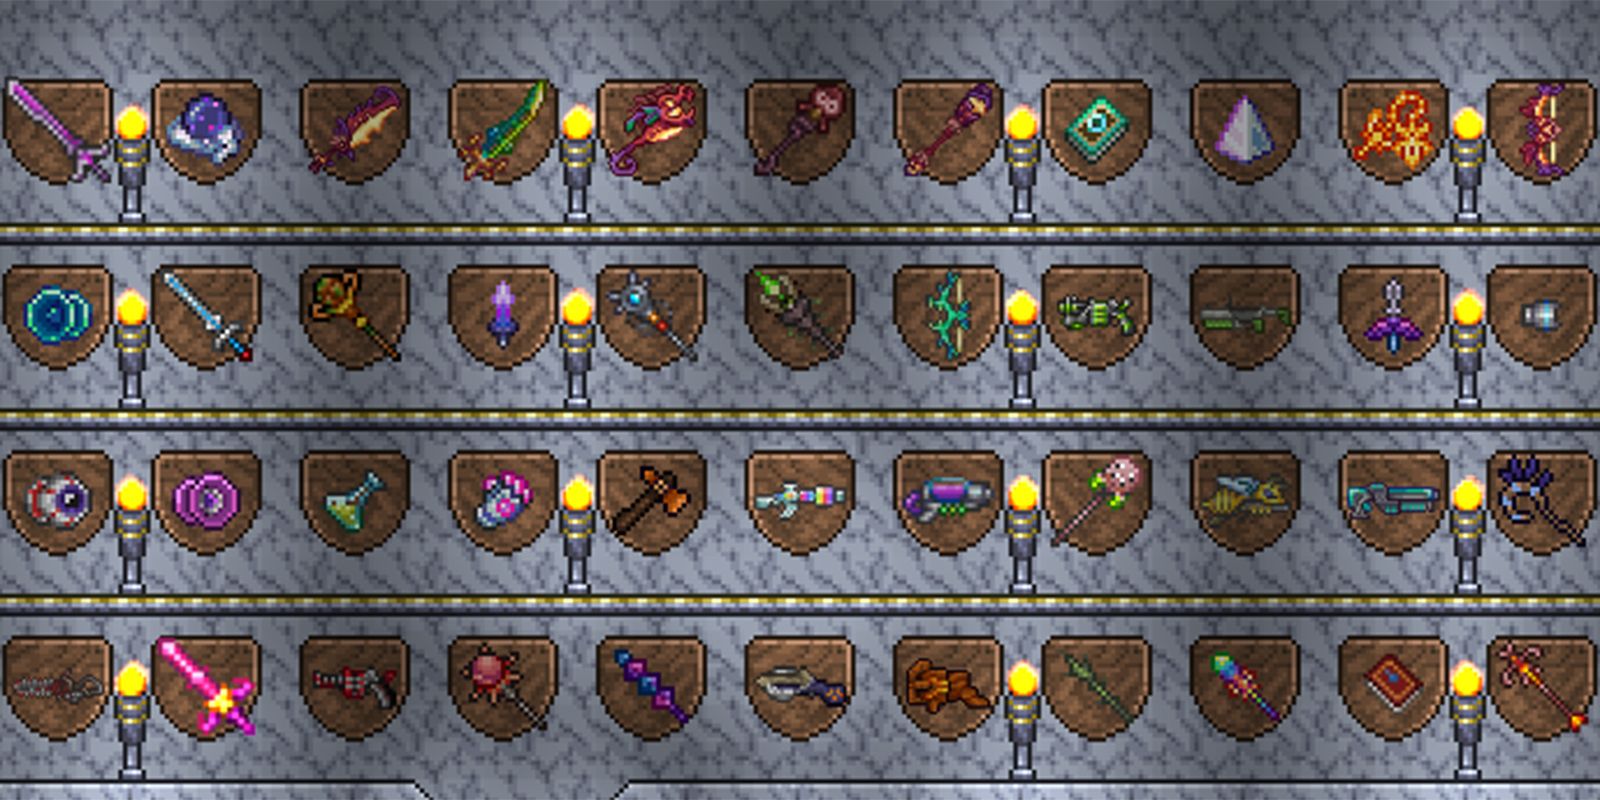
There are a lot of weapons for players to choose from and the best ones will be entirely dependent on the way the player fights. There are some specific suggestions based on playstyle.
RELATED: Terraria: How To Get Nightmare Fuel
Throwing Weapons are arguably the most effective at dealing with the wall. Many of these weapons have the luxury of doing lots of damage over time to a wide area and not requiring the greatest of accuracy. That being said its very easy to hurt yourself when using these weapons so caution is needed.
- Beenade – Perhaps the best weapon in the game against Wall of Flesh. The bees will damage the Wall of Flesh and its parts while the player runs away.
- Molotov Cocktail – Can be used to set the Wall of Flesh and its parts aflame. The pool of fire will damage the Wall of Flesh as it passes through.
- Grenade – Can quickly wipe out multiple Hungries and do major damage to the Wall of Flesh.
- Holy Hand Grenade - Massive damage can quickly kill all parts and the Wall of Flesh. Very expensive to obtain though.
Magic is another fantastic choice for taking down the Wall Of Flesh. The weapons often have a wide range capable of damaging both parts and the Wall of Flesh in one shot.
- Demon Scythe – Perhaps the best weapon after the Beenade for this fight. It’s capable of hitting both the parts and the Wall of Flesh multiple times with each strike.
- Book of Skulls – Deals lots of damage and strikes its target multiple times.
- Space Gun – Rapid fire, piercing, and receives a damage boost if paired with Meteor Armor.
- Gray Zapinator – Has a massive attack potential that raises if wearing Meteor Armor.
Bows are a solid choice as players can fire volleys every now and then as they run. It requires a bit more accuracy and timing is important. It’s a more active playstyle some enjoy in this fight.
- Hellwing Bow – Best bow available for this fight thanks to rapid fire. Wooden Arrows are easy to come by making ammo plentiful.
- The Bee’s Knees – Very similar to the Hellwing Bow, but with less damage potential.
- Molten Fury – Great at setting Hungries and Leeches on fire.
Guns are similar to Bows at the cost of being harder to obtain and the ammo is far more expensive. If the player can afford to use them they’re perhaps the best weapons in the game for this fight.
- Star Cannon – Will kill the Wall of Flesh in a few hits. The ammo is brutal to acquire though.
- Phoenix Blaster – Very powerful due to high damage. Meteor Shot is the best bullet for this gun.
Summons are a decent choice in this fight. Due to the nature of Summoner builds it may take longer to kill the Wall of Flesh. Players using these weapons should consider building a bigger arena.
- Imp Staff – Flying Imps are the best minion available. Their Fireballs will set the Hungries and Leeches ablaze.
- Ballista Rod – Lots of damage and piercing attacks.
- Explosive Trap Rod – The summons are slow but deal impressive damage over a wide range. They can also be summoned almost continuously.
Melee is easily the hardest path to take when fighting this enemy. Players must fight close enough to deal damage, dodge the parts and their attacks, all while without getting too close that the tongue grabs them. On Master Mode the Wall of Flesh kills any player instantly if they come into contact making Melee builds very dangerous.
- Falcon Blade – Autoswing and the ability to keep running while attacking is immensely helpful. The wide swing can damage the Wall of Flesh and keep the parts at bay.
- Night’s Edge – Same properties of the Falcon Blade (Better On Desktop)
- Bee Keeper – The weapon deals decent damage on its own. The bees are the real prize as they can do damage while the player runs away.
- Starfury – Its ability to pierce can harm both parts and the Wall of Flesh.
- Sunfury – Same advantages as the Starfury.
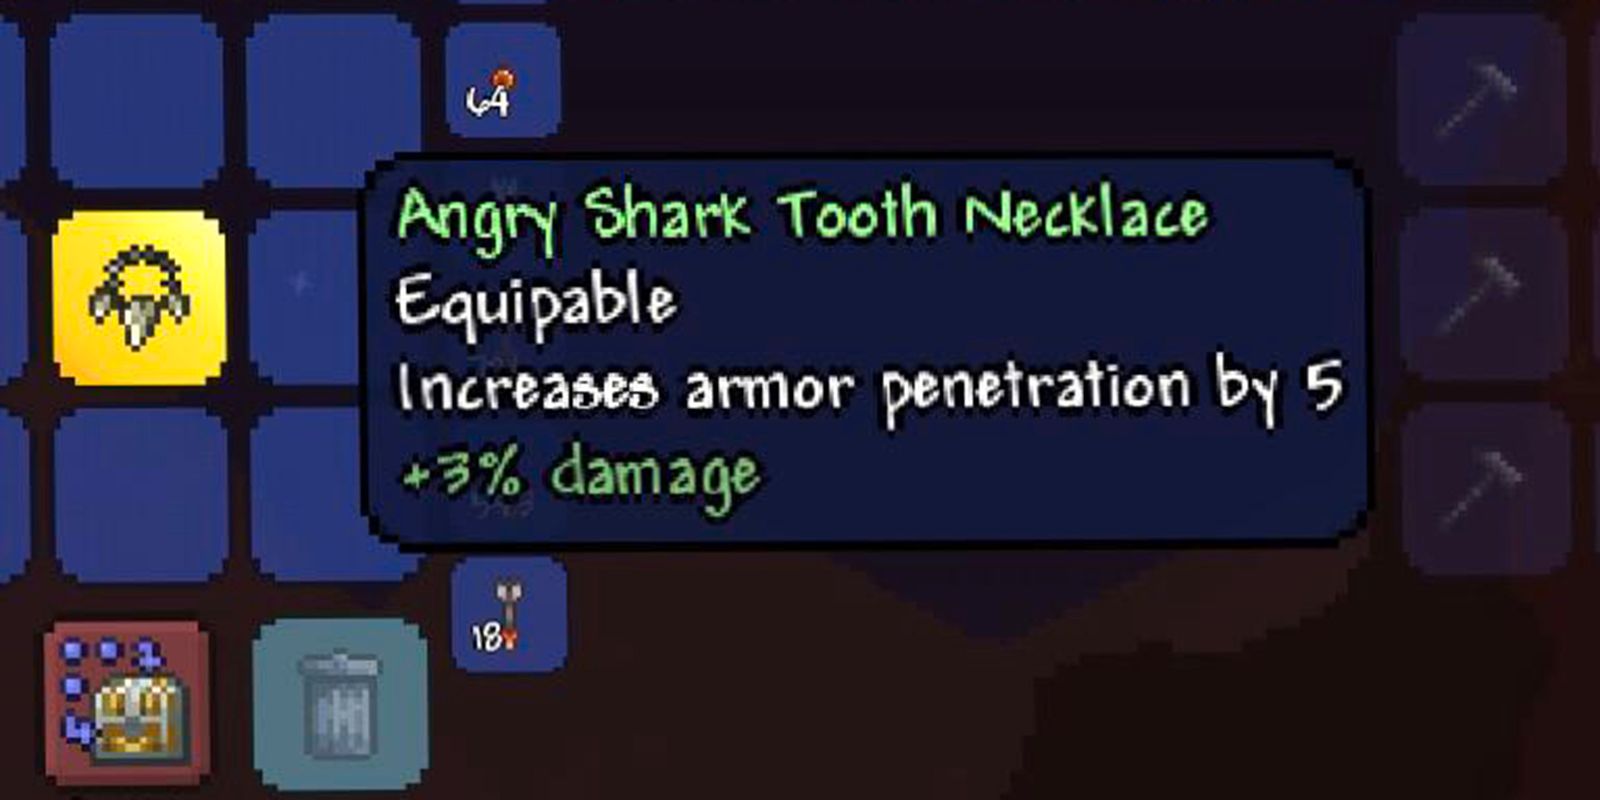
There are various items that will benefit the player in this fight in either damaging the Wall of Flesh, dealing with the parts, or avoiding environmental hazards.
- Lava Waders/Terraspark Boots - Walk on lava.
- Shark Tooth Necklace/Stinger Necklace - Increases damage & releases bees.
- Shield Of Cthulhu (Expert Mode) – Lots of mobility with dash attack.
- Worm Scarf (Expert Mode) – Massive damage reduction.
- Obsidian Shield – Lots of defense and knockback reduction. Required if using melee weapons.
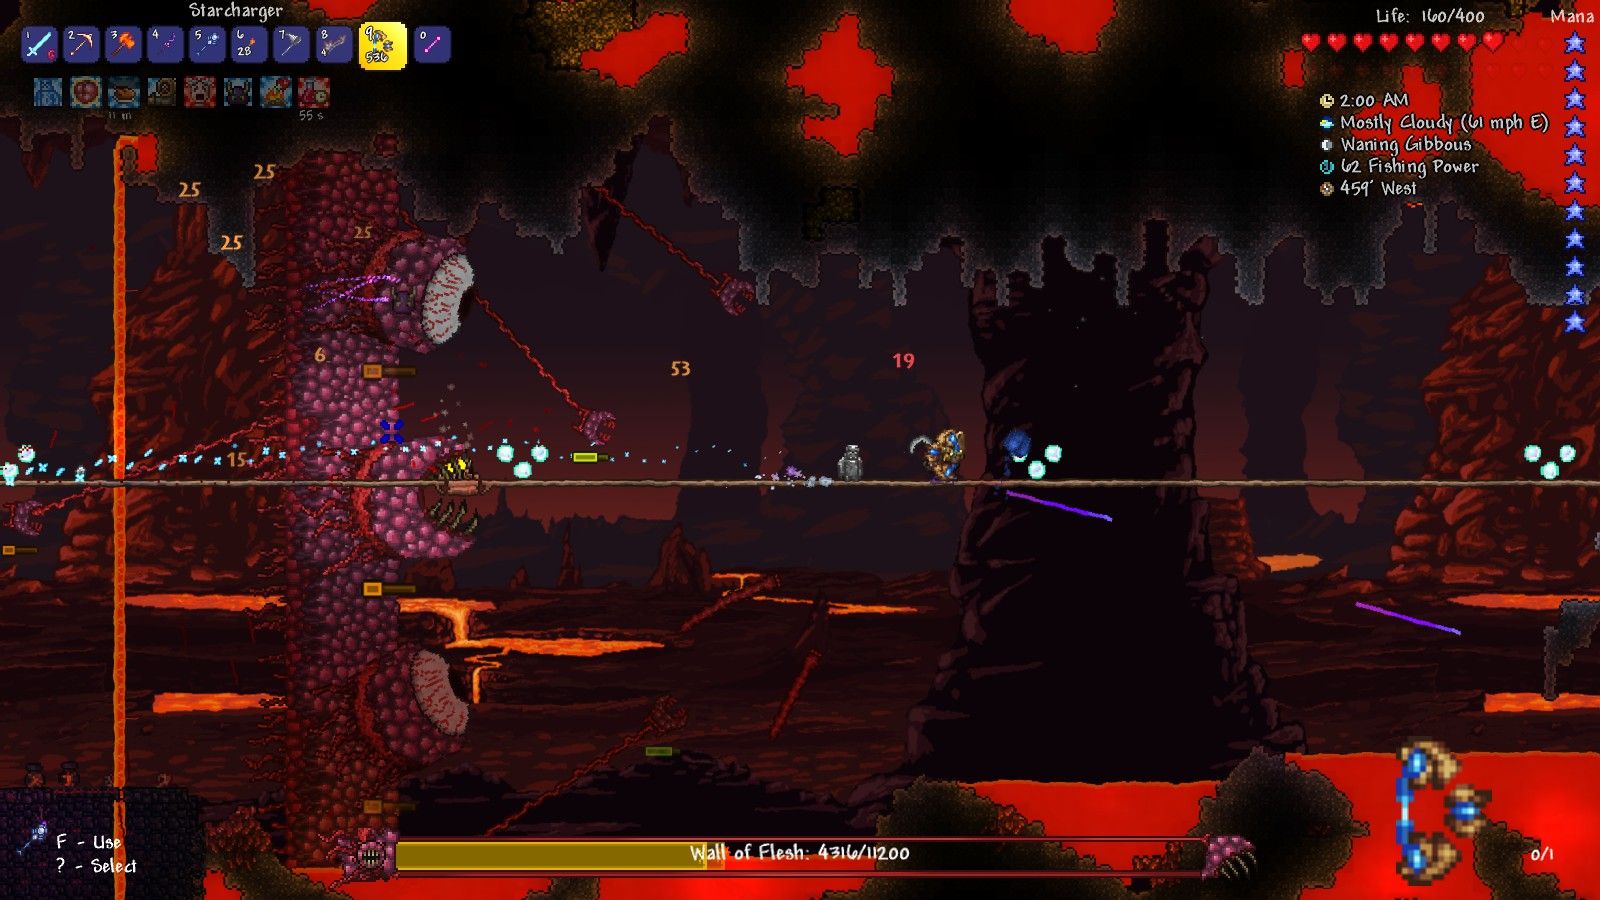
This is a tough fight, it’s the last boss before the game shifts over into Hardmode. As a result it’s a litmus test for how prepared, skilled, and equipped the player is for the next series of challenges. If players rae struggling they should strongly consider getting some more practice in, farming for supplies, or updating their gear.

