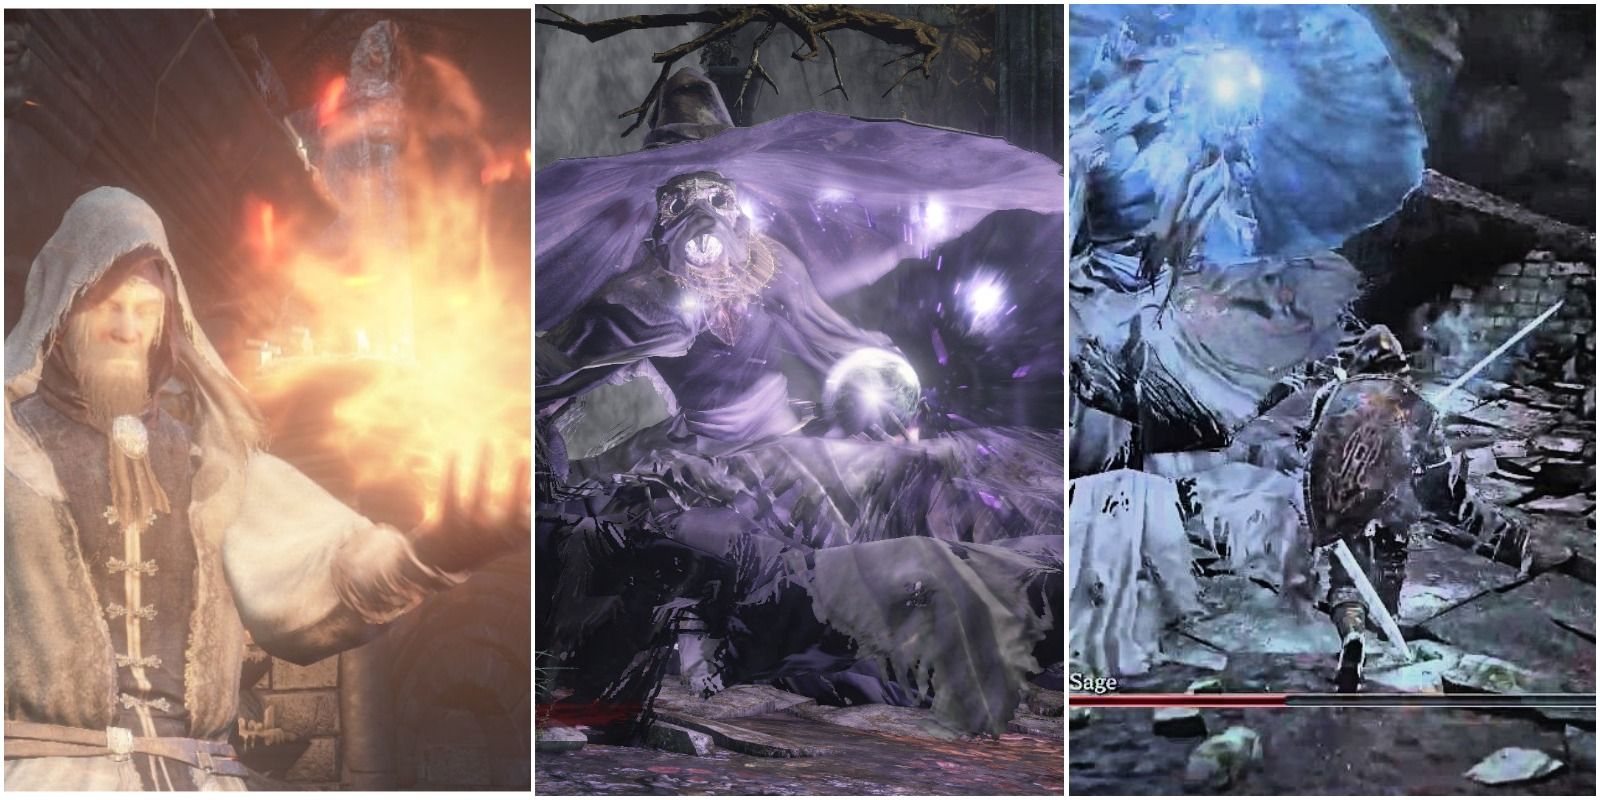
The boss found on the Road of Sacrifices is one that forms an offense almost entirely from sorceries. The Crystal Sage, one of the famous Big Hat Logan's few students, has lost their sanity since leaving the legendary sorcerer's tutelage and now resides in the Crucifixion Woods, where Dark Souls 3 players will encounter them amidst some ruins.
RELATED: Dark Souls 3 Boss Guide: How To Beat Pontiff Sulyvahn
It can be challenging to deal with the variety of spells that the Crystal Sage unleashes, though not impossible. In fact, there are a few ways to take down this boss in much easier manners than one would expect.
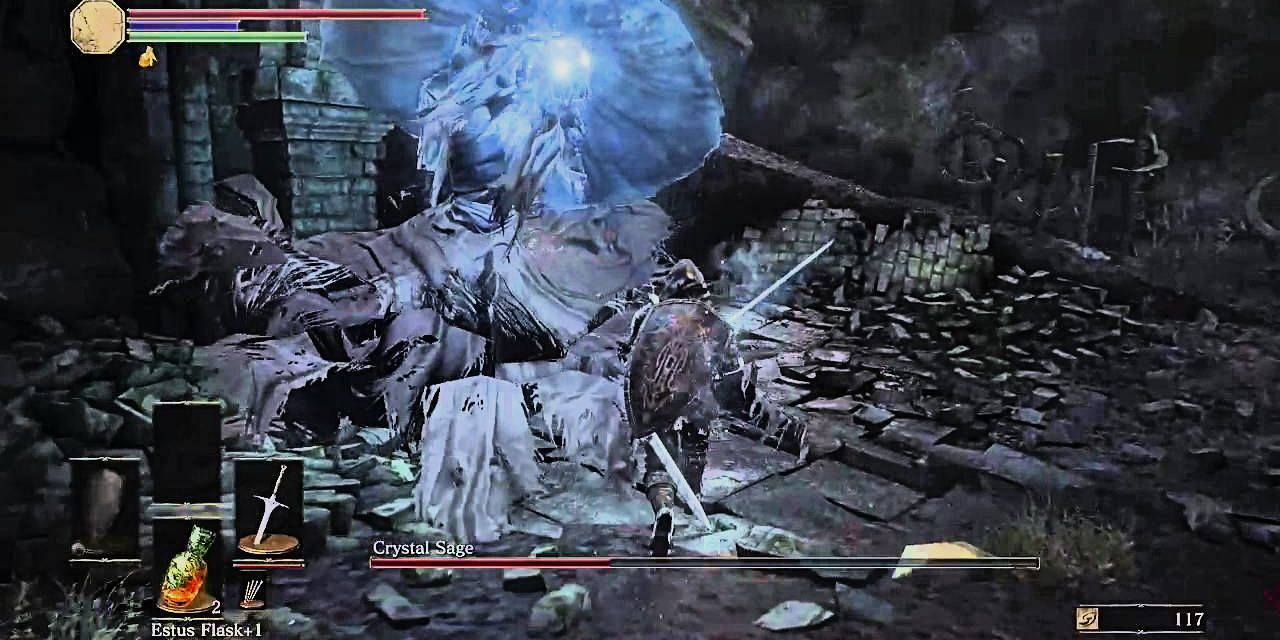
This boss' lack of armor and their focus on ranged attacks means that they are fairly easy to dominate at close range. The Crystal Sage can even be staggered if the player has a high enough attack rating. At close-range, the sage will usually try to slash at the player with their rapier, which can be annoying as it is hard to see coming.
Thankfully, these slash attacks don't do a great deal of damage to either one's health when hit or stamina when blocked, and this is likely due to the large spellcaster's noodle-like arms. The rapier attacks are much preferable to deal with than the plethora of sorceries that the sage can cast, so be sure to stay as close to the big-hatted boss as possible to avoid the magic. This can be tricky when they start teleporting, though this can be somewhat countered by continuously running towards them to decrease the amount of time that they have to cast spells.
RELATED: Dark Souls 3: 15 Most Powerful Spells, Ranked
However, when the Crystal Sage's health bar drops to below the halfway mark, they will enter phase 2, where they will begin summoning clones to aid them in attempting to overwhelm the players with spells. This can make things a bit tricky, though these clones can be differentiated from the real sage by the color of their magic: clones use blue spells whereas the real one uses purple spells.
Since the clones dissipate when struck, regardless of the damage dealt, any attack will do to get rid of them. Running attacks with one's melee weapon, or consumable items like Throwing Knives and Firebombs, are the most effective method of getting rid of the clones. Since the Crystal Sage is weak to lightning, fire, dark, and poison, it can be very helpful to buff one's weapon both before and during this boss battle.
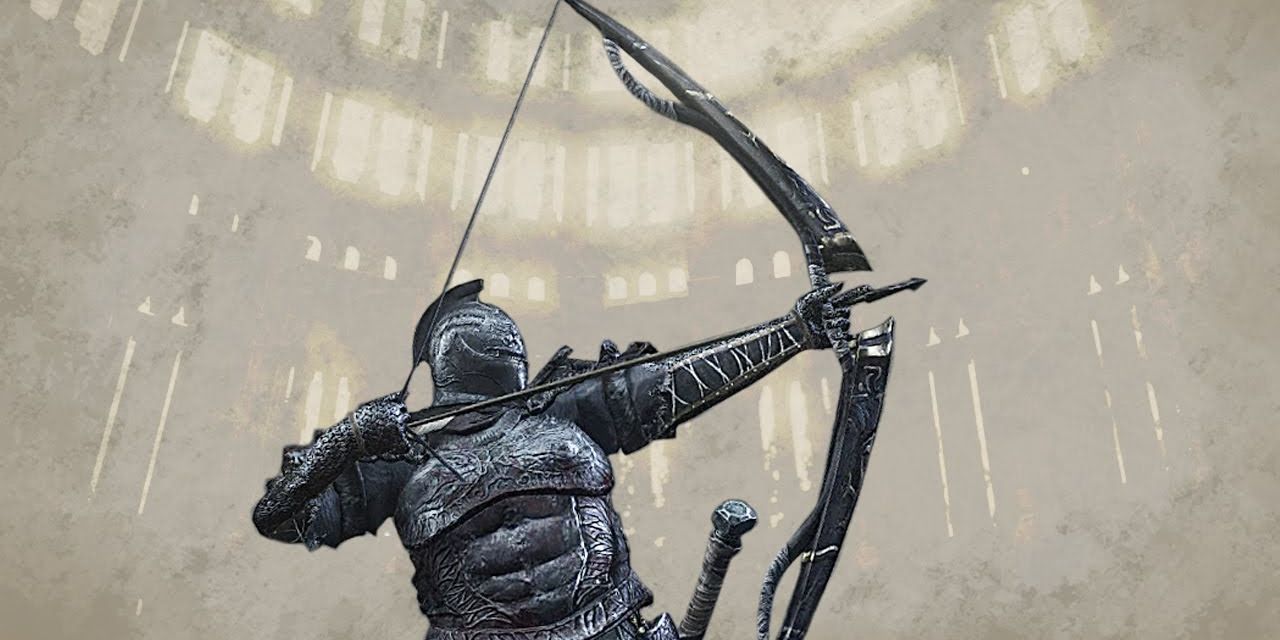
If one is intending to use a bow for this fight, it is recommended to bring a lot of ammunition. Since there are quite a few pillars in the boss arena, players should use them as cover to avoid most of the Crystal Sage's spells. However, be wary as one of their attacks causes magic missiles to rain down from above and will not be blocked by the pillars.
When the 2nd phase begins, the player will have to perform hit and run tactics as the clones can be arguably more dangerous for archers than the boss' main body, for they can surround the player and render the cover of the pillars useless. Take them out with well-placed shots before focusing on the real sage. Rinse and repeat until the boss runs out of health.
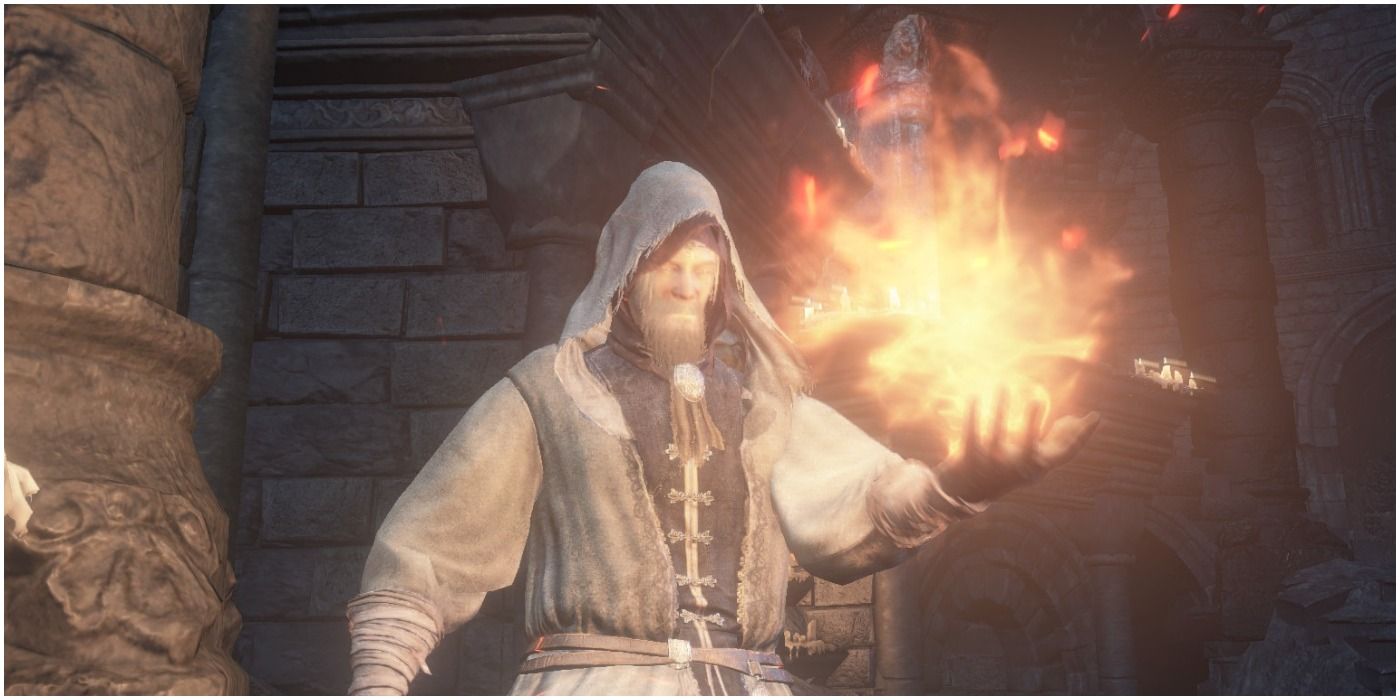
Since one of the Crystal Sage's many weaknesses is fire damage, pyromancers will be capable of dealing high levels of hurt to this magical adversary. In phase 1, it is recommended to get up close and personal with the sage and spam the Pyromancy Flame's weapon skill, Combustion, as it has a very fast casting time and is ideal to use at melee range, which alleviates having to deal with the boss' spells. Be wary of their rapier attacks, for pyromancers probably can't tank these as well as a melee build would.
RELATED: Dark Souls 3: Usurpation Of Fire Questline, A Step By Step Guide
In phase 2, players should use the Fireball spell, or any of its relatively quick variations, as this will help them take out the clones faster. When the clones are down, go back to spamming Combustion on the boss' main body. This tactic should allow the Ashen One to obliterate the Crystal Sage fairly quickly, though be sure to prioritize evasion over damage, as it is very possible to get caught by one of the sage's (or their clone's) spells while casting a Fireball or other pyromancy that isn't Combustion.
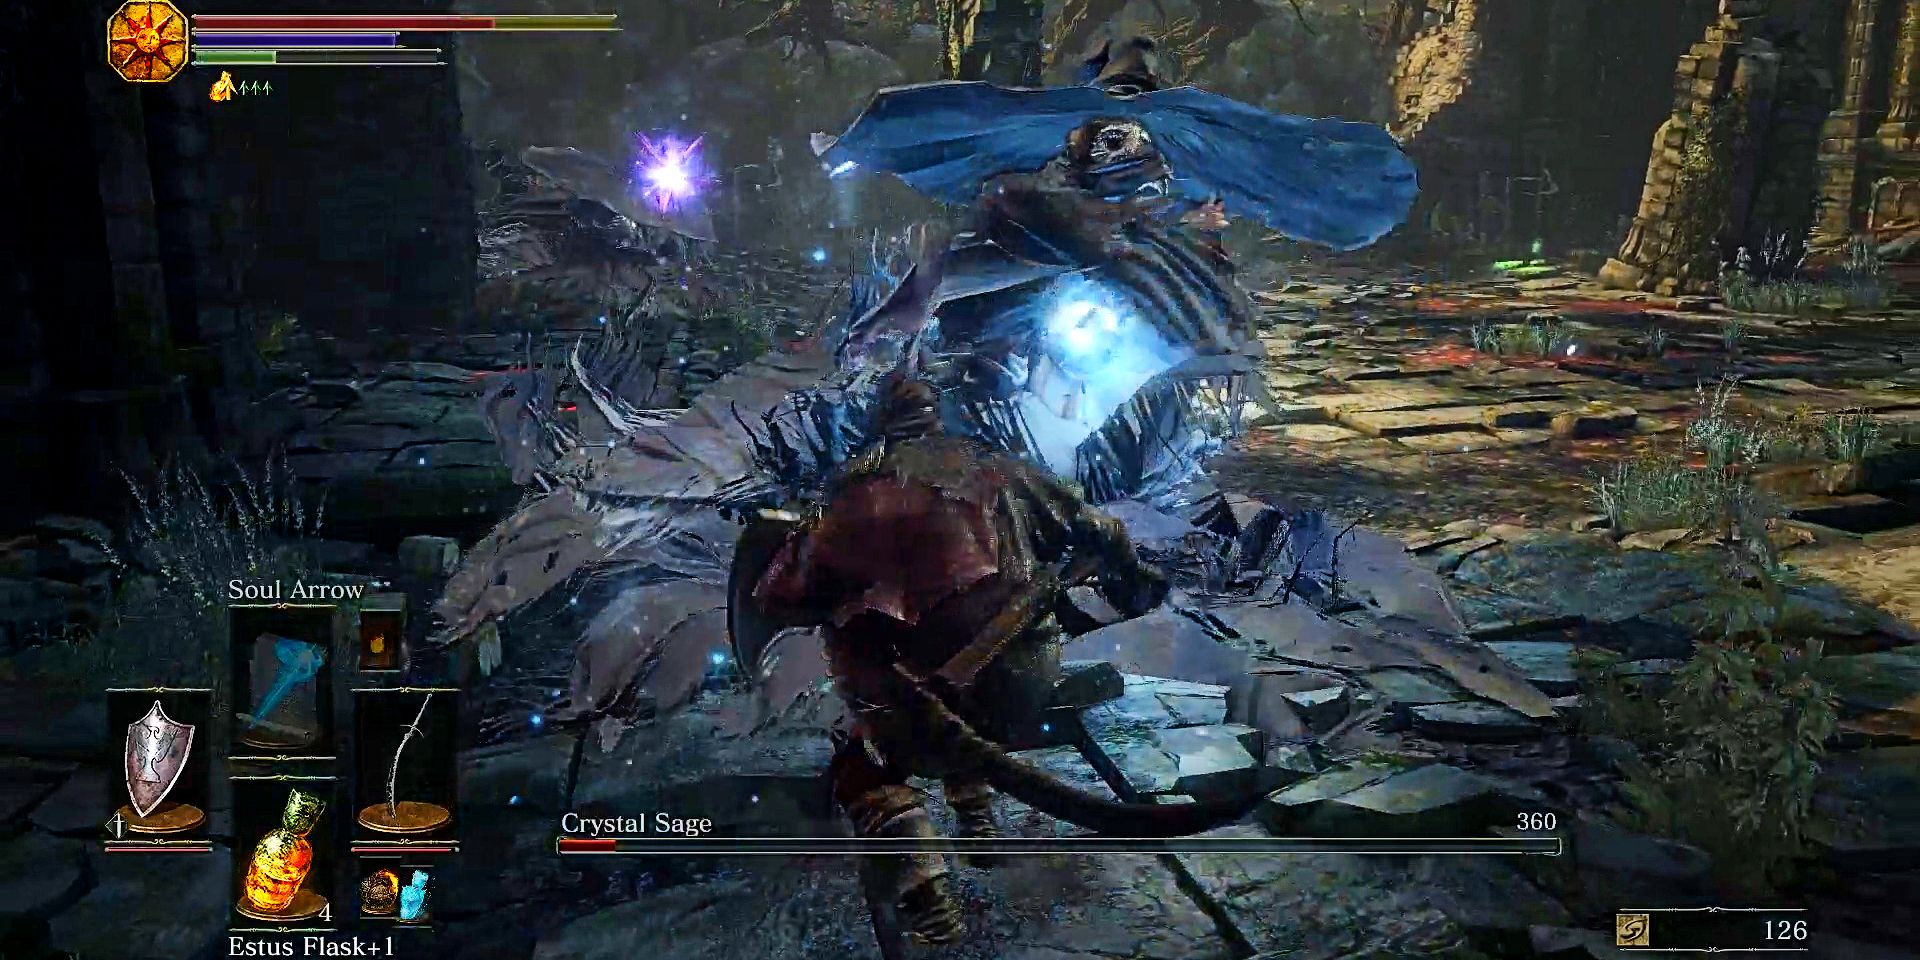
With the proper timing and technique, it is possible to completely avoid the 2nd phase of this fight. The only equipment mandatory for this strategy is a decent melee weapon and a shield that can parry. The first step is to get the boss' health down to between 50% and 60%. Make sure that their health does not go below 50% or the sage will enter phase 2 and begin spawning clones.
When their health reaches this point, be on the lookout for its rapier attacks. Their combo with this melee weapon has a slow start-up, despite its fast slashes, therefore it is ideal to catch the first blow with a parry. Since the folds of the sage's billowing robe obscure its sword arm a bit, players should focus on the boss' posture to get the parry timing down correctly. The Crystal Sage will tense their body quite obviously and will not be casting a spell; these two signs indicate that a melee attack is coming.
After the boss gets parried, they can be riposted for huge damage, which should leave them with only about 20% of their health or less. While they are getting up after the riposte, there will be a solid 3 seconds where players can unleash their choice of damage (spamming light attacks works pretty well) and take out the remainder of the sage's health. If done correctly, the Ashen One can drop the Crystal Sage into an early grave before they can summon their obnoxious clones.
NEXT: Dark Souls 3 Guide: How To Beat The Dancer Of The Boreal Valley Boss

