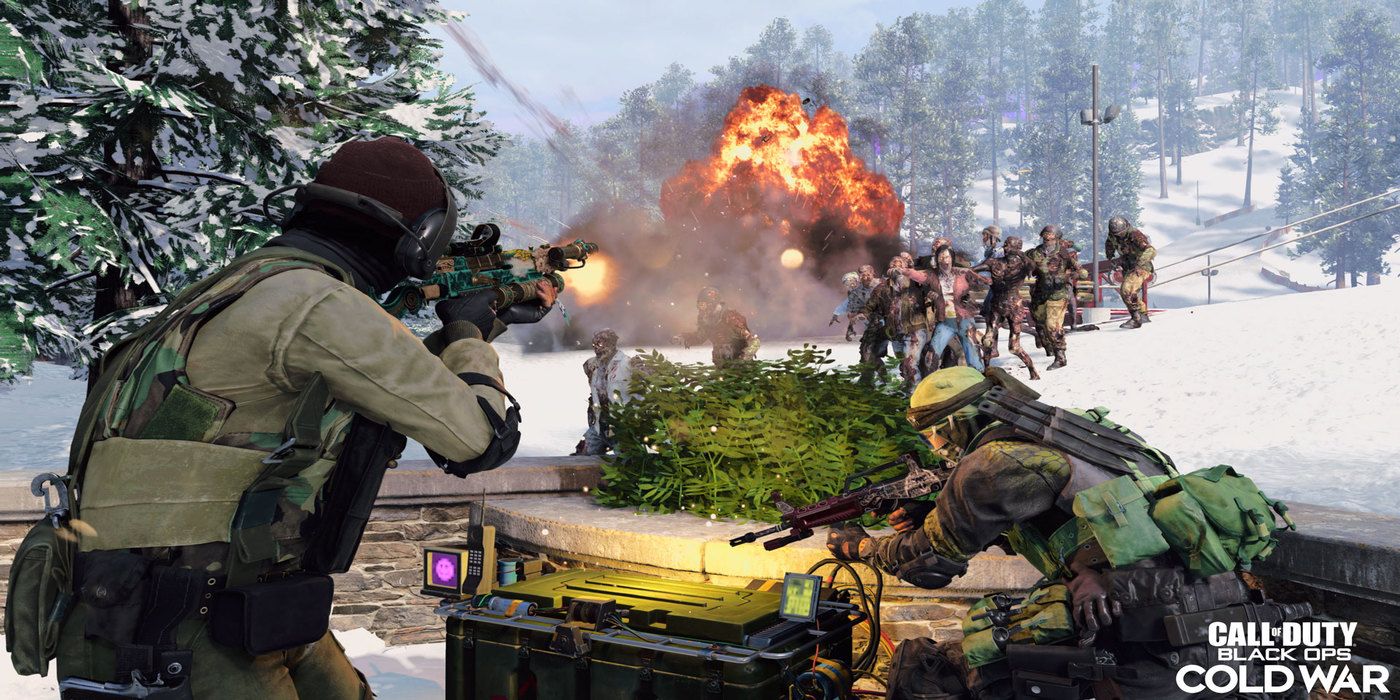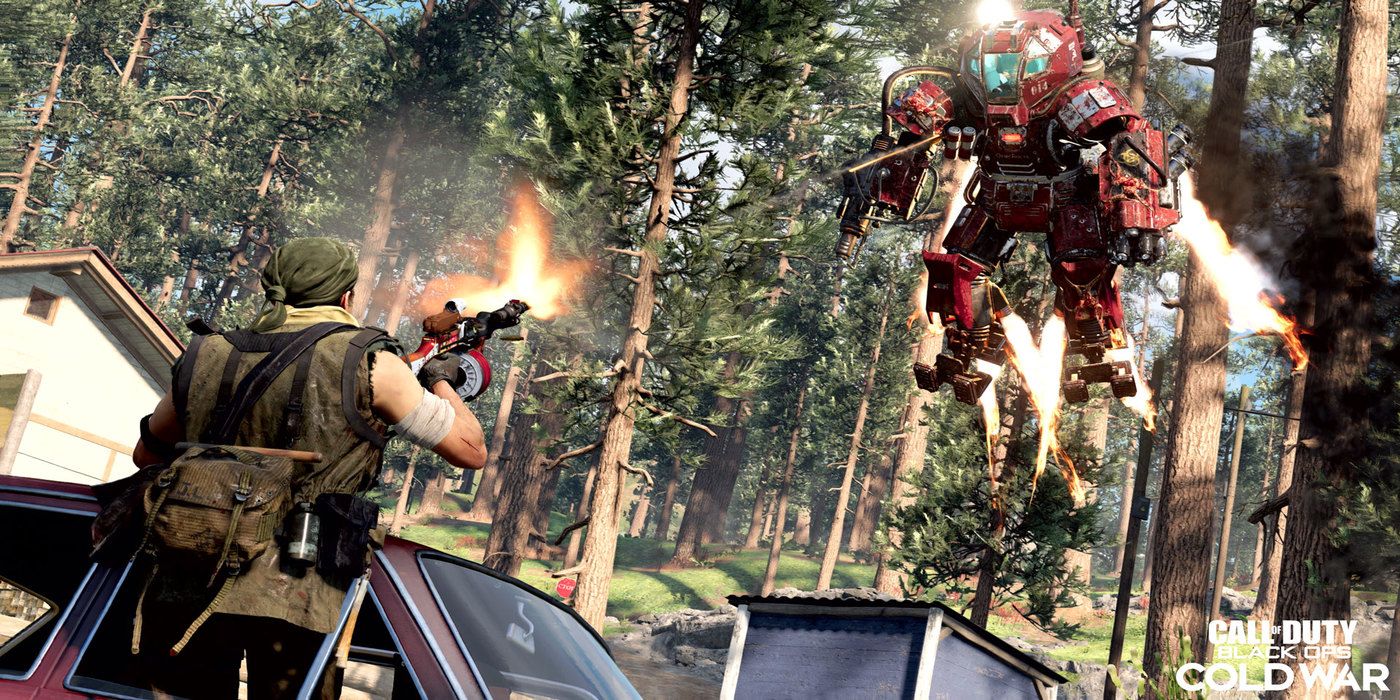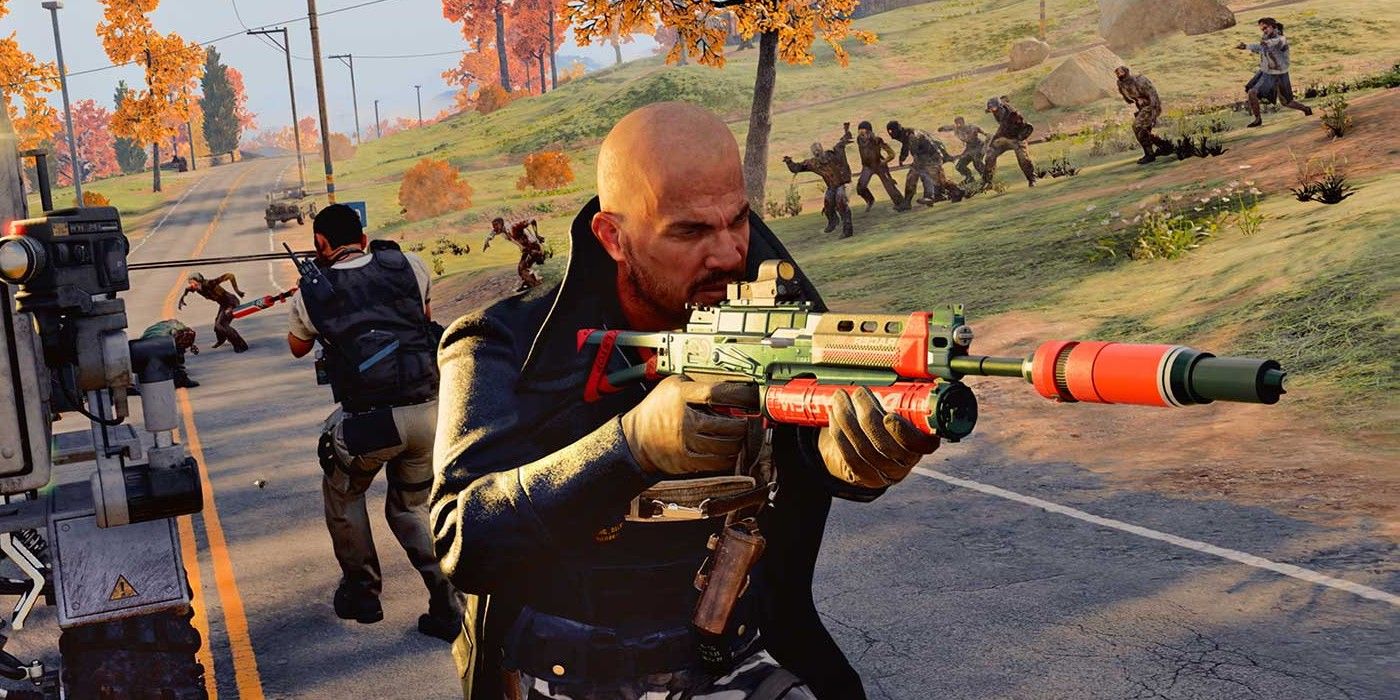
Call of Duty: Black Ops Cold War Zombies has officially received its Outbreak mode, and fans have learned quite a bit about the open world Zombies offering in the time since it launched. Between several types of main objectives, obscure side quests, and hidden Wonder Weapons, there is a lot in the mode to keep track of. As such, Zombies players will want to have a plan whenever they start a game of Outbreak, and there is a clear way that players should progress throughout the match.
With this new Call of Duty: Black Ops Cold War mode not getting easter egg quests until Season 3, players can focus on just enjoying Outbreak for the time being. Though the mode starts off easy, as Zombies stick to a shambling speed and have a small amount of health, players will quickly find that the difficulty increases rapidly. Faster hordes, tougher mini-bosses, and greater numbers of foes can all be seen after each objective is finished and players go higher players in the world tiers. Fortunately, being taken down by the undead can be avoided by knowing what to expect and planning accordingly.
RELATED: Features A Standalone Call of Duty Zombies Game Needs To Succeed

When starting a match of Outbreak, players will begin in one of three Fireteam Dirty Bomb maps: Ruka, Alpine, and Golova. The first three world levels will reveal a match’s cycle, giving players an idea of what to expect for the rest of the game. For example, players that start on Alpine, move to Golova, and end at Ruka will continue to do so for the remainder of the match. Knowing this order will help players prepare for the terrain they will be facing, and enough practice will allow Zombies fans to know where to go (and where not to go) on every map.
Much like in regular Zombies, players will start off with no points and no salvage. With both currencies essential, stocking up on them will be a must. Fortunately, there is no safer time to do this than in the early world tiers, as slow Zombies and weak mini bosses make this a breeze. With all the time in the world, players should search through every nook and cranny of the first three maps, looting every building they come across. Crates will make a distinctive beeping noise followed by a young girl’s laughter, something that should make finding them easy. While these crates will have salvage inside them and should be a priority, boxes of salvage can be found as well. Essence containers are also available, with some resting on tables and others obtainable by parachuting.
While exploring to gather currency, players will encounter several different side missions to do. These can also be seen by looking for special icons on the map, and players should make sure they complete them before moving to a new area. The side quests are as follows.
- Aetherial Orbs: Balls of Aether energy can sometimes be found on the map, and players should make sure to shoot them as much as they can – even if the crying that happens when they do is terrifying. The balls will then drop Essence and move to a new location, and players quick enough to catch them will be able to shoot them again. A third chase will then play out, and players can fully destroy the ball at the end, scattering several on the floor.
- Hunting Parties: Found on the edge of a map, these quests are marked with skulls and will see players activating a radio and finding out how a group of Requiem soldiers met their demise. From there, they can turn around to find a beam of light a short distance from the radio. At this beam, a group of mini bosses can be found, and killing them will see players awarded with a free perk.
- Dragon Feeding: The Dragon side quest serves as an easter egg for the Der Eisendrache map, and sees players feeding Zombies to the head of the beast. Players have around a minute to feed the Dragon, and depending on how much it was fed, a different rarity chest will be given to players. NOTE: The “fullness” of the dragon can be tracked by the purple energy in the containers on the left and right of the rocket.
- Locked Golden Chest: Players can find a symbol on the map that looks like electricity around a box, and activating it will spawn hordes of Zombies, Hellhounds, Megatons, Mimics, and Manglers. The new Tempest enemies can also spawn. Once all are dead, the large gold chest can be unlocked.
- Demented Echo: Originally seen as a jumpscare when opening the Mystery Box, these fiery ghouls randomly appear around the map. If killed before they hit the player, they can drop a scorestreak. If they land a hit, however, several enemies will be spawned.
By focusing on side quests and crate looting, players should have no problem getting setup in the early stages of Outbreak. By the time Tier 4 begins, players should have level 3 armor, a partially upgraded gun, and most of their perks.

Fortunately, the world tiers should go by quicker in levels 4-6. Though the Zombies get faster and begin to sprint, players will need to focus less on searching every building and area on the maps. Instead, they should focus on side quests and main objectives only. If players stumble upon crates, they should loot them, as salvage will still be needed to full upgrade weapons. Fighting every weapon and looting every crate will not be needed, however, and fights with Panzer mini bosses should be avoided. While players can take them down, it takes time to do so, and their loot is not worthwhile.
In these middle world tiers, Call of Duty Zombies fans will want to keep doing trials. Activated via the same machine as the one seen in Firebase Z and Die Maschine, the goal will be to reach a legendary reward tier. This tier has the chance of giving players a Wonder Weapon. The potential drops are the DIE Shockwave, the RAI-K rifle, and the classic Ray Gun. For success in the high rounds, players will want to prioritize getting the RAI-K or Ray Gun. These Wonder Weapons can also drop from crates on high rounds, but trial rewards are the most surefire way to obtain them.
RELATED: Call of Duty Zombies: The Case for Bringing Back The Chaos Storyline

With players usually having their weapons and armor maxed out by World Tier 7, there is little reason to explore maps. Instead, players should focus on completing Outbreak’s main objectives, as Zombies will become extremely hard to kill at this point in the match. Different strategies can and should be applied to each objective, though, and there are as follows.
- Retrieve: One of the harder main objectives, Retrieve sees players needing to carry two containers of Aetherium back to a rocket. To succeed, all players should prioritize one of the two containers, with the team helping the slowed down player escort it back to the rocket safely. The player holding the cannister gets access to a special Field Upgrade ability which sends a blast out that kills all enemies in the area. Recharged with only a few kills, players not holding the canister should weaken Zombies so that the canister holder can finish them off and recharge the powerful ability.
- Escort: A classic objective where players push a payload forward, Zombies will constantly be pushing toward the players and the rover. The electric Tempest enemies, which are reskinned versions of the Avogadro mini boss from the map TranZit, can stop the rover in place if they shoot it. As such, players should prioritize killing them. While the payload will initially be a monkey, each trip through a portal changes the item in the cage, and players can sometime snag a Max Ammo or breakable crystal from inside.
- Defend: One of the easier objectives, defend sees players placing a Zombie head inside a machine and protecting it will data is gathered by Requiem. The process takes three minutes, though having a player watch each path with guns and powerful scorestreak items should make the time fly by. Further, the head can take a lot of damage, something that makes this objective even easier.
- Holdout: Undoubtedly the hardest objective in all of Onslaught, players will need to have a RAI-K or Ray Gun to survive on high rounds. Trapped inside the Dark Aether, players will have a very small room to holdout in. Monkey Bombs will be a must, as Zombies and mini bosses will tear down the barriers with ease. The Ray Gun’s damage will help with the hordes, while RAI-K users will want to spam the alternate fire to slow down their opponents. With no room to train, players of all skill levels will have to put some effort in to reach the end of the four minute period.
- Eliminate: Following up the hardest objective with the easiest, Eliminate tasks players with taking on a named Mangler, Panzer, or Megaton. With players doing this all game, though, it should not be a problem. After each third of health is taken away, the mini boss will flee, and players can repeat the process. If using the powerful Field Upgrade Ring of Fire, this mission will be an absolute breeze.
While Outbreak gets extremely tough from World Tier 7 and on, players that work together can survive. Focusing only on main objectives at this point will help, as players will surely have put a lot of time into the match by this point. With high world tiers providing a lot of Aetherium Crystals to help with progressing through the Zombies mode’s new meta, getting far in Outbreak is wortwhile. If players can pull off an exfiltration, which should be easy using monkey bombs and Chopper Gunners, they can get even more Crystals for their efforts.
A fun mode with plenty of upside, Outbreak should only get more entertaining as time goes on and more content is added. For now, though, there is plenty in the mode for fans to see and do.
Call of Duty: Black Ops Cold War is available now on PC, PS4, PS5, Xbox One, and Xbox Series X.
MORE: Call of Duty, State of Decay, Dying Light - Gaming's Obsession with Zombies Explained

