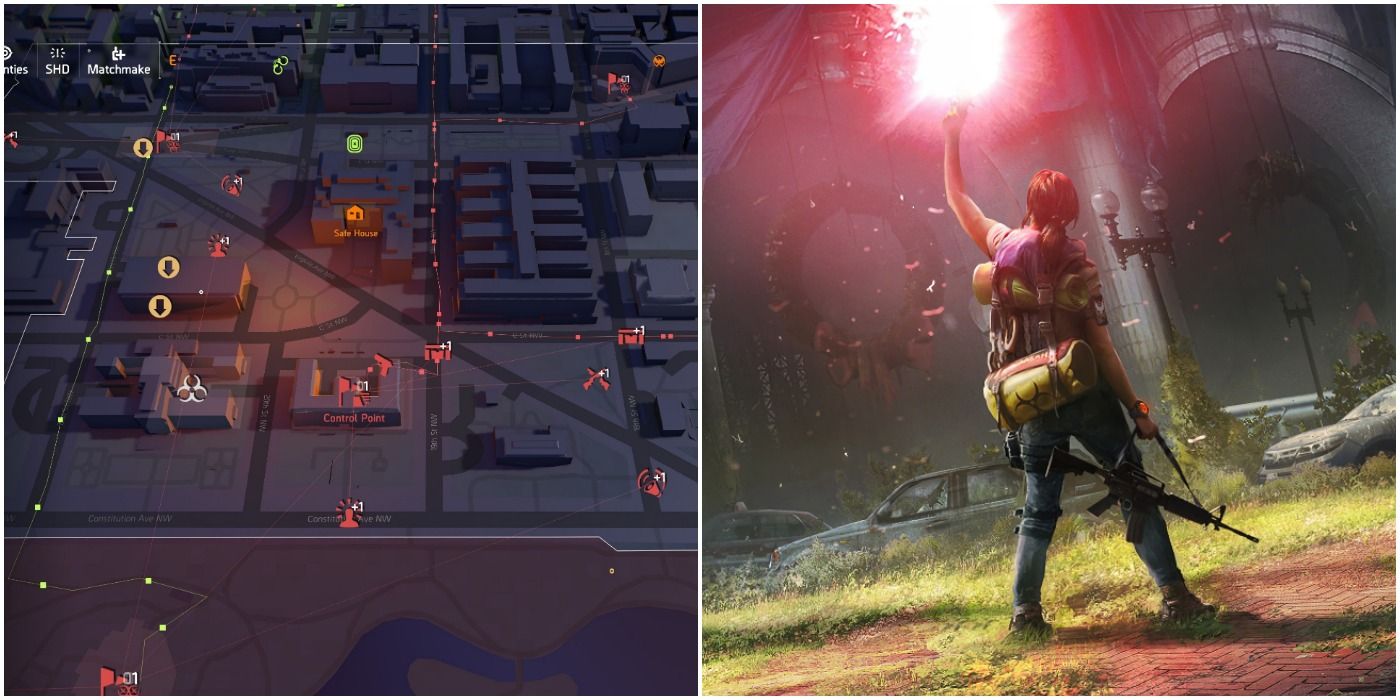
The Division 2 is one of the most acclaimed RPGs of 2019 and a popular shooter in a crowded market. Not only did it boast numerous gameplay improvements for both single-player and multiplayer modes, but it created a thrillingly chaotic version of Washington, D.C. with a myriad of activities utilizing that gameplay.
RELATED: The Division 2: Every Specialization Explained
Among the more prolific pastimes that players can partake in is conquering control points. These enemy camps are scattered throughout the map, just waiting for eager gamers to conquer them. Eliminating enemies and moving allied forces into these locations is no small feat. Each of these is more challenging than the last. As such, players should know what they're getting into and how to overcome these obstacles.
10 Don't solo it like other Ubisoft games
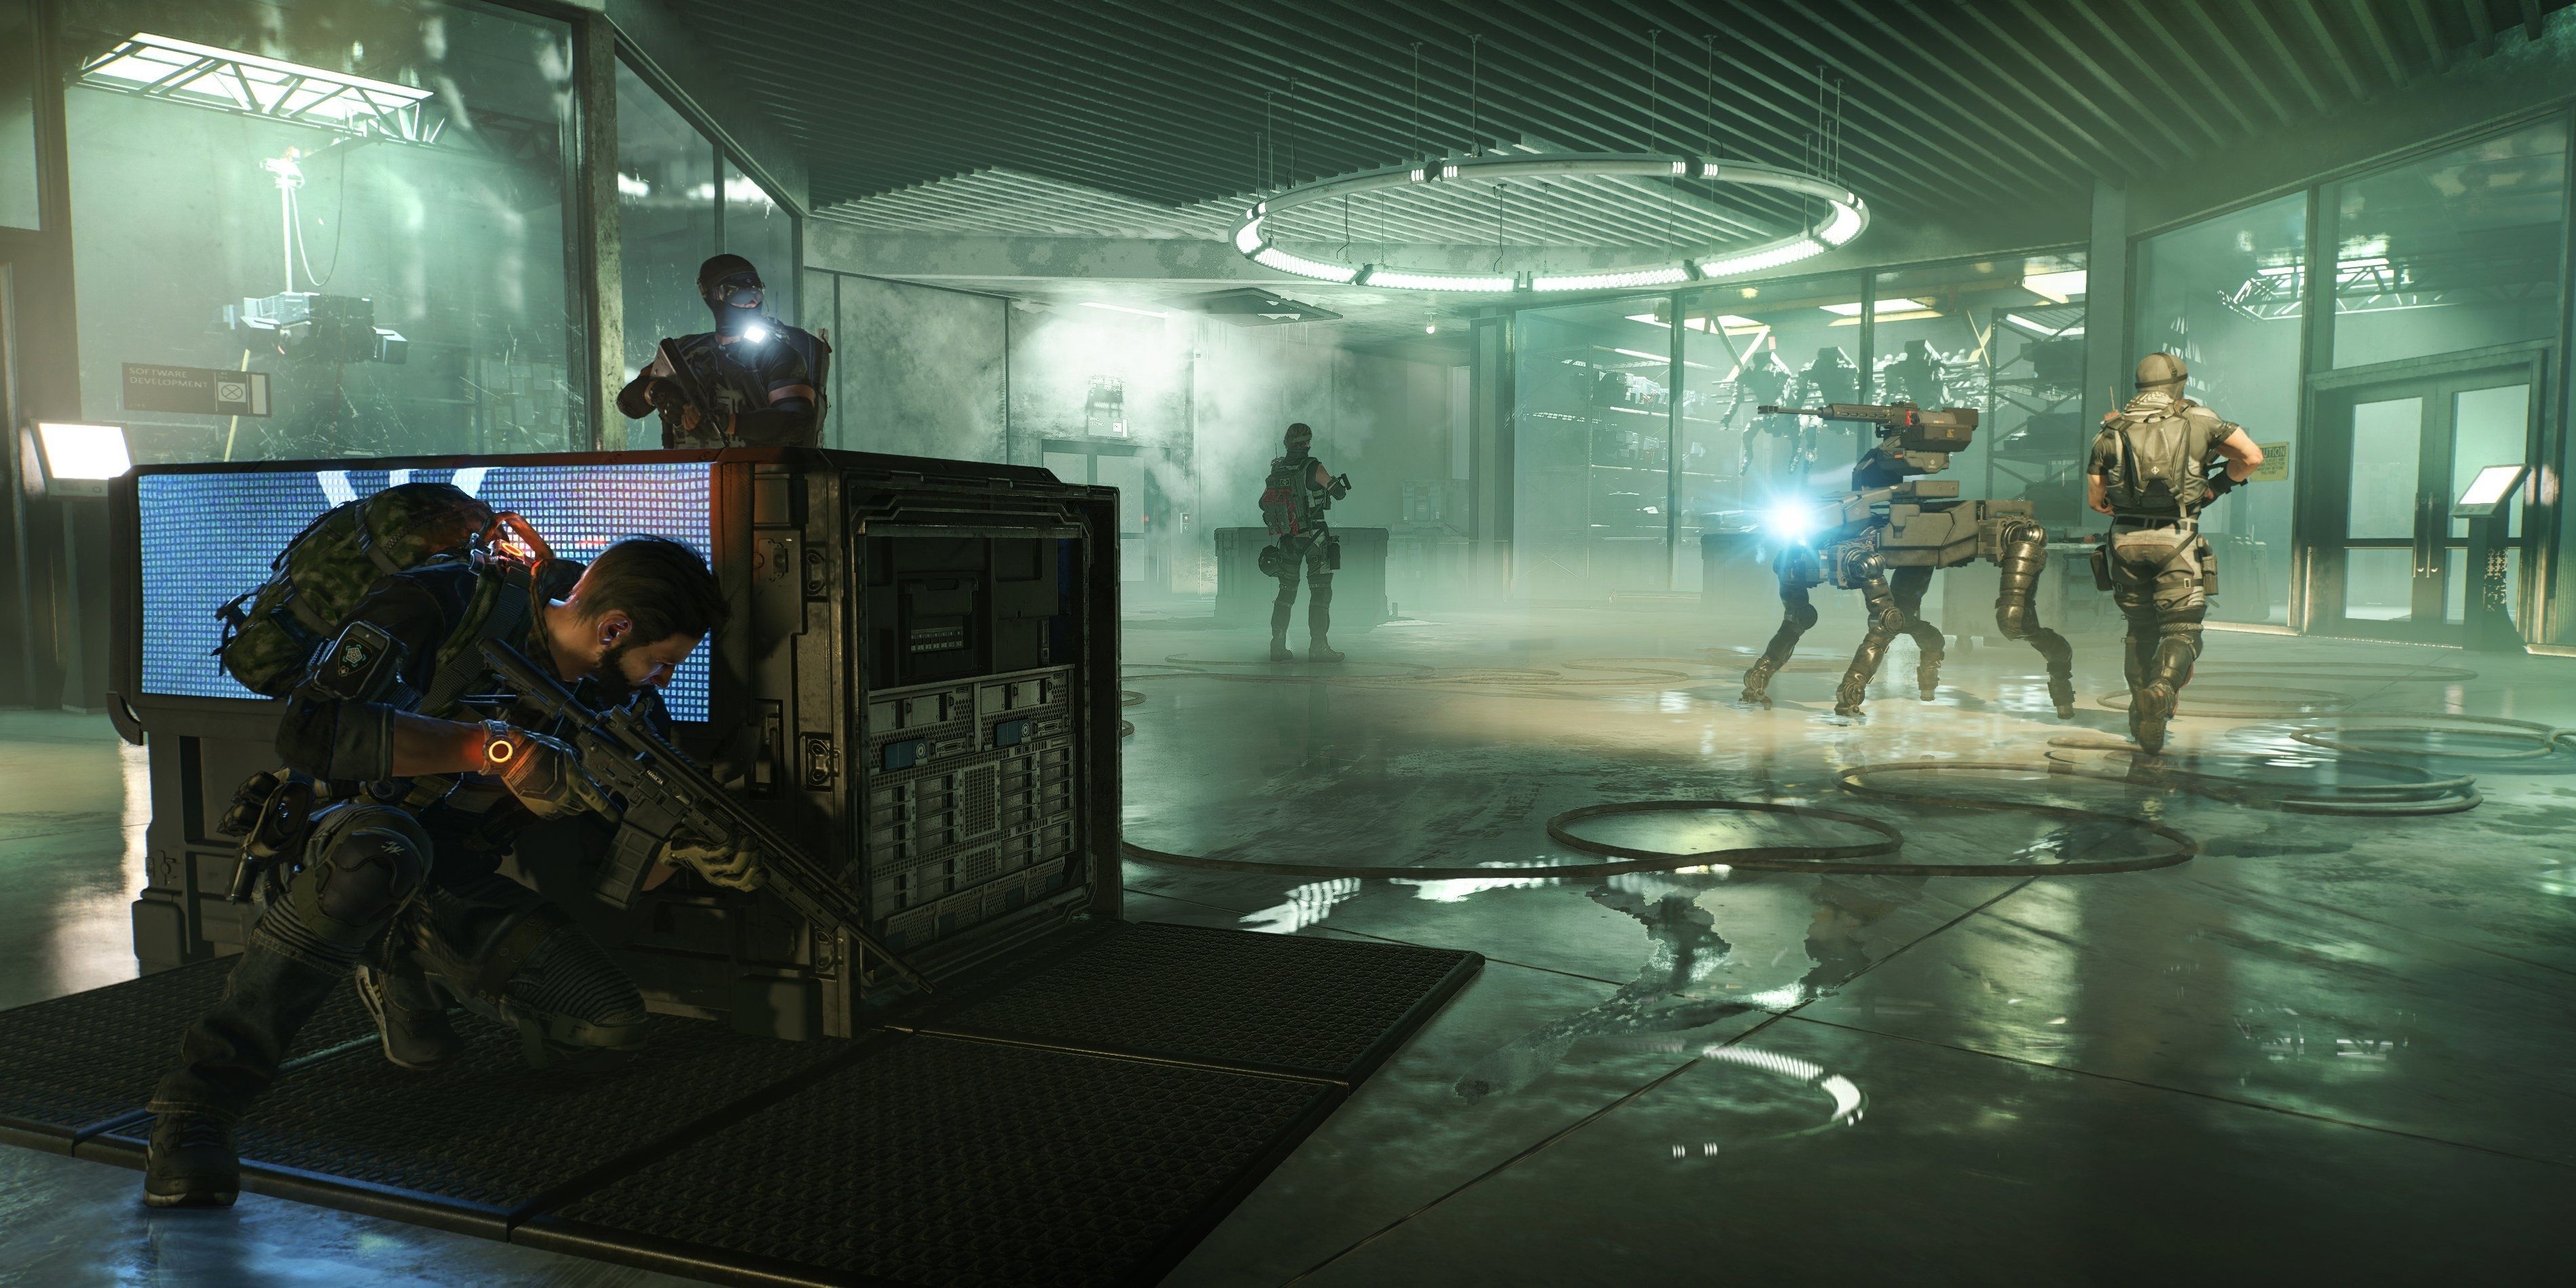
Taking over control points or enemy camps is nothing new for Ubisoft, as the studio frequently uses it as a source of busywork in games like Far Cry and Assassin's Creed. In those series, eliminating all enemies in the camp alone is perfectly doable. Players simply use the skills they've accumulated thus far, be they straight-up combat, stealth, or other RPG builds.
While players can also do this for The Division 2, conquering some of the higher-level control points becomes much less viable when going it alone. As cliched as it sounds, there's strength in numbers, and The Division 2 wholeheartedly supports Co-op.
9 Back to the wall
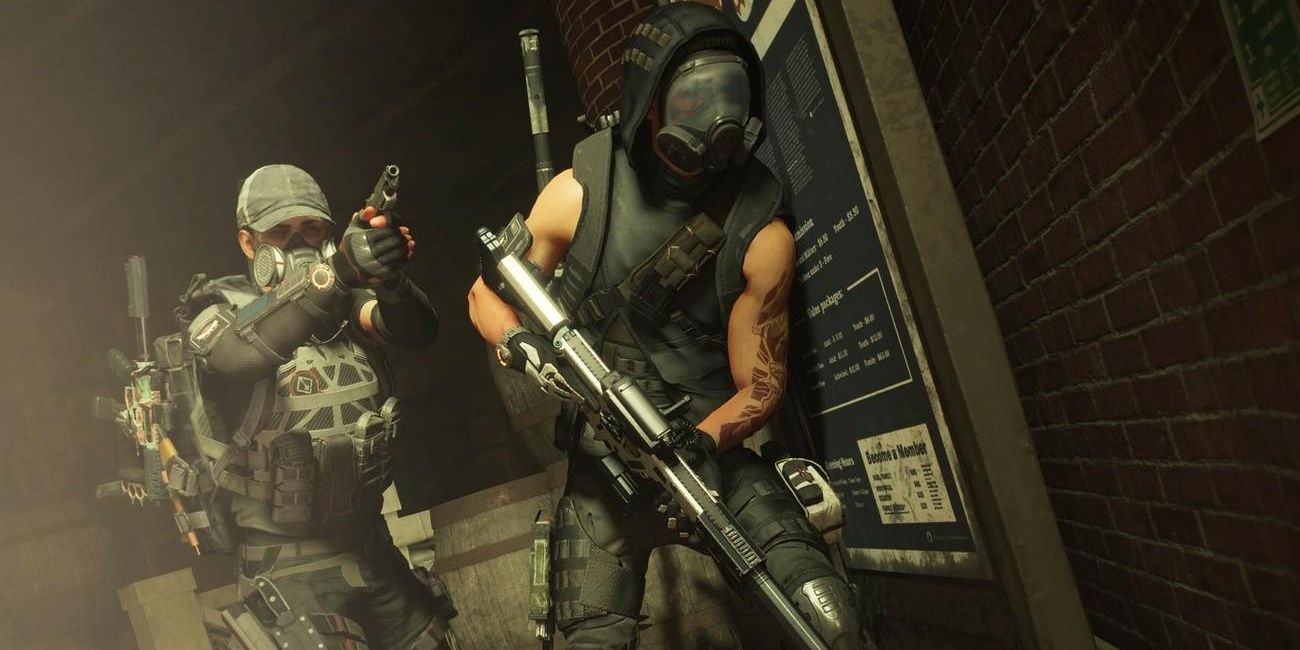
This will prove undoubtedly familiar to fans of shooters and even other Tom Clancy games, such as Rainbow Six Siege. Although enemy troops will mostly come from outside the control point in an effort to retake it, the camps have no shortage of windows or locked doors. These make excellent spawn points for mooks to easily outflank the player.
RELATED: Rainbow Six Siege: 10 Pro Tips For Expert Play
With this in mind, take a page out of Wild Bill Hickok's book. Those who position themselves with their backs against a wall have a much smaller chance of getting attacked from behind for obvious reasons. It may sound simple, but those tactics are often the most effective.
8 Wait to fire the flare

As odd as it sounds, it is best to not call in any allies right away. The enemy doesn't immediately know the player is there, thereby opening them up to stealthy kills. Firing the flare instantly dashes that opportunity and gives away the players' positions.
This triggers a firefight against the remaining enemies in the control point while the team waits for its faction to show up. Why make the resulting skirmish more difficult than it needs to be? Take out some guys first, then call in the cavalry.
7 Don't assume the fight is over once allies are called
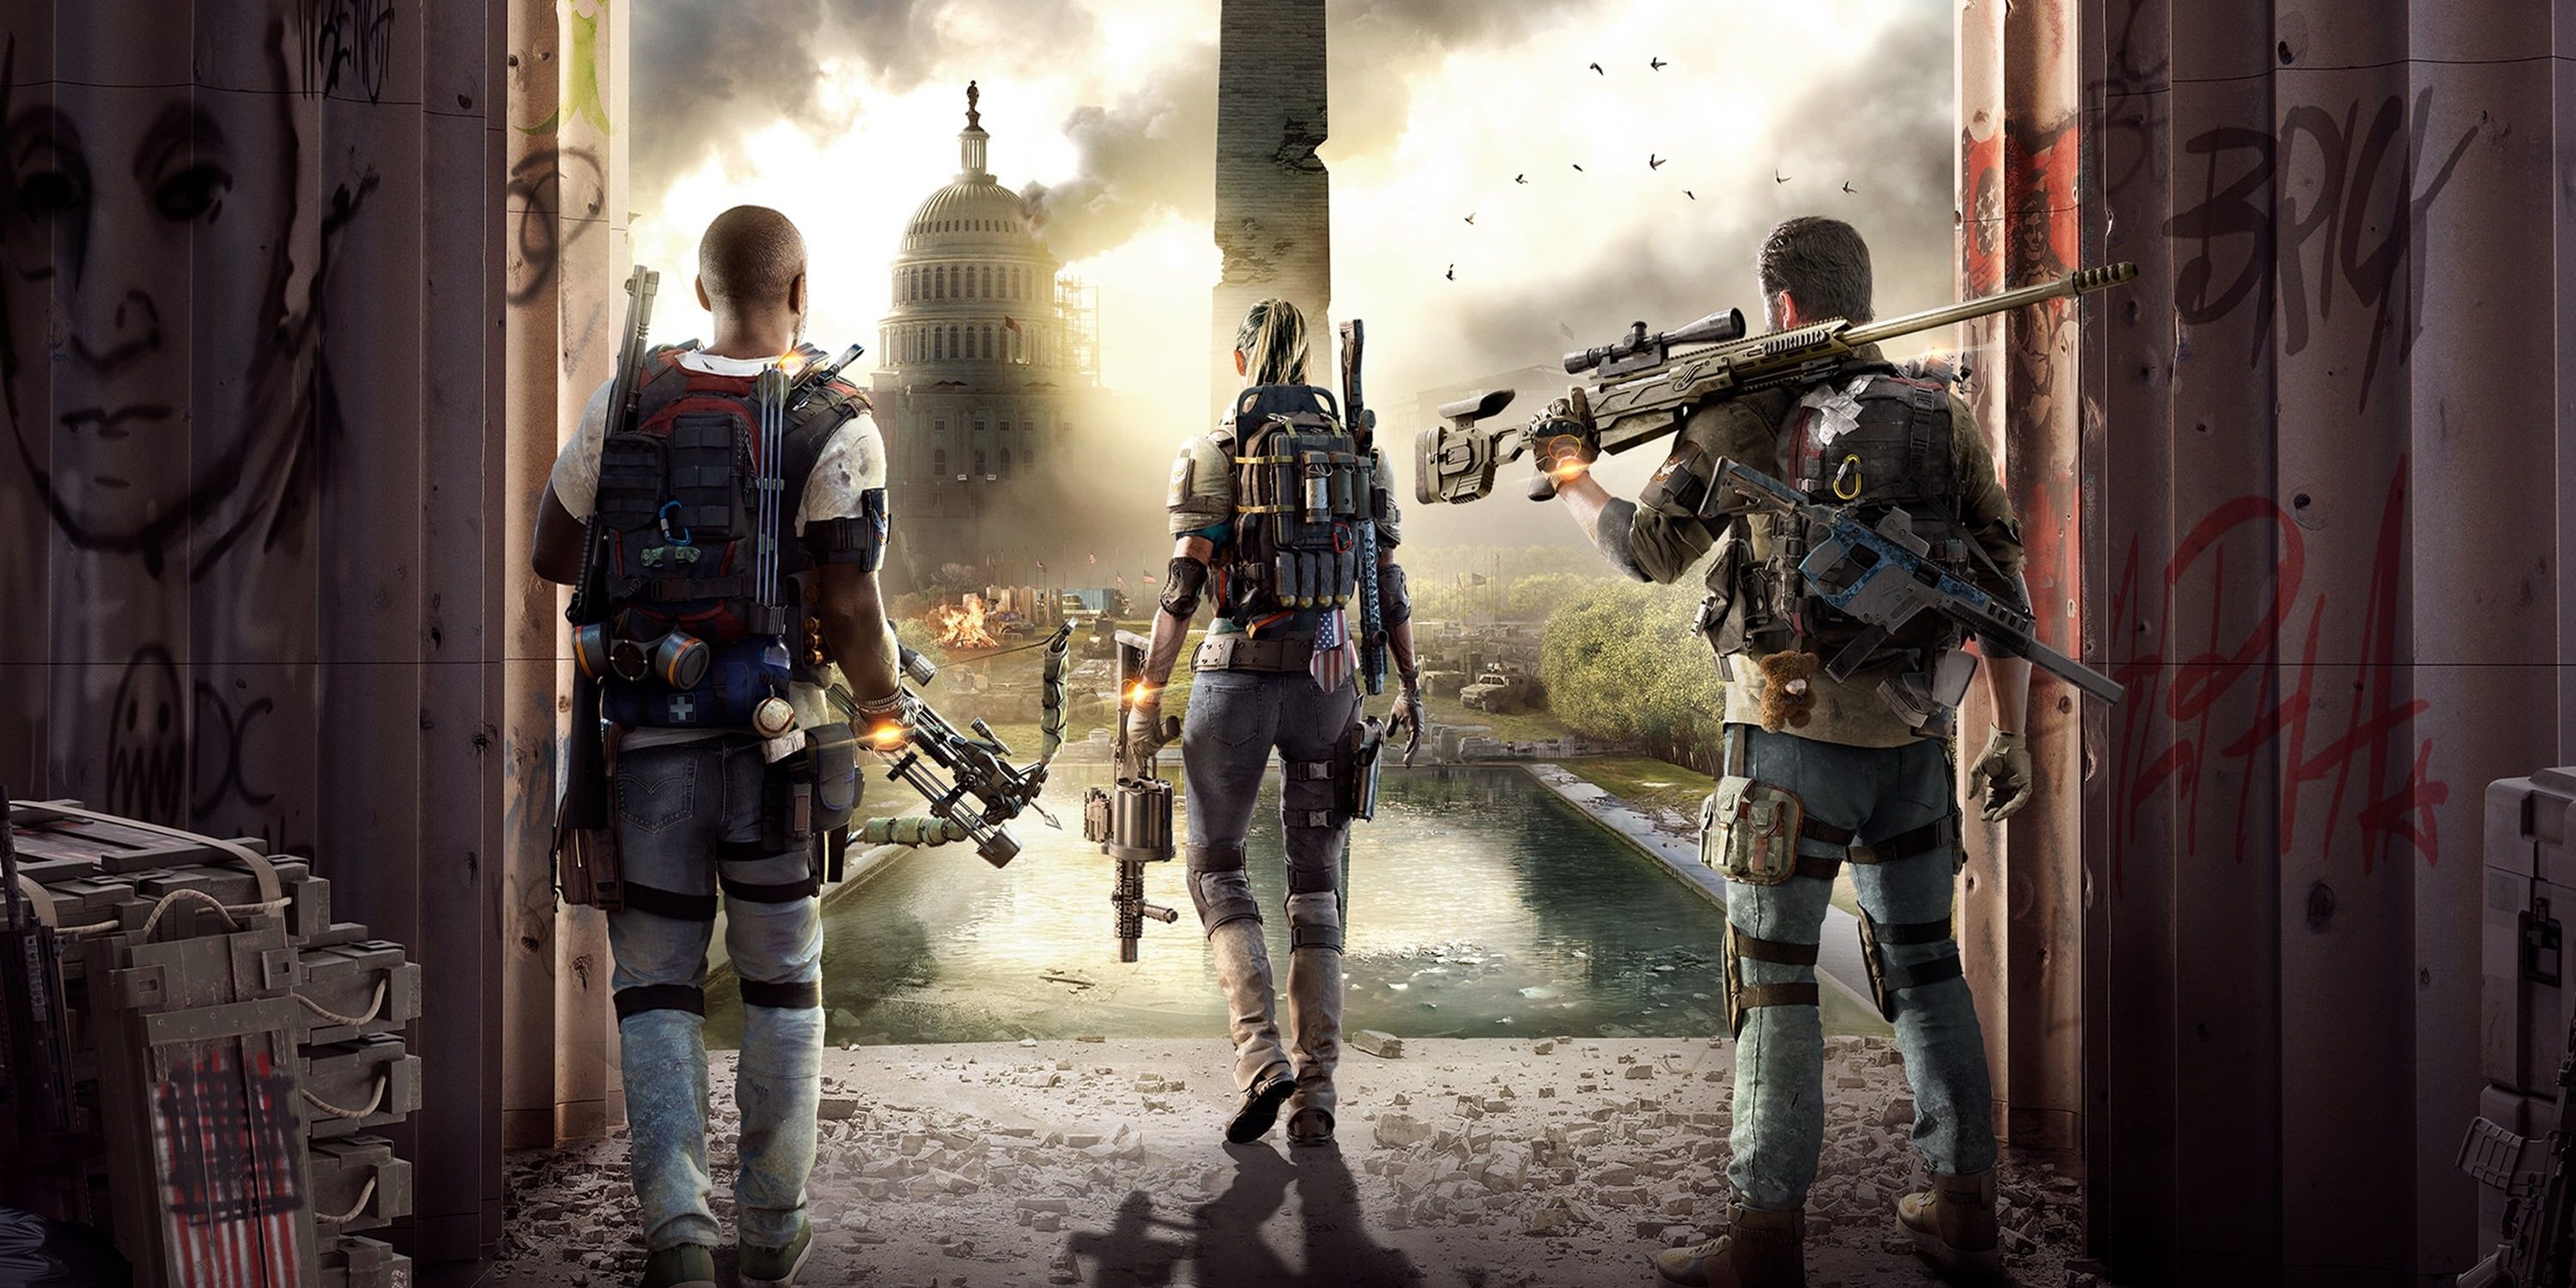
Once players eliminate the initial group of enemies stationed at the control point, they can call in their allies to hold it for the foreseeable future. This might lead people to believe that the battle is over.
Unfortunately, a fresh batch of enemies will try to retake the control point, and they'll arrive before the player's reinforcements do. This is why it's important to stay alert and take up defensive positions after signaling one's allies. Do not get lured into a false sense of security.
6 Don't expect much help from allies
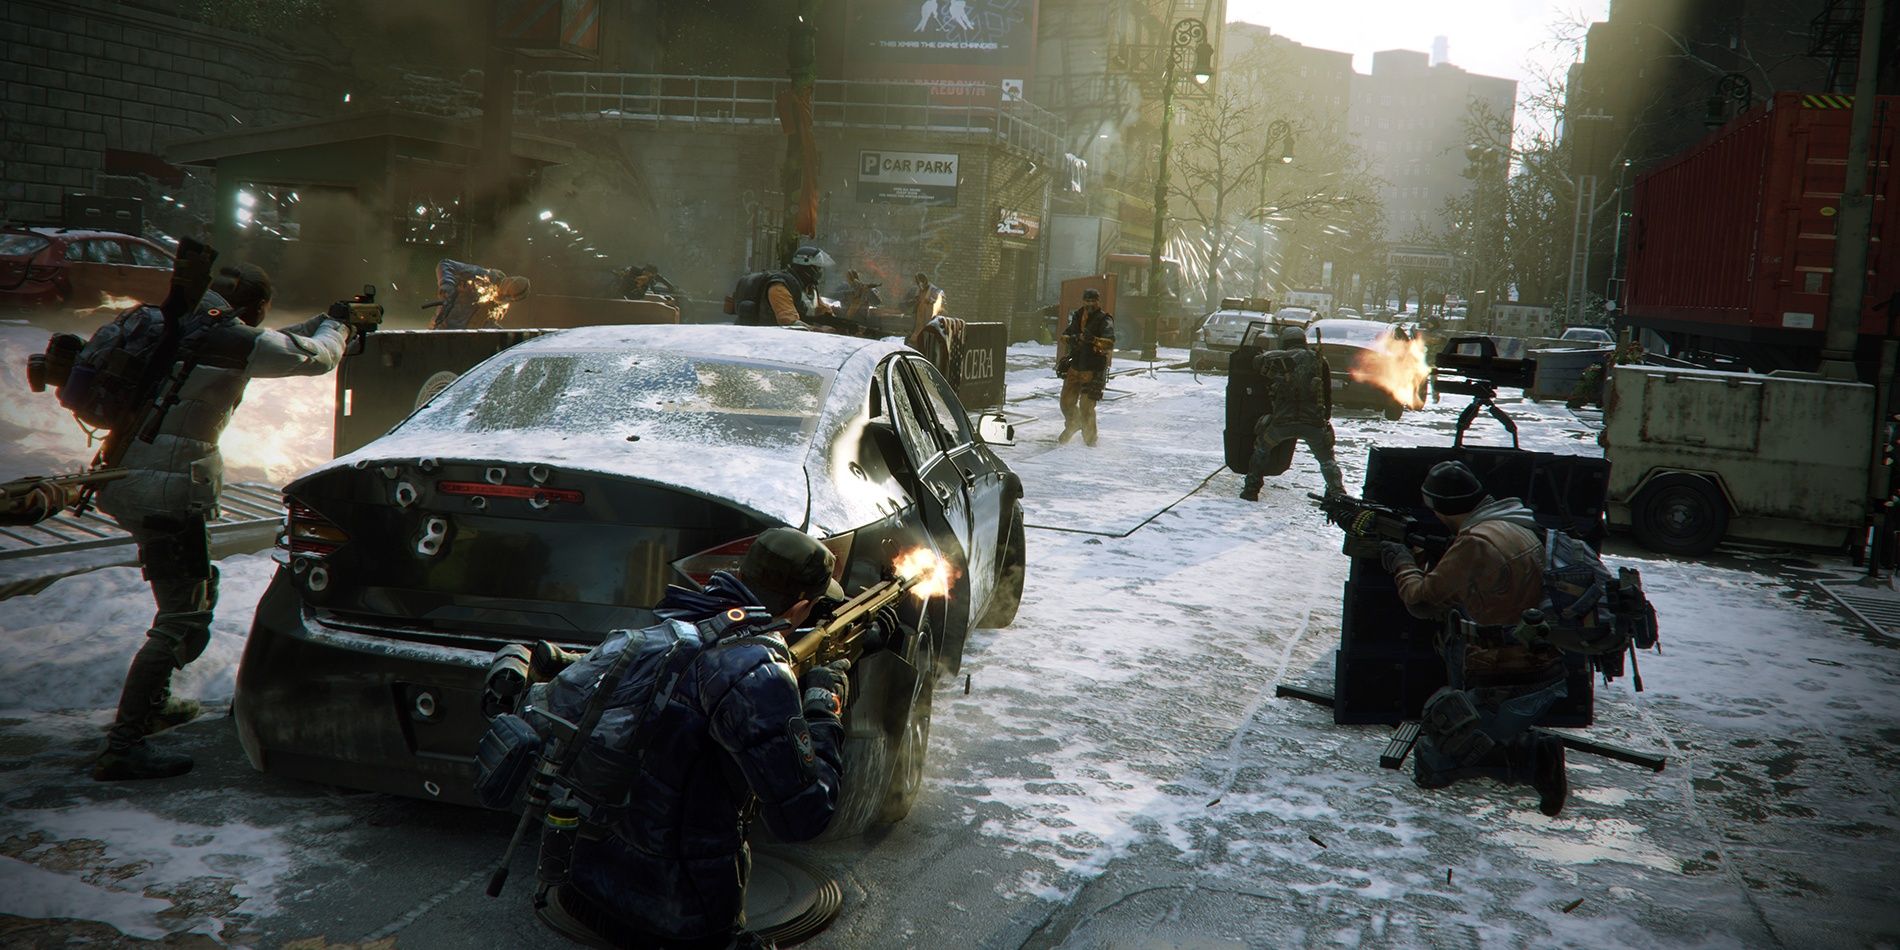
Players might be relieved when their reinforcements arrive. After all, they are getting some much-needed backup in a fight where they're radically outnumbered. As strange as it sounds, though, they can't rely on help like this to win.
Like in other Ubisoft games, the NPC troops that eventually show up to support players aren't anything to write home about. Their AI tactics are questionable, and they don't do a whole lot of damage to enemies. Oddly enough, they work best as cannon fodder, drawing the attention of the bad guys and allowing players to get some shots off. At least that's something.
5 Use the available tools
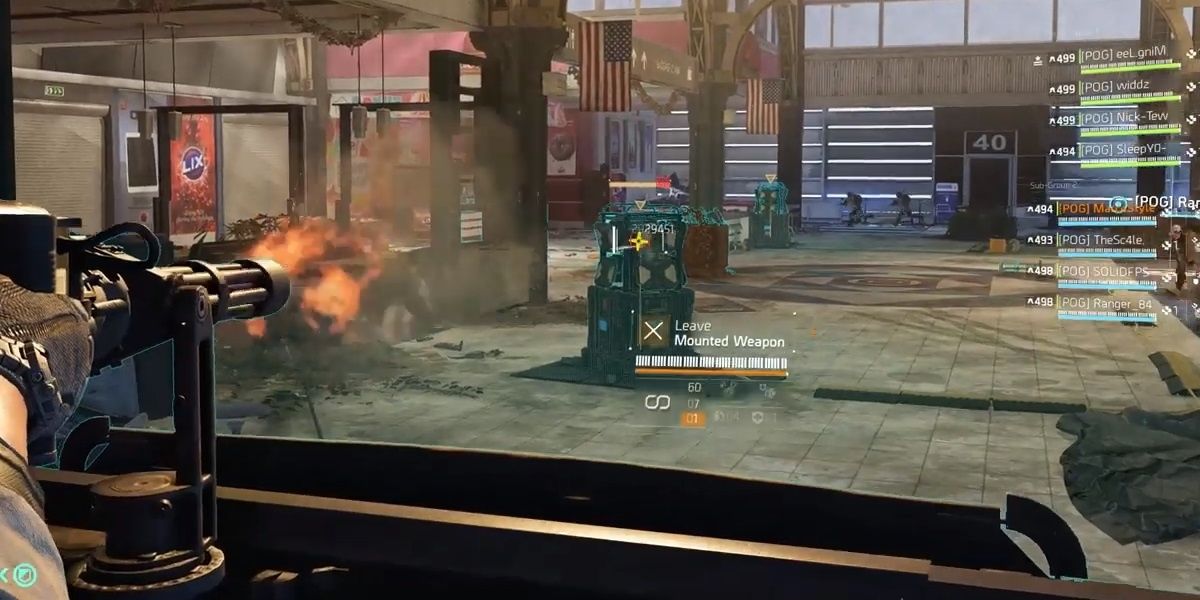
Many control points have additional equipment or weapons lying around. Among the more popular examples is the minigun turret. Players would do well to man these turrets and wield them against the hordes of enemies headed their way.
That may sound like preaching to the choir. However, when gamers are vastly outnumbered and outmaneuvered by armies of AI opponents, it becomes all the more important to use every advantage that they have available to them. Those who don't are only handicapping themselves. That even goes for people wielding the overpowered Exotic weapons. Granted, some would enjoy that challenge, but it doesn't always win battles.
4 Be prepared for an armored enemy toward the end
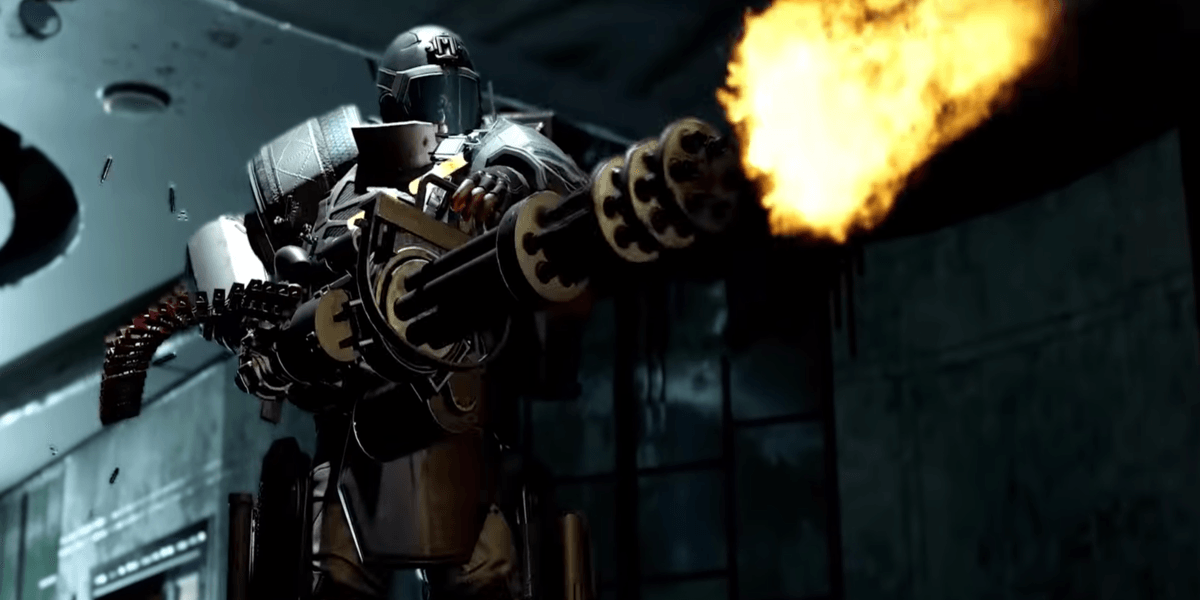
When players see a battalion of hostile troops coming toward them, it's tempting to unload every round into the advancing mooks so as not to be overwhelmed. As intimidating as their numbers are, however, it's unwise to expend all resources and waste the best weapons too early.
Many waves will often conclude with one of the game's bullet-sponge bosses toward the end. Needless to say, these guys are extremely hard to kill, especially for the poor souls with no ammo left. This is why it's essential to save any chemical weapons and other specialized firearms until absolutely necessary.
3 Supply rooms
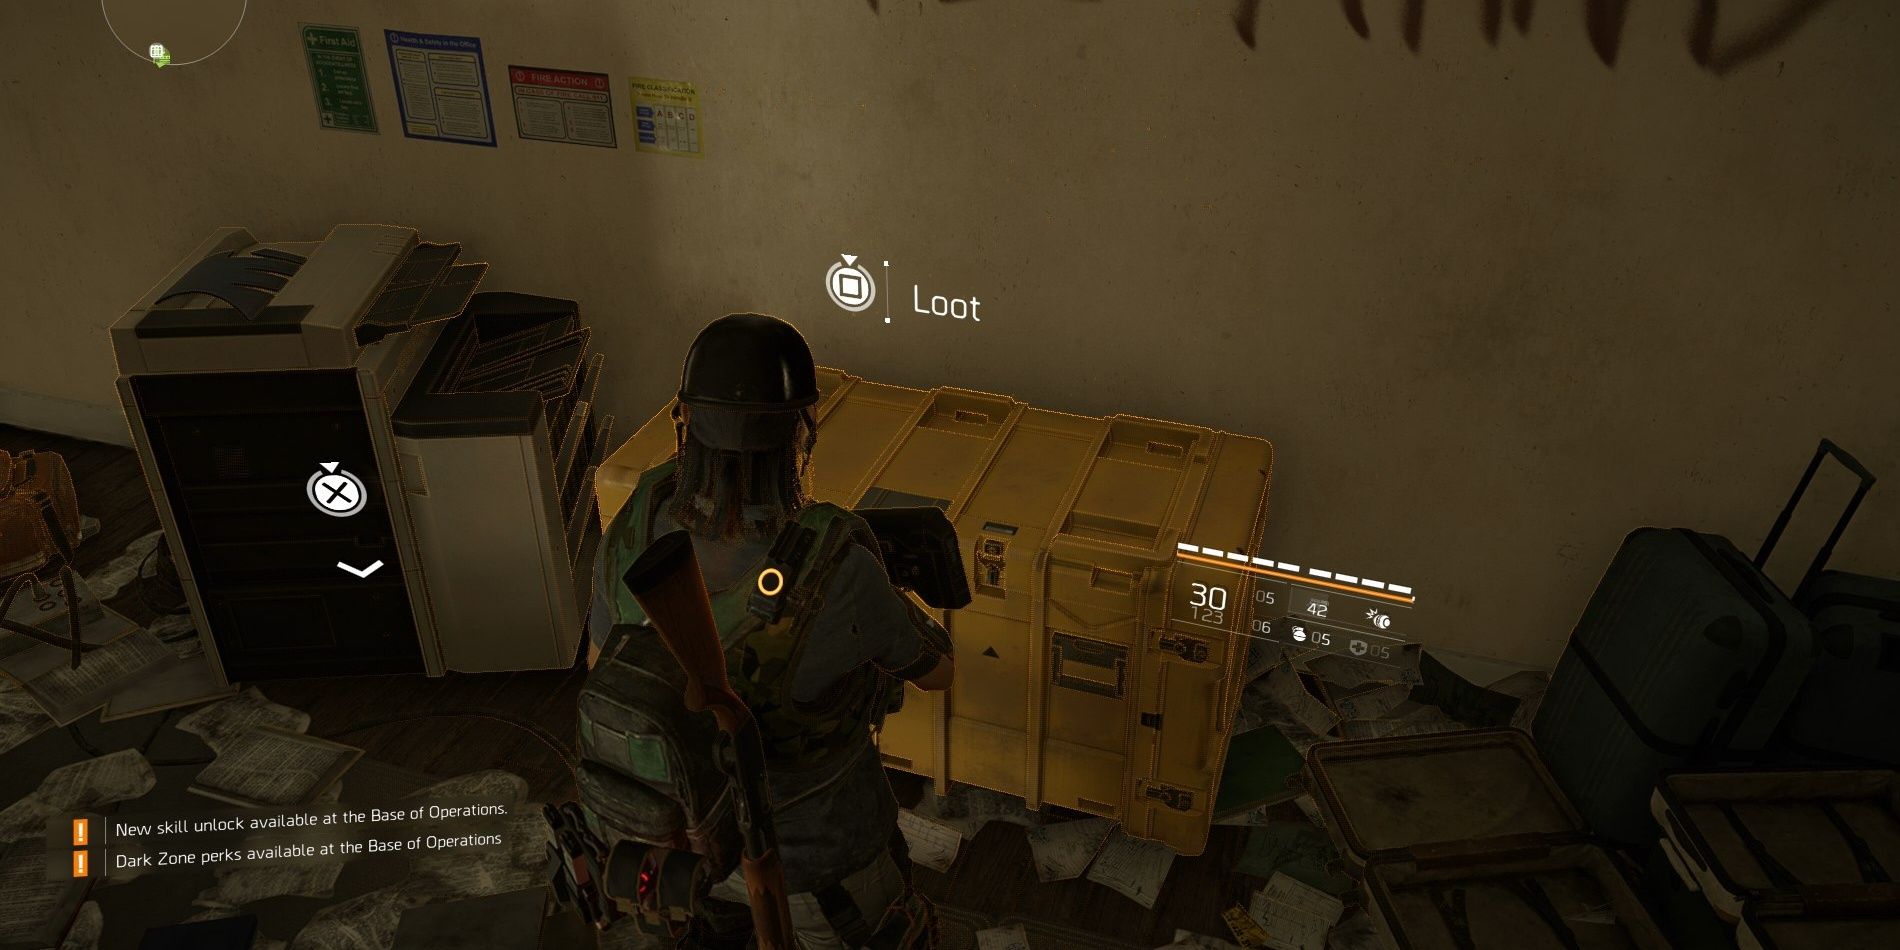
Once a control point has been taken, a supply room opens up as a reward for players who've lasted this long. Some might disregard this room and immediately go back to the larger adventure. After all, it just has a bunch of components that can easily be acquired elsewhere, right?
RELATED: Division 2: 10 Must-Have Perks For New Agents (& How To Use Them)
Actually, these rooms can house items that are much more useful in the short term. Players can wander in and find a sick new weapon more powerful than their current one. Not only does this save a ton of time on crafting, but these guns prove invaluable when assaulting future control points. All it takes is to reap the spoils of war.
2 Resource requests for leaders
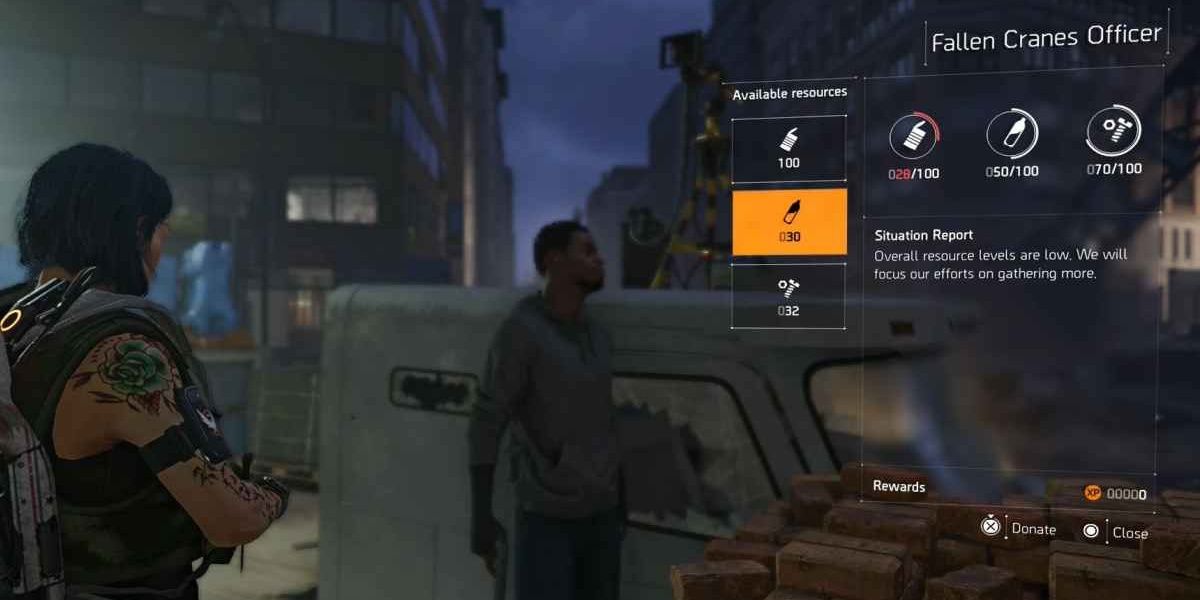
After taking a control point, the player can donate specific loot to the officer in charge. This is worth doing for a few reasons. For one thing, every resource donated to the control point nets gamers extra XP. Do this enough, and the officers may return the favor by gifting new resources. In essence, a well-stocked camp makes the player more powerful. Beginners should take note of that.
It doesn't stop there. The troops stationed here can serve as useful backup during assaults on nearby areas or even other control points. If they're treated well, then they'll be more helpful in combat. They're ready to scratch the player's back for scratching theirs.
1 Raise the alert level
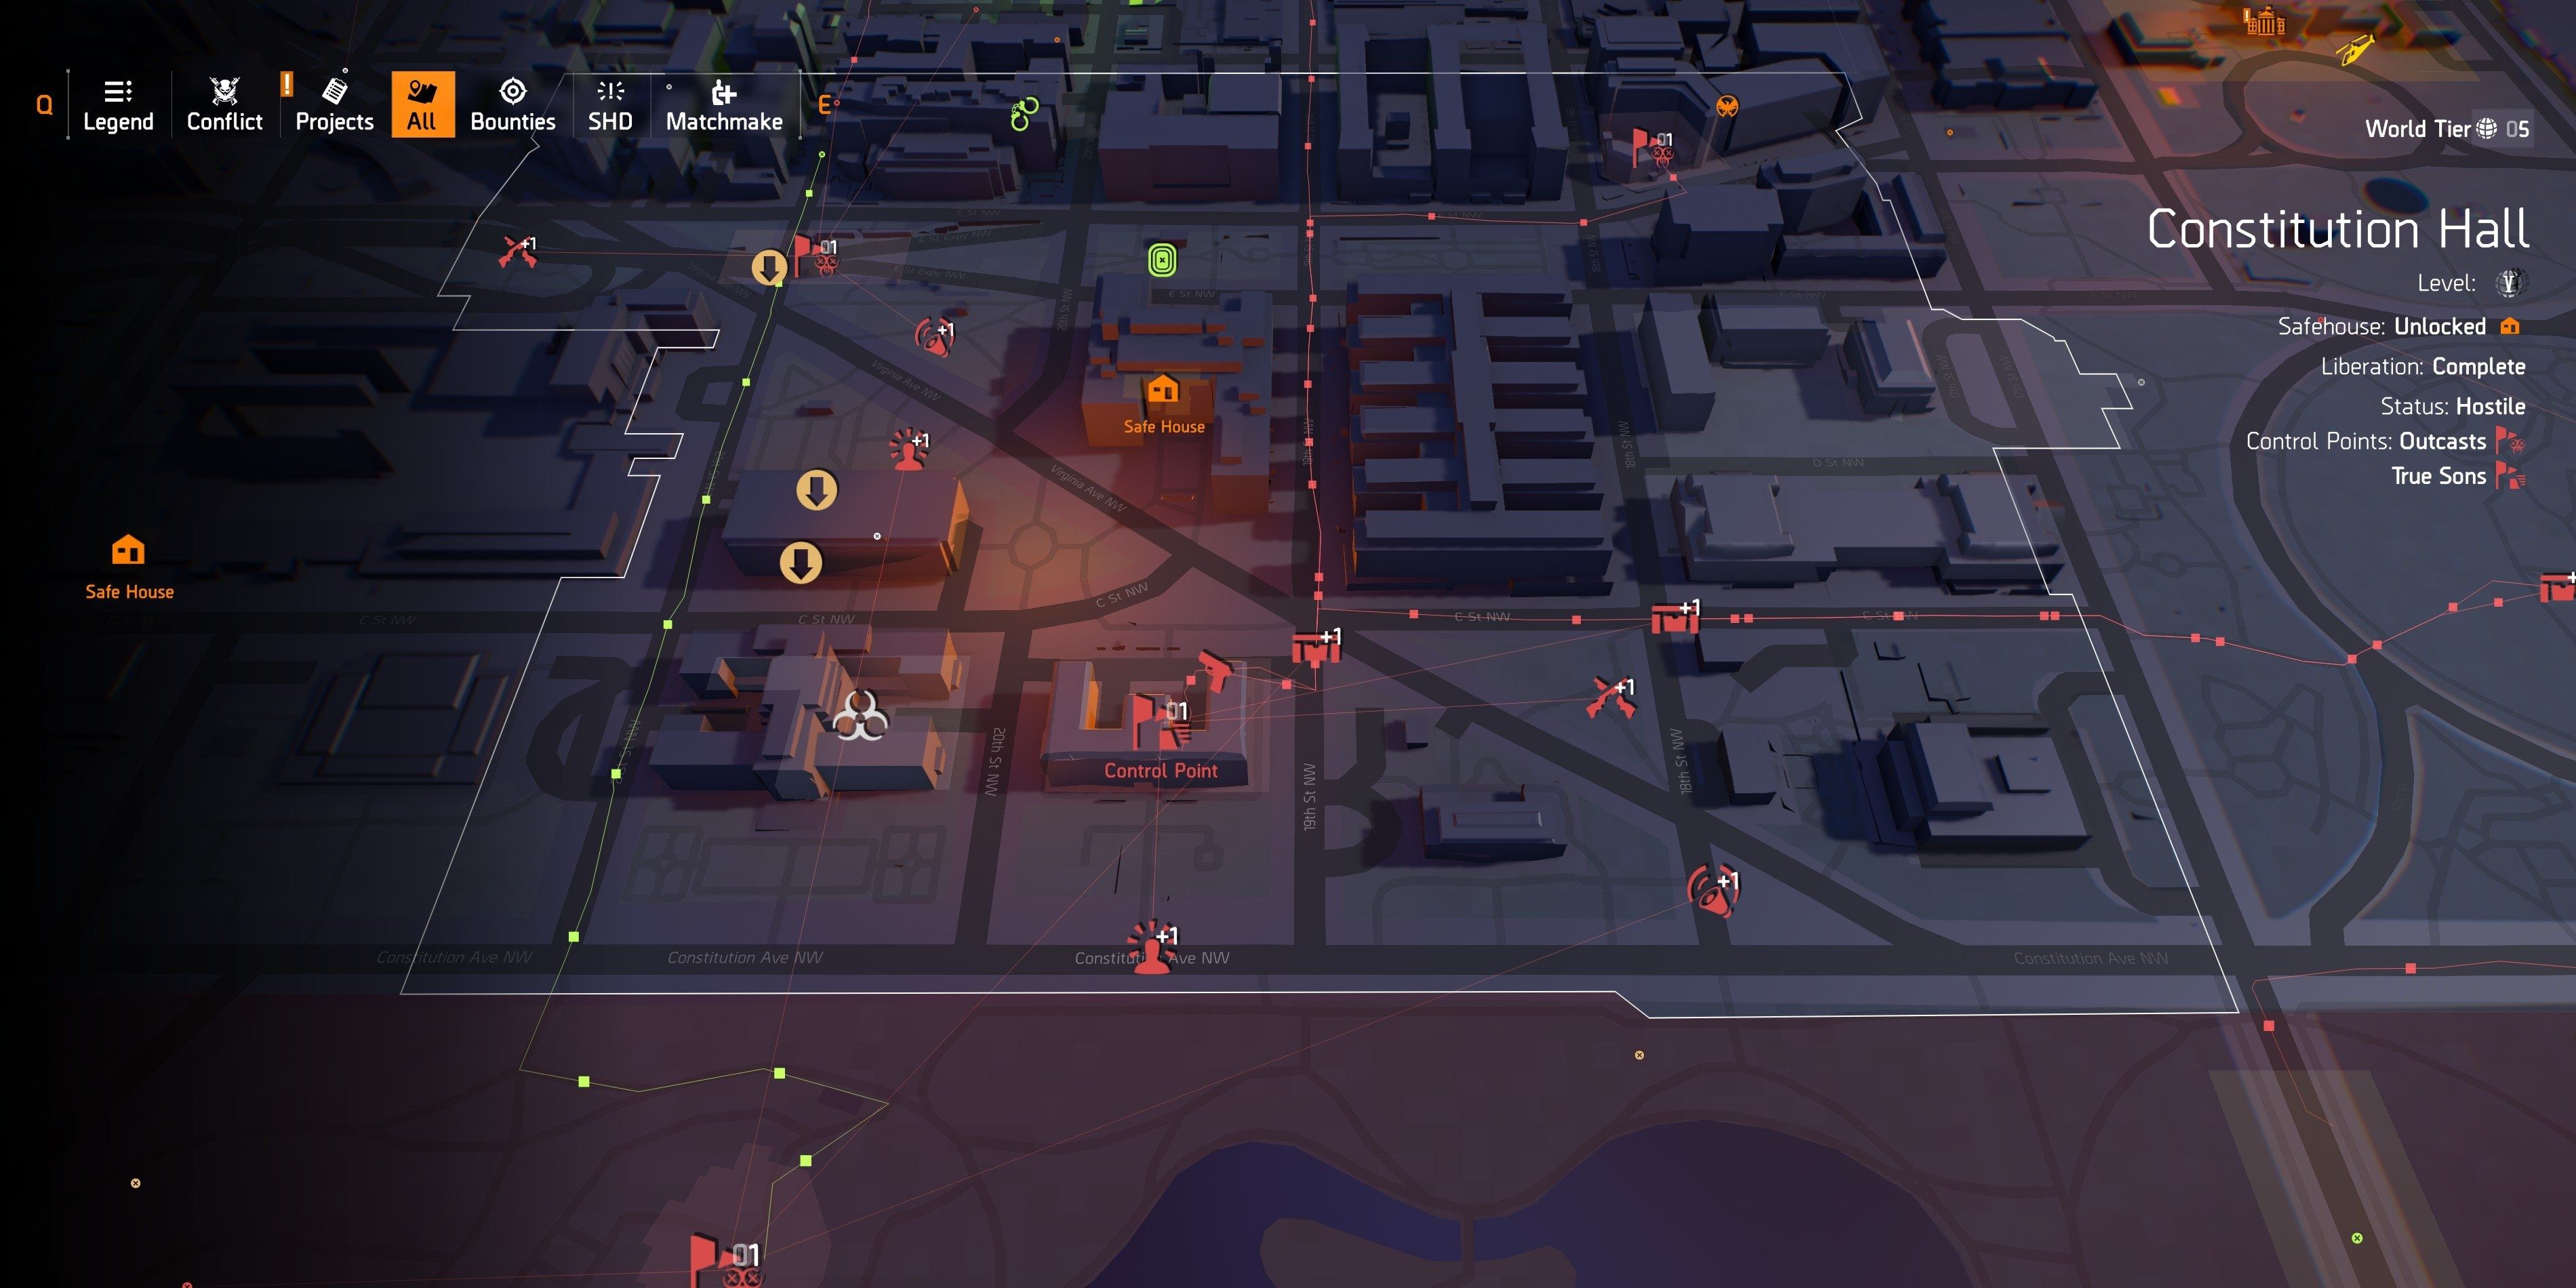
Ordinarily, this would be counterproductive for taking a control point. For those who are especially confident in their abilities, however, raising the alert level could be a valuable method of maximizing the rewards. If the players succeed in capturing a control point with a raised alert level, then they gain a higher amount of XP.
Gamers should beware, though, of biting off more than they can chew. A higher alert level also means higher security. If players decide to take the higher risk, then they must be prepared for a tougher fight, where even the best tips don't compare to good old-fashioned skill and reflexes.
NEXT: The Division 2 and Destiny 2 Could Learn A Lot From Each Other

