

Shara Ishvalda is the final boss of base Monster Hunter World: Iceborne that uses the earth and seismic waves to attack hunters. This focus on earth-based moves makes it one of the more unique monsters Monster Hunter World: Iceborne, if not the entire series, but it can be a bit tough to take down in the beginning.
Players intending to take on Shara Ishvalda do not need to worry about speccing for any kind of elemental resistance, as "earth" is not technically an element in Monster Hunter World, so all of Shara Ishvalda's attacks are considered to deal raw damage.
RELATED: Monster Hunter Chef's Choice Platter Recreated In Real Life Looks Amazing
However, there are two Monster Hunter World skills that players with any weapon type may want to consider bringing into battle against Shara Ishvalda. Those skills being Stun Resistance and Aquatic Expert. Shara Ishvalda's attacks can inflict stun very easily and they are powerful, so getting stunned and then hit again is likely going to result in a faint.
As for Aquatic Expert, often during the fight Shara Ishvalda will create sand puddles that slow down hunters' movement as they walk through them. At least one point in Aquatic Expert will negate this movement penalty.
In terms of specialized Monster Hunter World tools to bring, the temporal mantle is generally a safe bet even if it was nerfed in Iceborne. It will allow for some safe clutch claw uses in order to soften Shara Ishvalda's hide. However, do not bring the rocksteady mantle. Shara Ishvalda has a lot of hard hitting attacks that technically hit multiple times. Without the rocksteady mantle, getting hit by one of these attacks will cause a knockdown which grants invincibility frames until the hunter gets back up, but the rocksteady mantle will prevent these knockdowns and thus the invincibility frames, so players will get hit repeatedly by these attacks, leading to a very quick faint.
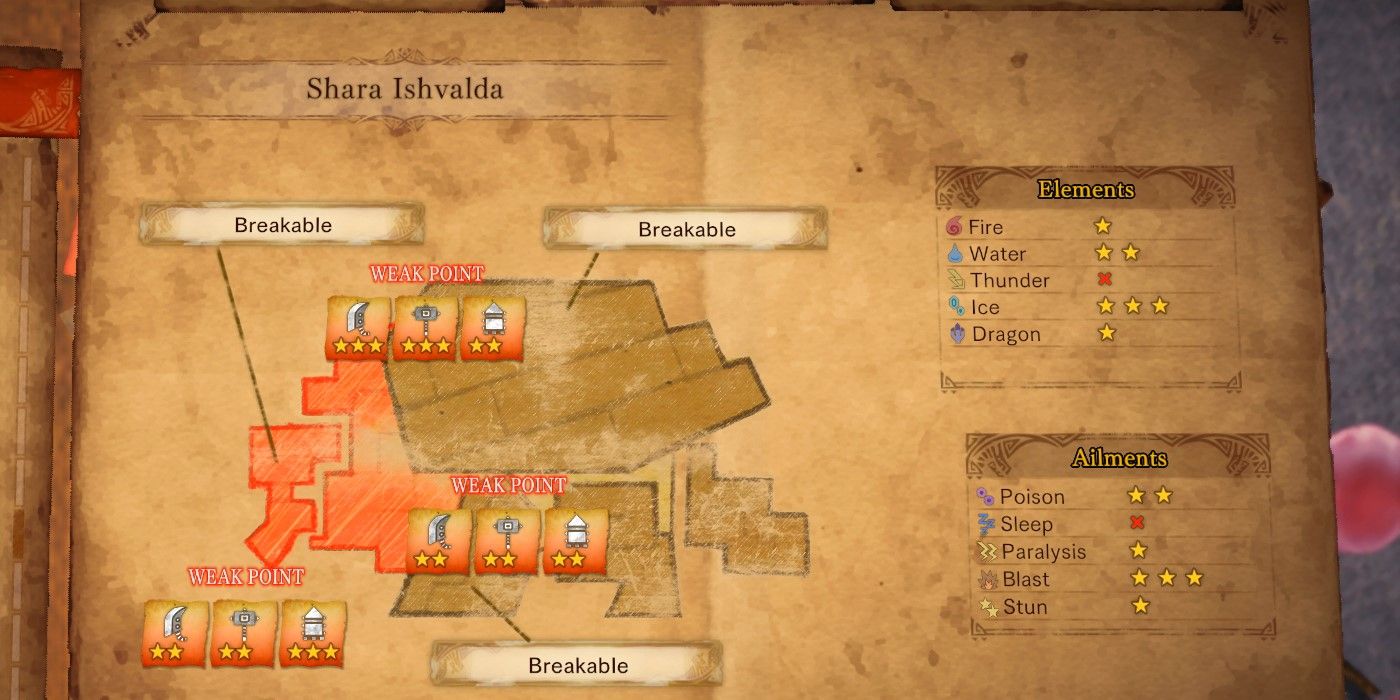
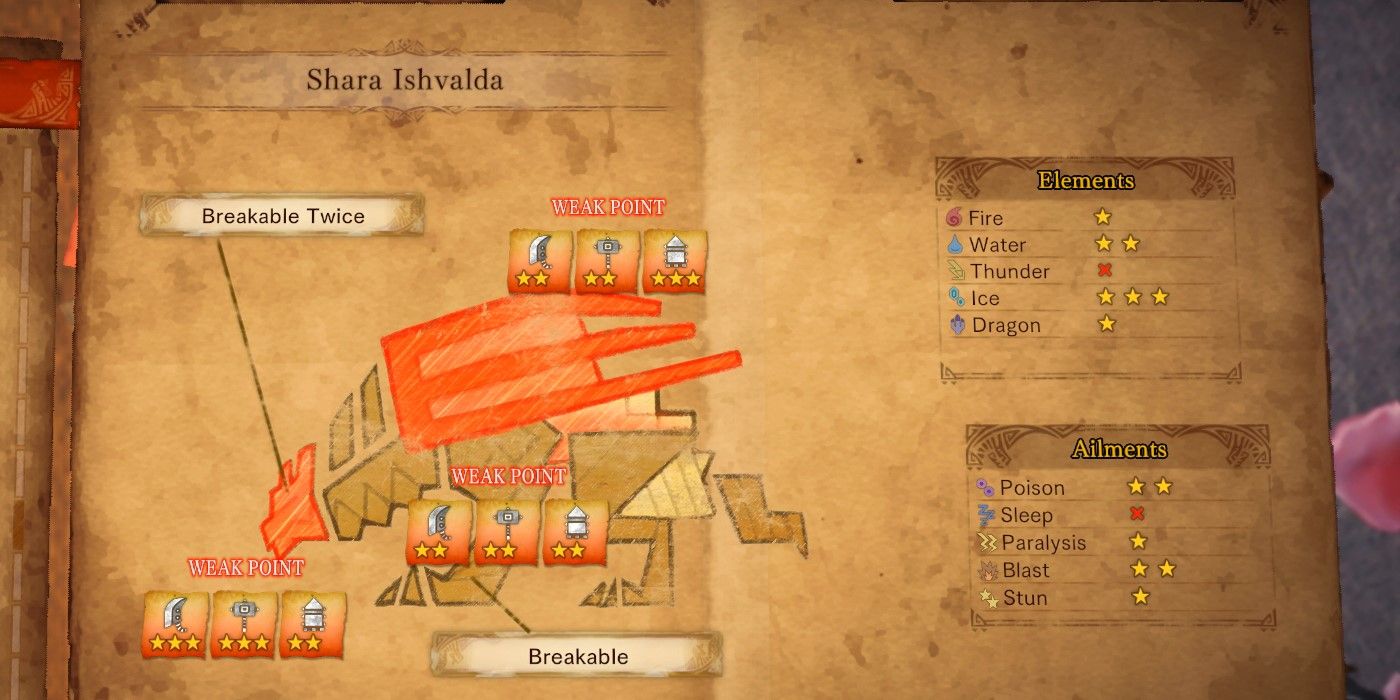
Shara Ishvalda is weakest to the ice element, so players will want to bring an ice weapon if they have an effective one. Barring that, Shara Ishvalda is also weak to blast, though it's weaker to blast in its first phase than it is in its second. It's also moderately weak to water and poison, but it's probably not worth going out of the way to get a water or poison weapon. It should also be noted that Shara Ishvalda is immune to sleep, so don't bother with sleep weapons, ammo, or coating.
If planning to solo or duo Shara Ishvalda, then bringing the coral orchestra palico gadget for the player's palico is a good bet as it can buff the hunter and their partner if they choose to bring one. The shieldspire can also be used if players feel Shara is being particularly agressive. If fighting Shara Ishvalda with others, bringing dusts of life or speccing for Wide-Range can also be helpful so as to keep teammates alive if they're taking significant damage. It doesn't seem to be uncommon for players to underestimate how much damage Shara can do, and thus, avoid topping off their health appropriately.
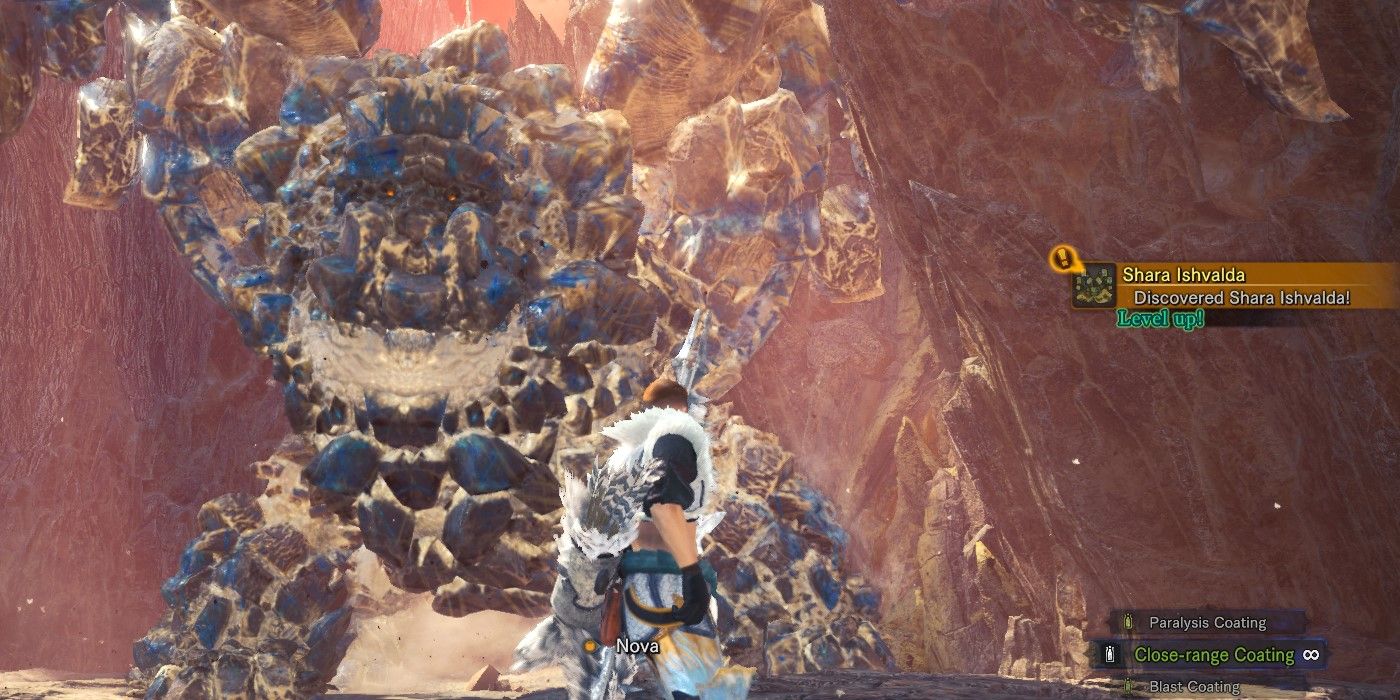
As referenced earlier, Shara Ishvalda has two different phases in its fight. In the first, it's generally resistant to hits except to its head, neck, and chest. Gunner weapons are more effective at hitting when attacking the head, whereas blunt and Monster Hunter World cutting weapons do more damage to the neck. All weapons do moderate damage to the chest. Elemental damage is equal among these three areas, however. It's in this phase that blast will do the most damage. It won't take much damage at all from any other area due to its rock armor.
During this part of the fight, Shara Ishvalda is pretty slow, so if players are hit, they should have sufficient time to recover and heal in Monster Hunter World. However, there is one move that Shara Ishvalda uses where it slams its wings onto the ground and charges across the field multiple times. This is hard to avoid if the hunter is in front of Shara when it starts to do this, and it can do significant damage, so timing when to get up so as not to get hit again is key.
Like most monsters in Monster Hunter World, Shara Ishvalda can be flinch shot into a wall with the clutch claw. If players are successful in doing this, they won't get a knockdown unless Shara hits a wall with boulders above it. If they do, the boulders will fall, dealing additional damage and knocking Shara Ishvalda down. The areas with boulders will be marked on the mini-map. Eventually, when enough damage is dealt, the fight will move onto phase two.
Phase two is essentially where the real fight with Shara Ishvalda begins. At this point, blast is reduced to two star effectiveness, and Shara's seismic attacks will begin. The head is the weakest spot for blademasters during this stage, while the wings are the weakest for gunners. All weapon types do moderate damage to Shara Ishvalda's chest. There is no webbing in Shara Ishvalda's wings, so gunners may have a difficult time hitting them, but any part of the wing will take good damage from gunners.
The head is a good place to attack no matter what weapon is being used (though again, gunners do more damage to the wings), but being in front of Shara Ishvalda can be dangerous, as most of its attacks will come out in front of it. While it does fairly low damage, attacking the tail can be a lot safer. That being said, Shara Ishvalda will occasionally look back and "snipe" anyone that's behind it and it tends to do this with a pretty good accuracy, so if hunters are behind Shara Ishvalda and it turns its head, then they should move.
Shara Ishvalda will never look directly at the hunter it's going to attack, as its eyes are programmed to track the camera. It should still be fairly clear by the turn of its head who it's going to target, however. Its eyes will actually be closed for part of phase two, and when they open, Shara will start using some different attacks, and so that can sort of be considered a phase 3, but the same tactics from the previous phase still apply.
The flinch shot boulder trick still works from the first phase and the spots with boulders are still marked on the mini-map. During the fight, Shara will sometimes cause seismic eruptions from underneath players, so if a sand patch they're on is rumbling, they need to get out of the way. This is where the Aquatic Mobility skill can come in handy, because the sand will otherwise slow players down.
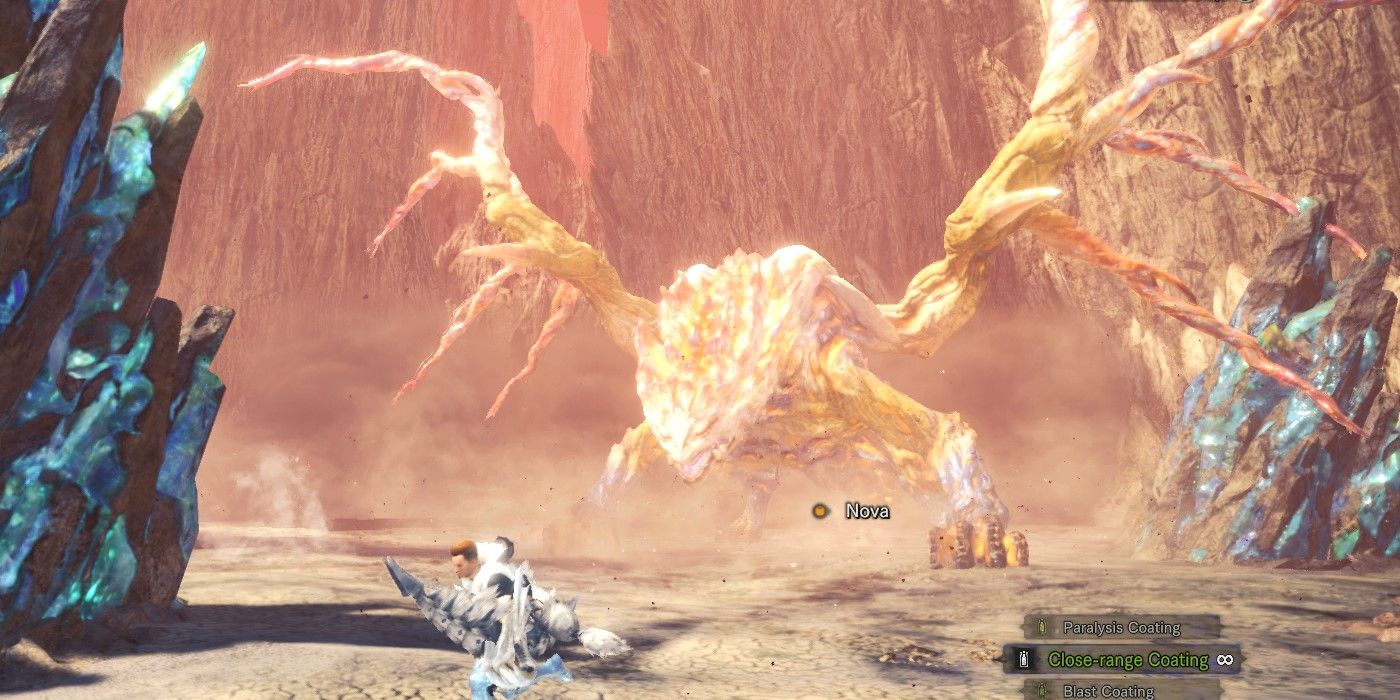
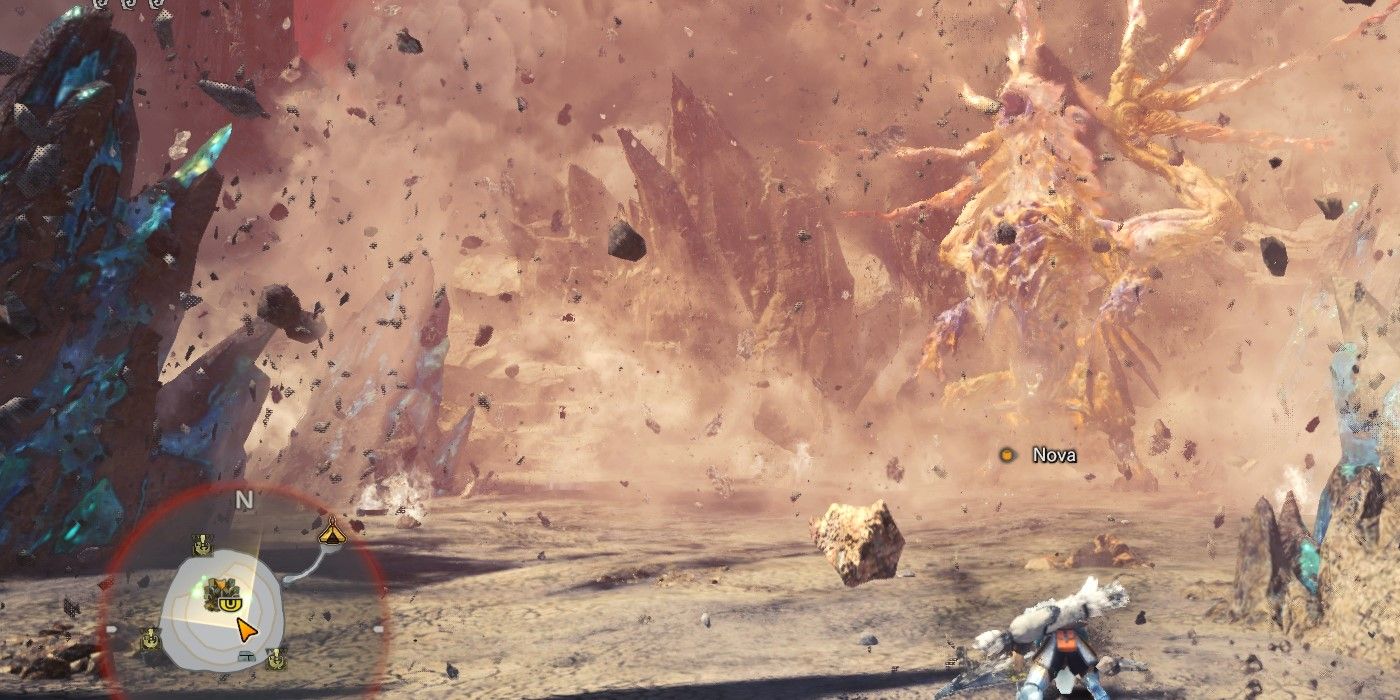
Eventually, Shara Ishvalda will retreat underground and prepare its nova attack. While not nearly as dangerous as Lunastra's nova, it can still be quite dangerous. Shara will dive underground and appear elsewhere in the arena and ready a huge ball of air that it will send crashing down. This is easy enough to avoid just by being on the opposite side of the arena as Shara, but standing directly in front of it, even if on the opposite end of the arena, is a bad idea. After the nova, Shara will often, if not always, fire a burst of air in front of it which is one of its more powerful attacks. The sand eruptions from earlier will also still happen while its preparing the nova, so players want to watch out for that, too.
Players wishing to avoid dealing with any part of this can just use a farcaster to retreat when Shara Ishvalda goes underground. It's a good opportunity to restock if need be, since players will be waiting around for the nova to end anyway. Typically, Shara Ishvalda using the nova is a sign the fight is almost over, though the heartbeat monitor at the bottom of the minimap will give a good indication, and Shara is capable of using the nova more than once. Regardless, eventually Shara Ishvalda will go down and the main story of Iceborne will be complete.
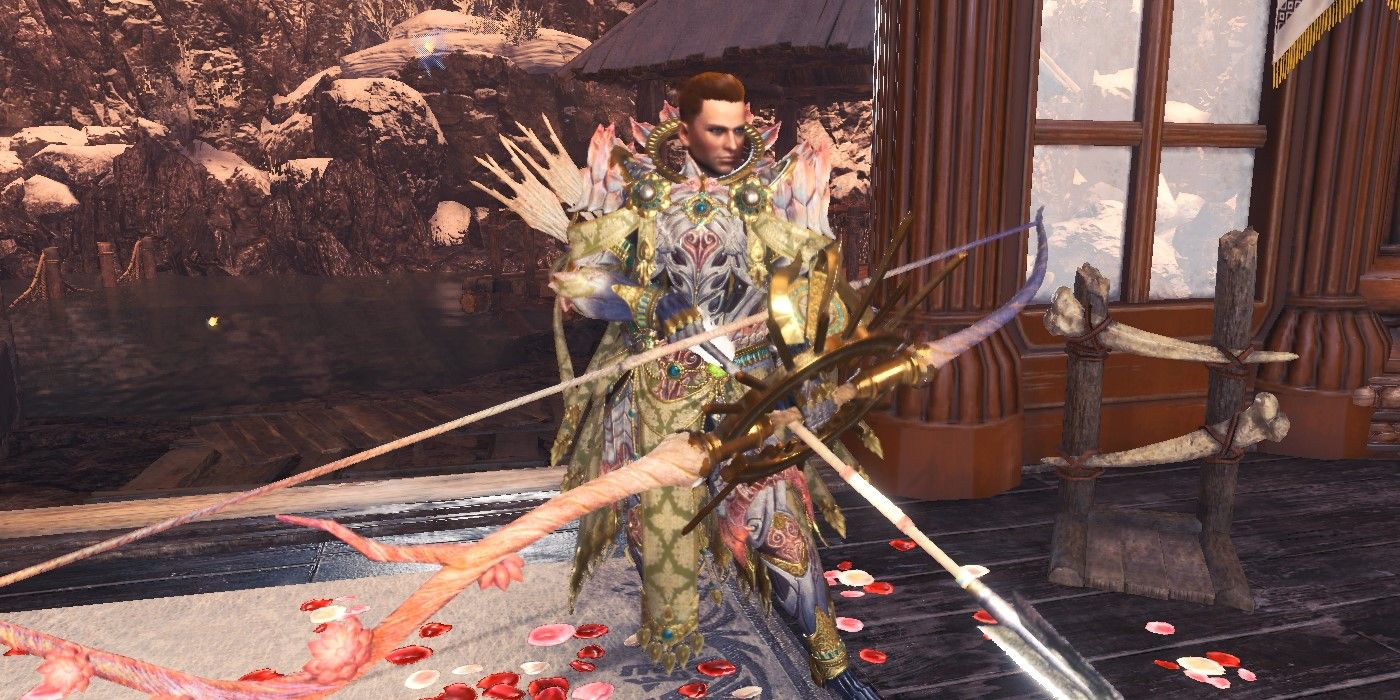
As with any monster though, there is gear to craft with Monster Hunter World materials obtained from Shara Ishvalda. Also like most armor sets, there is an alpha and a beta version. Regardless of which version players craft, they will need the following to craft the full armor set:
- 20 Shara Ishvalda Boulderplates
- 10 Shara Ishvalda Tenderscales
- 5 Shara Ishvalda Tenderclaws
- 3 Shara Ishvalda Tenderplates
- 1 Shara Ishvalda Gem
- 6 Shara Ishvalda Petalstones
- 1 Ebony Odogaron Mantle
- 1 Rathian Mantle
- 1 Fey Wyvern Gem
- 1 Large Wyvern Gem
The first 6 materials can be obtained just from fighting Shara Ishvalda. The tenderplates and gems might prove difficult to obtain, in which case the drop rates for them might be helpful info: the gem has a drop rate of 4% from carving the body, a 5% chance from carving the scalp, a 1% of being taken by the plunderblade, 3% chance from breaking Shara's head, and a 2% chance as a quest reward. Meanwhile the tenderplates have a 33% chance of dropping from breaking the head and a 95% chance of being carved from the scalp. Getting to carve the scalp requires breaking Shara's head twice.
The final four materials are rare drops from master rank Ebony Odogaron, Rathian, bird wyverns, and standard wyverns without their own gems respectively. That latter class of monsters includes early or mid-tier monsters such as Diablos, Lavasioth, Barroth, Banbaro, etc. Doing investigations with gold rewards is one of the best ways to obtain these materials.
Once all the materials have been obtained, players have the choice of which armor set they wish to craft. The skills and gem slots are as follows:
- Skills: Recovery Up 3, Partbreaker 3, Coalescence 3, Health Boost 3, Critical Boost 2, Defense Boost 2
- Slots: Two level 3 slots, Two level 2 slots, four level 1 slots
- Skills: Recovery Up 2, Coalescence 2, Critical Boost 2, Health Boost 2, Partbreaker 1, Defense Boost 1
- Slots: Five level 4 slots, One level 3 slot, Three level 2 slots, One level 1 slot
Regardless of which set players choose if they have 4 pieces of Shara Ishvalda armor, they'll activate the skill Gaia's Veil and with 5 pieces will activate True Gaia's Veil. The skills have the following in-game descriptions:
- Gaia's Veil: "While wearing a mantle, gain Windproof Lv3, Earplugs Lv3, Tremor Res Lv3, and Flinch Free."
- True Gaia's Veil: "While wearing a mantle, gain Tremor Resistance Lv3, Earplugs Lv5, max Windproof, an Flinch Free."
Essentially, the Shara Ishvalda set bonus turns any mantle into the rocksteady mantle-lite.
As for the Shara Ishvalda weapons, while they all will require different materials to craft, and some have different tiers, the final stage of each share some similarities. They all give a boost to the hunter's defense, they have at least one level 1 gem slot, and they have a hidden dragon element with high Elderseal.
Monster Hunter World: Iceborne is now available on PC, PS4, and Xbox One.
MORE: The 10 Biggest Differences Between Monster Hunter Rise & World
Source: Monster Hunter World Wiki, Kiranico