

Dragon Age: Inquisition includes a number of puzzle-based quests to challenge gamers. Each ritualistic puzzle has perplexing features that can baffle even seasoned Dragon Age players. One of the first puzzle quests in the game is the "What Pride Had Wrought" quest. Without guidance, the quest can be quite tedious to complete.
RELATED: The 15 Best Weapons Of Dragon Age: Inquisition (& How To Get Them)
However, if gamers understand how to beat the puzzles, the quest will be a breeze. This guide will explain how to initiate and complete the What Pride Had Wrought quest in Inquisition. Players will need at least forty power to begin the quest.
Gamers should be at least level 16 before attempting to begin the quest, as it is recommended for levels 16 to 19. Players must also complete the Wicked Eyes and Wicked hearts quest, as well as the Here Lies the Abyss quest to access the mission. Players can initiate the mission by visiting the war table. Gamers that would like to complete the Under Her Skin and Before the Dawn quests should finish them before beginning the What Pride had Wrought mission, as they will be unavailable once it is completed.
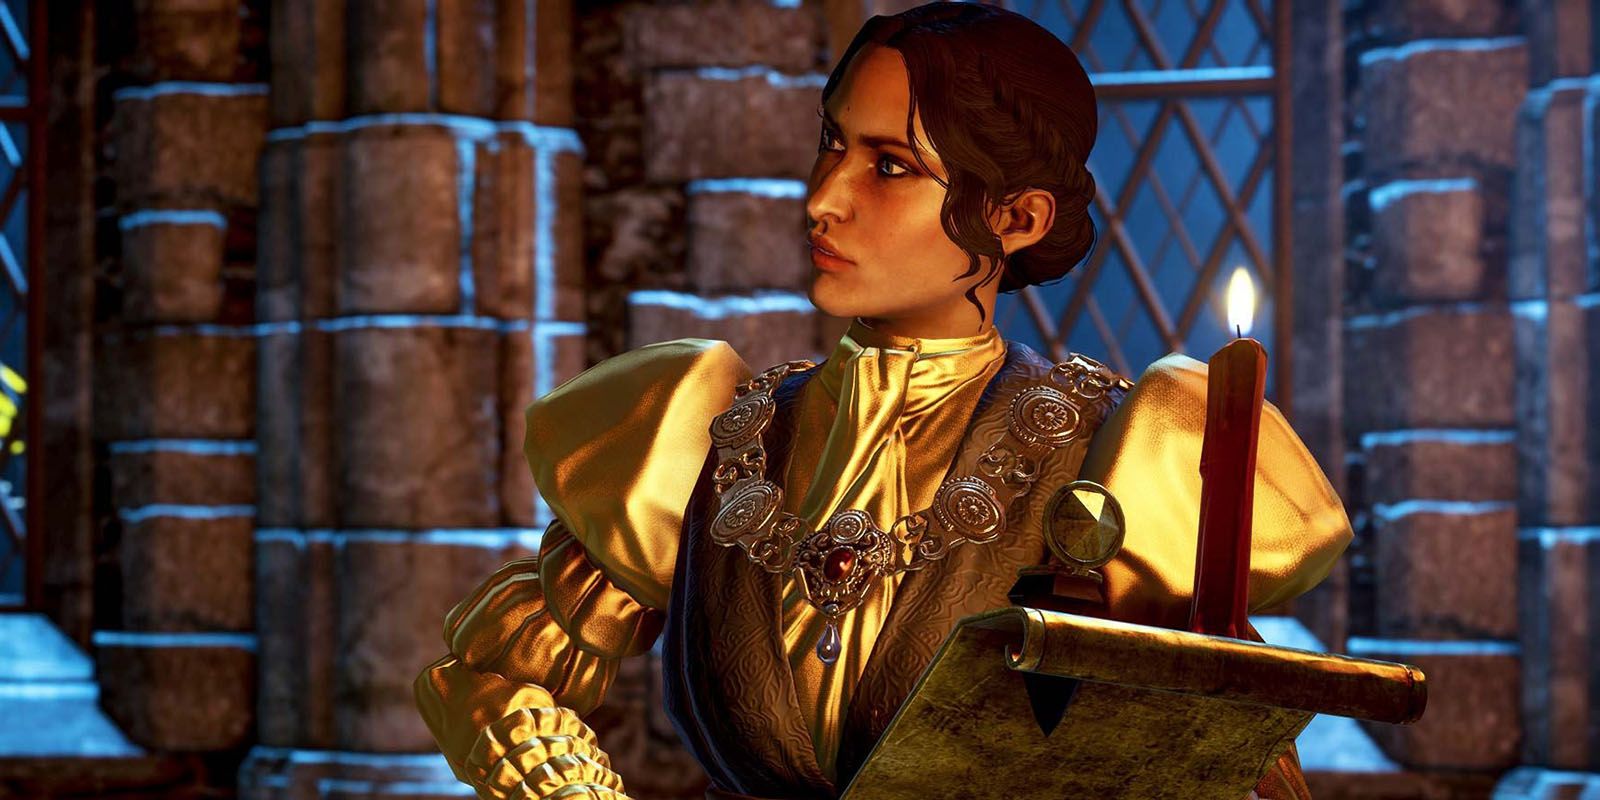
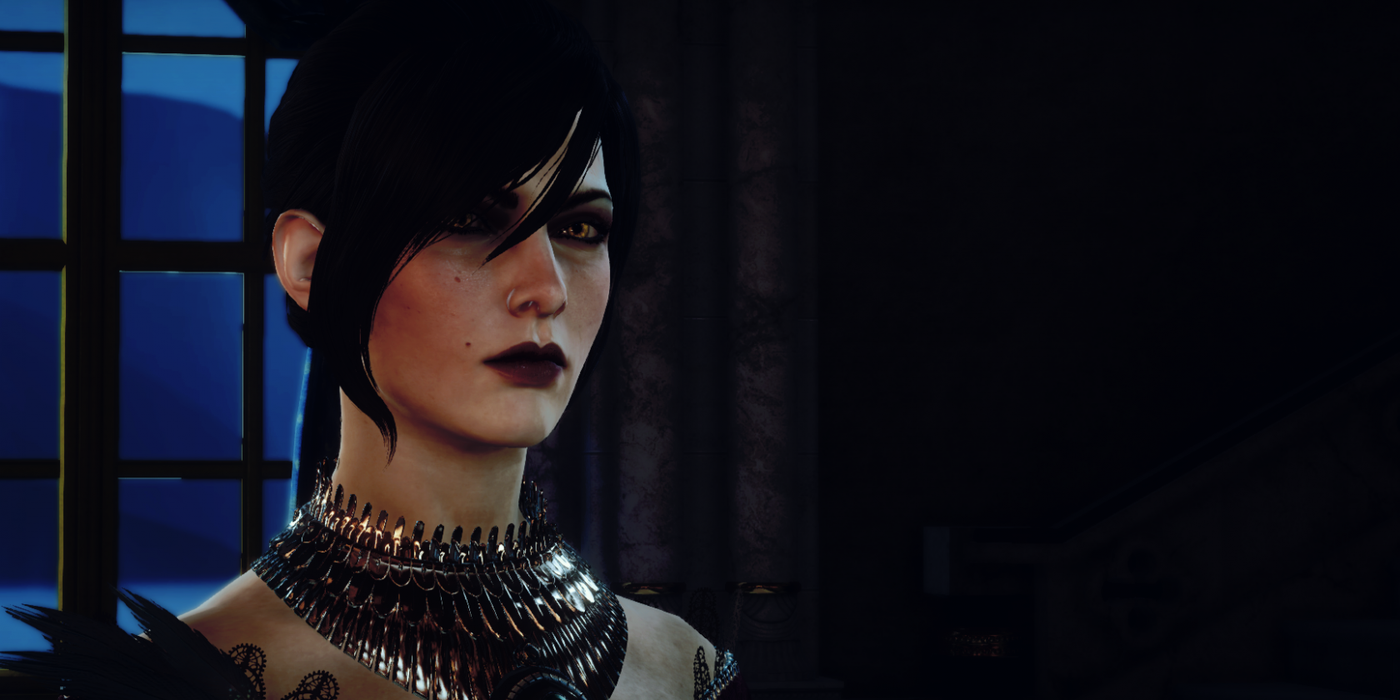
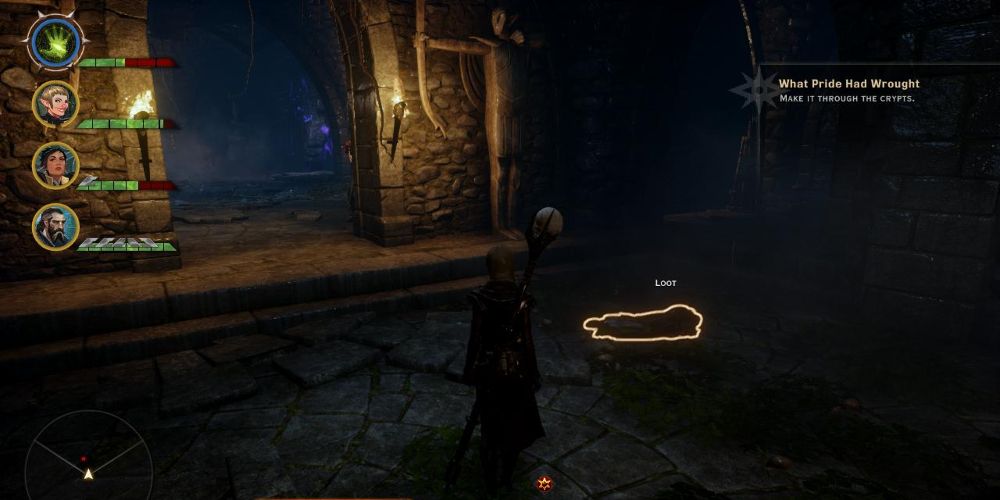
First, players will need to head over to the Inquisition camp and speak with Josephine. Of the eleven companions, Morrigan will accompany players during the quest. The camp is small, and players should not have much trouble finding Josephine. Gamers can then proceed to the second camp, loot, and follow the path toward the tunnel. There, players will notice some of the allied NPCs fighting with Red Templars. After making short work of the enemies, players will need to head to a lake at the bottom of the hill. There will be a few enemies to kill in this area as well before players can continue to travel Northwest.
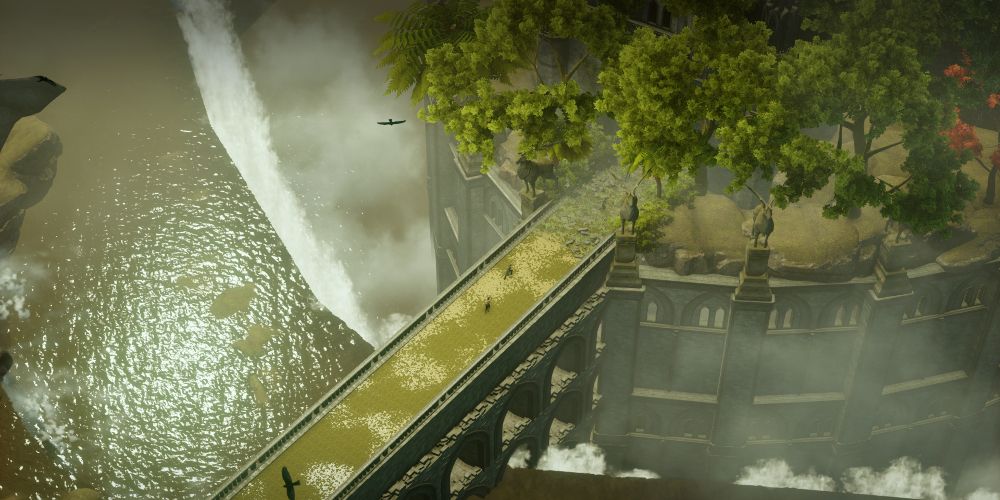
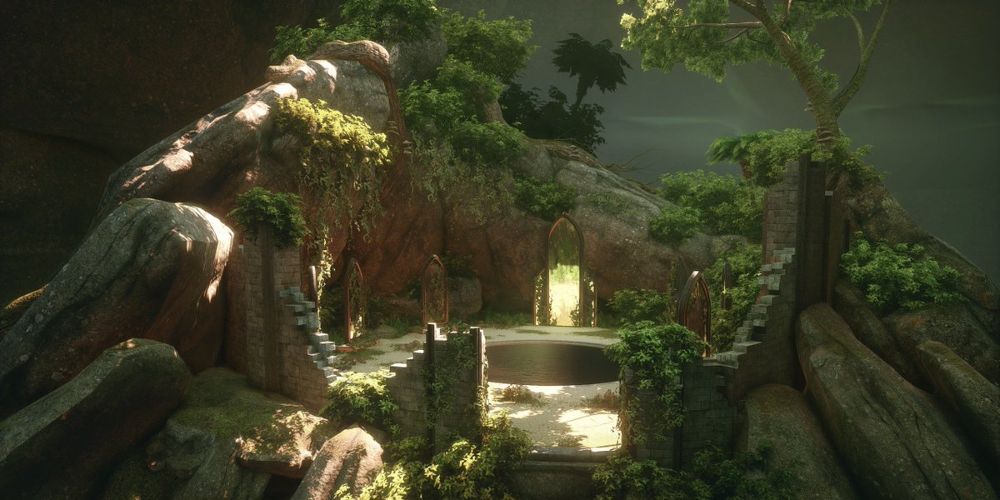
Gamers will eventually reach a river where there will be a number of warring Inquisition and Templar soldiers. After winning the fight, players need to cross the river and continue along the clearly marked path. Once the "Discovered: The Ruined Archways" notification appears, there are several more enemies to dispose of just around the corner. Once the Behemoths are killed, players will follow the path to a third camp with more enemies. The path will then lead gamers to another ally versus Templar battle in the river. Just beyond the warring factions is the entrance to the Temple. A cutscene will begin as soon as players pass through the archway at the end of the tunnel.
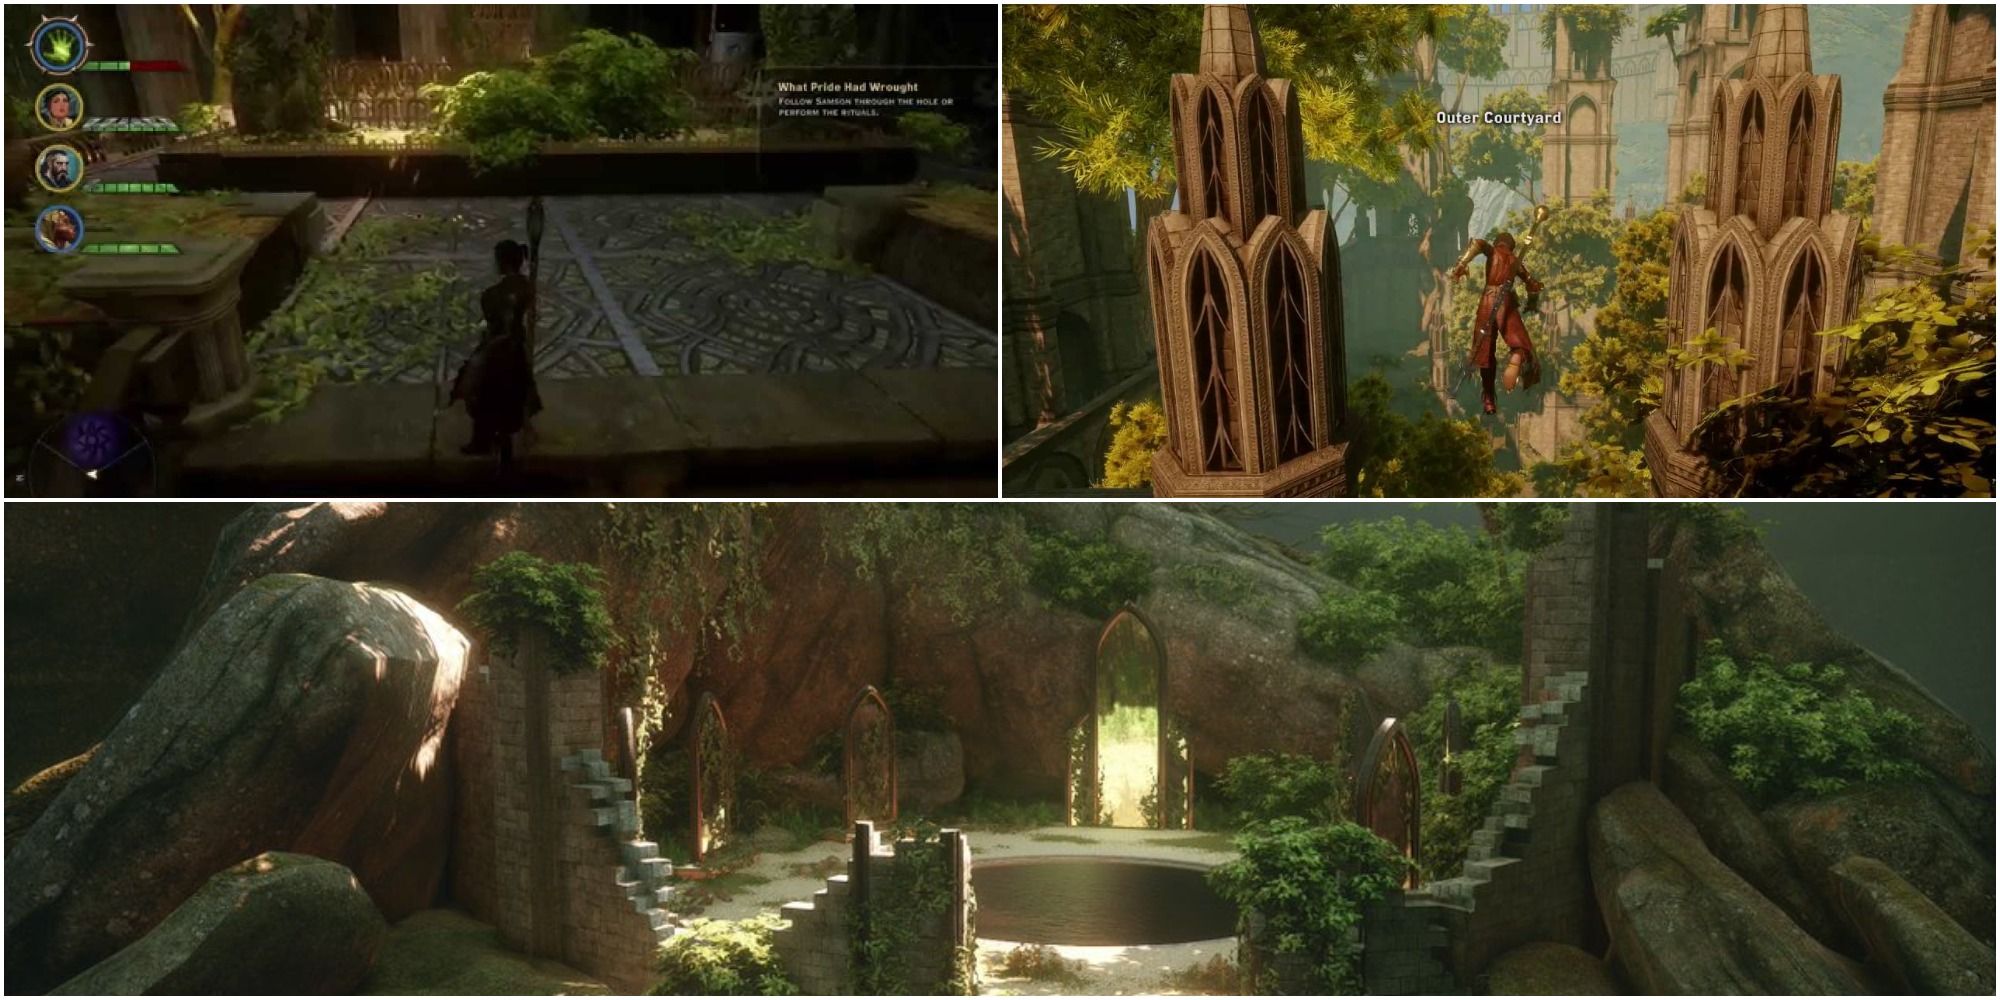
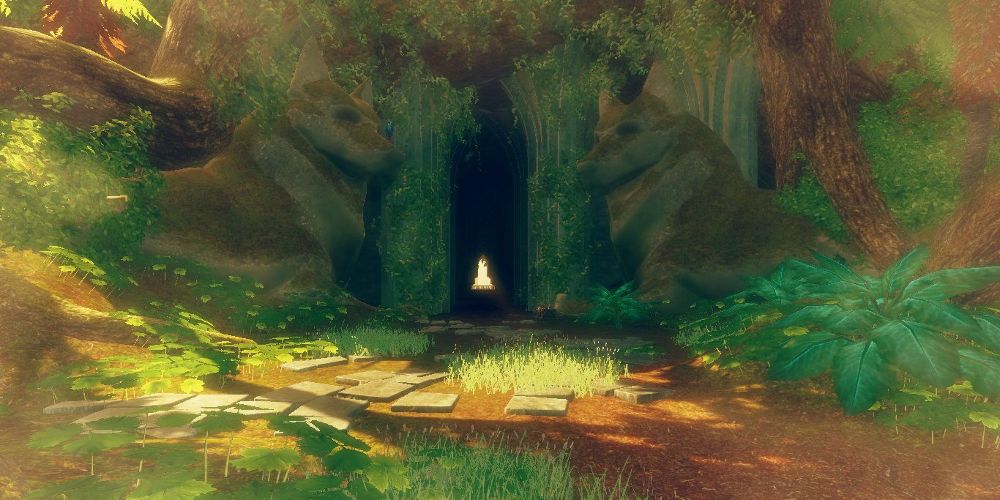
Upon entering the outskirts of the temple, Corypheus will be killed by an undead being and he is then resurrected as a cursed creature. After a series of discussions and dialogue, gamers will need to navigate their way deeper into the Temple of Mythal. In the center of the outer courtyard, there will be a platform with tiles that glow when any character stands on them. This will be the first puzzle players need to complete.
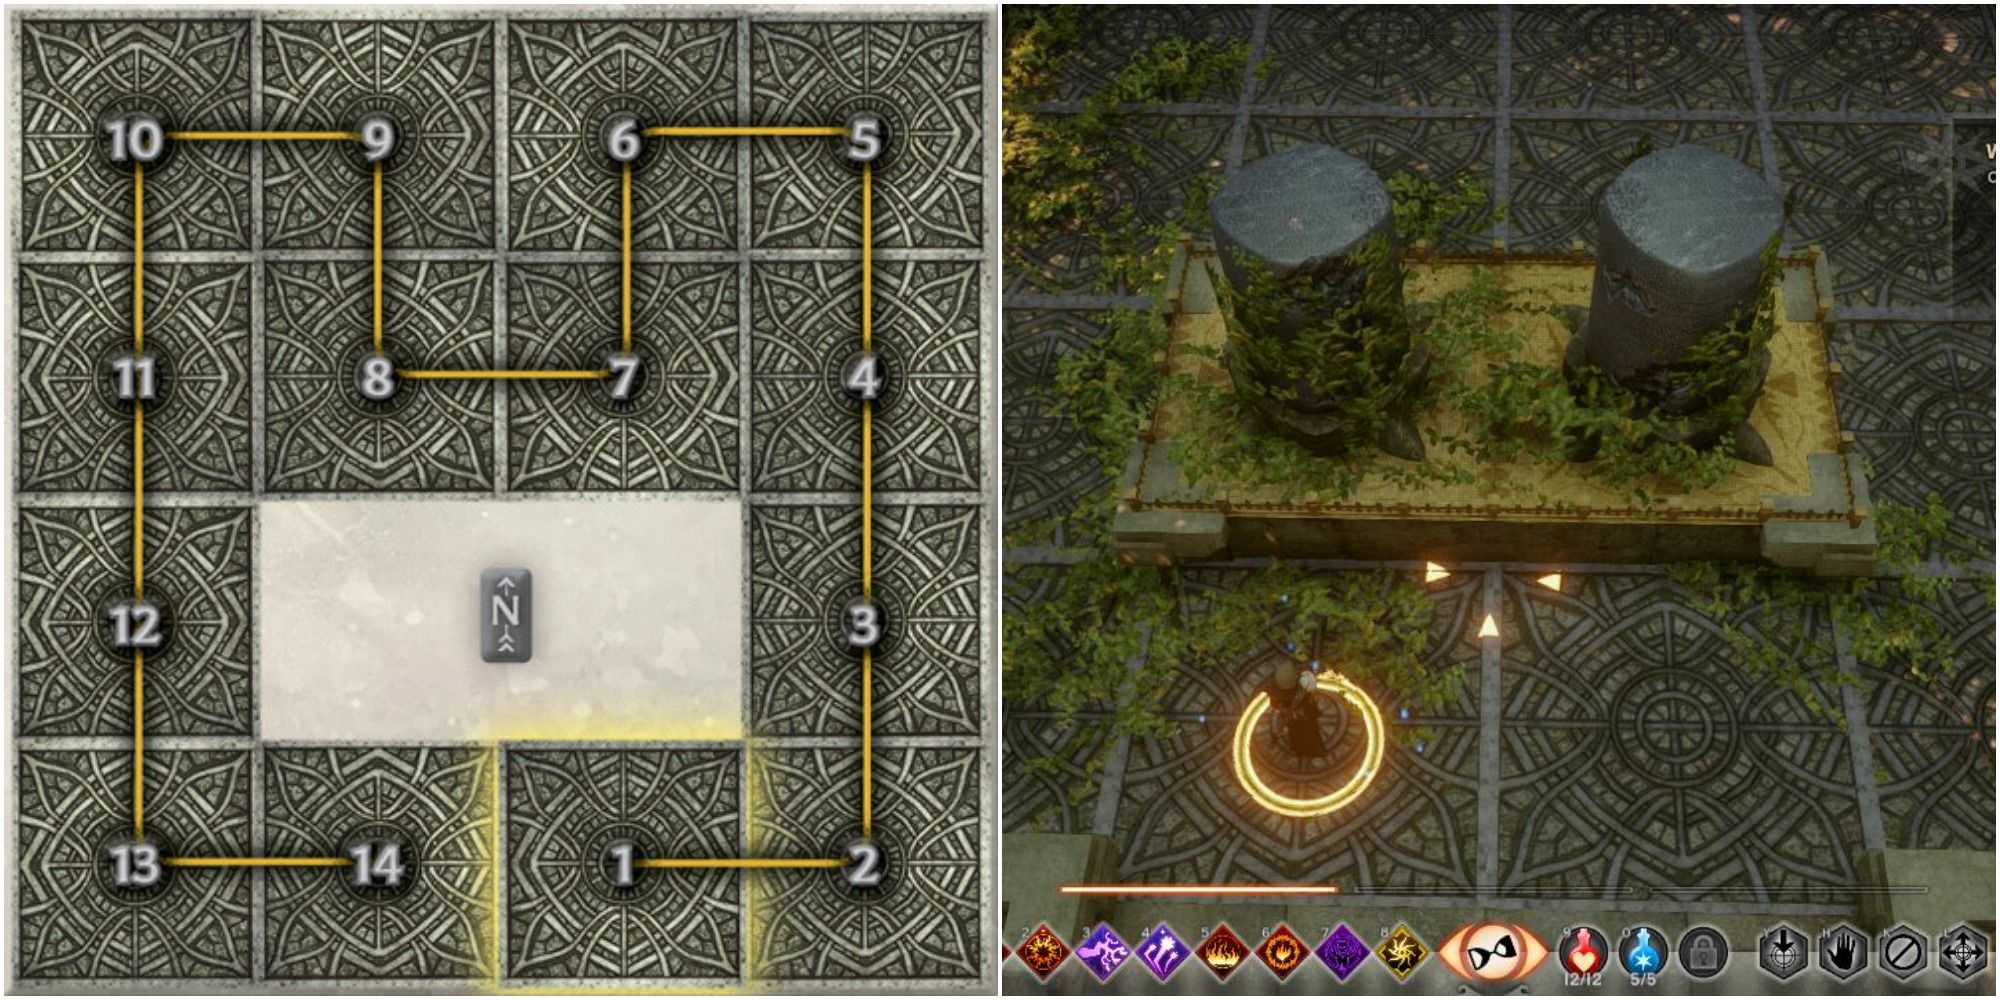
All gamers have to do to gain access to the Temple is walk on the correct tiles. Gamers need to start at the south side of the platform and walk around in a counter-clockwise described below:
- Start on the tile on the left side of the stars and head left, activating the first two tiles.
- Make a right and activate the next three tiles.
- Make a right at the end of the platform and activate the next tile.
- Turn right again to activate the first inside tile.
- Activate the next tile straight ahead.
- Activate the tile on the left.
- Finally, head forward and then to the right to activate all tiles.
Morrigan will have a few words to say before arguing with Solas. Next, players will proceed into the Hall of Shrines where they will have to battle through a group of enemies.
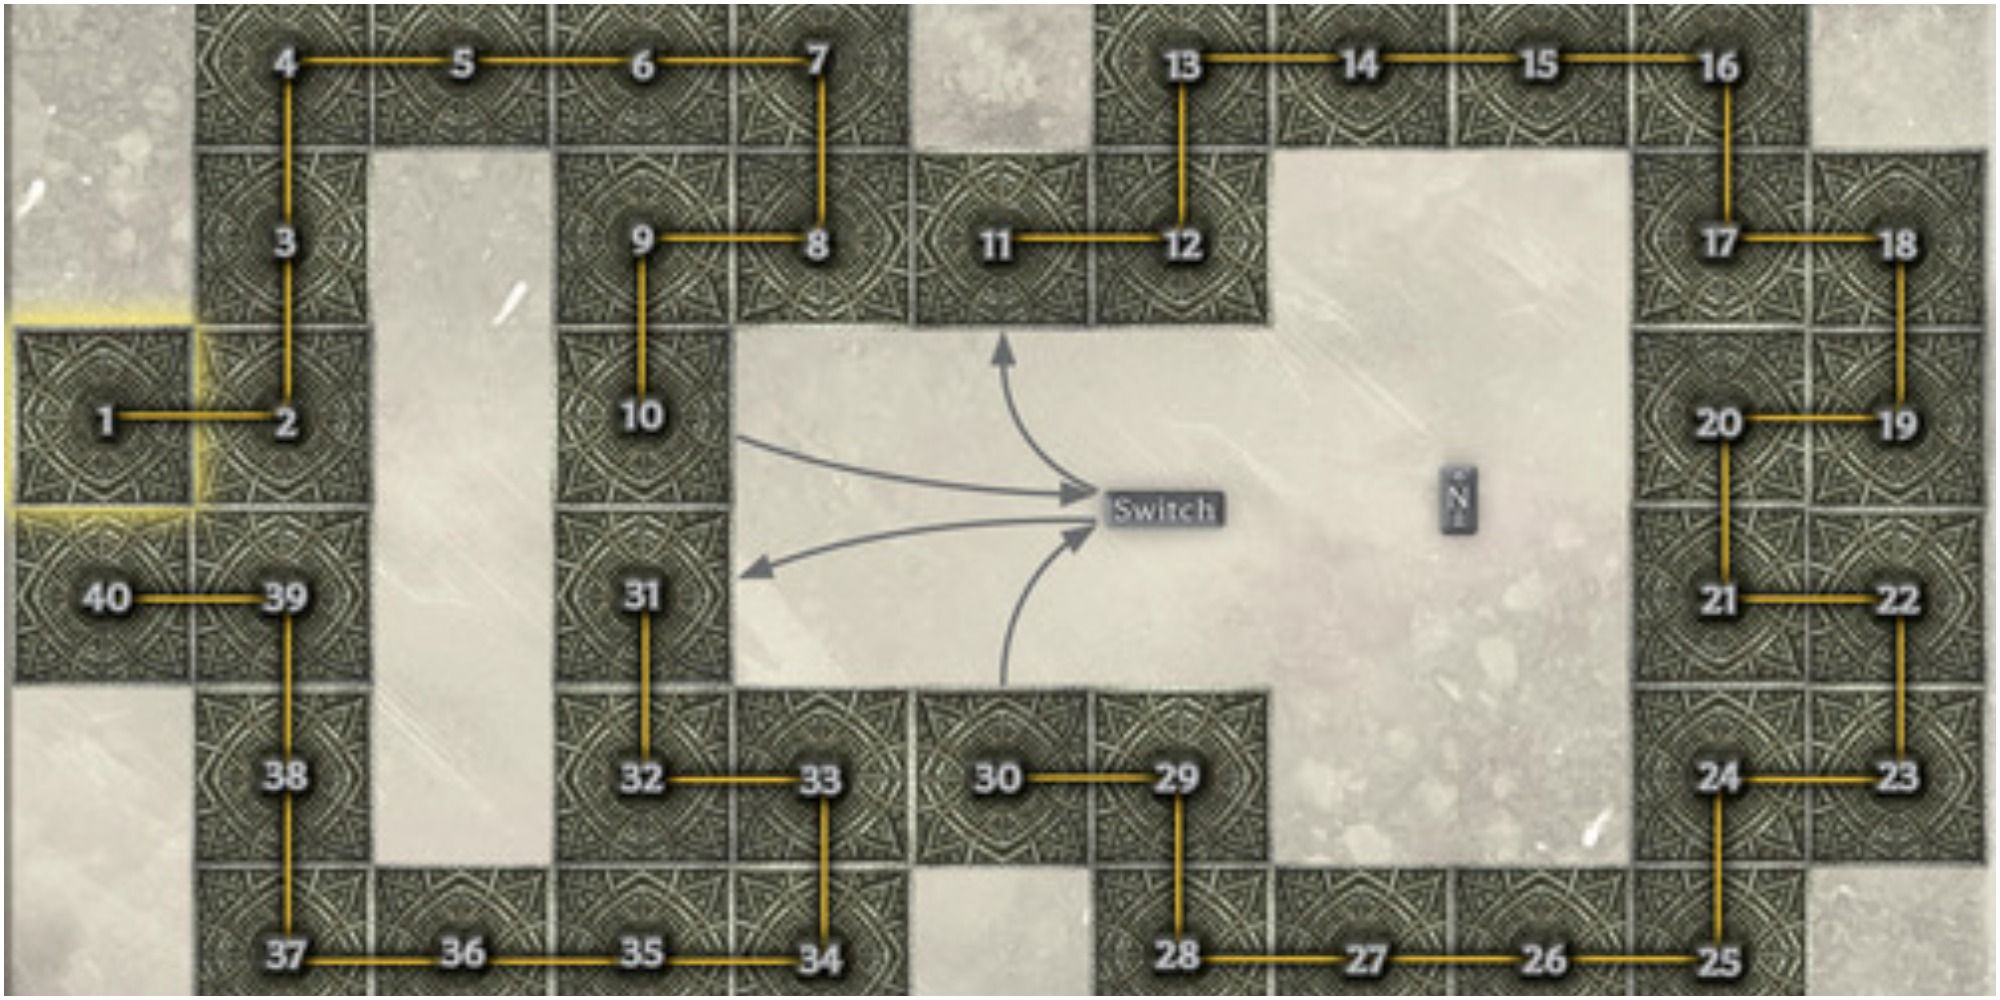
After discussing the well, gamers will need to complete the second of the three Temple puzzles. Similar to the last puzzle, the second will require players to walk on the tiles in a certain order. Players should proceed up the stairs and begin walking to the right. Gamers can follow the steps below and reference the image above. Starting at either the first tile or the fortieth tile will work.
- Walk to the right and then around to the left to light up the first six tiles.
- At the end of the platform, make a left and illuminate the next two tiles.
- Make a left again to activate two inside tiles and proceed to the lever in the center of the platform.
- Begin walking on the tiles to the right side of the lever that leads behind it.
- After stepping on the sixth tile, turn right to activate the outer tile, then left to the next outer tile.
- Turn left to activate the inside tile performing the same zig-zag motion until all are illuminated.
- Walk around toward the lever, activating the first two of four tiles to the left of it before walking into the small tile surrounding the lever.
- Pull the lever and walk on the tile that is right next to the blue tile that was activated before the lever was pulled the first time.
- Proceed straight to the next tile and then right to the following one.
- From there, players will follow the remaining tiles to complete the puzzle.
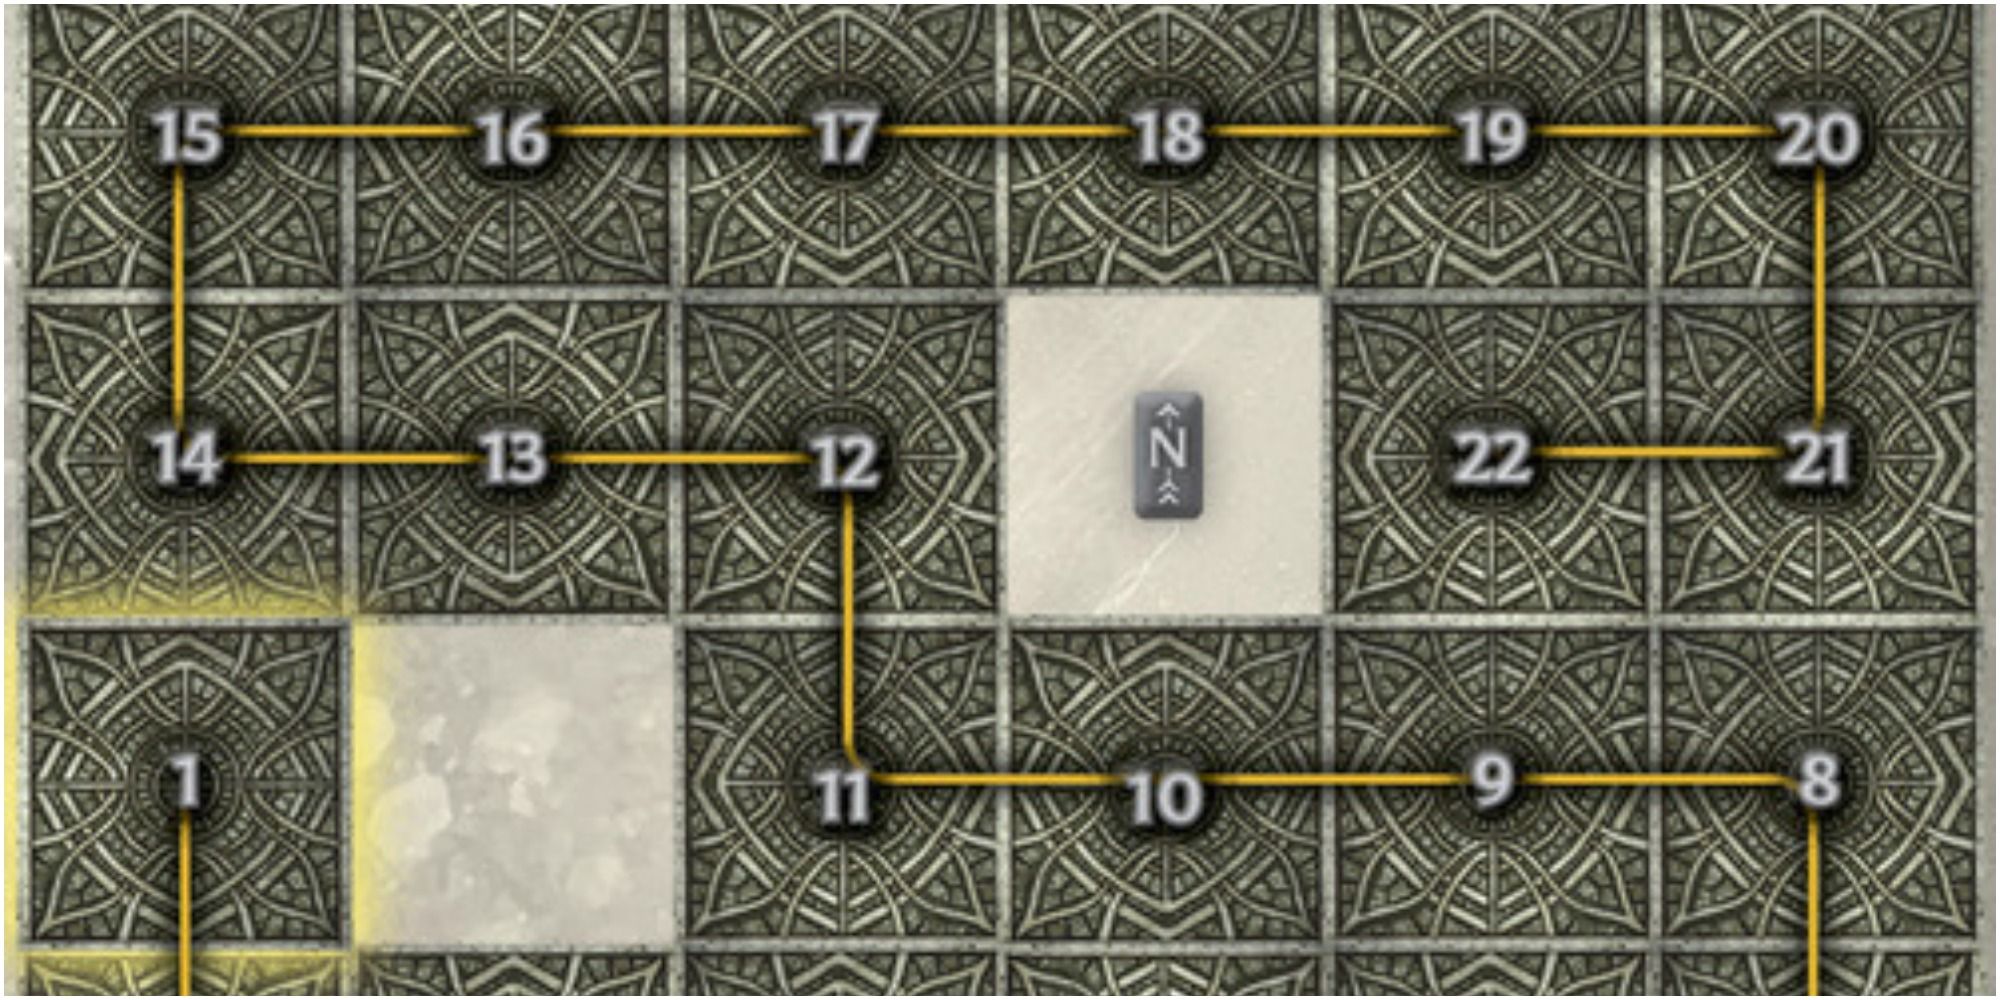
The image above displays the path to complete the third ritual puzzle in the quest. Because of the number of twists and turns, a visual representation is needed. After completing the puzzle, gamers will need to head east through a series of doorways to the next puzzle.
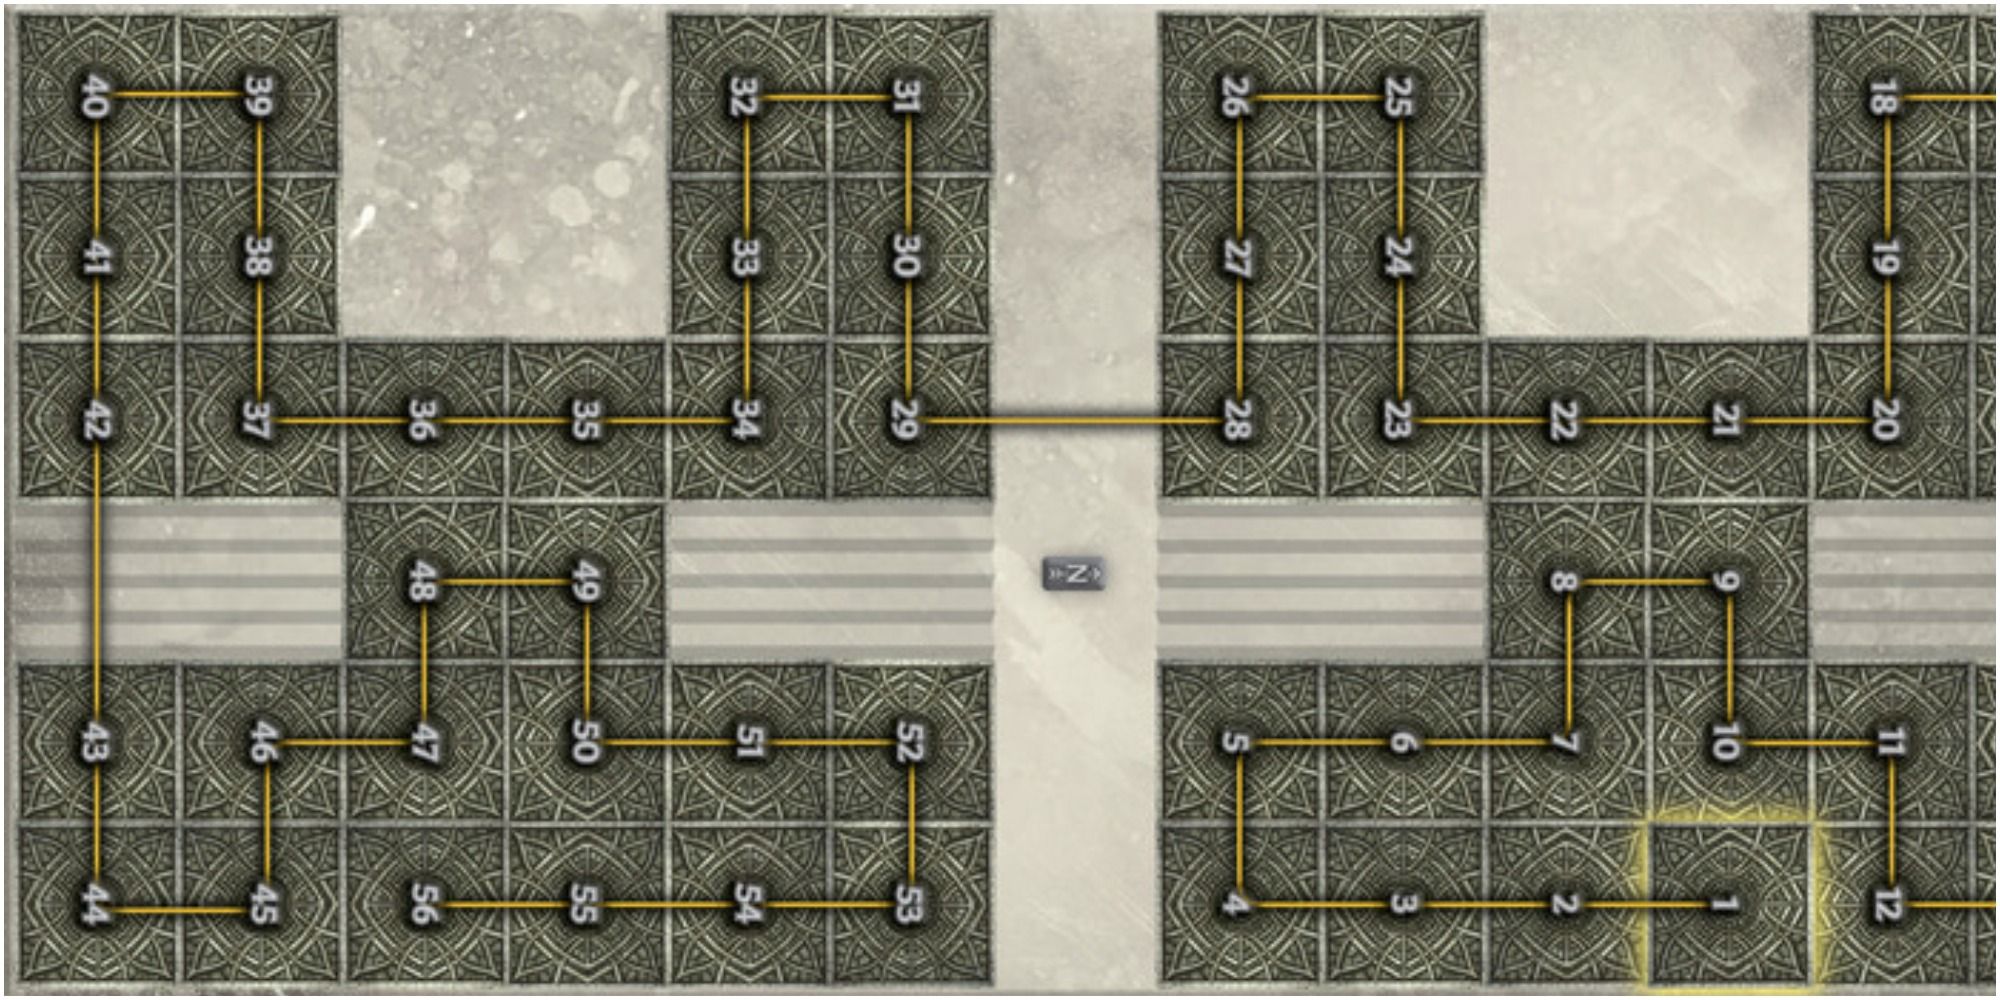
Another representation of the path for the Fourth puzzle is included above. It will be on the west end of the courtyard. This is by far the most complicated puzzle, and gamers will need a visual guide to complete it successfully. After completing all four puzzles, gamers will proceed into the tunnel.
Players will need to fight their way through waves of enemies as they proceed further into the depths of the temple. Gamers should look around, as there will be ancient writing to discover throughout the mission. Any closed doors along the way should have a lever nearby and players can use their torch to locate them. Upon proceeding to the great hall in the temple, Abelas and the sentinels will appear. Once the cutscene dialogue ends, players will follow one of the sentinels who will lead them further into the Temple. Gamers should inspect each of the mosaics to unlock a codex for each along the way.
The sentinel will guide players to the Well of Sorrows. At the bottom of the stairs, gamers will confront Calpernia, who ran into the temple earlier in the mission. Calpernia will realize that she was manipulated by Corypheus and leave the temple. Meanwhile, Abelas is caught attempting to destroy the well. After several minutes of dialogue, Morrigan enters the Well of Sorrow to wield its power and defeat the resurrected Corypheus. Corypheus appears and Morrigan uses her newly acquired powers to ensure the safe departure of her allies.