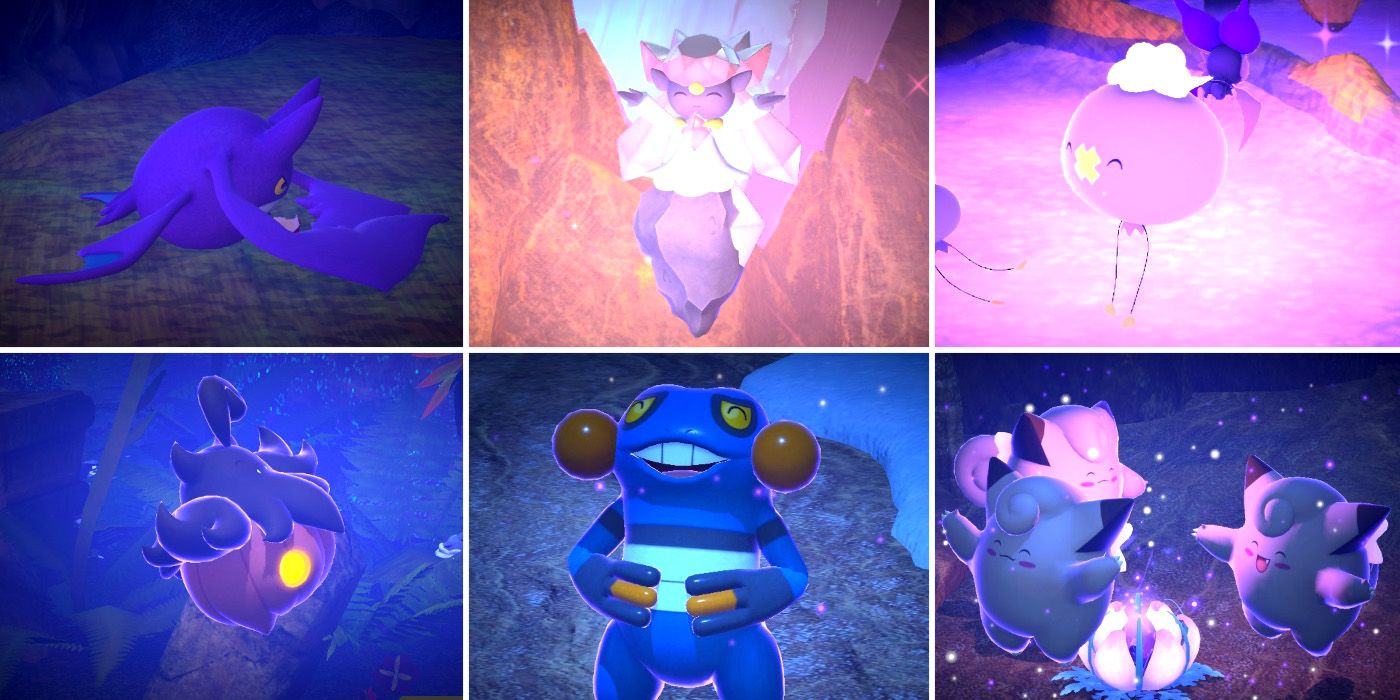
The Outaway Cave course is one of the last courses that players will unlock in New Pokemon Snap and also one of the game's largest. There are 22 different types of Pokemon spread out across its two main routes, both of which have their own separate branching pathways. Finding everything that's hidden throughout the cave can be incredibly time consuming for players, as too can completing all of its 17 LenTalk photo requests.
RELATED: New Pokemon Snap: Every Pokemon In Outaway Cave & Where To Find Them
To make matters worse, players won't be able to fulfill many of these requests until after they have completed the game's main story and will also need to have reached research level 3 for the course to make some of the required Pokemon turn up. As a result, the course will likely keep players busy for quite some time, although thanks to the likes of Gengar and Croagunk, its requests are some of the most enjoyable found in New Pokemon Snap.
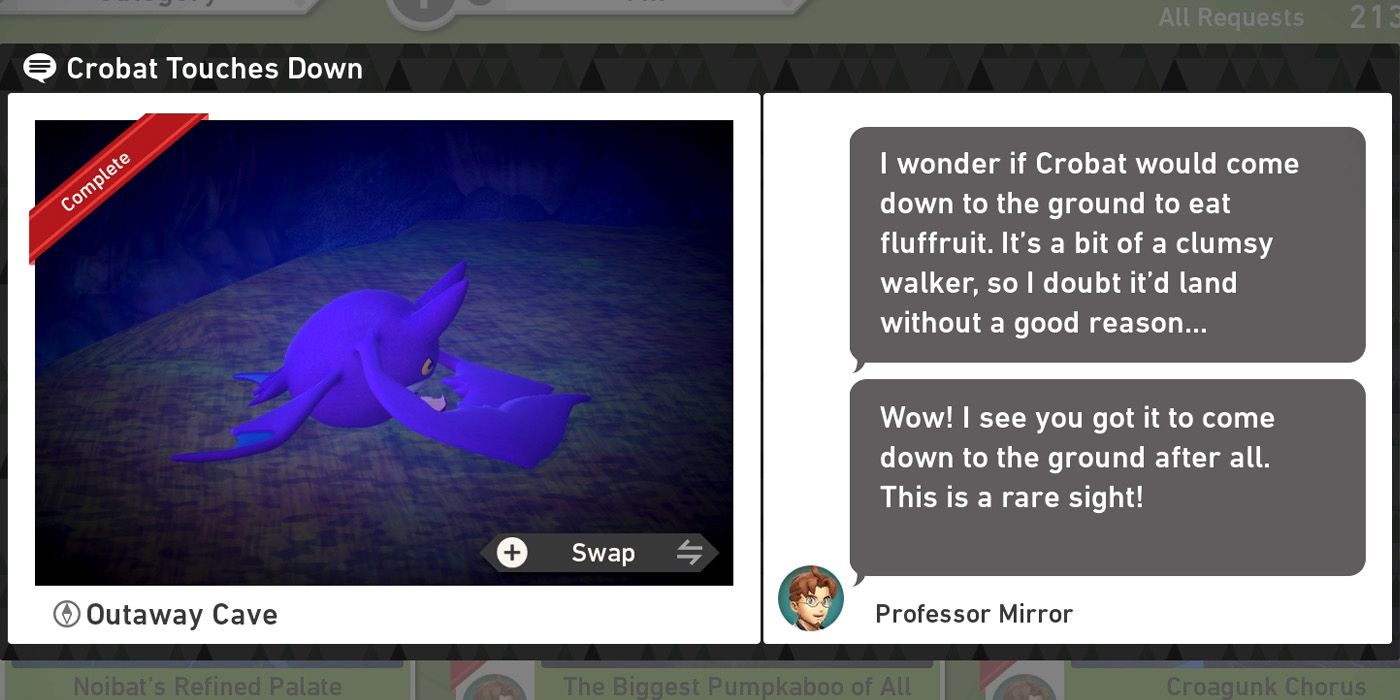
To complete the Crobat Touches down request, players will need to make their way to the default exit of the course, meaning they'll have to be playing at research level 1 or research level 3. After passing the rampaging Rampardos, they'll see some water down to their right and should look for a Crobat that will hover around in front of them for a few seconds. It's a tricky shot due to the distance, but they'll need to hit this Crobat with a Fluffruit to get the shot that they need.
If successful, players should then turn around and wait for the Crobat to land nearby. Once it does, they'll need to throw a Fluffruit as close to it as possible and then wait for the Crobat to start eating. This is the four star photo that Professor Mirror is after, so all they'll need to do now is hit the A button and then turn it in at the end of the run to complete the request.
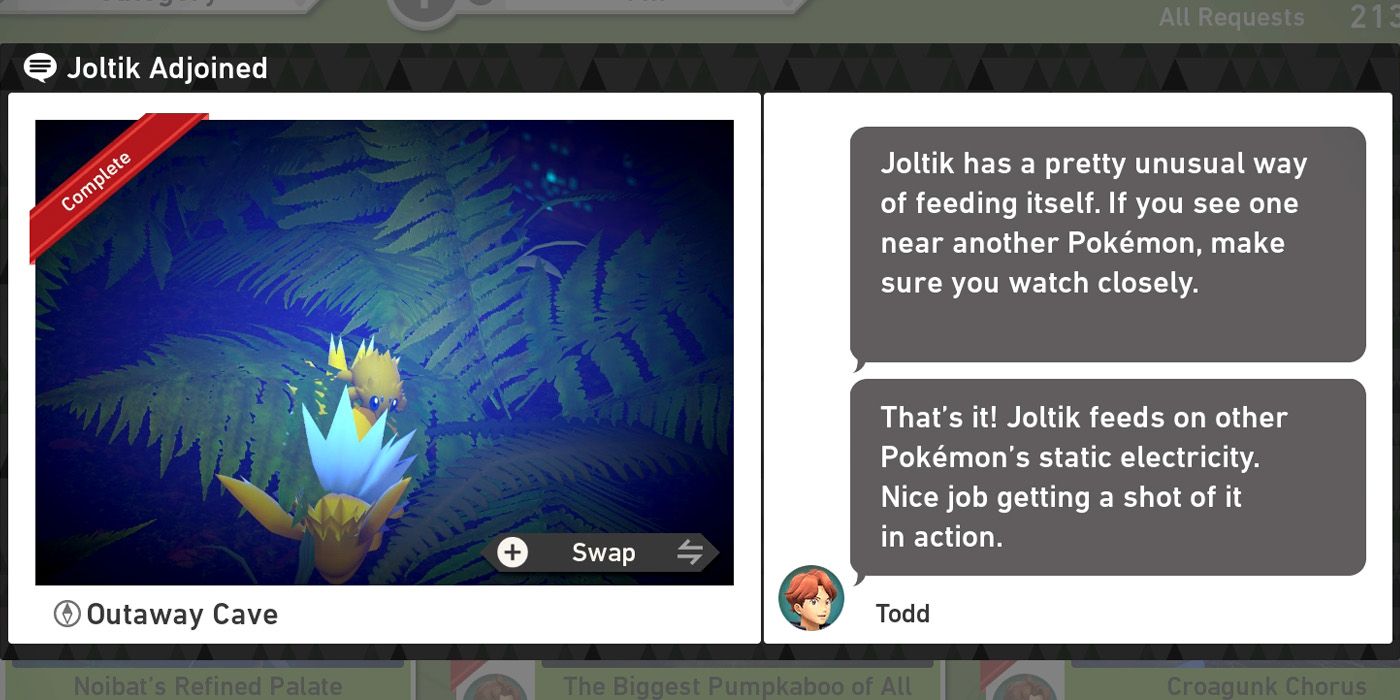
Before players can tackle the Joltik Adjoined request they'll need to have completed the game's main story. Once that's taken care of, they should start a run at research level 3 and take the alternate route to the crystal cave. As they enter, they'll see two Carbink and a Mawile beneath them and hitting all three with Illumina Orbs will summon Diancie from behind a nearby crystal. When it arrives, they'll need to hit the Legendary Pokemon with an Illumina Orb so that it lets out a blinding pink light and then perform a scan near the Mawile over to the left to gain access to the underground garden area.
Once here, they'll find Jolteon hiding in a bush in the corner and a Joltik jumping around nearby. They'll need to use Fluffruit to lure the Joltik over to the Jolteon, although will need to be mindful of how much the Fluffruit bounces in this area due to the Neo-One's height. Once the Joltik gets close enough it will jump on to Jolteon's back and players will need to snap a four star photo of Joltik to complete the request. Due to its small size, it can help to move the camera reticule over to Joltik before it latches on to avoid taking a picture of Jolteon by mistake.
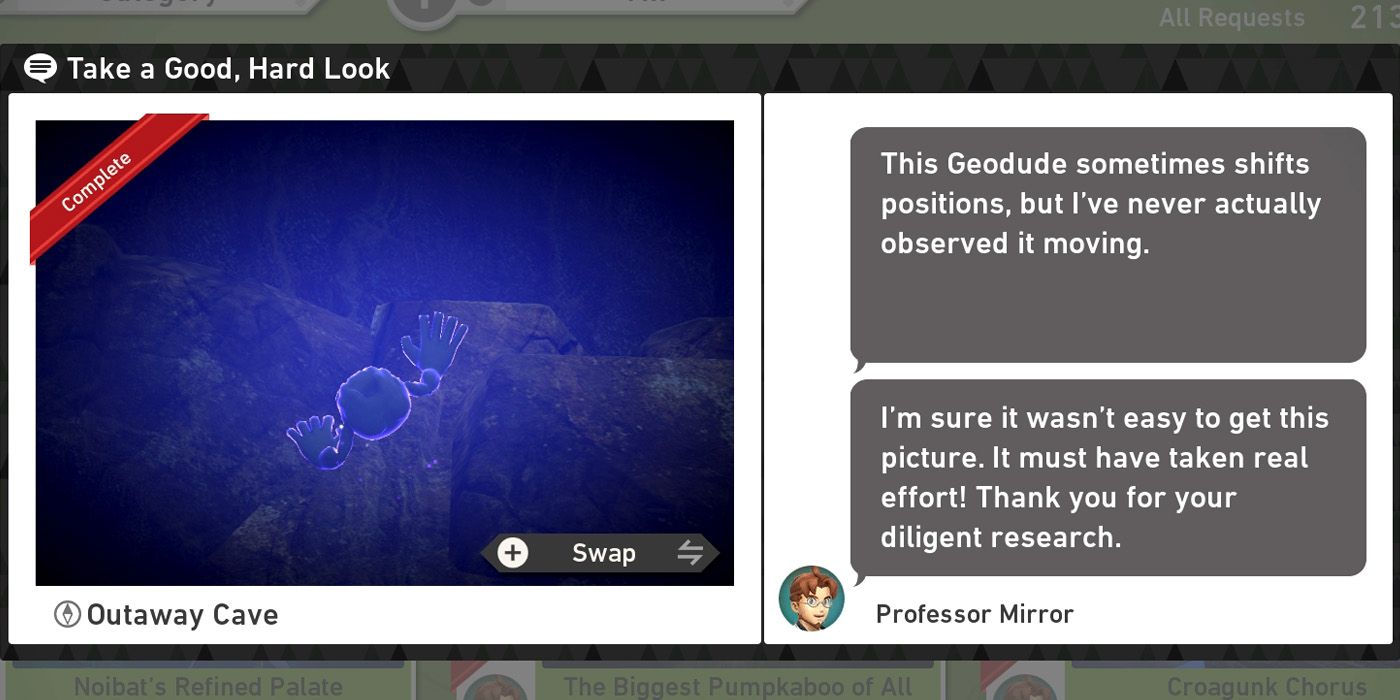
After reaching research level 2, there'll be a Geodude holding onto a wall on the left side of the main cavern. It can be difficult to spot due to its color being similar to that of the cavern's walls, so those having trouble finding it can use scan to pinpoint its exact location. Once they've found it, they'll need to hit it with a Fluffruit which will cause it to start climbing.
It's this action that players will need to photograph in order to complete the Take a Good, Hard Look request for the Professor. It all happens pretty quickly though, so players should be ready to take the photo as soon as they've thrown the Fluffruit. If they miss it, it's not the end of the world, however, as hitting the Geodude with another Fluffruit will make it climb a little higher.
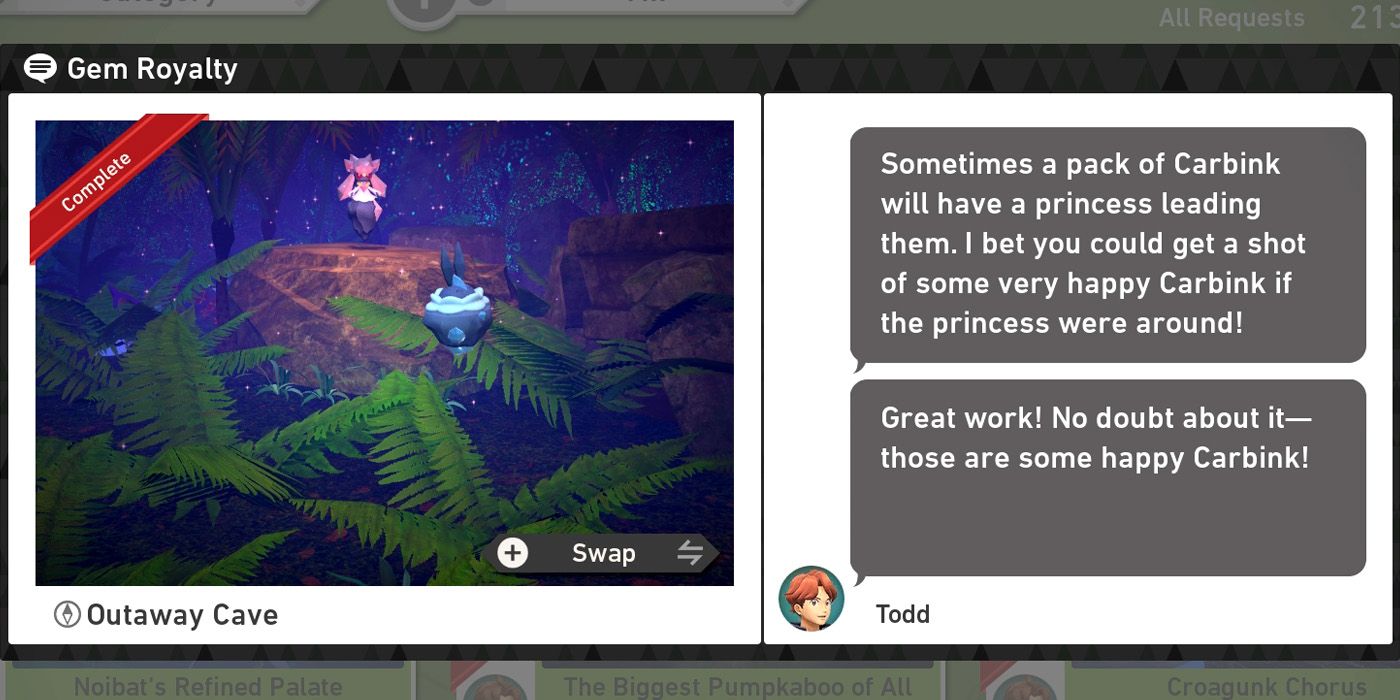
To complete the Gem Royalty request players should be playing on research level 3 and will also need to have completed the game's main story. They should then take the alternate route through the crystal cave and follow it towards the first alternate exit. As soon as they transition into the area after the crystal cave, they'll need to throw an Illumina Orb over the ridge on their left to illuminate a hidden Crystabloom so that an archipelago pattern Vivillon flies out. It's worth noting that it is possible to get Diancie to show up without doing this, but players won't be able to get the photo that they need if the Vivillon doesn't appear.
Once the Vivillon shows up, players should turn their attention back to the path in front of them and look for some Carbink behind a rock off in the distance near the ruins. There are four of them in total and players will need to hit each of them with an Illumina Orb as quickly as possible to make them come out to the main path. Three of them are easy to hit, but to get the fourth one, players will need to aim to the right of the little rock. The moment they've all been hit, players should use the Melody Player to summon Diancie from behind a rock over to the left. It will applaud the Carbink for their dancing and, as soon as it stops clapping, players should hit it with an Illumina Orb too.
This will cause Diancie to produce a pink gem which will soon explode and shower the Carbink with glitter and players can get a four star shot of them dancing when this happens. Carbink should be the subject, but Diancie must also be somewhere in the shot. If players miss the moment, it is possible to get Diancie to produce another gem by hitting it with another Illumina Orb, although this should only be used as a last resort as it's a lot easier to take the photo from the front.
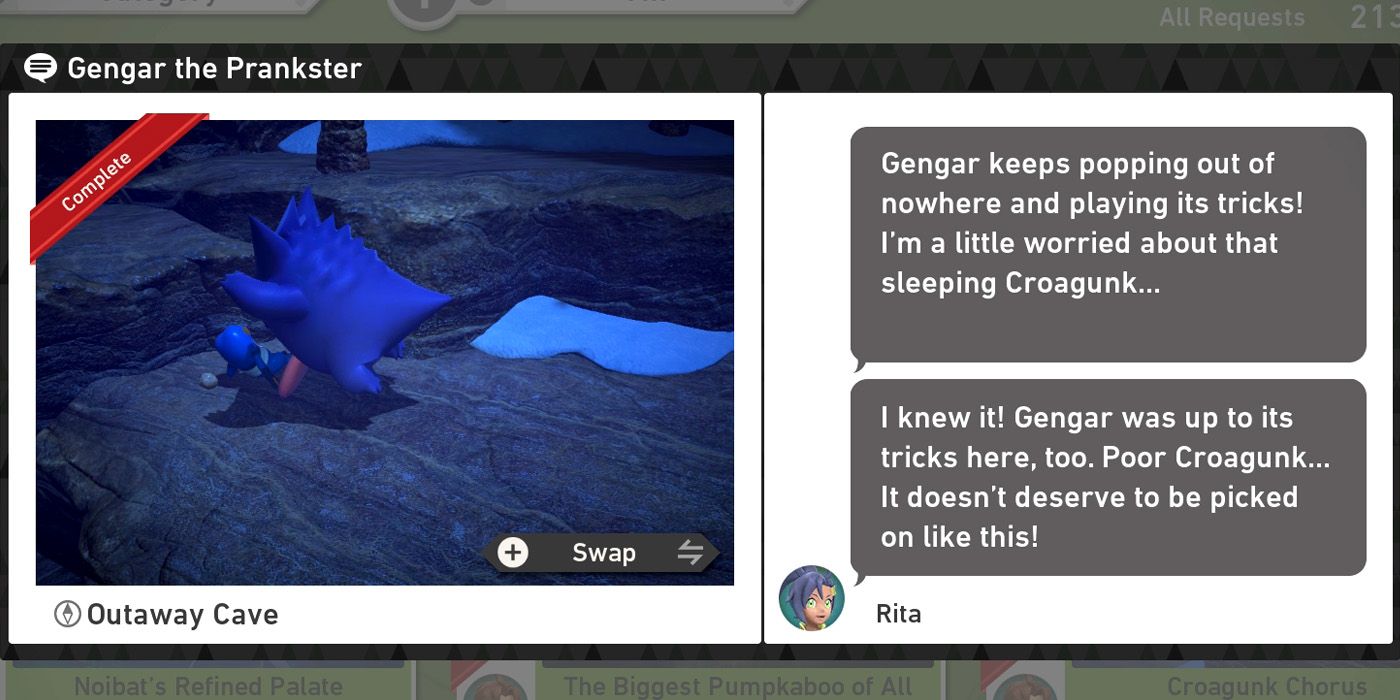
The Gengar the Prankster request can be completed at any research level and is a fairly simple request to fulfill. Players will need to make their way to the central cavern and then look beneath them for a sleeping Croagunk with a Gengar portal nearby. They'll now want to throw two Illumina Orbs at the portal to make Gengar come out and then immediately hit the Croagunk with one when it does so to make the Gengar walk over and scare it.
Players should make sure that Gengar is the subject of the photo that they turn in, but can also get a four star photo of Croagunk by photographing its reaction after it wakes up. The only thing that players need to be mindful of here is timing, as it's possible to get the Gengar out of its portal long before Croagunk is in range of the player's Illumina Orbs and the former has a habit of getting bored and leaving if players don't illuminate the Croagunk quickly enough.
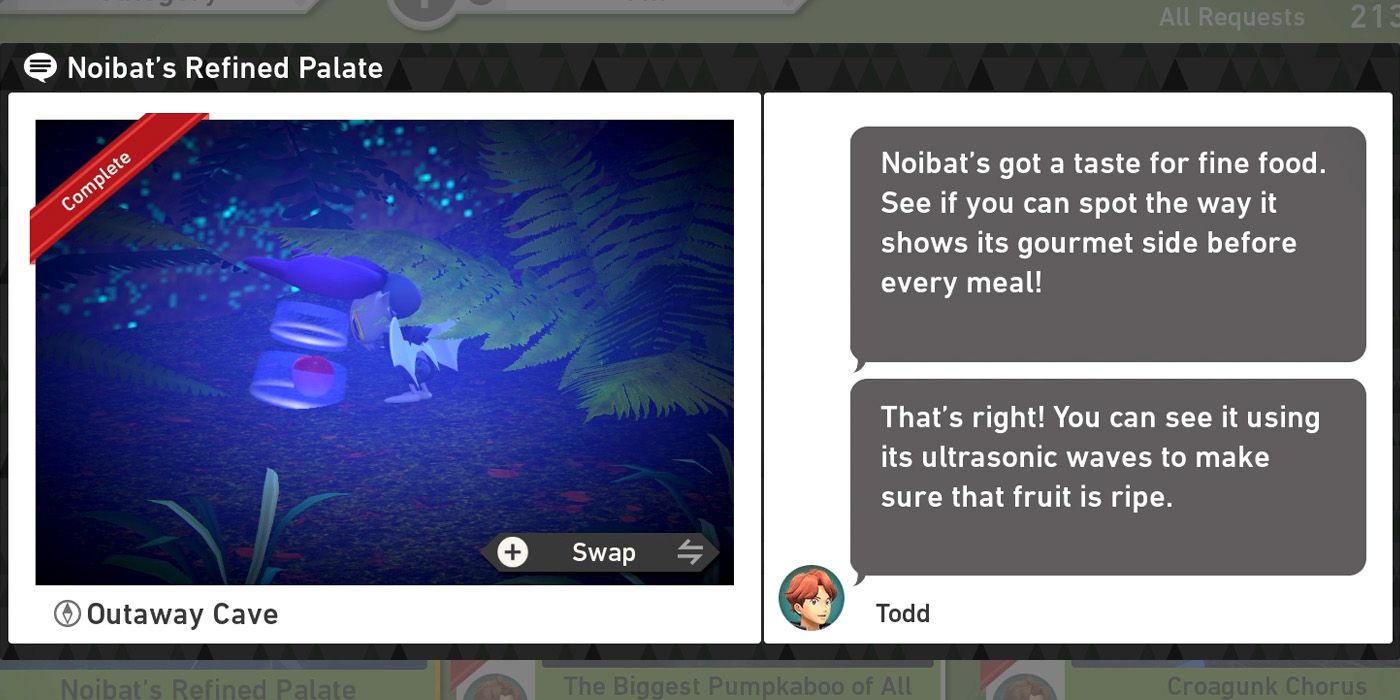
The spot where players can complete the Noibat's Refined Palate request is in the area near the first alternate exit, meaning players will need to have reached research level 2 before they can tackle it. Providing they've reached this point though, they should make their way towards the first alternate exit and look for some Noibat stood around to their right shortly after they leave the crystal cave.
Their aim here is to throw Fluffruit as close to them as possible, although must be sure not to accidentally hit them with one as this will cause the Noibat to fly away. As soon as one of the Fluffruit lands close enough, Noibat will scan the fruit using Supersonic before batting it away and players should get a three star photo of it doing so to complete the request. If more than one Noibat is in the shot, they'll also need to make sure that the one using Supersonic is the focal point of the photo and not one of the others.
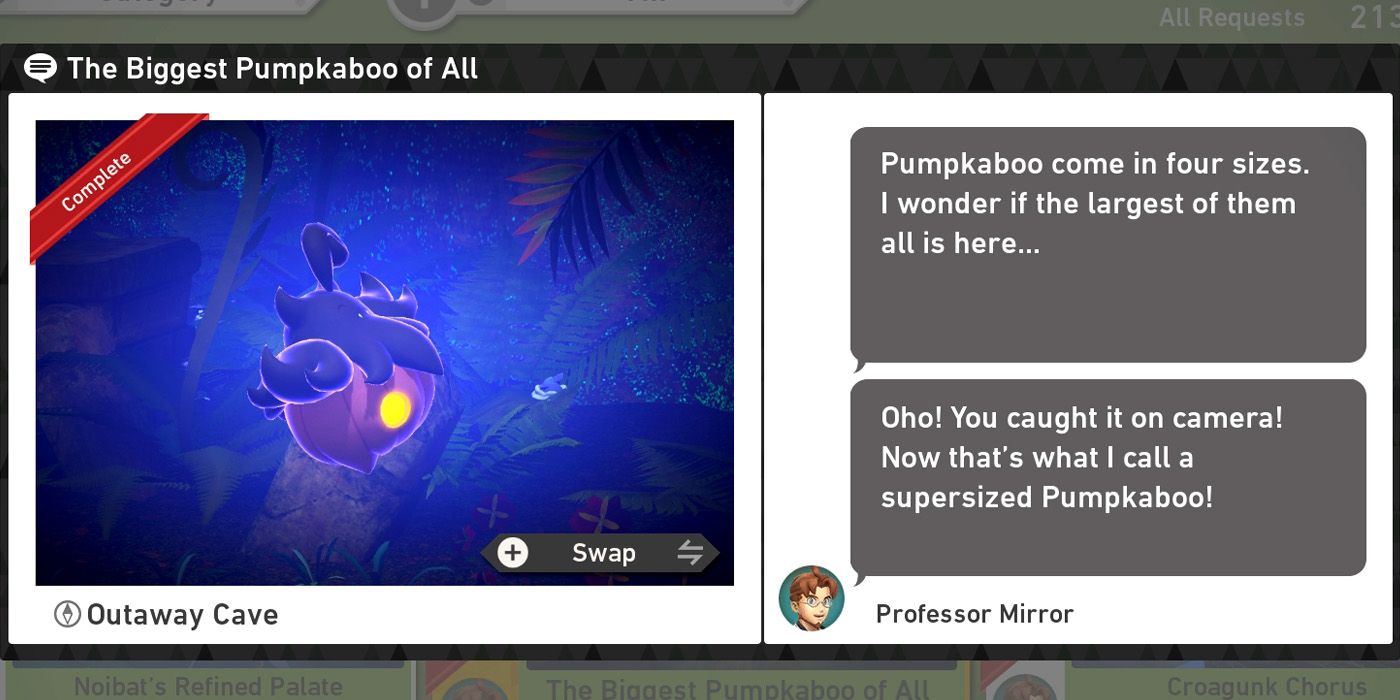
The super size Pumpkaboo that players need to photograph for the The Biggest Pumpkaboo of All request will only show up at research level 3 and only if players hit four other Pumpkaboo with Illumina Orbs on their way to the first alternate exit. The first of these Pumpkaboo will be to the player's left near some Gengar and Carbink as soon as they spawn in to the course and there's another one over to their right past a Gengar portal shortly after it.
After illuminating the second Pumpkaboo, players will enter the main cavern and, as soon as they do, should look up and to their left to find Pumpkaboo number 3. The final Pumpkaboo will be behind and beneath players after they take the alternate route towards the crystal cave almost immediately after scanning to change routes. From here, players just need to make their way through the crystal cave and then find and photograph the super size Pumpkaboo in the final area. It will be directly in front of them near some Noibat after they leave the crystal cave.
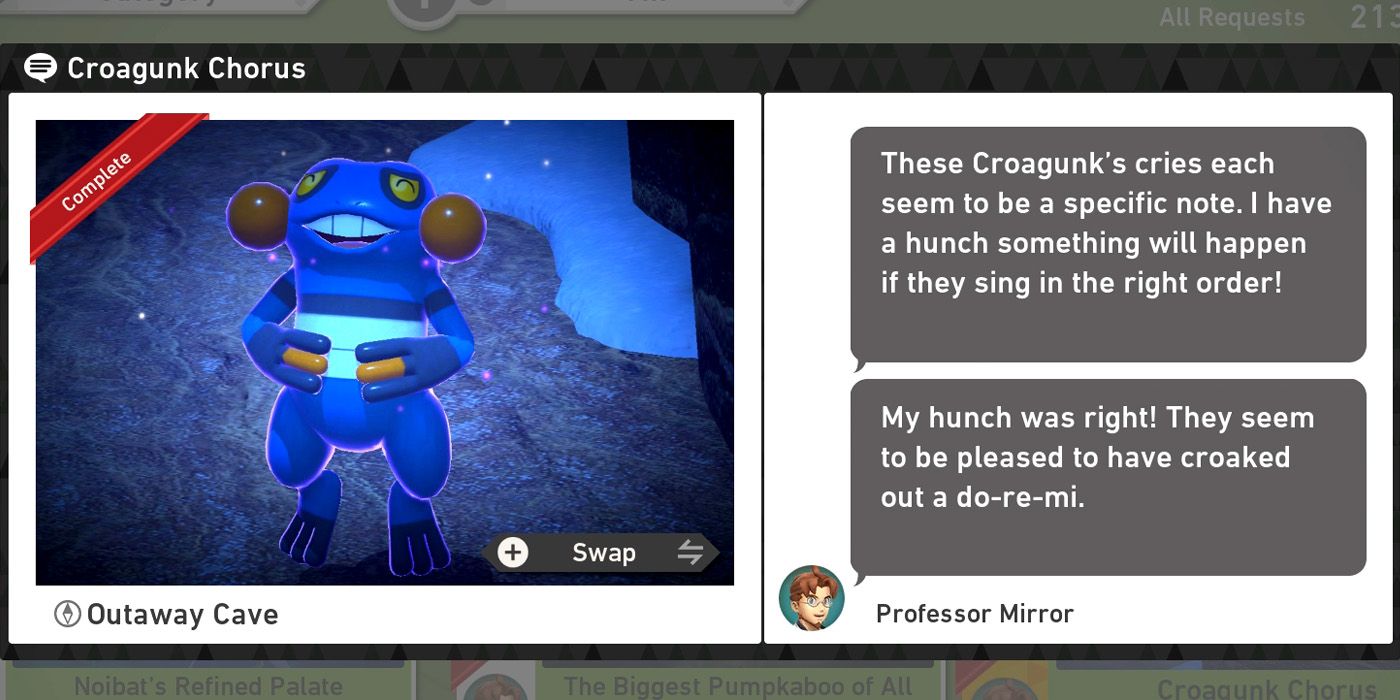
The Croagunk Chorus request can only be completed at research level 3, although is one of the simplest requests in Outaway Cave. Players will need to make their way into the central cavern and then look for three Croagunk walking around on three different levels of the rock that's directly beneath them as they descend. As soon as they're in range, they should trigger the Melody Player and then prepare to throw some Fluffruit.
Rather than just hitting them in any order though, players will need to aim their Fluffruit at the one on the middle level first, then the one on the highest level and, finally, the one on the lowest level. If done correctly, all three Croagunk will begin to float and players can get a photo of any one of them doing so to complete the request and also add a nice four star photo of Croagunk to their Photodex in the process.
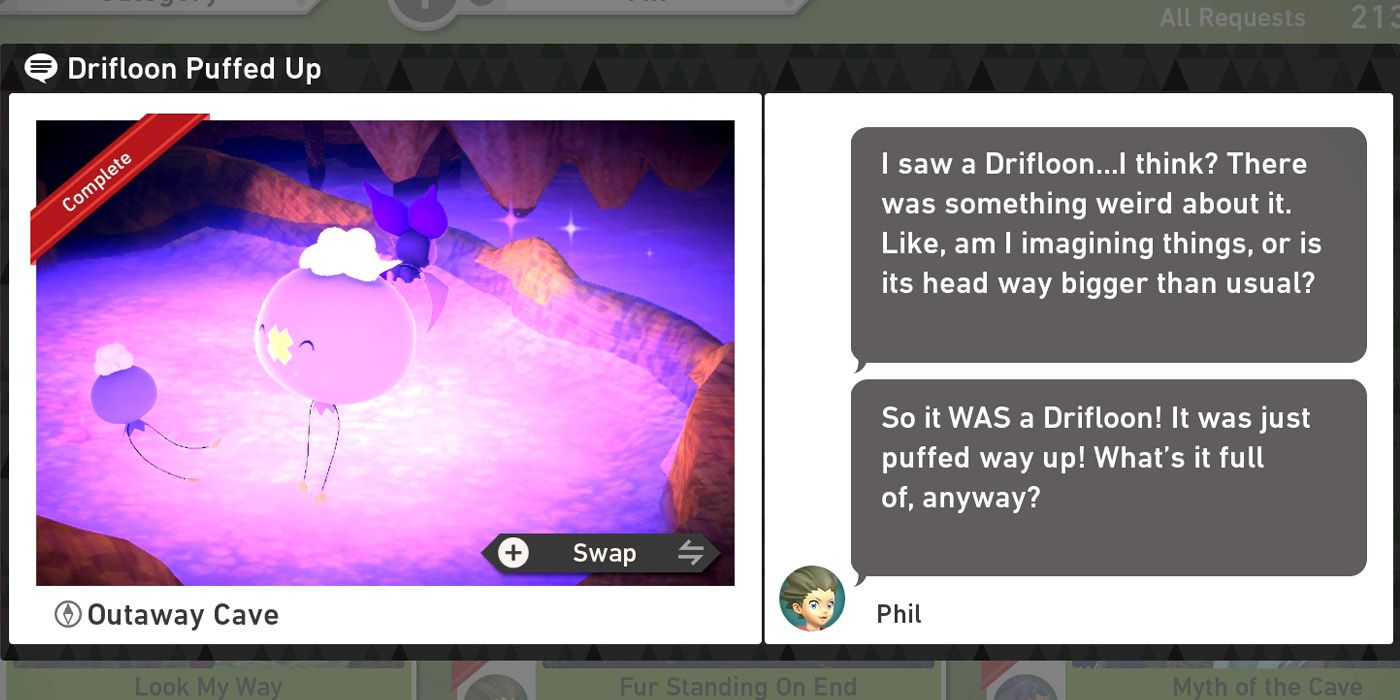
To complete the Drifloon Puffed Up request, players will need to take the rimstone path and be playing at research level 3. After passing through the main cavern, they should follow the course's default route and then look for a sleeping Crobat to their left and hit it with an Illumina Orb to wake it. Next, they should face forwards and use the Melody Player so that a Gengar pops out of a portal on the ceiling to their right and scares away another Crobat.
If done correctly, players will now be able to perform a scan near the angry Rampardos to take a slightly different route. After doing so, they should locate the Crystaboom that's down and to their left and hit it with an Illumina Orb. Illuminating this Crystabloom will cause the nearby Driflim to drastically increase its size and players should get a four star photo of it in this state to fulfill Phil's request.
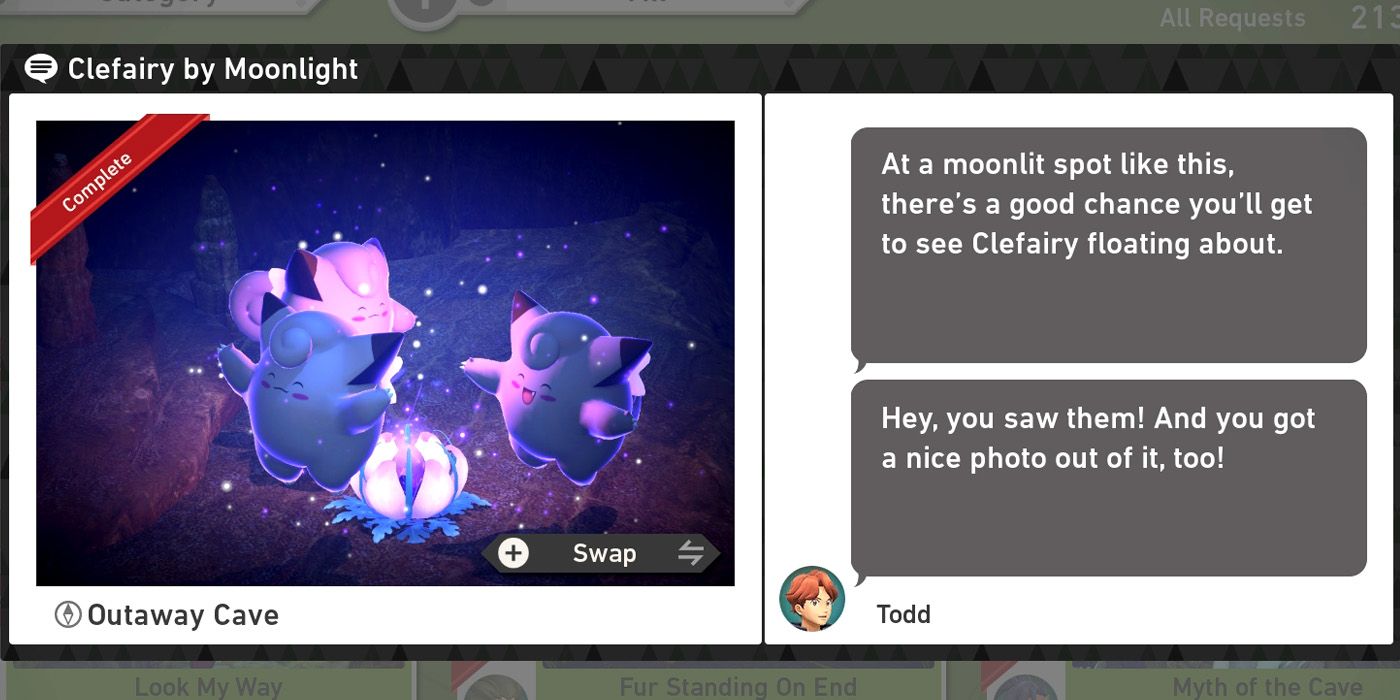
The Clefairy by Moonlight request is another that can only be completed at research level 3. As players make their way down through the central cavern, they'll see three Clefairy gathered around a Crystabloom to their left. Illuminating the Crystabloom and then using the Melody Player will cause the Clefairy to start dancing, although there's still a bit more work that needs to be done before players can complete the request.
While the Clefairy are still dancing, hitting them with Illumina Orbs will cause them to start floating and it's this four star photo that players will need to snap for Todd. Only one of the Clefairy actually needs to be floating, although it's important that the Clefairy that is the focal point of the photo is. With this in mind, it's easier to just hit all three of them with Illumina Orbs just to make sure.
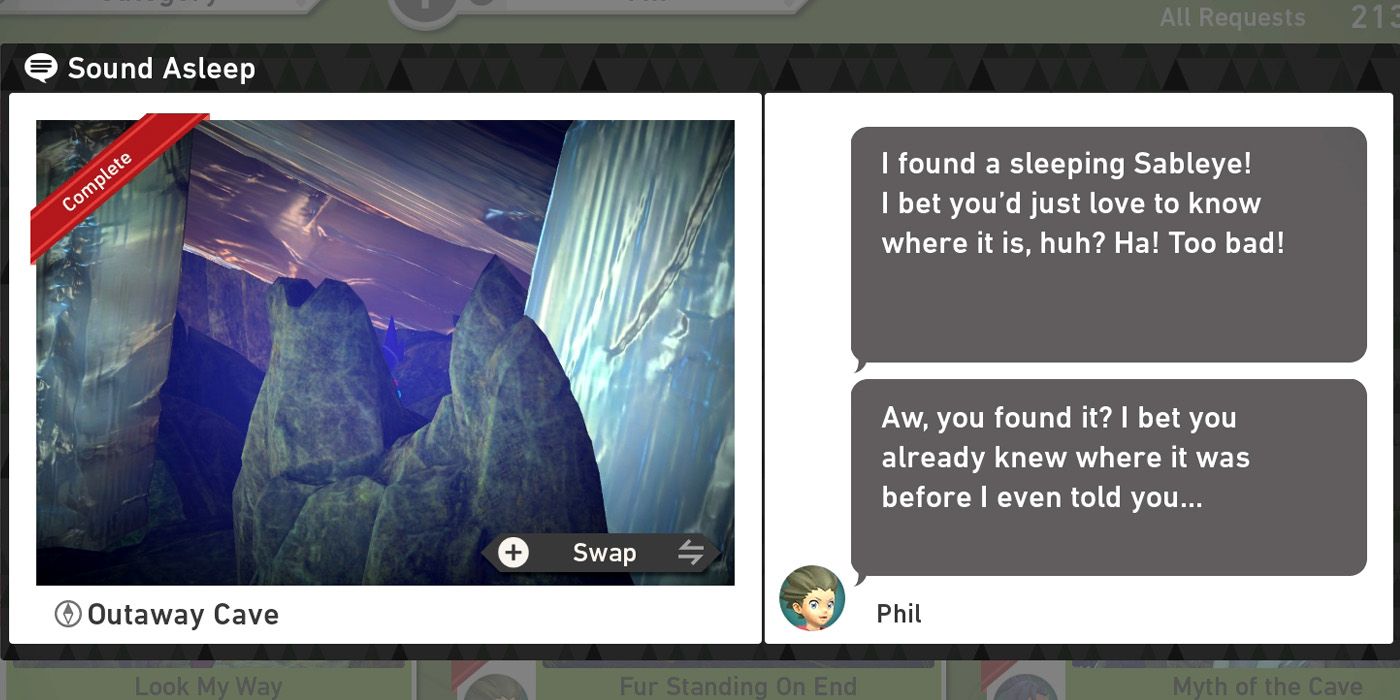
Players will be able to complete the Sound Asleep request at research level 2 or higher and should make their way to the crystal cave whenever they're ready to do so. The sleeping Sableye that Phil wants players to photograph is behind some crystals to the right of the spot where players first enter the cave and players can take a four star photo of it as they slowly descend.
For a better shot, however, players should instead keep going towards the first alternate exit and look to their right as they're leaving the crystal cave section. They'll be a lot closer to the Sableye from this angle and stand a much better chance of getting a diamond rating for their photo than they would if they tried to get the shot from a different vantage point.
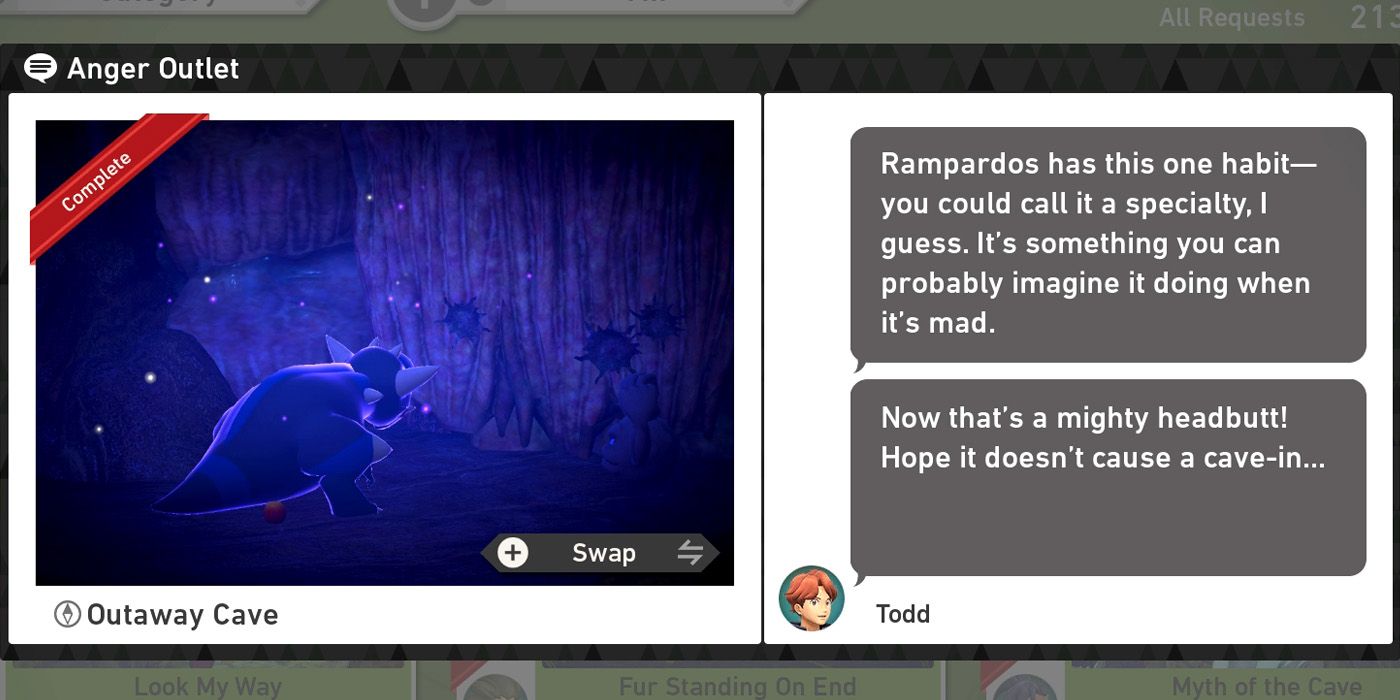
The Rampardos needed for the Anger Outlet request can only be found near the course's default exit, which means players will need to be playing on research level 1 or research level 3. As they enter the final section, they should see a Gengar Portal on the wall to their right as well as a Rampardos wandering around a little further away. There's also a Geodude hanging off the wall above the Gengar portal for those having trouble finding it.
Once players have located the portal and the Rampardos, they'll need to lure the latter towards the portal using Fluffruit. Once it gets close enough, Gengar will stick its head out of the portal and scare the Rampardos which will cause it to charge at the portal in anger. It's too slow, however, and will end up slamming into the wall when the Gengar portal disappears. Players should snap a four star photograph of it doing so to complete the request.
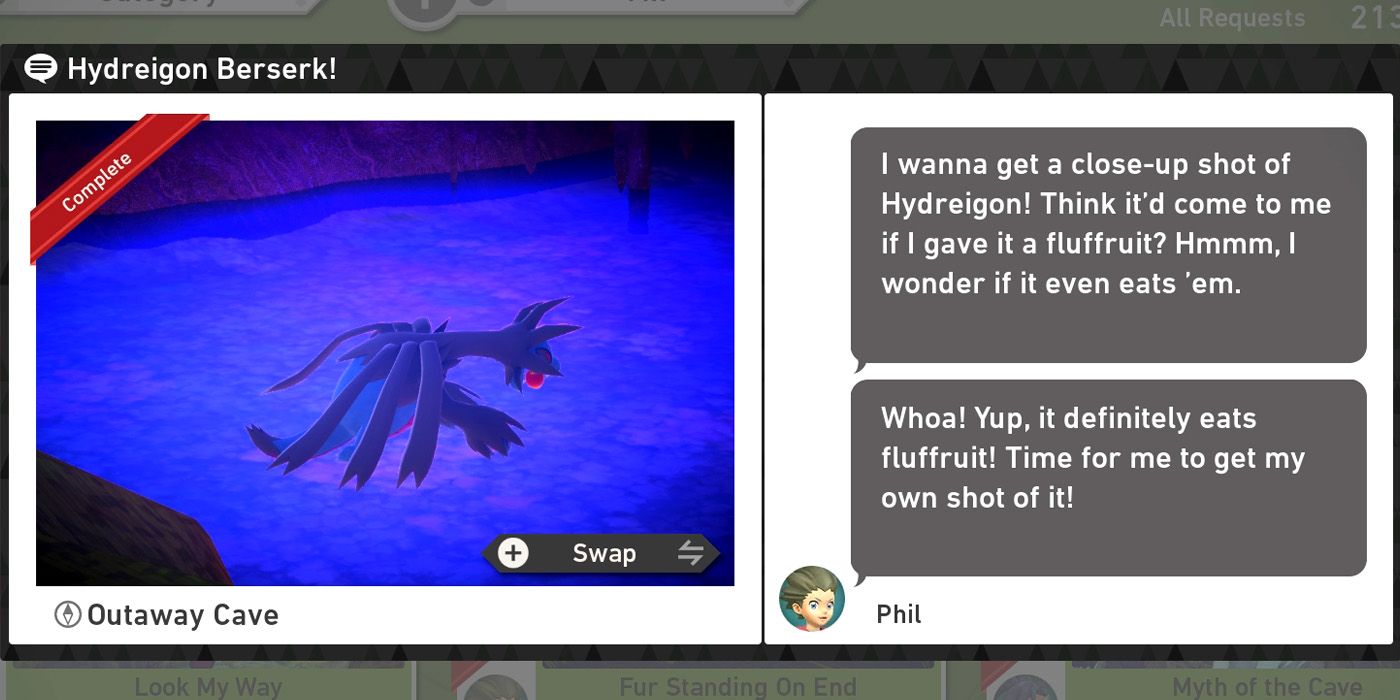
After players reach research level 3, Hydreigon will start showing up in the central cavern and players will receive the Hydreigon Berserk! request from Phil. To complete it, it's important that players don't interact with the Pokemon while it is in the central cavern and instead follow the default route towards the end of the course. Once they've passed the rampaging Rampardos, players will see the Hydreigon hovering around above some water not too far from the course's exit marker.
Here, they should use the Melody Player so that the Hydreigon starts to slowly lower itself into the water. As soon as it has landed, players should throw some Fluffruit nearby and then take a four star photo of Hydreigon eating to fulfill the request. For a better four star photo, players can hit the Hydreigon with two Fluffruit in the central cavern and then get a shot of its roar as they approach the default exit, although this will prevent them from completing the request and so should be done on a separate run.
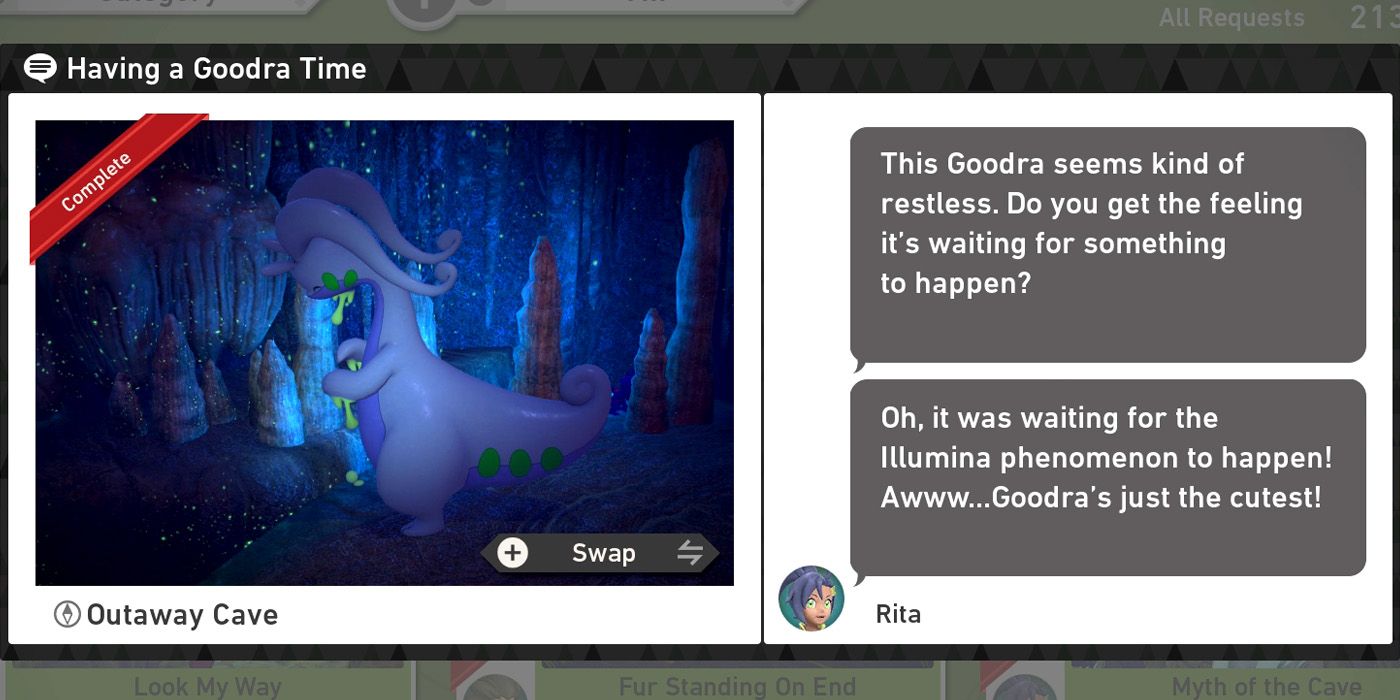
Goodra will only start showing up in the Outaway Cave after players have reached research level 3, at which point, players will be able to find one on the left hand side of the tunnel that leads to the final area on the default route. To the left of where the Pokemon is standing, there's a Crystabloom in a small cave near two sleeping Clefairy and illuminating this will cause the whole area to begin to sparkle.
When this happens, the Goodra will begin celebrating and players should get a shot of it doing so in order to fulfill Rita's request. The photograph that they hand in at the end of the run will need to be three star, although it doesn't really matter if Goodra is facing the camera or not. For a four star photo, players will need to take the rimstone path and manipulate the Magikarp so that it angers the Goodra in the nearby pool, although this won't count towards the request.
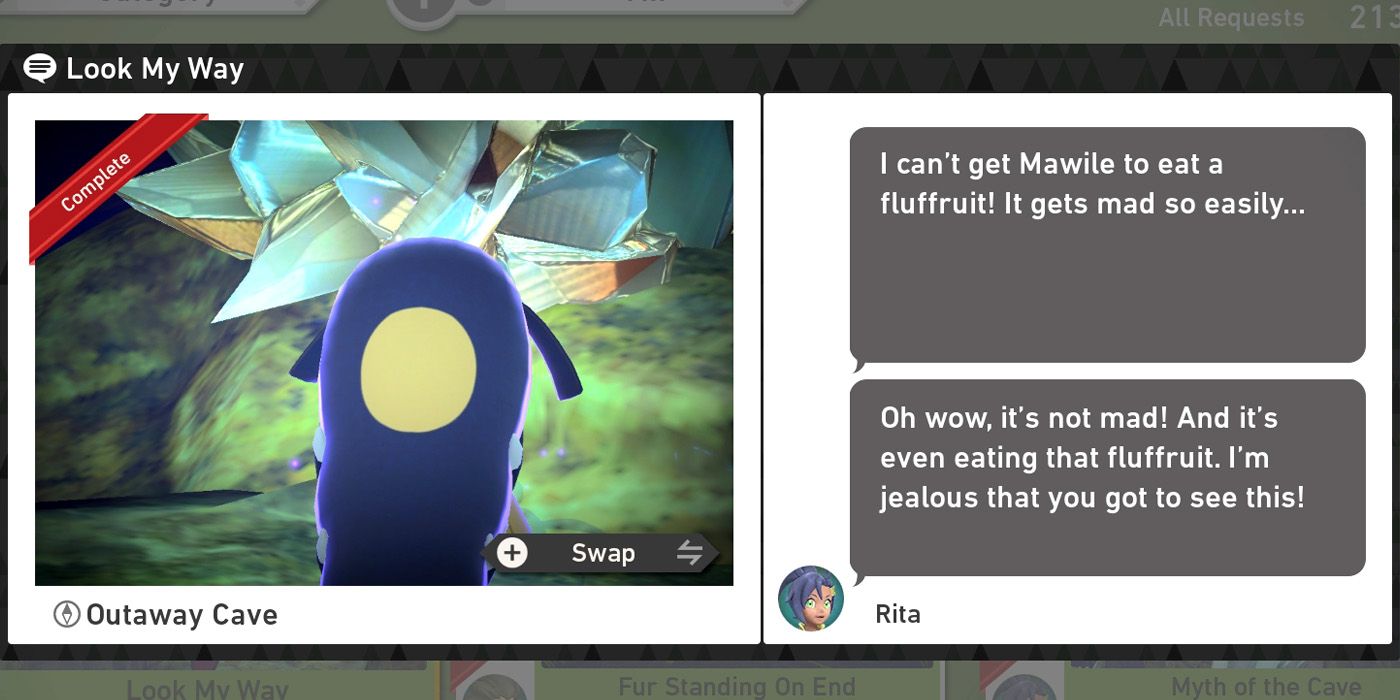
Ironically, perhaps, the Mawile needed for the Look My Way request doesn't actually need to be facing the camera to complete the request. It does, however, need to be eating a Fluffruit. This is easier said than done though as the Mawile that players need to feed is incredibly angry when they first arrive on the scene. If players summon Diancie and get it to release its bright pink light though, the Mawile will calm down and players will finally be able to feed it.
To do this, they'll need to complete the game and then head to the crystal cave at research level 3. Hitting the two Carbink and the Mawile beneath the entrance with Illumina Orbs will summon Diancie and hitting the latter with another will cause it to release its pink light. Once this happens, players should throw a Fluffruit over to the Mawile that's standing on a pillar over to their left and then get a shot of it eating after it picks the fruit up.
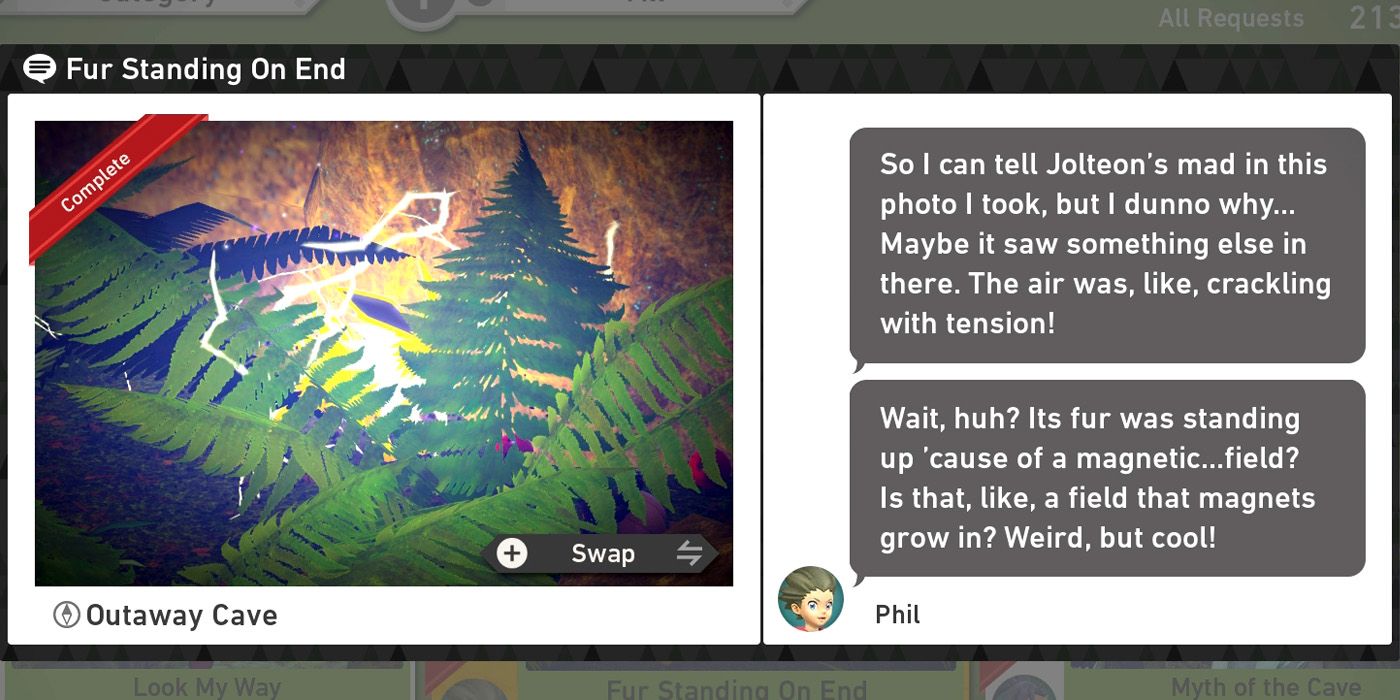
The Fur Standing On End request is another that can only be fulfilled after players have completed the game's main story. They'll need to make their way to the crystal cave at research level 3, summon Diancie by hitting the two Carbink and the Mawile with Illumina Orbs and then hit Diancie with an Illumina Orb or two so that it lets out a flash of pink light. This will calm the angry Mawile over to the player's left and allow them to use scan to gain access to the underground garden area.
Once there, players will see a Jolteon hiding in a bush to their left and will need to hit it with a Fluffruit and then throw another one nearby to make the Pokemon jump out of the bush. At this point, they'll need to use more Fluffruit to lure the Jolteon over to the nearby Pumpkaboo and then hit it with an Illumina Orb when it gets close. This will cause Jolteon to use Discharge and players can get a four star photo of it doing so to complete the request.
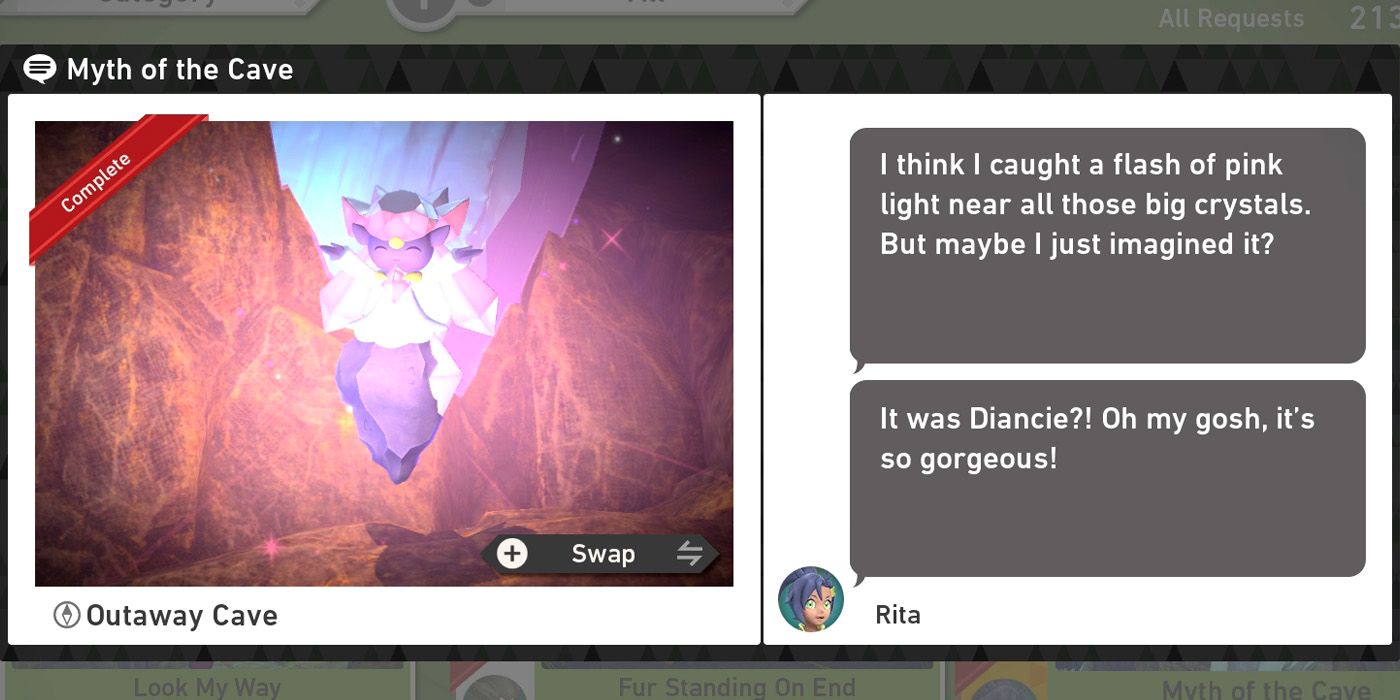
The steps required to photograph Diancie are required for many of the other requests in Outaway Cave, so chances are most players will complete the Myth of the Cave request fairly early on. That said, they'll still need to have completed the game's main story and will also need to have reached research level 3 for the course, so "early" might not be the best choice of word there. Once these requirements have been met, players should take the alternate route from the central cavern and follow it down to the crystal cave.
Upon their arrival, they'll see two Carbink and a Mawille down beneath them and should hit all three Pokemon with Illumina Orbs so that they spin around. This will summon Diancie from behind a nearby crystal. For a four star photo, players should wait for it to stop moving and then hit it with an Illumina Orb so that it lets out a blast of bright pink light. Any photo of Diancie will be enough to complete Rita's request though, so those who aren't too bothered about filling out their Photodex can get a picture as soon as it shows up and move on.
NEXT: New Pokemon Snap Complete Guide for Tips, Tricks & Pokemon Locations

