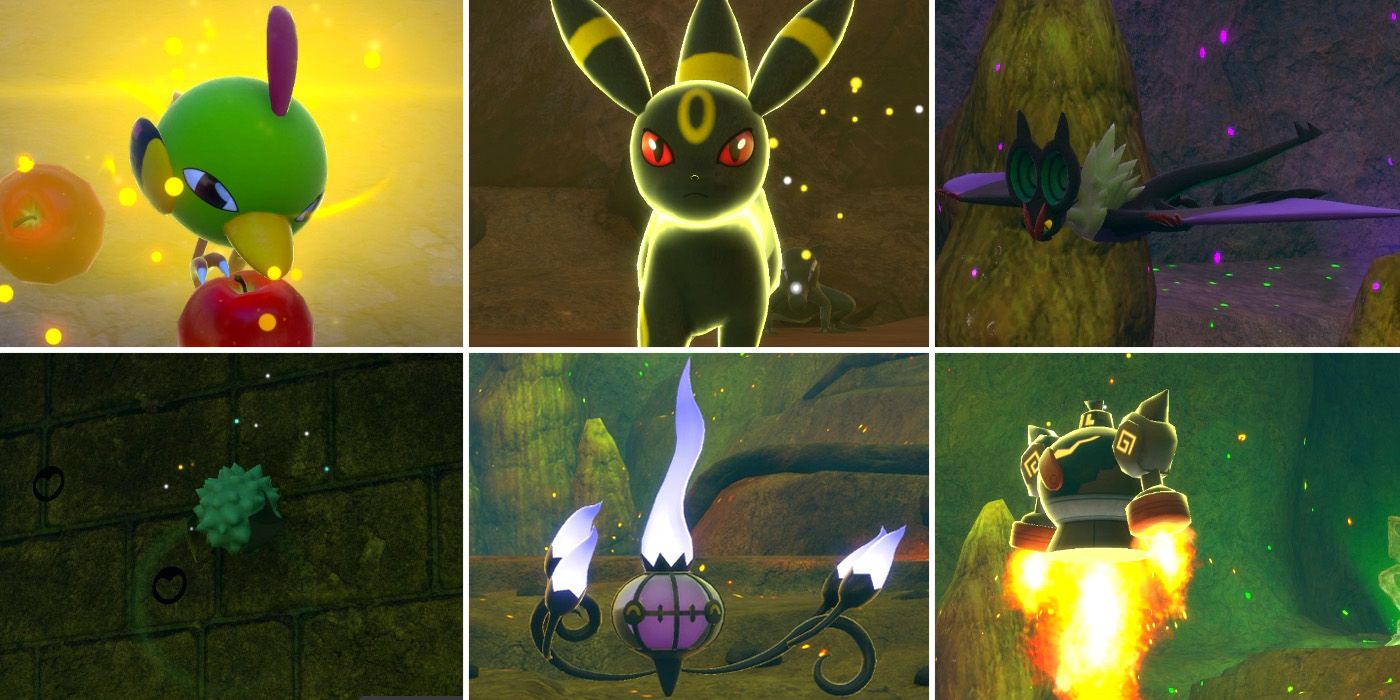
Despite being the penultimate course in New Pokemon Snap's main story, Ruins of Remembrance is nowhere near as complicated as some of those which came before it. It is incredibly short in length and there's only one alternate route, meaning that players should have very little trouble tracking down each of the 15 different types of Pokemon that call the ruins their home. That said, the course does feature one or two challenging LenTalk photo requests that will likely require multiple attempts to complete.
RELATED: New Pokemon Snap: Every Pokemon In Ruins Of Remembrance & Where To Find Them
There are 13 requests in total, many of which cannot be attempted until players have reached research level 3. A lot of them do take place in the very first area of the course though, so players will be able to quickly and easily take another stab at them if they fail to get the shots that they need the first time around. With a good enough understanding of what needs to be done, however, most players should be able to breeze through all 13 requests with relative ease.
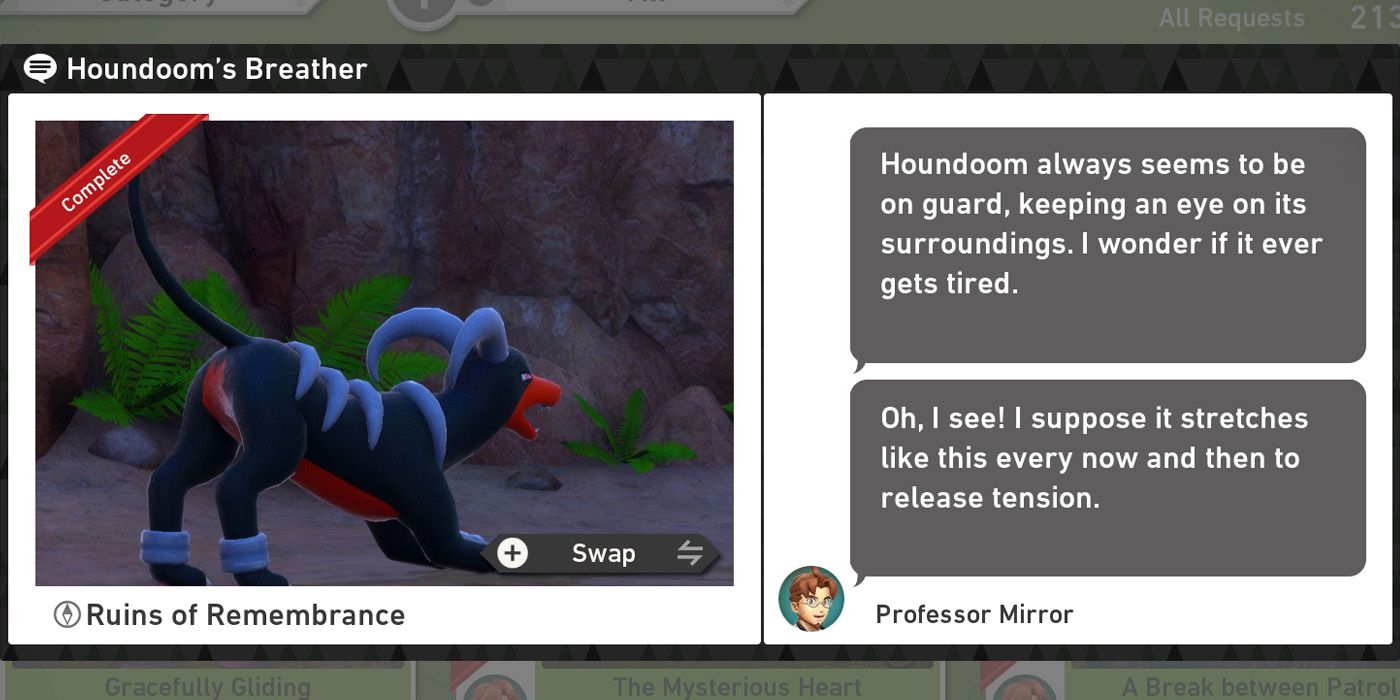
The Houndoom's Breather request is one of the simplest requests in New Pokemon Snap, although will require players to be exploring the ruins at research level 2 or higher. Assuming that they are, they should find a Houndoom pacing around in the outdoor area in front of the blocked off entrance to the ruins and will simply need to watch and wait until it performs the required pose.
After walking back and forth a few times, the Houndoom will stretch out its legs and let out a huge yawn and it's at this point that players will need to take a picture. It can sometimes take a little while for this to happen though, so players will need to watch closely to make sure that they don't miss it. The resulting photo should be a three star shot and is all that is needed to complete the Professor's request.
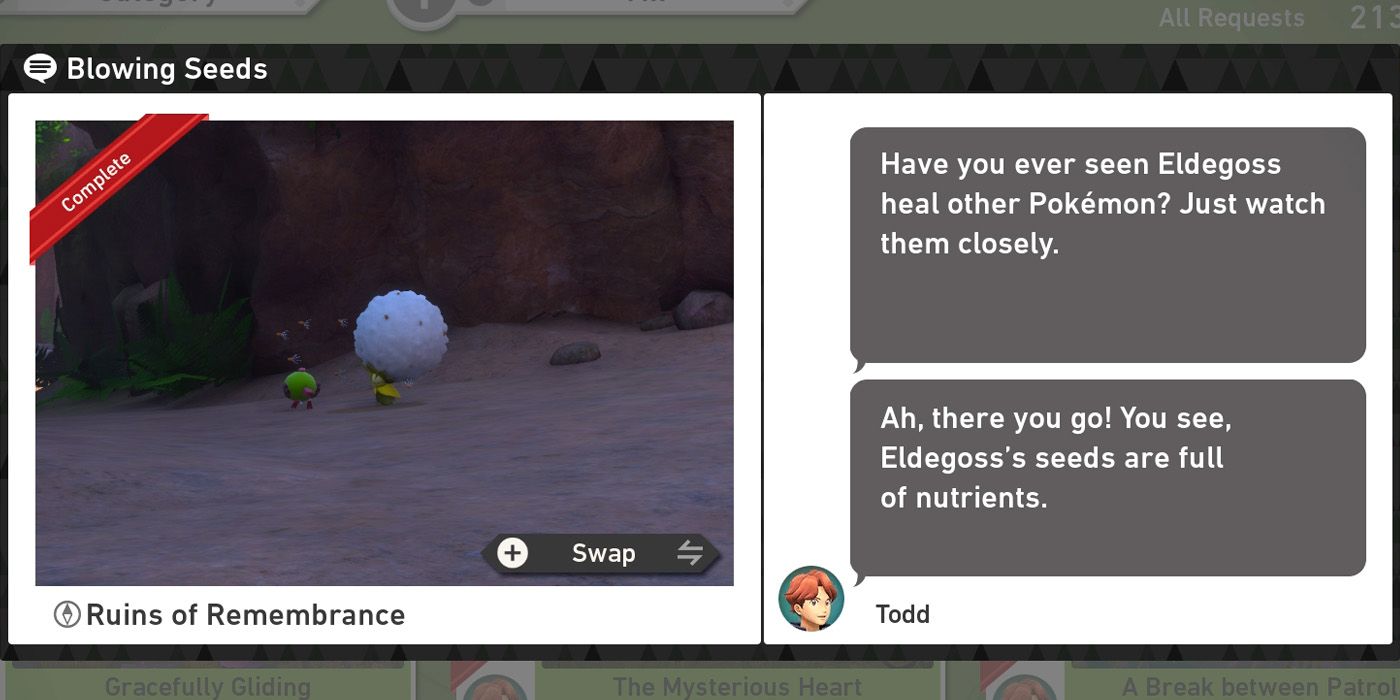
To complete the Blowing Seeds request for Todd, players will need to have reached research level 3 for the course. Once they have, they'll then need to make their way to the area with the blocked off entrance to the ruins and throw Fluffruit at the entrance itself until a Natu hops out. When it does, they should turn around and look in the direction that they just came from.
After a few moments, one of the Eldegoss will land on the ground and when it does, players should turn back and hit the Natu with a Fluffruit. After being struck, it will run away past the Eldegoss and knock into it which causes the Eldegoss to release its seeds. Players will need to take a photo when it does, making sure that the Eldegoss is the main subject rather than the fleeing Natu. The photo that they hand in at the end of the run should be a four star shot.
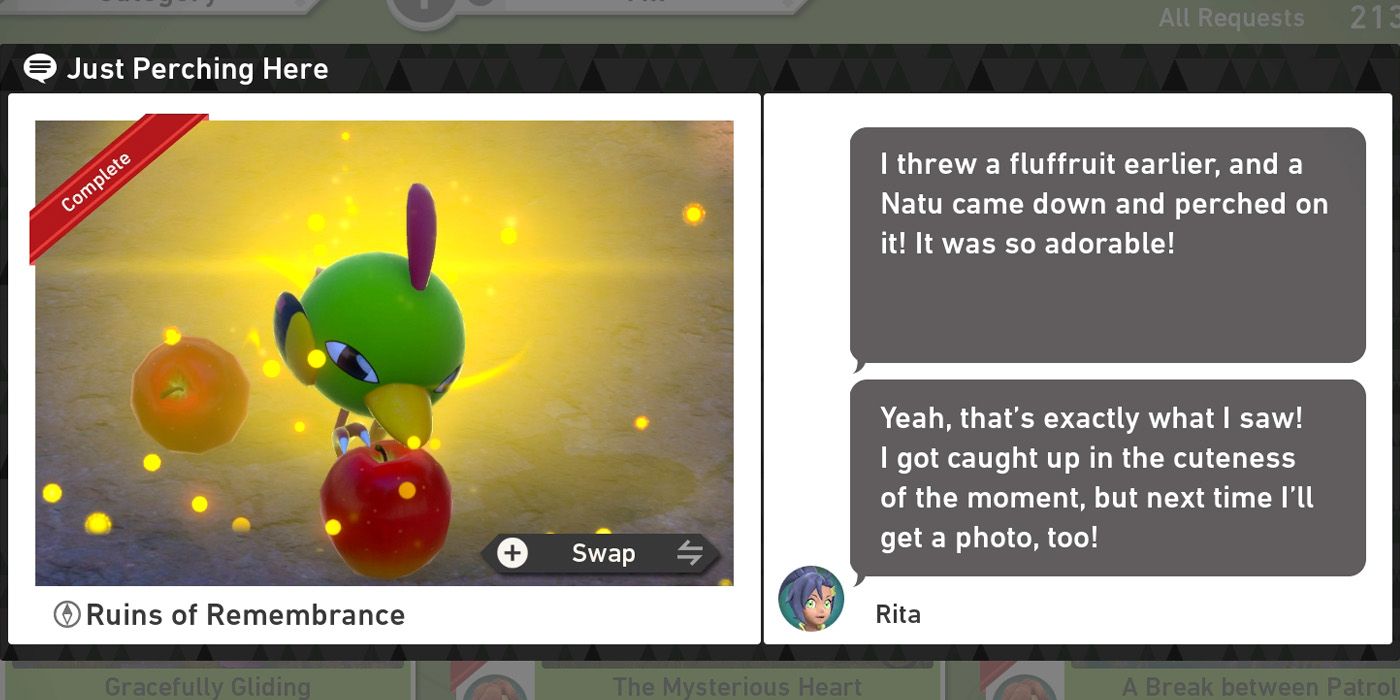
Although it's possible to get the Natu to appear in front of the ruins at any research level, players will need to be playing on research level 1 in order to complete the Just Perching Here request. For some players, this will therefore mean reverting their research level back to level 1 by hitting the X button on the course select screen.
Shortly after the run begins, players will arrive in the courtyard area that contains the blocked off entrance to the ruins and will need to throw Fluffruit at the entrance until a Natu appears from inside. If all goes to plan, it will hop down and perch on top of the Fluffruit and players can take a four star photo when it does in order to fulfill the request for Rita.
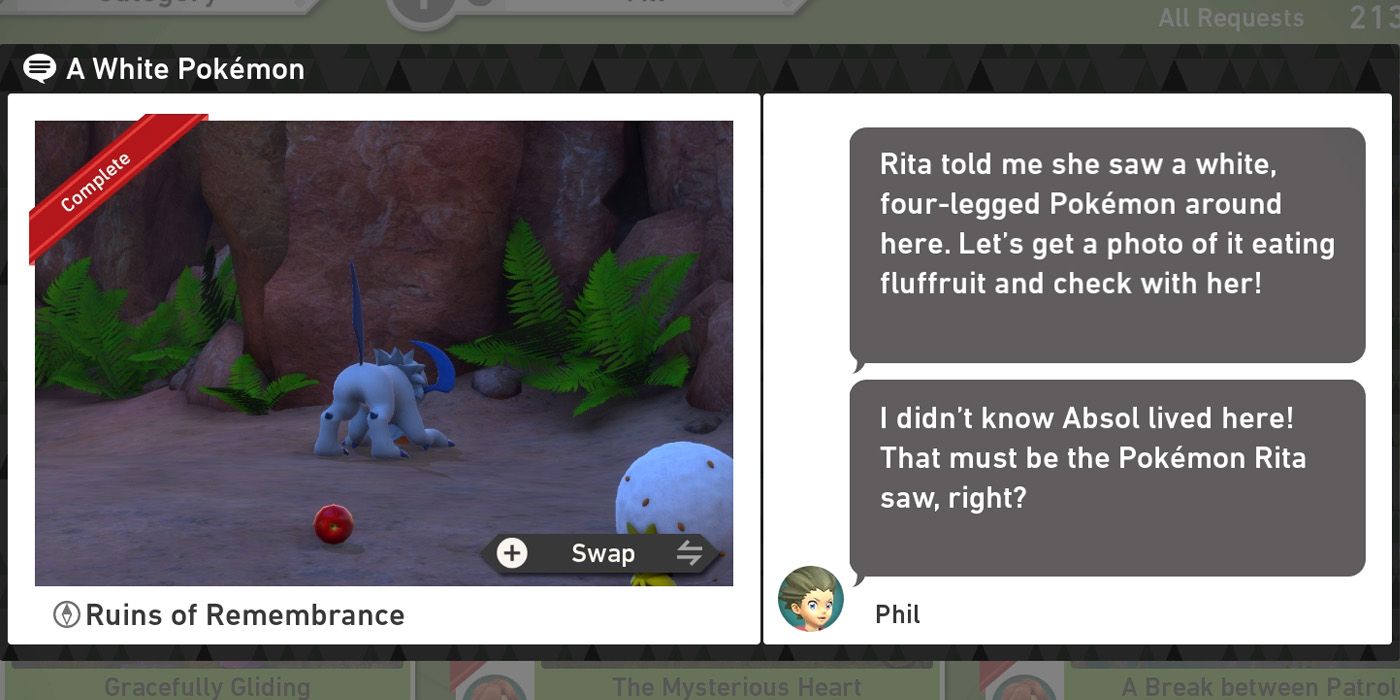
While playing the course on research level 3, feeding a Fluffruit to the Houndoom in the courtyard area with the blocked off entrance to the ruins will cause an Absol to show up on the ledge to the player's left. Once they see it, they should then use the Melody Player before it walks away and this will cause the Absol to hop down to ground level right next to the NEO-ONE.
Once it's down there, players will be able to feed it a Fluffruit by throwing one nearby and snapping a three star photo of it chowing down is all that's needed to complete the A White Pokemon request for Phil. It can help to throw more than one Fluffruit here, however, as the nearby Houndoom can sometimes swoop in and eat them before Absol gets a chance.
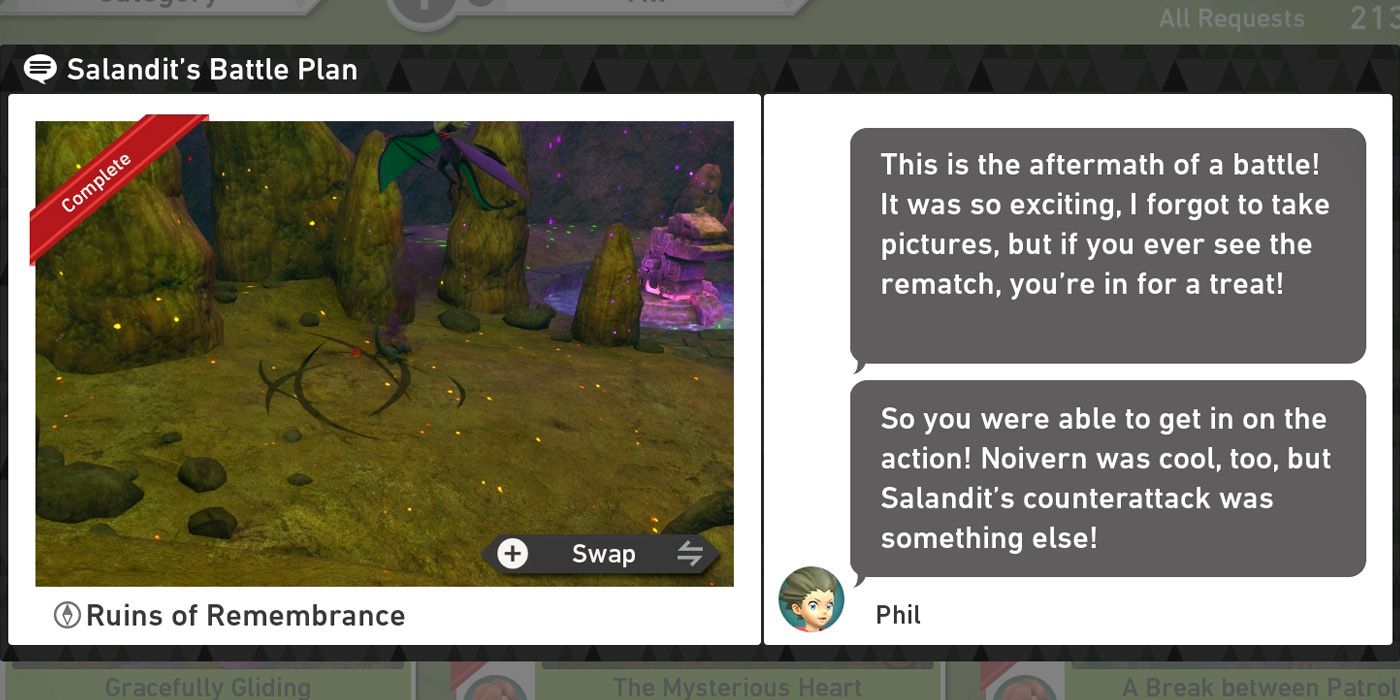
The Salandit's Battle Plan request can be completed at either research level 2 or research level 3 and requires players to get a shot of a Salandit attacking a Noivern. To do this, players will need to make their way through the ruins until they reach the scratch marks on the floor and then throw a Fluffruit on top of them to attract a nearby Salandit. A few moments later, a Noivern will glide down and attempt to take the fruit for itself and Salandit will use a poison attack to fend it off.
Getting the setup right for the request is fairly simple, although getting the right framing for the four star photo that Phil is looking for can be a little tricky. Salandit will need to be the subject of the photo, although Noivern must also be clearly visible in the shot which can be difficult if players are too close. It's therefore better to wait a while before throwing the Fluffruit so that there's enough distance between the NEO-ONE and the two Pokemon, although the NEO-ONE's Turbo function can work just as well in this respect.
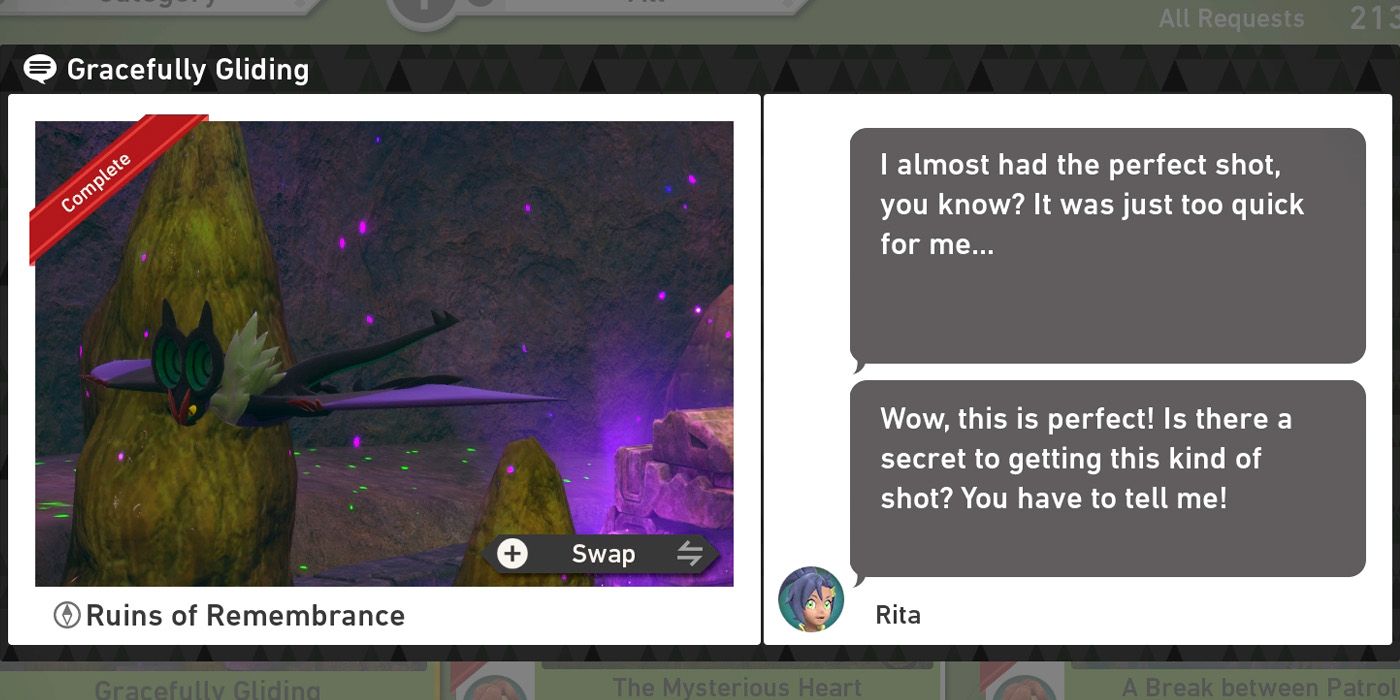
Players can fulfill the Gracefully Gliding request at the same time as the Salandit's Battle Plan request if they're fast enough, although some may find it difficult to get both photos in the same run. They'll need to be exploring the course at research level 2 or higher and should again make their way to the spot in the ruins area with the Salandit scratch marks on the floor.
Once there, throwing a Fluffruit onto the scratch marks will attract a nearby Salandit as well as a Noivern that will glide in from the right. For Rita's request, players will simply need to take a picture of the Noivern gliding in, but if they plan to tackle both requests at once, they'll then need to quickly pan the camera back to the left and capture the moment that the Salandit attacks.
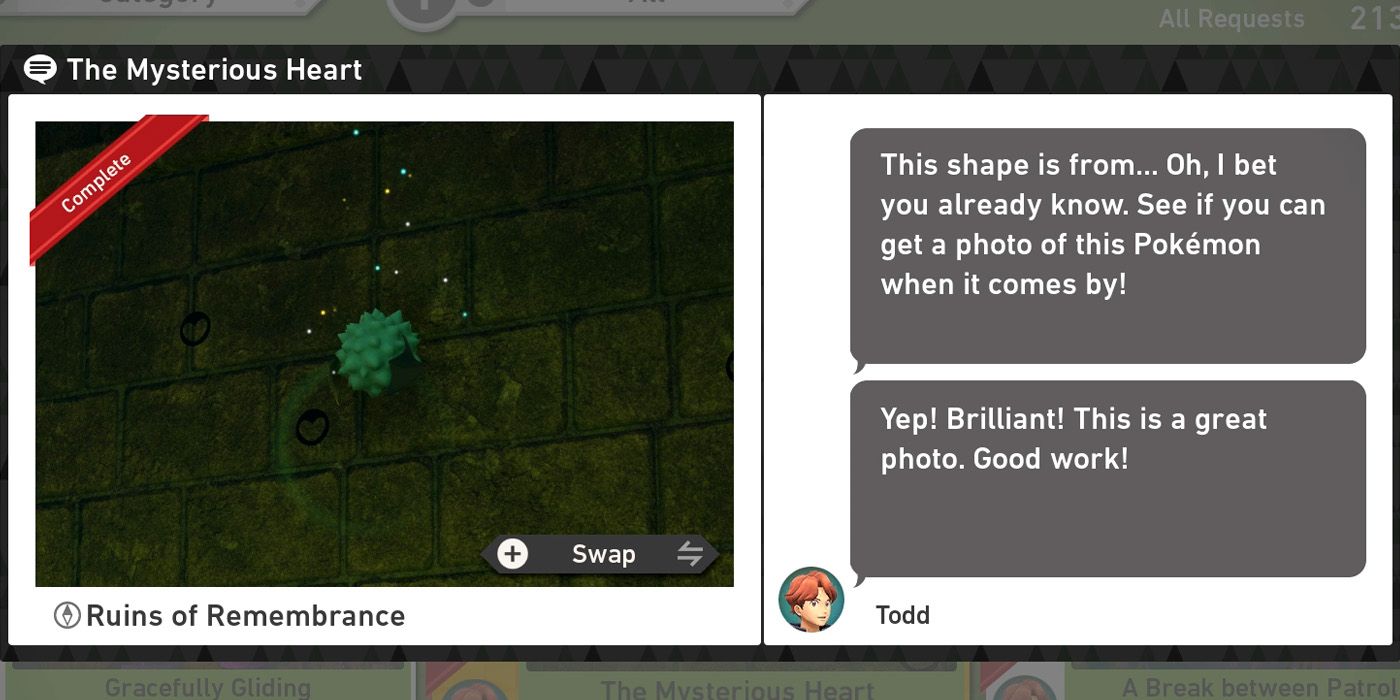
Shortly after players enter the ruins through the hole in the ground they will pass a stone well on their left. Throwing a Fluffruit into this well will summon a Woobat and they'll be able to do this up to five times. Although it's possible to get the Woobat out of the well at research level 1, they'll only start to make their way to the spot that they need to go to after players have reached research level 2, so players will need to wait until then before they can tackle the The Mysterious Heart request.
With all five Woobat released, players will need to follow them through to the main ruins area and wait until they settle on a wall with some markings on it. Once they're there, players can snap a three star photo of them to complete Todd's request. Although they'll all need to be on the wall for the request to be marked as complete, only one of them actually needs to be in the photo that players hand in at the end of the run.
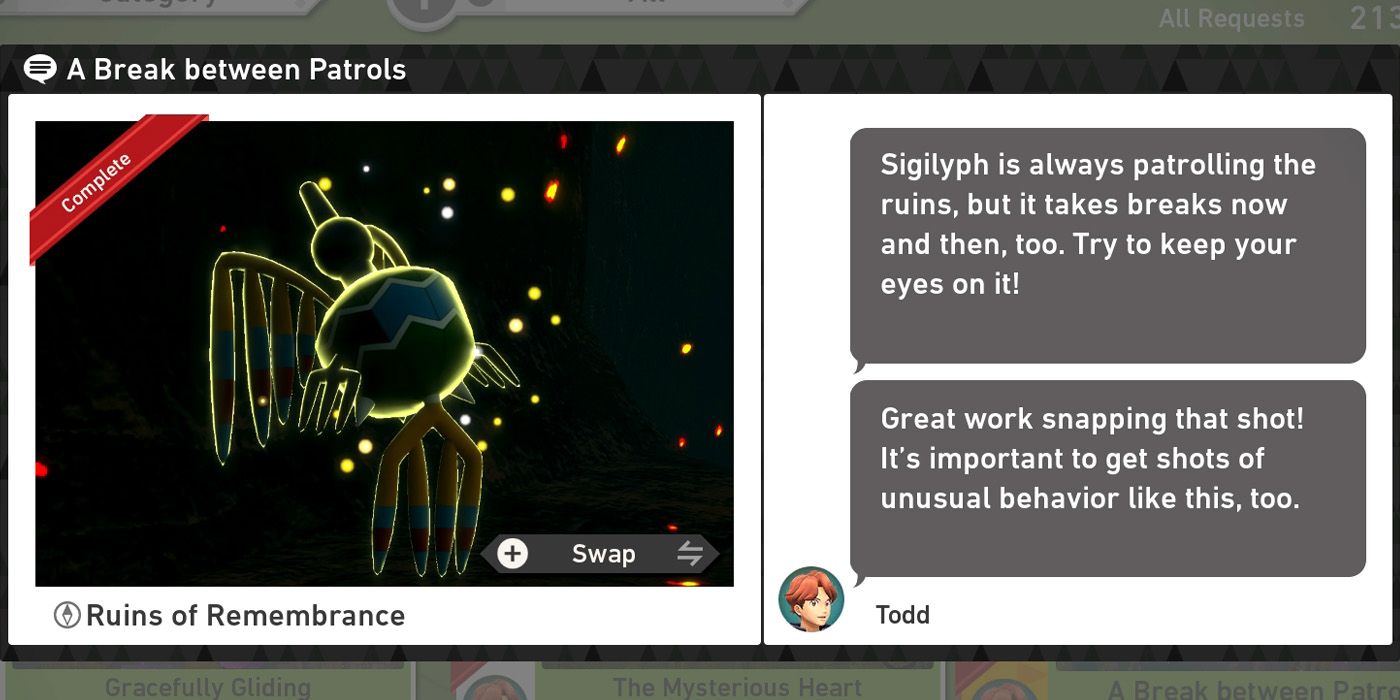
The A Break between Patrols request is probably the easiest of those found in the Ruins of Remembrance course, although players will still need to complete a run at research level 3 in order to unlock it. After receiving the request from Todd, they should then make their way through the course as usual until they enter the large ruins chamber that's just past the stone well.
Immediately after entering the area, turning to the left will reveal a sleeping Sigilyph and players will simply need to snap a photo of it snoozing to complete the request for Todd. If players want a four star photo, however, they'll need to wake the Sigililyph up with a Fluffruit and then get a shot of it flying low to the ground a little later on in the run. This won't count towards the request though and so should be attempted on a subsequent run.
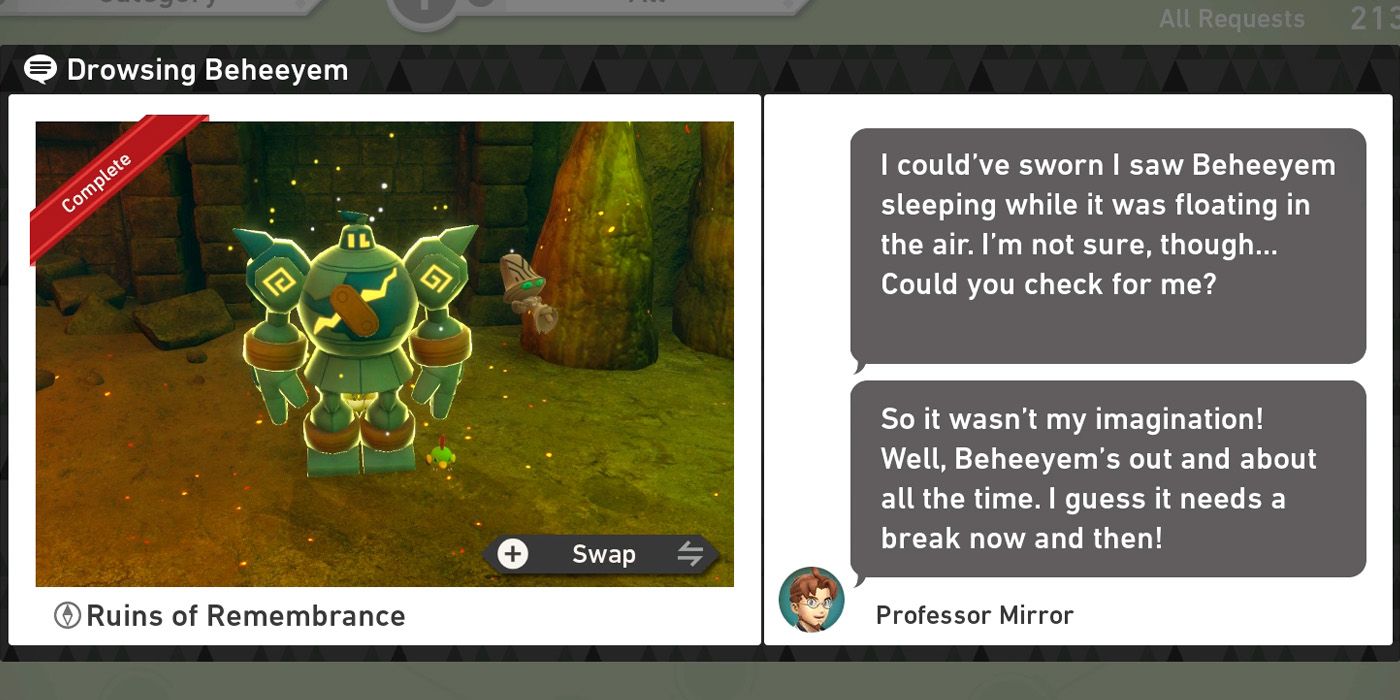
The Drowsing Beheeyem request is another one that's fairly easy to complete, although players will need to pay close attention in order to spot the Beheeyem floating by. While playing at research level 2 or research level 3, they should make their way to the area where the Natu is sat on the Golurk's shoulder and then look to their right for the floating Beheeyem.
For those who are having trouble finding it, it usually floats right past the Golurk, although a picture from this distance will be nowhere near as highly rated as one that's taken as the Pokemon glides past the NEO-ONE. Either way though, the photo will be classed as a four star shot and can be handed in to the Professor at the end of the run to fulfill the request's requirements.
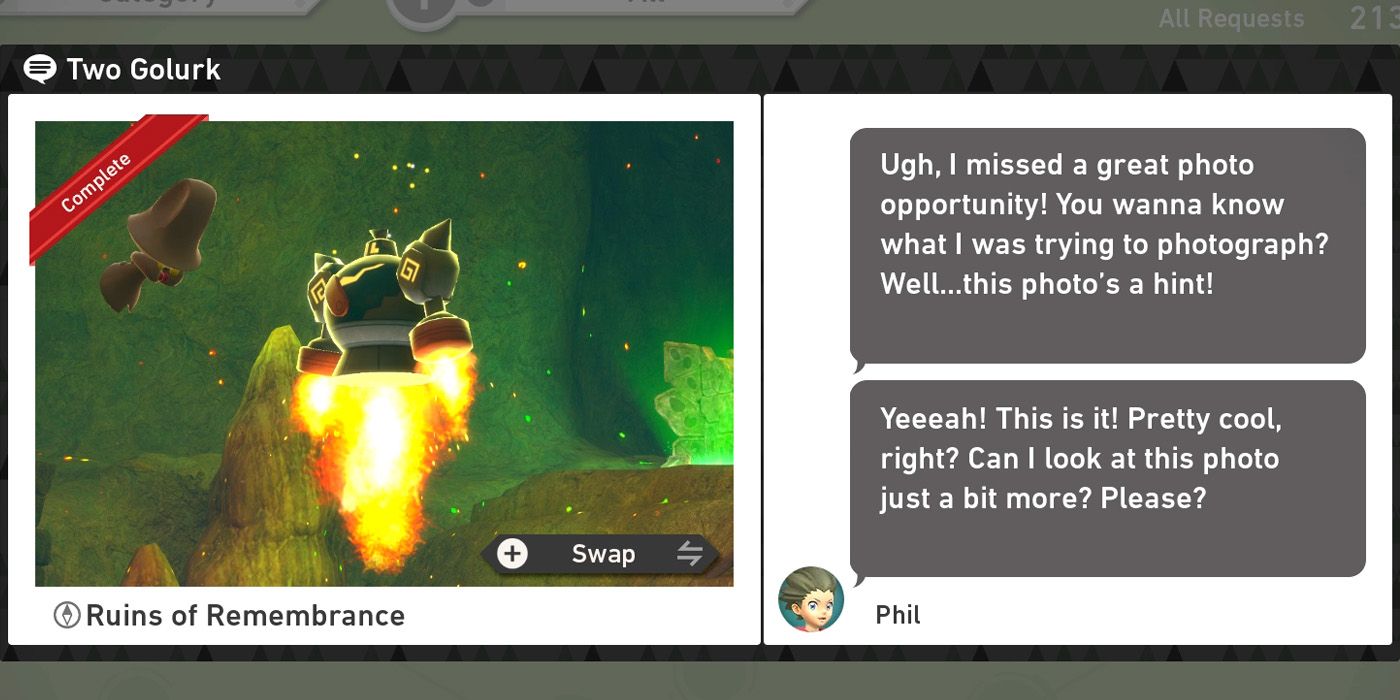
Players will be able to complete the Two Golurk request for Phil after completing their first run at research level 2. Once it shows up in the LenTalk menu, players should make their way down to the ruins section and then look for two Beheeyem on their left as they are traveling around the central column. Both of these will need to be hit with Fluffruit in order to get the required photo.
The first will be directly in front of players as they reach ground level while the second will be coming towards them a little later on. After they've both been hit, three Golurk will fly in and activating the Golurk with the Natu on its shoulder with an Illumina Orb will cause one of them to hover down to ground level nearby. Players should take a four star photo of it descending vertically, being sure to take the picture before it touches the ground.
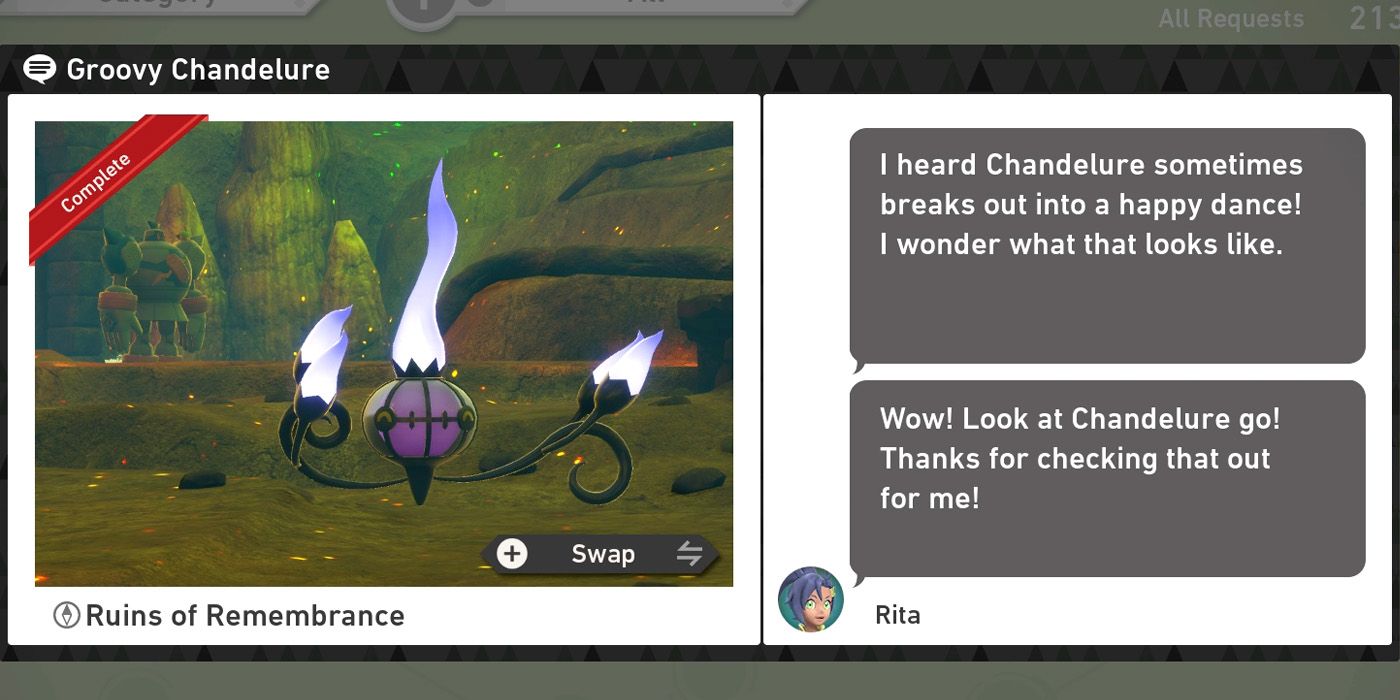
After reaching research level 3, players will be able to find a stationary Chandelure shortly after they enter the ruins section. They'll need to wait until they've started their descent before they'll be able to see it though, at which point they should turn around and look towards the entrance. As soon as they see it, they should hit the Chandelure with an Illumina Orb so that it flies away towards the end of the course.
When players see it again, it will be hovering around close to ground level and they will need to get it to eat a Fluffruit. This might take a few attempts as the Pokemon is easily distracted, although quickly triggering and then cancelling the Melody Player can really help to get its attention. After it has finished eating, players should use the Melody Player again and then take a four star photo of the spinning dance that the Chandelure performs to fulfill Rita's request.
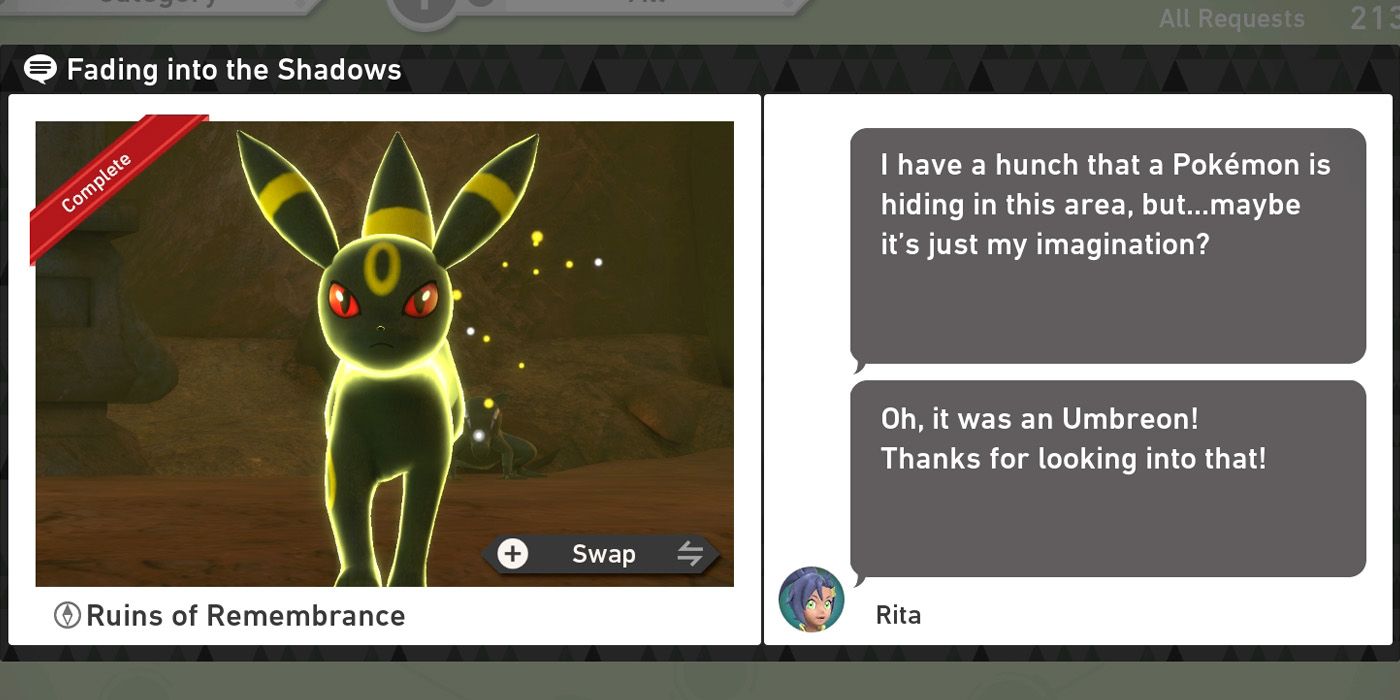
Upon reaching research level 3, a Noivern will fly in and block off the pathway on the left shortly before the stone well. To get it to move, players will need to hit it with an Illumina Orb as soon as it lands or simply use the Melody Player. After it leaves, players should throw a Fluffruit towards the end of the path so that a Salandit comes out. A few moments after it does, an Umbreon will follow and players will need to take a photo of it as it heads towards them.
This is all that is required to fulfill the Fading in the Shadows request, although those wanting a four star photo of Umbreon can return after completing the request and repeat the same steps. They'll then find the Umbreon sleeping on one of the statues near the end of the course and will be able to wake it with Illumina Orbs. It will then run over to the nearby Absol and begin to play and players can get a four star shot of both Pokemon when it does.
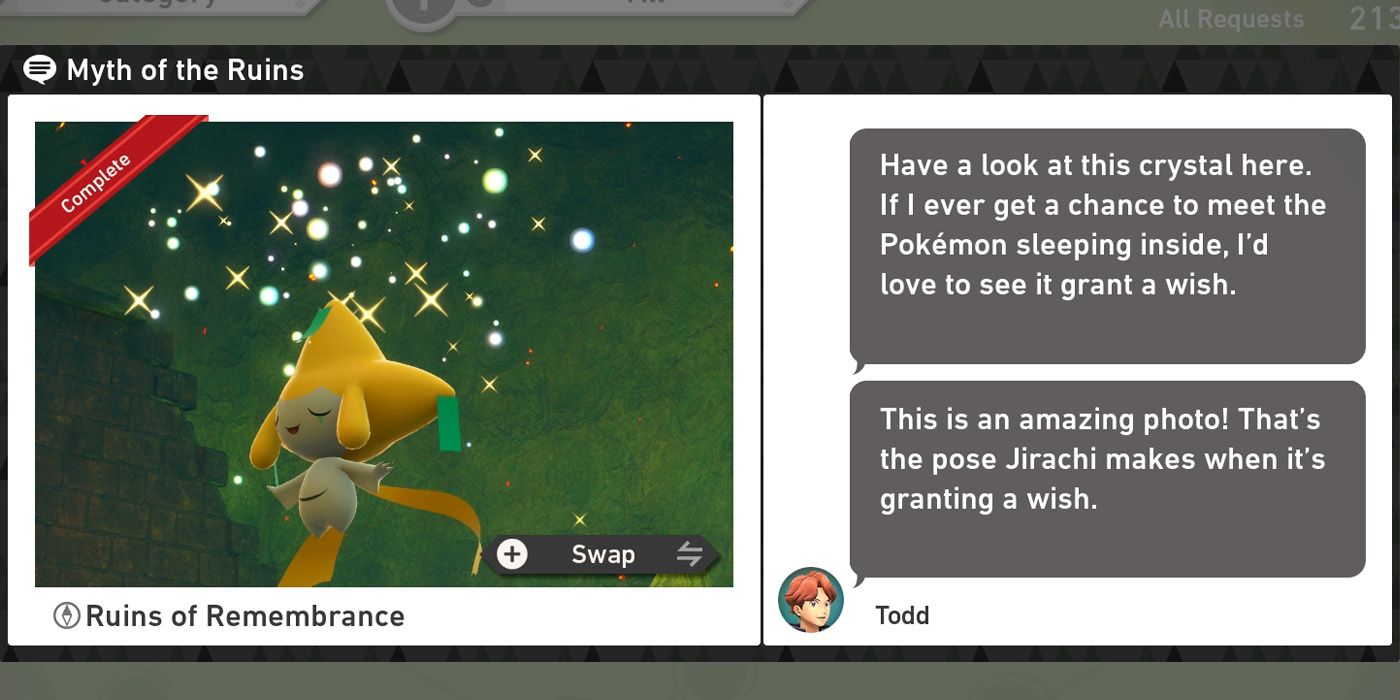
To complete the Myth of the Ruins request for Todd, players will need to illuminate all six of the Crystablooms in the ruins area to gain access to the golden altar. They're all fairly easy to find apary from the one that's hidden behind the Golurk with the Natu on its shoulder which must be activated with an Illumina Orb before players can get a good shot at the Crystabloom. As they make their way around the central column, they'll also need to wake the Jirachi that's sleeping on one of the statues to their right by hitting it with an Illumina Orb or two.
If all goes to plan, the Jirachi will show up again to the left of the golden altar at the end of the course and using the Melody Player will cause it to fly around the big pillar of light. As it does so, players will need to keep the Melody Player going and also hit the Jirachi with an Illumina Orb. Eventually, it will fly off to the right and players will have to hit it with another Illumina Orb and then immediately use the Melody Player again when it does. This will cause the Legendary Pokemon to start praying and players can snap a four star photo of the pose to fulfill the Myth of the Ruins request requirements.
NEXT: New Pokemon Snap Complete Guide for Tips, Tricks & Pokemon Locations

