


The third Season of the Splicer Expunge mission has been added to Destiny 2, and it features laser grids, barrier cubes, and a Vex Hydra boss. A seasonal challenge for this week also tasks players with speedrunning Expunge: Tartarus and completing it in six minutes or less.
Much like in Season of Arrivals’ Interference weekly mission, Expunge is a new mission type with several variations that offers pinnacle rewards as players infiltrate the Vex Network. Destiny 2 players will unlock Expunge: Tartarus during the Path of the Splicer V quest and can then complete the mission at any time from the node on the Europa map screen.
RELATED: Destiny 2 Players Point Out Problem With Equipping Mods
Before attempting to complete Expunge: Tartarus in under six minutes, players must have the Codestrider, Signal Booster, and Wirewalker Splicer Gauntlet upgrades. These will grant access to some essential shortcuts and extra platforms that make the whole mission much easier.
In terms of gear loadouts, players need to make sure they have a primary weapon with decent range for destroying the cubes quickly. An Auto Rifle is fine but a Scout Rifle will be the best option. A special ammo grenade launcher is also useful for quickly clearing the small groups of Vex enemies that appear. A ranged heavy weapon for defeating the boss is also a must-have and pairing it with the Grenade Launcher with the Breach and Clear mod will also useful too.
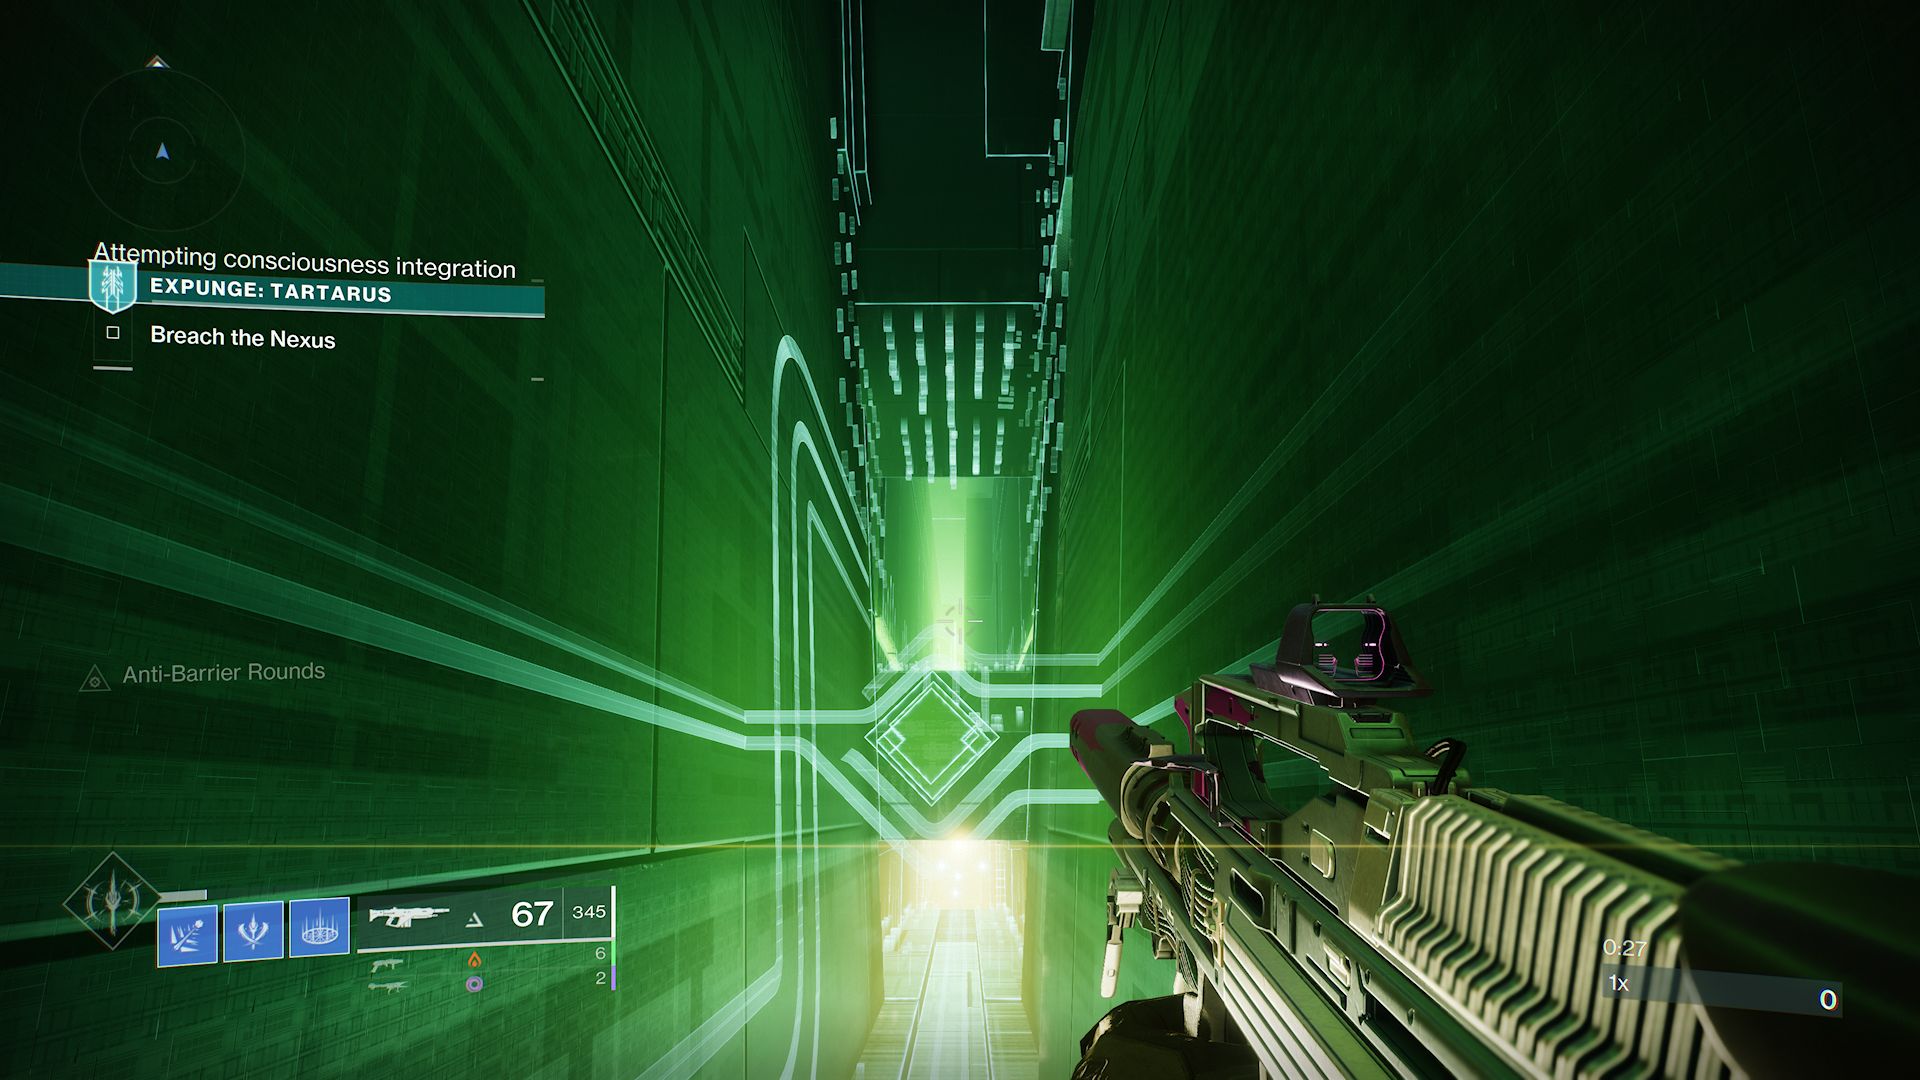
This first section is the same across all Expunge missions, and most of it can be skipped by activating the Wirewalker node right at the beginning. From here, players need to follow the new path, jump down the chasm, and traverse the corridor full of shifting panels to reach the end portal. Ideally, Destiny 2 players should have no more than 90 seconds on the clock at this point.
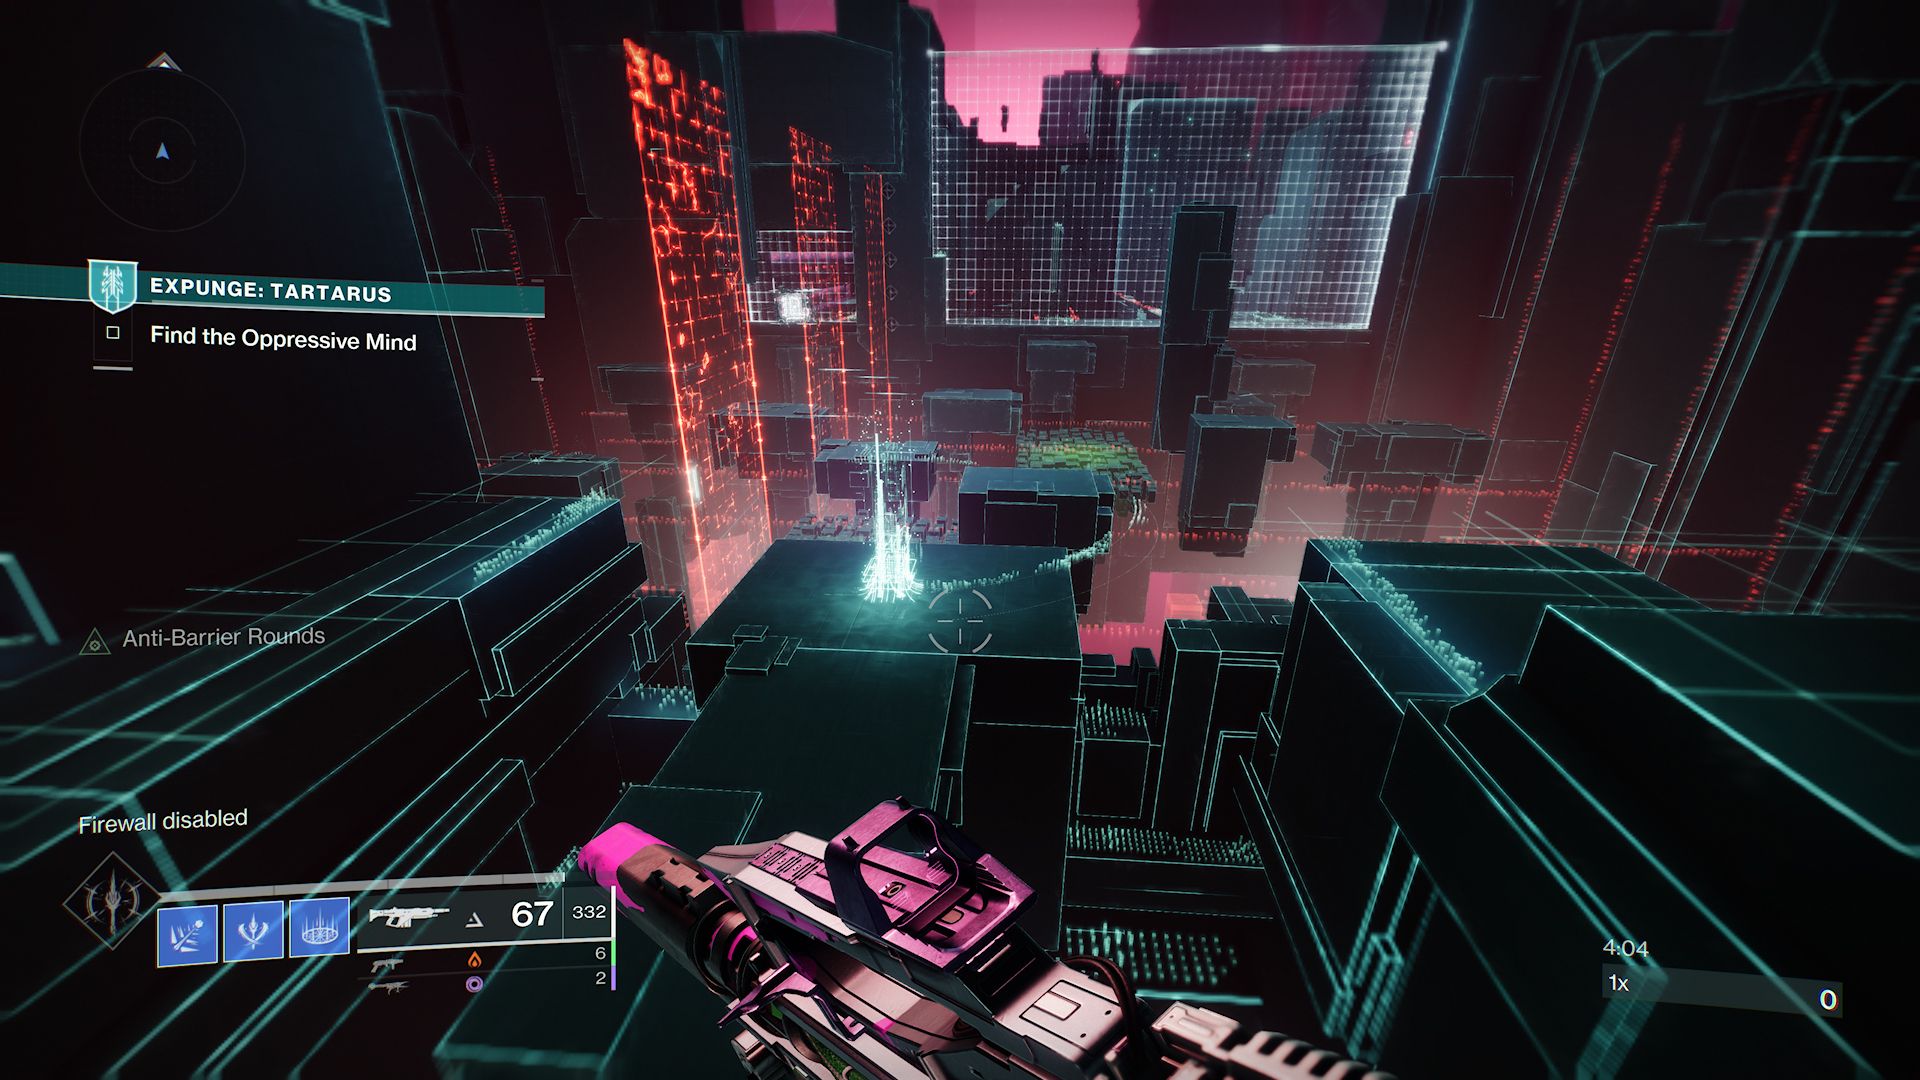
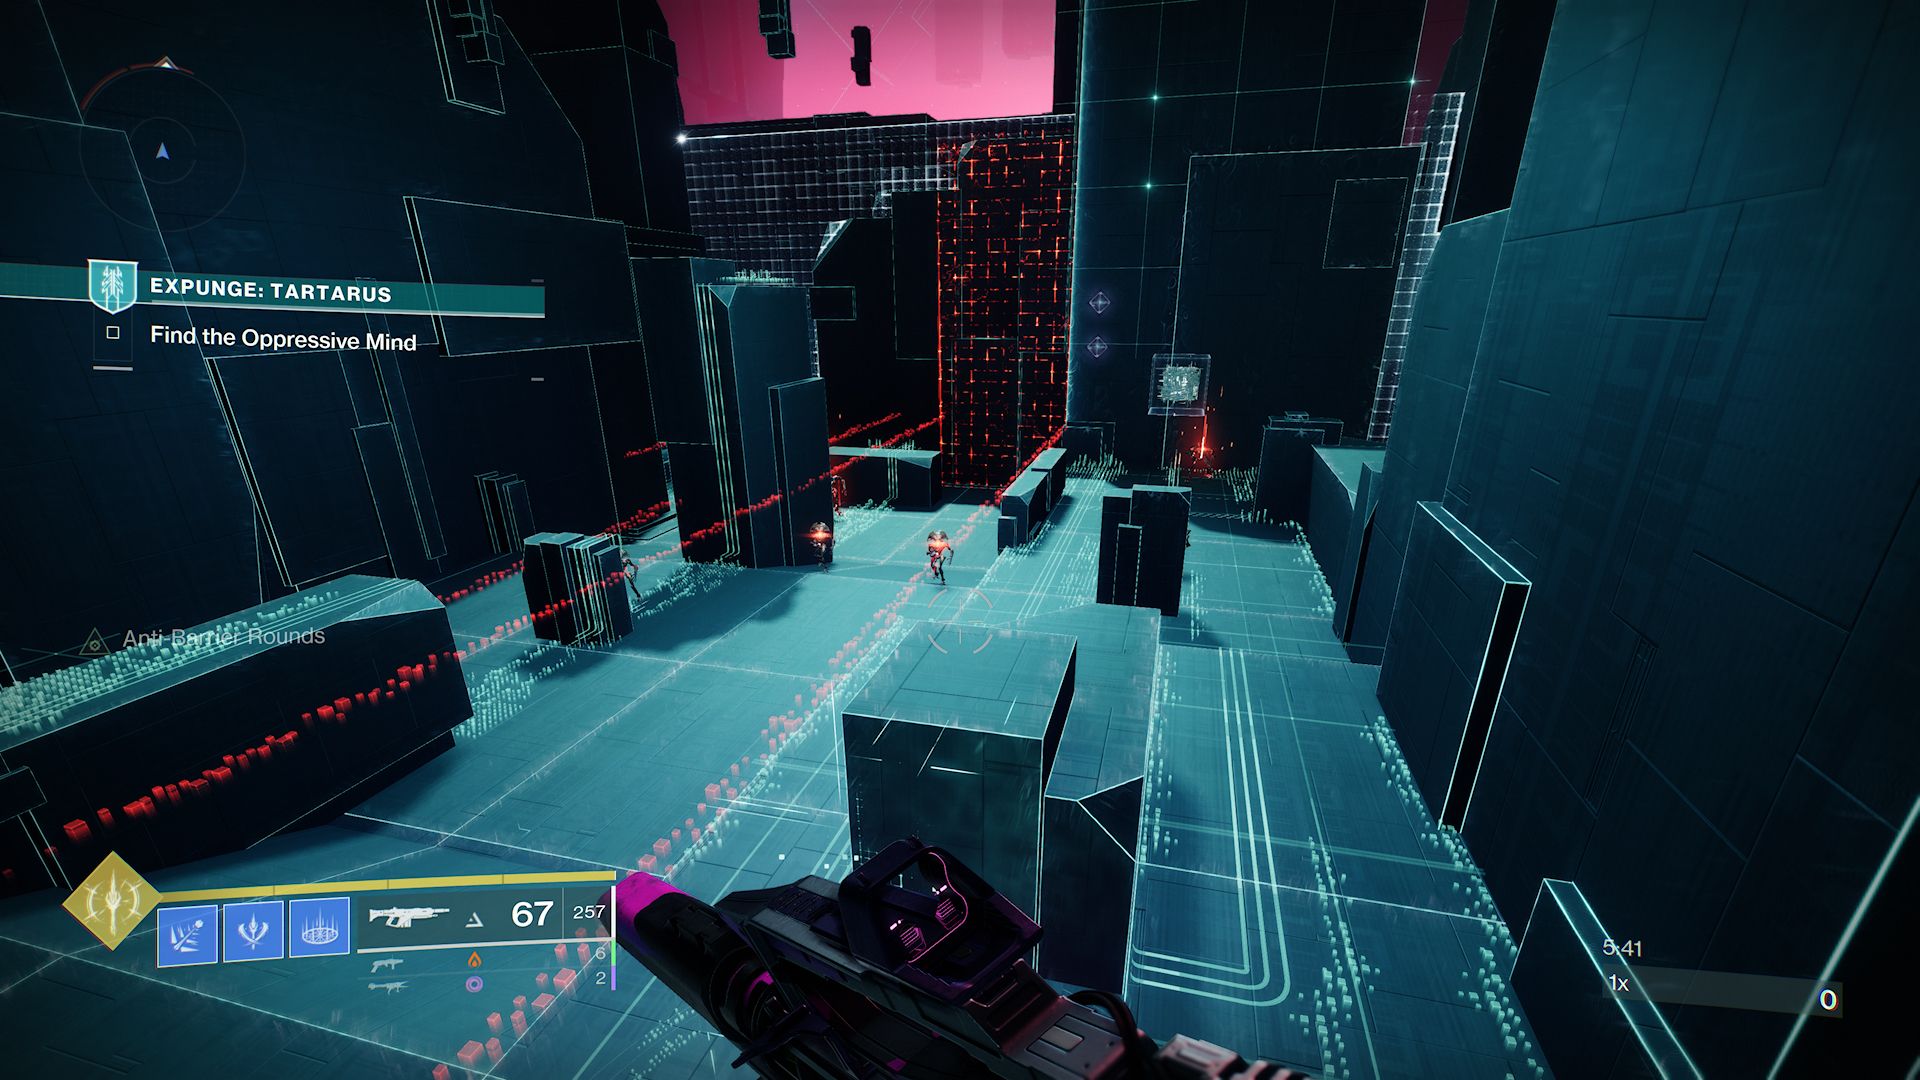
As soon as players are able to move around in the Vex Network, they should activate the green Codestrider node. This will activate green Codestrider platforms throughout the mission that make crossing the network much more forgiving. It will also activate a series of Signal Booster gravity cannons just ahead which need to be used to skip a small section of the mission.
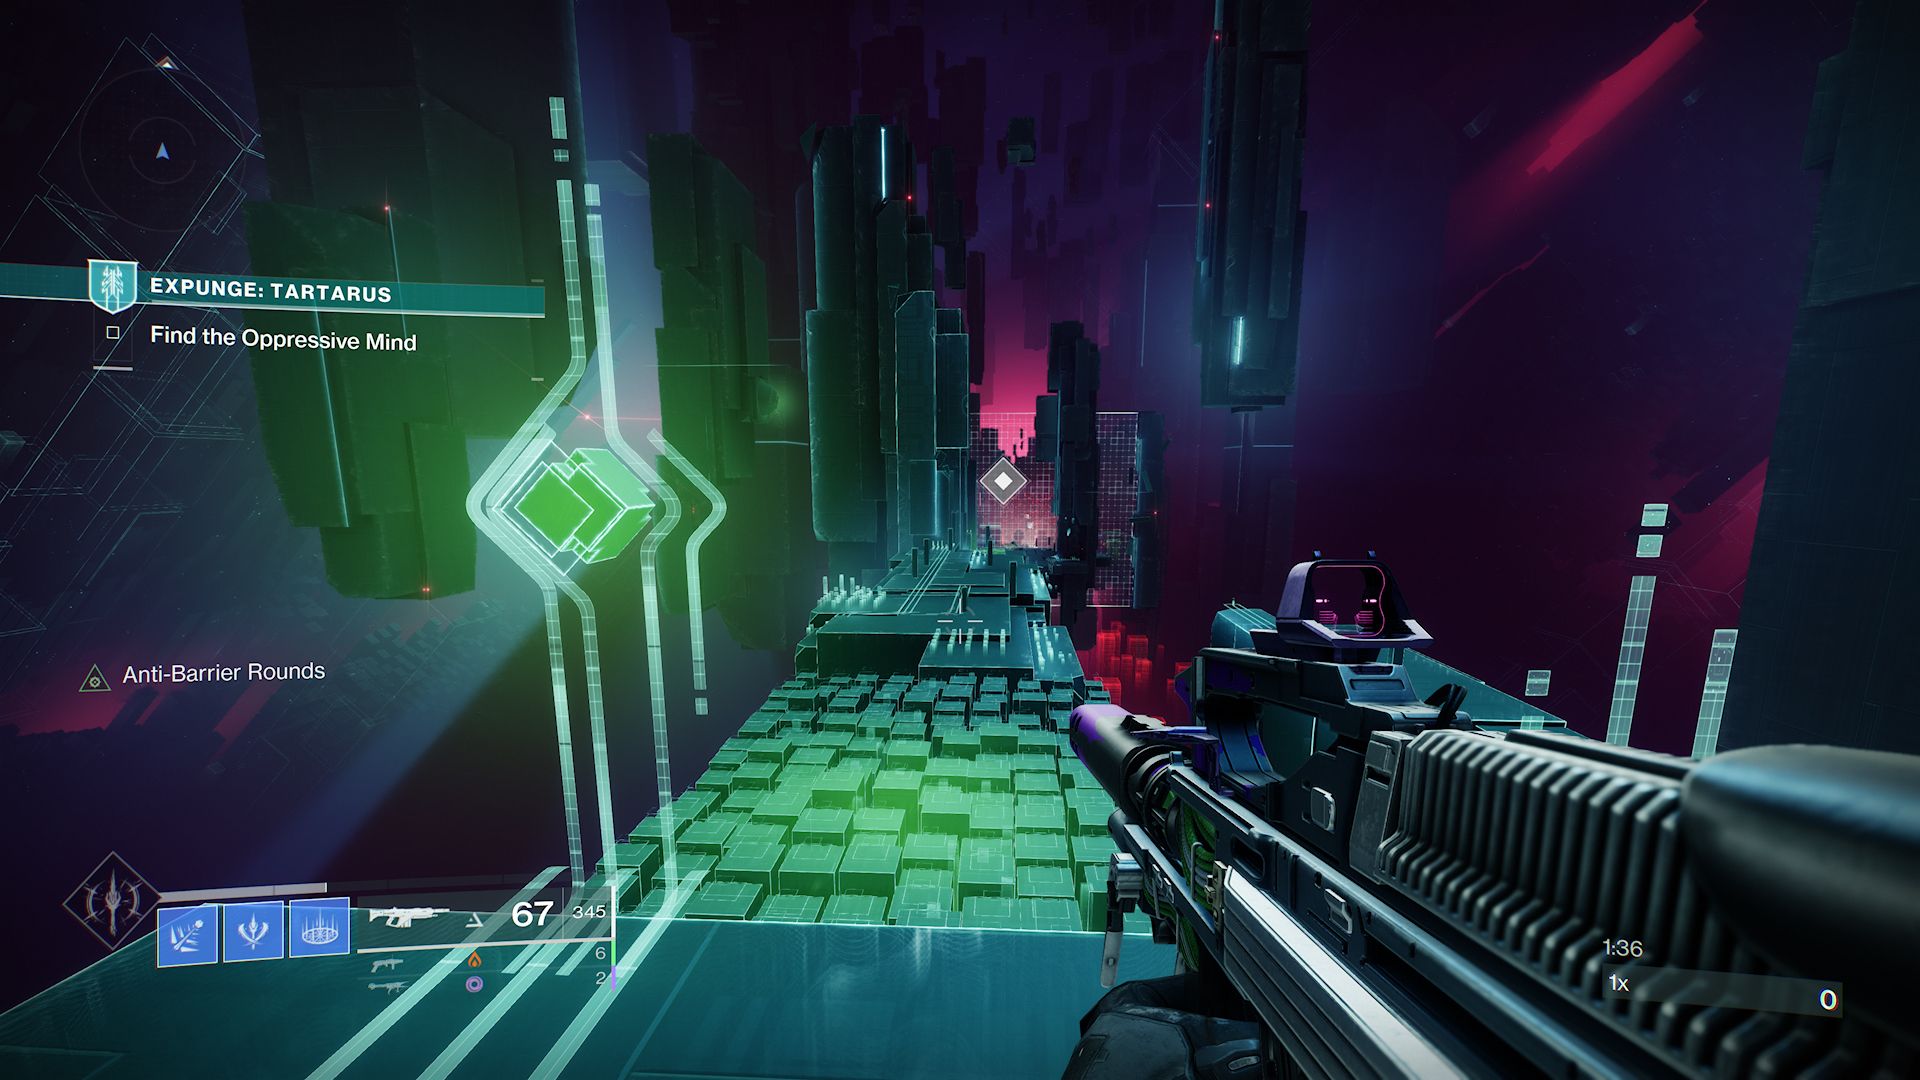
Players need to keep moving forward towards the large white barrier but should bear left to make sure they do not miss the green gravity cannon. Jump onto it, and it will boost players around this barrier and drop them in front of a conflux.
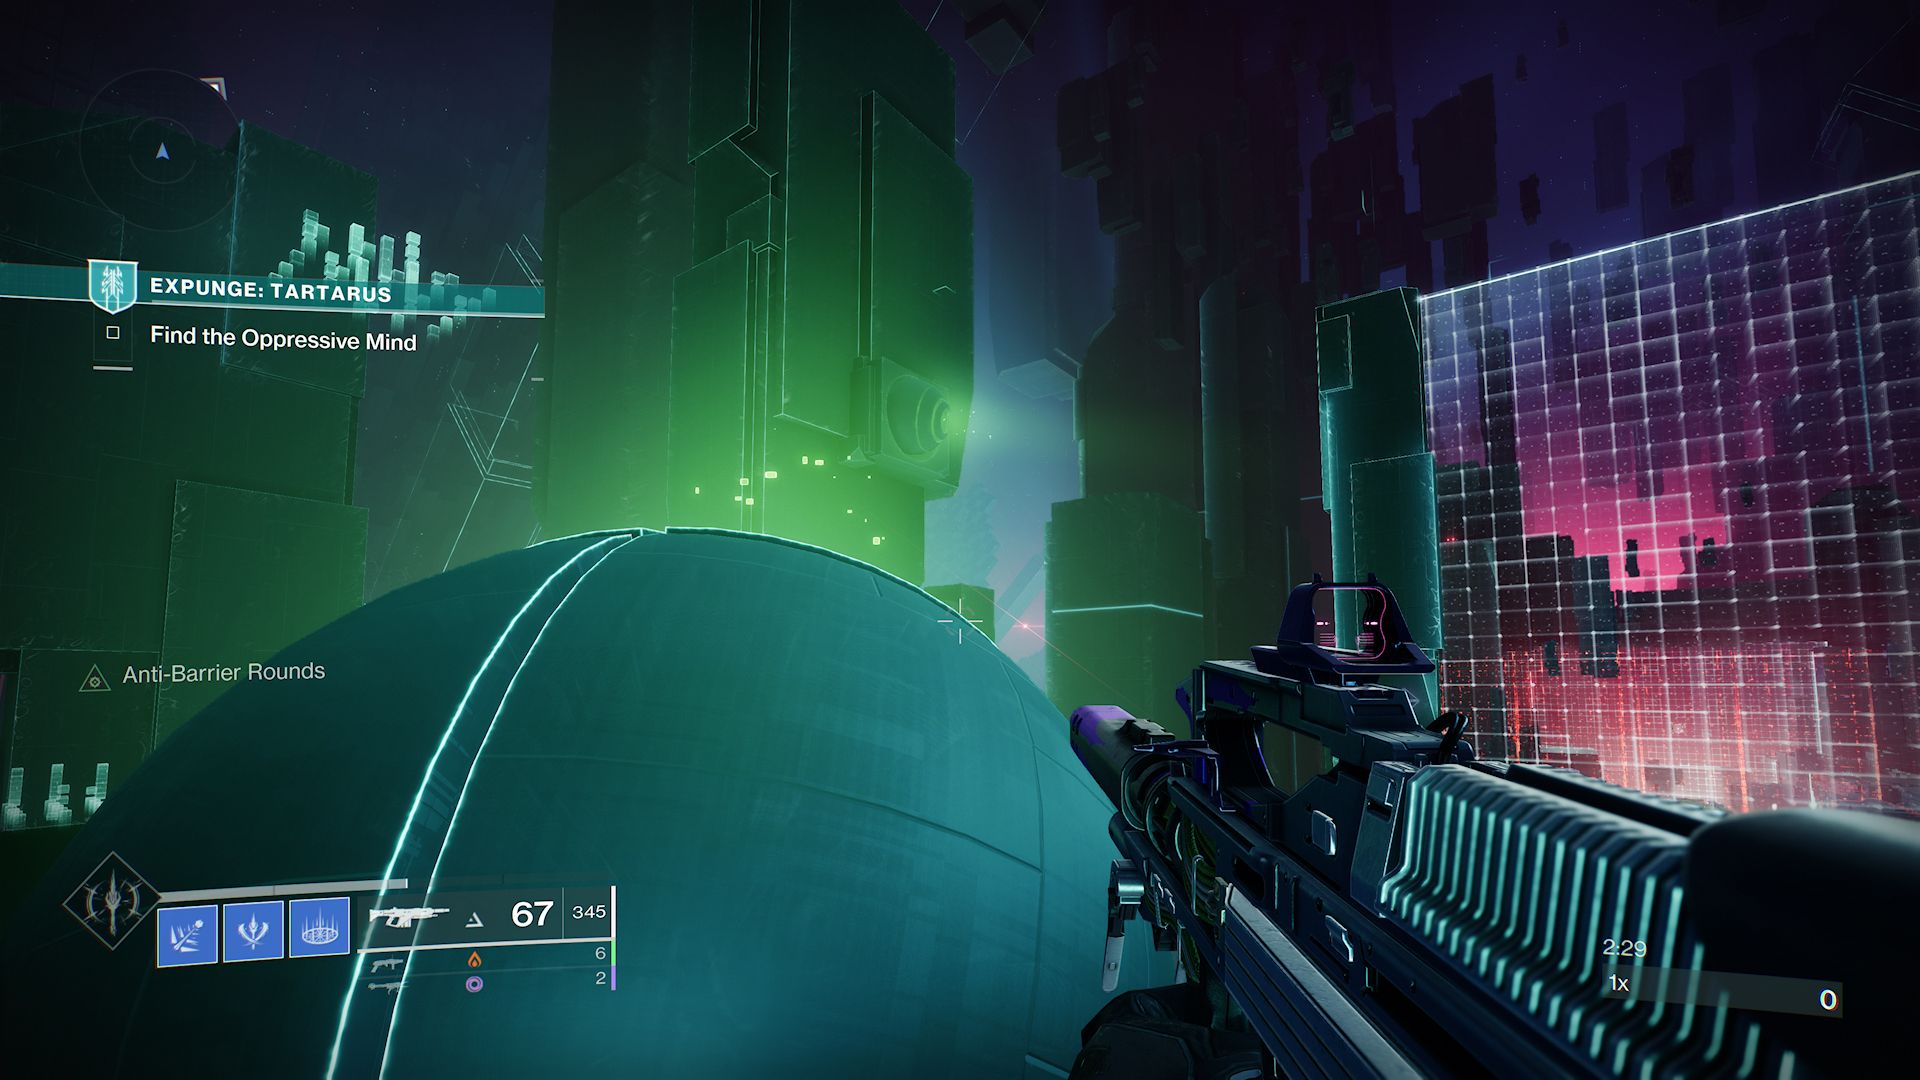
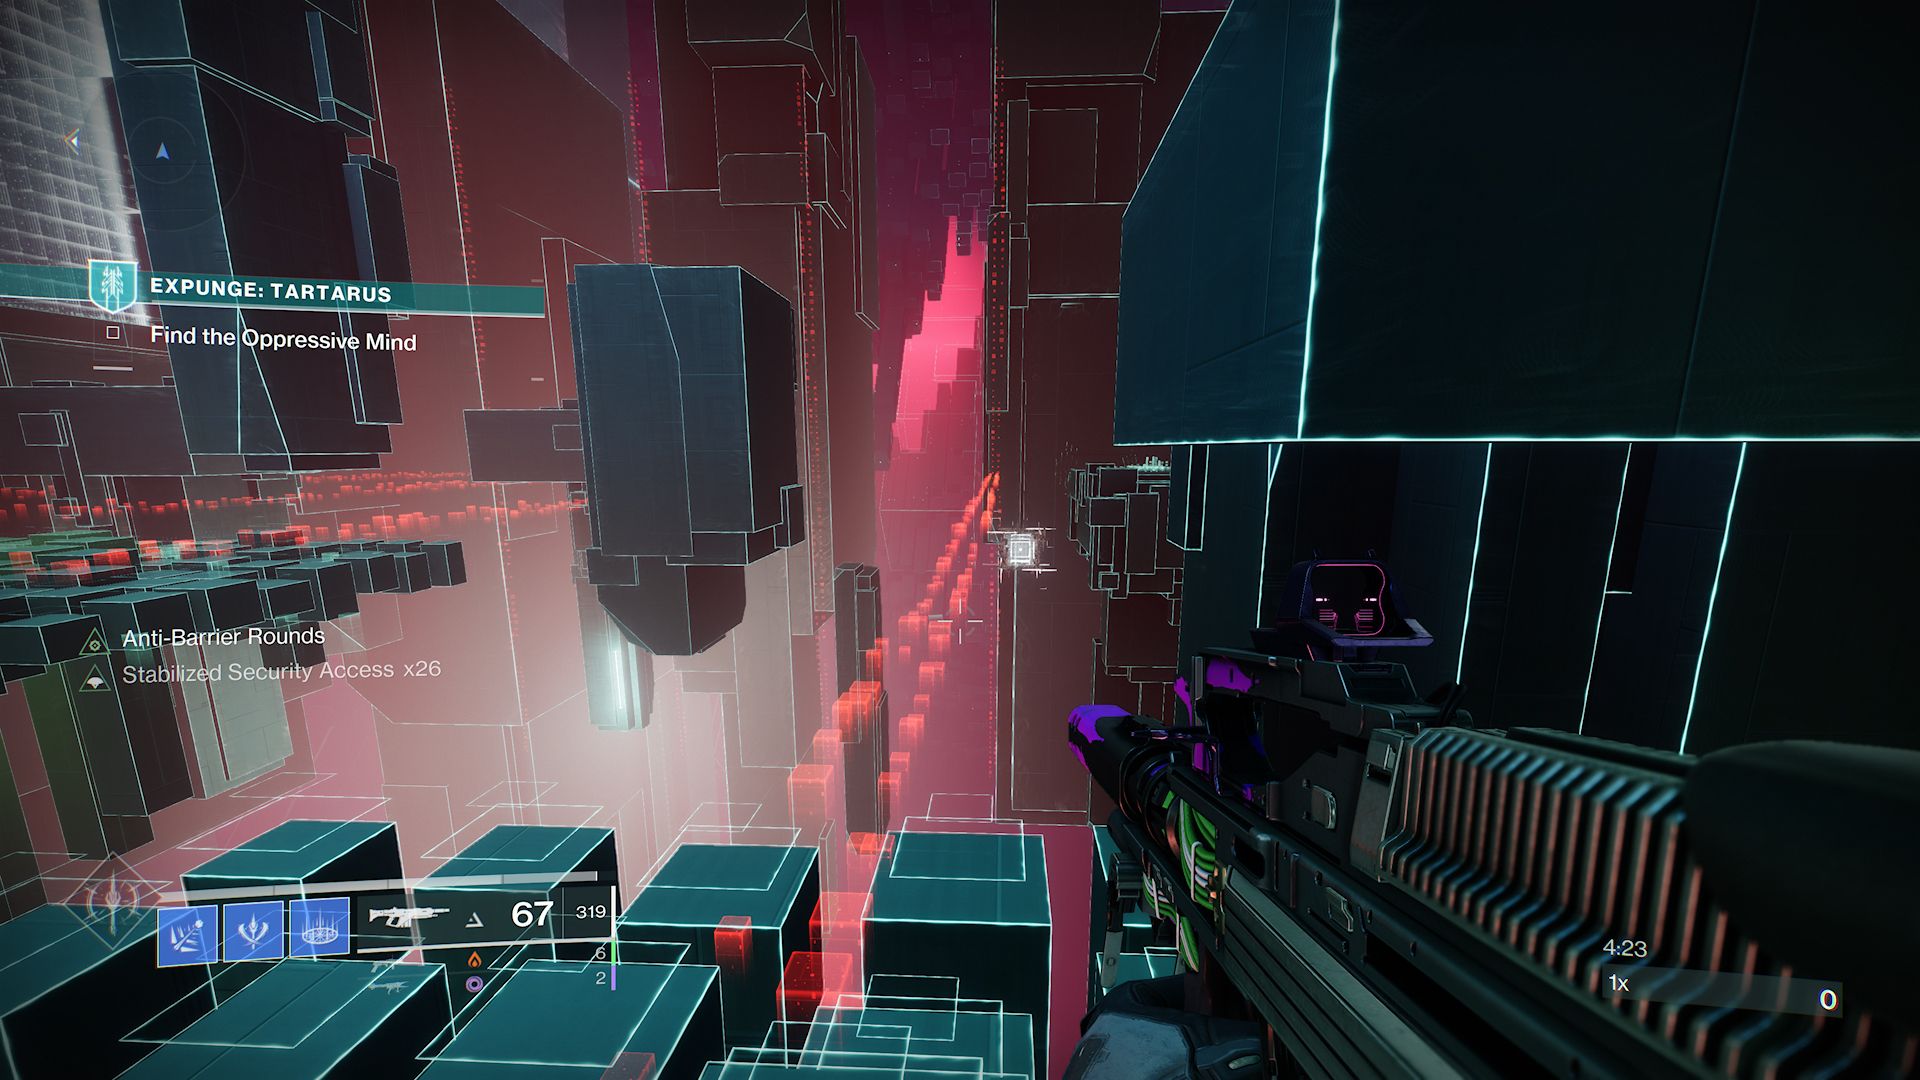
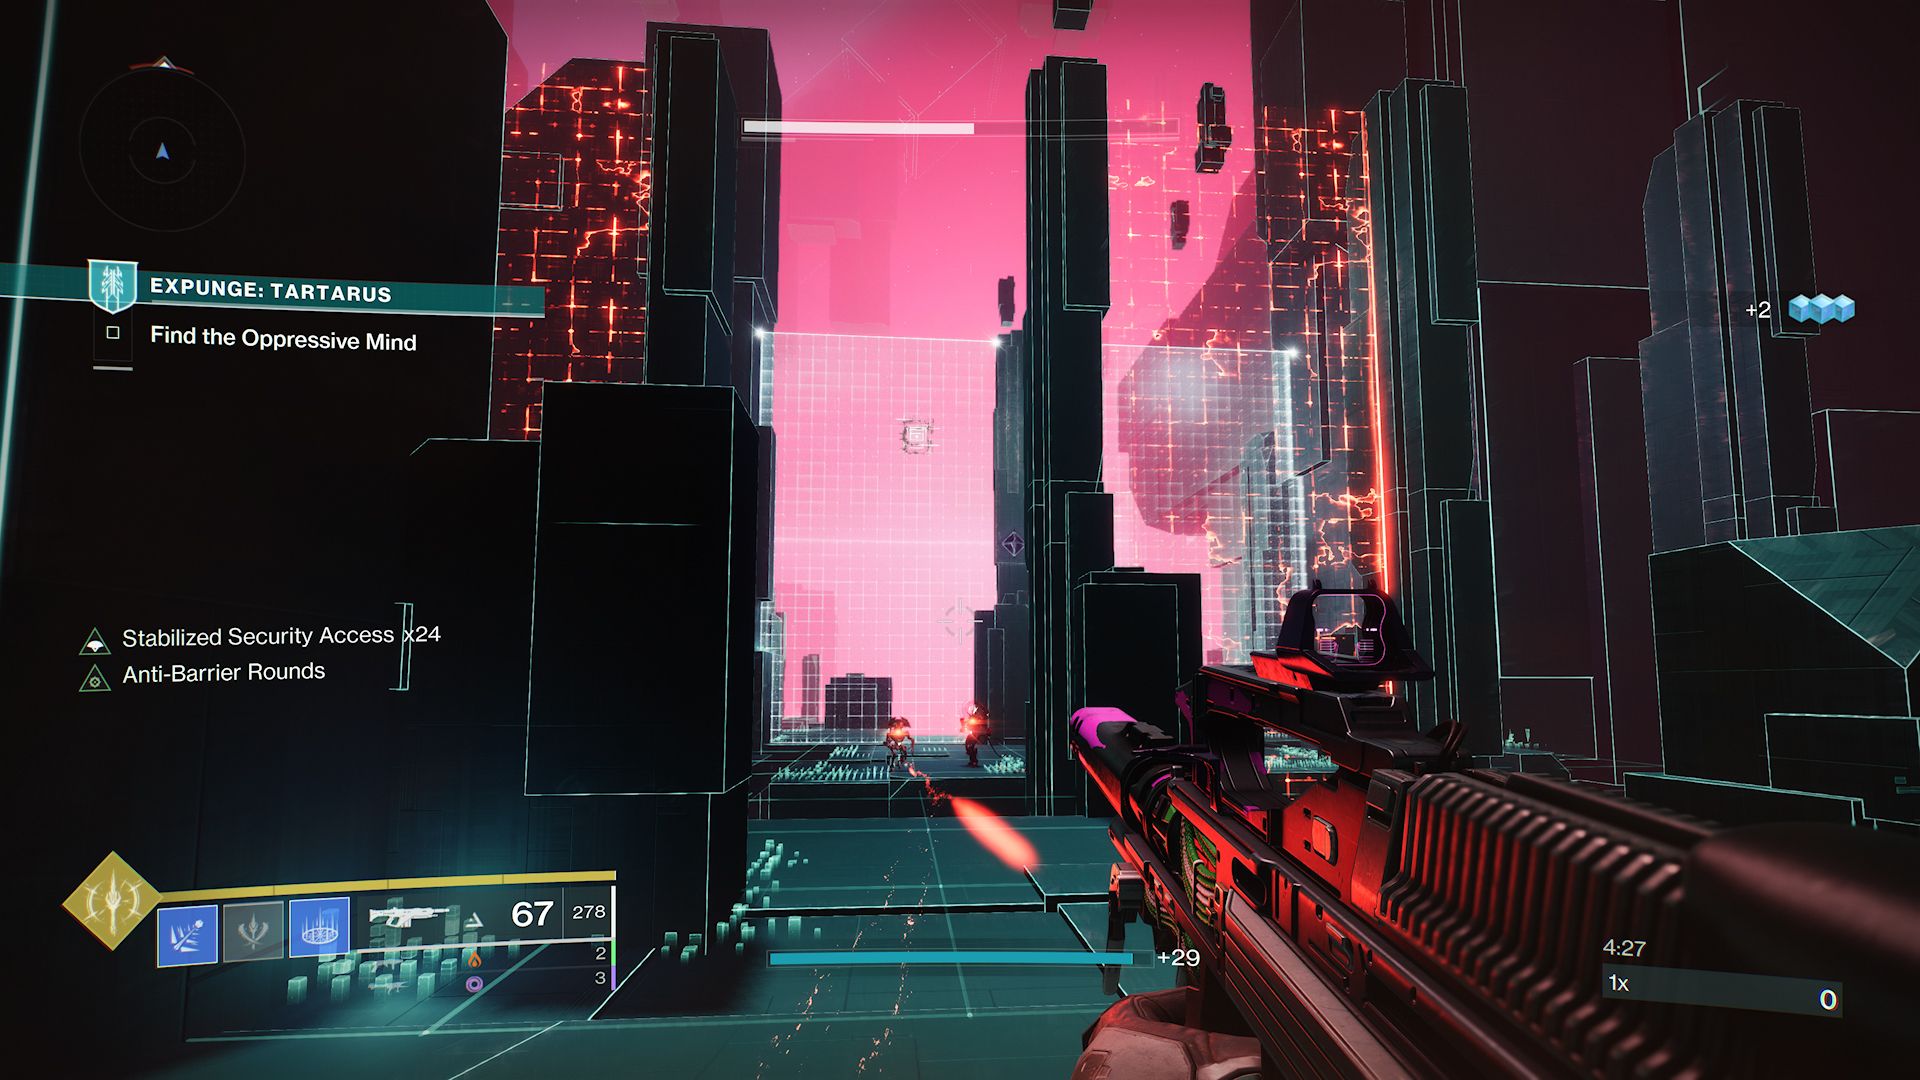
Hacking the conflux will cause it to disappear and a ring to appear on the ground where it was. Standing in this ring will cause players to gain up to 32 stacks of a buff called “Stabilized Security Access” which lets players damage the Vex cubes that hold up the white barriers. Each stack lasts for around one second, and players can get more by re-entering the conflux ring.

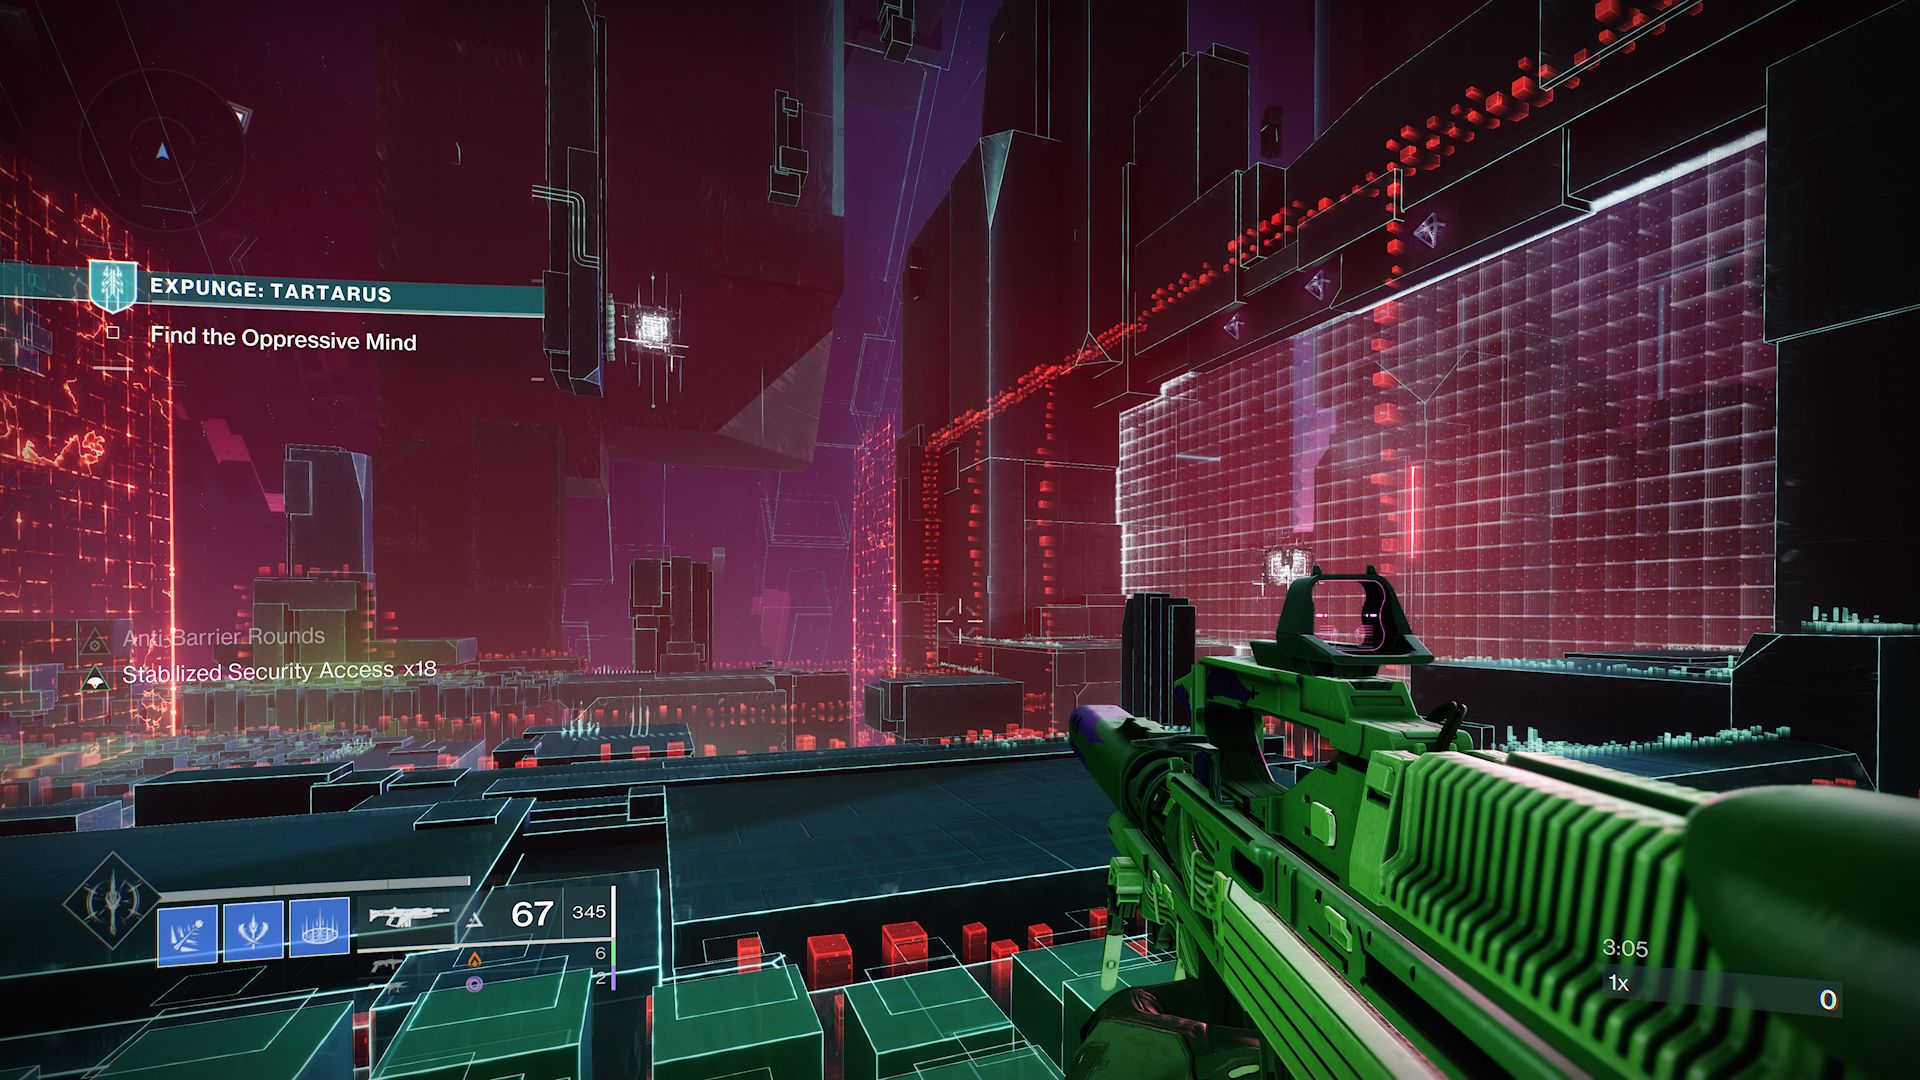
In this section and throughout the mission, players will also be faced with red laser grids which impart a damage-over-time effect on players if they touch them. More often than not, the grids will kill players, but activating Supers and certain healing effects can allow players to tank the damage and survive. For this particular section, players will have several grids moving towards them which they need to avoid.
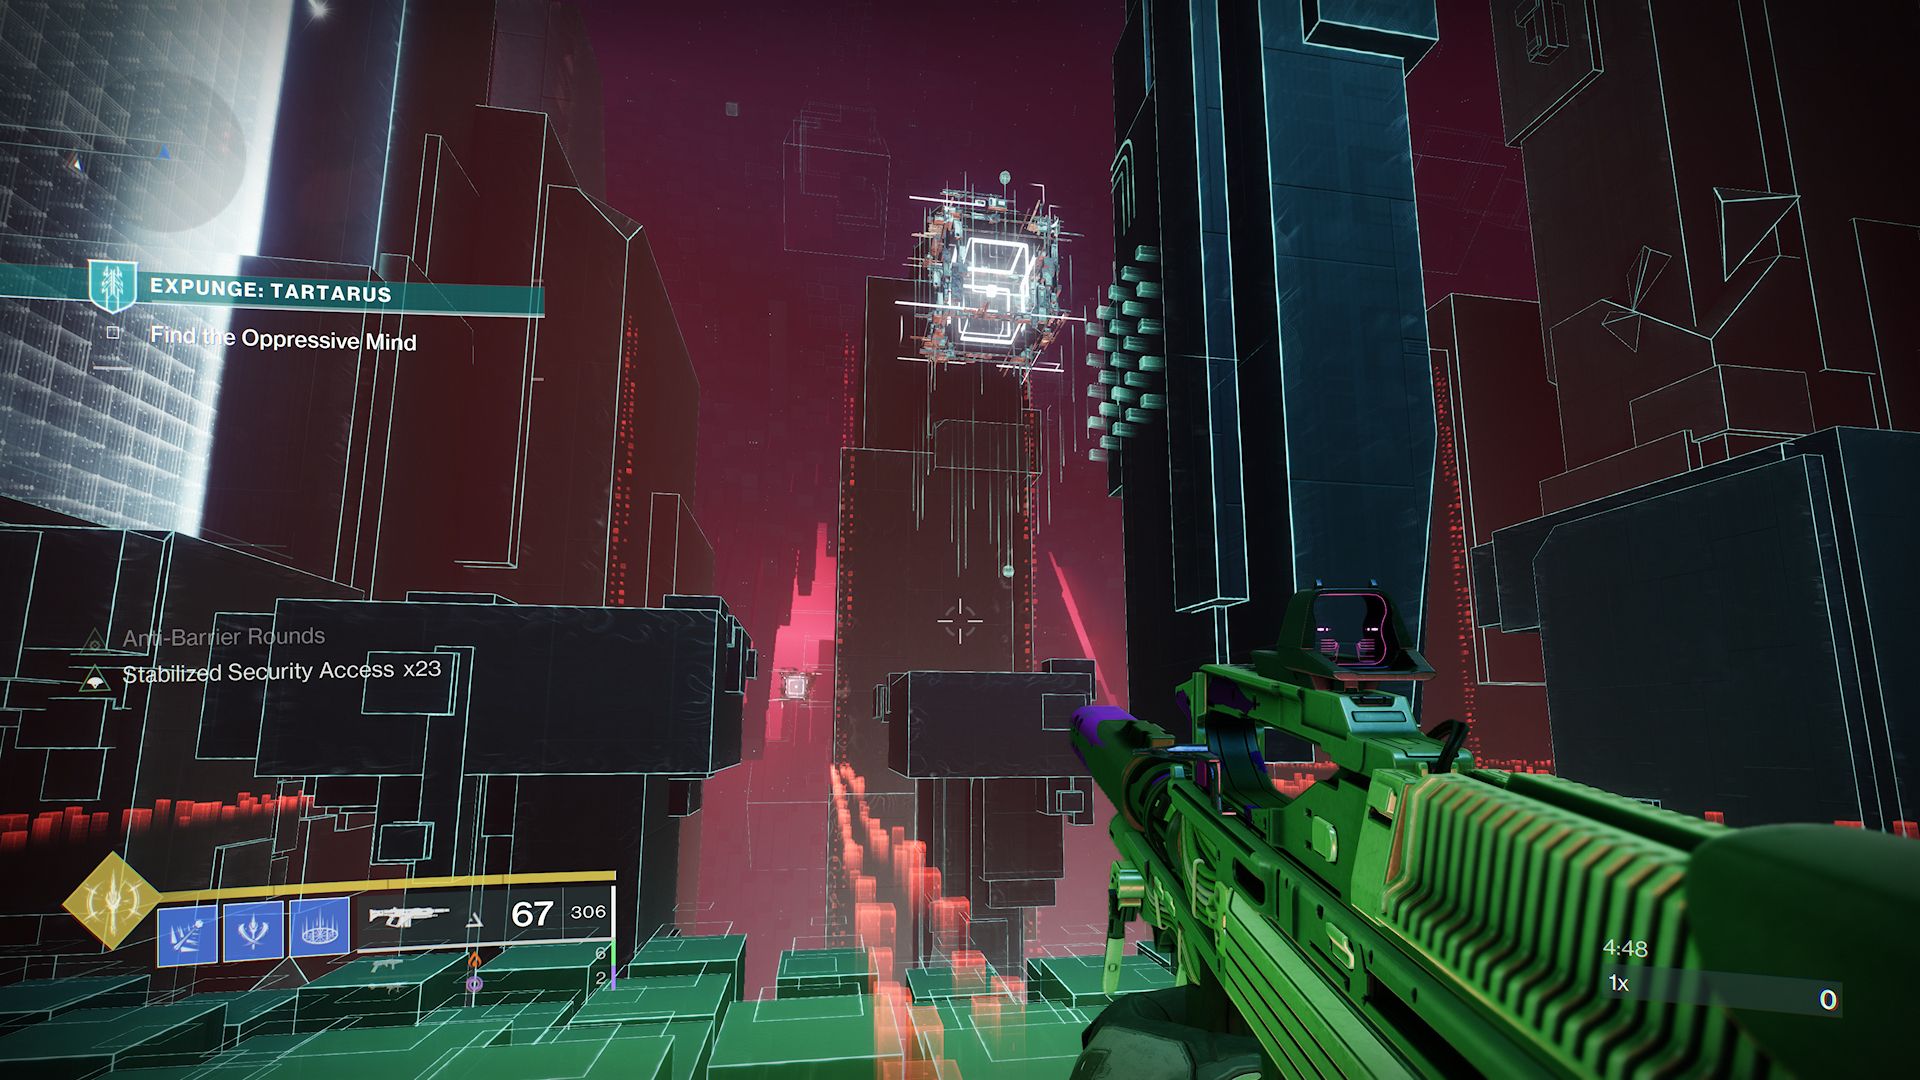
Once Destiny 2 players have maxed out their Stabilized Security Access buff, they need to jump to the rightmost Codestrider platform and head towards the white barrier. Players then need to turn left and shoot the two cubes. From here, players need to move to the central platforms to destroy the final cube which is hidden behind one of the platforms. Once all three cubes have been destroyed, the laser grids and the barrier will deactivate so that players can move to the next conflux.
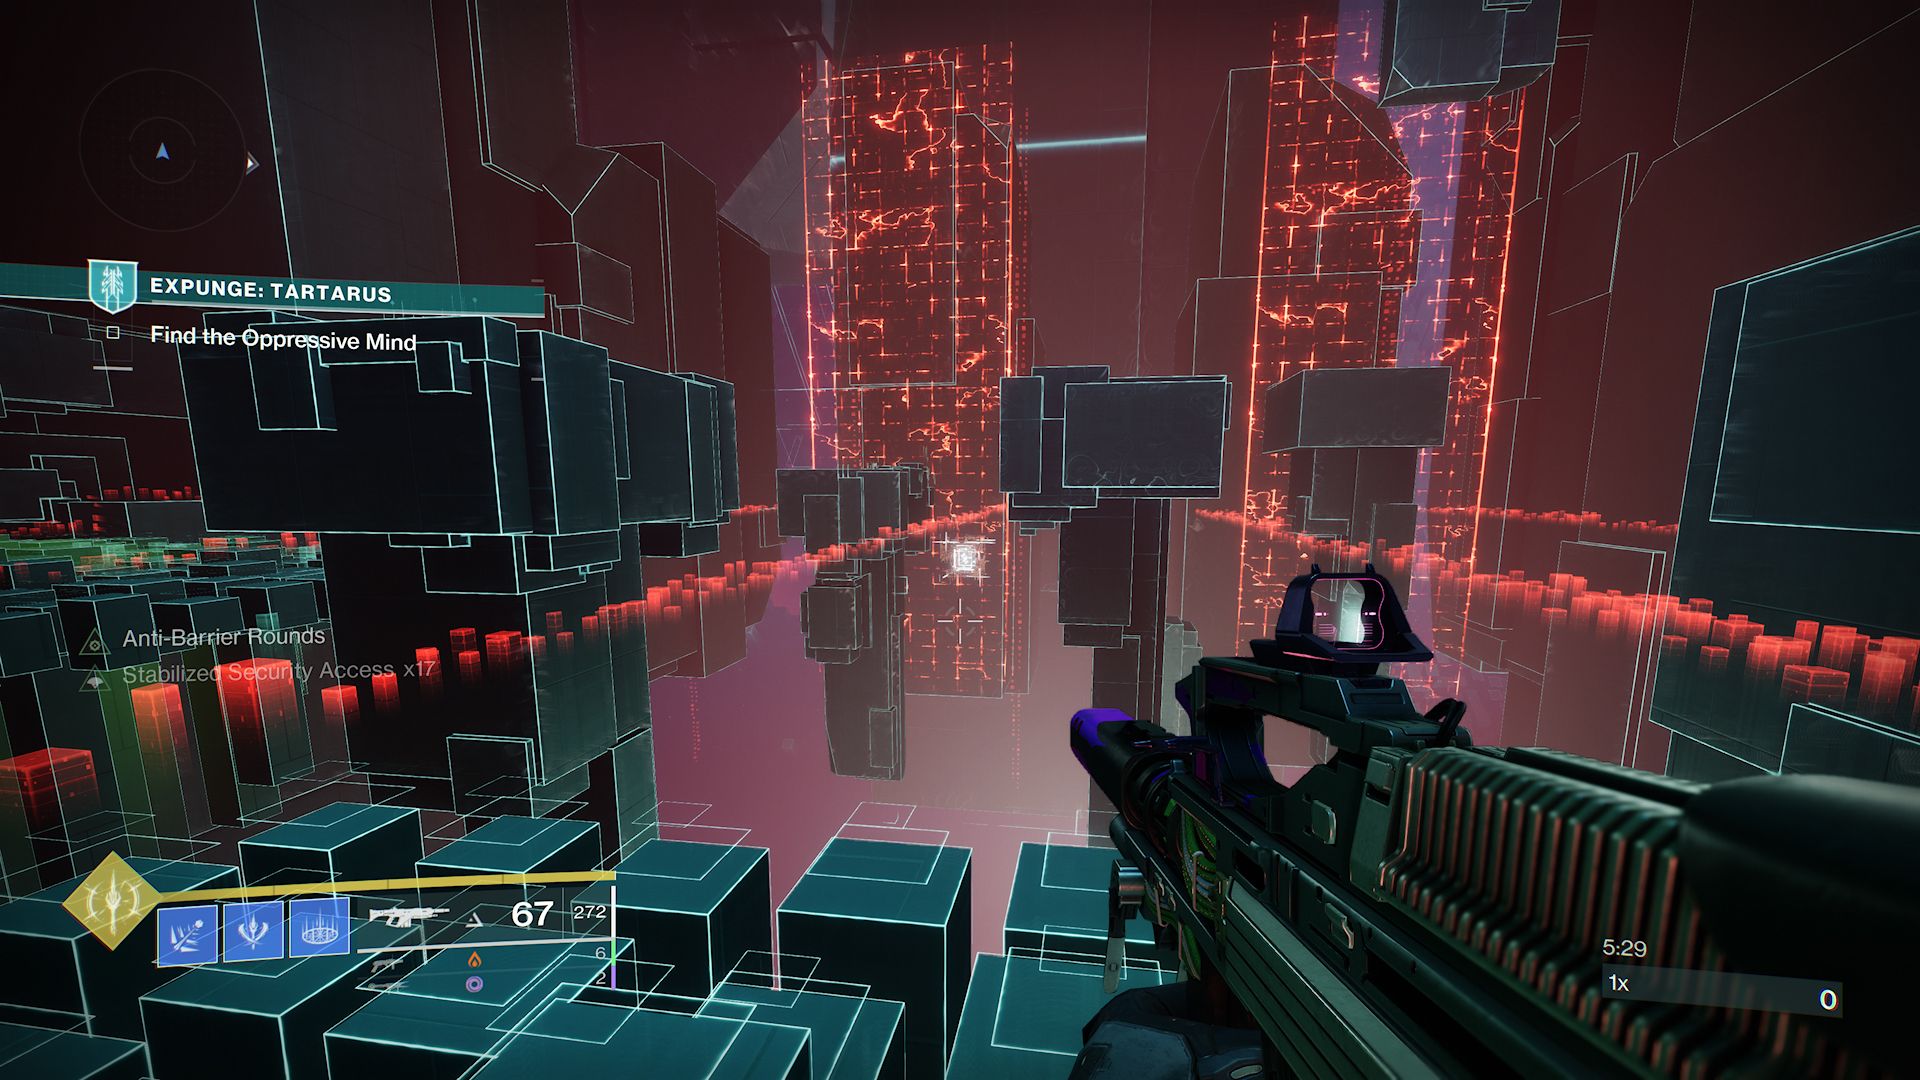
For this section, players will be faced with more laser grids moving perpendicular to the barrier and alternating direction, making players move in an almost Frogger-like way to avoid them. As before, hack the conflux and start getting stacks of Stabilized Security Access. The first cube is easily visible from the conflux ring so players can shoot it immediately.
The next cube can be found by dropping off the conflux platform onto a lower one and turning right.
Players should now jump to one of the Codestrider platforms directly ahead and turn right to find two more cubes.
The fifth and final cube of this area can be found by turning 180 degrees.
The next area only has two cubes to destroy, but they are protected by a shield that is maintained by some Vex Minotaurs. Players need to hack the conflux and then destroy the Minotaurs as quickly as possible.
There will be other enemies too, including a Barrier Hobgoblin Champion, but these can be skipped to save time. Once the cubes are vulnerable, destroy them with Stabilized Security Access active.

Players then need to head to the next conflux, get the Stabilized Security Access buff, and then go into a large room with static laser grids. The only cube in this room is located high in the air. Destroy it and then run past the Vex enemies to the final conflux and the boss fight. Destiny 2 players should have around four minutes on the timer at this point.
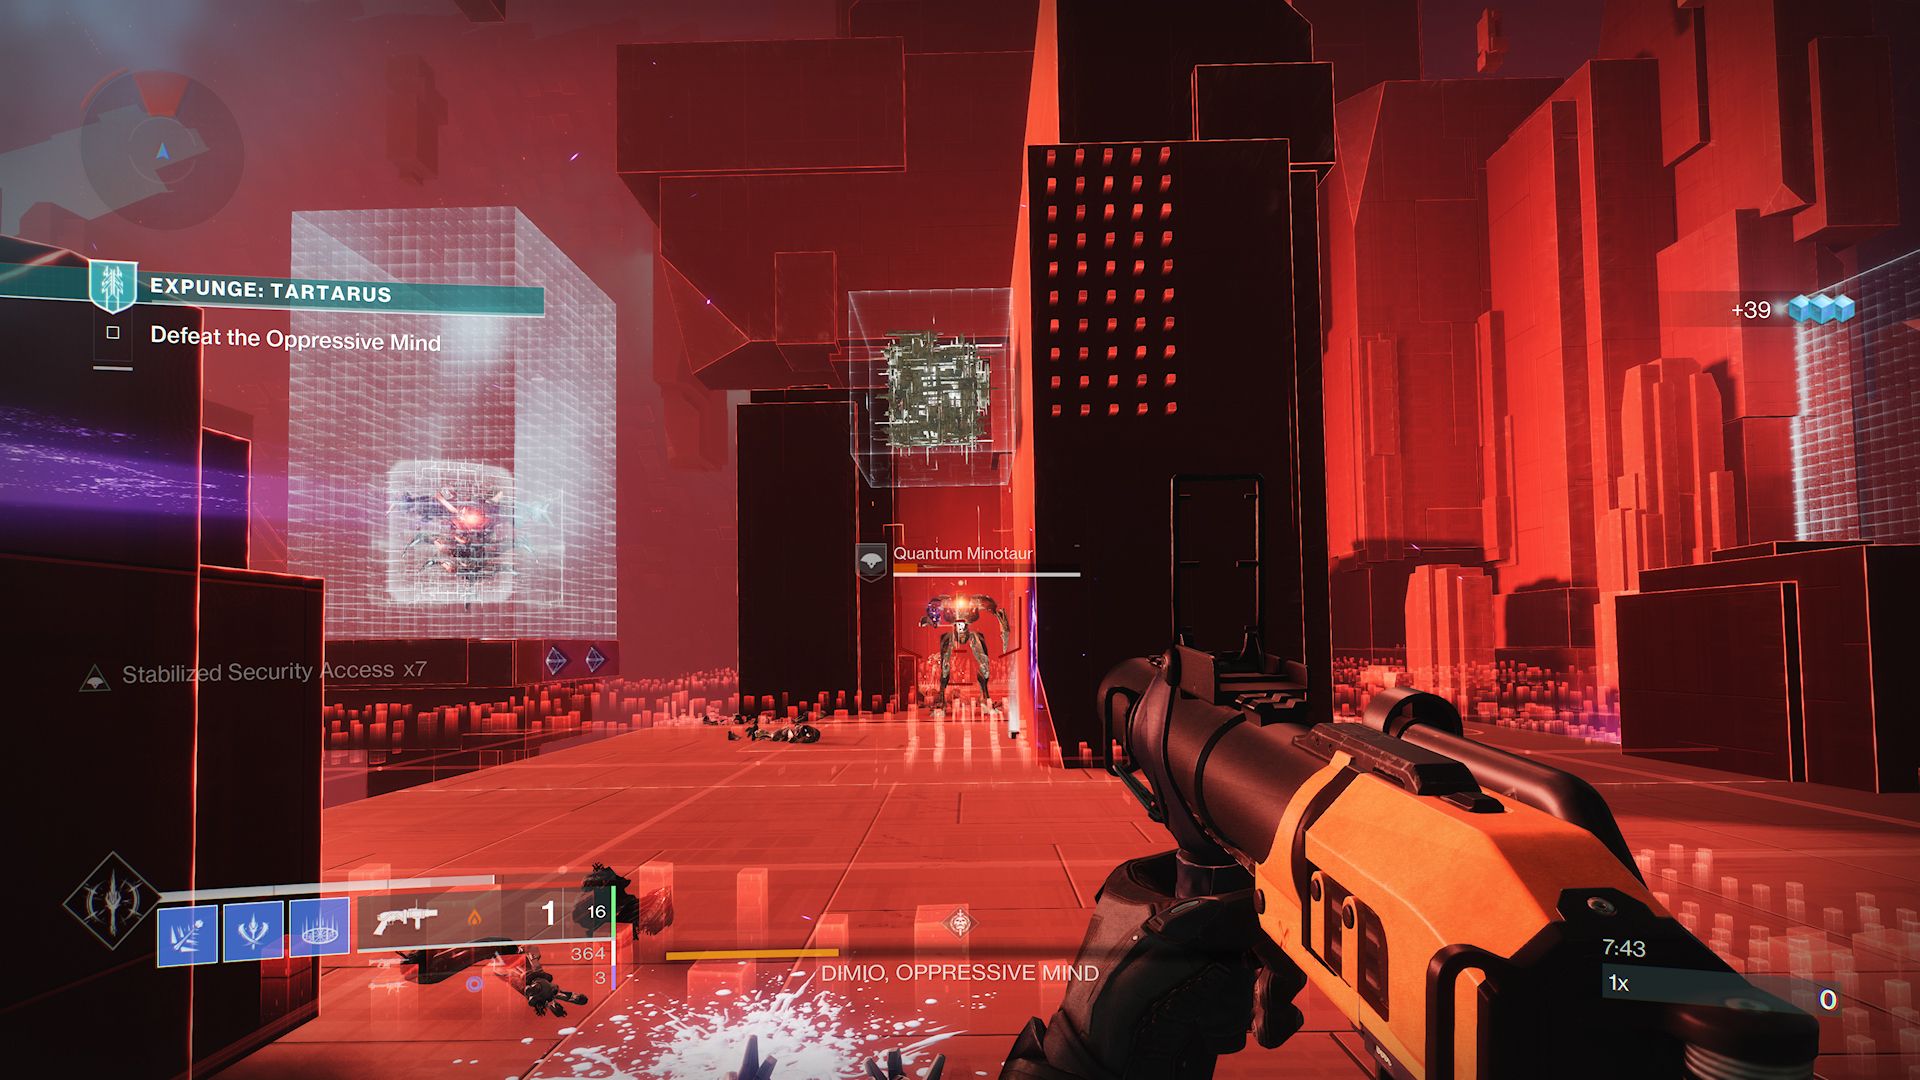
Players will be trapped in a Detain bubble once they hack this conflux. Shooting it will break the barrier and players can then start to damage the Vex Hydra, Dimio, Oppressive Mind. Deathbringer with its new catalyst is great for negating the Hydra’s rotating shields and will easily force it into its first immune phase. While damaging Dimio, players should try and stay in the conflux ring to build stacks of Stabilized Security Access.
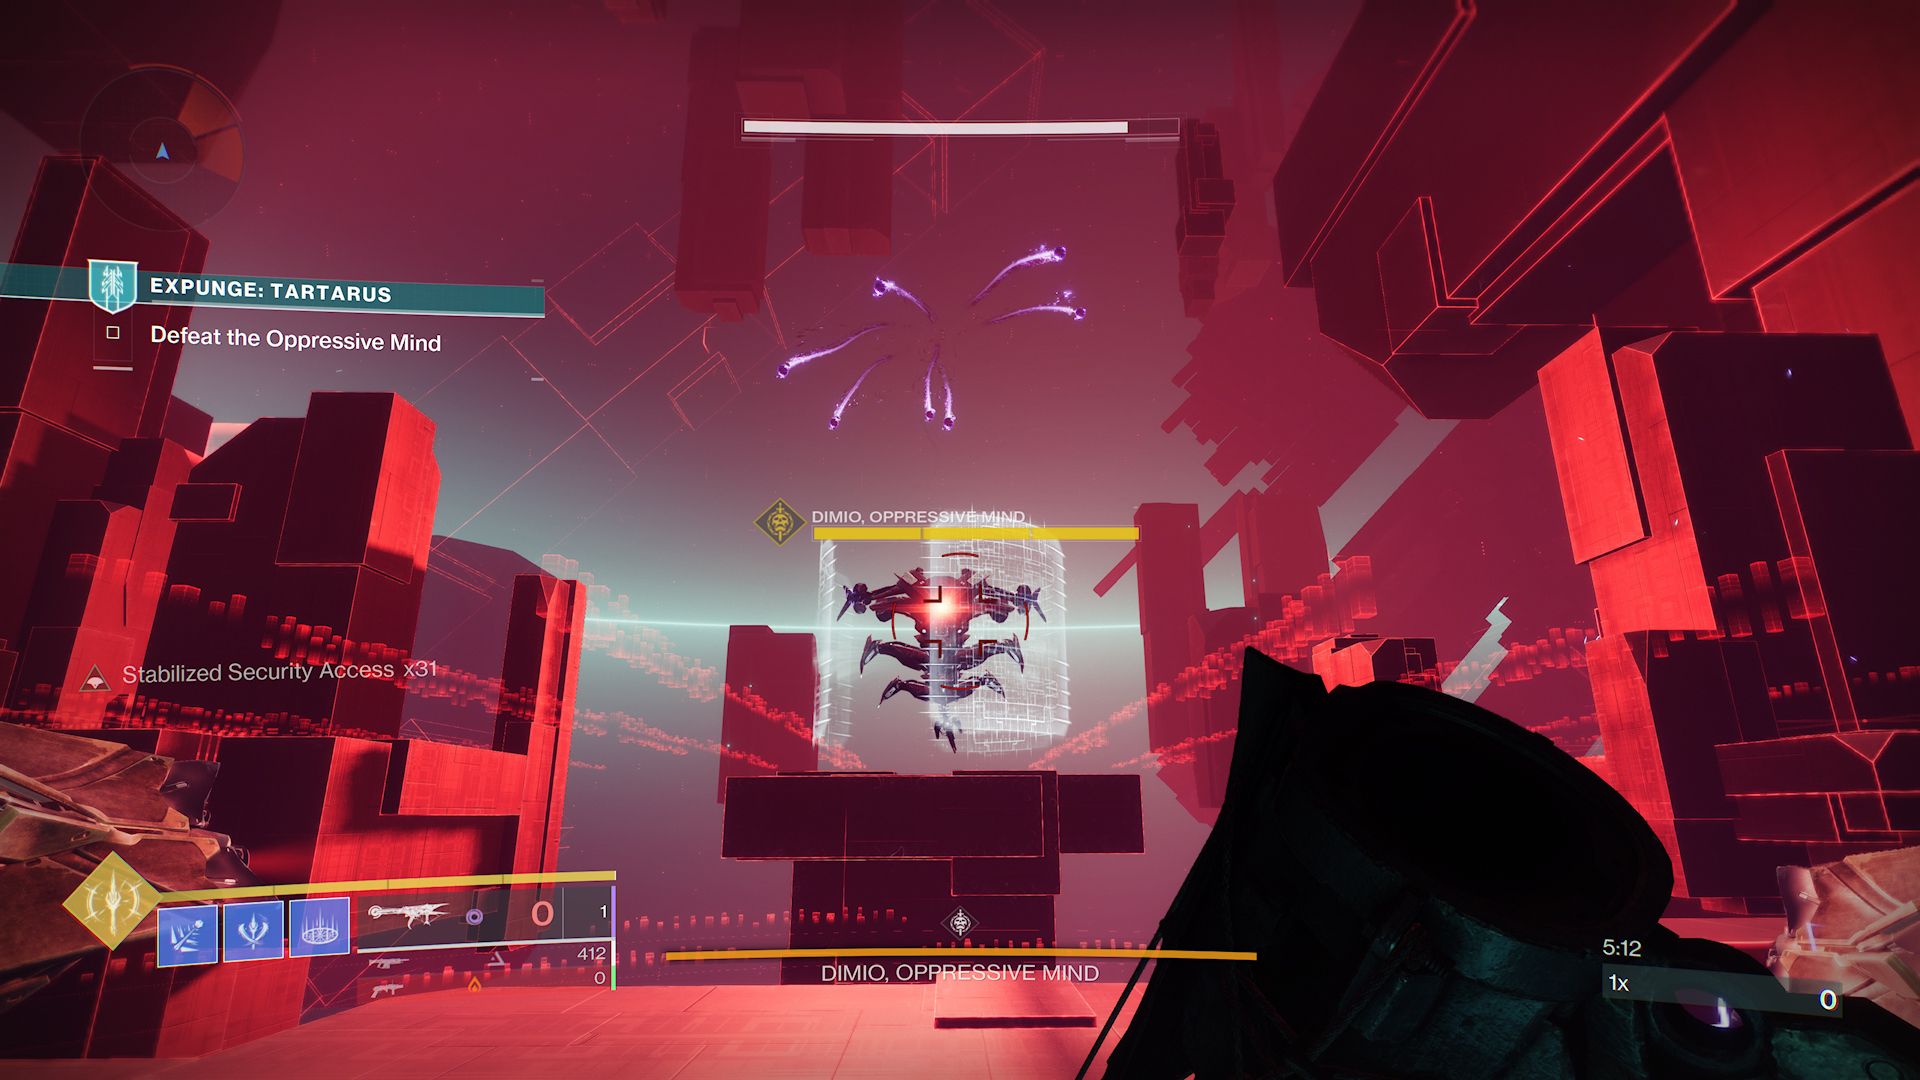
As with the bosses in Override missions, Dimio’s shield is maintained by two barrier cubes which can be found behind pillars on either side of Dimio and need to be destroyed. Players can go to one of the cubes to destroy it and then use a Grenade Launcher in mid-air while jumping back to the middle to quickly destroy the second cube.
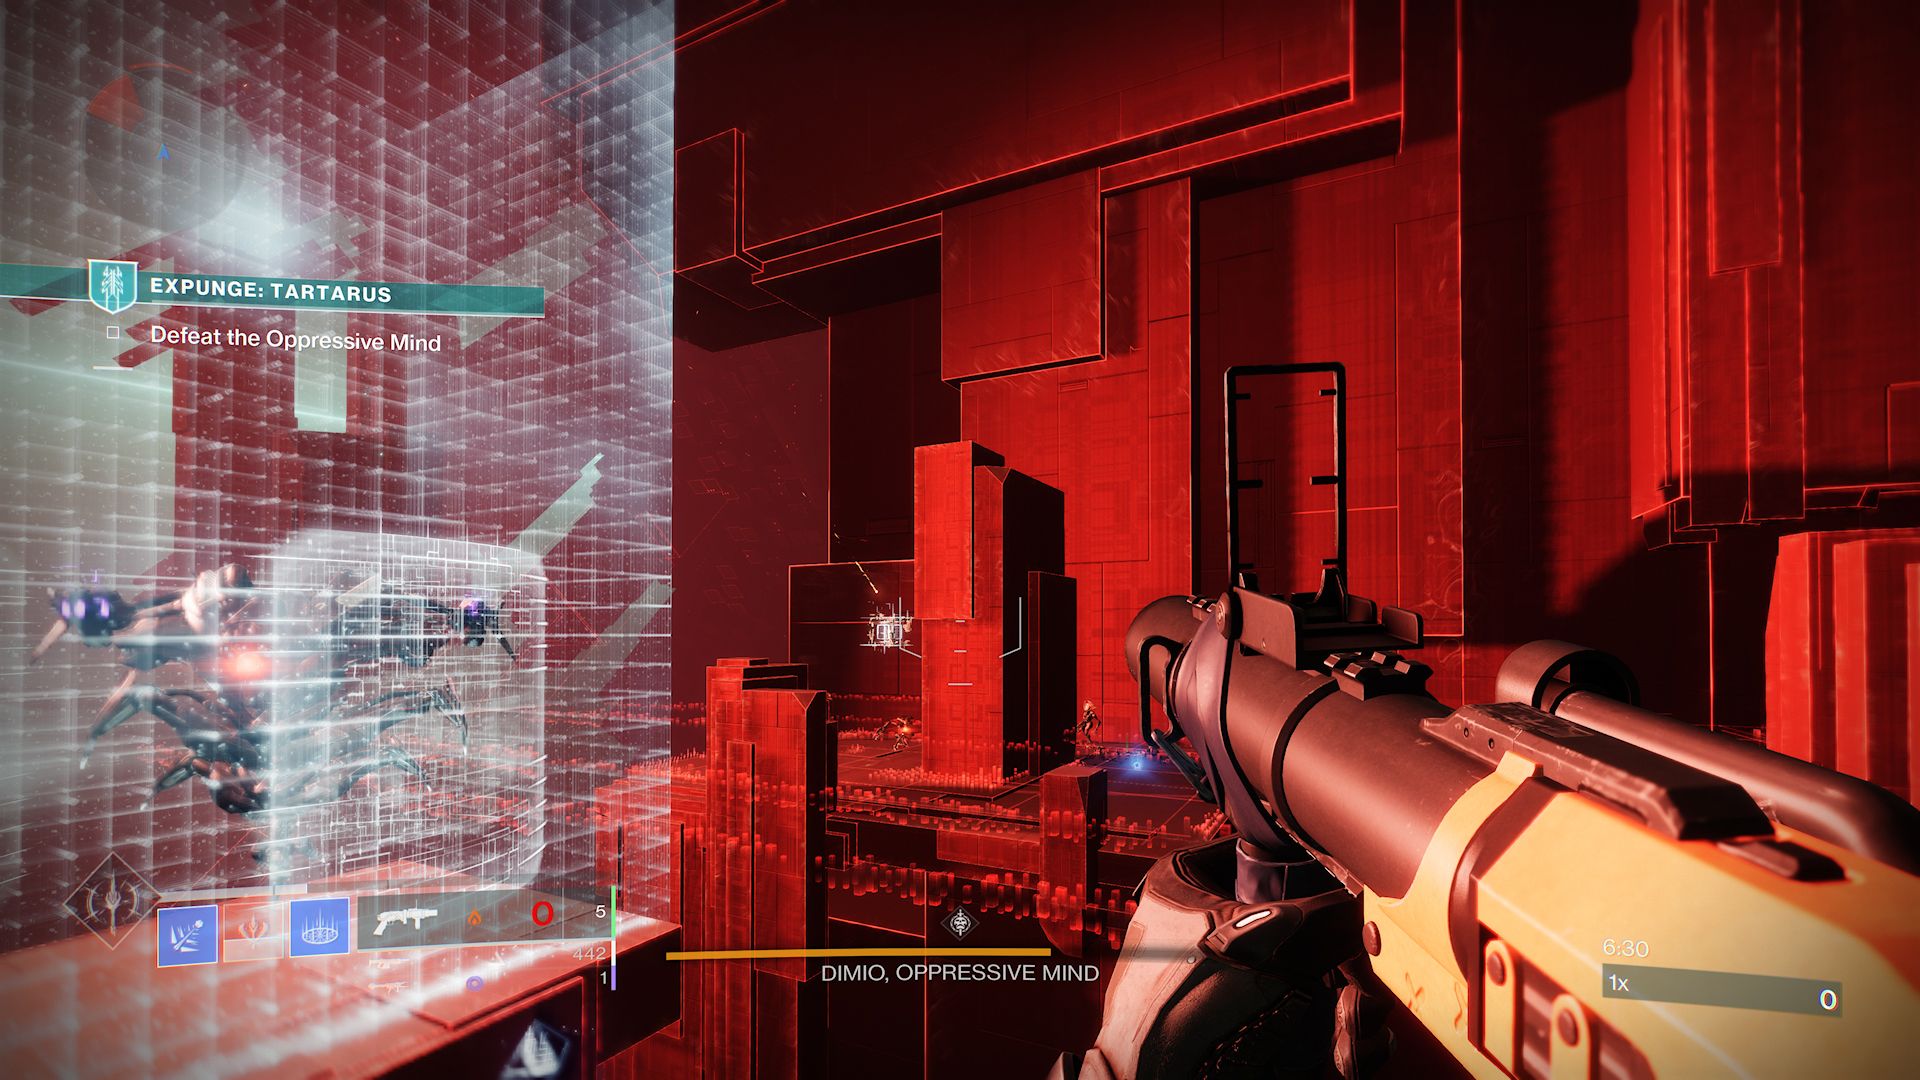
When Dimio has taken enough damage to reach its second immune phase, it will summon moving laser grids and Minotaurs to protect the barrier cubes. This is a good opportunity to use a Super ability to quickly defeat both Minotaurs and destroy the cubes.
Once the barrier is down, continue dealing damage to Dimio until it explodes, and hopefully, the mission timer will be under six minutes. Using these tips, players should easily be able to complete this mission in around five minutes 30 seconds even with a death or two. Destiny 2 players will have also completed the Expedited Expunge: Tartarus seasonal challenge.
Destiny 2: Beyond Light and the new Season of the Splicer are available now for PC, PS4, PS5, Stadia, Xbox One, and Xbox Series X|S.