


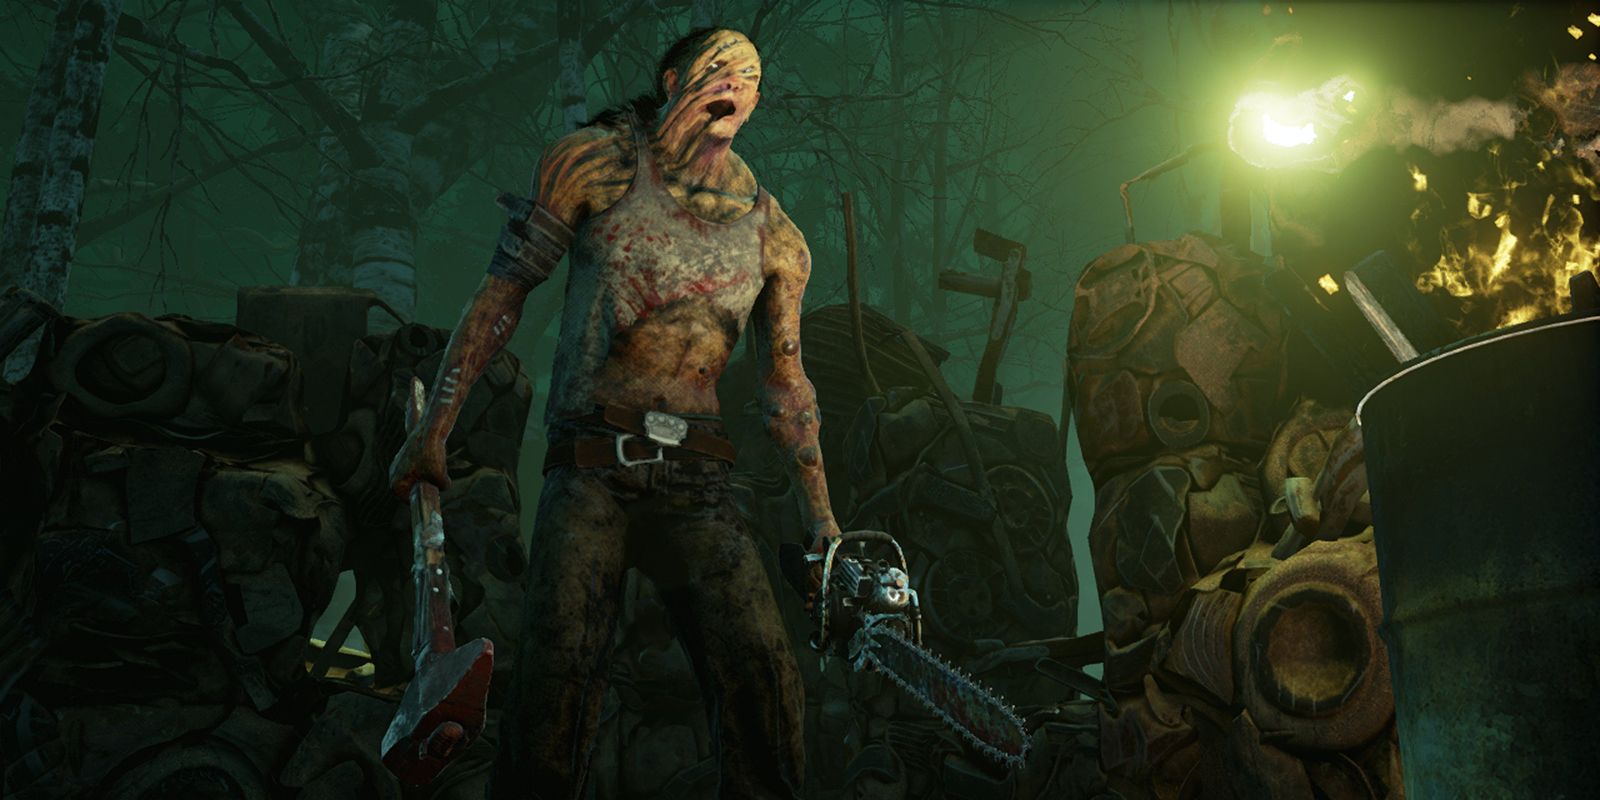
There is a large roster of utterly terrifying Killers in Dead By Daylight. They each have their own strengths and abilities that when combined with powerful perks make them brutal killing machines that can make the round a living nightmare for survivors.
RELATED: Dead By Daylight: Every Killer, Ranked
There are a lot of perks to choose from and some are better than others. Which perk you choose should be based on who you like to play as and cater to your strengths, but here are some strong suggestions for making you the ultimate big bad.
Updated on June 29, 2021 by Ben Baker: As the roster expands it comes with additional perks and changes to existing perks. It seemed time to revisit the Killer perks and see which ones have become more or less useful. A few have gained potential and others have stayed strong at helping Killers take down Survivors.
15 Hex: No One Escapes Death

- Tier I – 4,000 Bloodpoints and movement speed increased by two percent.
- Tier II – 5,000 Bloodpoints and movement speed increased by three percent.
- Tier III – 6,000 Bloodpoints and movement speed increased by four percent.
This perk can function as either a major delay or a last-ditch effort for a few kills. Throughout the map are five Dull Totems. If there is at least one Dull Totem active by the time the Exit Gates start opening this perk will activate causing all survivors to suffer Exposed which causes them to go down in one hit and gives the Killer a speed boost.
This is great for getting that last pesky survivor or making sure to get at least one kill before the round ends. It can also be a great distraction as survivors will be too busy cleansing Totems to fix generators.
14 Surveillance

- Tier I – 4,000 Bloodpoints and perk lasts eight seconds.
- Tier II – 5,000 Bloodpoints and perk lasts 12 seconds.
- Tier III – 6,000 Bloodpoints and perk lasts 16 seconds.
The Killer is constantly in a state of awareness. Knowing where to strike next and where the Survivors are located is valuable to succeeding in a match. Minimizing the time spent searching for Survivors is crucial to winning.
Surveillance is an underappreciated perk that does wonders giving the Killer knowledge of the Survivor’s movements. Regressing Generators will be white and if someone beings repairs they will briefly turn yellow. This is huge for knowing where everyone is and prioritizing the next target. The Pig comes with this ability.
13 Make Your Choice

- Tier I – 4,000 Bloodpoints and 40 seconds.
- Tier II – 5,000 Bloodpoints and 50 seconds.
- Tier III – 6,000 Bloodpoints and 60 seconds.
This perk is nice for players that routinely get someone on the hook or have a lot of powers related to hooking survivors. Make Your Choice triggers when someone rescues another from the Hook, they become affected by Exposed which will drop them with one hit.
It lasts quite a while once it wears off it’s ready to be used again. This is great for going after stronger players who are routinely saving their allies or for those survivors that get buffs for unhooking others. The Pig gets this ability right away.
12 Cruel Limits

- Tier I – 4,000 Bloodpoints and 20 seconds.
- Tier II – 5,000 Bloodpoints and 25 seconds.
- Tier III – 6,000 Bloodpoints and 30 seconds.
Cruel Limits is proving to be an incredibly useful perk. Whenever a generator is repaired all windows and vault spots in a 24-meter radius are immediately locked and won't allow survivors through.
RELATED: Dead By Daylight: Crazy Details You Didn't Know About The Survivors
This is great for cornering survivors and taking down the pesky ones who abilities are built around vaulting. They do have to make progress towards their goal for this to trigger, but it makes each Survivor success an opportunity for the Killer to exploit. The Killer Demogorgon gets this ability automatically.
11 Tinkerer
- Tier I – 4,000 Bloodpoints and 12 seconds.
- Tier II – 5,000 Bloodpoints and 14 seconds.
- Tier III – 6,000 Bloodpoints and 16 seconds.
This is a great perk on its own but can be combined with something like Cruel Limits for even greater effect. Whenever a generator is repaired to 85% the Killer gets a notification and their Terror Radius drops to zero.
This is great for sneaking up on survivors close to repairing the generator and can be blitzed mid-repair. Or wait for them to finish and let Cruel Limits cut off their escape routes while going in for the kill. The Hillbilly gets this perk.
10 Brutal Strength

- Tier I – 4,000 Bloodpoints and 10% faster.
- Tier II – 5,000 Bloodpoints and 15% faster.
- Tier III – 6,000 Bloodpoints and 20% faster
Pallets can be a nuisance and generators that have been partially fixed pose a problem. Brutal Strength eliminates both headaches by allowing the Killer to destroy pallets that have dropped and do damage to generators 20% faster than normal at Tier III.
Survivors will lose their ability to dodge and it’ll take longer for them to fix generators when the Killer is messing with them. It’s a great way to buy some time and remove some of their escape routes. The Trapper has this perk automatically.
9 Pop Goes The Weasel

- Tier I – 4,000 Bloodpoints and lasts 35 seconds.
- Tier II – 5,000 Bloodpoints and lasts 40 seconds.
- Tier III – 6,000 Bloodpoints and lasts 45 seconds.
A tricky tactic for Killers is to whittle down Survivors over time and drag out how long the match takes. When the Survivors are in a weakened and vulnerable state the Killer will go on a killing spree before the exit is unlocked.
Pop Goes The Weasel is a Killer perk that makes this process much easier. Once the Killer hooks someone they gain the ability to knock back a Generator’s repair progress by a whopping 25%. It only lasts a little while so they’ll have to move fast. But it can be a great way to delay Survivor victory and get more hits in. The Clown comes with this ability.
8 Thrilling Tremors
- Tier I – 4,000 Bloodpoints a 100-second cool-down.
- Tier II – 5,000 Bloodpoints an 80-second cool-down.
- Tier III – 6,000 Bloodpoints a 60-second cool-down.
For aggressive Killers knowing where the Survivors are at any given time is a huge benefit. Knowing which Generators are being repaired can be crucial to not only getting a kill, but also delaying progress. That makes Thrilling Tremors such a handy Killer perk.
RELATED: Dead By Daylight: Crazy Details You Didn't Know About The Killers
Thrilling Tremors activates once the Killer picks up a Survivor. Once grabbed all Generators not being actively repaired are blocked by the Entity for 16 second. This prevents Survivors from repairing certain Generators for a time and also reveals which ones have Survivors working on them. The Ghost has this ability.
7 Enduring

- Tier I – 4,000 Bloodpoints pallet stun reduced by 40%.
- Tier II – 5,000 Bloodpoints pallet stun reduced by 45%.
- Tier III – 6,000 Bloodpoints pallet stun reduced by 50%.
This is a great perk that allows the Killer to recover faster from stuns via pallets. Enduring kicks in whenever they're struck by a pallet and reduces the time they'd normally be stunned.
This inhibits one of the only major weapons all survivors have and cuts down on how long they have to escape. Pallets are still annoying, but this makes them considerably less so. If the Killer also has Brutal Strength it can make it so those pesky pallets never bother the Killer again. The Hillbilly has this ability from the beginning.
6 Discordance

- Tier I – 4,000 Bloodpoints and 64 meters.
- Tier II – 5,000 Bloodpoints and 96 meters.
- Tier III – 6,000 Bloodpoints and 128 meters.
Its common practice for Killers to roam between dormant Generators waiting for survivors to come along and fix them. Survivors will often group up on a single Generator to avoid getting seen and repair it before the Killer makes their rounds.
Discordance gives the Killer the ability to see any Generators that are being repaired by two or more survivors. The range is 64/96/128 meters depending on the level. This makes doing those rounds much easier or forces the Survivors to spread out and be more vulnerable. The Legion starts with this ability.
5 Remember Me
- Tier I – 4,000 Bloodpoints for eight second delay.
- Tier II – 5,000 Bloodpoints for 12 second delay.
- Tier III – 6,000 Bloodpoints for 16 second delay.
Some Killers just really have a problem with one survivor in particular. Remember Me causes the Killer to become Obsessed with a particular survivor from the group. Whenever the Obsession is struck it increases how long it takes the Exit Gates to open.
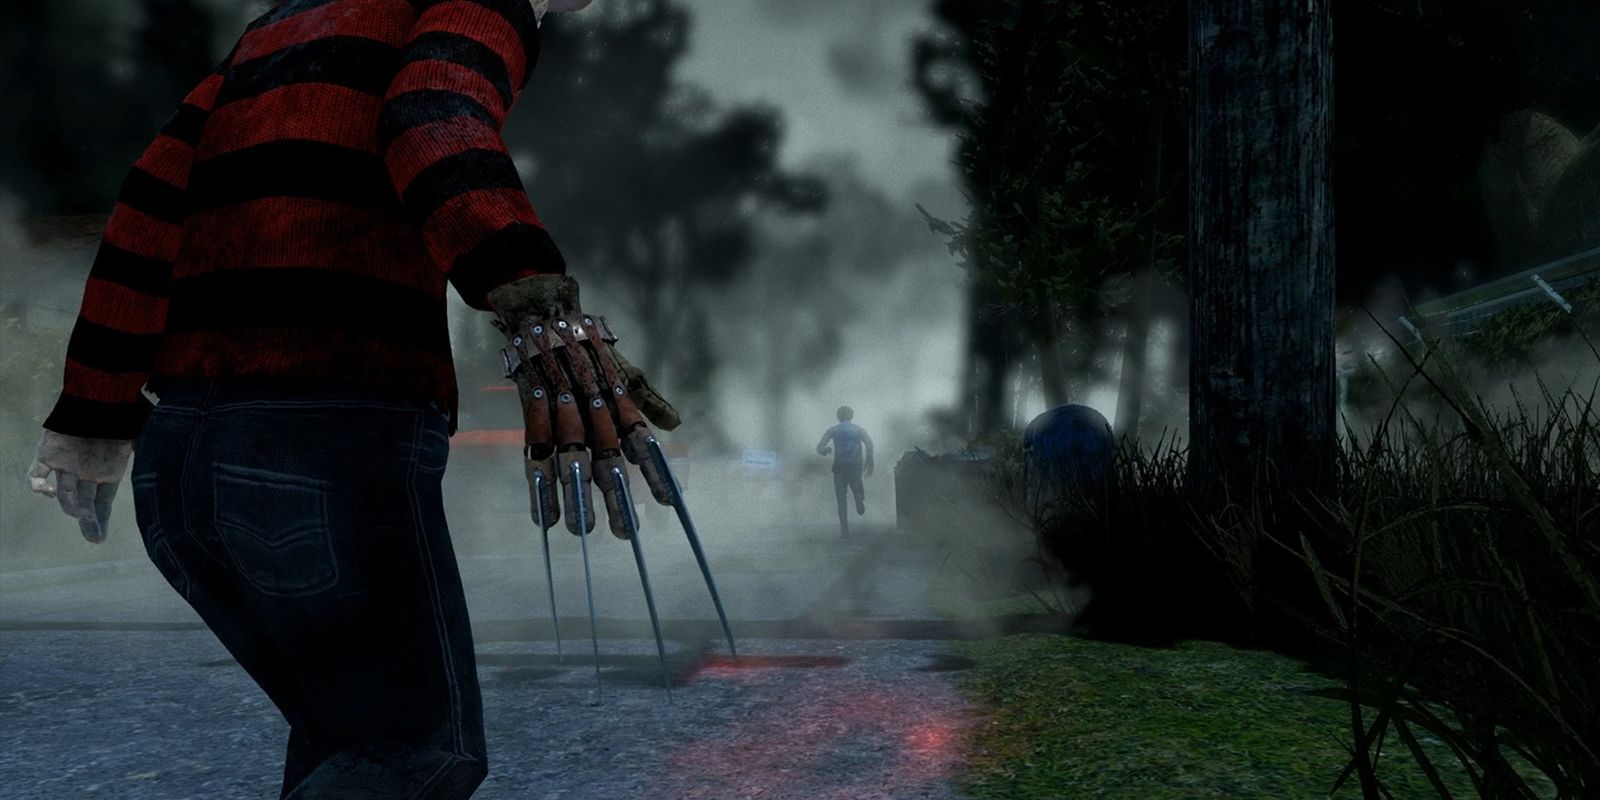
That extra time is incredible and some players have mentioned having an Obsession gives them a reason for focusing on taking down one survivor at a time instead of splitting their attention with everybody and having everyone get away. Because survivors can see who the Obsession is it may also cause them to change their strategy to keeping them alive or sacrificing them to the Killer, either of which is a good thing. This is a Freddy Krueger perk.
4 Corrupt Intervention

- Tier I – 4,000 Bloodpoints for 80-second block.
- Tier II – 5,000 Bloodpoints for 100-second block.
- Tier III – 6,000 Bloodpoints for 120-second block.
As soon as a match begins the survivors will begin getting a lay of the land and begin repairing the first Generators they come across. Because its common for Killers to start some distance away from the survivors they’ll get valuable repair time in and start ahead before the first skirmishes begin.
With Corrupt Intervention the three Generators furthest from the Killer are blocked by the Entity. The survivors will have to pick Generators that are closer to the Killer or wait 80/100/120 seconds for those three Generators to become available. The Plague starts with this ability.
3 Hex: Ruin

- Tier I – 4,000 Bloodpoints for 100% regression.
- Tier II – 5,000 Bloodpoints for 150% regression.
- Tier III – 6,000 Bloodpoints for 200% regression.
This perk is very powerful but doesn’t last long in a match. One of the five Dull Totems will become a Hex Totem and allow this perk to be activated. Whenever a survivor performs a skill check and gets Good it actually causes a partial regression. Great skill checks won't give any bonus to the survivor which buys a lot of time for the Killer to take them out.
RELATED: The Top Maps For Survivors In Dead By Daylight
Once the survivors realize this Hex is in play they’ll immediately set out to cleansing the totems which also buys time. Given enough time any team will fall and this perk is great at giving the Killer that needed time. The Hag starts with this powerful ability.
2 Nurse’s Calling

- Tier I – 4,000 Bloodpoints for 20 meter range.
- Tier II – 5,000 Bloodpoints for 24 meter range.
- Tier III – 6,000 Bloodpoints for 28 meter range.
This is an awesome perk to have as survivors will constantly be healing and many will have perks that permit even more healing attempts like Self-Care. A Nurse’s Calling causes a survivor to become visible as soon as they attempt healing within a certain range.
This makes healing risky as it either discourages them from doing it which is good for the Killer or makes them discoverable when they finally break down and pull out a Med-Kit. It’s one of the rare perks that benefit the killer even when it isn’t activated. The Nurse has this great ability.
1 Barbecue And Chili

- Tier I – 4,000 Bloodpoints for 25% Stackable bonus up to 50%.
- Tier II – 5,000 Bloodpoints for 25% Stackable bonus up to 75%.
- Tier III – 6,000 Bloodpoints for 25% Stackable bonus up to 100%.
Perhaps the strongest Killer perk in the game is Barbecue And Chili. This perk activates when the Killer hooks a survivor and for four seconds it tells them where every survivor is that’s further than 40 meters from the Hook.
This favors aggressive play, which the Killer should be engaged in as they can Hook a survivor, chase another down, Hook that one, and in that bloody cycle have tabs on where the other survivors are. Definitely combine this with Make Your Choice. The Cannibal comes with this ability.