

As with any good RPG, the lifeblood of Divinity: Original Sin 2 lies in its side quests. Reaper's coast, the area in which Act 2 takes place, is one of the richest areas for such expeditions. Among these is A Taste of Freedom, which revolves around a strange undead character.
RELATED: Divinity Original Sin 2: How To Defeat The Aetera In Act 2
Players have important choices to make throughout this quest, and each has a potential impact on the quest's outcome. Can the Godwoken trust a tortured lich, or should they kill the abomination? Which path is morally appropriate for the character — or more profitable for players?
To access this quest, players must venture into an abandoned house in Driftwood owned by a dwarf named Mordus. In his cellar, there is an ornate skull on the wall that must be unlocked in one of two ways. Players can travel to Wrecker's Cave and kill Mordus, looting the gemstone that acts as a key. Alternatively, they can pick the lock with level 5 lockpicking.
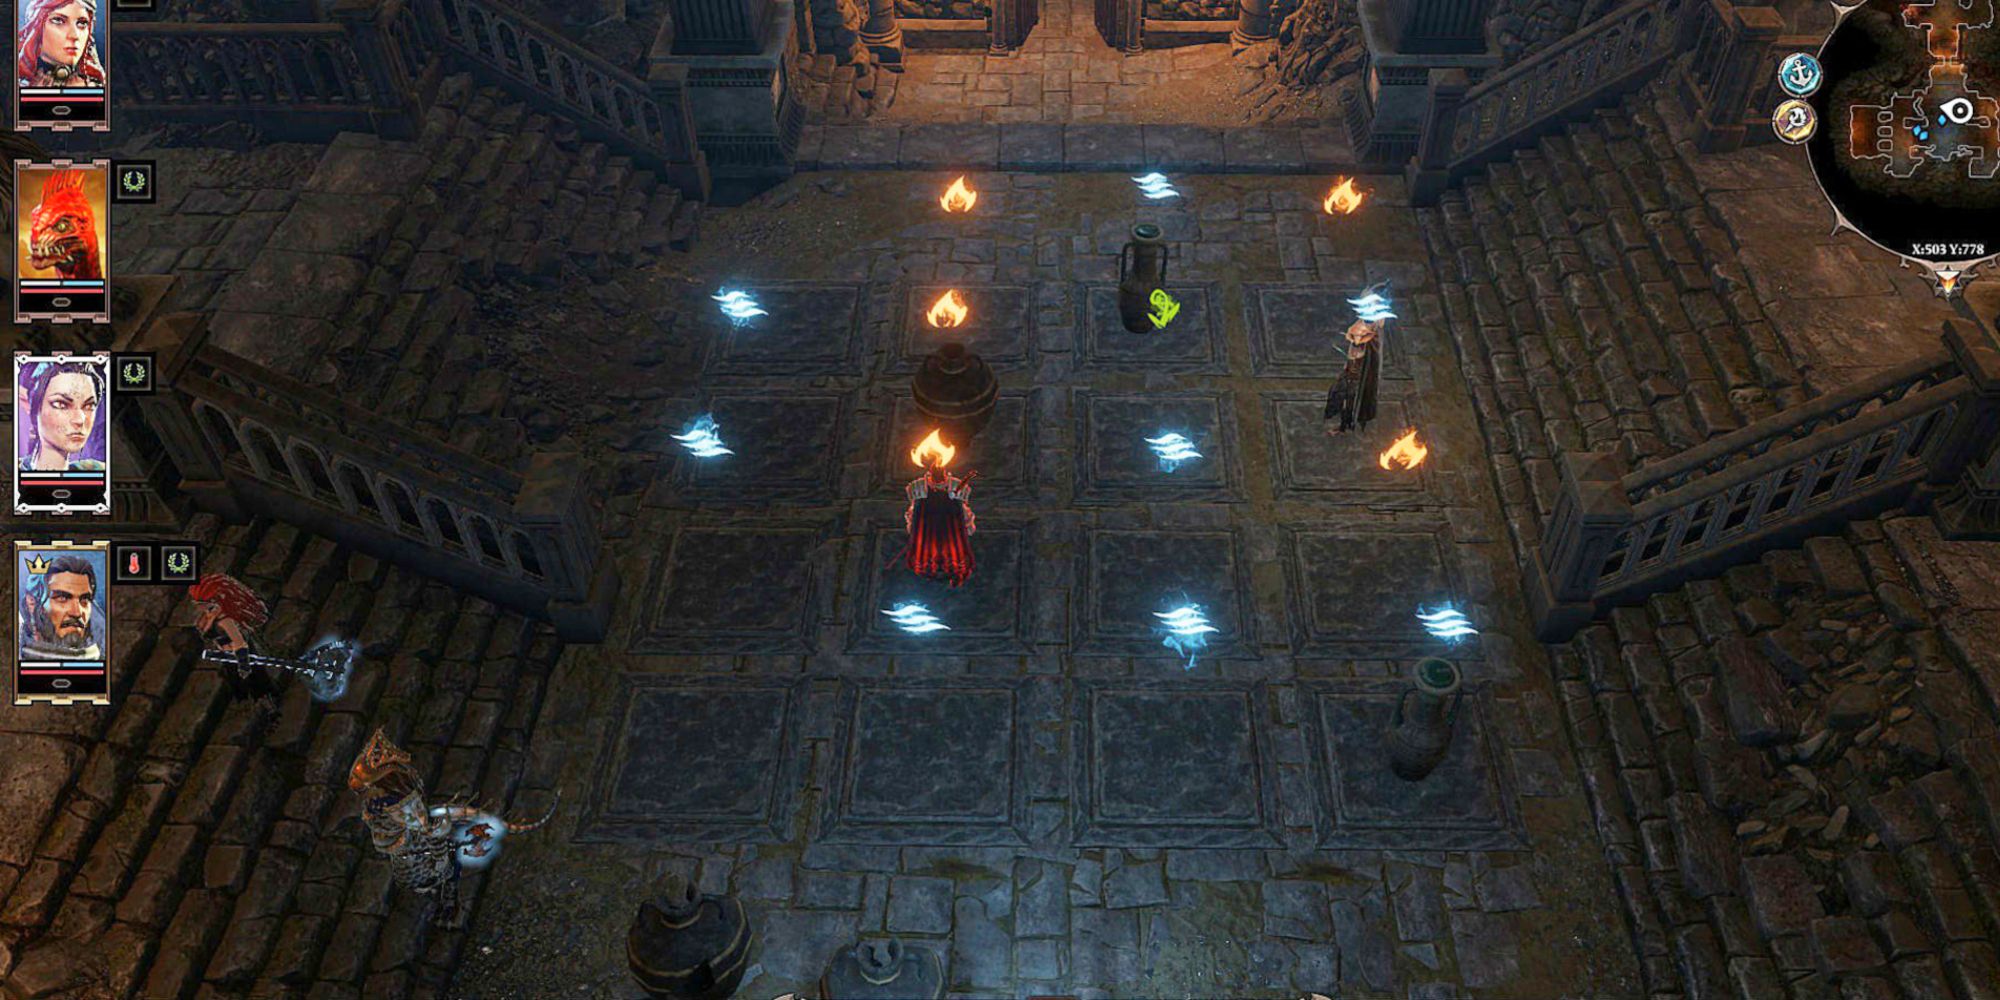
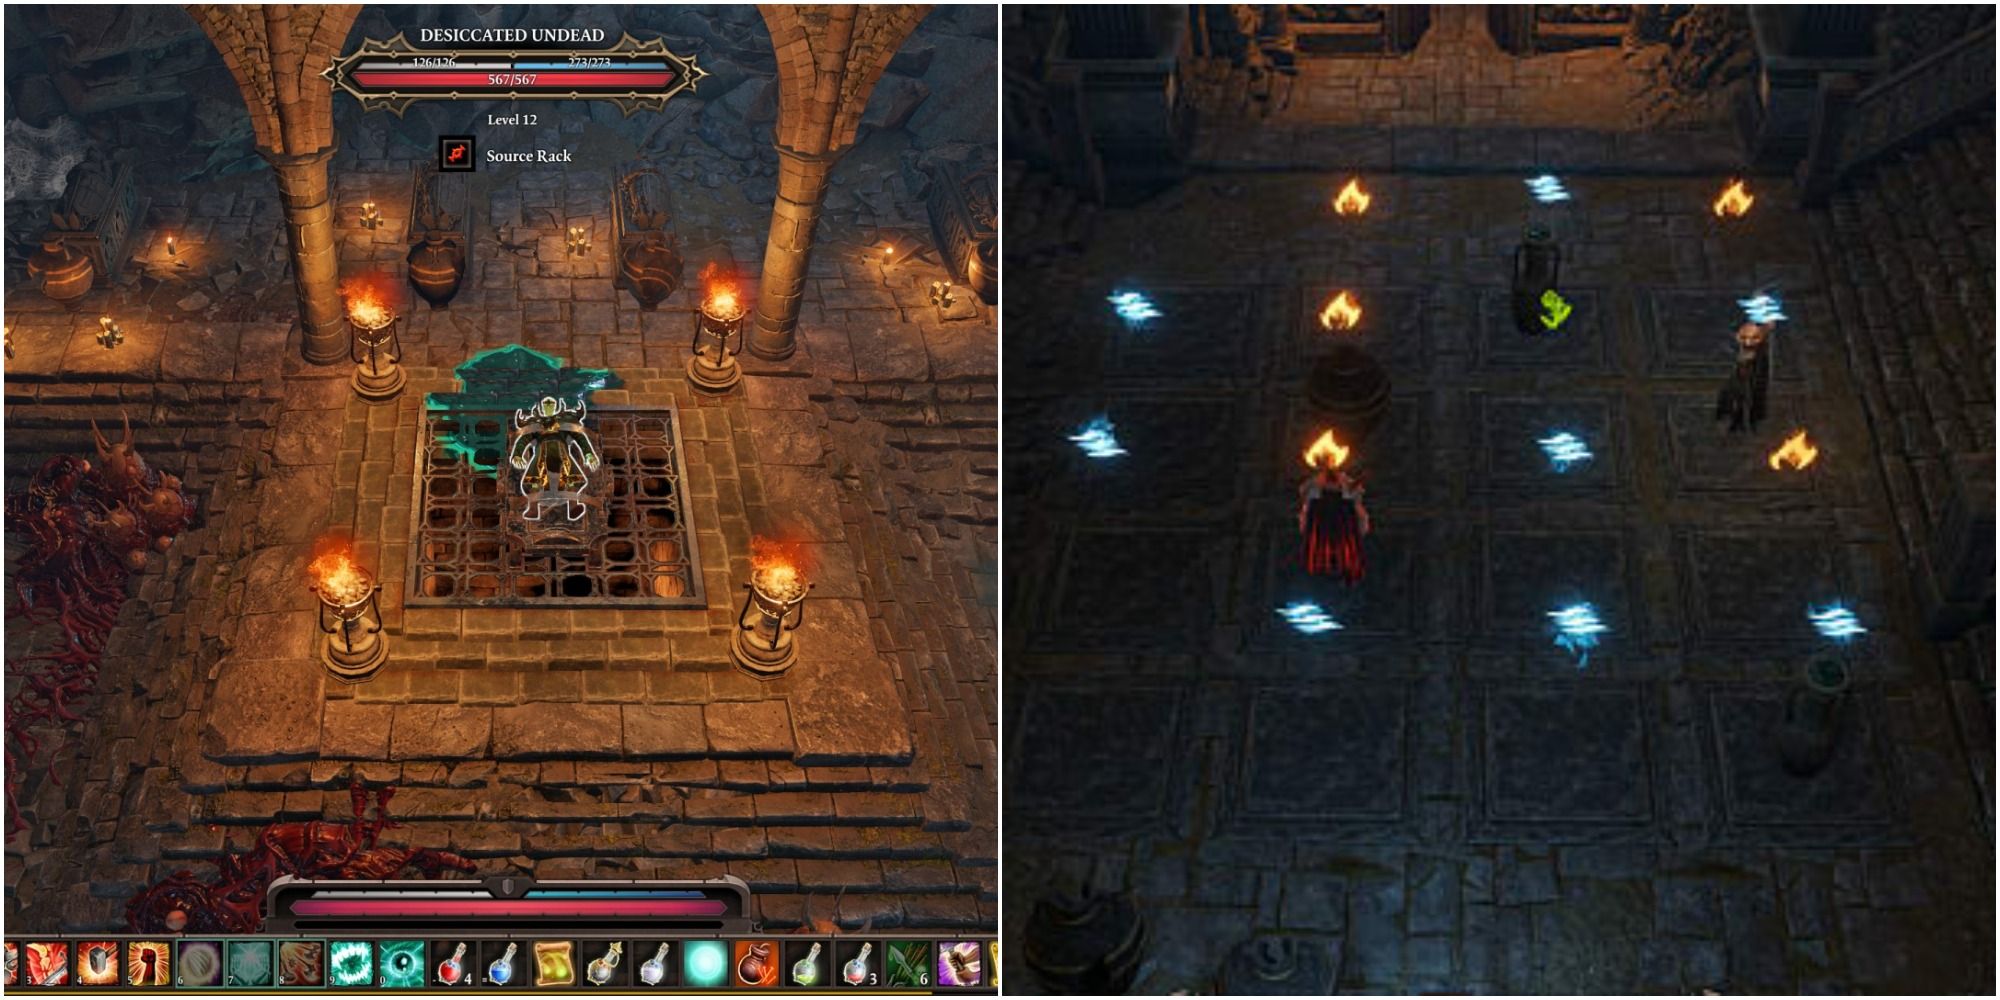
Once the door opens, the Godwoken will come across a puzzle. This method of unlocking the second door requires activating pressure plates, which cause them to light up with certain symbols. Use Spirit Vision to see the puzzle's solution, and play around to discover how the pressure plates trigger each symbol.
Five of these need to be pressed down in order to open the door. Players can refer to the image above to see which plates they need to activate. Use barrels, vases, party members, or even fish to weigh down the plates.
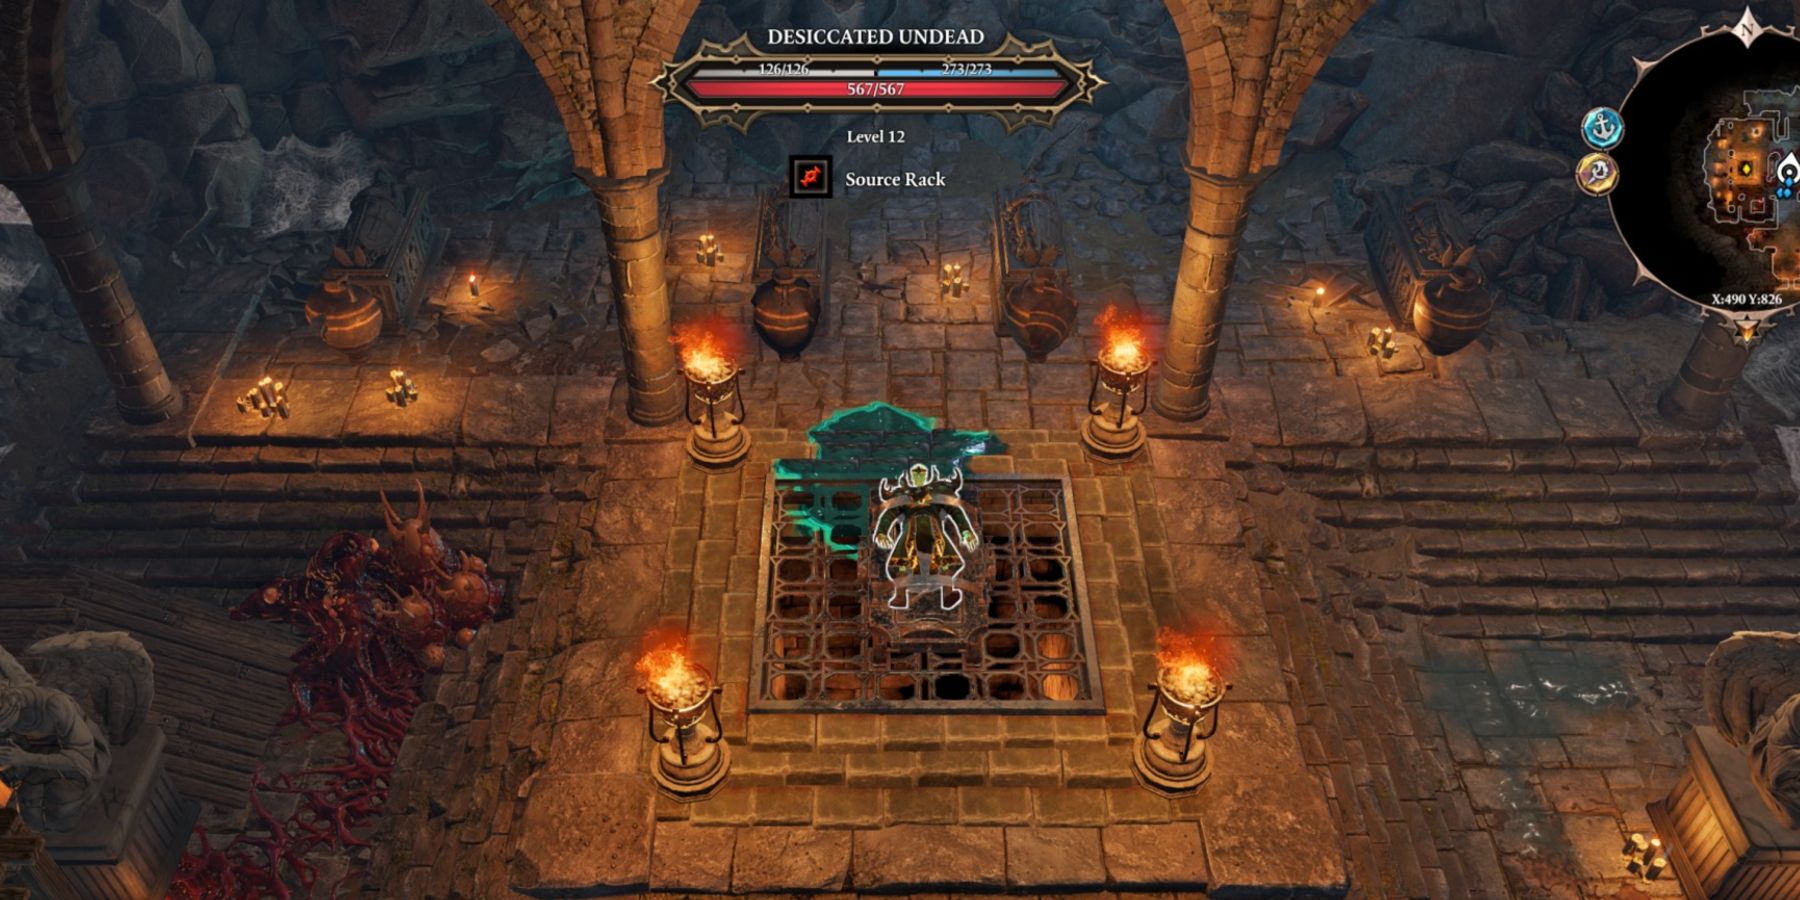
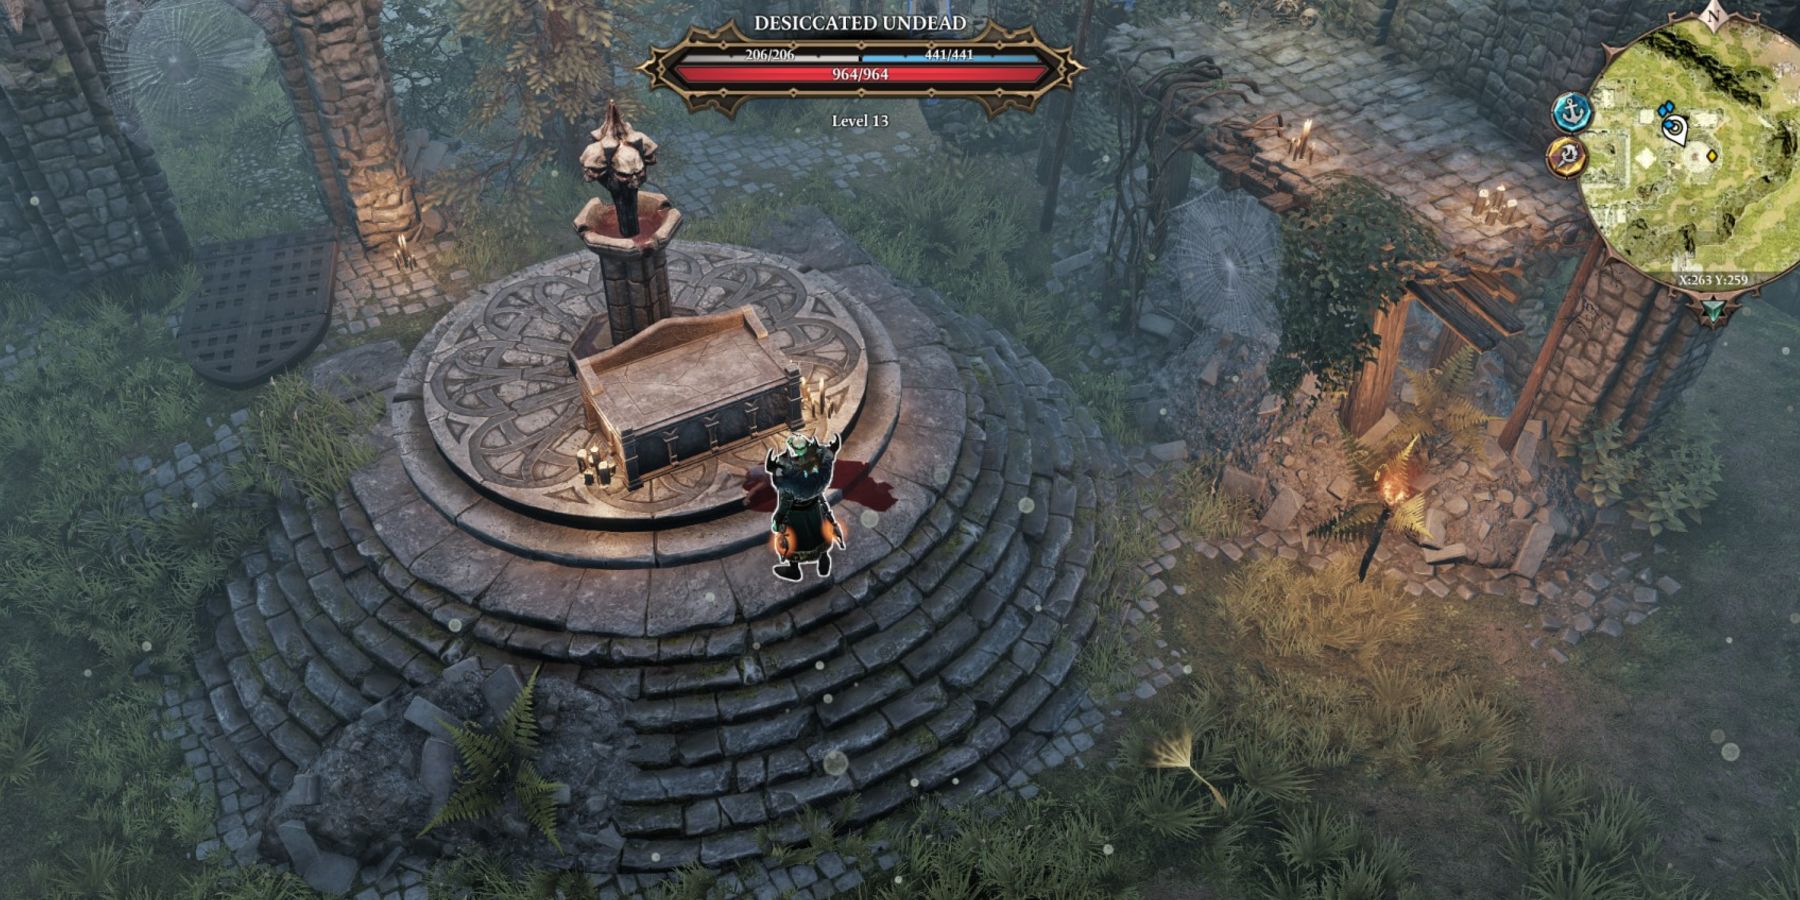
After solving the puzzle, players will make their way into a secret room filled with bizarre experiments. Among these is a Desiccated Undead. Speak to him immediately upon entering Mordus' grotesque laboratory. The creature will explain that he is a lich, and that Mordus has been torturing him by draining him of his Source. He will attempt to bargain with the Godwoken for his freedom.
RELATED: Divinity Original Sin 2: The Best Skills In The Game, Ranked
After exhausting the lich's dialogue, players should turn their attention to a table featuring four buttons:
- Yellow: Turns off the room's braziers.
- Red: Spawns undead hidden within vases in the room, beginning a fight.
- Green: Begins the fight as above, releasing the lich as well. He will fight alongside the player, provided they spoke to him earlier. This button can be pressed at any time after beginning the fight to release the lich.
- Purple: Unlocks the chest right of the table.
Once the fight is over, the freed lich thanks the player for their help and allows them to choose a skill book as a reward, before vanishing. He's gone…for now.
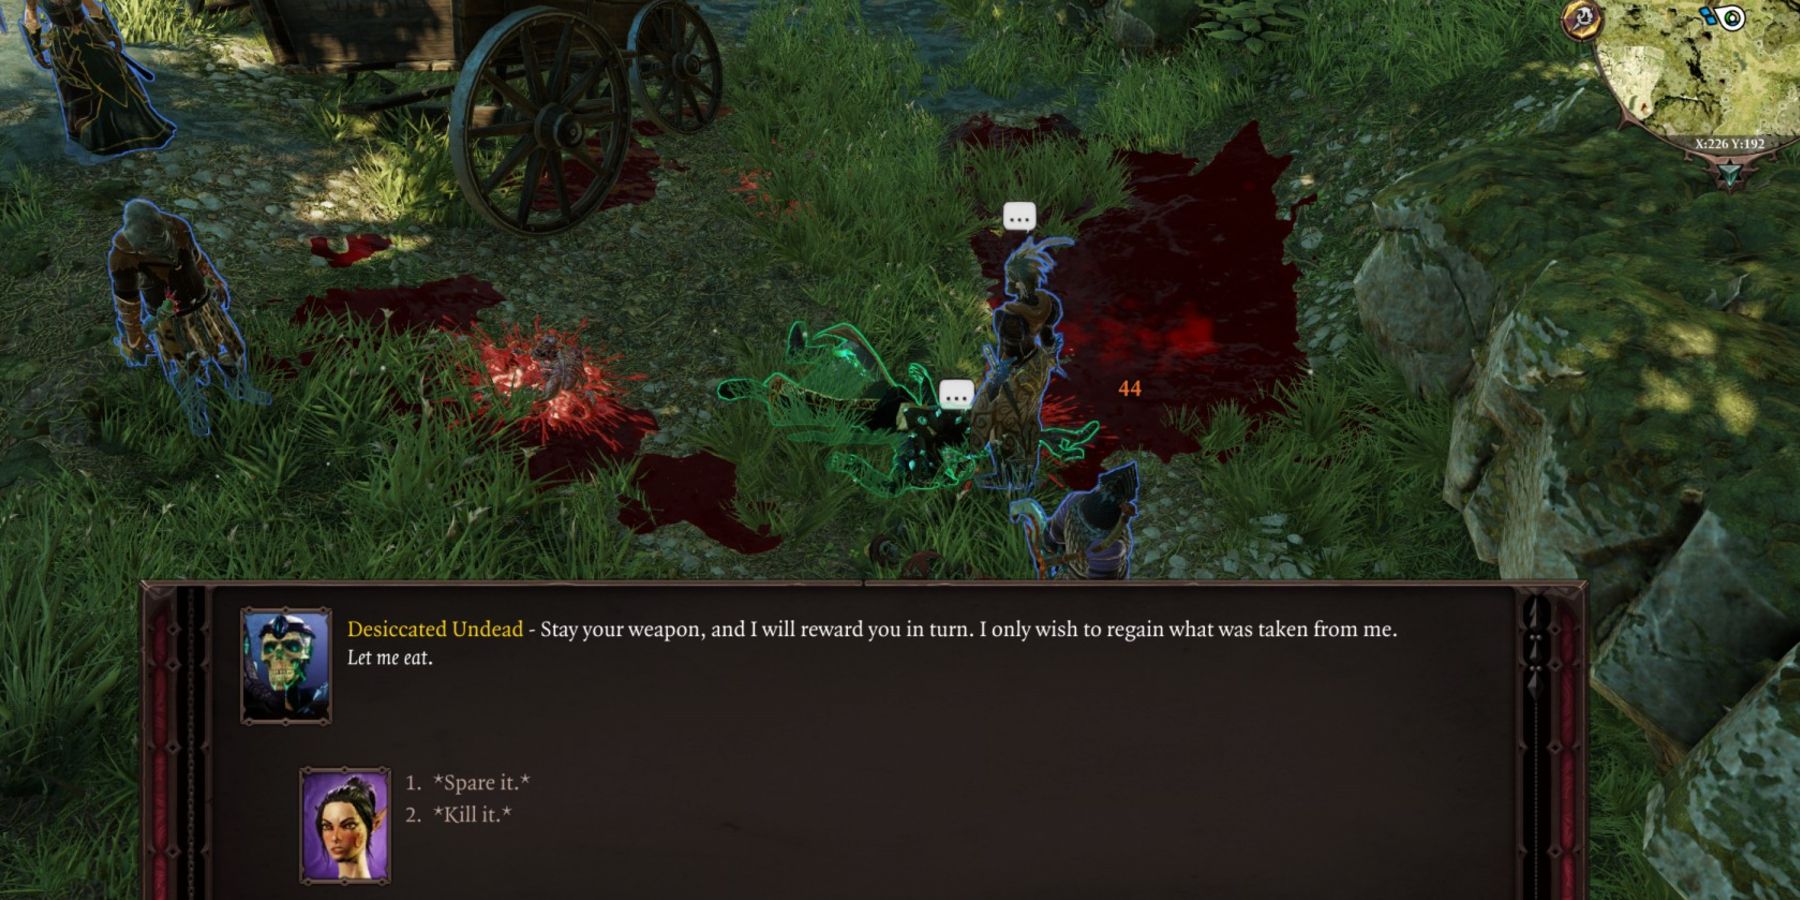
Players will find the first sign of something amiss at Driftwood's western gate. Provided they were not killed earlier, the Magisters and the hounds guarding this gate will be found lying in a pool of blood after the lich escapes. Venture into the Cloisterwood, and players will meet their acquaintance again at coordinates X:224 Y:192.
Predictably, releasing a tormented undead being into the world has had negative consequences. Players will find the lich feasting on the flesh of dead dwarves. A fight will begin, in which the lich summons three skeletons to aid him.
RELATED: Divinity Original Sin 2: Tips To Defeat The Harbinger Of Doom In Act 2
Once the player has defeated the skeletons, the player will once again beg the Godwoken to let him live. The player may choose to kill him and end both his suffering and his torment of others. However, sparing him leads to additional encounters and experience.
If left alive, the lich will begin wandering and feeding from the corpses that surround him. If the player speaks to him, however, they can offer to give him one of their own Source points on the condition that he will not feed on any more innocent beings.
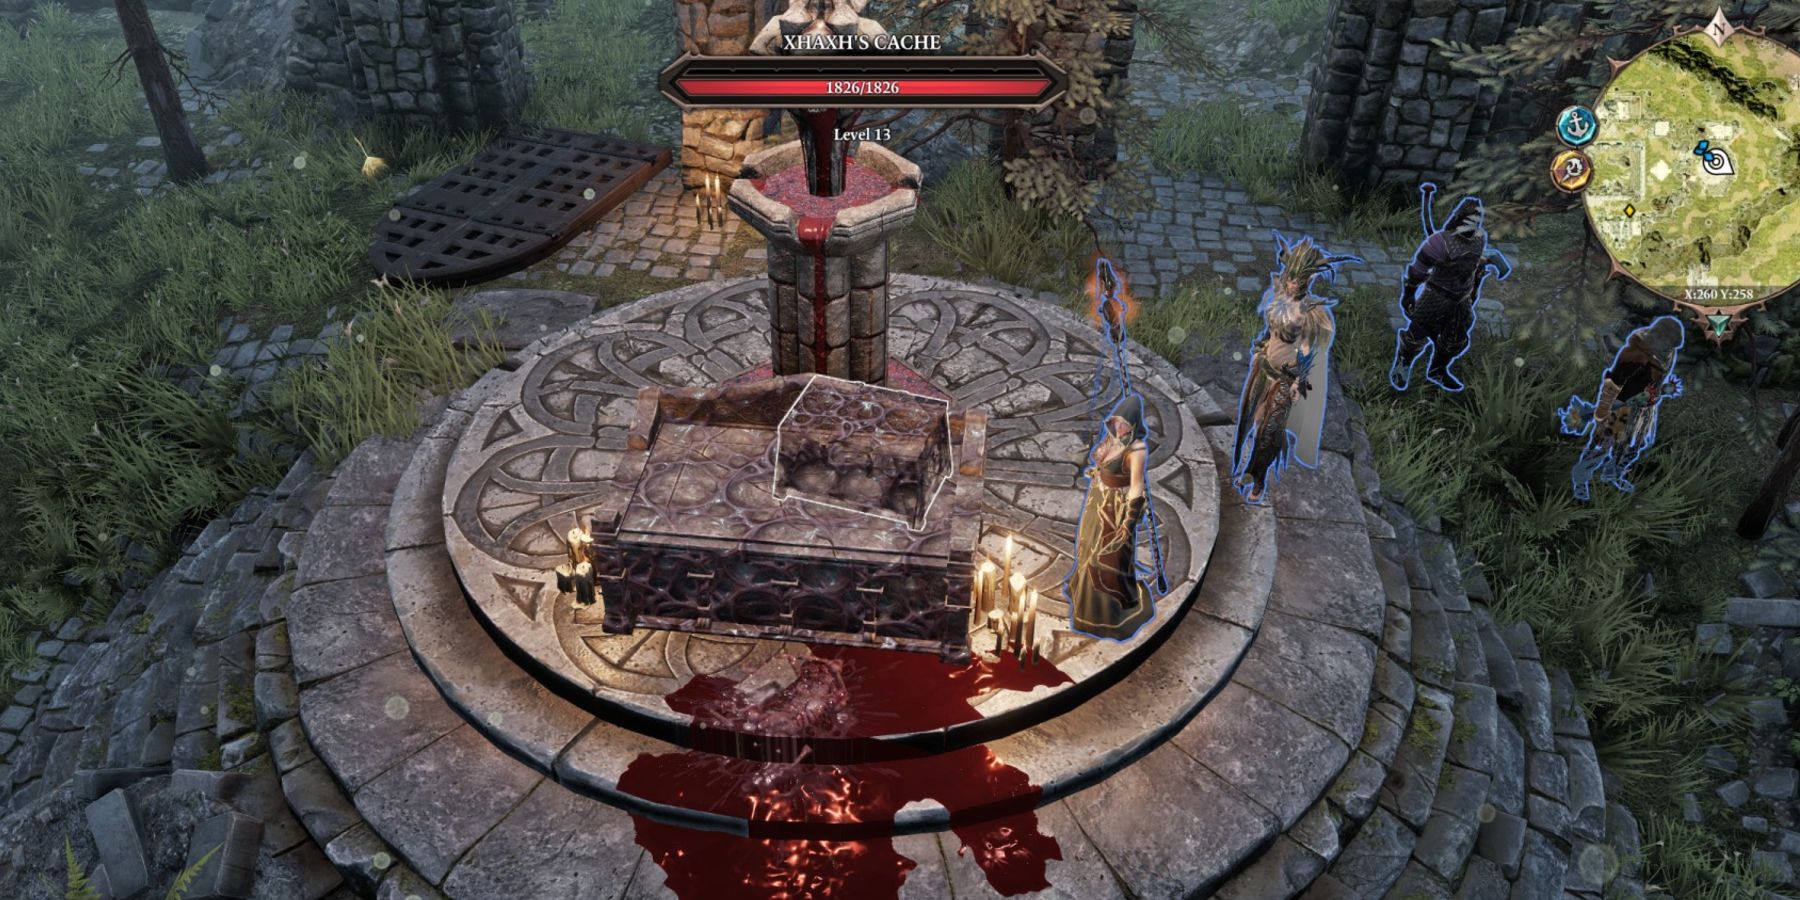
If left alive, the party encounters the lich for a third and final time deeper in the woods, at coordinates X:260 Y:255 near the ruins. Players who offered the lich a source point will find him alone at the altar; meanwhile, those who declined to feed him will see him feeding from a child. In the latter case, players must choose whether to kill him or let him continue his rampage.
If his hunger has been sated, on the other hand, the lich will request a small amount of one party member's blood. He is then able to retrieve his soul jar, and reveals his name as Xhaxh. Xhaxh spawns a chest filled with hefty rewards, after which he vanishes. This closes the quest, leaving players with a decent amount of EXP for their trouble.
Of course, there's always the opportunity to turn on Xhaxh at the last moment. If players still wish to see the lich dead, they can attack him immediately after he spawns the chest, in the moment before he teleports away.
The amount of experience players gain for killing him here is larger than in the earlier encounter, and also results in better loot. If players choose not to fight him, Xhaxh does not appear again throughout the game. It appears his soul is free.
NEXT: Divinity Original Sin 2: Master Tips For Creating Tanks