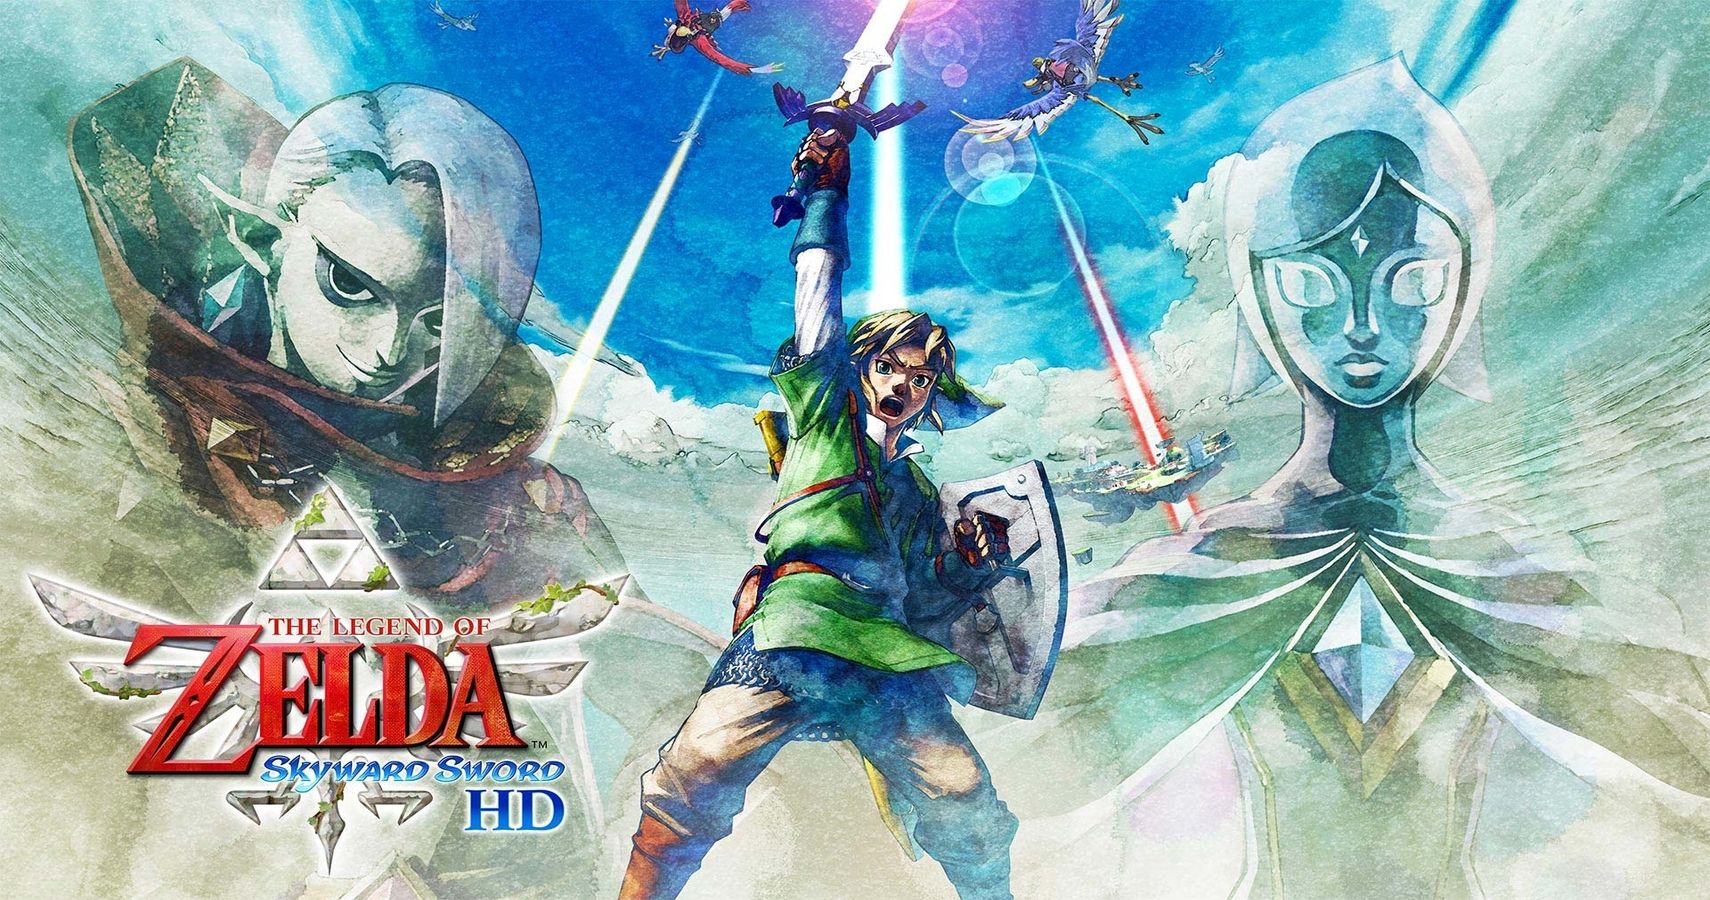
Players agree that one of the most compelling aspects of any adventure game is the Boss Fights and The Legend of Zelda series has a history of some great ones. With the release of Skyward Sword HD this week, it's time to take a look at those Boss Battles.
RELATED: The Hardest Boss Fights In Zelda History, Ranked
Great Boss Battles can make or break a game that is otherwise just mediocre. So, how does Skyward Sword stack up? Read on to find out. Here are all the Boss Battles from Skyward Sword HD, ranked.
8 The Imprisoned
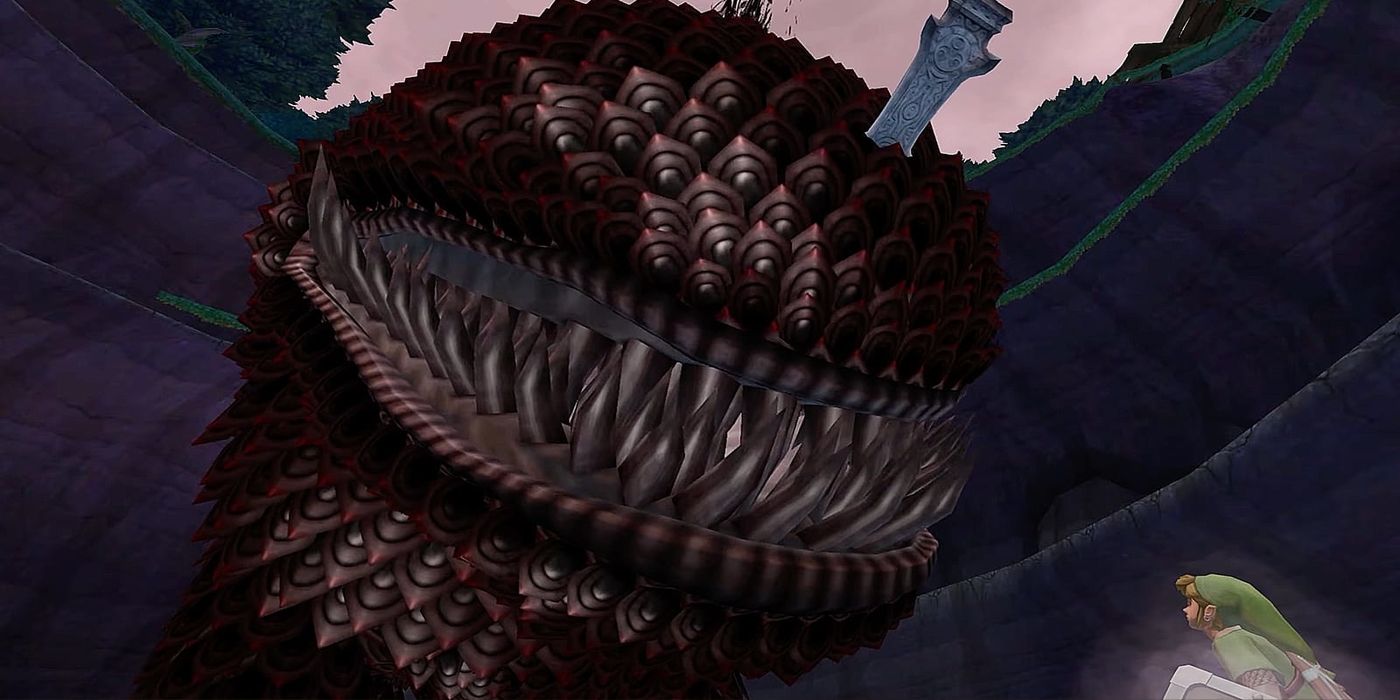
Starting with easily the most infamous boss, we have The Imprisoned. The Imprisoned is fought at the Sealed Grounds and continues escape attempts at various points in the game, and that's the reason why it's ranked lowest on the list, the repetition.
The actual fight with The Imprisoned is just okay. Players either cut off all of the monster's toes or jump down onto its head from a higher ledge and hit it from there. The issue is you have to fight this same boss 3 separate times, and the fights simply don't vary enough to justify the repetition.
7 Tentalus
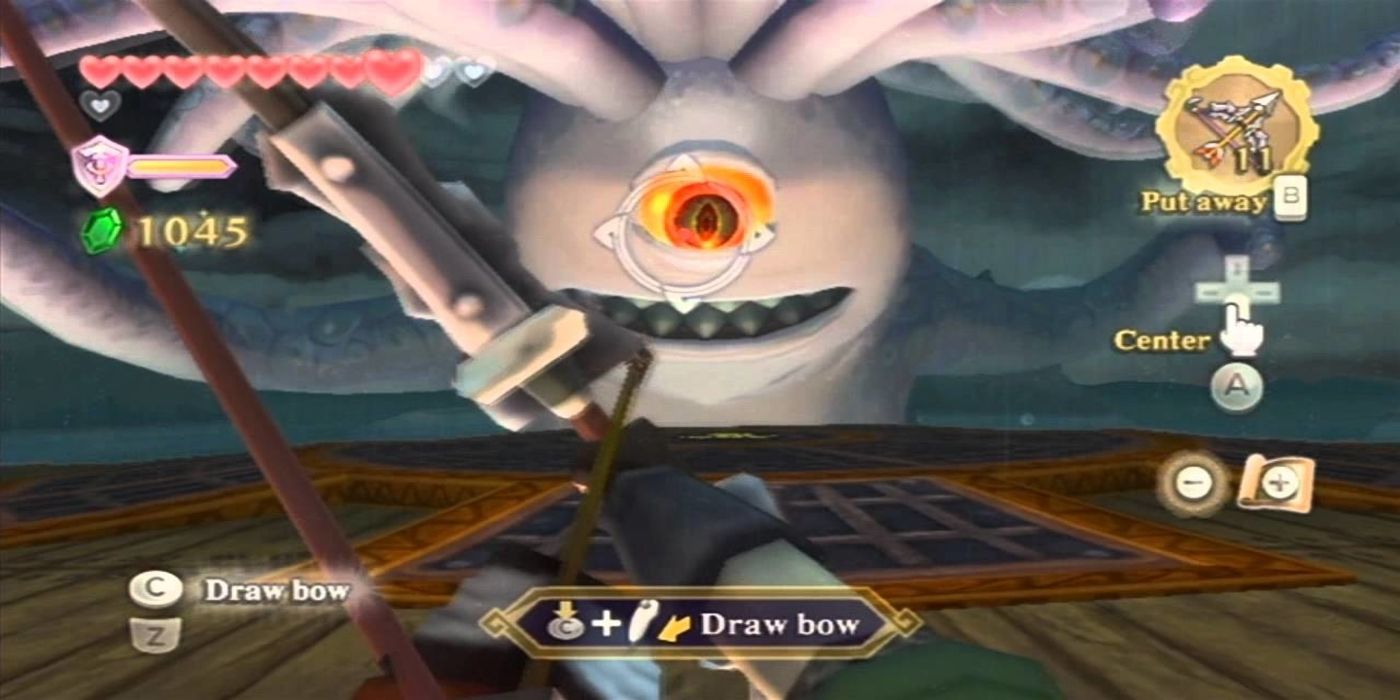
Moving on to a much more enjoyable boss, Tentalus is the boss of the Sandship. This battle has a fantastic buildup. The player has to fight their way to the top deck of the sinking ship just to start the fight.
Once there, the battle with Tentalus begins. Players must use the Skyward Strike to cut tentacles as they appear and Tentalus will eventually emerge from the depths. From there it's a matter of fending off its serpent hair while shooting the monster eye and then charging in for the kill. Things get more complicated as Tentalus begins destroying parts of the deck along the way.
6 Levias and Bilocyte
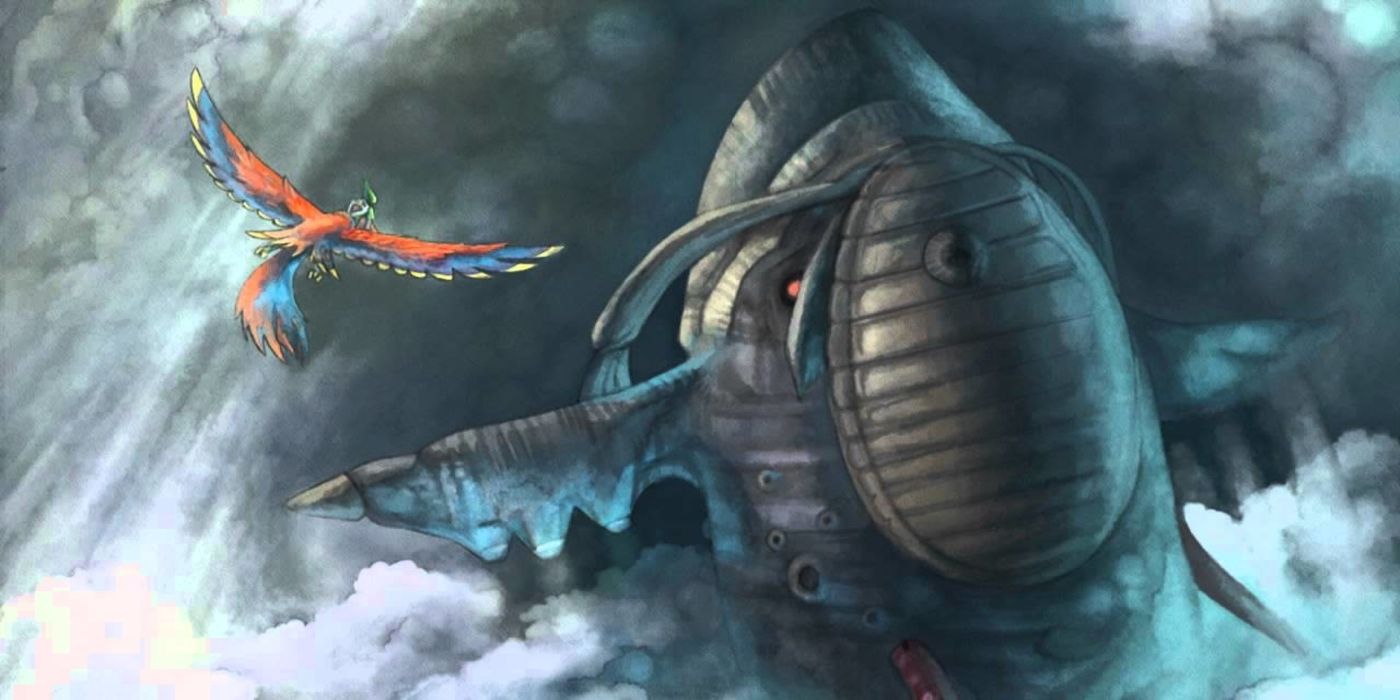
These two are being conflated into one, as Biloctye is a second phase for Levias. It's a unique battle as it is fought in the sky adding the extra challenge of not falling off. Levias is fought using the Loftwing and its brand new Spiral Charge ability, where you must spin into the various eyes coming out of Levias with good timing to destroy them.
The real meat of this battle comes from the second phase, in the form of Bilocyte. This part uses the classic "Dead Man's Volley" style of gameplay with plenty of other bosses in the Zelda series feature. However, this is easily one of the best portrayals of it you'll see. This boss requires you to hit the sides of it first before attacking the center, making it completely necessary that you pay attention to what parts of the boss you've hit and which ones you haven't. This was a great way of expanding on this style of Boss without overhauling it completely.
5 Scaldera
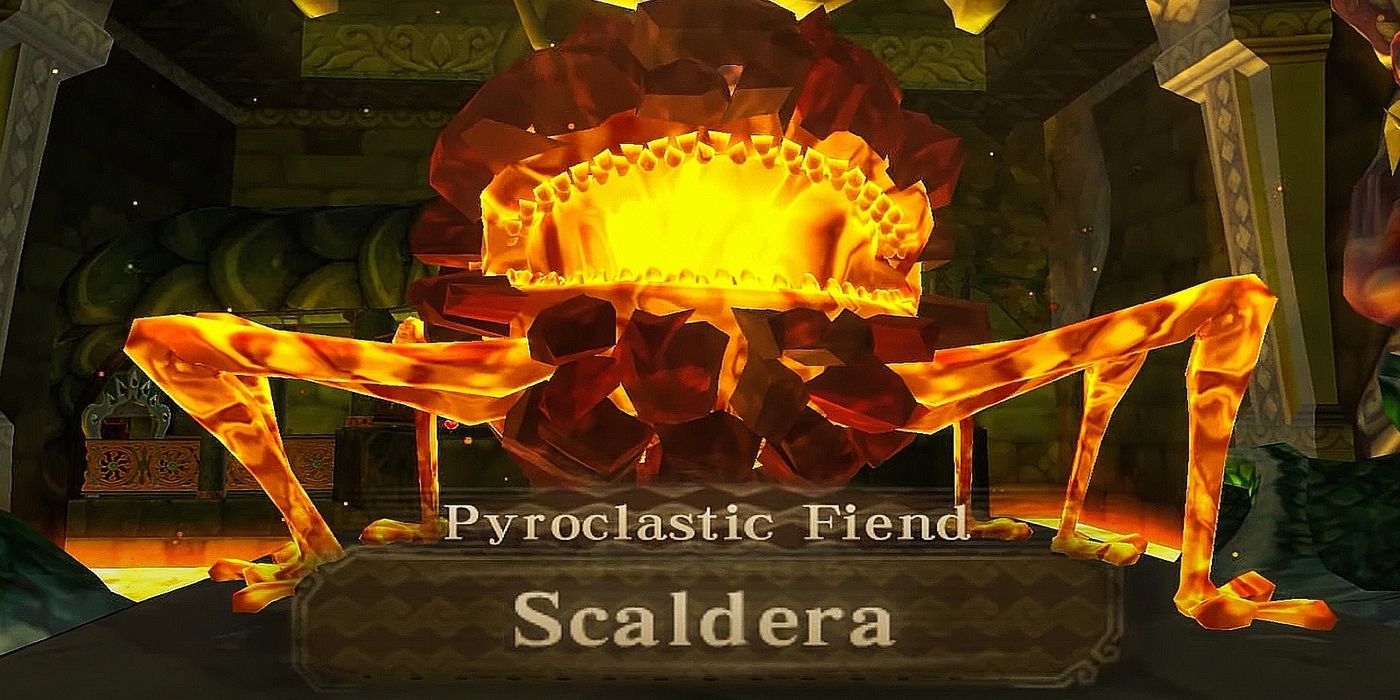
Scaldera is the second boss of the game, fought at the end of the Earth Temple. The battle begins with Scaldera chasing Link to the top of the arena. There it is fought off by throwing bombs in its face and sending it a rolling back down.
RELATED: The Legend Of Zelda: 10 Best Dungeons Ranked
From there, it's the classic throw-bomb-in-mouth-during-inhale move. And then striking the monster's eye. While Scaldera is a classic "rinse and repeat" battle, it's still quite enjoyable.
4 Moldarach
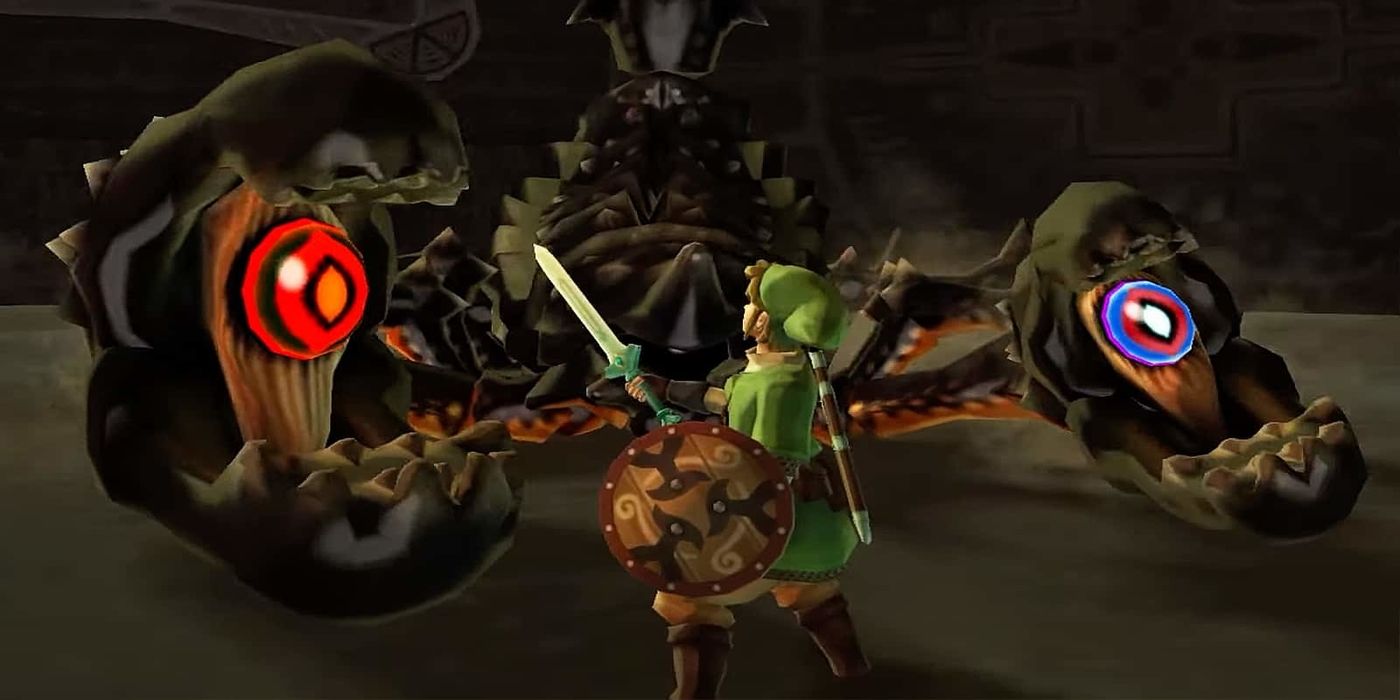
Moldarach is the boss of the Lanaryu Mining Facility and is later encountered at the Lanayru Shipyard. The player must pay attention to the angle at which Moldarach holds its pincers which gives away the angle they need to swing in to hit it. Moldarach will attempt to grab Link while this is happening, which can be dodged with a backflip. The Slingshot can also be used to stun it by shooting the pincers' eyes.
After both pincers have been broken, Moldarach's central eye will become vulnerable, but it will dig deep into the sand. Link must chase it down with the Gust Bellows to force it back to the surface where it will attack with its stinger. During the wind up of this attack, hit it with either a thrust or a spin attack to deal damage.
3 Demise
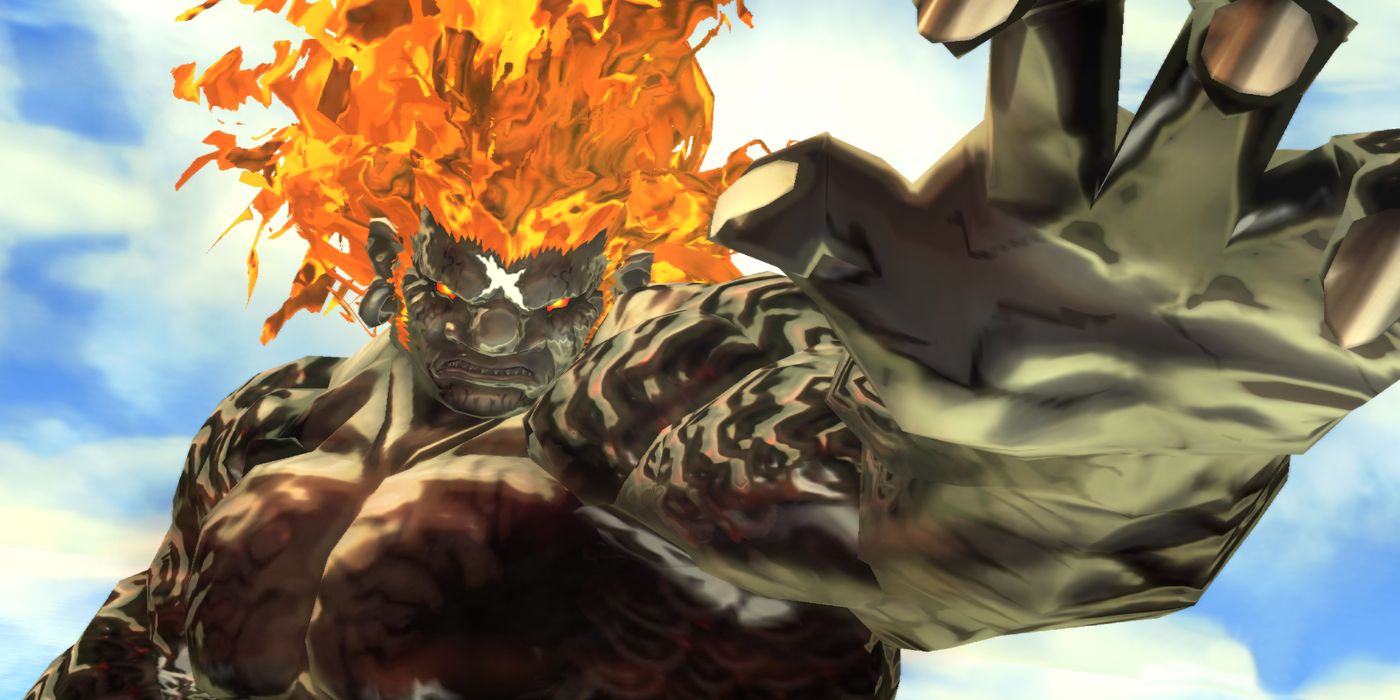
The Demise's arena is beautiful. It starts as a lovely and tranquil sky but turns into this intense yet wonderful-looking thunderstorm during the second half of the battle. The battle is this game's motion control combat taken to its natural extreme. Demise blocks fast moves and attacks fast. He will block just about every attack and his guard can be very difficult to break. Link can fight back with well-timed shield attacks, spin attacks, and basic slashes.
RELATED: The Legend of Zelda: The Best Final Boss Fights (And The Worst)
The second half of the fight is more or less the first half with a higher difficultly and the addition of Skyward Strikes. The player must now factor in charging and throwing a Skyward Strike to deal damage. Demise will fall to the ground when he's taken enough damage, where a lightning-charged fatal blow must be used to finish him off. All of this combines to make Demise one of the best final bosses in the series.
2 Ghirahim
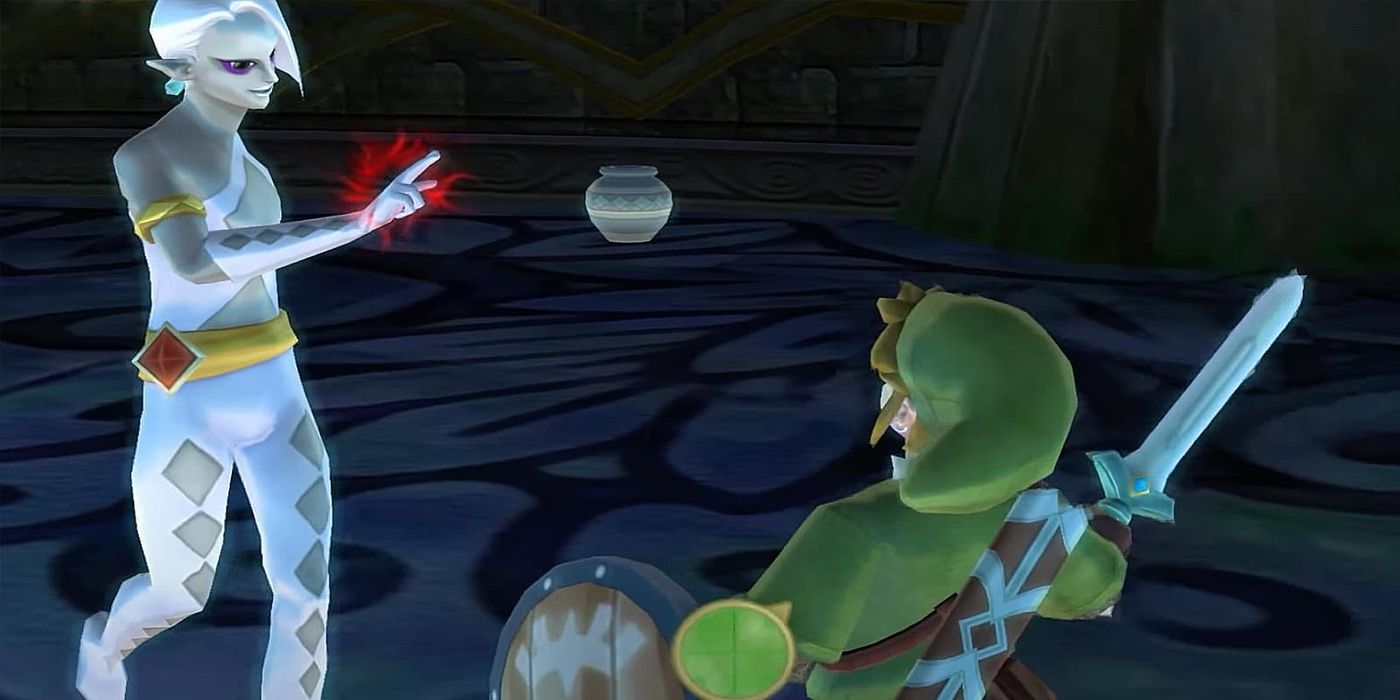
Here we have the 3 battles with the Demon Lord himself, Ghirahim. Every fight with Ghirahim is fantastic. The first 2 battles have Link tricking him into moving his hand in the direction he is going to slash in, rather than the one he's currently showing. Ghirahim gets more crafty the more damage he takes, as his hand will do a better job of mimicking Link later in the battle. After enough damage, he will then switch to a much more traditional Zelda boss style, with sword-on-sword-based combat. Ghirahim has a surprising number of attacks in this phase, from warping behind Link to a strong charging move.
The third Ghirahim fight begins on a series of platforms far above the ground. Link must knock him off of each level with precise sword swings and damage him with fatal blows. He will switch to the traditional sword combat seen in the first 2 battles, adding energy strike attacks that must be reflected with your own Skyward Strikes, and a stipulation that only the jewel on his chest is vulnerable, which can only be hit with thrusts. Ghirahim will later pull out a larger sword that must be chiseled away piece by piece by consistently slashing to reveal his weak spot before Link can strike.
1 Koloktos

Koloktos is an incredible end to an outstanding dungeon in the Ancient Cistern. To begin the battle, Koloktos is stuck in the center of the arena, slamming down one of its many arms in an attempt to smash Link. It will also throw blades that must be dodged or blocked with the shield. Luckily, the player can pull these arms apart with the Whip, stopping Koloktos from blocking its weak point.
After taking damage, Koloktos will repair itself and close off its weak point with a gate It then gains a new set of legs, extra arms, and giant swords. Now mobile, Koloktos will chase Link around the arena, as well as summon some Cursed Bokoblins to get in the way. It will eventually slam its arms into the ground, where the Whip can be used once more. This time when the arms are dismantled, Link can pick up Koloktos' own swords and use them against him. In short, everything about the Koloktos fight is spectacular.

