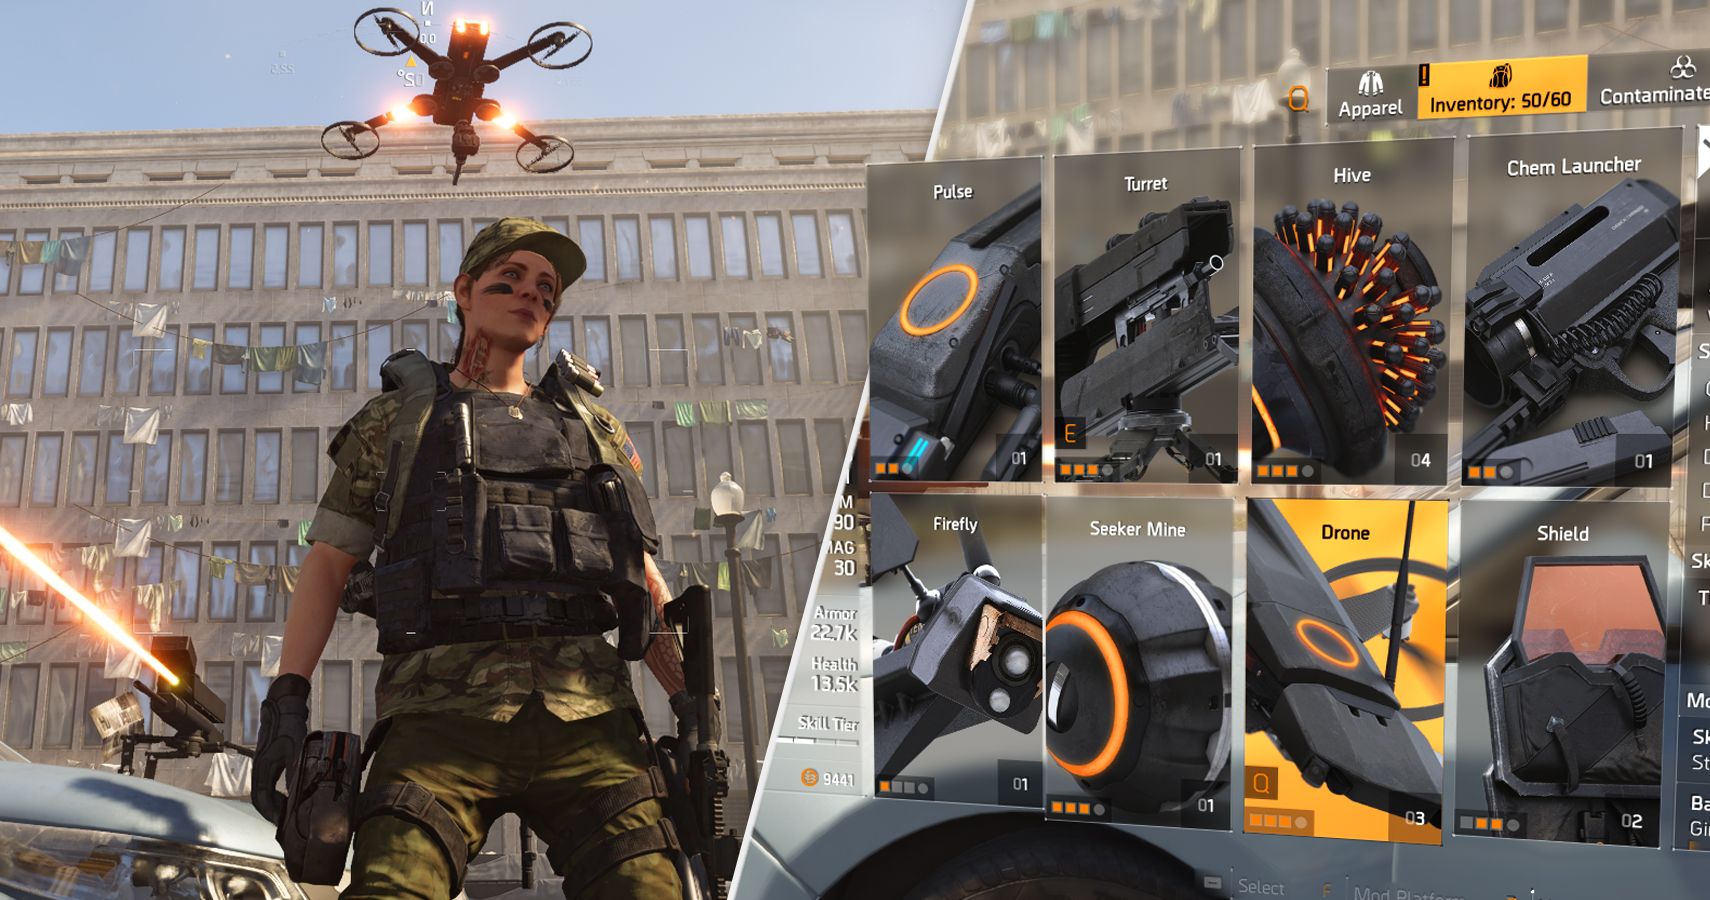
The Division 2 is a tactical looter-shooter RPG that endows players with dozens of different skills. These skills come in the form of tools – military-grade equipment, with each piece having its own use on the battlefield. Players can choose to run any pair of tools from a selection of 33 complex gadgets. Each of these gadgets, with their own function, can aid a team or harass the enemy. When paired with one another, that's where these tools really shine.
RELATED: The Division 2: Pro Tips For Beginners
Some skills, due to their versatility, will show up multiple times on this list of useful skill combos. Take note, however, that these possibilities are not the end-all-be-all. These entries can still be modified to fine-tune to the player's unique approaches. With that said, here are 10 useful skill combos in The Division 2.
Updated July 16, 2021 by Rhenn Taguiam: In The Division 2, players once again take the mantle of The Division Agents in an effort to save Washington DC. Compared to the first game, The Division 2 offers higher stakes as Agents face badder threats, deadlier weapons, and larger conspiracies than they could imagine. Thankfully, Agents can become one of multiple Specializations, and have a wide range of Skills to personalize their playstyle and approach to combat. For players who want to maximize their experience, what blend of Skills should they use to capitalize on their contribution to the fight?
15 Scanner Pulse & Riot Foam Chem Launcher
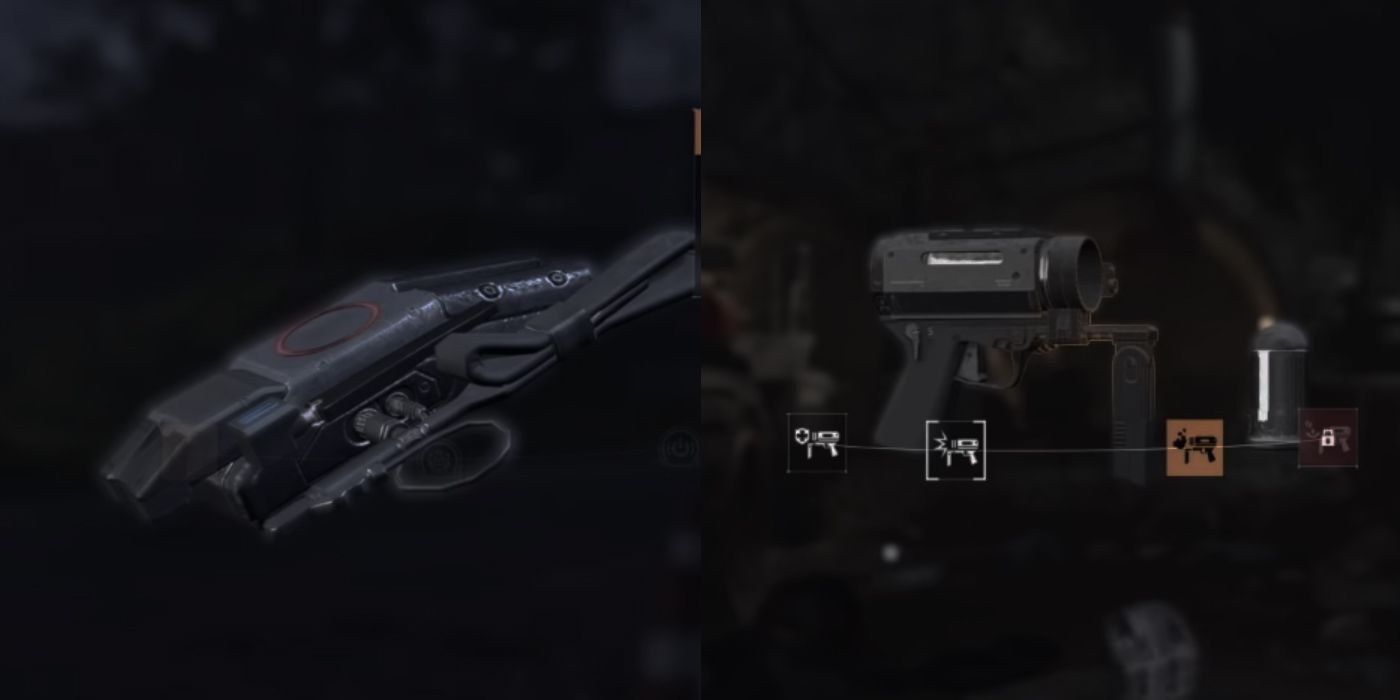
Operatives in any firefight know that staying put is a death sentence, especially when opponents know exactly where they are. Players can transform this fact into an advantage, as stunning enemies in place can help them eliminate them much faster compared to a mobile engagement.
To do this, Agents under heavy fire can use the Riot Foam Chem Launcher to envelop an area with sticky foam. Enemies in the area are Ensnared for a duration, unable to attack. With the Scanner Pulse, players can see enemies scanned in their HUD so they know precisely where to fire. This Skill combination works well for glass cannon builds, as players can capitalize on weapon damage without risking survivability.
14 Cluster Seeker Mine & Artillery Turret
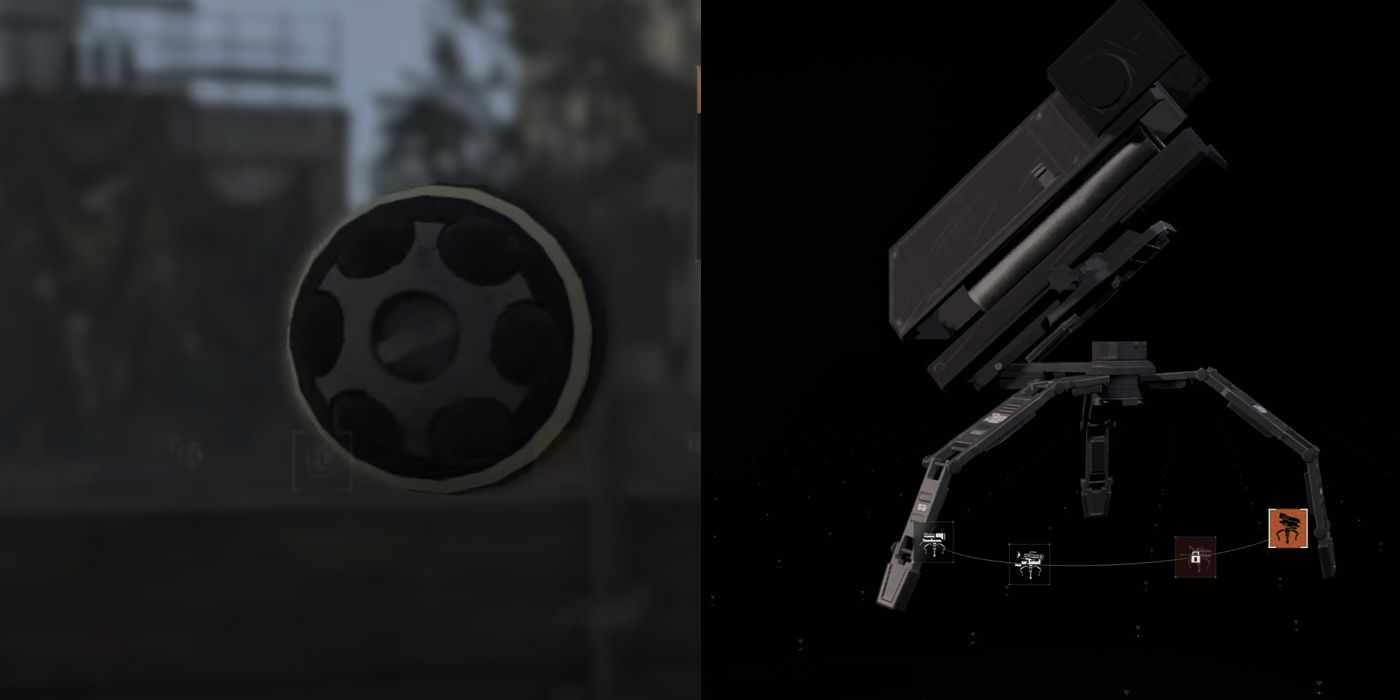
Demolitionists specialize in wreaking as much chaos as possible to disorient enemies. With the right combination of ordinances, a Demolitionist can obliterate swaths of enemy forces alongside heavily-armored Elites. Once a Demolitionist spots a group of enemies, they should get into a defensive position to prepare their loadout.
Firstly, Demolitionists should deploy their exclusive Artillery Turret to force enemies to a certain location. With foes confined to a particular space, players should spam Seeker Mines that automatically find their targets. The resulting kills should help Demolitionists restock on their Grenade Launcher ammo, allowing them to take on the armor of Elite enemies that might come for backup.
13 Mender Seeker Mine & Reviver Hive
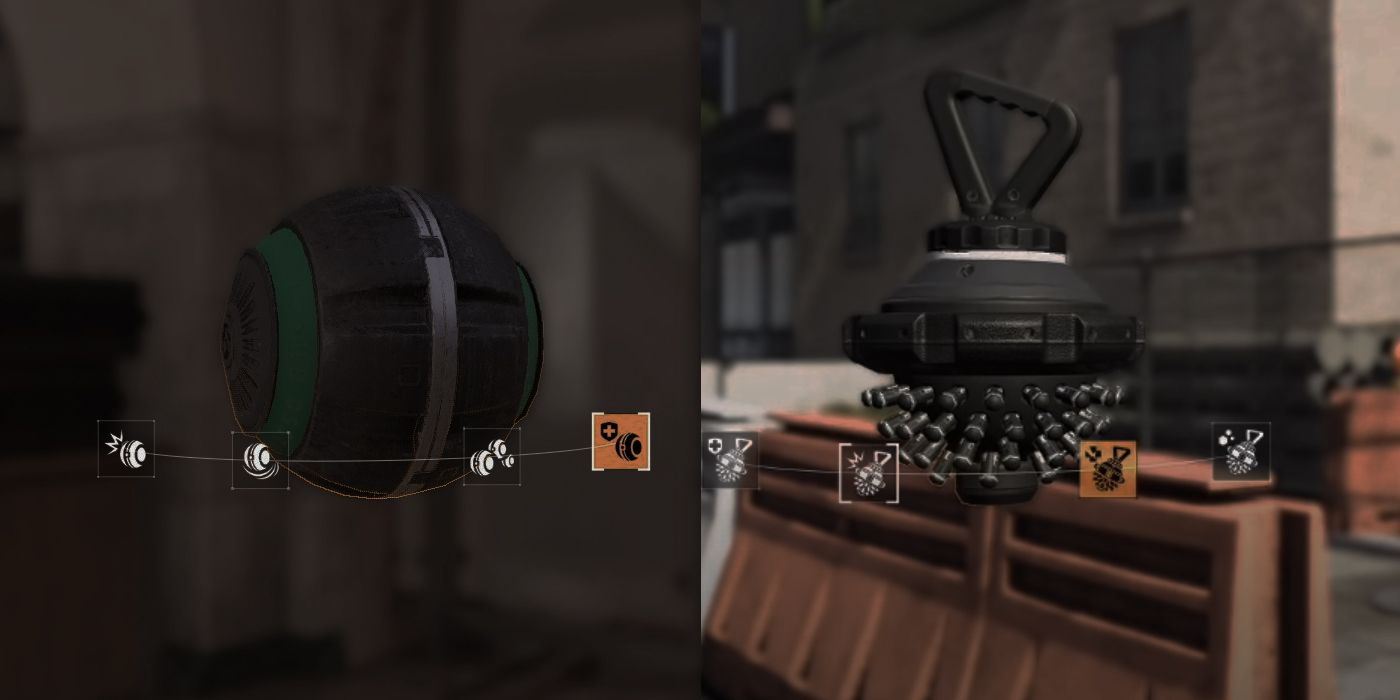
Survivalists have the tough job of keeping everyone in the fireteam alive – which isn’t easy, considering they always end up under heavy fire. To capitalize on their support potential, Survivalists can rely on the Mender Seeker Mine and Reviver Hive to keep allies on tip-top shape.
If the squad ends up in a firefight, a Survivalist needs to keep an eye on cover as soon as possible. Injured allies should always get a Mender Seeker Mine, while downed allies should get the Reviver Hive. This will force Survivalists to pay more attention to squad health more than enemies, though. To pull this combination successfully, Survivalists need reliable teammates to cover them while they zoom in for the heal.
12 Riot Foam Chem Launcher & Mender Seeker Mine
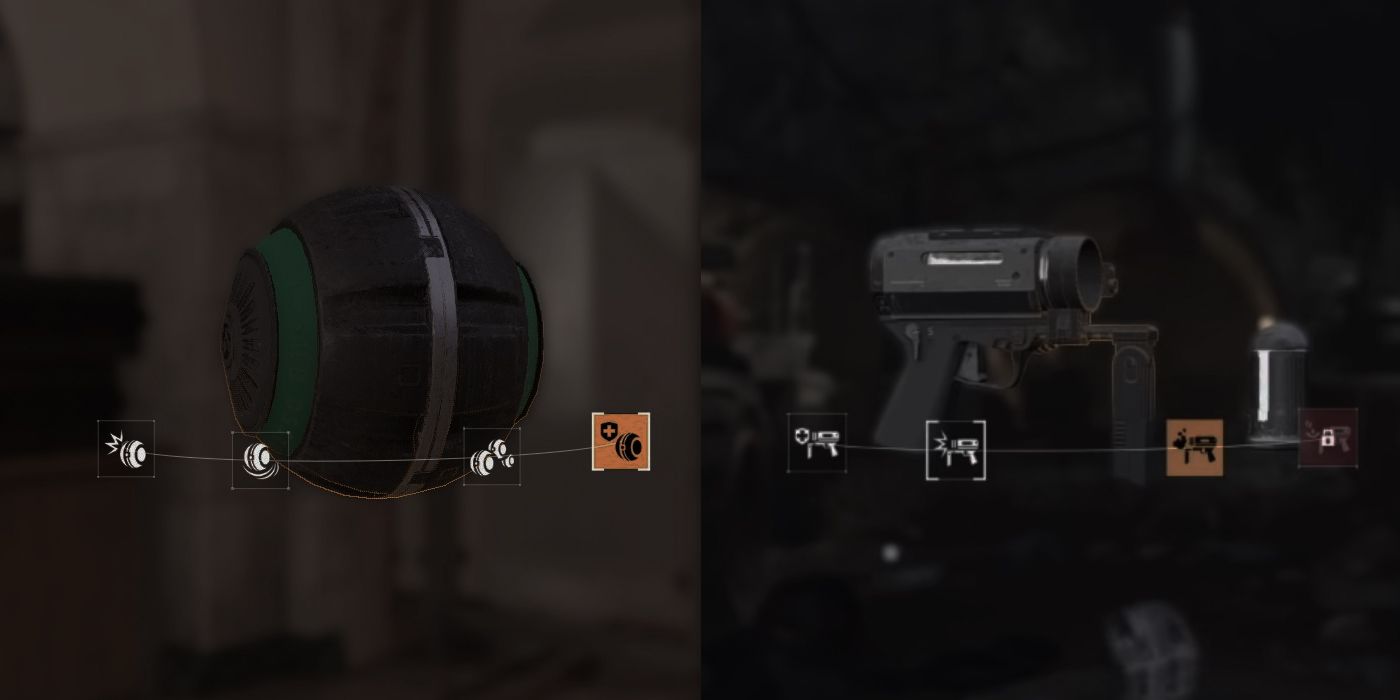
Just because an Agent is a Survivalist doesn’t mean they should focus on healing. With the right combination of Skills, a Survivalist can control the flow of battle. When under heavy fire, the Survivalist can use the Riot Foam Chem Launcher to Ensnare enemies with sticky foam. This tactic should give allies more than enough time to eliminate foes, retreat for cover, or set up a counter-attack.
For the Survivalist, Ensnaring enemies with the Riot Foam will give them enough time to dish out their Mender Seeker Mines. Since these Seeker Mines automatically find nearby allies to heal, Survivalists can provide the necessary covering fire while they dash and heal one ally after the other.
11 Reinforcer Chem Launcher & Booster Hive
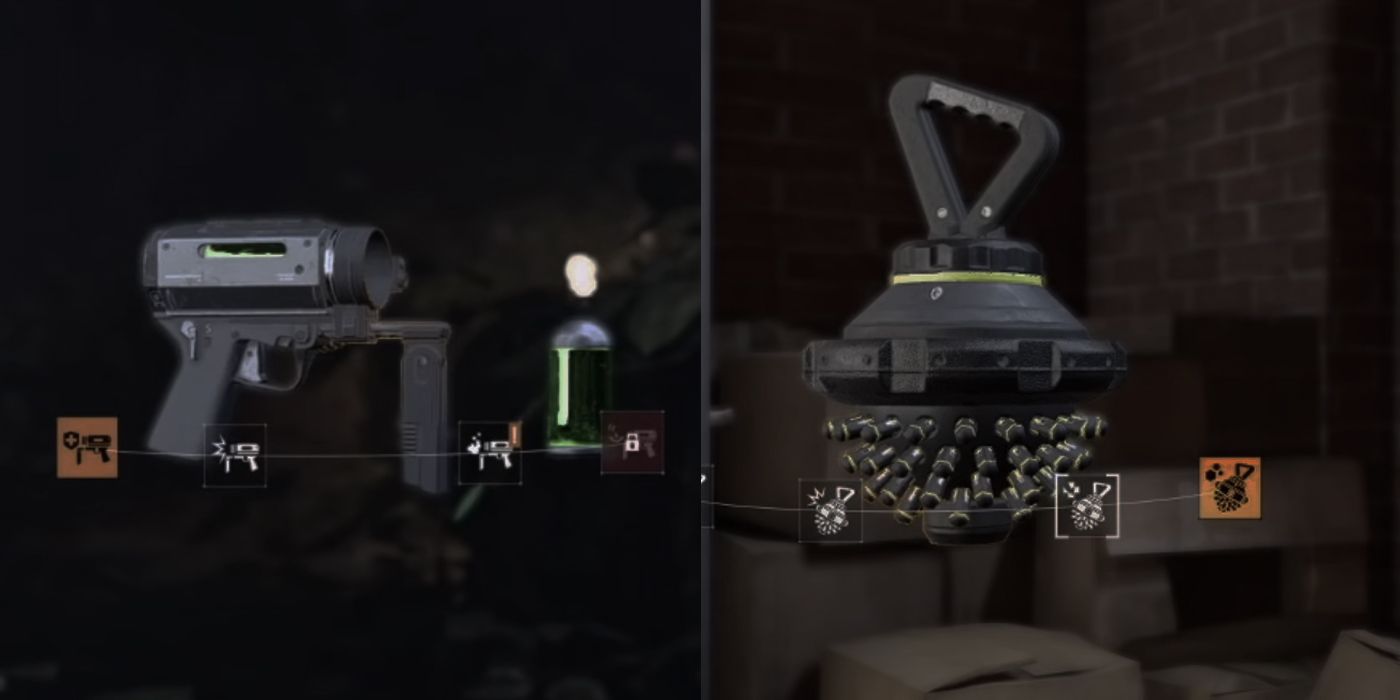
As the popular adage goes: no risk, no reward. Players who want to capitalize on their damage as much as possible could rely on the combination of the Reinforcer Chem Launcher and the Booster Hive. The buffs they provide should get the team back in tip-top shape, with a bonus boost in firepower useful for that “final push” against enemy forces.
RELATED: Division 2: Things You Didn't Know About The Hyenas
Agents could maximize this combination as Survivalists or Sharpshooters, depending on their preferred weapon specializations. When deployed as a Sharpshooter, players can get a tremendous boost to their reload speed and headshot damage. With the alternate Survivalist, players can dish out more damage with their Assault Rifles.
10 Pulse Scanner & Reviver Hive
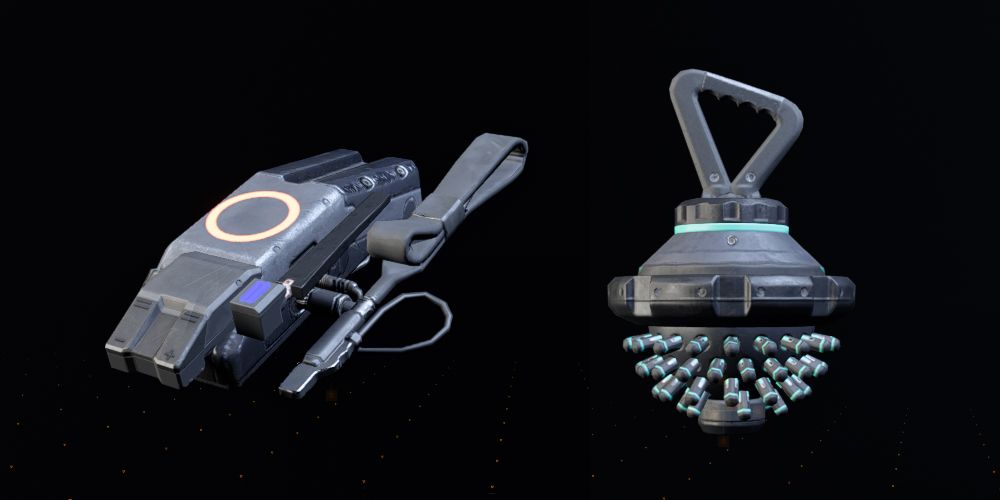
The scanner variant of the pulse skill works like Eagle Vision in Assassin's Creed. It pulses out and scans the area for enemies, tagging them on the player's hud. This allows the player to be immediately aware of all nearby threats and plan accordingly.
The reviver variant of the hive, on the other hand, revives all downed allies in an area. But what really makes it a useful tool is that it auto-deploys when the player dies, immediately giving them a second chance. Pairing these two together gives the player a huge upper hand in battle since 1) they would know where all nearby enemies are, and 2) they can jump back up from a downed state, allowing for a more aggressive play.
9 Jammer Scanner & Reinforcer Chem Launcher
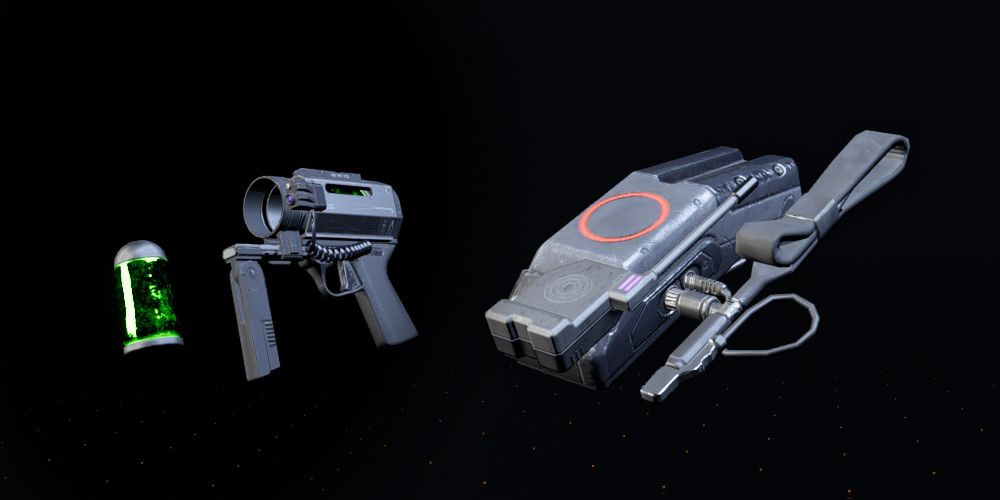
The jammer variant of the pulse skill is the scanner variant's evil brother. Instead of scanning for enemies, it pulses outwards and disrupts all comms and electronics in the area. It also destroys those pesky RC car explosives. It's most important feature is that it stuns enemies in a wide radius for a brief moment. This allows the user's team to catch their breath and get the upper hand on the disoriented enemy team.
An effective skill to pair with the jammer is the reinforcer variant of the chem launcher. This launcher blasts area-of-effect clouds that repair the armor of both teammates and the user. These clouds stack for exponentially faster armor regeneration. This skill combo is an effective and versatile build to run whether solo or co-op.
8 Bulwark Shield & Reviver Hive
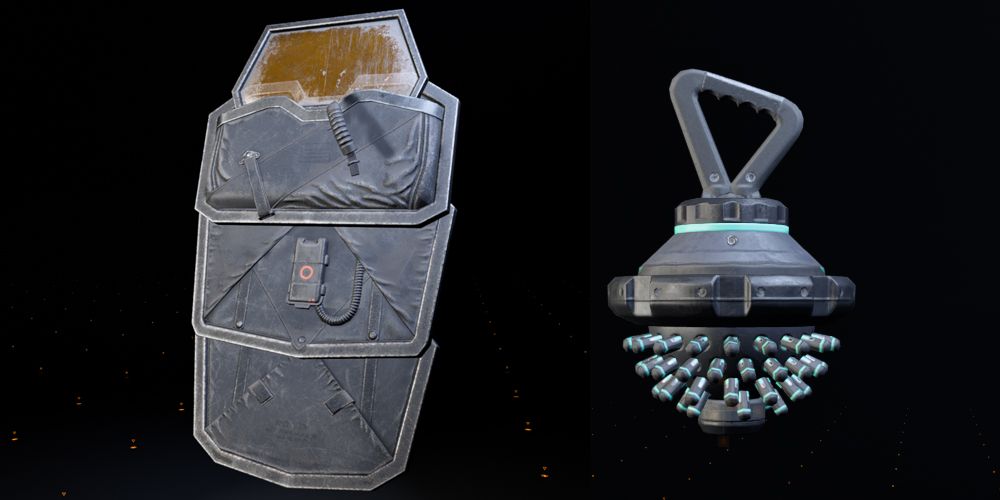
The bulwark variation of the shield protects the agent from incoming fire, but limits him to only use his sidearm. What's amazing about the shield is that its stats can be increased not just by skill points, but defense points as well, making it all the more impenetrable. This effectively turns defense into offense as the player can bulldoze like a tank into the heat of battle with just a shield.
RELATED: The Division 2: Every Specialization Explained
When overwhelmed, outgunned, or caught reloading, the bulwark can be deployed in an instant to momentarily protect the user as he finds cover. The reviver hive can be paired with this tool, making it all the more frustrating to fight against a player wielding a shield.
7 Reinforcer Chem Launcher & Reviver Hive
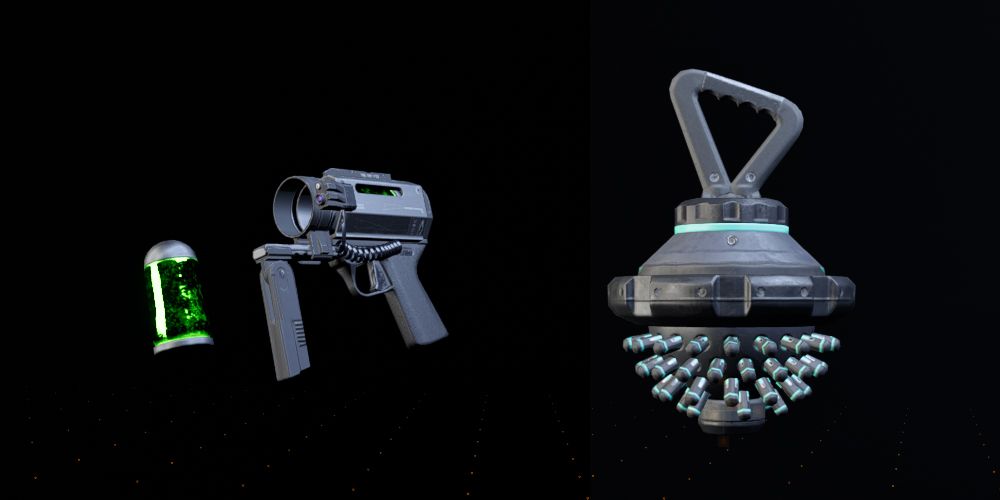
The previous build allows for a more offensive approach. This build, on the other hand, is less aggressive and more tailored towards a support approach. However, it can also be used offensively given its huge potential for self-sustainability. This build is the best for staying alive, since it stacks two regenerative layers of protection on top of each other.
A player wielding the reinforcer chem launcher doesn't die, so easily since he can heal himself with it. Meanwhile, its grenades have a decent cooldown time. If the player still manages to die, the reviver hive will bring them back well and kicking. The same sustainability can also be applied to the user's team since these tools also apply to them.
6 Bulwark Shield & Striker Drone
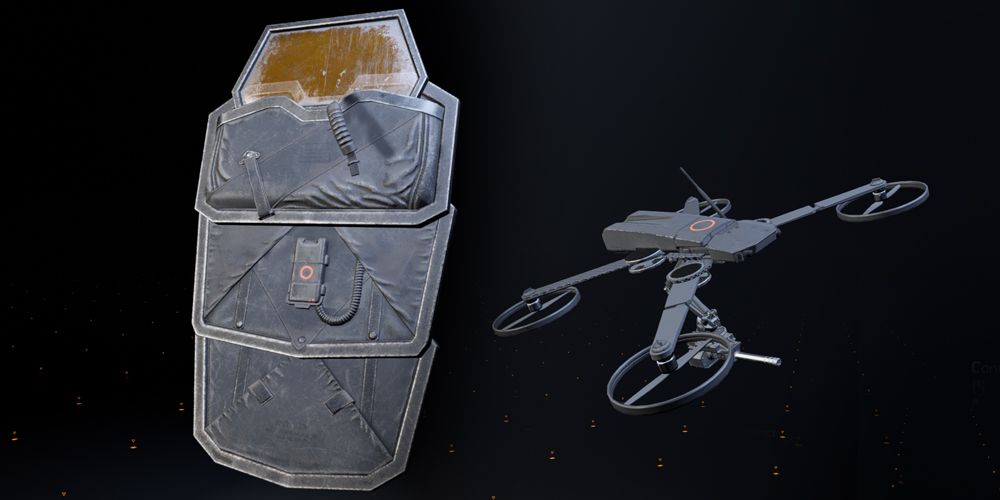
The bulwark is a great offensive tool for pushing against the enemy, but it limits the user's firepower significantly. Since the player can only use their sidearm while the bulwark is deployed, players should tailor their build to supplement the sidearm's effectiveness. To better compensate for the firepower, a striker drone can be equipped to add on to the sidearm's limited damage.
The striker drone will not only bring the heat, but will also flank the enemies that are focusing their fire on the user's shield. The commotion caused by the drone will draw enemy fire, thereby spreading their attacks evenly between the drone and the reinforced tanky shield. This allows the shield-wielding player to more effectively finish off enemies with their sidearm.
5 Demolisher Firefly & Assault Turret
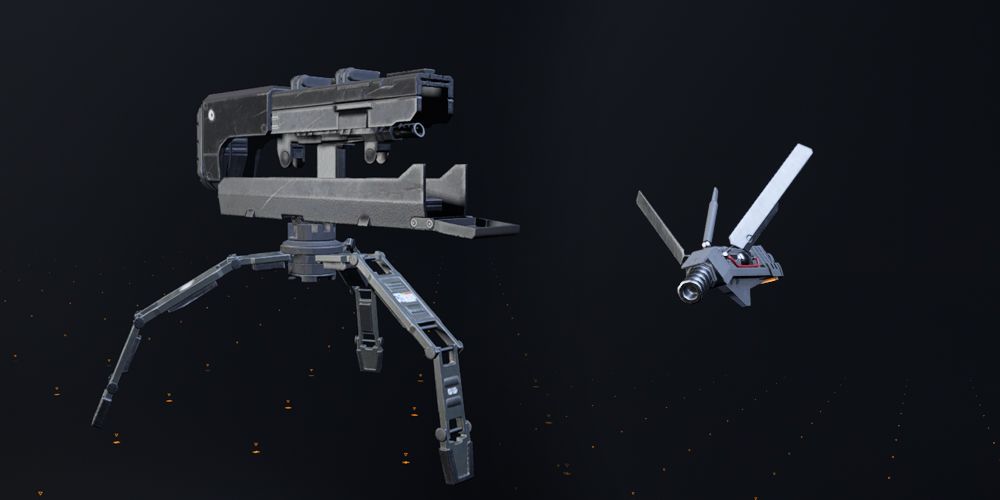
The firefly is such an underutilized skill. People tend to prefer the hive, drone, or turret over it. The demolisher variant of the firefly flies over an area and detonates every environmental explosion it passes over, along with stinging the enemies in their weak points.
RELATED: Division 2: Must-Have Perks For New Agents (& How To Use Them)
With a never-ending supply of enemies who have C4s strapped to their chests and explosives on their carries, the demolisher disarms them and damages the enemy group with their own tools. This leaves enemies easy pickings for the assault turret. The assault variation of the turret acts as a sentry, automatically firing at every nearby enemy.
4 Blinder Firefly & Riot Foam Chem Launcher
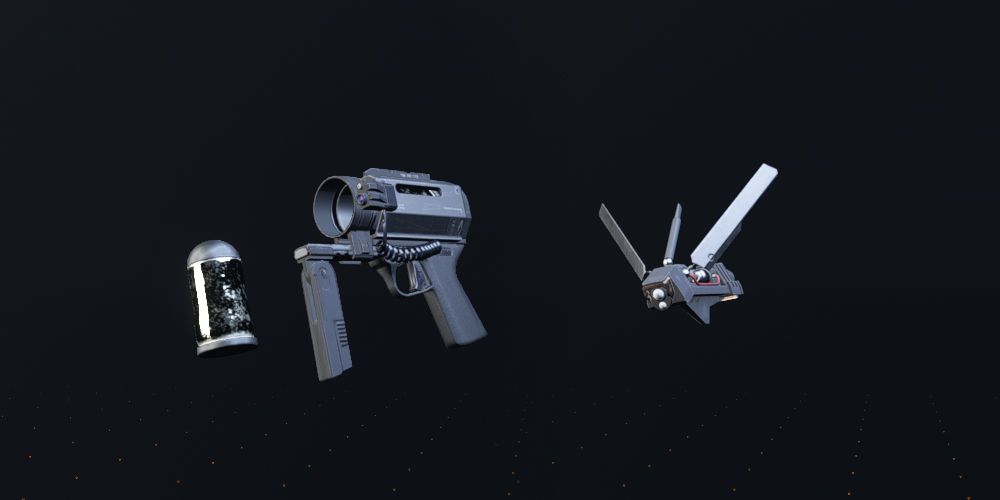
Every team composition needs a stun guy, and this build is the perfect combo for that purpose. The blinder variant of the firefly works like a homing flashbang. It flies over groups of enemies and blasts each of them with a blinding flash of light. This disorients them, making them vulnerable.
The riot foam variant of the chem launcher, meanwhile, blasts quick-dry hardening cement at enemies, immobilizing them. Both these tools stun enemies, leaving them exposed to open fire. This is a perfect combo to run when fighting bullet-sponge bosses.
3 Fixer Drone & Sniper Turret
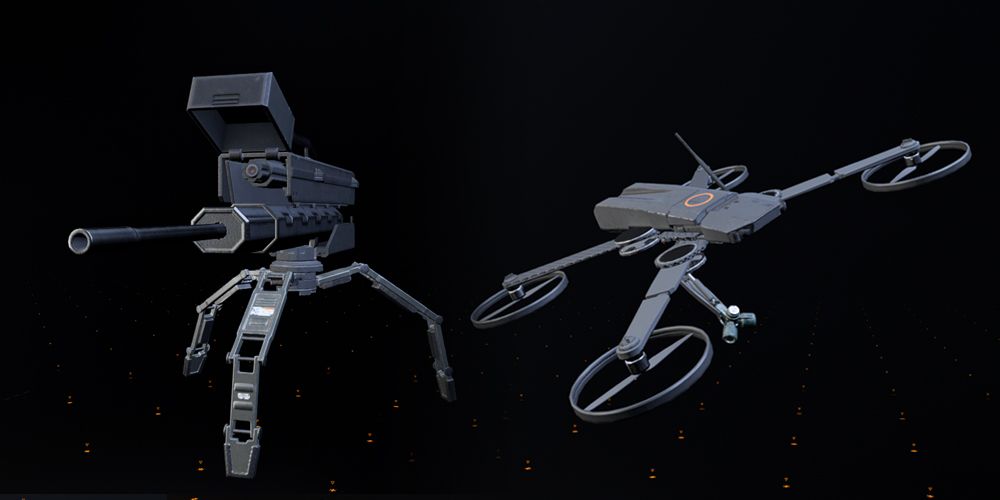
The fixer variation of a drone is a hovering device that follows teammates and continually repairs their armor. The player can also have a drone heal themselves. This essentially gives the player regenerative health in battle, making them a more formidable opponent.
On the other hand, the sniper turret, unlike its assault variation, does massive per bullet damage but needs manual key input from the player. This makes it a harder skill to master, but it definitely pays off well. Placing the sniper turret on an elevated platform gives free sniper support for the player. Running the fixer drone and sniper turret makes for a very effective support build.
2 Striker Drone & Assault Turret
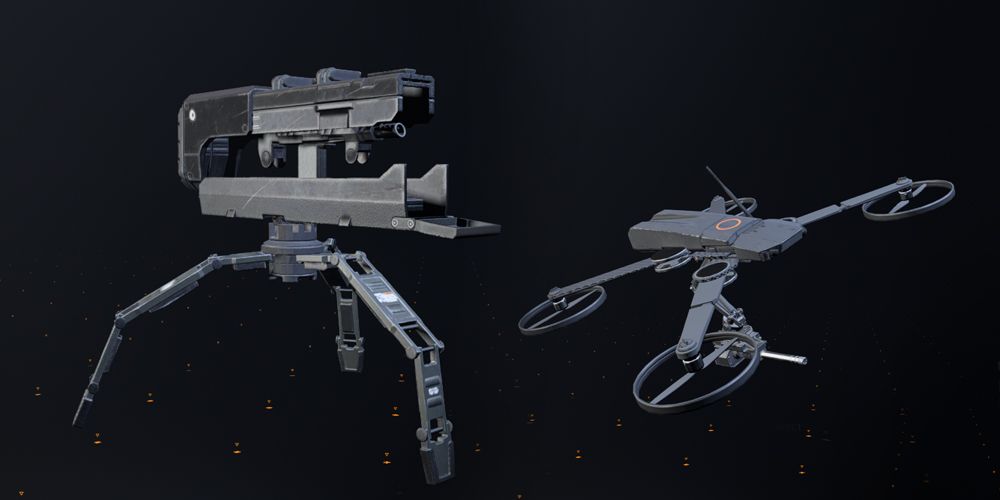
The striker variation of the drone follows enemies and harasses them with pesky bullets. The assault variation of the turret is a stationary unit that automatically fires at enemies around it. Running these two skills would send the enemies in a frenzied assault, getting blasted from all sides.
RELATED: Destiny 2: Which Class Is Best For You?
What's amazing about this is that only one person is doing all that mayhem. The striker drone and assault turret may seem like redundant skills to stack on each other, but in reality, they exponentially supplement the firepower of each other and the player.
1 Cluster Seeker Mine & Fire Starter Chem Launcher
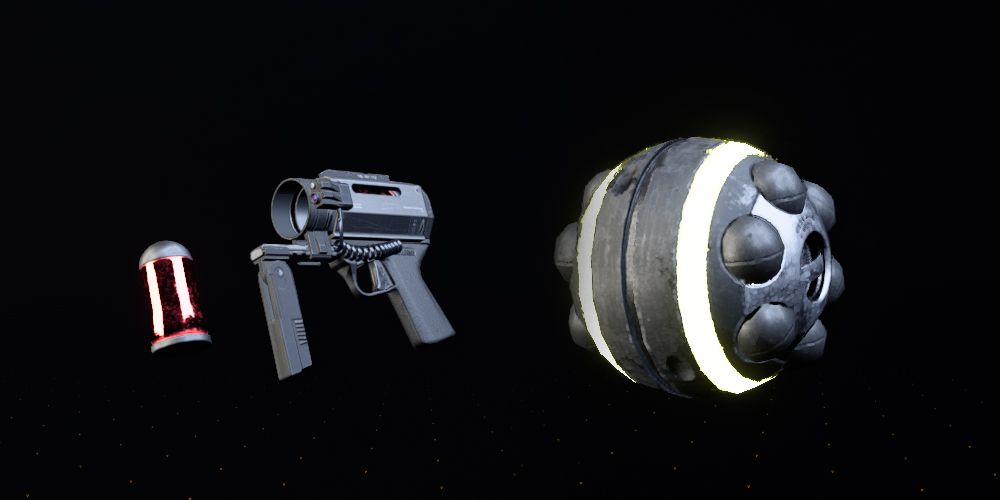
Explosives are destructive in The Division 2, but a player can only hold so many grenades. That's where this loadout comes in handy. The cluster variant of the seeker mine splits into four mines that seek out and destroy the enemy. They roll towards even those behind cover then go off in a fiery blaze.
As fun as it is to use, the cluster seeker mine does have a long cooldown time. During that window, the fire starter variant of the chem launcher can be used. It blasts a cloud of ignitable substance that when sparked, goes out with a boom. Using these two skills together allows each to compensate for the cooldown time of each other, making for the perfect demolitions arsonist build.

