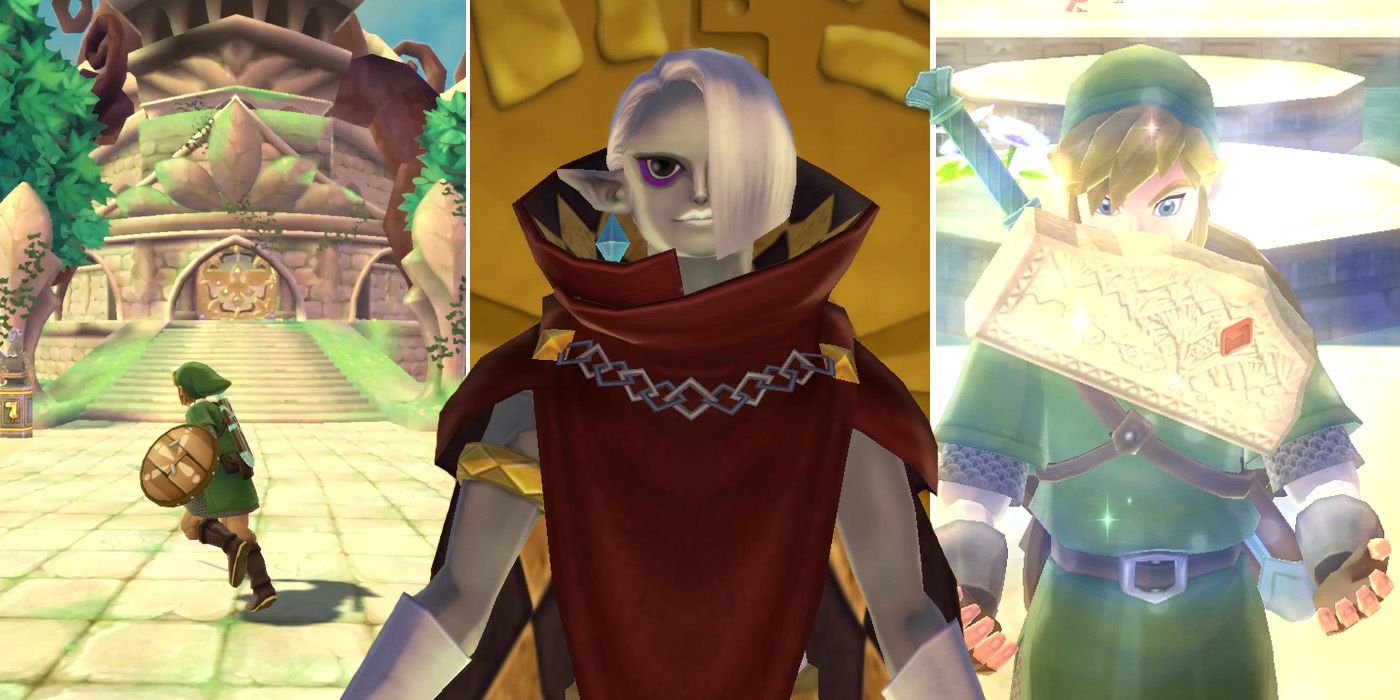
Skyview Temple is the first of many dungeons that players will visit during their time with The Legend of Zelda: Skyward Sword HD. There are three key items and a brand new tool for players to collect, as well as a miniboss and a main boss that need to be defeated. Before players can even think about taking on the Demon Lord, Ghirahim though, they'll first need to make their way through Faron Woods to actually reach the temple.
RELATED: The Legend of Zelda: Skyward Sword HD: How To Complete The Lost Child Side Quest
Once inside, the Skyview Temple is actually fairly straightforward to navigate, with very few puzzles for players to figure out. Some players may have trouble with the Eye Guardians that guard some of the doors and chests, but with the right strategy, these too can be taken care of pretty quickly. In that sense, the dungeon serves as more of an appetizer that's designed to prepare players for what's to come in later dungeons.
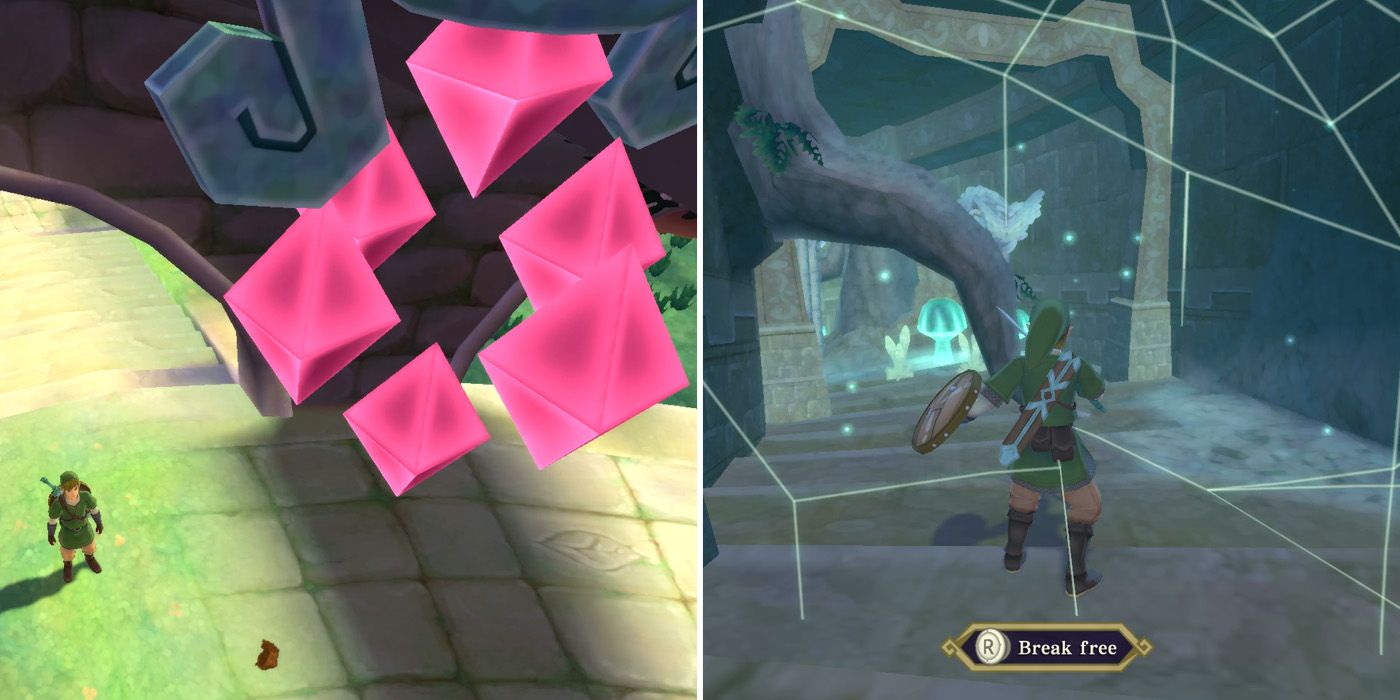
Upon arriving at the dungeon, players will need to use their slingshot to hit the red crystal above the entrance to gain access. Once inside, they'll have to use their sword to cut through the spiderwebs that are blocking their path, although can use the right analog stick to free themselves if they happen to get stuck in them. There are also some trees blocking the way, so these too will need to be cut down using the sword. There are quite a lot of Keese (the bat-like enemies) in this area as well, but these can be taken care of pretty easily.
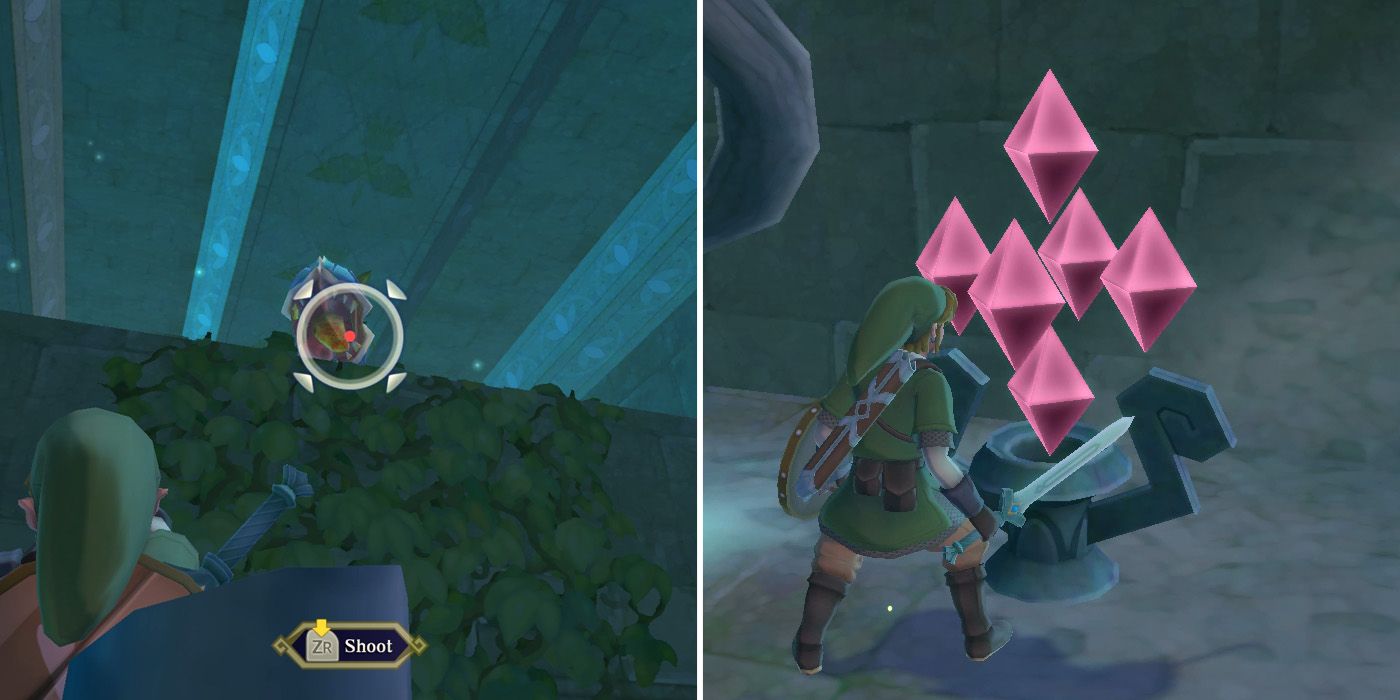
Before long, players will arrive at some climbable vines that are blocked by some trees. They'll need to cut the trees to gain access to the vines, and also use the slingshot to stun the Deku Baba so that it doesn't knock Link down as soon as he climbs to the top. Once the Deku Baba is out of the way, players can hit the red crystal with their sword or slingshot, and this will unlock the door at the bottom of the vines.
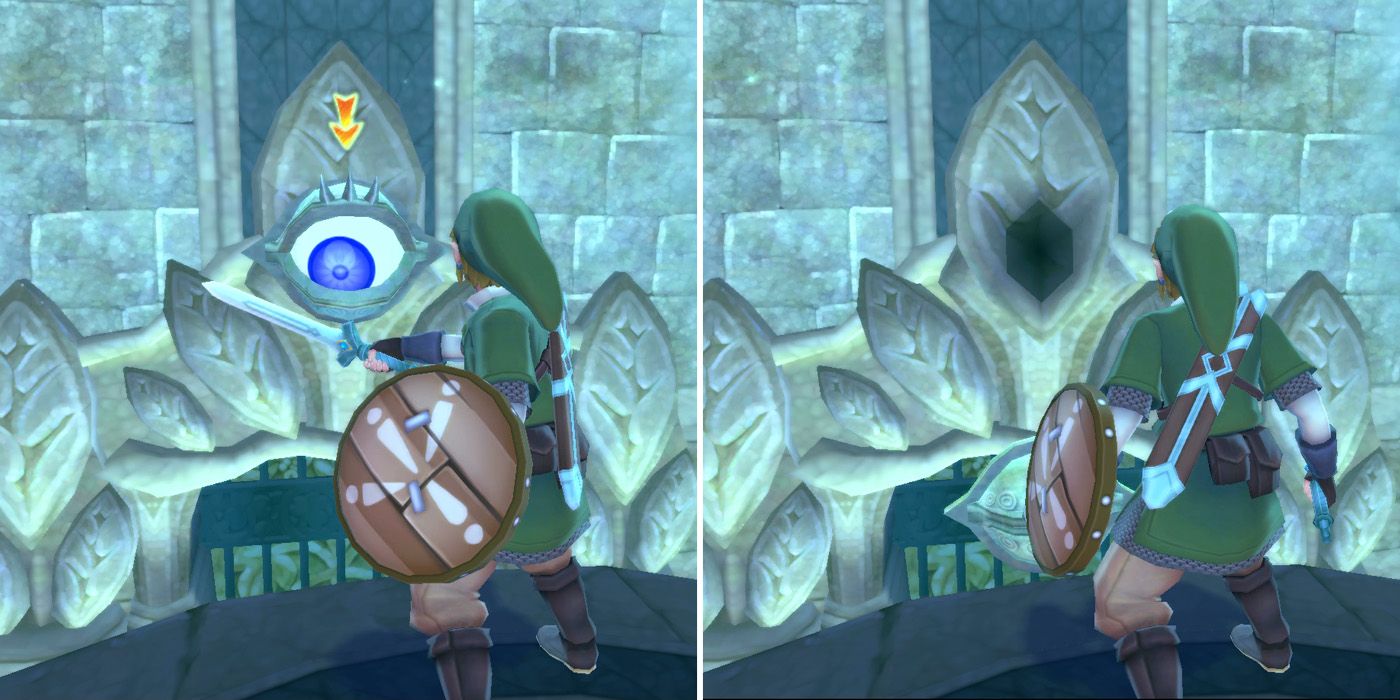
Upon entering the next room, players will see a door with a closed eye above it. Mina will inform them that the Eye Guardians like to follow the tip of pointed objects, so players should have Link stand on the circular platform, draw his sword, and then spin it round in a circular motion. After a moment or two, the Eye Guardian will get dizzy, at which point it will turn red and fall off the wall, allowing Link to continue onward deeper into the temple.
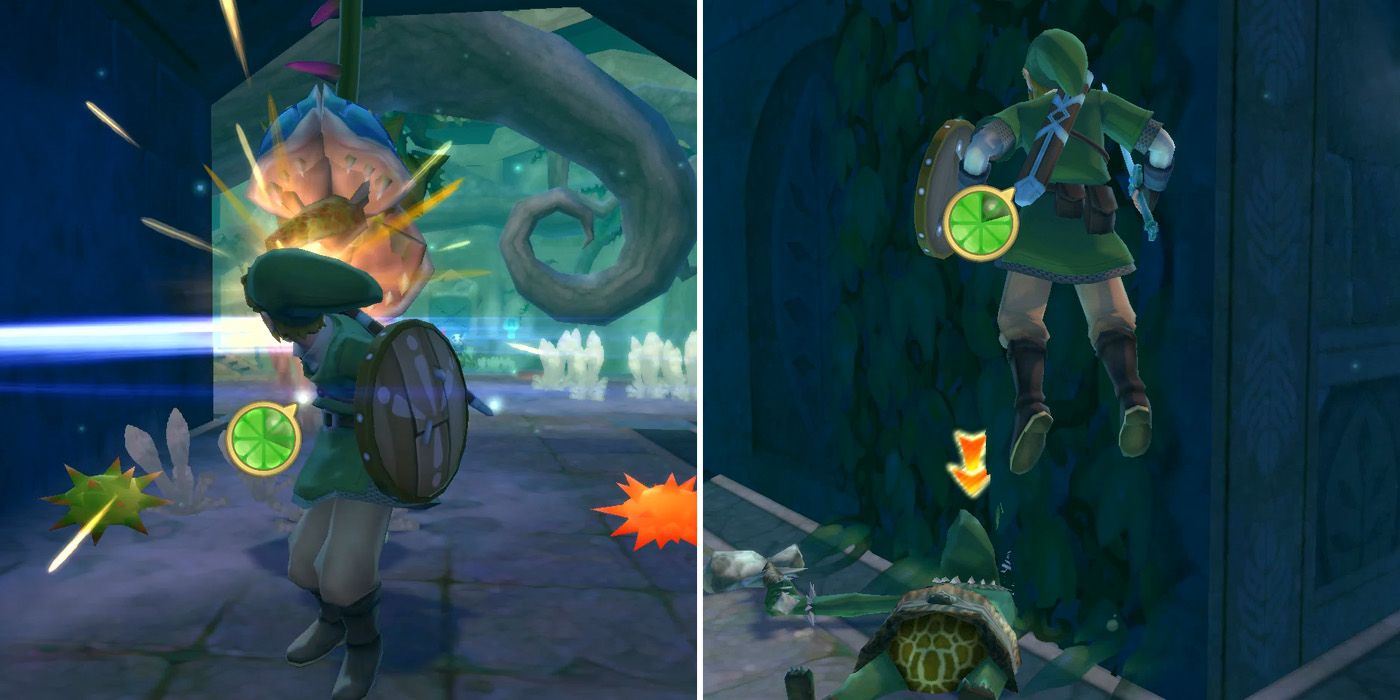
Before players can explore the first chamber, they'll have to take care of the two Deku Babas hanging from the ceiling and pass through a patch of Myu. These little cacti-like plants will attach themselves to Link and then explode after a few seconds, so players should avoid walking through them. There's also a Green Bokoblin in this area, although, like its red counterparts, this shouldn't pose too much of a threat.
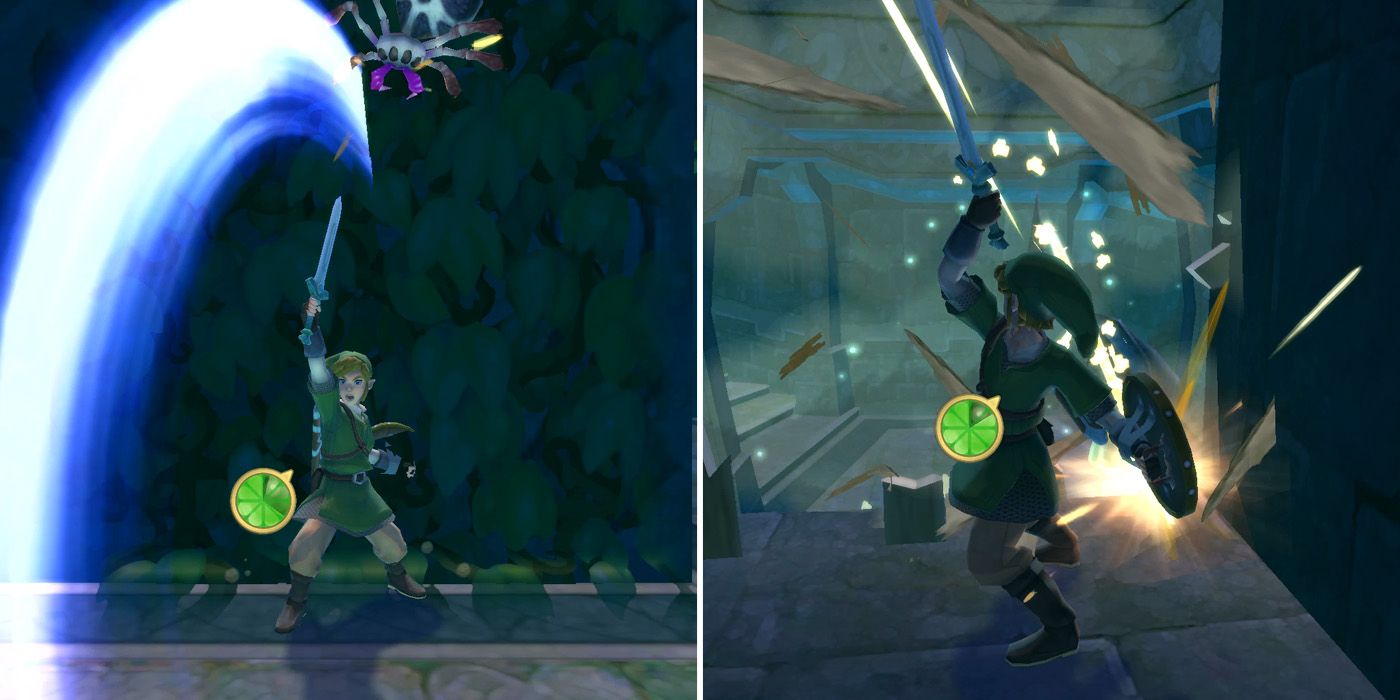
If players turn around after entering the main chamber, they'll be able to climb some vines and destroy some wooden planks to open up a route back to the dungeon's entrance. This isn't really necessary, but it's not a bad idea for players who plan on leaving the dungeon before completing it. Before climbing these vines though, they'll need to take care of the Walltulus (the small pink and gray spiders) to avoid getting knocked down. If they're out of range, players can use their slingshot to knock them off the wall.
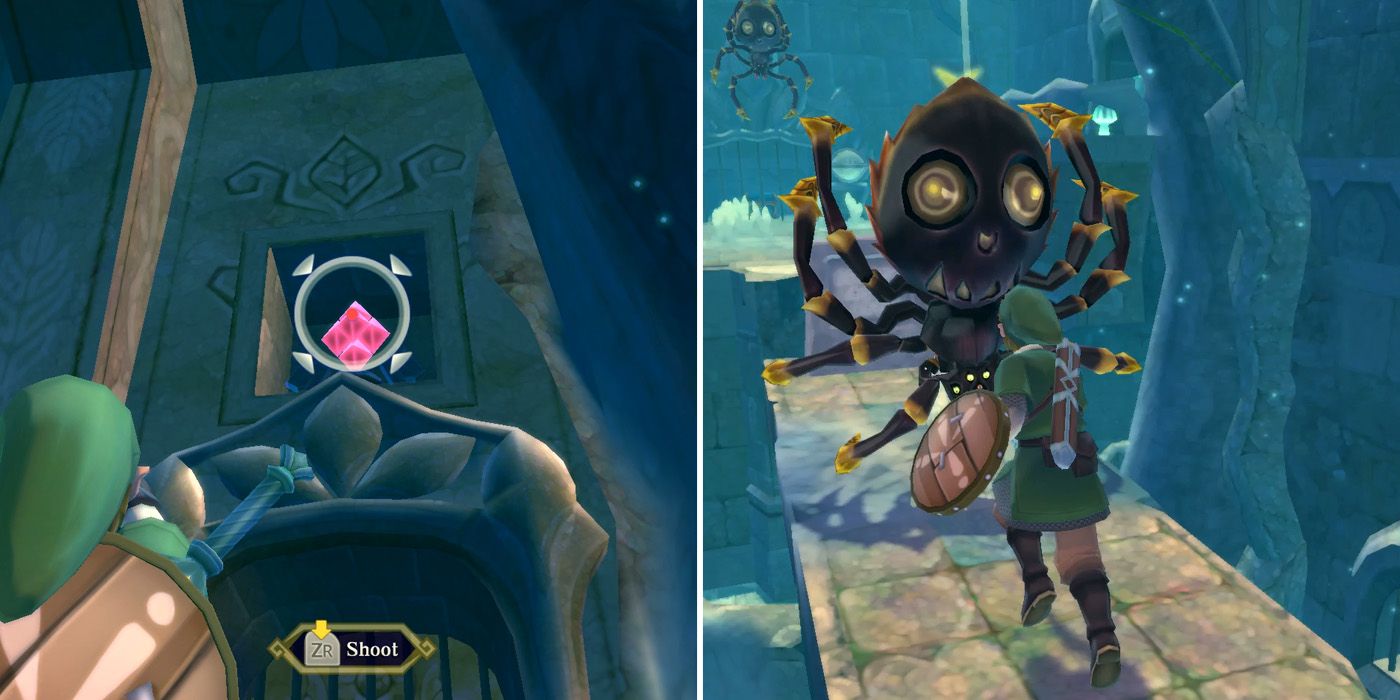
The path towards the dungeon's main boss is through a door at the rear of the chamber, but before players can open it, they'll first need to get hold of a small key. The first step to doing so requires players to use their slingshot to hit the red crystal above the door on the right, which will then allow them to pass through. Inside, they'll find another spider web and then two more containing giant spiders known as Skulltulas.
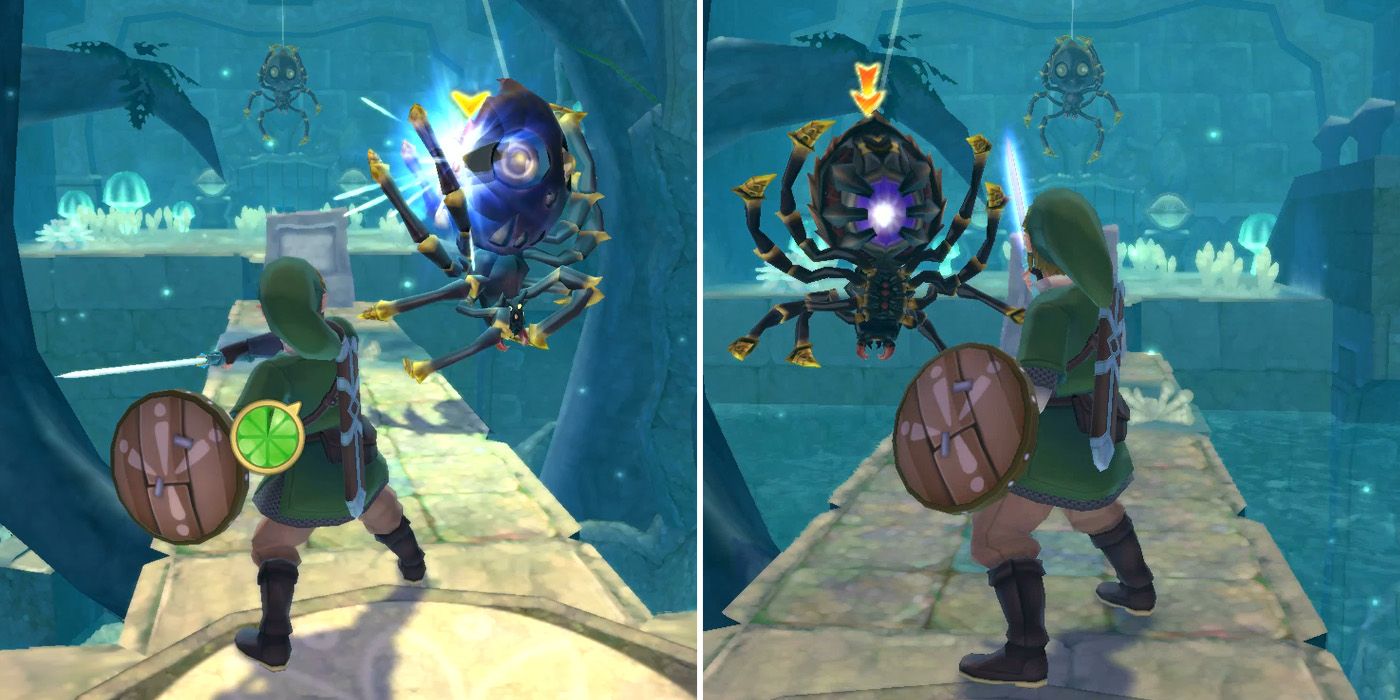
The key to defeating Skulltullas is to hit the purple spot on their bellies, which usually involves getting them to spin. To do this, players should swipe their sword sideways rather than slashing vertically, as the latter will usually cause the Skulltula to swing into Link and cause damage. The easiest way to kill them is by using Skyward Strikes, which entails holding the Goddess Sword straight up into the air to charge it and then moving the analog stick either vertically or horizontally to let out a blast of energy. This way, players can kill Skulltulas from a distance without taking any unnecessary damage.
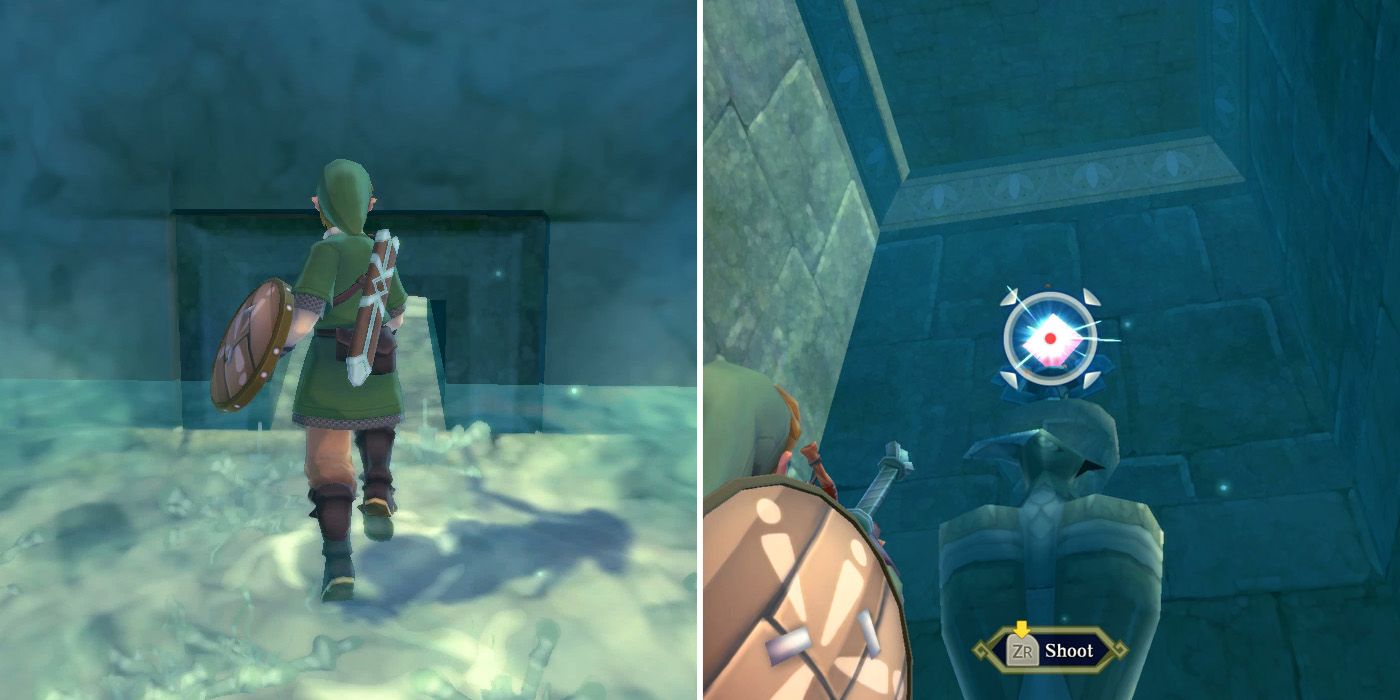
At this time, players will only be able to kill one of the Skulltulas as the other is well beyond their reach. Instead, they'll need to drop down to the lower level and crawl through a small tunnel that's hidden behind some grass to reach a room with a bird statue inside. After using the slingshot to hit the red crystal above its head, the water level of the temple will rise, allowing Link to climb the vines and return to the room's entrance. There's nothing else to do here right now, so players should head back to the main chamber.
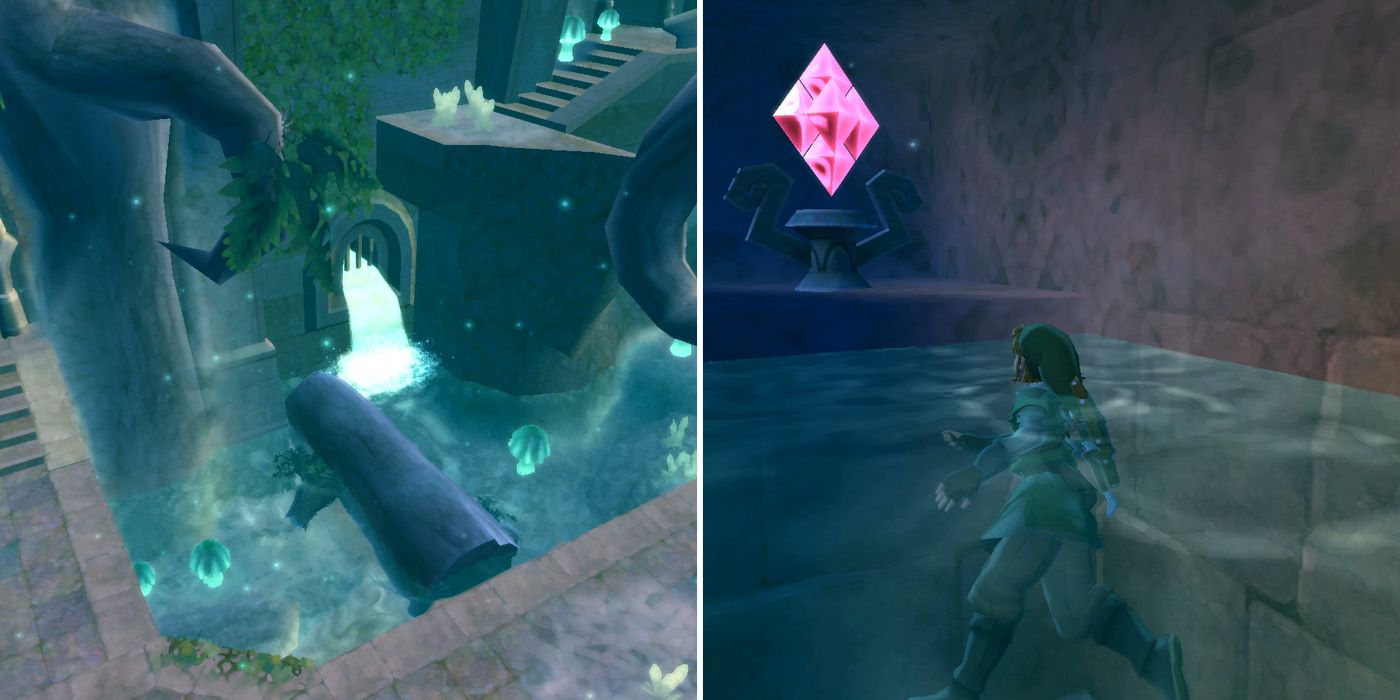
With the water level now raised, players can gain access to the door on the left, which should be immediately opposite the point where they reentered the chamber. They'll just need to drop down to the area below the door, where they'll be able to swim to another red crystal that can be hit to remove the bars that are blocking the door.
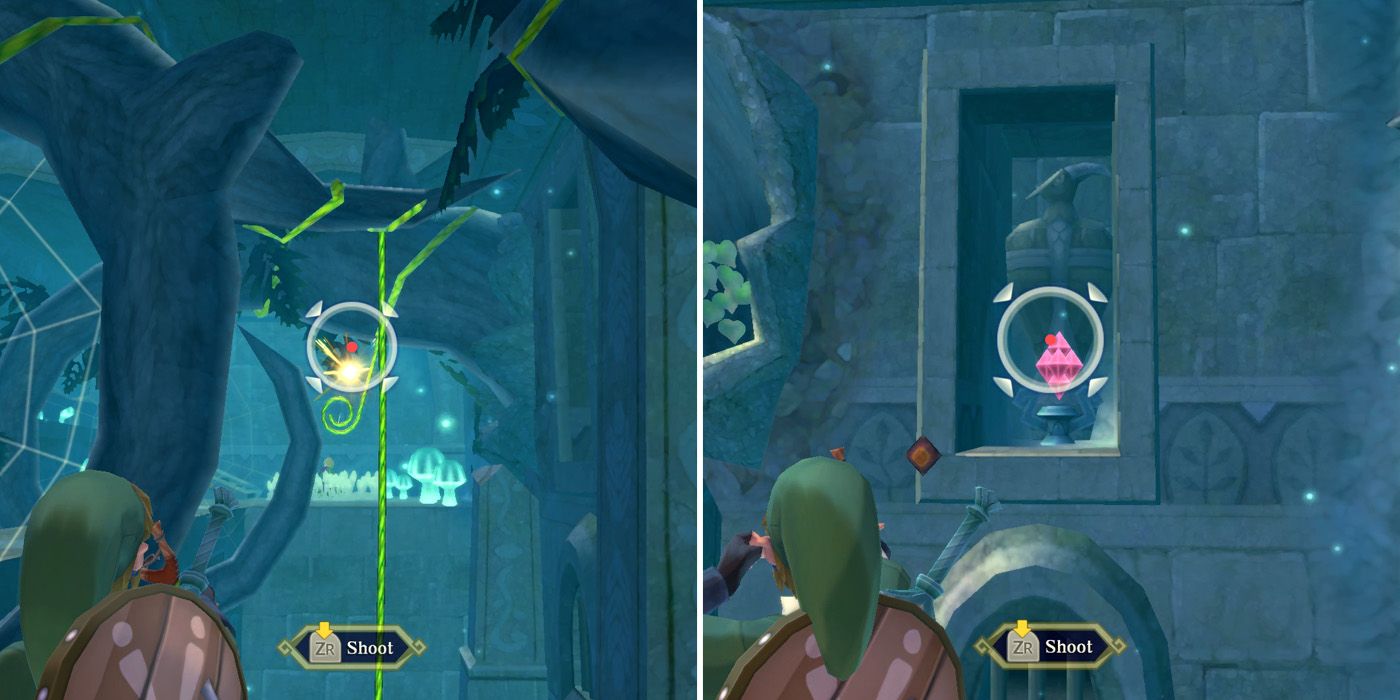
After entering the next room and killing the Green Bokoblin, players will need to use their slingshot to lower the two green vines to the right of the Skulltullas. These can be used to swing to the other side of the room, at which point it's possible to easily take care of the two Skulltullas. After killing the first, players should look to their left, where they'll see yet another red crystal. By using the slingshot to hit this, they can raise the water level a second time.
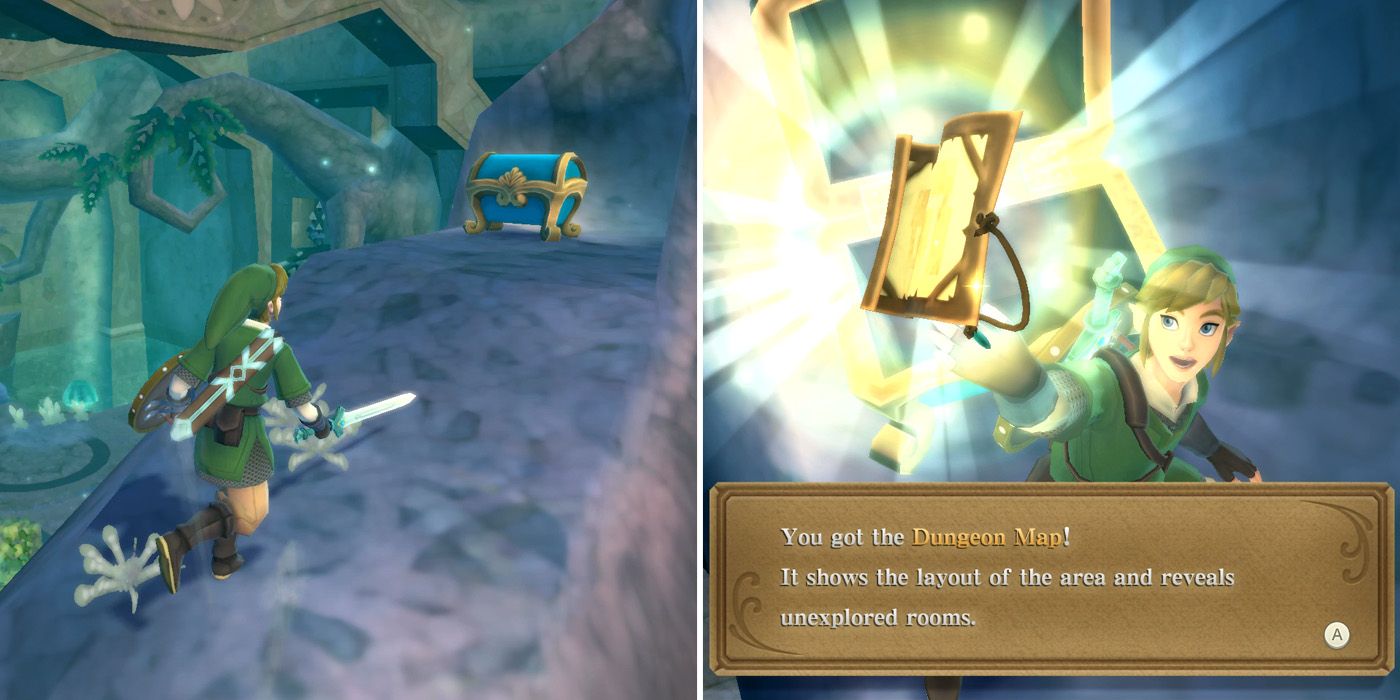
After raising the water level again, players should continue on through the room and pass through the door at the top of the steps. This will lead them to another point in the large chamber, and it's here that they will find the chest containing the Dungeon Map for Skyview Temple. With this key item now in their inventory, players can check the layout of the dungeon whenever they like by hitting the - button on their controller.
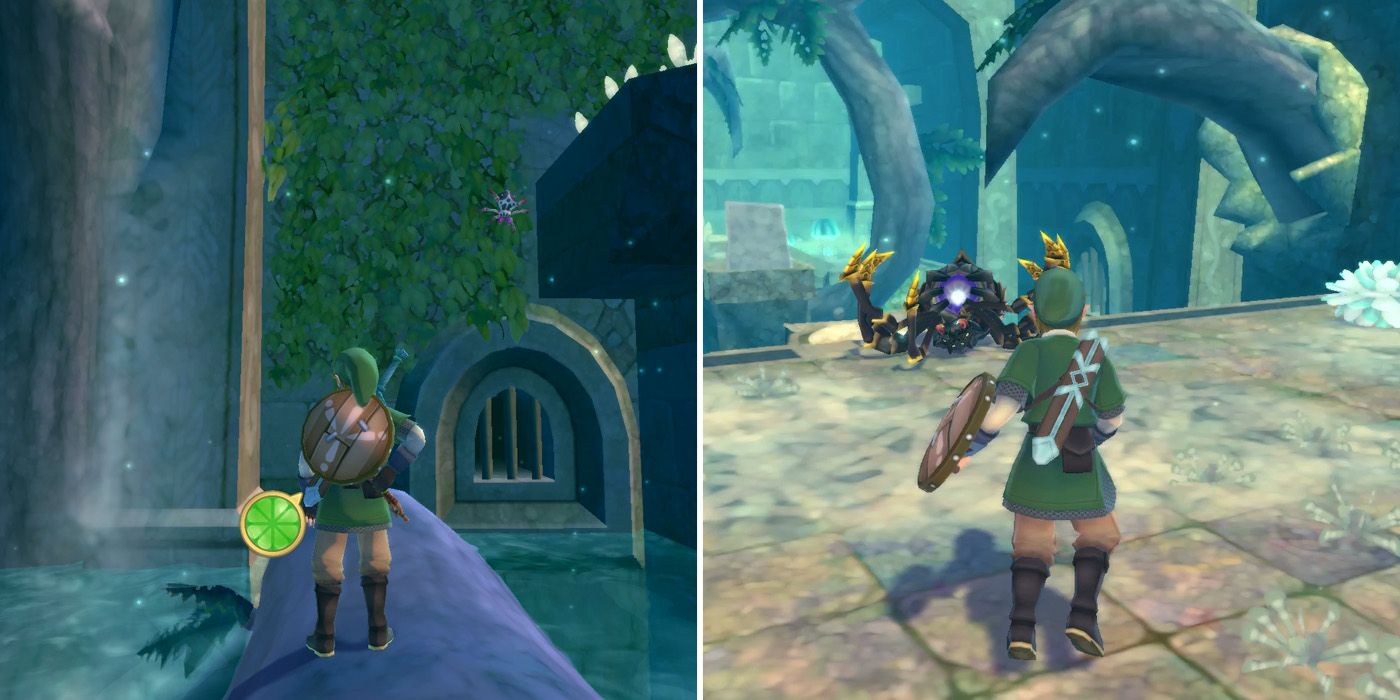
With the dungeon map now in hand, players should drop down back into the main chamber and look for some vines on the wall next to the first door that they went through. They'll be able to get to them by running across the floating log, but will need to use their slingshot to take care of the Walltullas before they climb up. This new door will lead to the far side of the first room they entered, allowing players to deal with the second Skulltula.
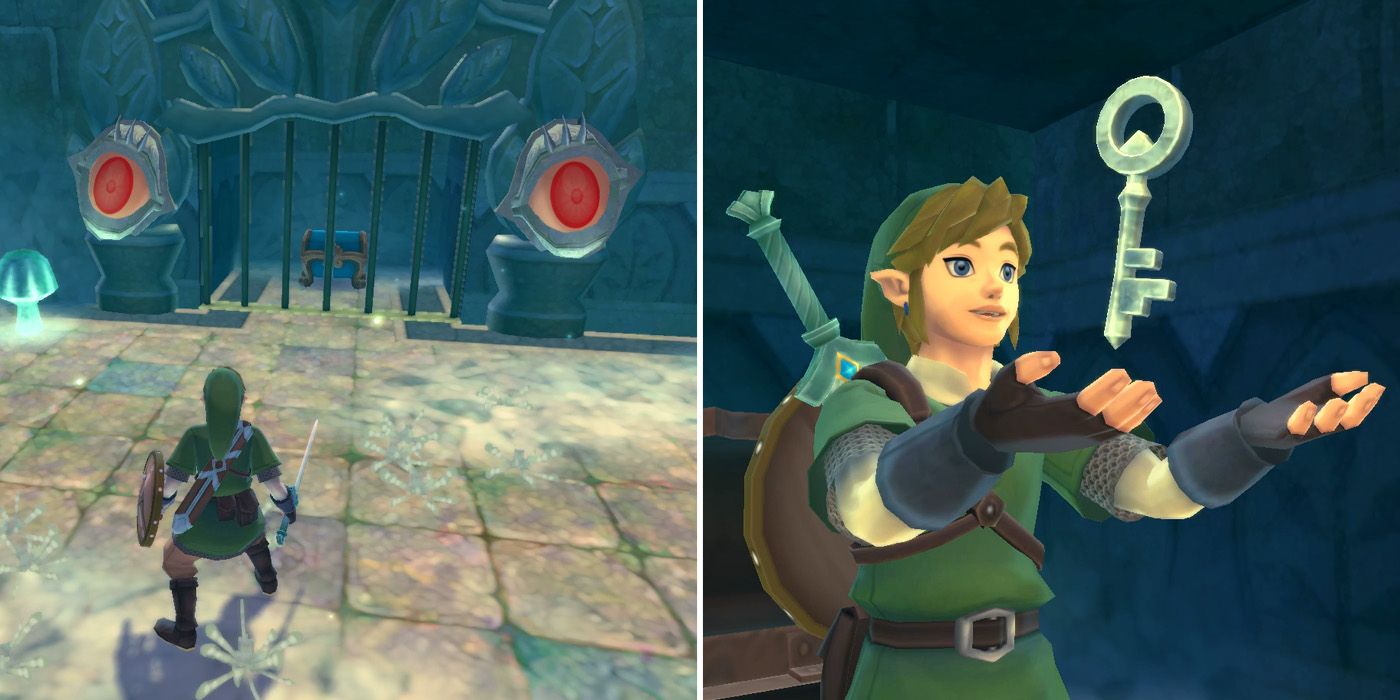
Now that the room has been cleared of enemies, players can focus on the nearby chest. They'll notice that it's being guarded by two Eye Guardians rather than just one, so they'll need to position Link in the center of them so that both of the eyes focus on Link's sword. The strategy remains the same, however, so players should have Link spin his sword in a circle until the Eye Guardians get dizzy and then collect the Small Key from the newly accessible chest.
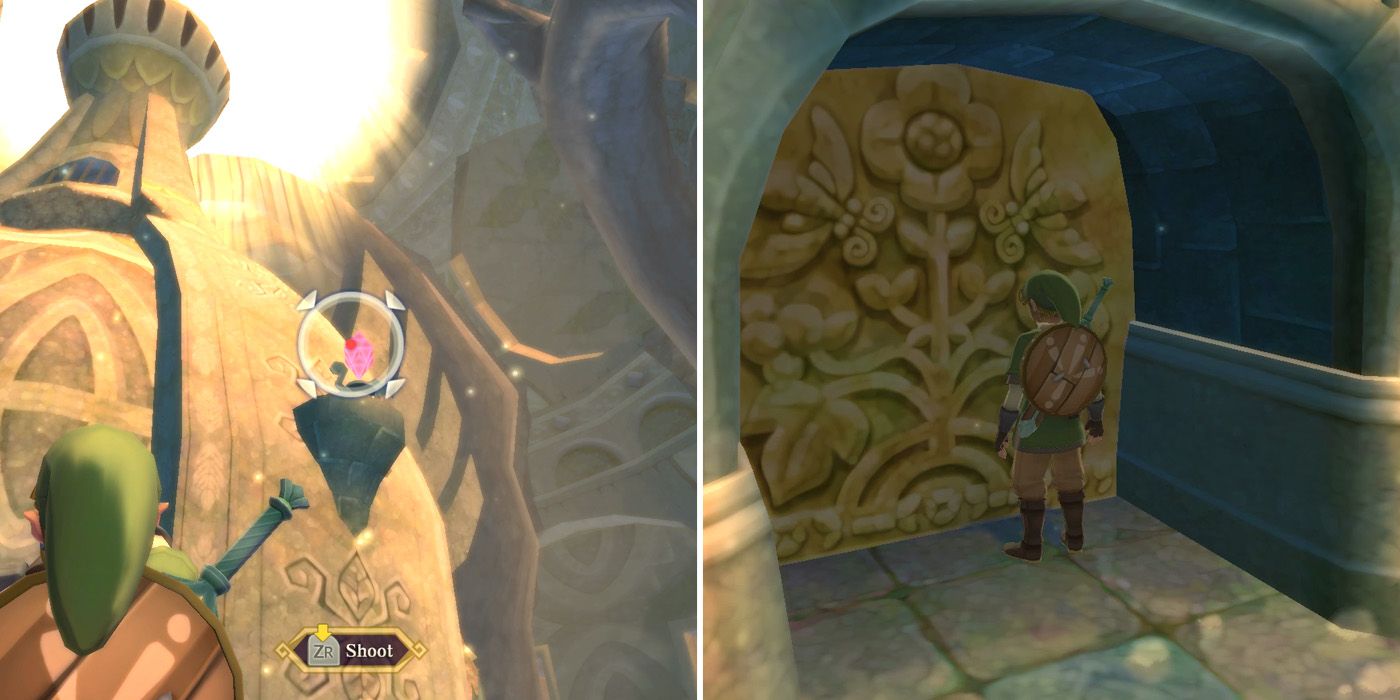
Using the Small Key on the locked door at the rear of the main chamber will allow Link to pass through to the dungeon's second chamber. It's much larger than the first, and features a giant bird statue slap bang in the center of it. Defeating the enemies in this area isn't a requirement, but it's best to get them all taken care of now to avoid taking any unnecessary damage later. Once they're gone, players can use their slingshot to hit the red crystal on the bird statue, which will open up a door at the statue's base.
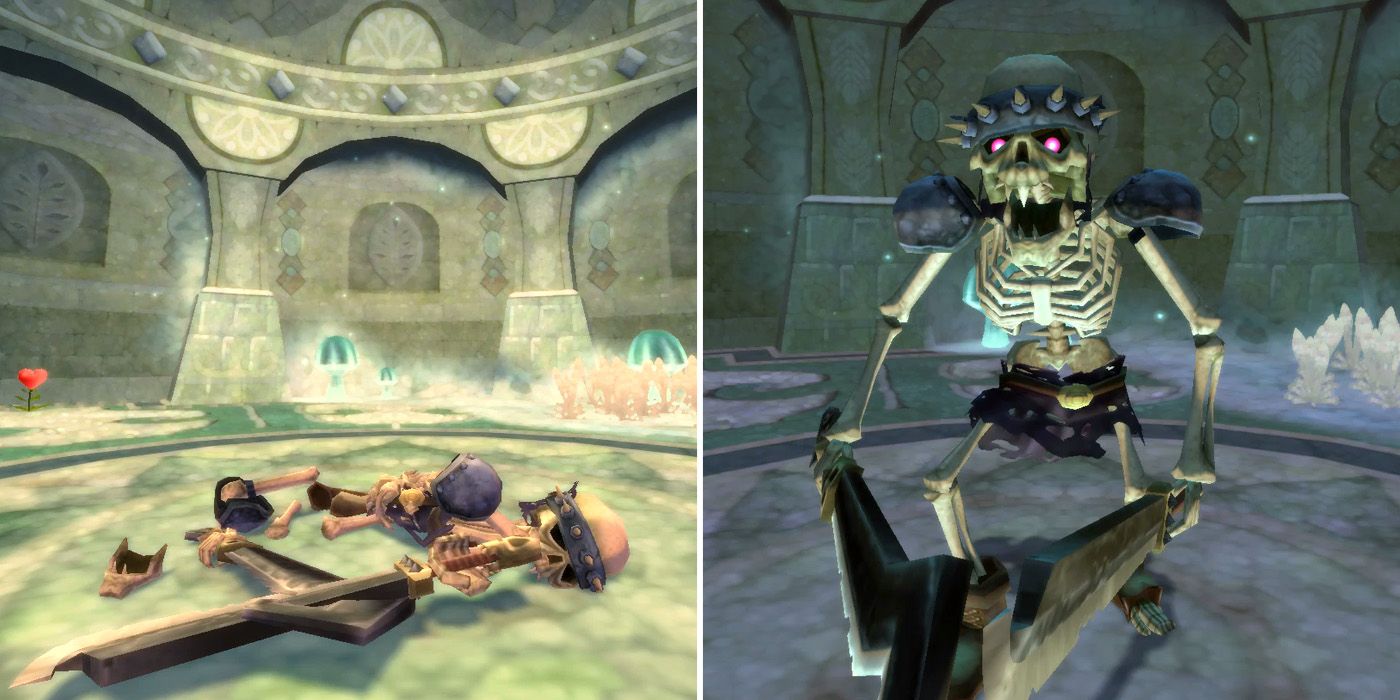
Upon entering the newly accessible room, players will encounter their first miniboss. Series veterans will immediately recognize the skeletal creature as a Stalfos, one of the franchise's many recurring enemies. Thankfully, this one's pretty easy to deal with, as its attacks are very easy to read and therefore dodge due to their long windups.
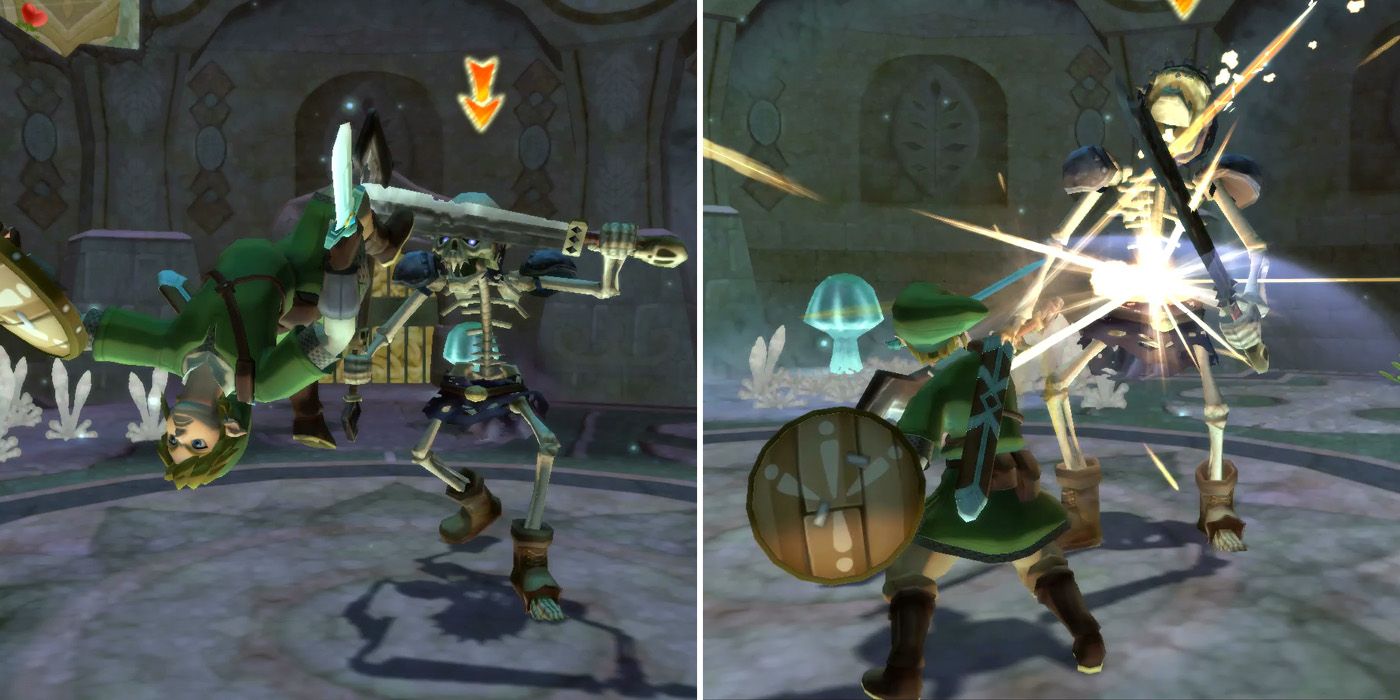
It's also possible to block them with a shield, or hit the Stalfos with a well-timed shield bash, but it's far easier to simply jump back with the A button whenever it's about to attack and then continue hacking and slashing until the fight is over. There are some hearts around the edge of the room for those having trouble, but most players shouldn't really need them.
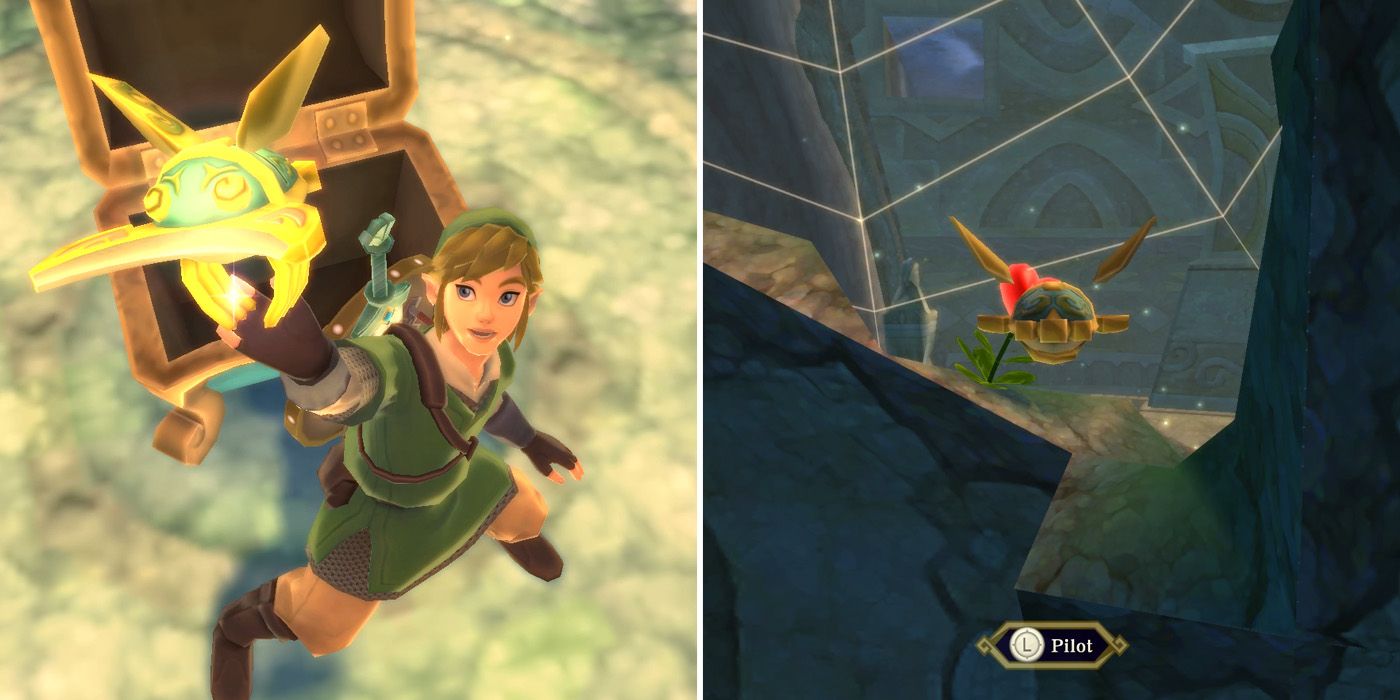
After players defeat the Stalfos, a chest containing a new tool known as the beetle will appear in the center of the room. This allows players to fire off a remote-controlled beetle that can be used to interact with enemies, collect items, and even hit switches. The latter bodes well, as Link is actually locked in the current room. To the left of the door, however, players will notice a large spiderweb and can send the beetle through it to hit the red crystal on the other side and unlock the door.
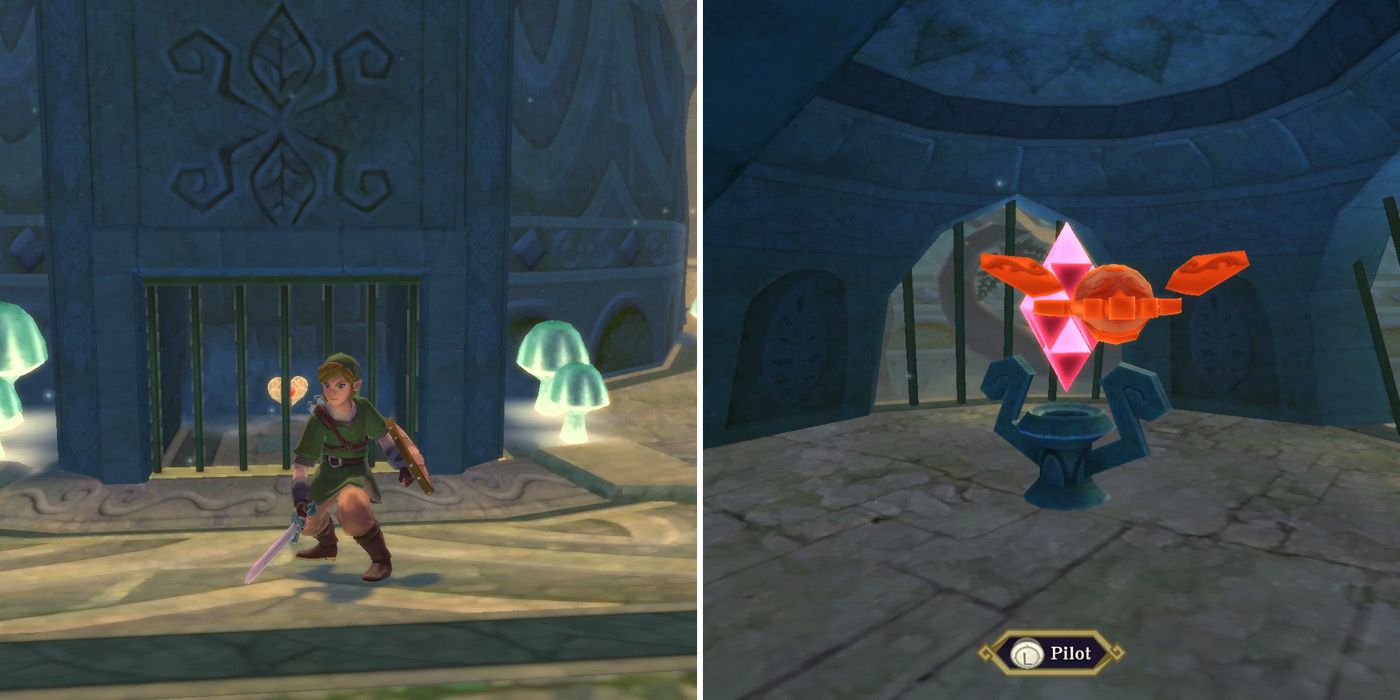
Before continuing on with the dungeon, players should make their way to the rear of the bird statue, where they'll find a piece of heart locked behind some metal bars. Unfortunately, they can't use the beetle to collect the heart piece, but they can use it to hit a red crystal and remove the bars. It's up near the head of the statue and is fairly easy to hit. Players can also check out some of the wall vents in the chamber for Rupees or use the beetle to cut through the strings holding up the wooden crates, but doing so is not essential.
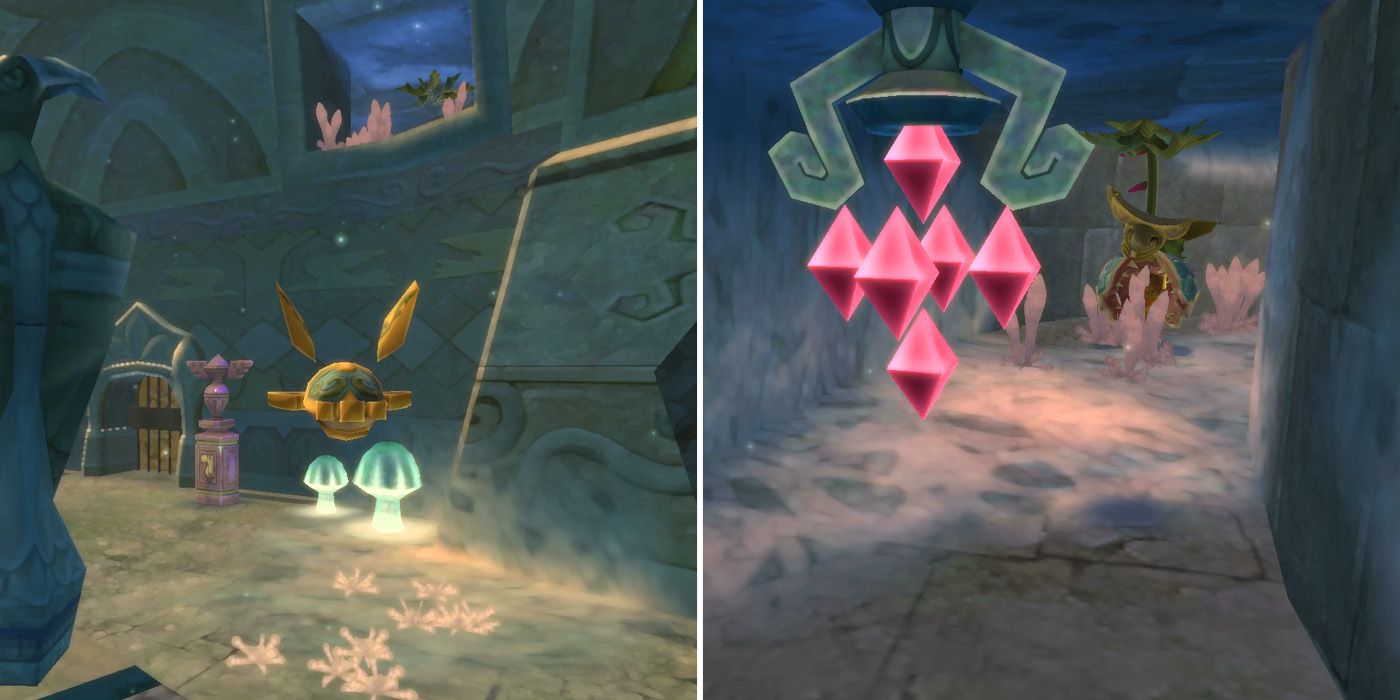
With the heart piece collected, players will need to turn their attention to the door to the west of the chamber. Above it are two small ducts, and Link can send the beetle through either of them to hit another red crystal. There are some Deku Babas in there too, but if players use the beetle to cut through the vines connecting them to the ceiling, this shouldn't be a problem.
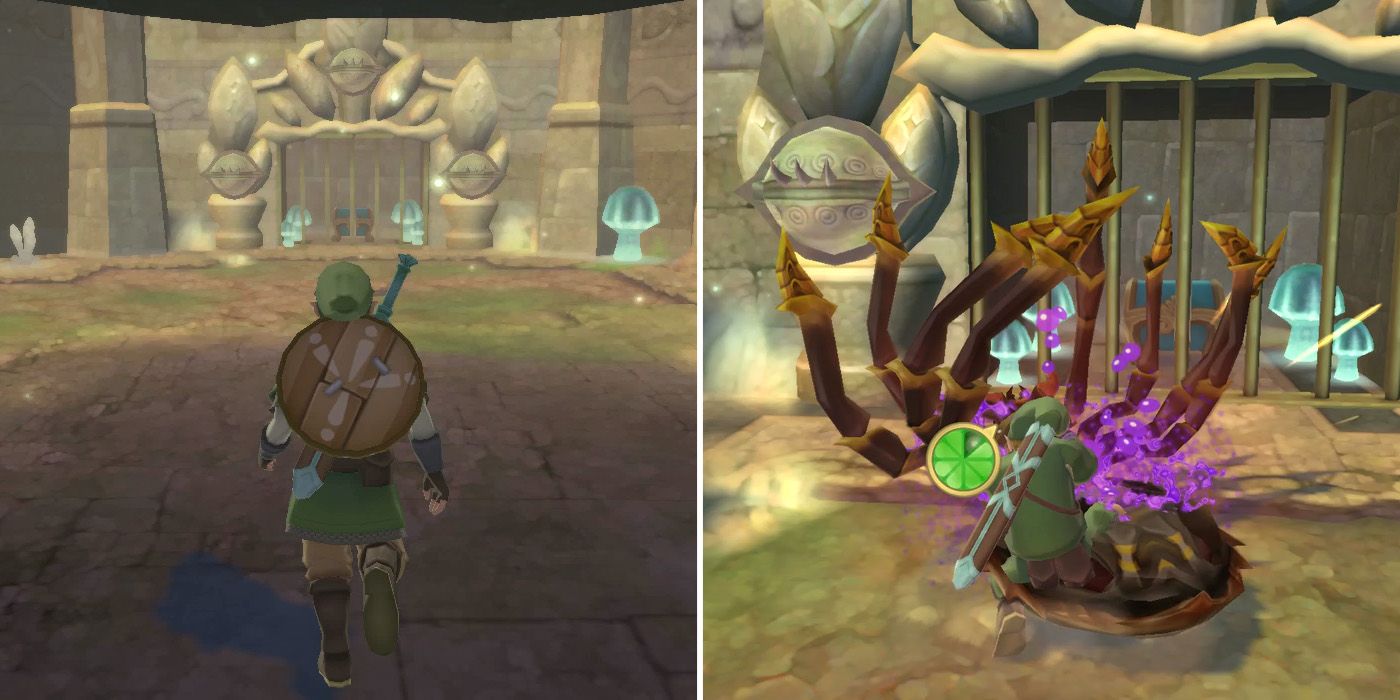
After hitting the crystal, players should make their way through the newly-unlocked door to the west of the chamber and follow the passageway to a room with a chest that's being guarded by three Eye Guardians. Before focussing on them, however, players will need to take care of a Skulltula that drops down into the center of the room.
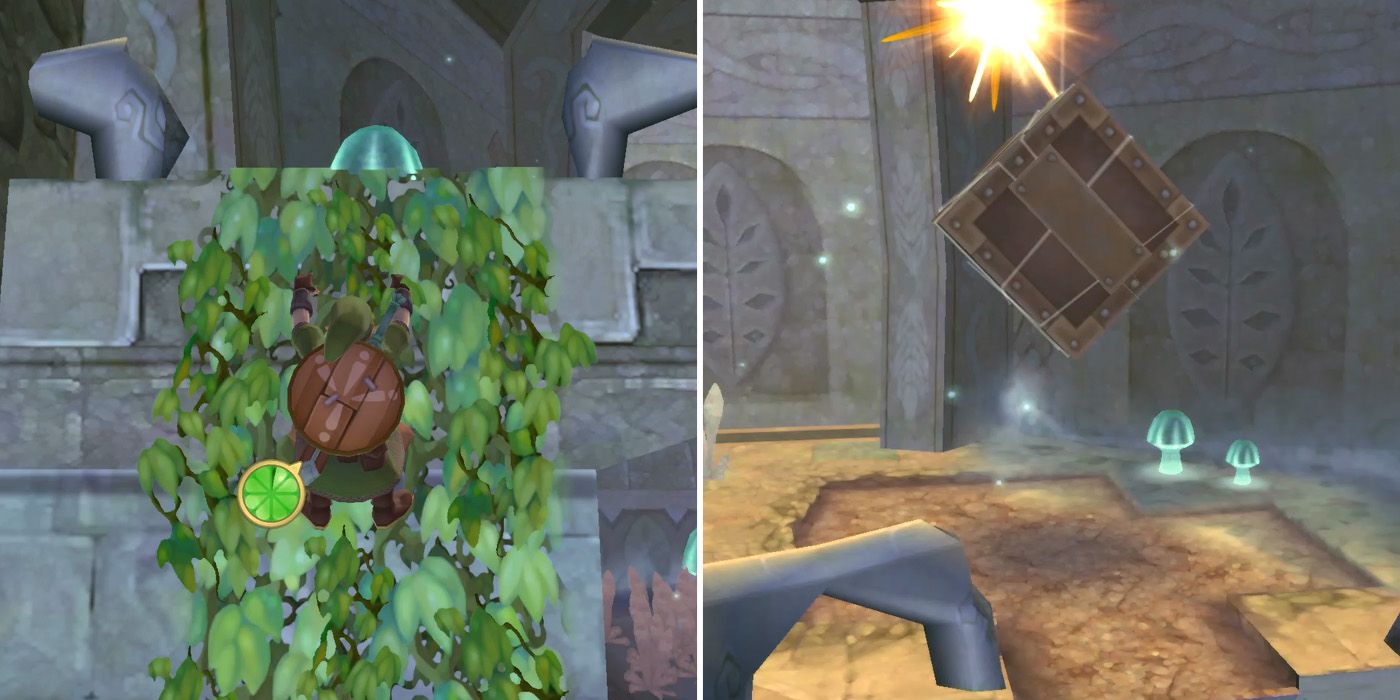
Once the Skulltula is dead and the door is once again unlocked, players should turn around and climb up the vines to reach a new area above the door. They can use their newly-acquired beetle to cut the string that's holding up the wooden crate and then push the crate down into the area below with the Eye Guardians.
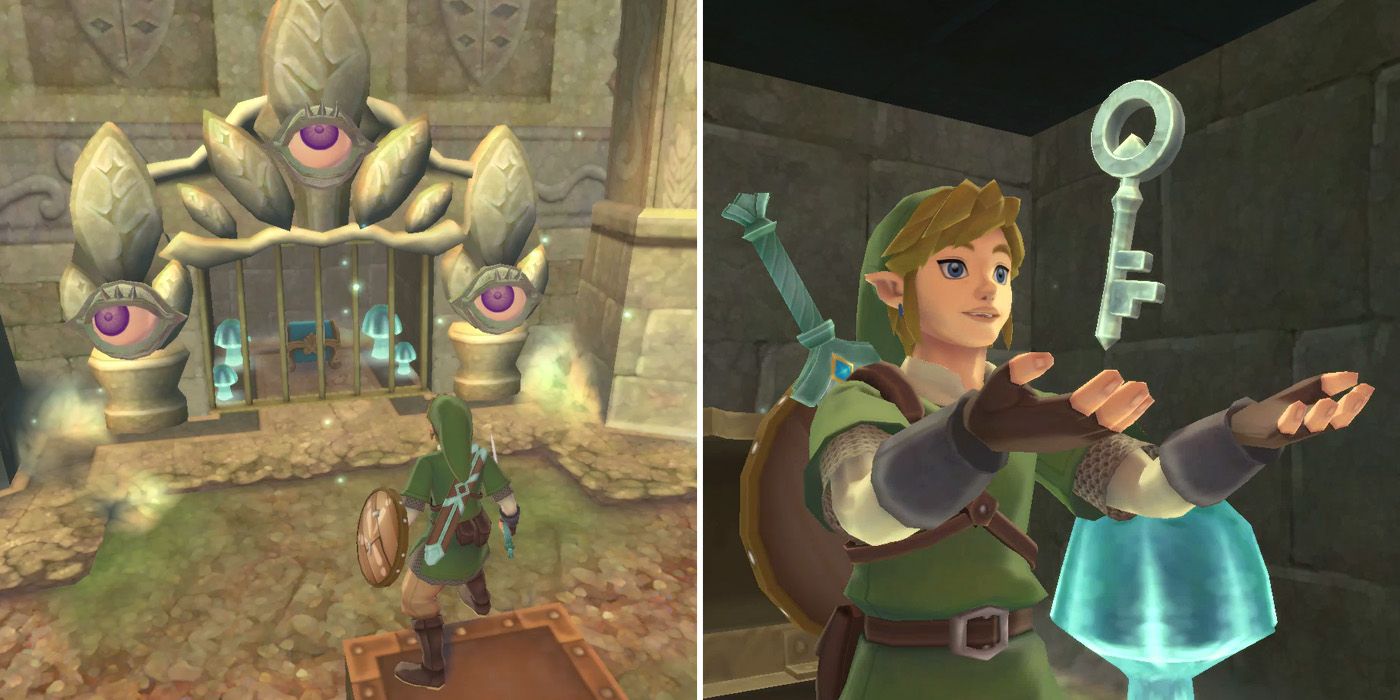
By pushing the crate into the center of the room and then climbing on it, players will be able to position Link so that all three Eye Guardians are focussing on his sword. From here, it's a simple case of spinning it around until they get dizzy and then opening the chest to acquire another Small Key. That's all there is to do in this room, so players can exit as soon as they have the key.
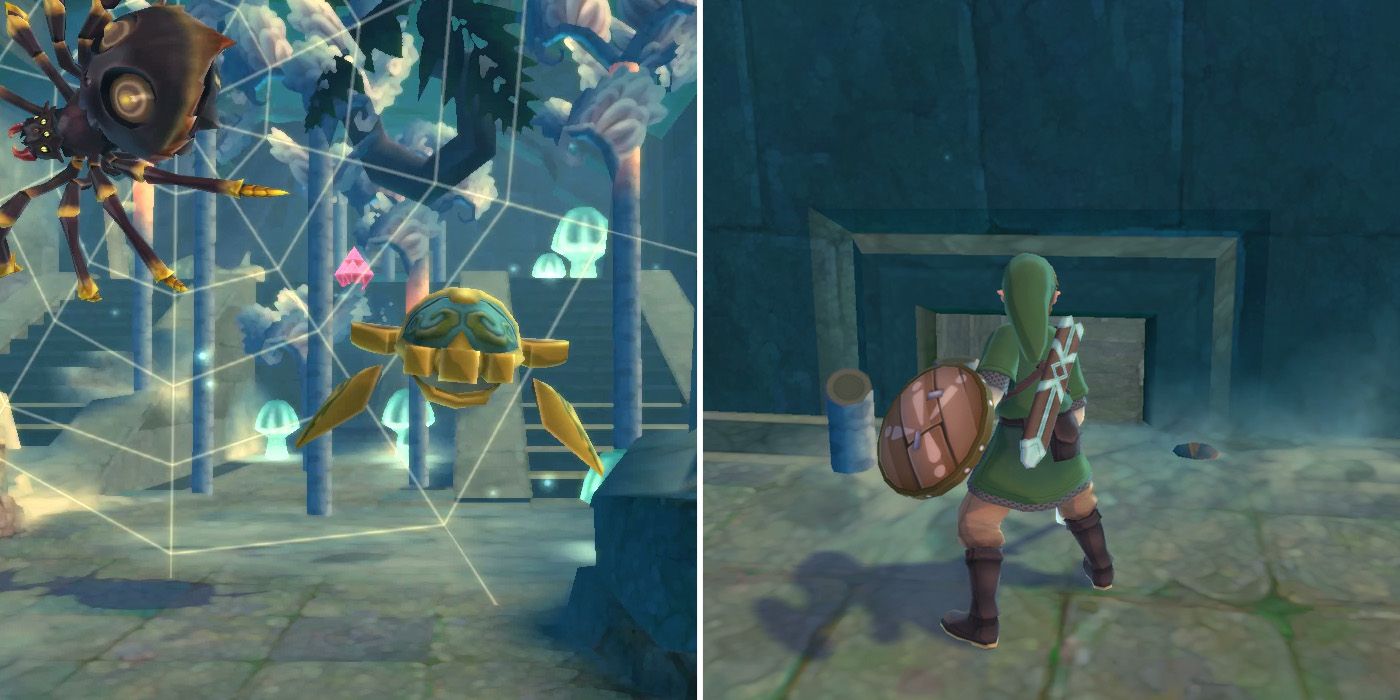
Immediately after exiting the room, players will see a Skulltula above them as well well as another red crystal off in the distance. They'll need to use the beetle to hit the red crystal, which will raise the water level again and allow Link to swim up to the top path. Killing the Skulltula can be a bit tricky due to its orientation, so it's easier to just walk through the web and tank a hit and then deal with the spider from behind. At the far end of the room, there's a tunnel behind some trees that Link can crawl through to return to the main chamber.
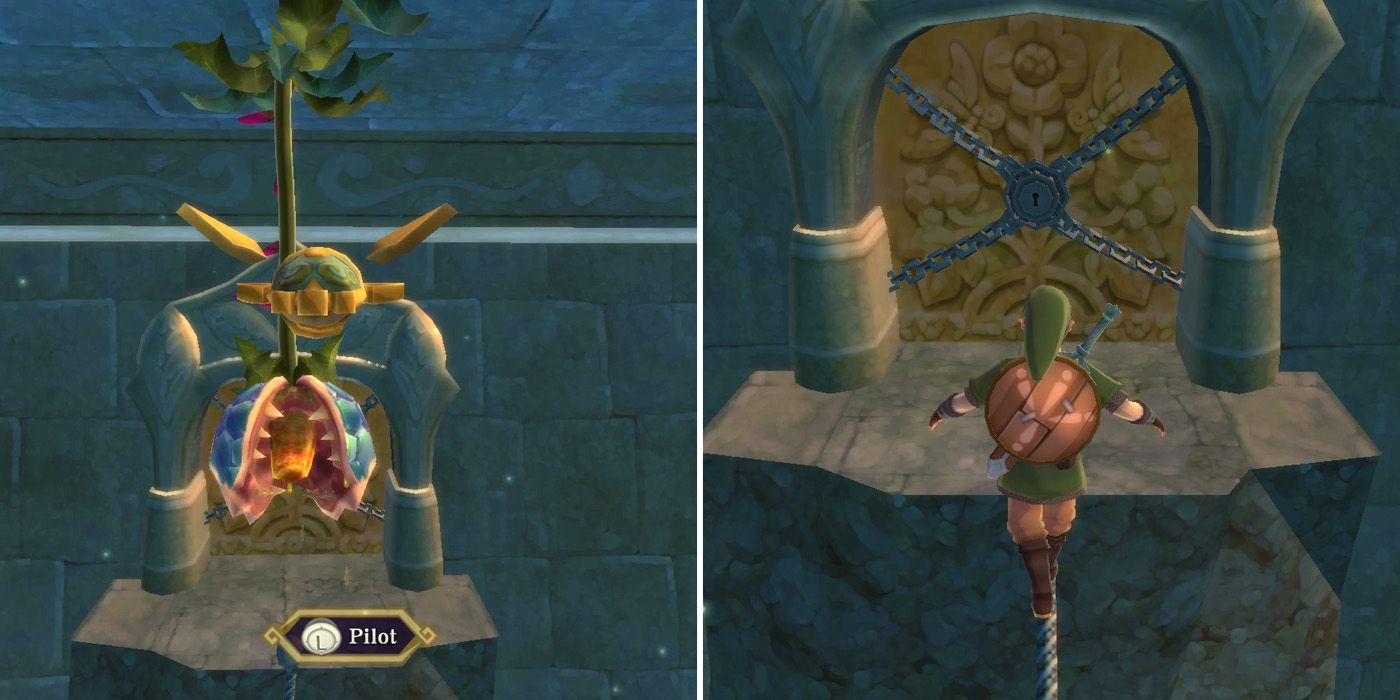
The key door is on the right side of the main chamber, but Link will need to walk across a tightrope to get to it. To make matters worse, there are a bunch of Deku Babas hanging from the ceiling just waiting to knock the hero down into the pit below. Thankfully, players can use the beetle to cut their vines, allowing Link to cross the tightrope unscathed and make his way through the key door.
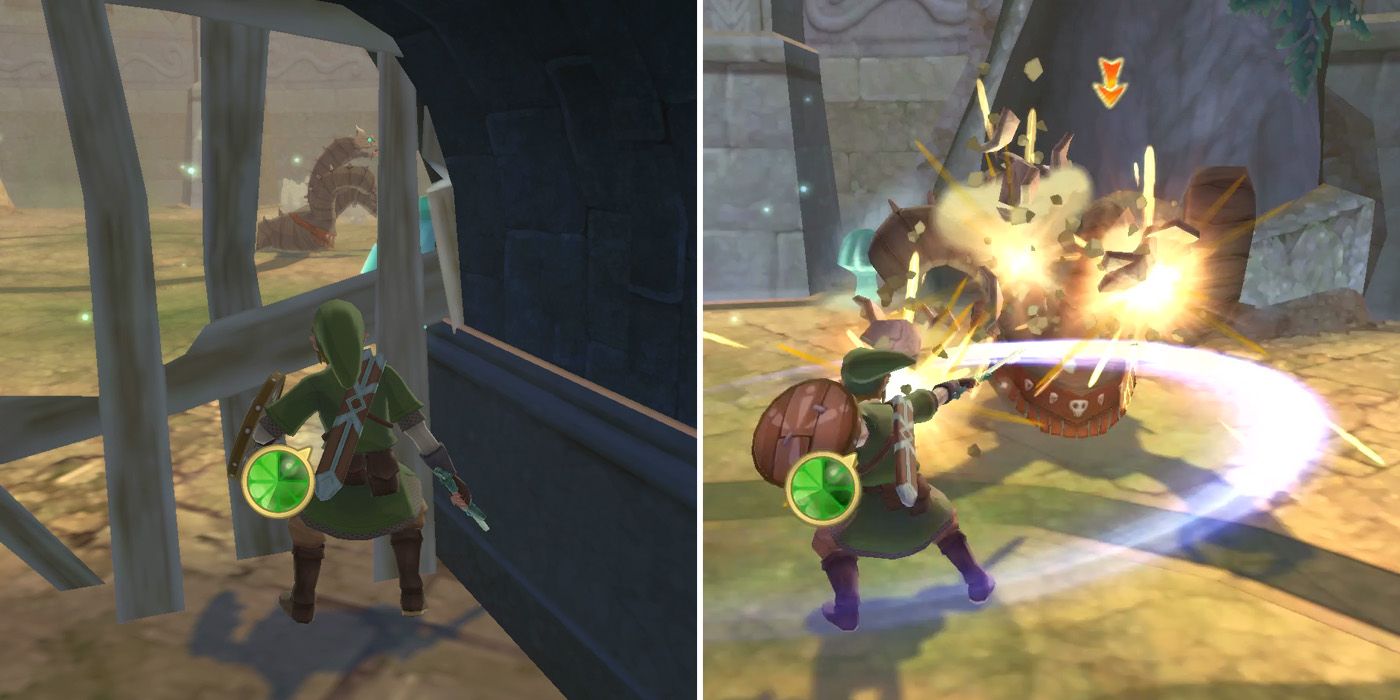
After slicing through some wooden planks, players will encounter a new three-headed enemy in the next room. To kill the Staldra, players just need to cut off all three of its heads at one time, meaning horizontal slices or spin attacks are the best course of action. Once it's dead, the door will open, allowing players to move on to the final large chamber.
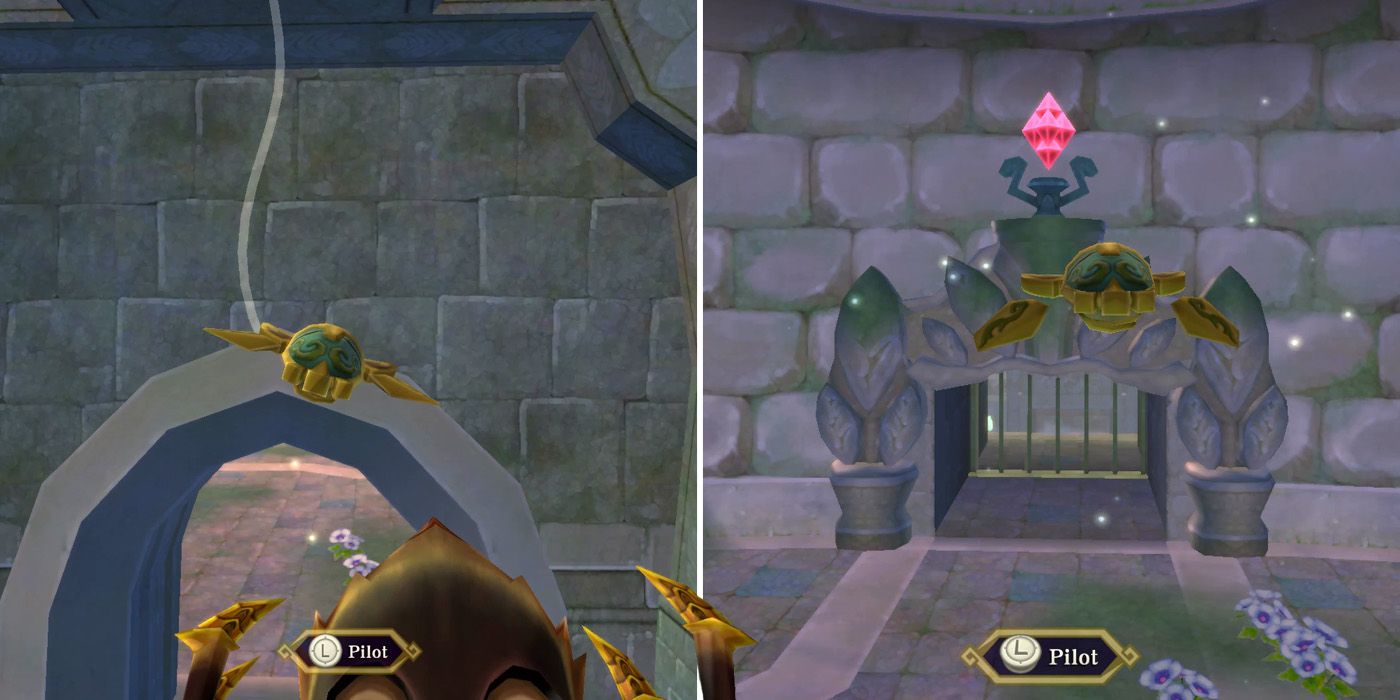
Players should kill the Green Bokoblin with their sword and then use the beetle to cut the string of the dangling Skulltula so that they can jump across to the next area. There's a red crystal above the door to the left which can be hit with the beetle to open up a route back to an earlier part of the dungeon, but this is once again entirely optional.
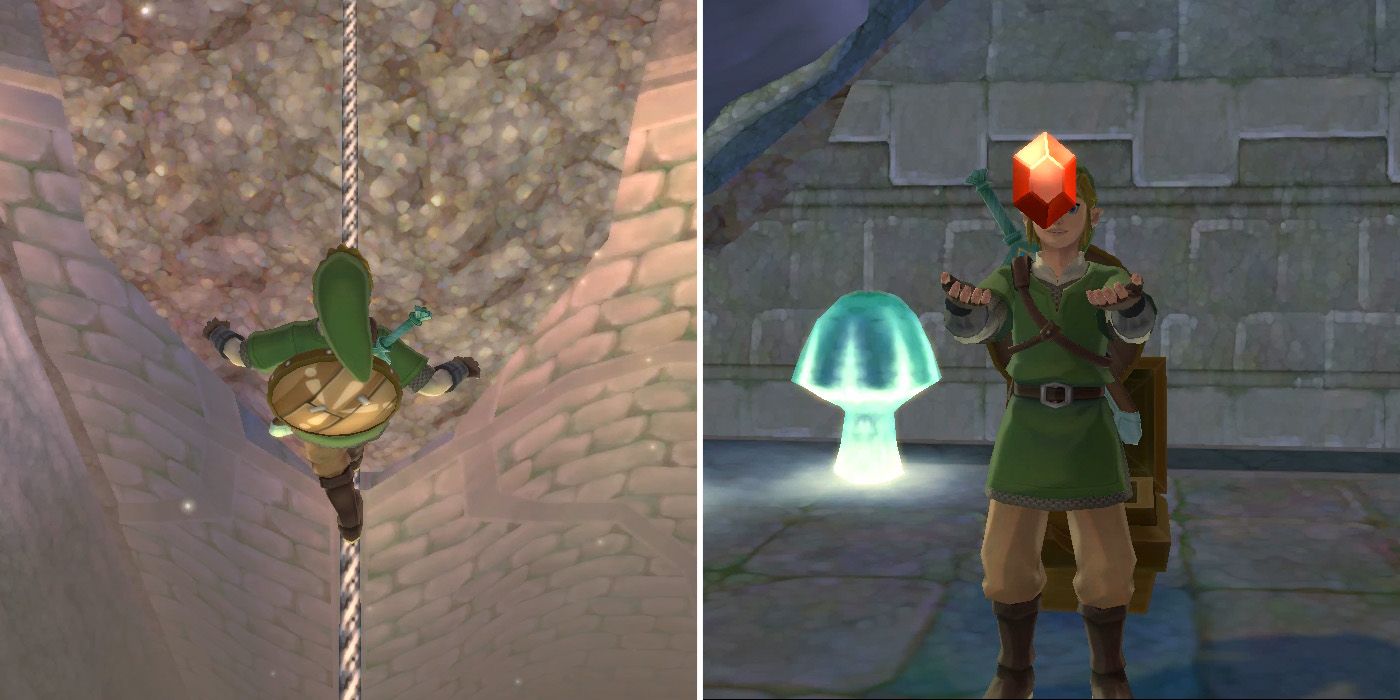
The path forward is across the tightrope, but rather than rushing across, players should step out until the Green Bokoblin decides to climb across and then return to solid land and knock him off. With the path now clear, players can cross the tightrope unharmed and help themselves to the red Rupee in the chest to the left of the boss door.
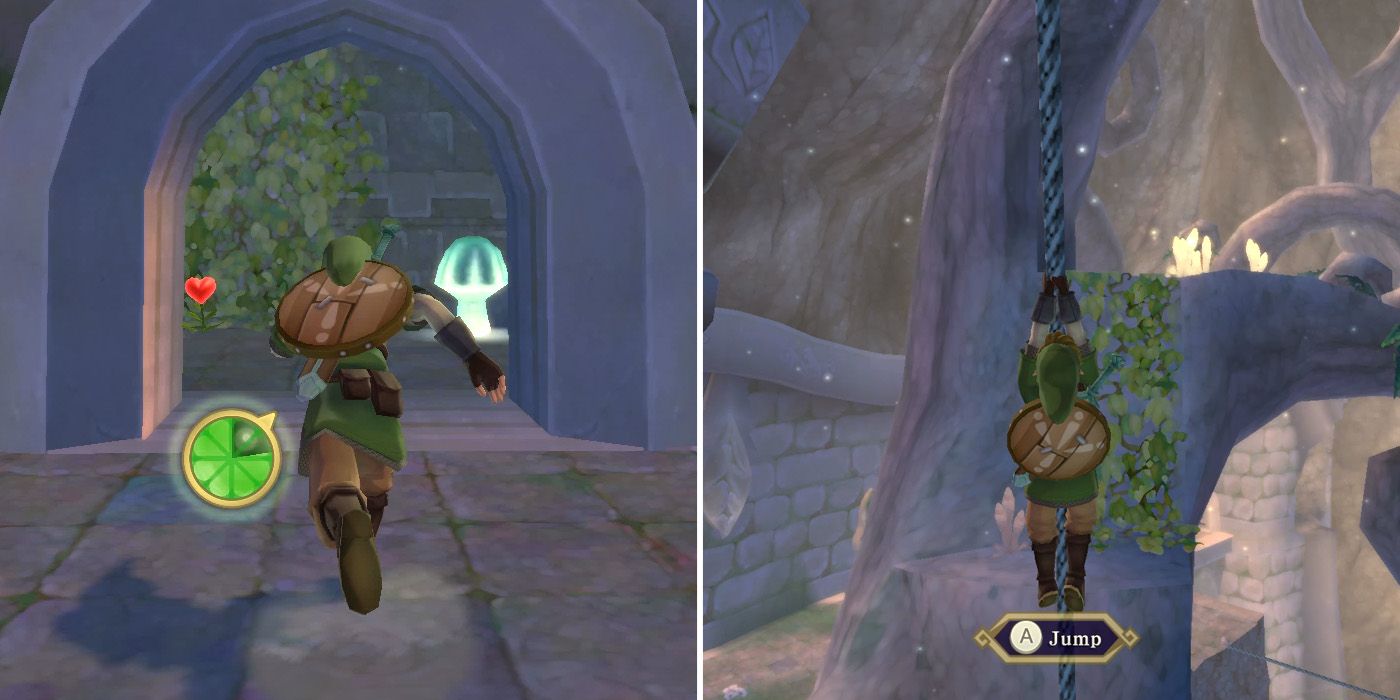
After collecting the Rupee, players need to head through the opposite archway and climb up the green vines. At the top, they'll see a rope attached to the rock and should cut this with their sword so that it hangs freely from the ceiling. Next, they'll want to jump and grab it and then reposition Link a little so that he's facing the platform with the vines that's slightly to his right. Players can then swing across and follow the path along the tree branch until they hit a dead end.
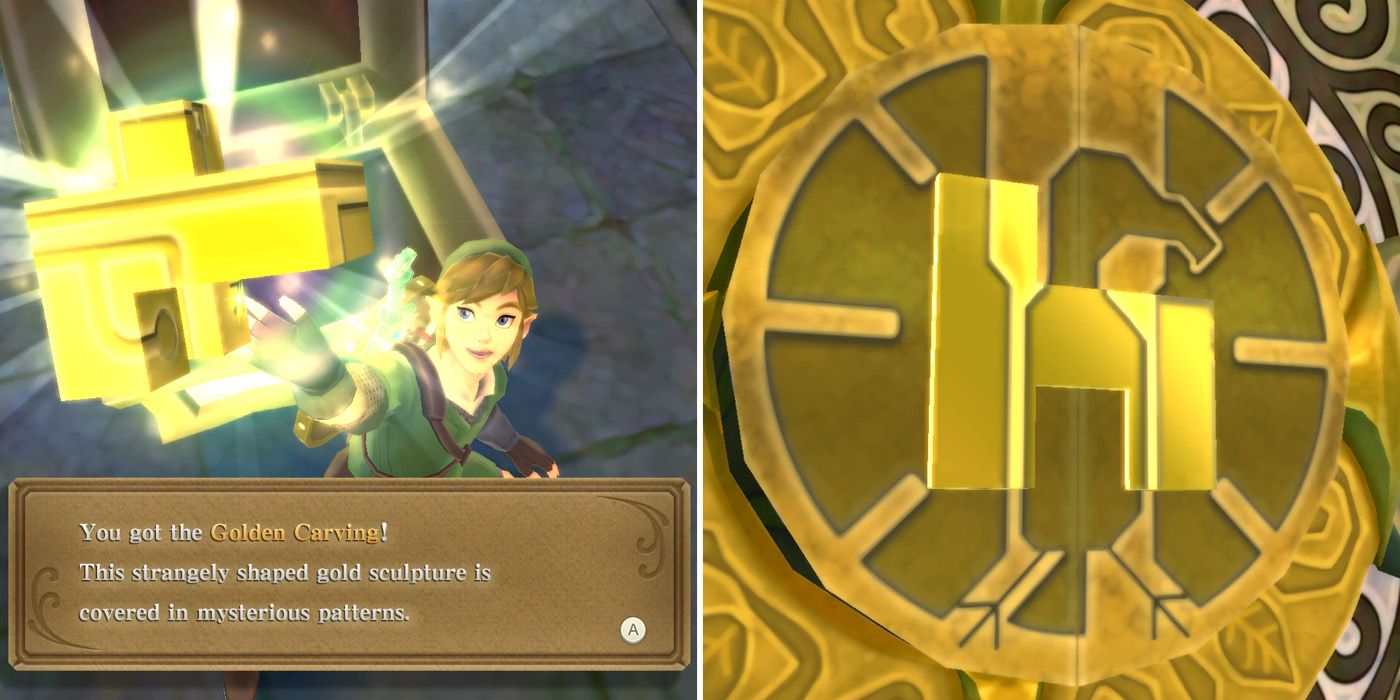
Here, players need to use either their slingshot or the beetle to lower the two green vines and then swing across them to get to the chest containing the Golden Carving. After opening the chest, they'll have to climb the vines to get back to the main chamber. At this point players can use the Golden Carving with the boss door, rotating the analog sticks so that it fits into the hole and unlocks the door.
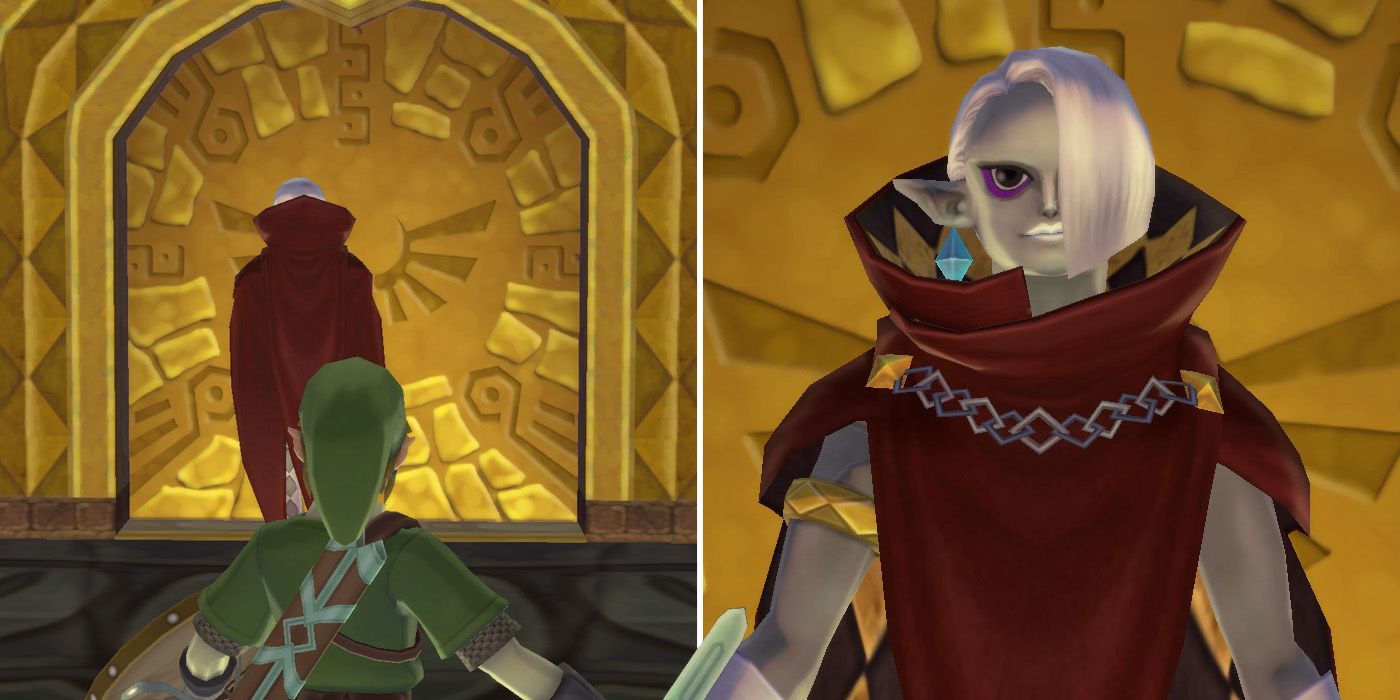
After entering the boss chamber, players will be greeted with a short cutscene in which they are introduced to the game's main villain, Ghirahim. This initial fight against him has two different phases, the first of which sees him grabbing Link's sword and hurling it straight back at him. If players are sharp with their movement though, he can be dealt with pretty quickly.
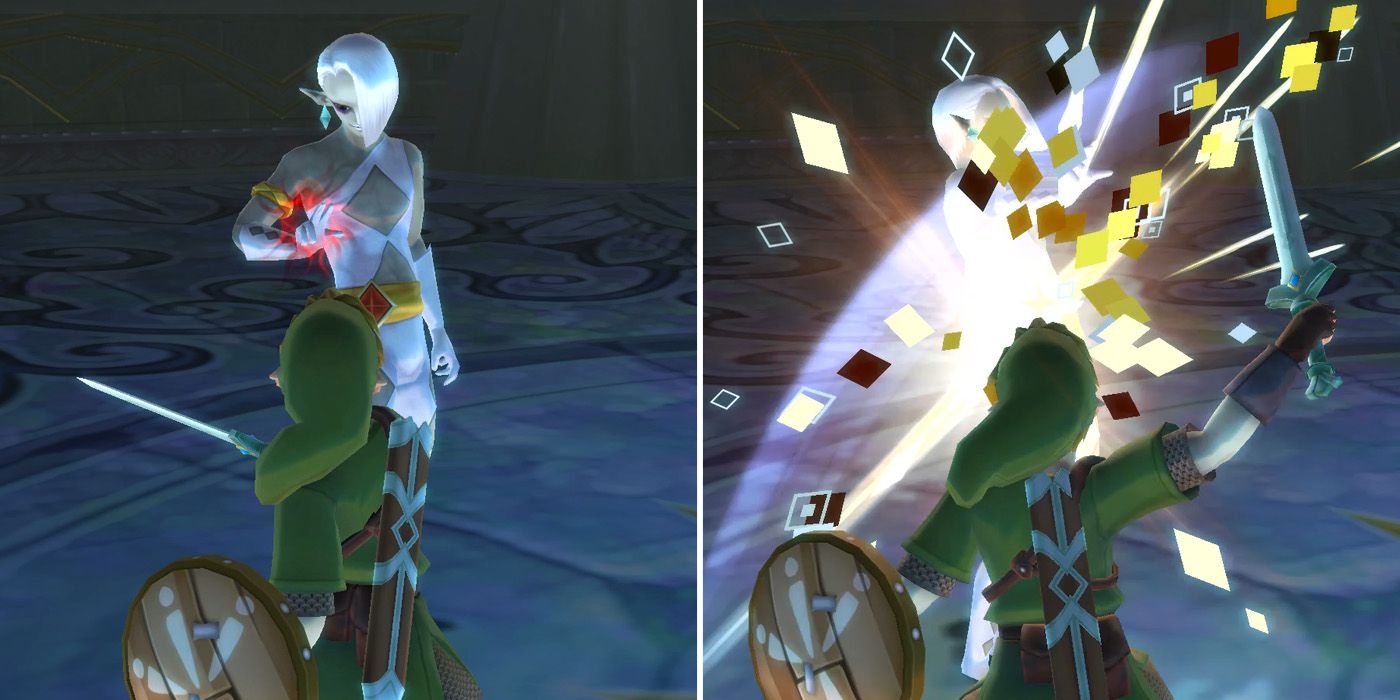
In the first phase, Ghirahim won't really attack unless provoked, with the boss instead walking towards Link with his hand out ready to grab his sword. The key to damaging him is to quickly switch the position of Link's sword, holding it either to the left or the right and then quickly slashing in the opposite direction. If Ghirahim does grab the sword, players can get him to release it by centering it and then pulling it up on the analog stick. Even if he yanks it from Link's hands though, it's fairly easy to dodge when he throws it.
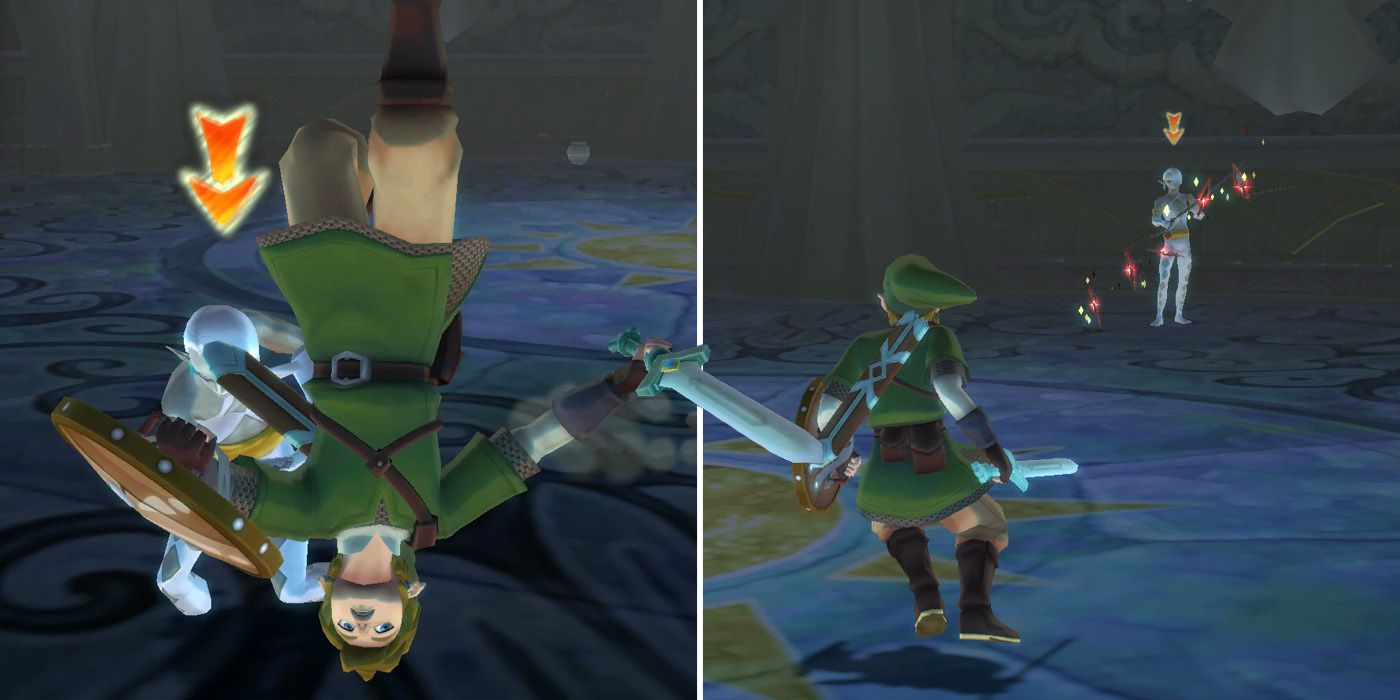
After enough damage has been dealt, the second phase of the fight will begin. Here, Ghirahim has three attacks. The first sees him charge headfirst into Link and can be dodged by running or rolling or blocked with a shield. When he's not charging, he'll sometimes summon red daggers instead, but these too can be dodged or blocked fairly easily or deflected with a well-timed sword slash.
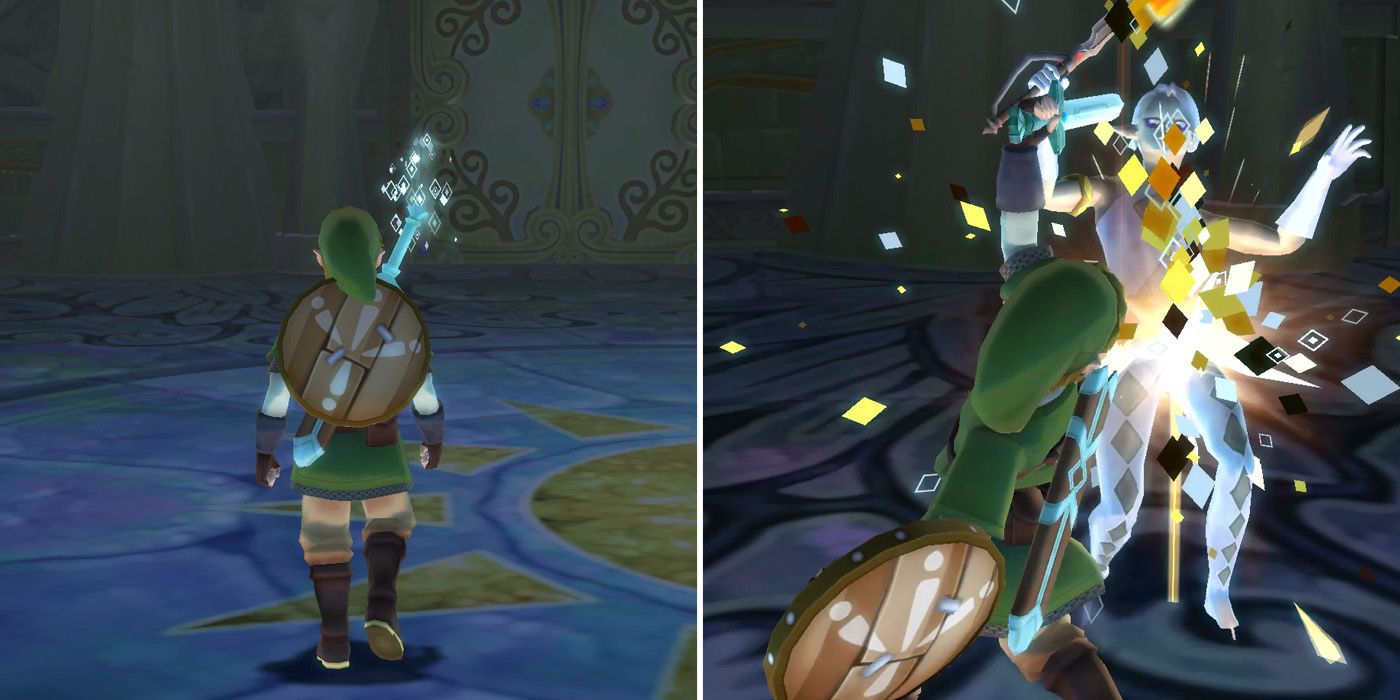
It's possible to deal a little damage immediately after either of these attacks, but the best time to hurt Ghirahim is when he's preparing for his third attack. Here, he'll teleport right next to Link and prepare to dish out a powerful sword blow, but there's a short window before he strikes where players can land four or five easy hits. It's best to use vertical slashes for this if possible, as they tend to be a little faster. If players are able to get in a few attacks immediately after Ghirahim teleports, he will teleport away without actually attacking, so players don't need to worry about getting greedy.
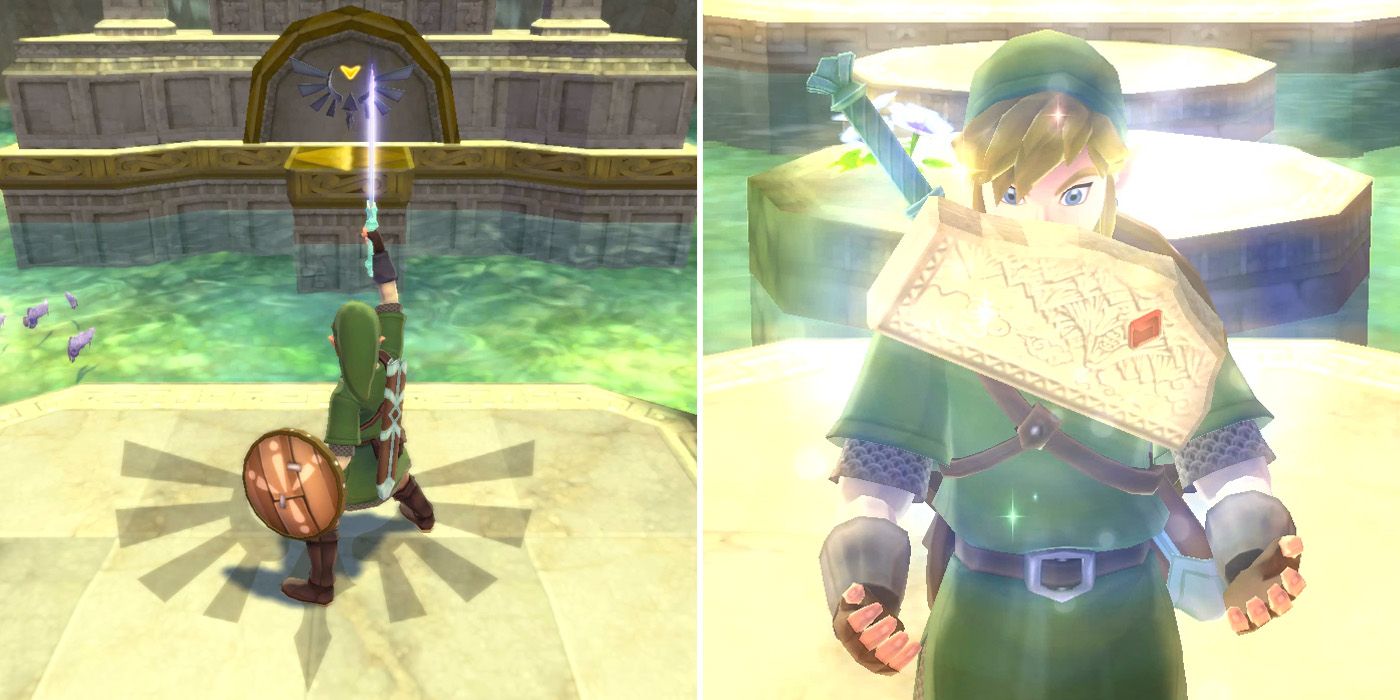
After a few minutes of this, the battle will end and Ghirahim will teleport away to continue his pursuit of Zelda. Players can now collect the heart that appears and then follow the path to the Skyview Spring. Here, they'll need to perform Skyward Strike on the rune which will trigger another short cutscene. Once it's over, Link receives the Ruby Tablet and will then be teleported back to the temple's main entrance; ready to return to Skyloft.
NEXT: The Legend of Zelda: Skyward Sword HD - How to Get Hylian Shield

