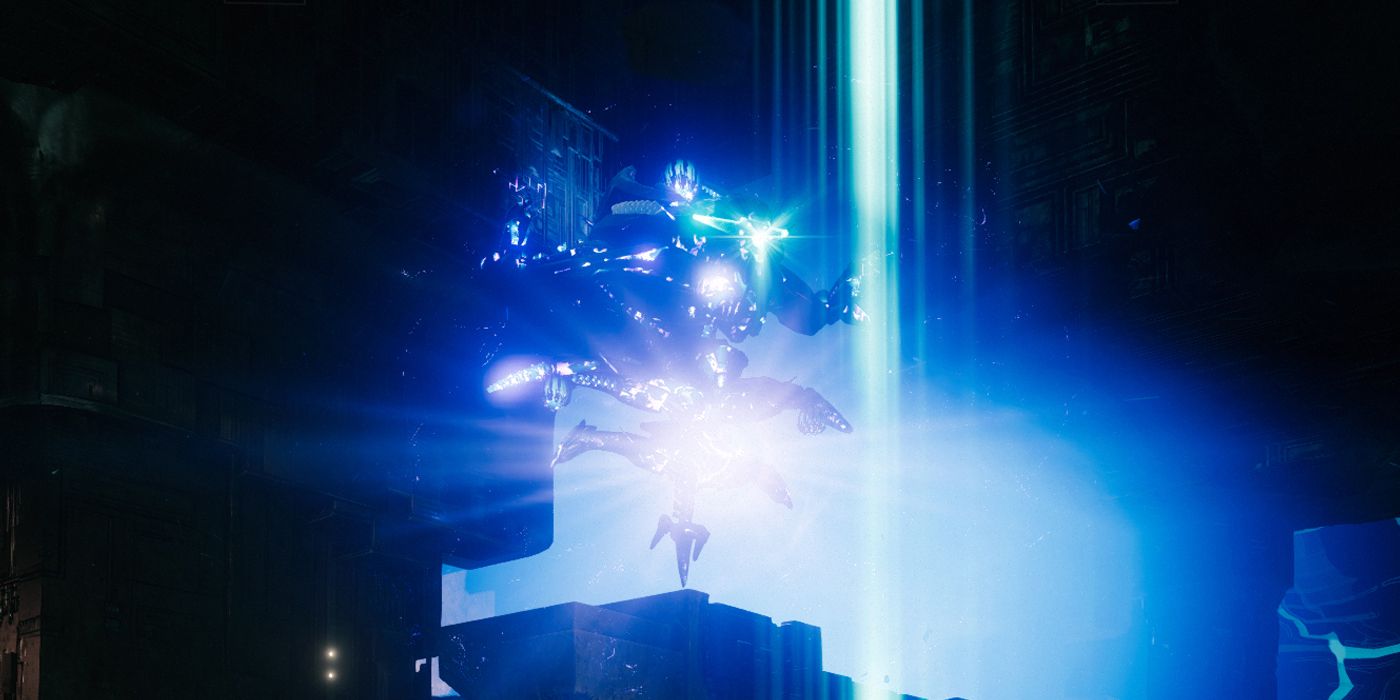
The first Raid activity in Destiny history, the Vault of Glass, has returned in Destiny 2 with fresh takes on the classic encounters and mechanics. After players have overcome the Oracles and their songs, players will have to defeat the Templar in this Raid’s first boss fight.
Since the Raid’s release in Destiny 2, players have been trying to complete the encounters in weird and challenging ways. It also recently got an even harder Master difficulty mode which rewards players with a Timelost weapon variant.
RELATED: Destiny 2 Player Solo Kills Atheon With Crazy Strategy
After completing the first two major encounters of the Vault of Glass, Destiny 2 players will need to finally defeat the Templar boss that will have been appearing throughout these encounters to get to the rest of the Raid. This encounter requires powerful loadouts and good communication to ensure that the Templar is defeated as quickly as possible.
While there is an intended way that the Templar should be beaten that involves some more complex mechanics, players can skip some of them and focus purely on nuking the Templar to defeat it in one phase. This method is what will be described below as it is by far the easiest way of tackling the encounter, provided Destiny 2 players have a good selection of weapons and Subclasses, and communicate effectively. It also happens to be the exact method for completing the “Out of Its Way” Templar Raid Challenge.
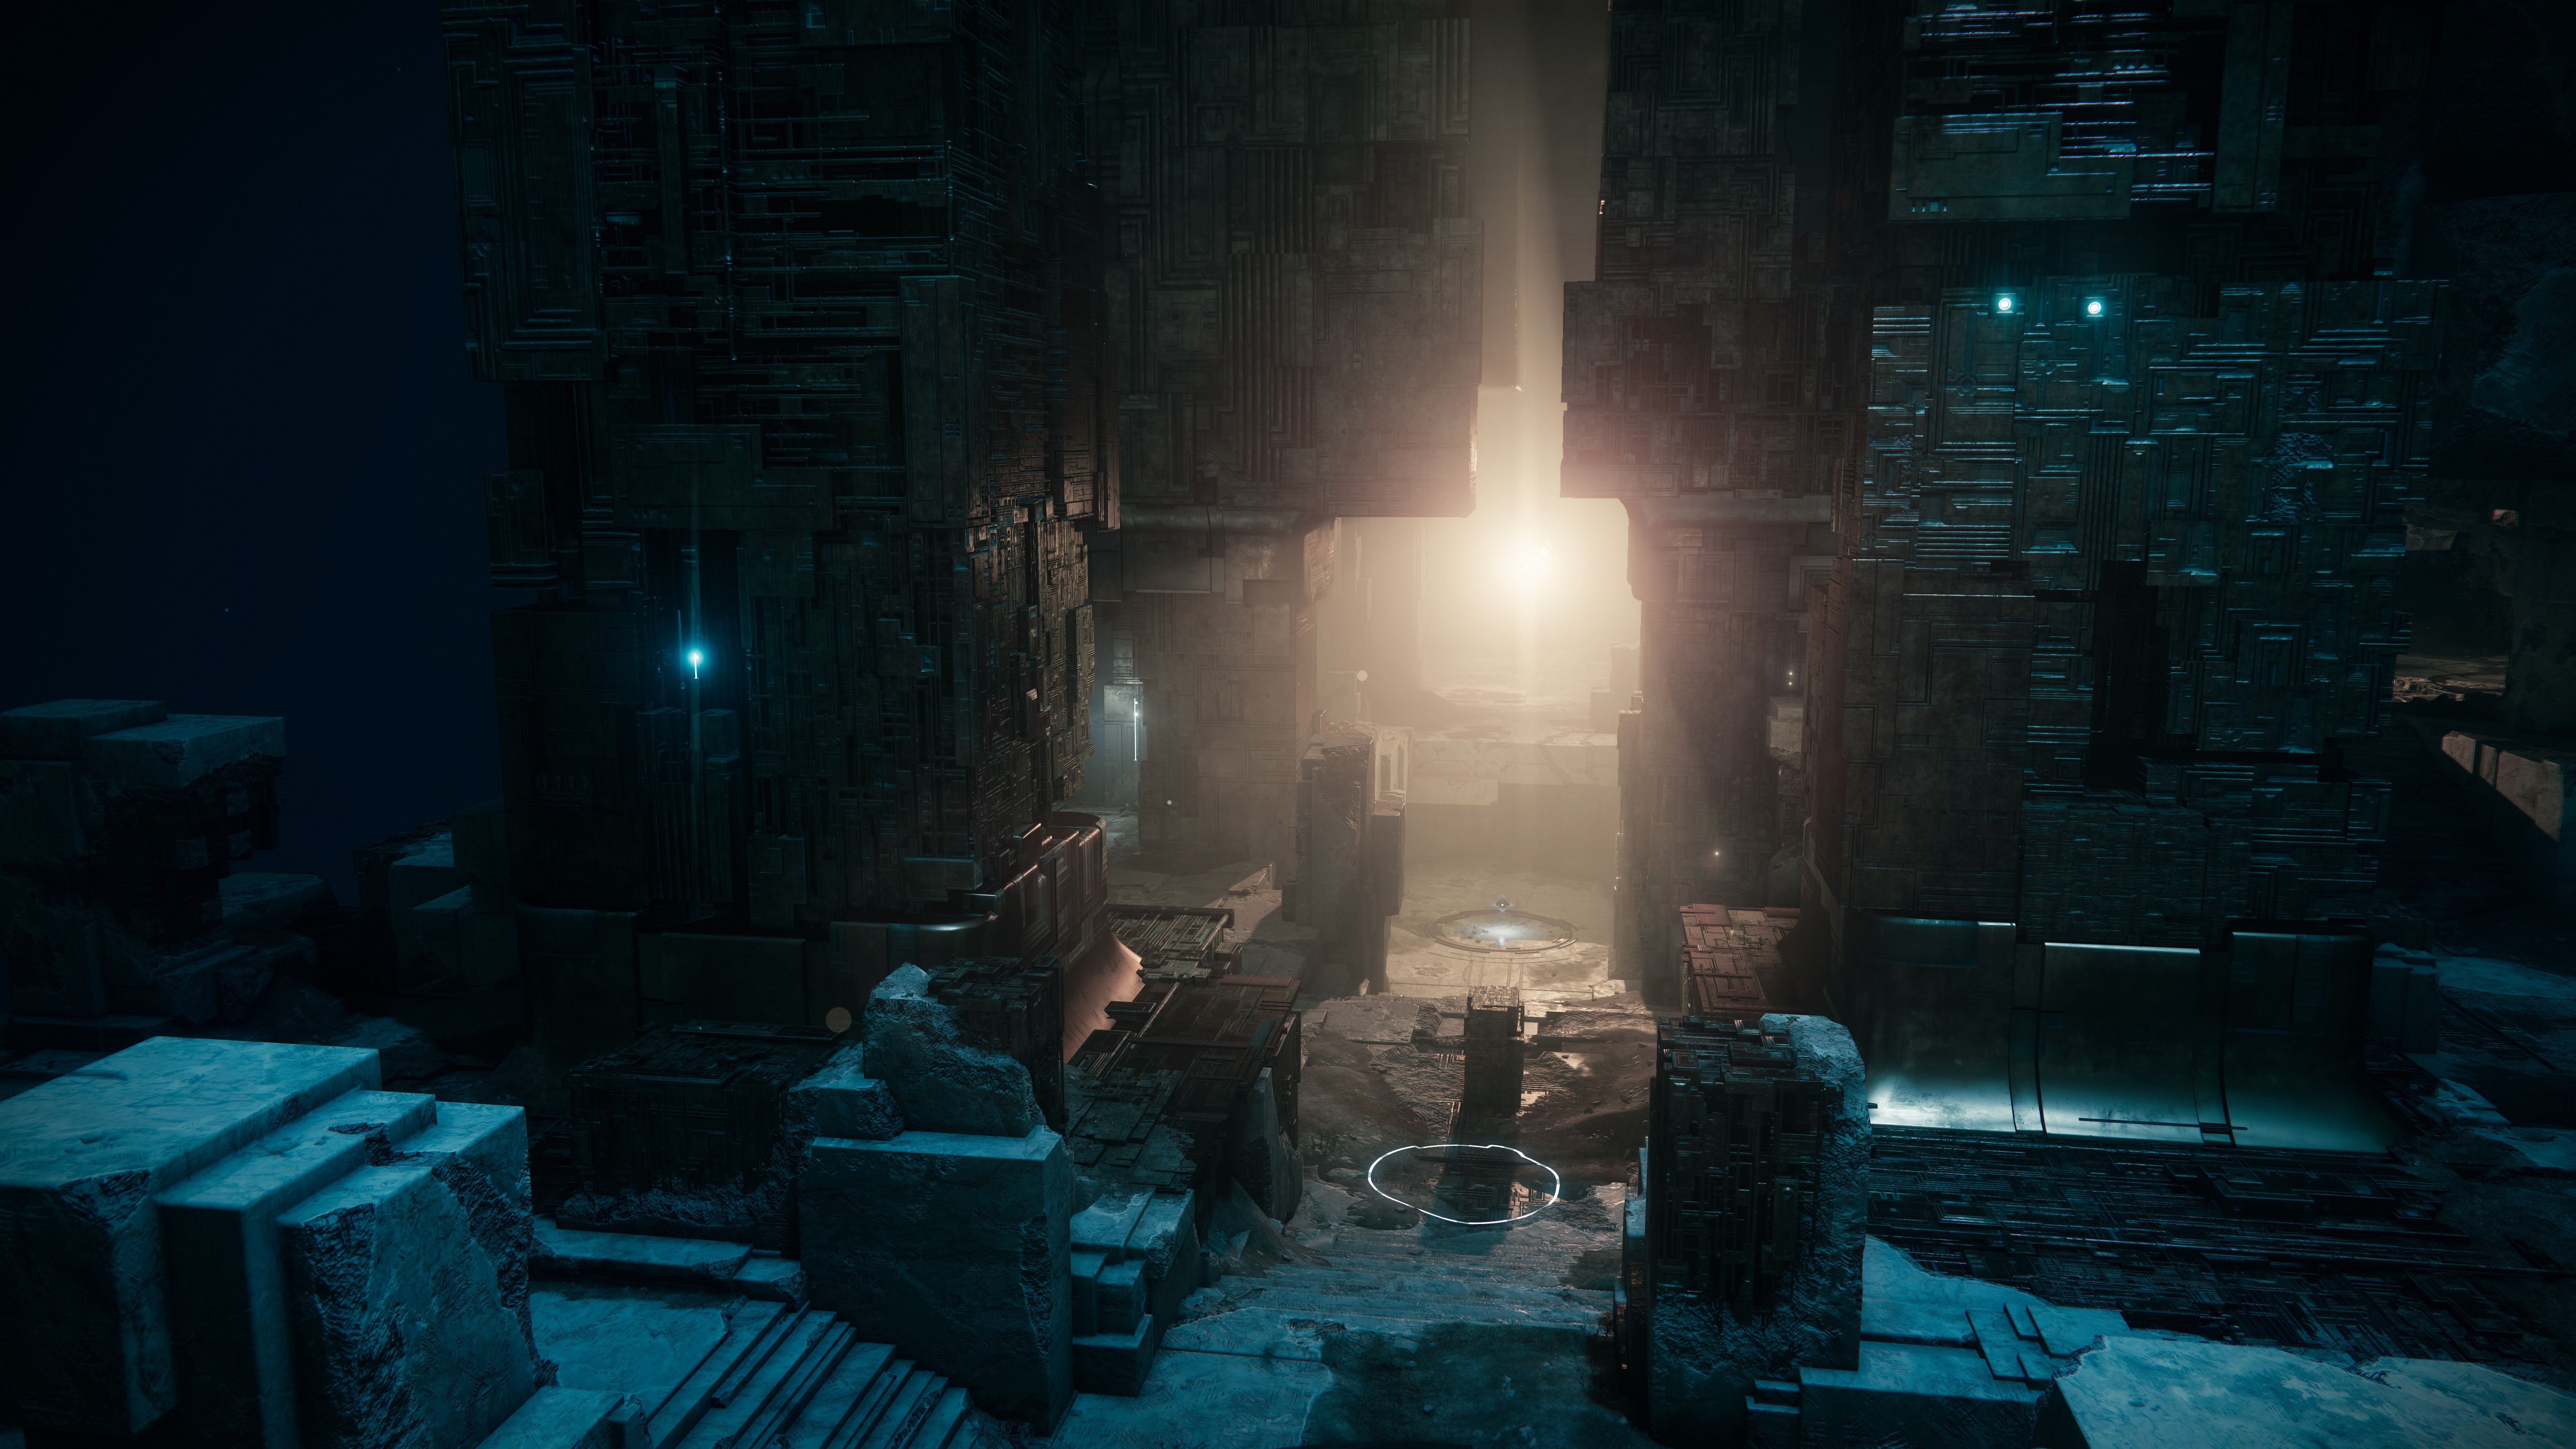
Here is a basic rundown of all the steps to defeat the Templar in the Vault of Glass:
- The whole team should start the encounter by hiding in the central pit area where the cleansing pool is, even while the Oracles are spawning in.
- As soon as the Oracles destroy themselves and players become “Marked for Negation”, everyone needs to run and jump out of the pit and set up for damage.
- The Relic holder will use the Relic’s Super ability to destroy the Templar’s shield, and all the other players can begin damaging the Templar.
- Meanwhile, the Relic holder will jump around the arena looking for red rings and standing in them to prevent the Templar from teleporting.
- With strong enough damage, the team should be able to destroy the Templar before they are marked and killed by the second wave of Oracles.
- Once the Templar is dead, a loot chest will appear towards the circular door at the back of the arena.
Completing this encounter using the above method requires all players to use their most powerful weapons and Supers to destroy the Templar as quickly as possible. Thundercrash with Cuirass of the Falling Star, Chaos Reach with Geomag Stabilizers, and Golden Gun with Celestial Nighthawk are the best damage Super options for tearing chunks out of the Templar.
For support Supers, one or two Wells of Radiance are essential to keeping Destiny 2 players alive as the Templar will be constantly bombarding the team with attacks. A Ward of Dawn off to the side of the Well or Banner Shield can be useful for providing the maximum damage buff possible.
As for other weapons, Anarchy and a double-Slug Shotgun loadout will provide the best possible damage per second, although this means the Well of Radiance Warlocks will also need to be using Lunafaction Boots for the boosted weapon range. Alternatively, players could use a special ammo Grenade Launcher with the Breach and Clear Artifact Mod equipped to increase damage against the Templar, and then switch to an Exotic heavy weapon such as Xenophage, or Deathbringer.
If players have completed the confluxes and Oracles encounters, the Templar boss fight’s mechanics will already be familiar except for the addition of the Relic shield. To start the encounter, one player needs to pick up the Relic. While holding it, the player will have a third-person view and can perform a few different melee attacks, a blocking function that creates a bubble, and a Super ability that fires a large orb.
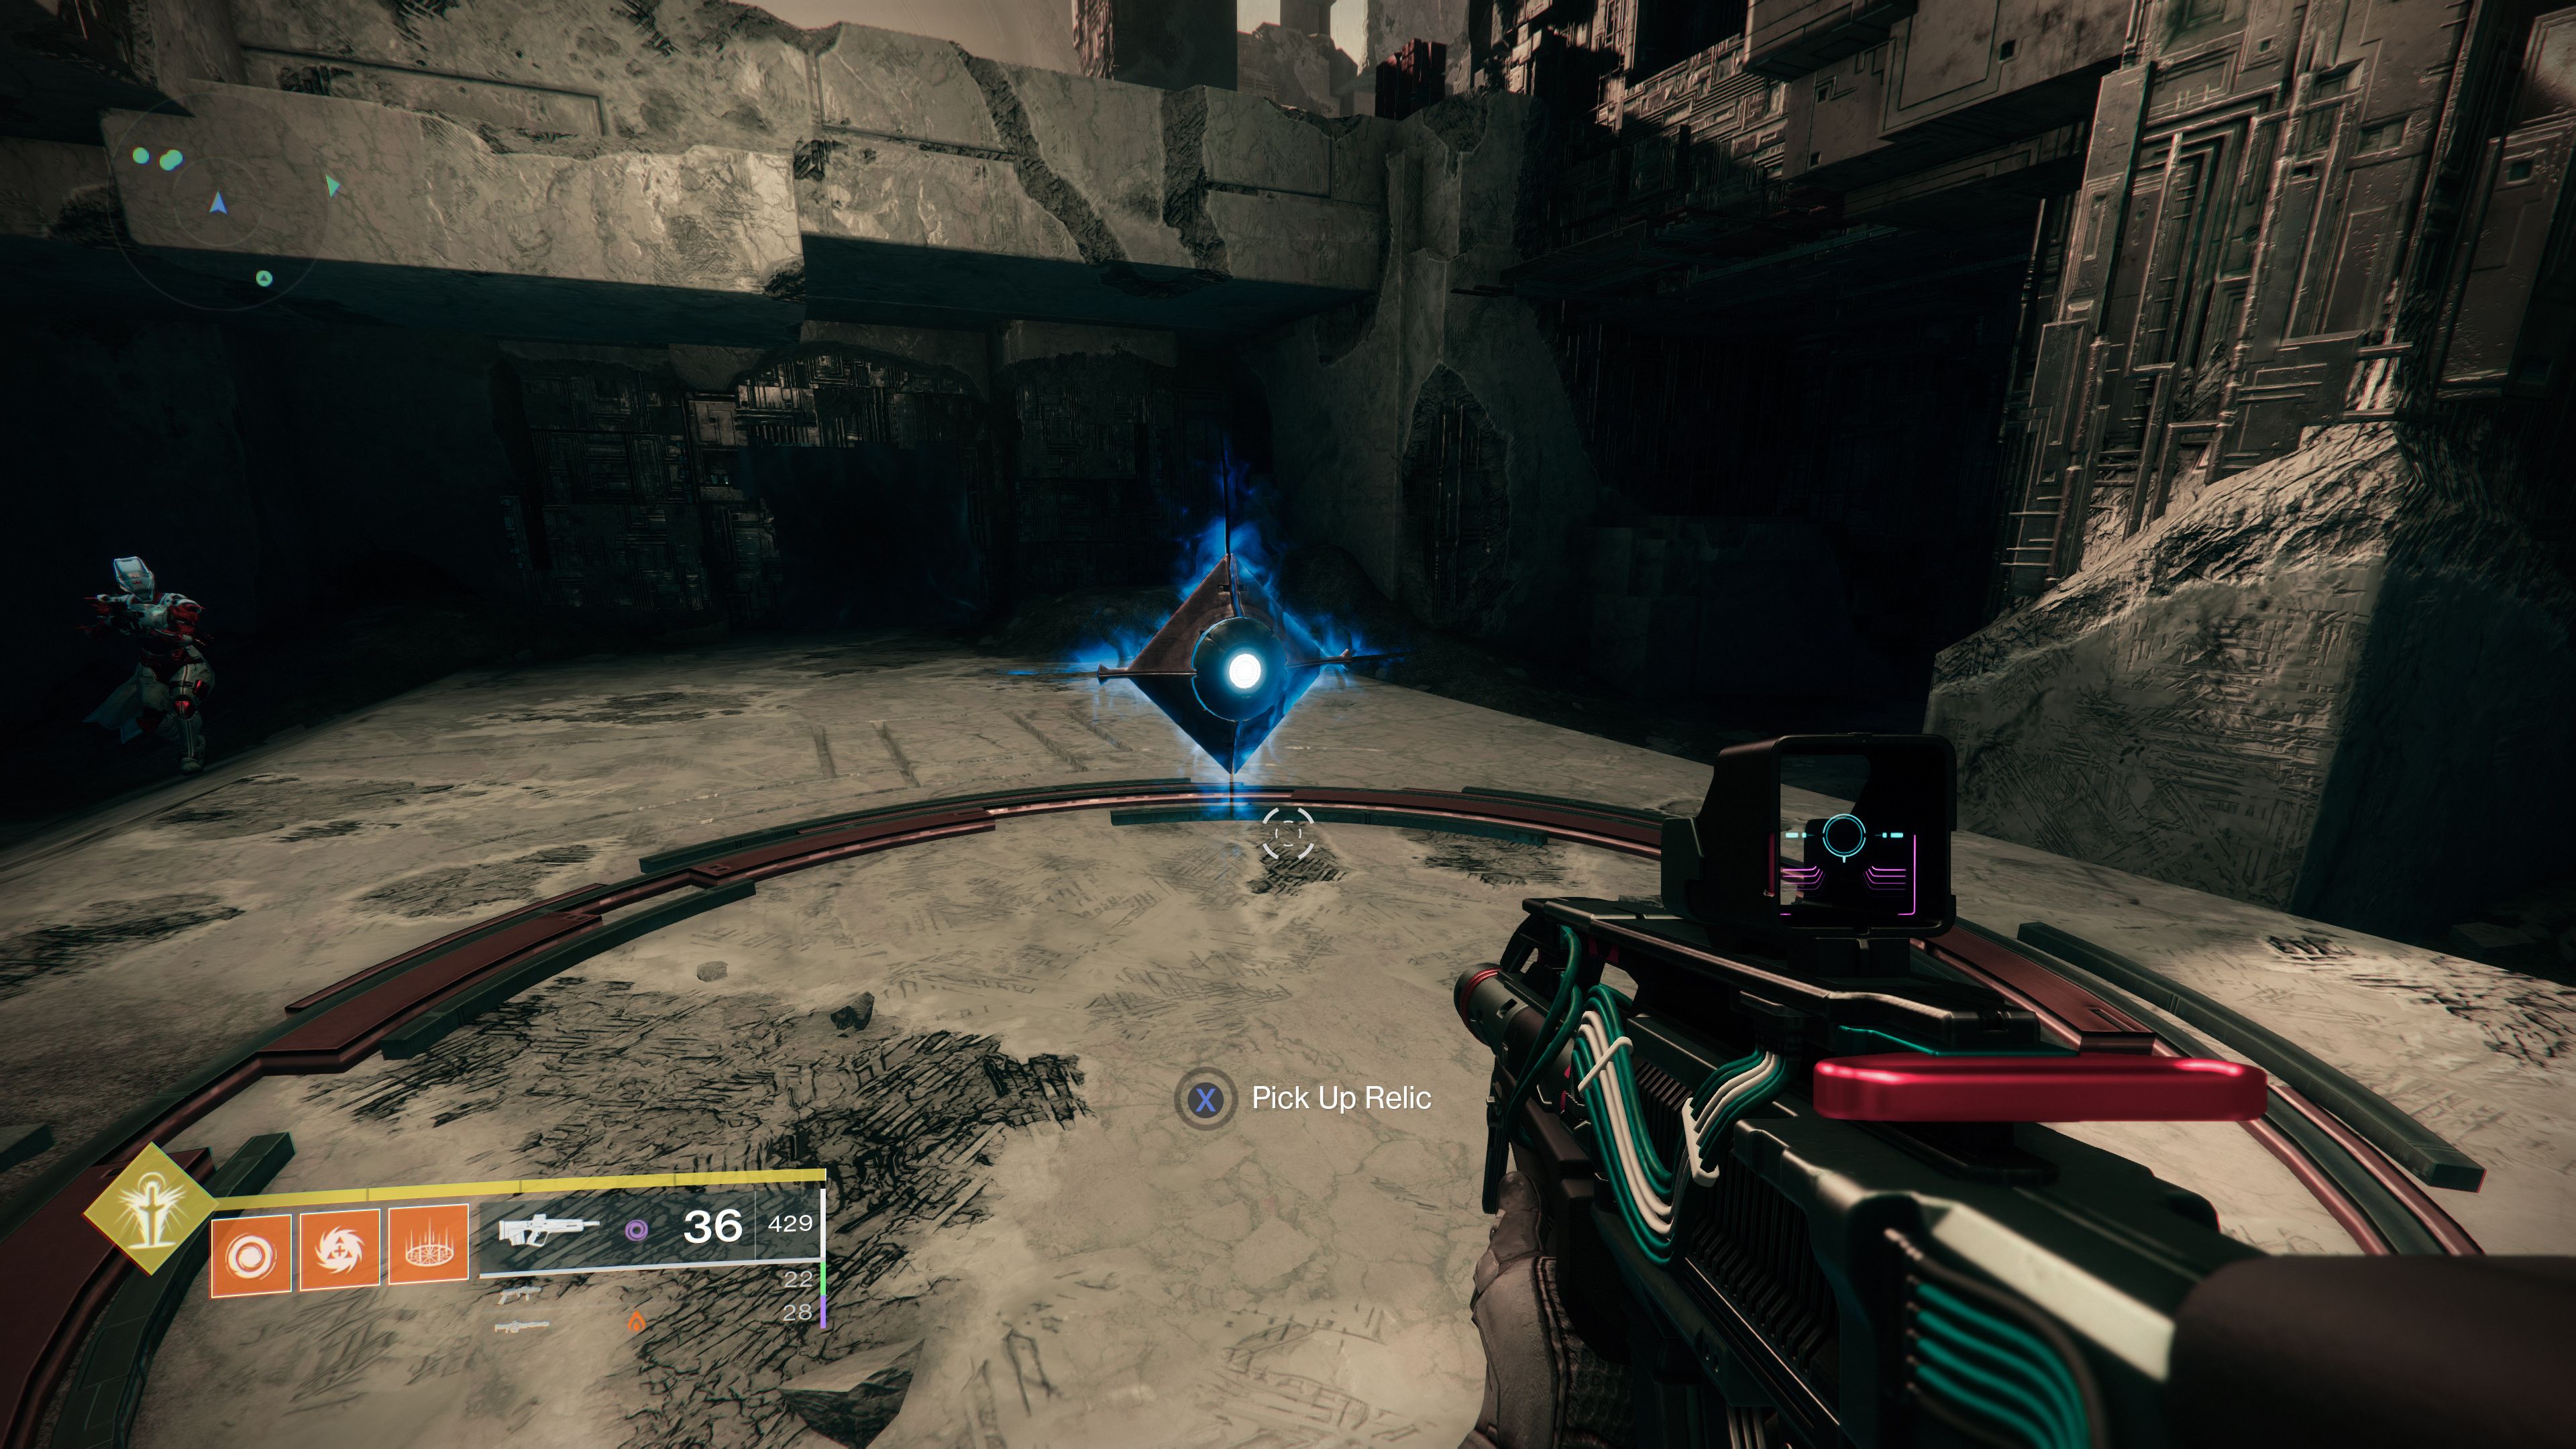
For this encounter, the Relic holder only needs to focus on the Super ability, as it is the only thing that can take down the Templar’s shield. Using the melee attacks to destroy Vex enemies will also help to charge the Super faster, although it does charge very quickly anyway. The Relic can be dropped but doing so will start a 10-second countdown which will end in a team wipe if the Relic is not picked up again.
Grabbing the Relic will also cause the first wave of Oracles to start showing their sequence. These Oracles work exactly like the ones in the previous encounter where they must be destroyed in a particular order and within a certain time, otherwise, they will mark players with a Mark of Negation. As before, the mark can be removed by going into the cleansing pool of light in the center of the Templar’s arena. The Oracles will show up again every so often throughout the boss fight to disrupt damaging the Templar, but they can be completely ignored if players are attempting the one-phase method.
Once players have dealt with the first wave of Oracles, the Relic holder player needs to fire the Super ability at the Templar to allow the rest of the team to deal damage. The Templar is a huge target and stays quite still so it is very easy to hit. The Templar’s only movement method is by teleporting to one of five locations within the arena. It will always start the encounter in the middle, but if it does teleport at any point, it can appear on top of pillars to the left and right of its normal central position or can appear on the left and right corners at the front of the arena where the first conflux appears in the conflux encounter.
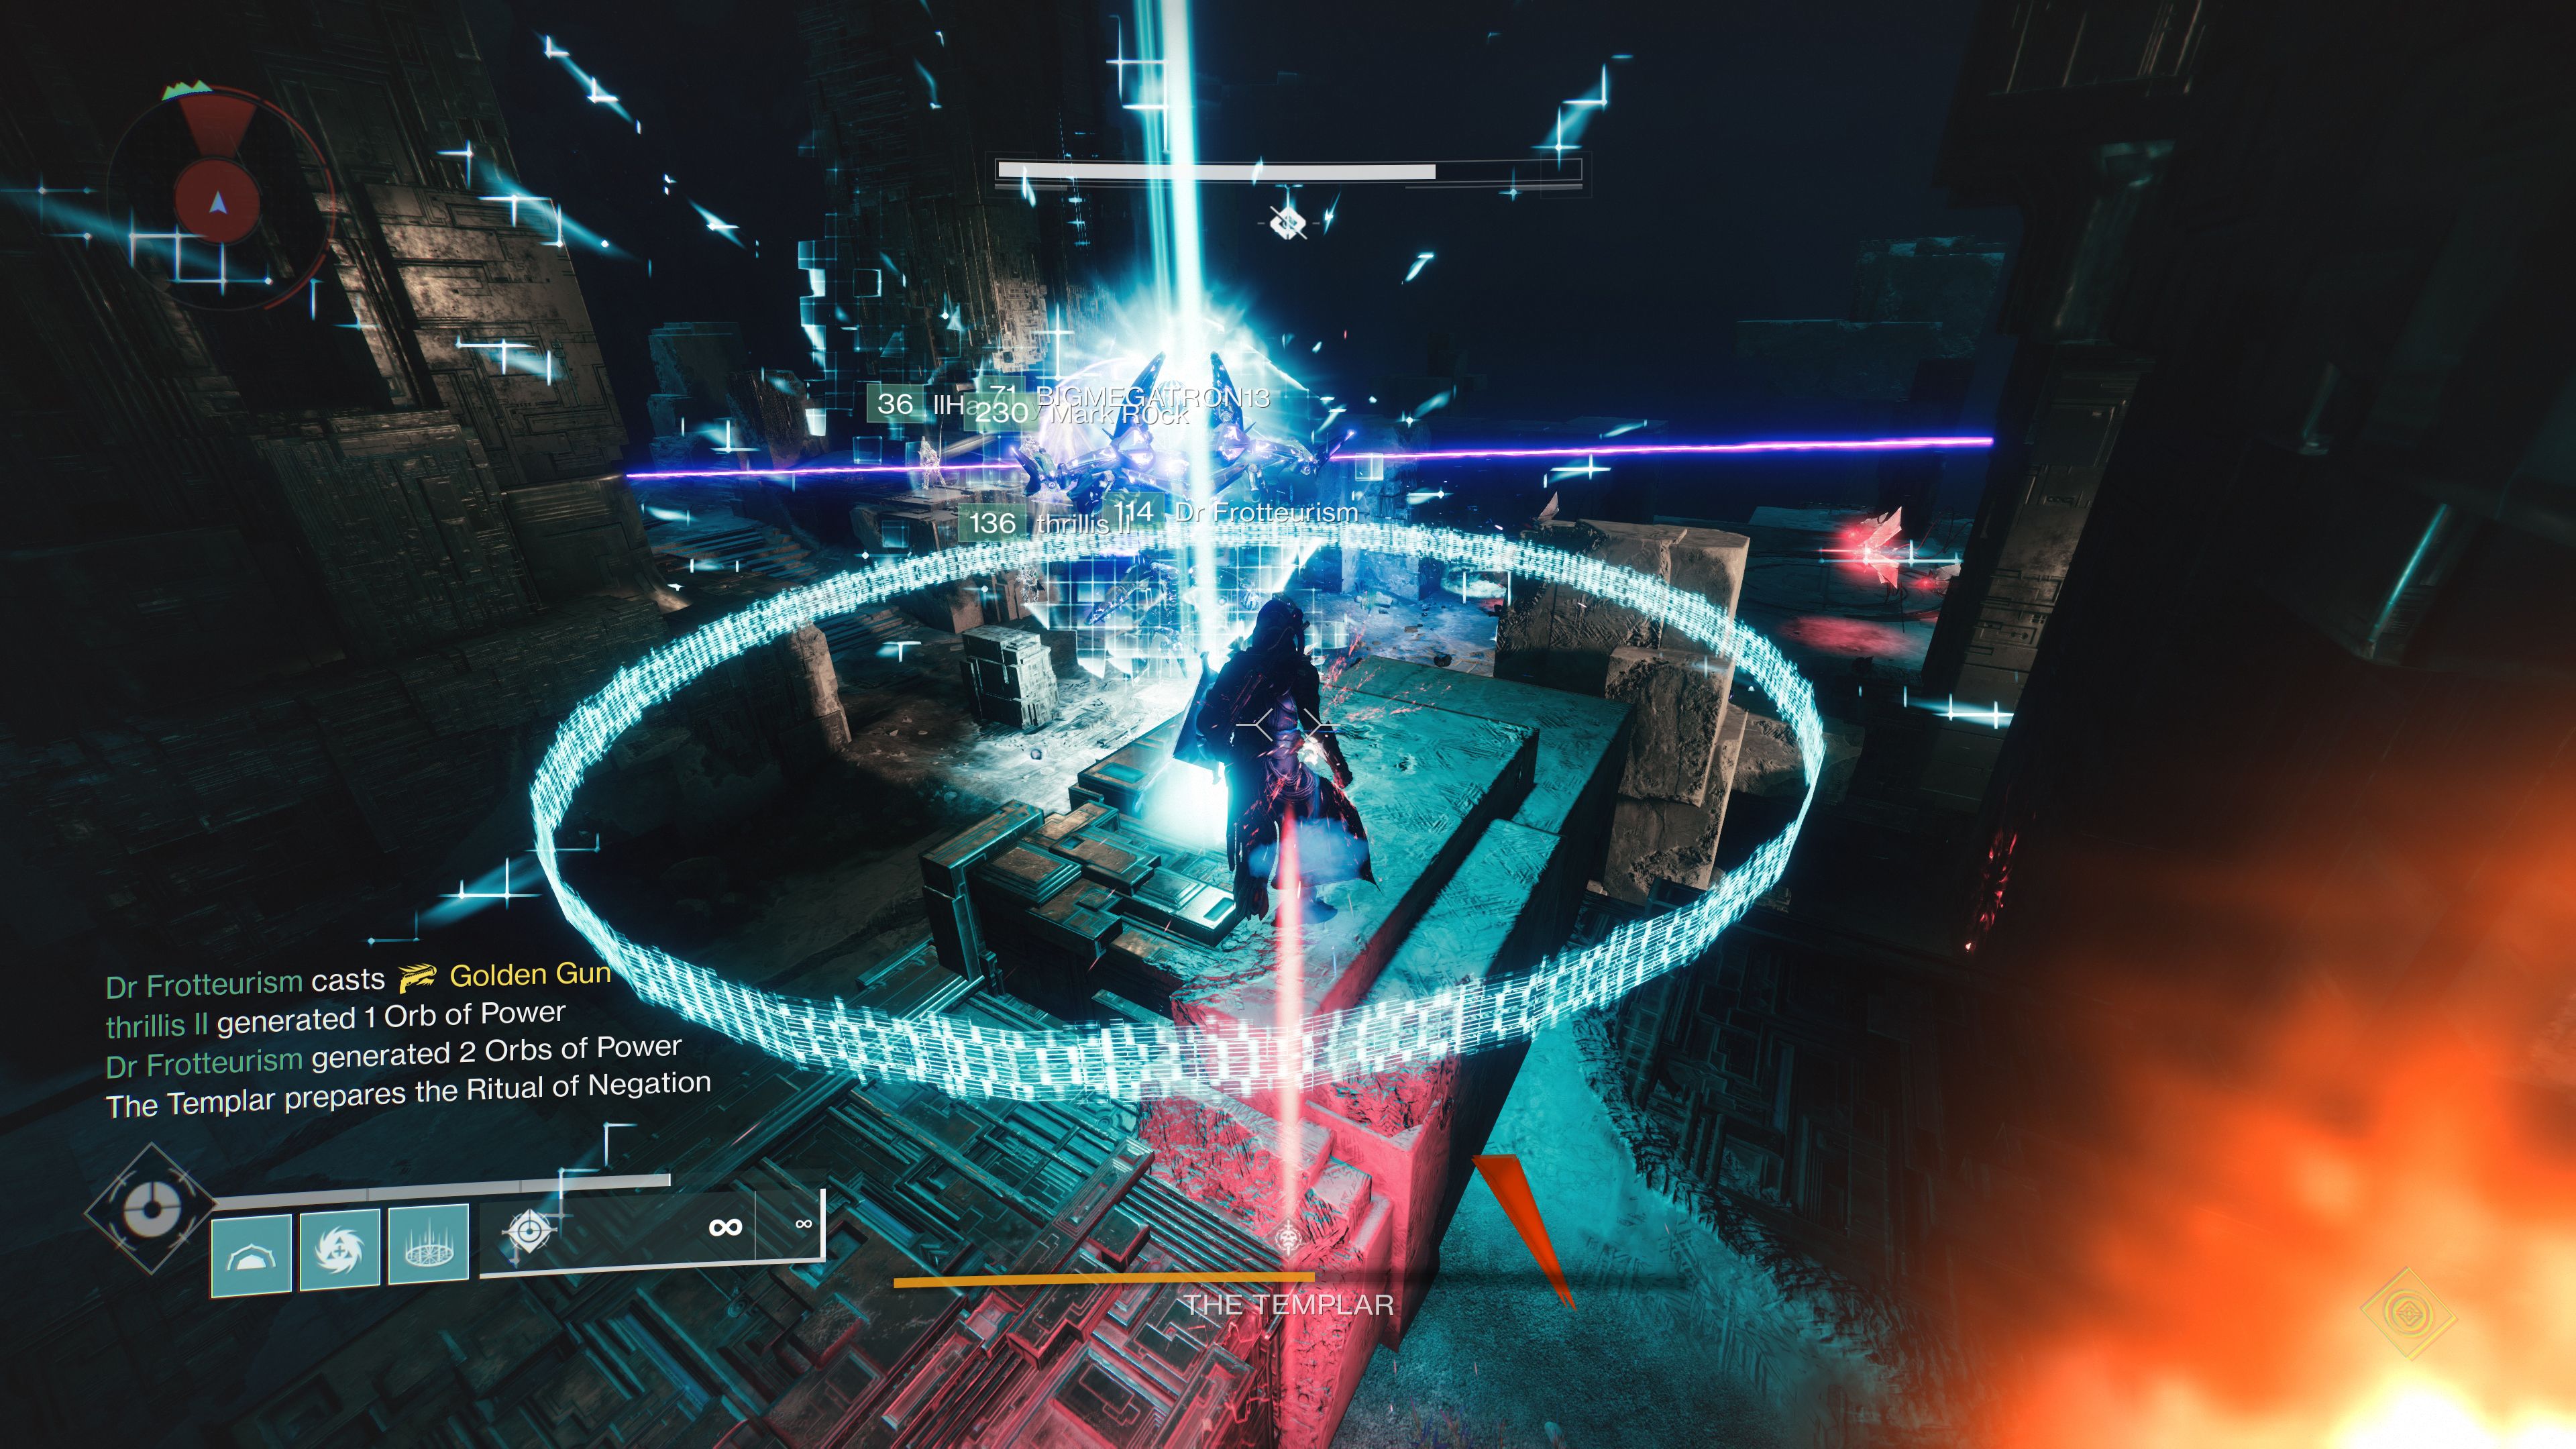
Destiny 2 players will be able to see when the Templar is attempting to teleport as a message saying so will appear in the text feed on the left of the screen. The location of the Templar’s teleport is also marked by a large holographic red ring on the ground with a vertical beam of white light inside. It is the Relic holder’s job to block the Templar’s teleport attempts by looking out for these rings and standing in them. While inside the ring, it will turn white and will eventually disappear, indicating that the teleport was successfully blocked. If the Templar does teleport, its shield will also regenerate and must be destroyed with the Relic Super again.
During the damage phase, certain players will also be detained in a bubble that cannot be destroyed from the inside, so teammates outside the bubble must shoot it to free the trapped player. If a player is not freed within 15 seconds, they will die.
The best strategy for taking down the Templar is to defeat it in one phase. This is achieved by never allowing the Templar to teleport, and by ignoring the second wave of Oracles to focus on damaging the Templar until it dies.
Destiny 2 players still have to decide how they will deal with the first wave of Oracles and where they will set up for damaging the Templar. Given that the Templar should only ever be in its starting position in the middle for the one-phase method, the team needs to be ready to set up somewhere nearby. A good place is on the ledge that sticks out from the large pillar that would be on the left of the first conflux.
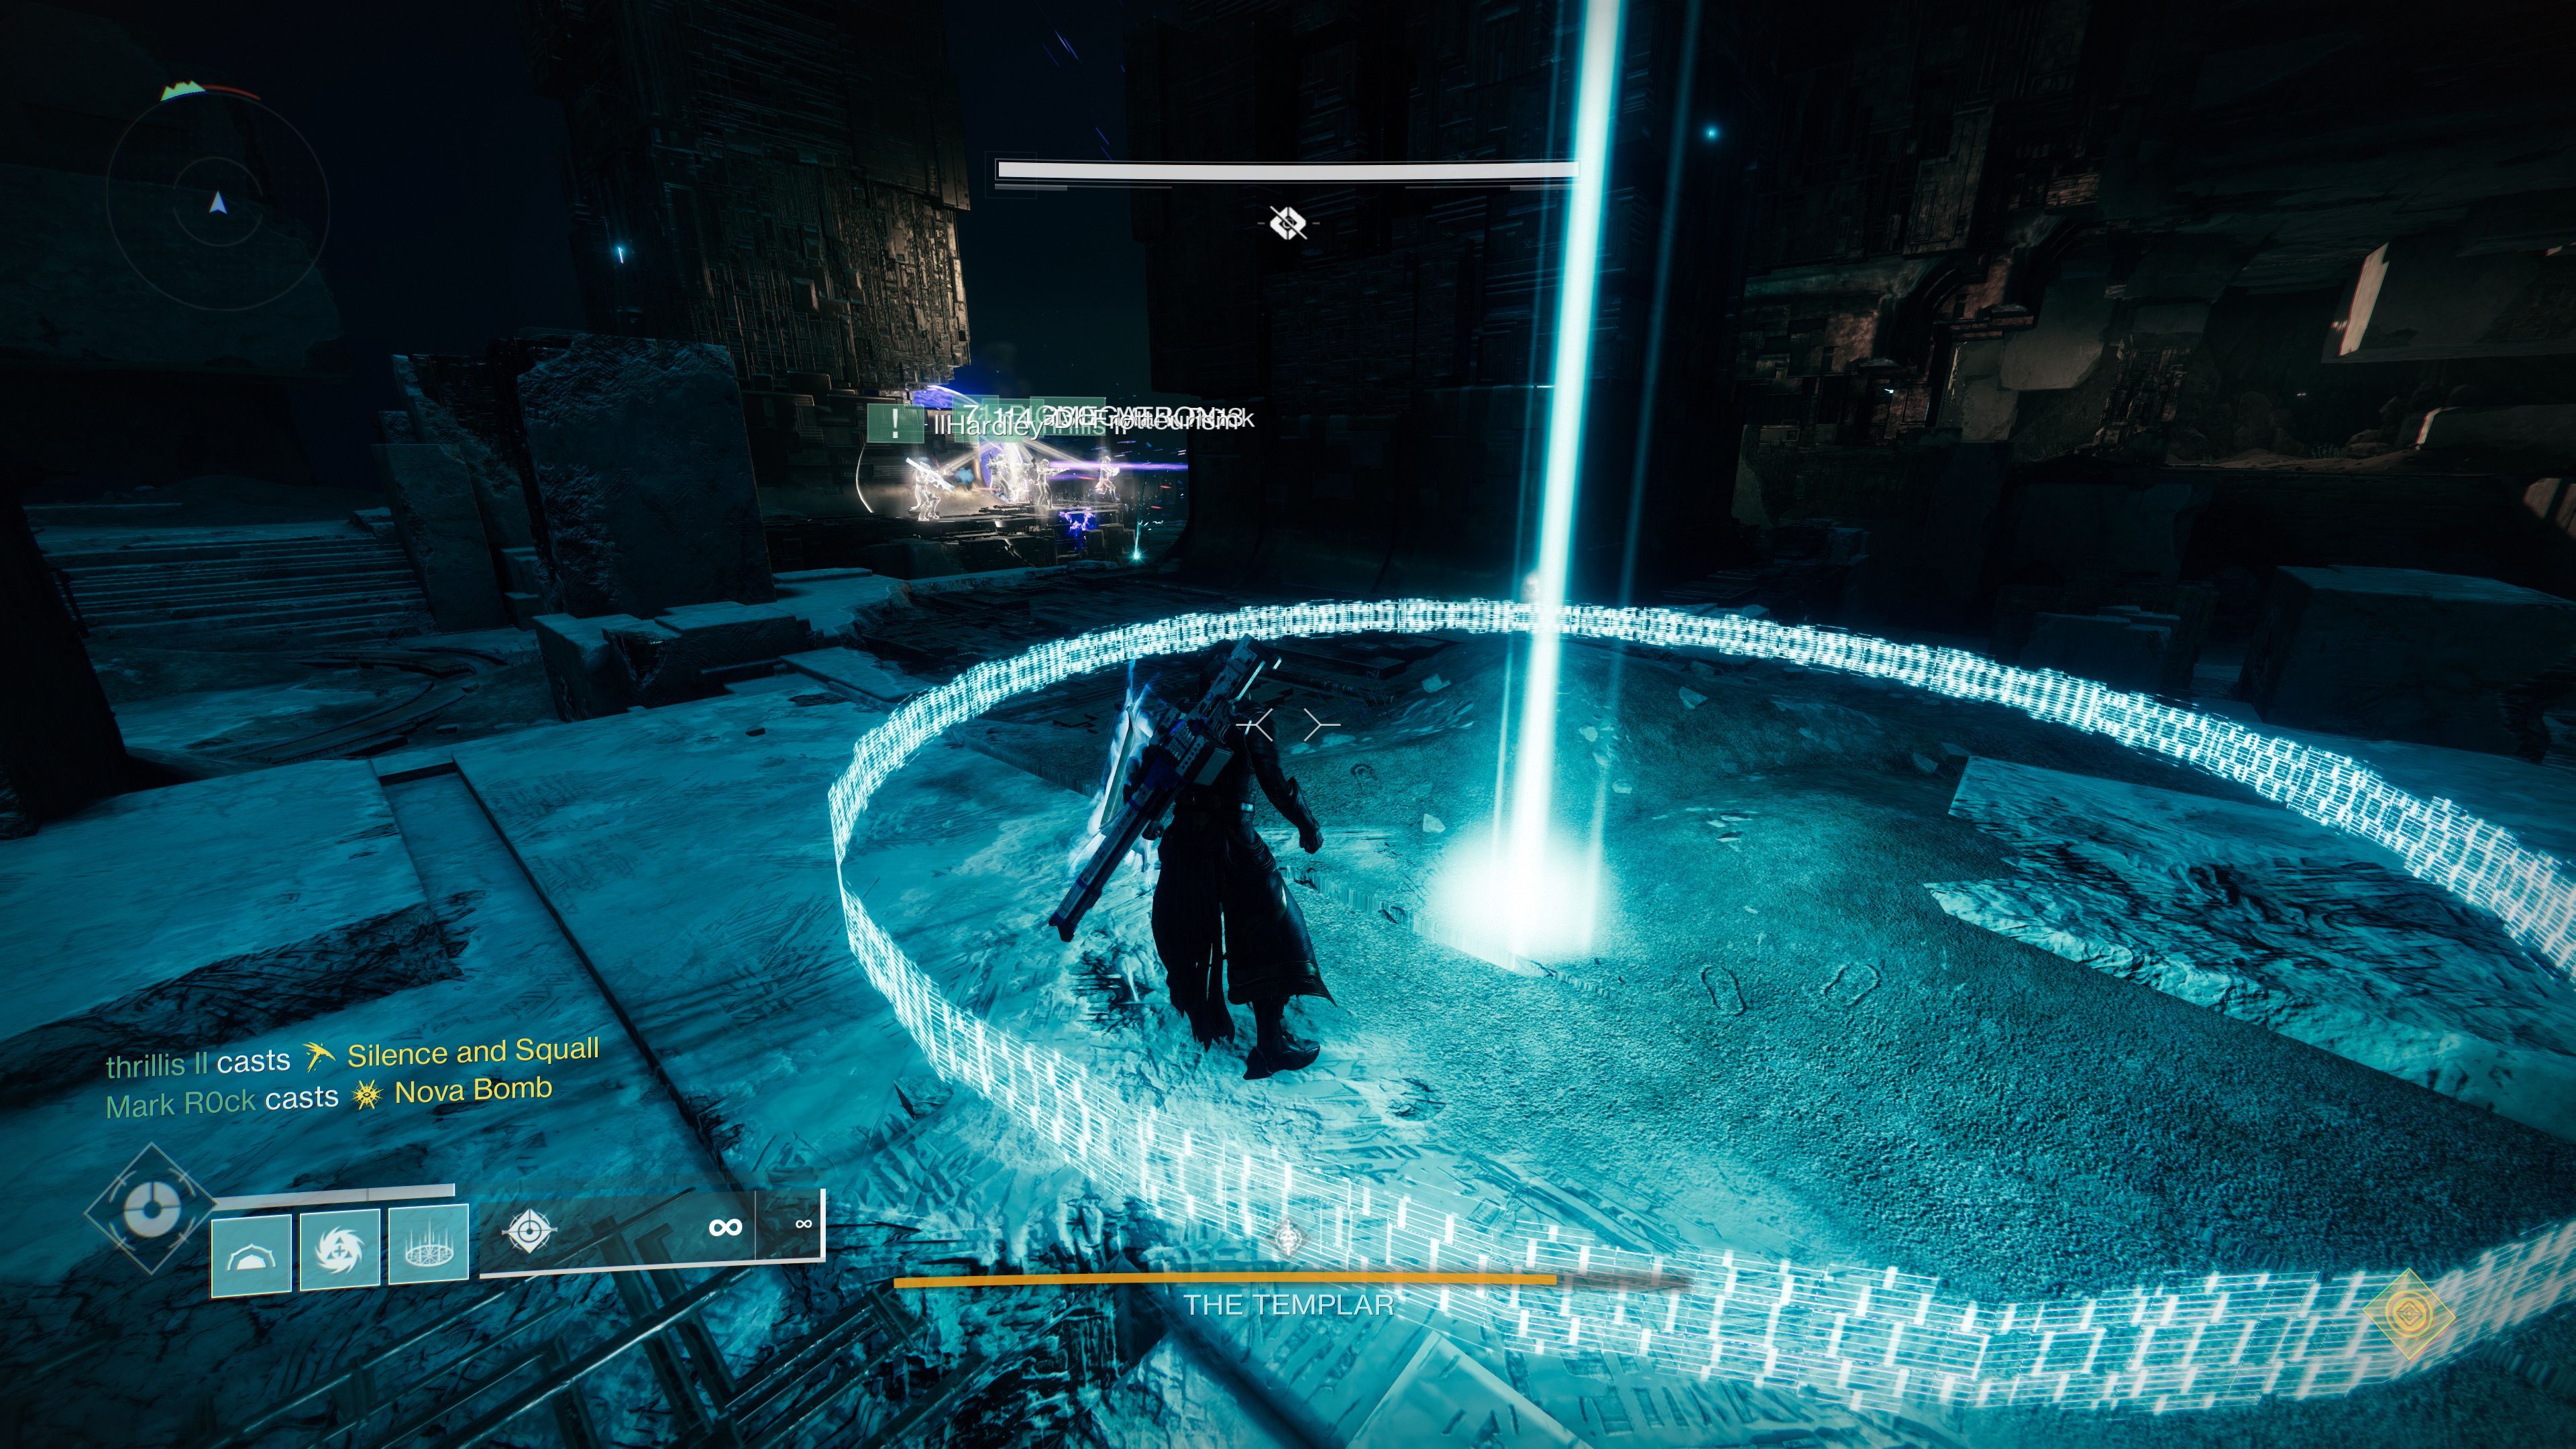
As for the Oracles, there are only ever three per wave so teams can decide to deal with the first wave normally by observing the sequence and then destroying them in the correct order, or by skipping them to intentionally get marked.
The latter method is safer and requires only a bit of coordination. To skip the Oracles, all players should hide by the pillar in the far-left corner of the central pit where the cleansing pool is. From here, all players are safe from the Templar and only a few Vex Harpies can hit them. After a while, the Oracles will destroy themselves and mark all players.
As soon as this happens, the whole team needs to run through the cleansing pool and then run towards the steps out of the pit area but jump up through a gap on the right. Going this way is important as any other way forces players too close to the Templar, who will instantly kill players with its stomp attack. The team can also easily reach the pillar ledge position for damaging the Templar.
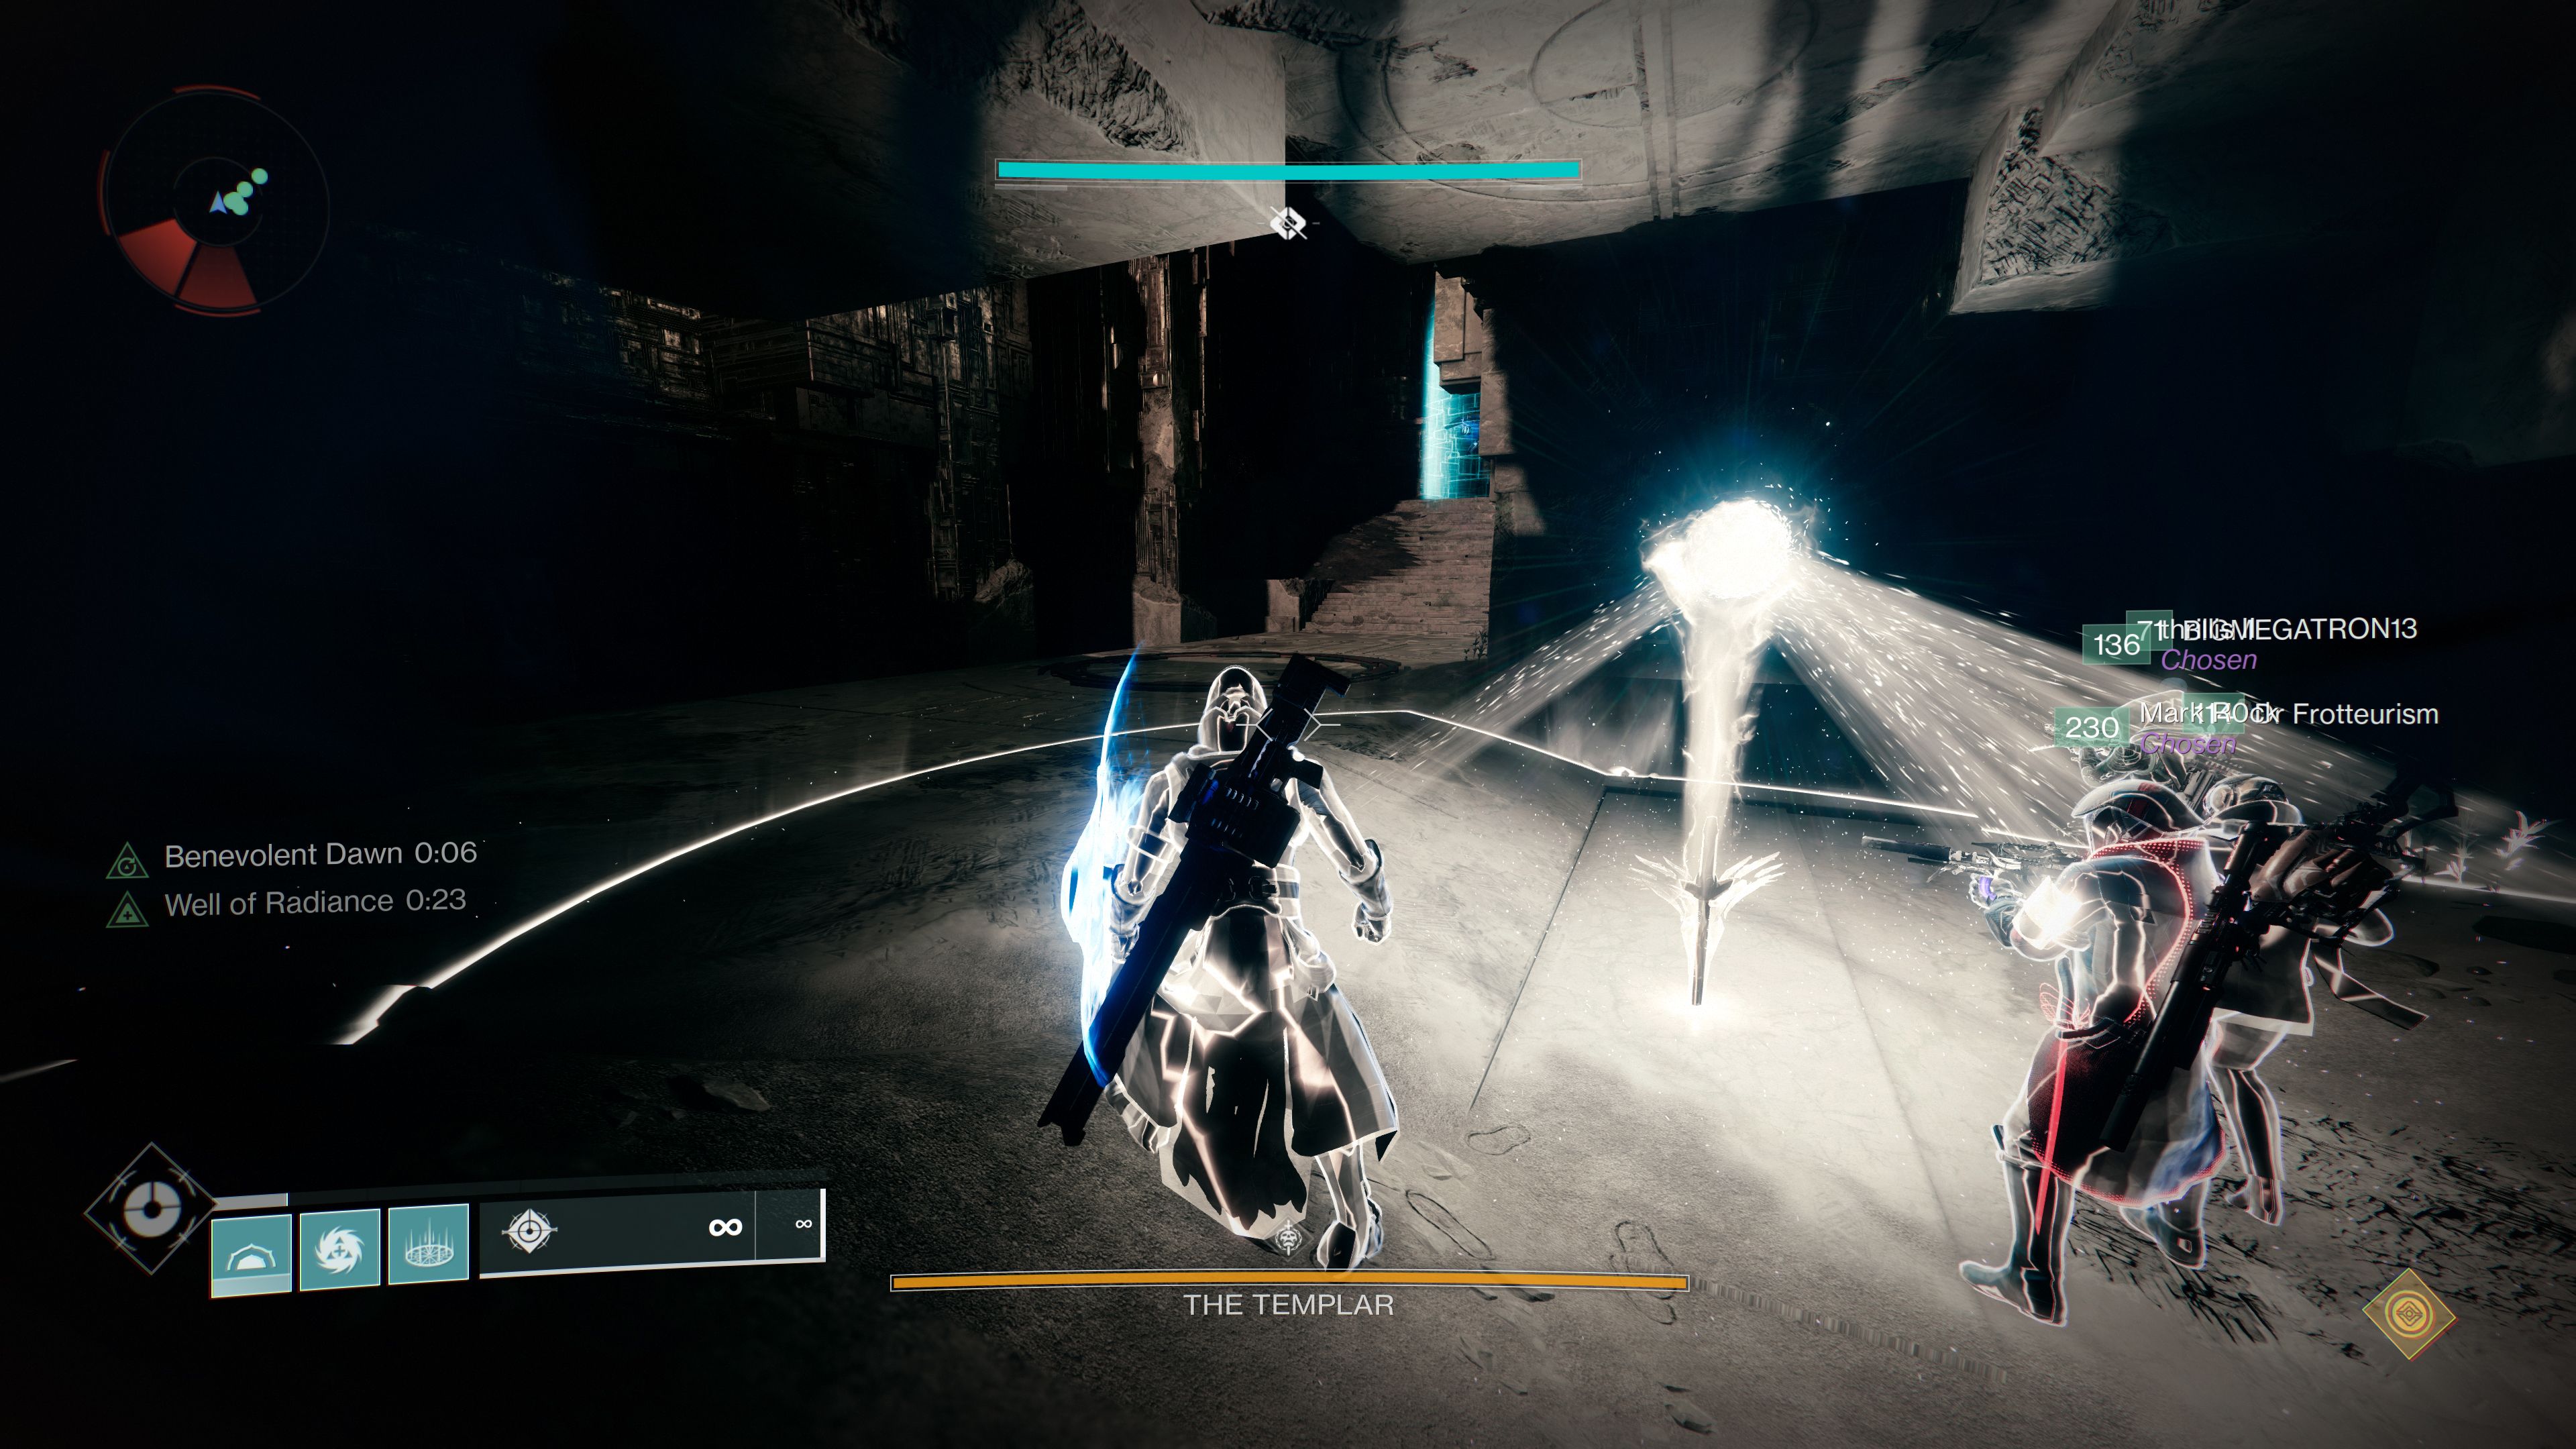
Once all Destiny 2 players are out of the pit and are setting up on the ledge with at least a Well, the Relic holder must bring down the Templar’s shield using the Super ability and then look for any red rings around the arena and stand inside. Meanwhile, the other five players just need to use all they have to nuke the Templar.
During the damage phase, all players, especially the Relic holder, need to call out when they are detained in a bubble so that they can be freed. If the Relic holder is not freed quickly enough, they can miss their chance to block the Templar’s teleport, which can ruin the team’s attempt at beating the boss.
If another wave of Oracles starts spawning, players just need to ignore them and keep going with damage until the Templar is destroyed. Even if all players get marked by the Oracles, they will still have a few seconds to finish off the Templar before its Ritual of Negation kills everyone, but most teams should be able to destroy the Templar well before this point.
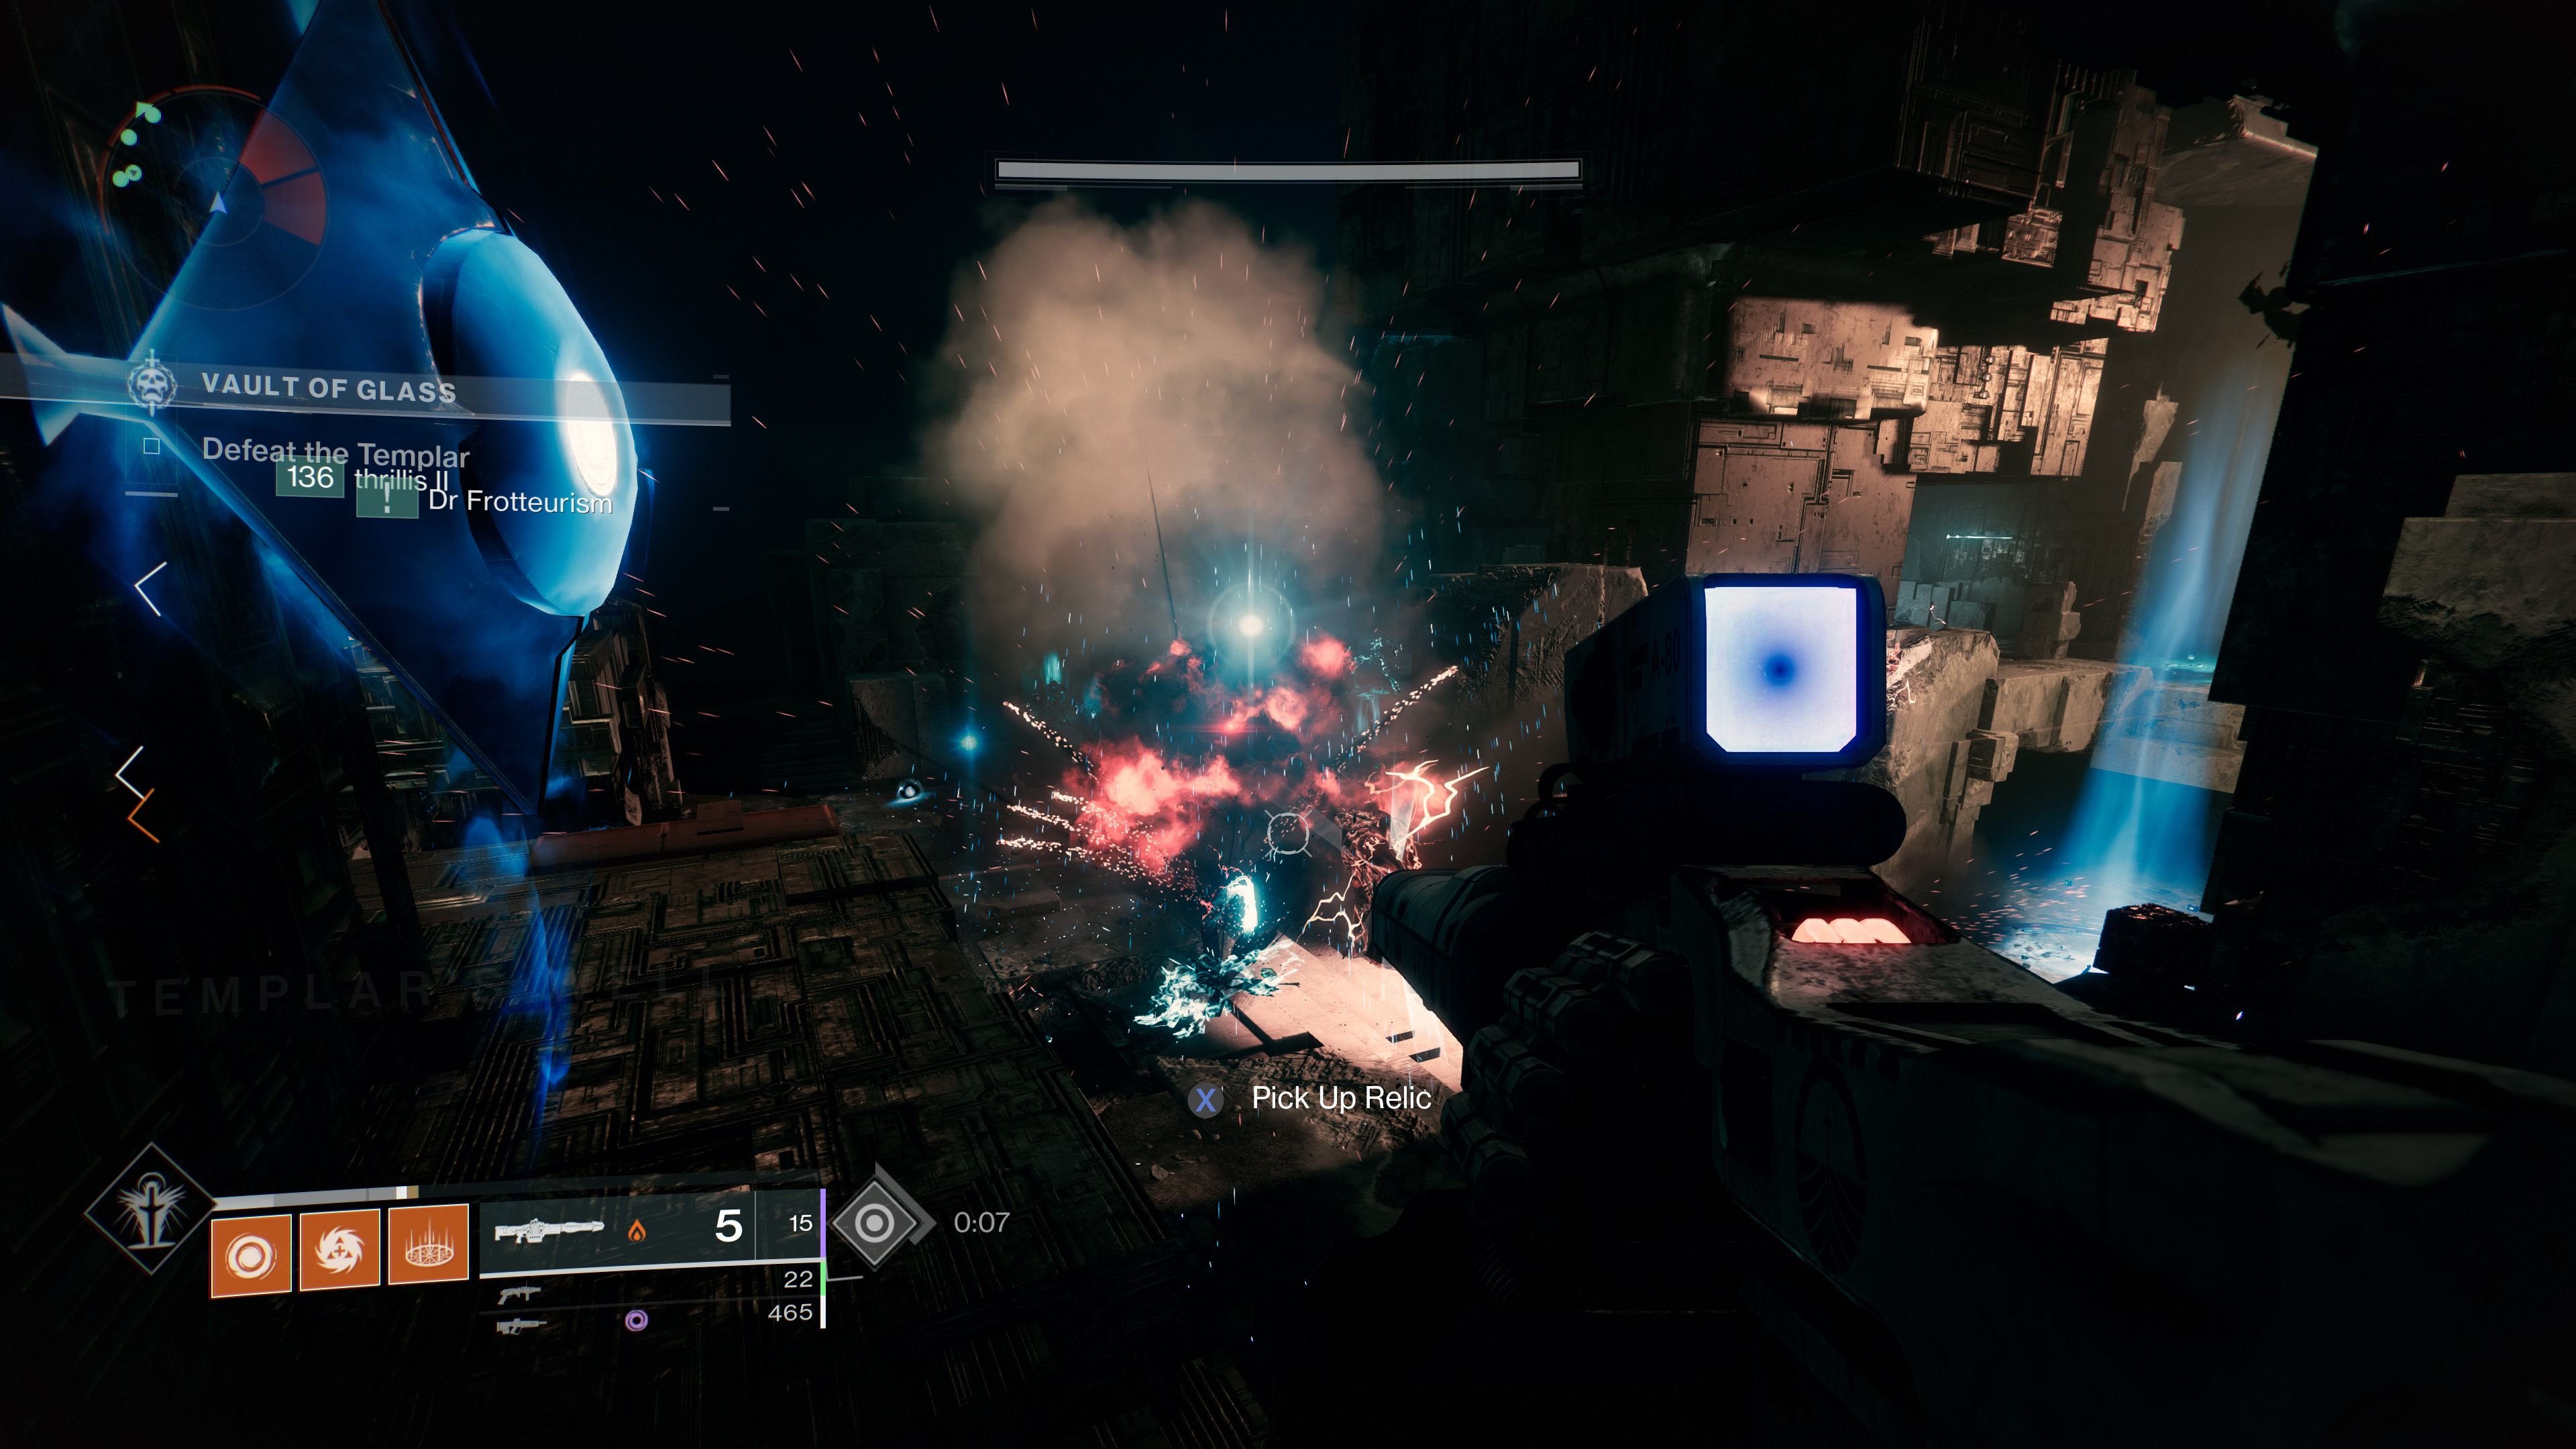
Once the Templar has been beaten, players can head towards the circular door towards the back of the arena to find the loot chest. From here, Destiny 2 players need to head through the circular door to get to the Gorgons’ maze and then face the Gatekeepers.
Destiny 2: Beyond Light and Season of the Splicer are available now for PC, PS4, PS5, Stadia, Xbox One, and Xbox Series X|S.
MORE: Destiny 2: How to Complete the 'Ensemble's Refrain' Atheon Raid Challenge in Vault of Glass

