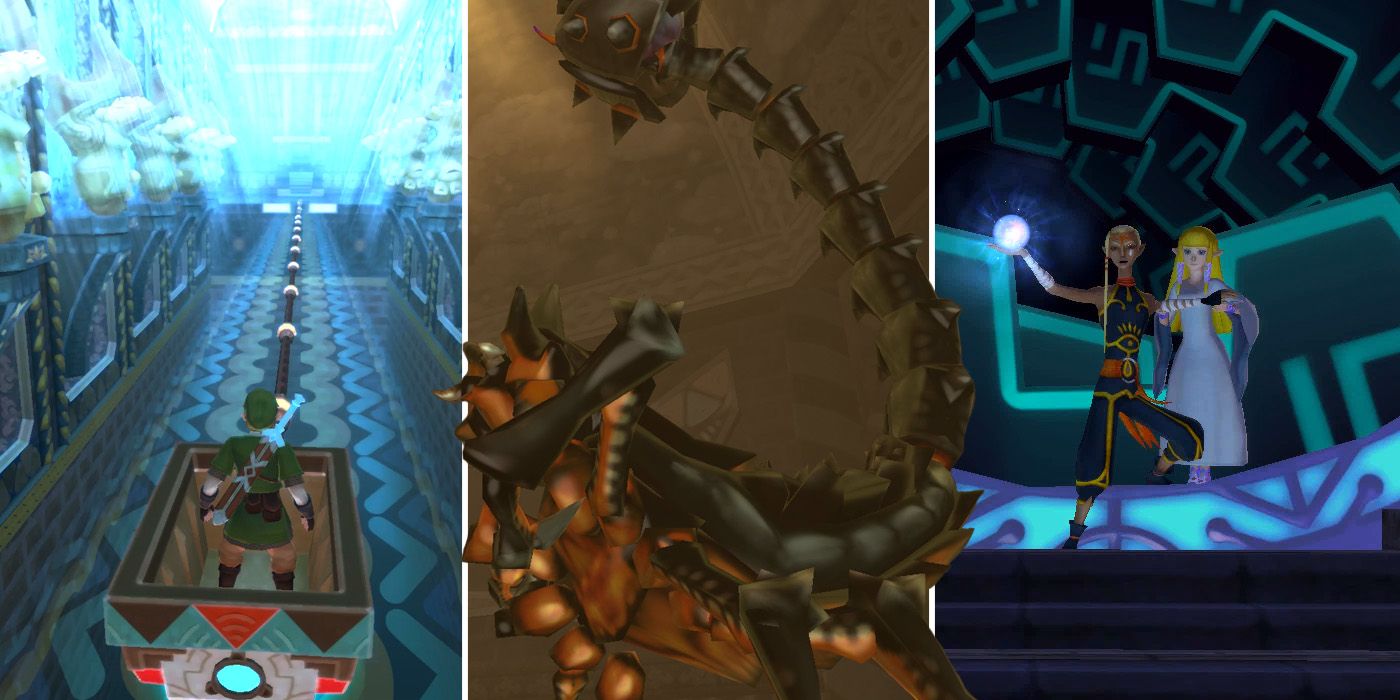
The Lanayru Mining Facility is the third dungeon in The Legend of Zelda: Skyward Sword HD. Like the sections leading up to it, players will need to use Timeshift Stones to successfully navigate their way to the end, while also utilizing the dungeon's key item, the Gust Bellows. There are also a bunch of new enemies scattered throughout the facility, many of which attack using electricity.
RELATED: The Legend of Zelda: Skyward Sword HD - How to Get to Beedle's Shop
Compared to the previous dungeon, the Lanayru Mining Facility is quite long and features some fairly challenging puzzles to boot. Players will need to switch between time periods quite often and they'll also find themselves doubling back on themselves fairly regularly too. With the right strategy, however, it shouldn't take too long to reach the end and catch another glimpse of Zelda.
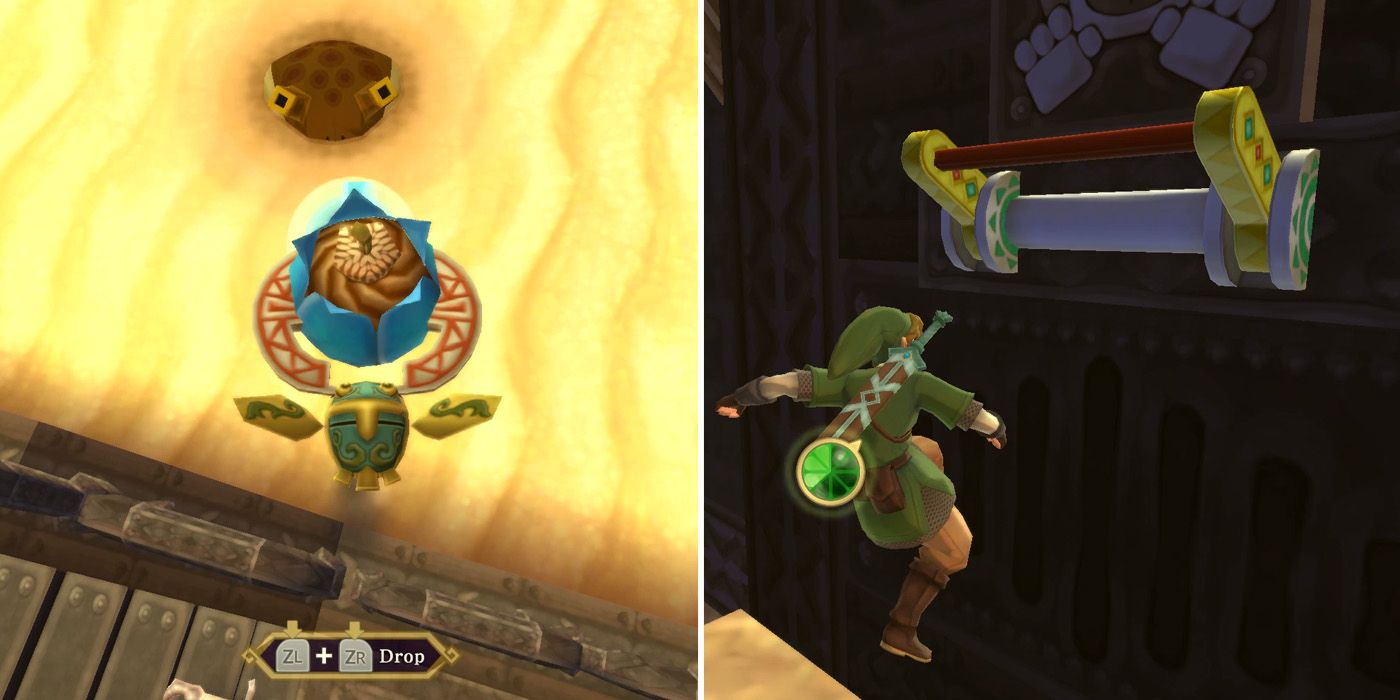
Upon entering the facility, players will find themselves in a large chamber with three doorways. Before doing anything else, they should take out all of the scorpion-like Arachas using their sword and then use the beetle to drop bombs on the two Electro Spumes. There are items hidden behind many of the bomb statues that line the walls, but the main aim here is to pull the lever on the wall in the back right to unlock the central door. The opposite lever raises a nearby metal gate to reveal a chest containing a red Rupee.
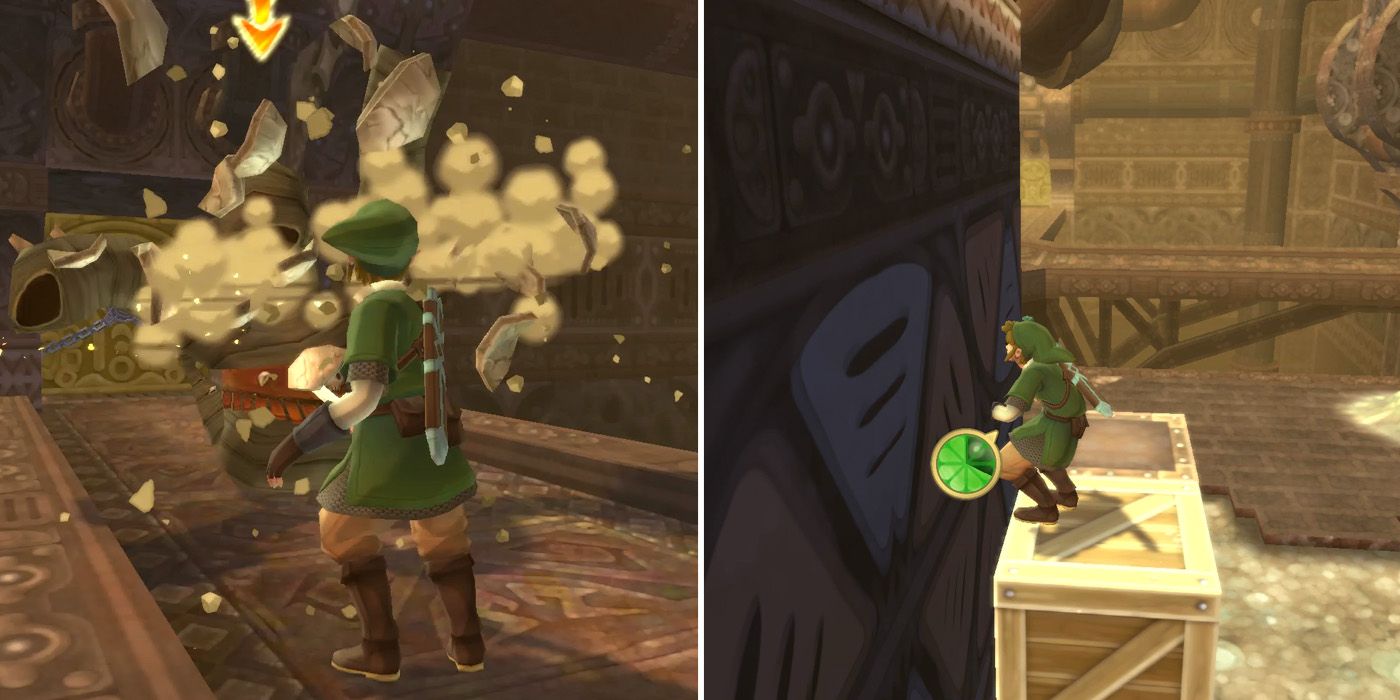
The next chamber contains two Staldras, so players should be ready to side slash or use the spin attack to take them out as quickly as possible so as to avoid taking any unnecessary damage. After beating them and all of the Arachas at the back of the chamber, players should then push one of the crates at the back of the chamber to allow them to climb up and access the central doorway.
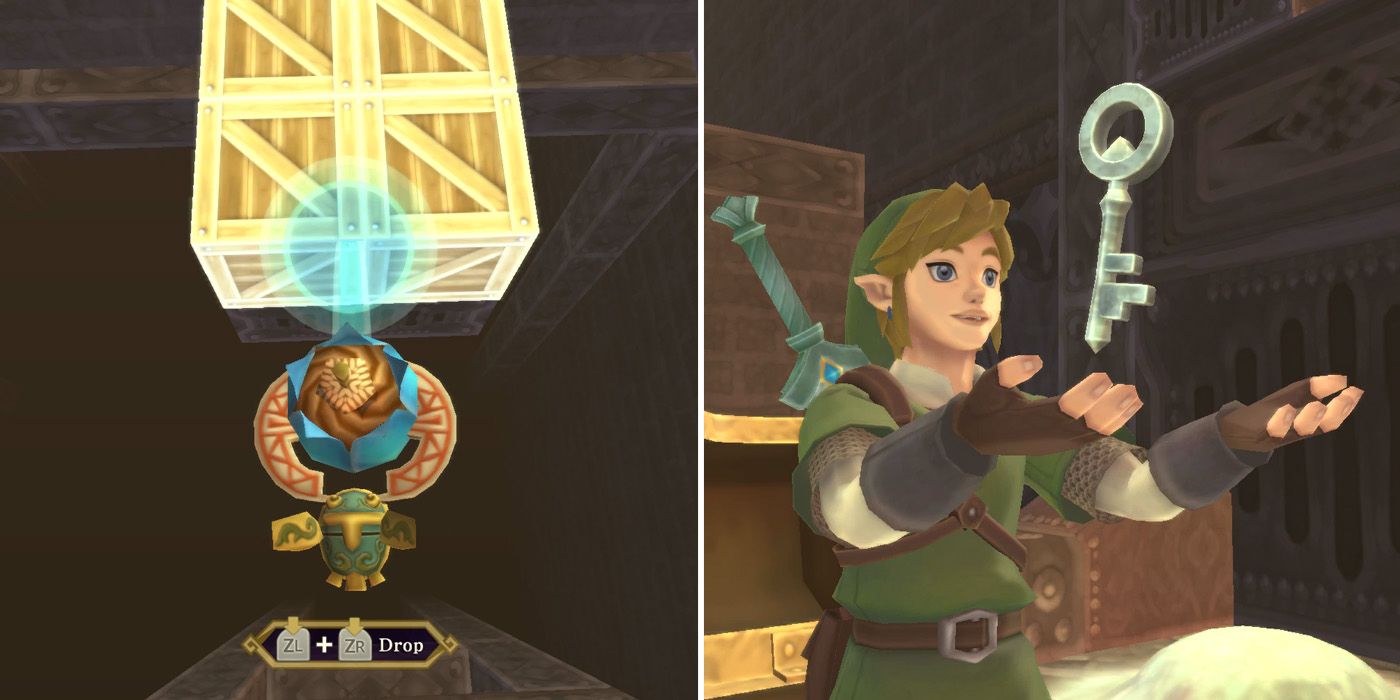
A lot of the third chamber is locked off when players first arrive, so for now, all players can really do is head right. They'll need to use the beetle to pick up a bomb from the nearby tower and then drop it on the two wooden boxes so that Link can jump across. After climbing the first ladder, players will find a chest containing a small key and can then make their way back to the second chamber and head through the door to the east.
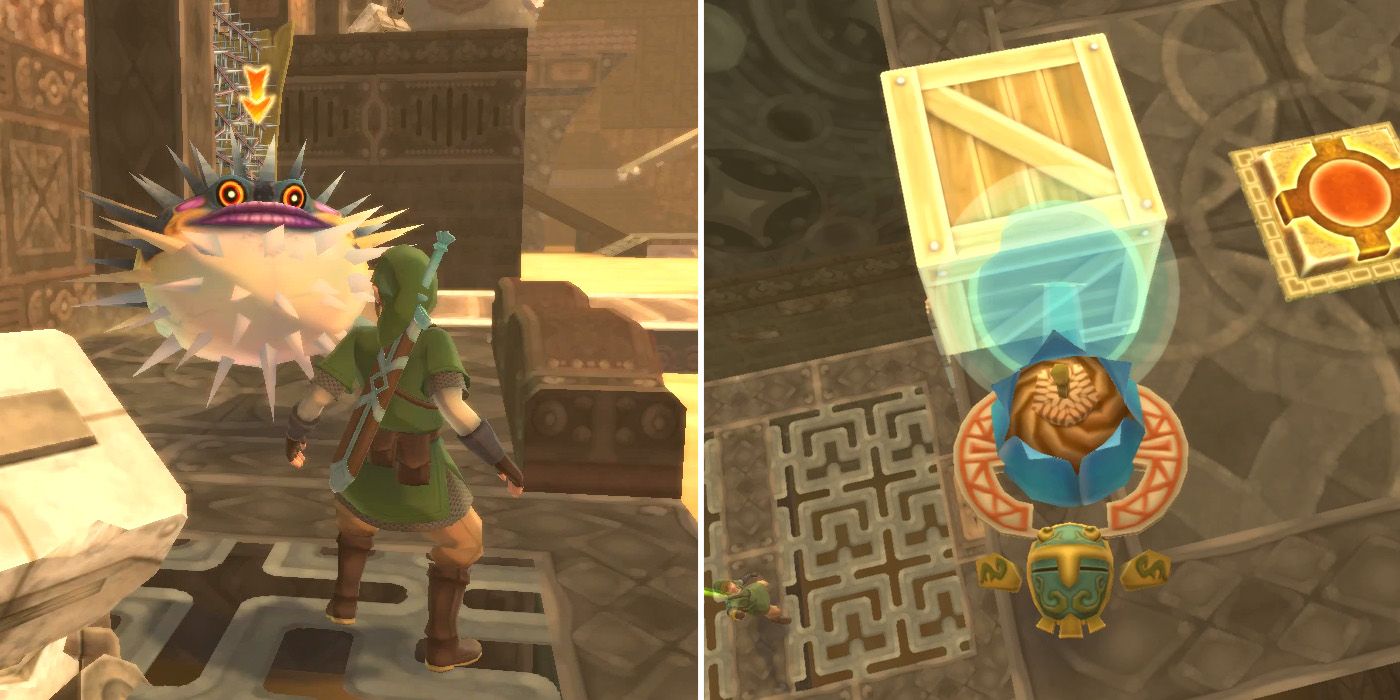
Here, players will come across a new type of enemy known as Froaks. The pufferfish-like creatures will explode if they hit walls or other objects, so players should avoid attacking them when there are obstacles or other enemies in the immediate vicinity. After dealing with the nearest one, players need to use the beetle to pick up a bomb from the tower above the entrance and then use it to destroy the wooden crate in the back right corner of the room.
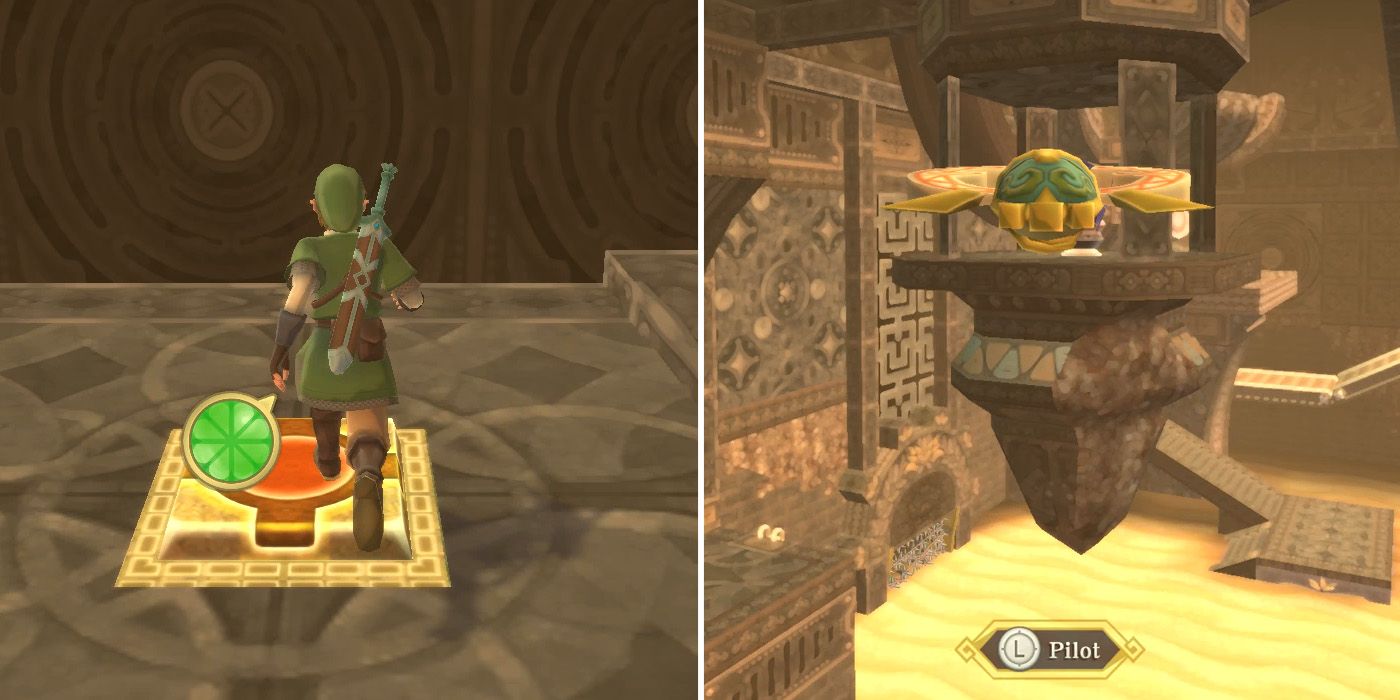
With the box now gone, players should run across the stopped conveyor belt and climb the dead vines to the area above. At the top of the ladder is a floor tile, and stepping on it will remove the cage that's protecting the Timeshift Stone high above the center of the room. While still standing on the tile, players should use the beetle to hit the stone, which will revert the room to its past state.
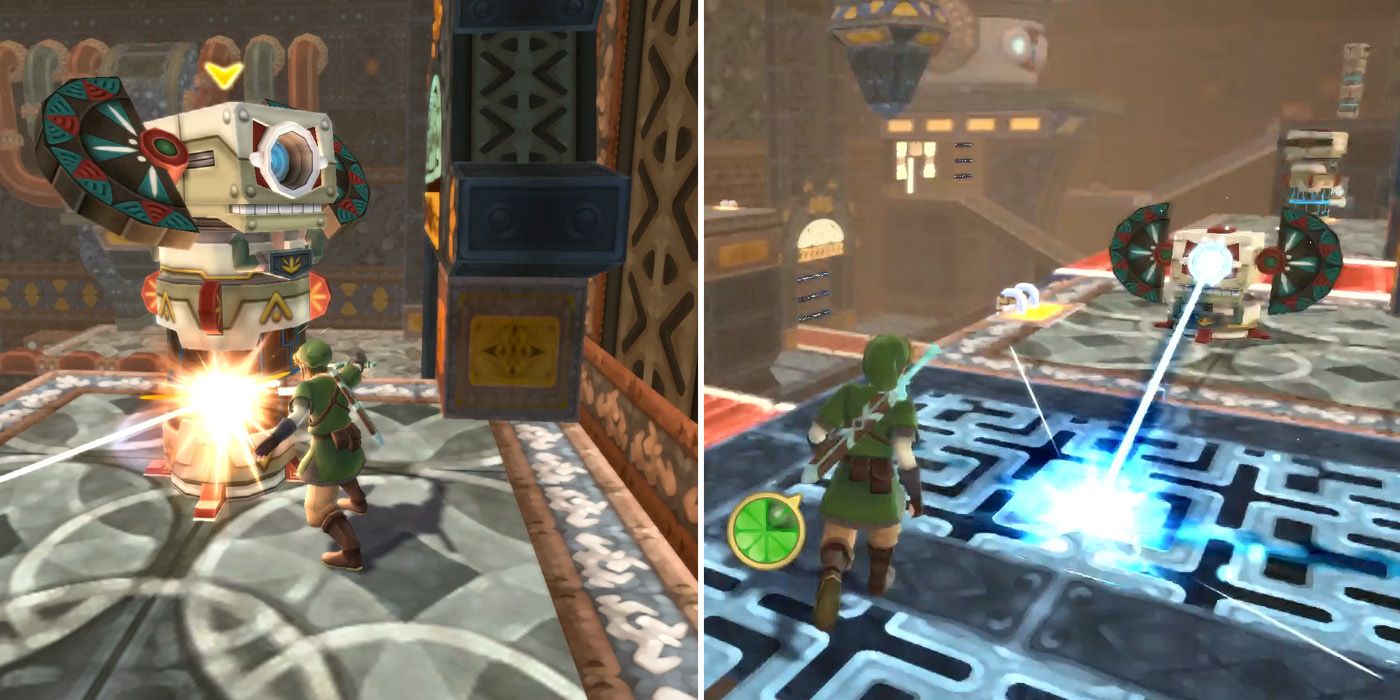
Now that the time period has changed, players will run into a new type of enemy called Beamos, which can dish out quite a lot of damage if not dealt with quickly. To defeat them, players will first need to use sideways swipes to cut through their central columns and then jab them in the eye by pressing the right analog stick in.
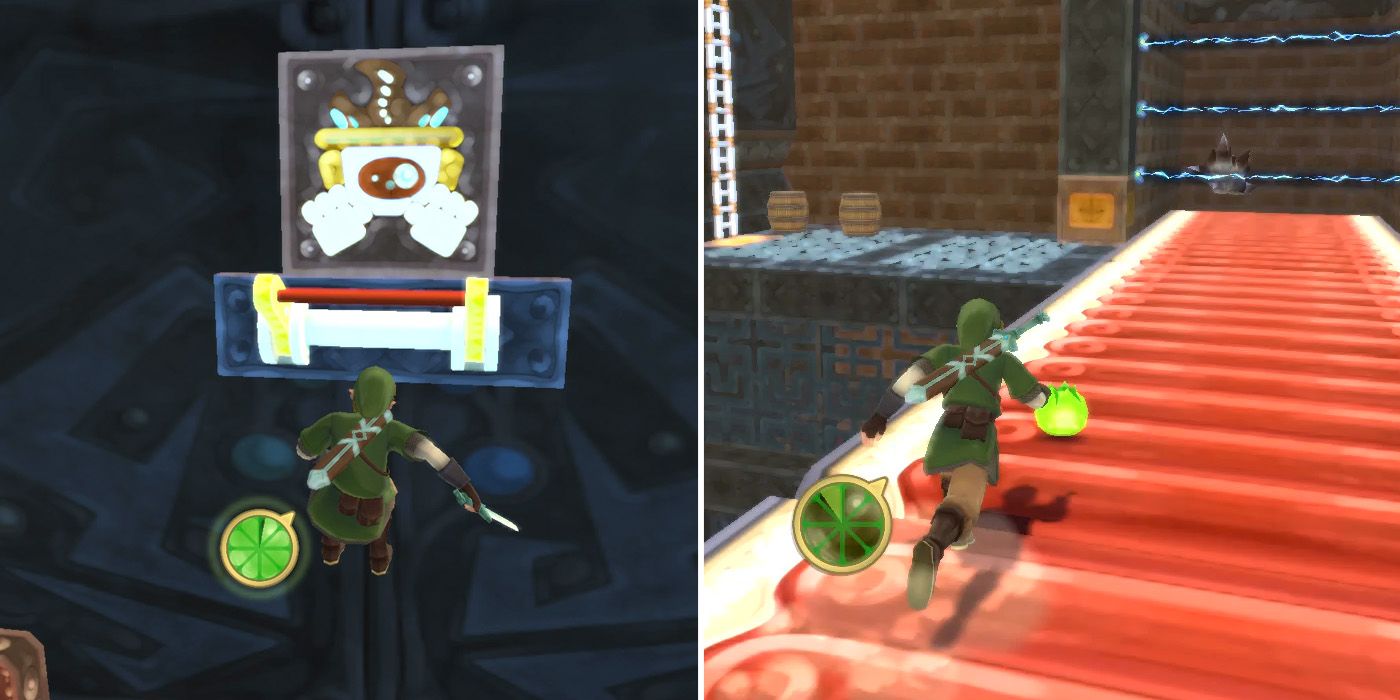
After killing the two Beamos at the foot of the ladder, players should head down the ladder that's directly in front of them. Here, they'll need to travel along the conveyor belt to reach the other side of the room, but before doing so, they should dash across it, climb the ladder and then pull the lever on the wall. With that taken care of, they can drop back down and run along the conveyor belt, being sure to pick up Stamina Fruit and dodge any debris as they do.
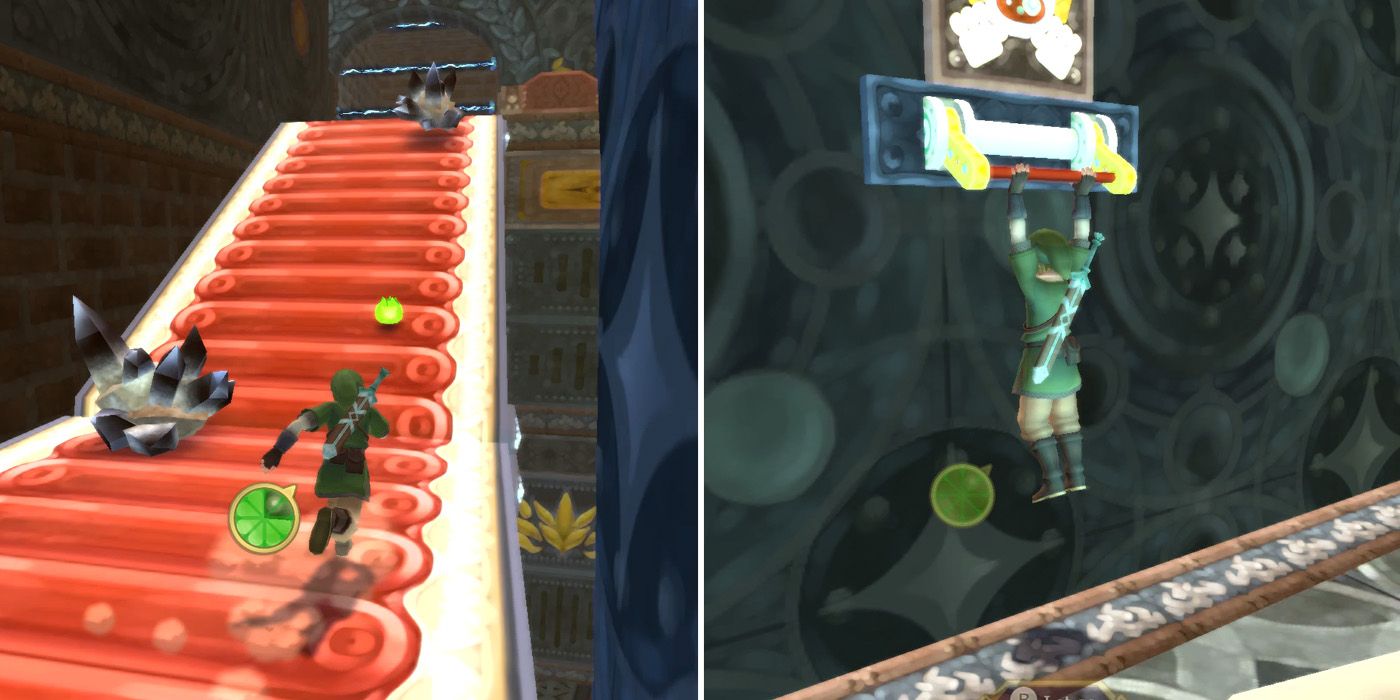
If players pulled the lever, they can turn left at the end of the conveyor belt and climb the ladder to an area with another Beamos. After defeating it, they'll find a chest with a red Rupee inside. If they didn't pull the lever, or after they've collected the Rupee, they'll want to turn right at the conveyor belt and follow the steps up. They'll then find another conveyor belt, at the top of which is another Beamos and another wall lever that needs to be pulled.
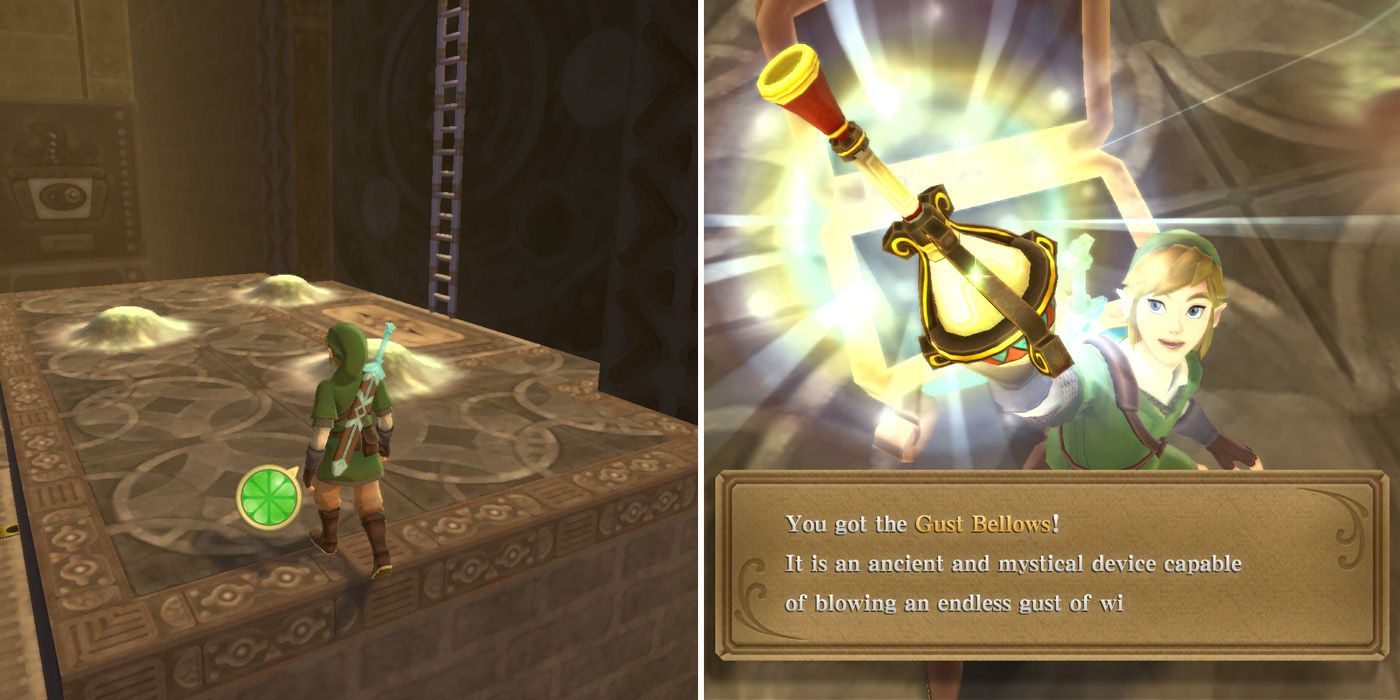
With the lever now pulled, players can head back down the conveyor belt and then open the door to the left. Inside, they'll find an area with a bunch of platforms and some Froaks floating around. They'll need to use these platforms to make their way to the opposite side of the room via the right-hand side, while using either bombs or the Froaks to destroy any rocks that are blocking their path. Eventually, they'll arrive at a larger platform with a ladder and can climb up it to find the Gust Bellows locked in a chest.
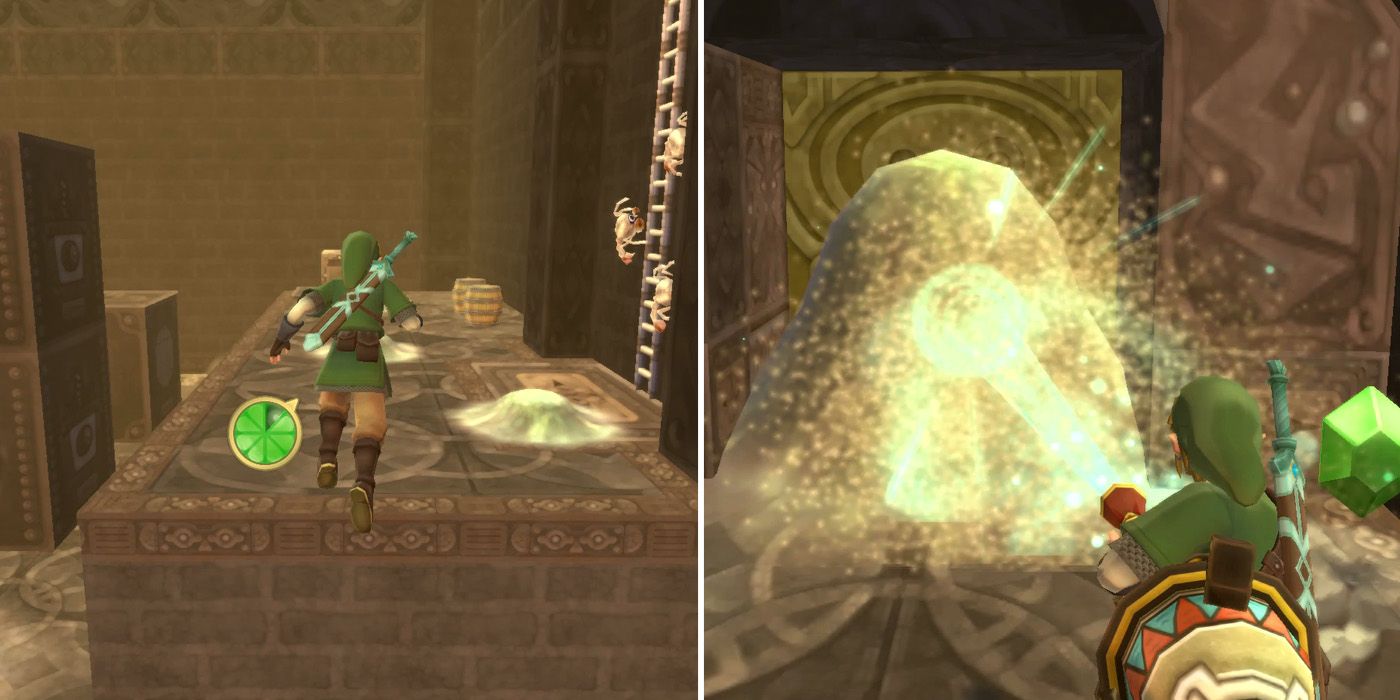
If they choose, players can use the Dust Bellows to clear away some of the sand piles in this area or explore the area below the raised platforms, but there's nothing of note to be found. Instead, they should continue making their way around the room via the raised platforms until reaching another large platform against the eastern wall of the room. After pushing the wooden crate down to the level below, they should climb the ladder, clear the giant sand pile, and then head through the door.
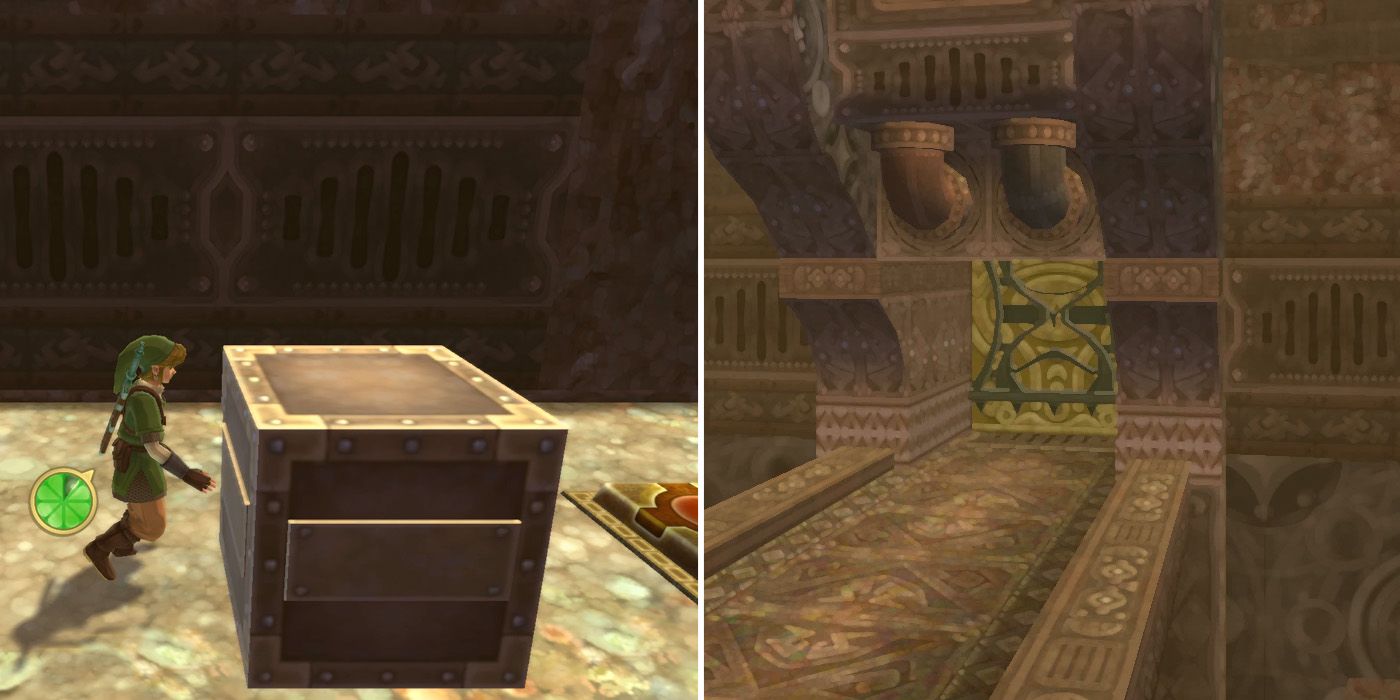
Players will now find themselves back in the third chamber, but other than pushing the steel crate out of the way to make the ladder accessible from below, there's still not much they can do here right now. They should therefore return to the second chamber and use the Dust Bellows to clear away the sand to the right of the central door. In the corner, they'll find a special floor tile and can then push the nearby box on top of it after clearing away some of the sand that's surrounding it. This unlocks the door to the west, which is where Link needs to go next.
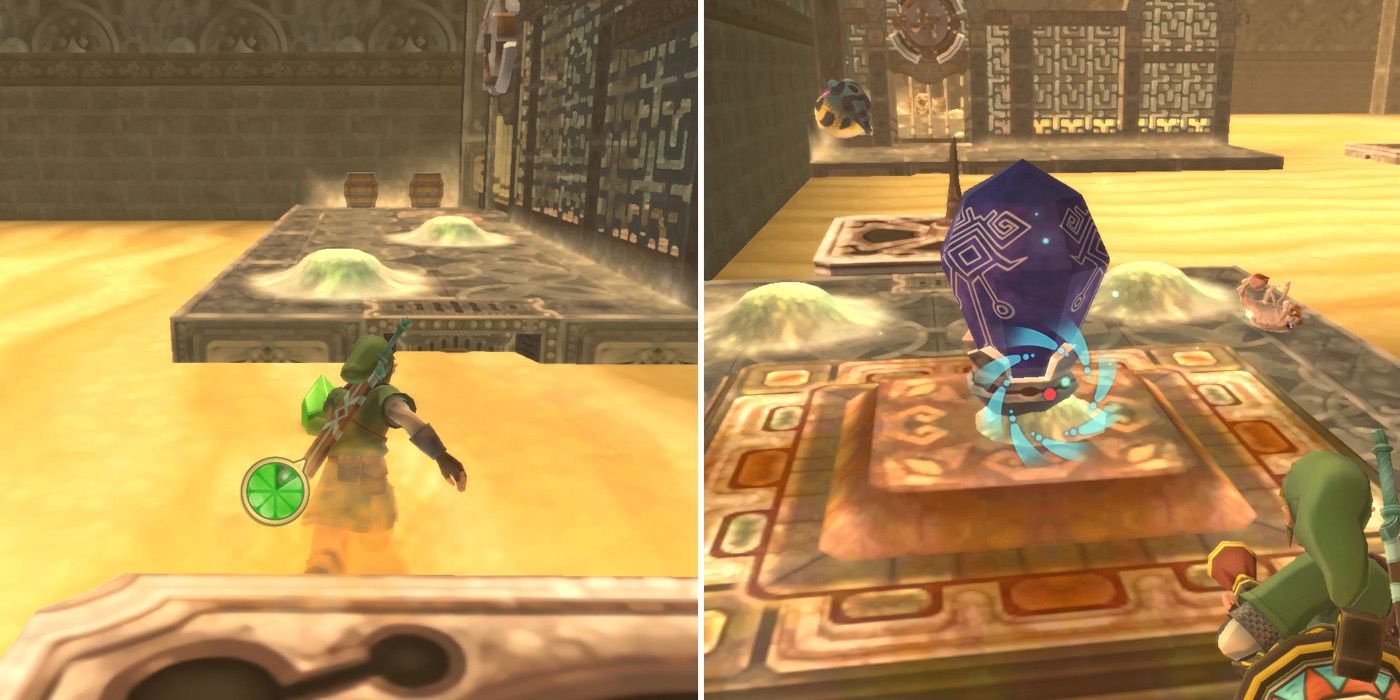
In this room, players need to make their way to the platform in the southeast corner of the room via the large platform with the metal gate. Any enemies that get in the way can be blown away with the Gust Bellows or dealt with using more conventional means. Once players have reached the platform, they can use the Dust Bellows on the giant sand pile to reveal yet another Timeshift Stone.
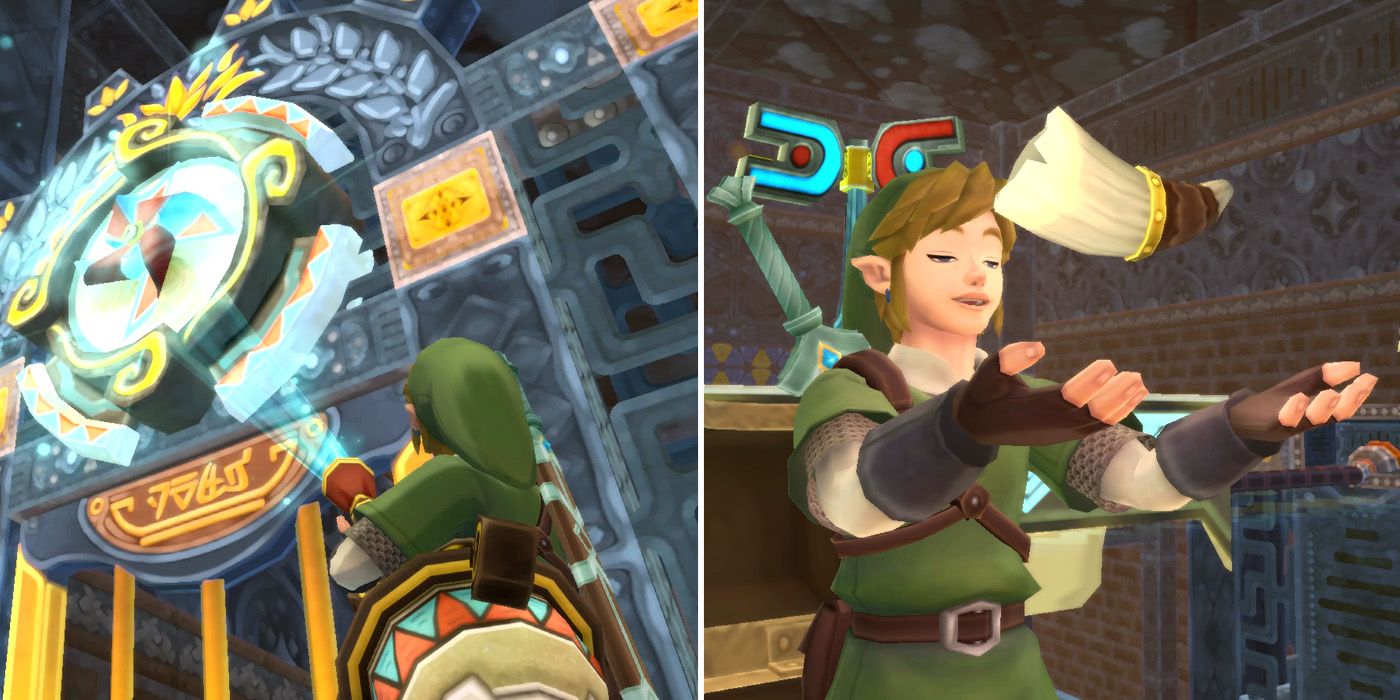
After switching time periods, players should hop on the nearby platform and use the Gust Bellows to blow the magnet-shaped turbines to make the platform move. On the other side, they'll find a locked gate with a pinwheel above it, and blowing this with the Gust Bellows will open up the gate. Before heading through it, however, players may want to use the nearby platform to get a Monster Horn from the chest in the center of the room.
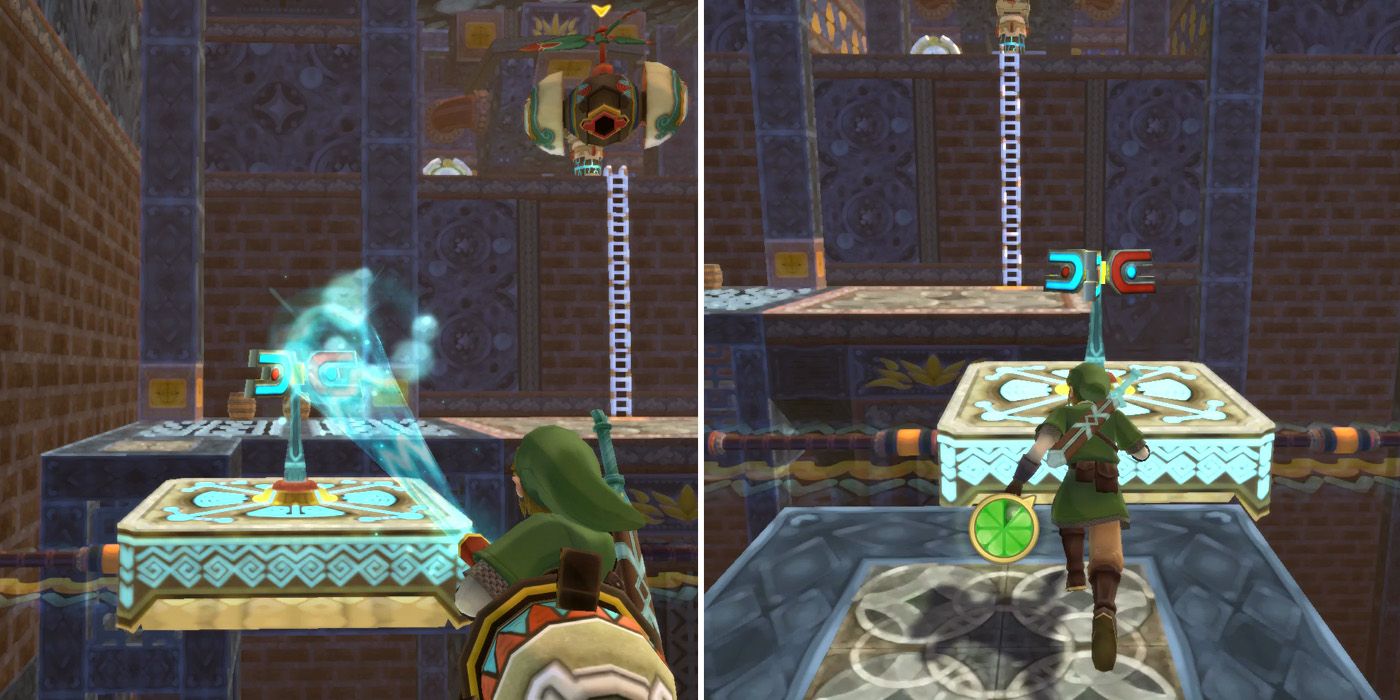
Upon passing through the gate, players will find another Beamos and a ladder leading down. Here, they'll need to use the Gust Bellows to move the nearby platform to the right until they're able to jump on, and then ride it back to the left as far as they're able. If the floating Sentrobe gives them any trouble, they can deal with it by returning its missiles with a well-timed sword strike and then dealing with the mini Sentrobe Bombs with a directional swipe, as indicated by their orientation.
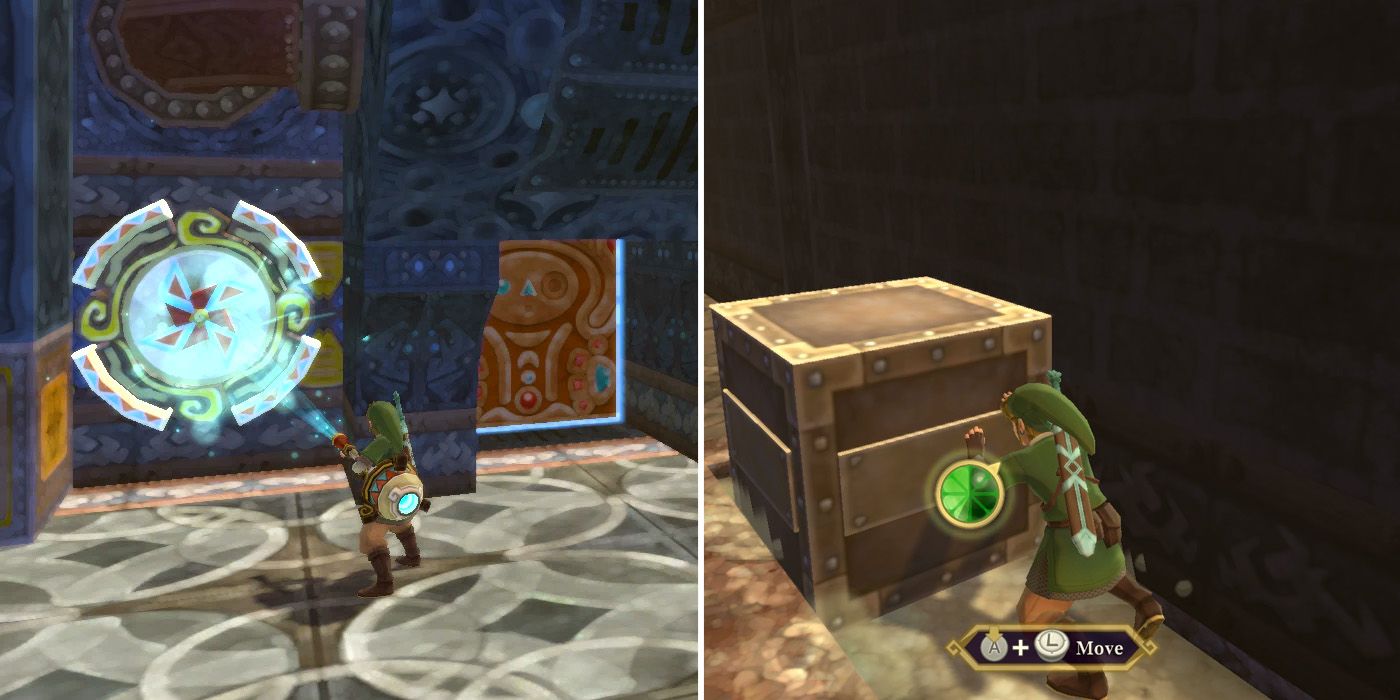
The platform will take players to the back-right-hand corner of the room and an area with a ladder leading up. At the top, they'll find a Sentrobe and another pinwheel that will open the nearby door if blown with the Gust Bellows. Through it are two more Staldras, and after defeating them both, players can use the Gust Bellows to clear away some sand. This will allow Link to move the wooden crate so that he can climb up to the raised platform above.
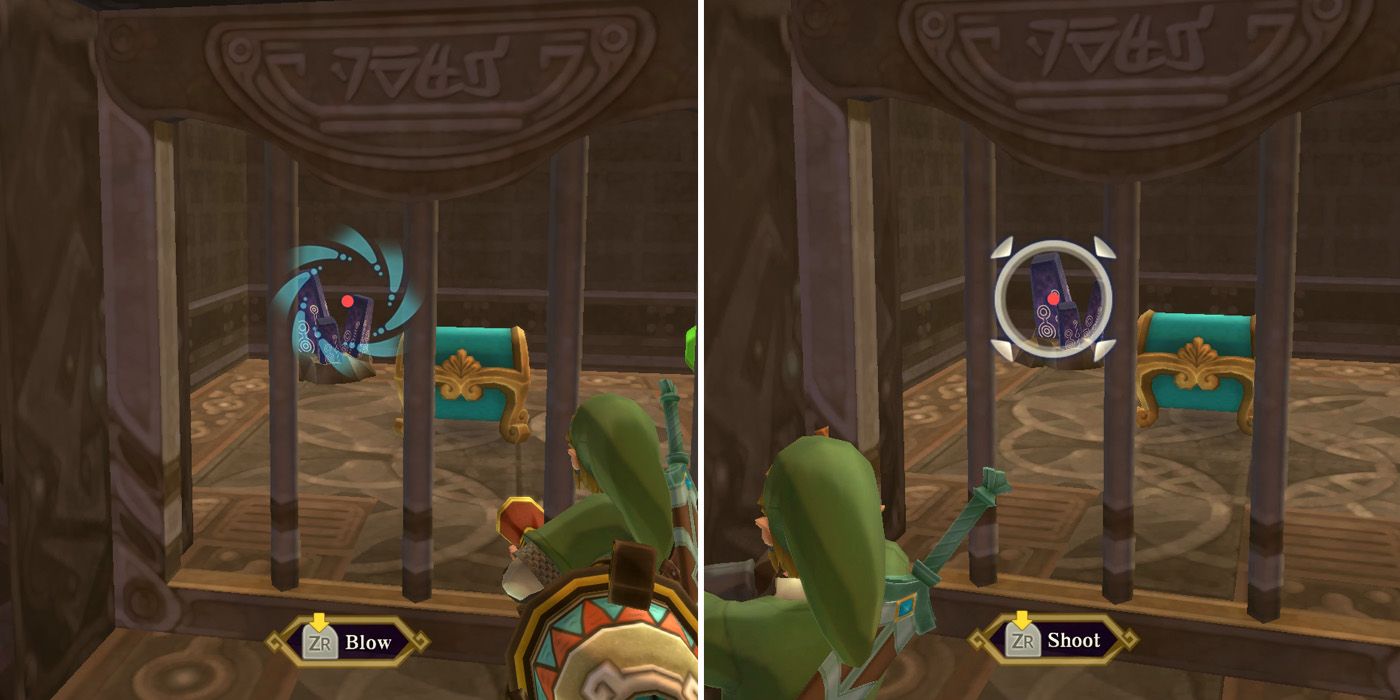
In this area, players will see some metal bars guarding a turquoise chest, but they can't get to it just yet. There's a Timeshift Stone hidden beneath a large pile of sand to the left of it though, so players should uncover it using the Gust Bellows and then hit it with the slingshot.
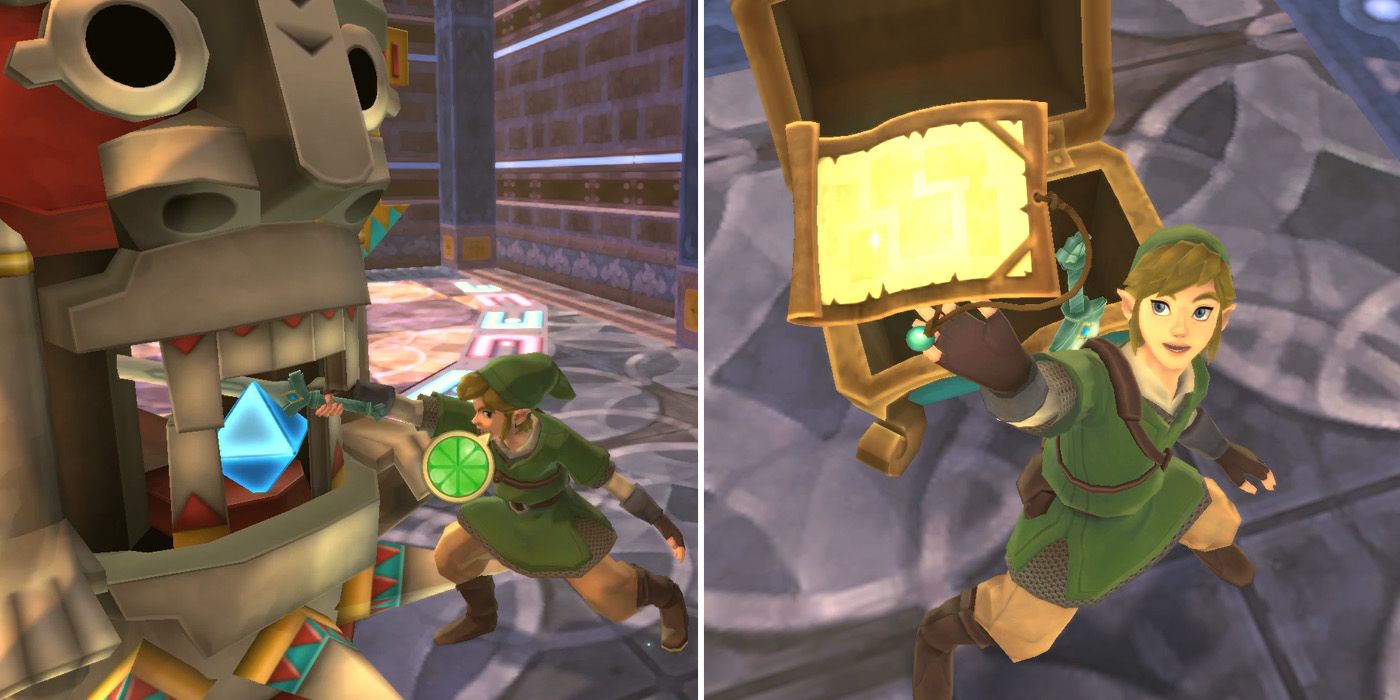
Hitting the stone will activate the Armos enemy down below, which can be defeated by blowing the magnet-shaped turbines on its head and then jabbing the blue crystals in its mouth by pressing in the right analog stick. Destroying it will cause the metal bars guarding the chest to rise, allowing players to open the chest and finally get their hands on the Dungeon Map.
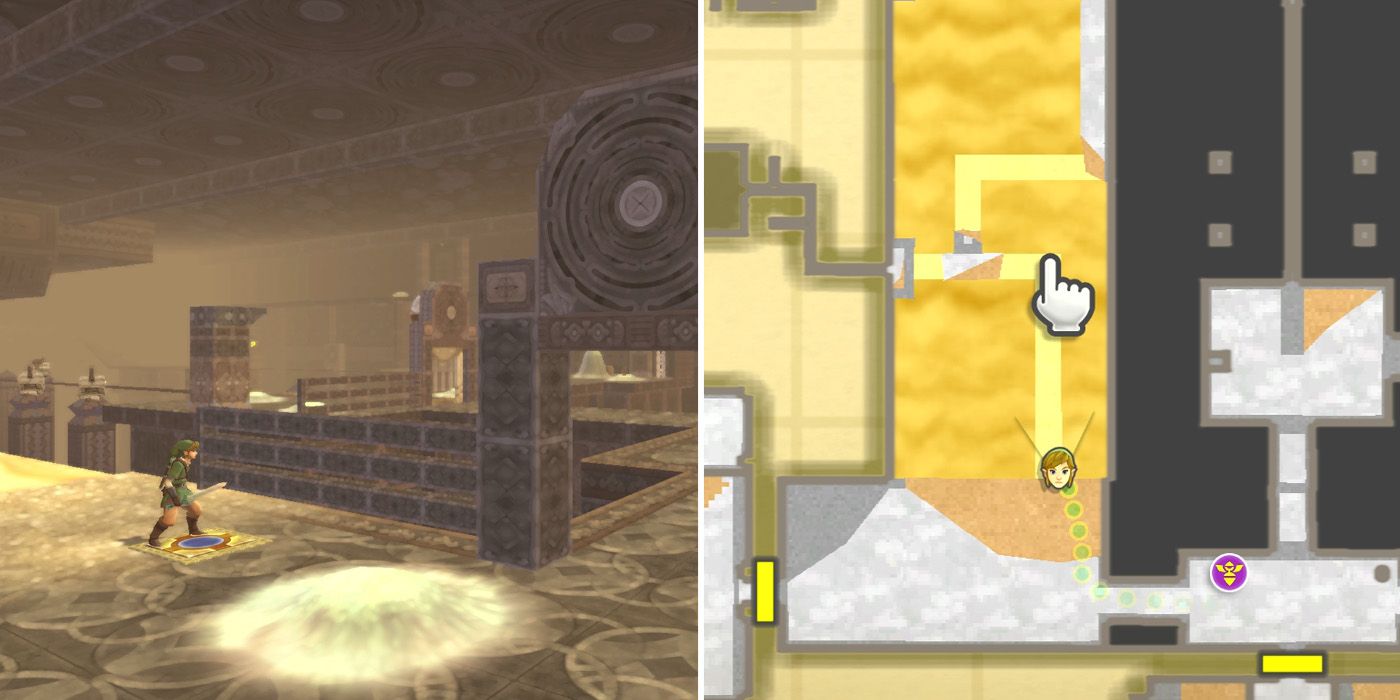
After obtaining the Dungeon Map, players should exit the room via the door to the east, which will take them back to the third chamber. This time, however, there's actually stuff to do, so after standing on the tile to open up the metal gate, players should check out their dungeon map and focus on the large patch of sand on the west side of the room. As the map shows, buried beneath the sand is a secret path, which players can use to safely cross.
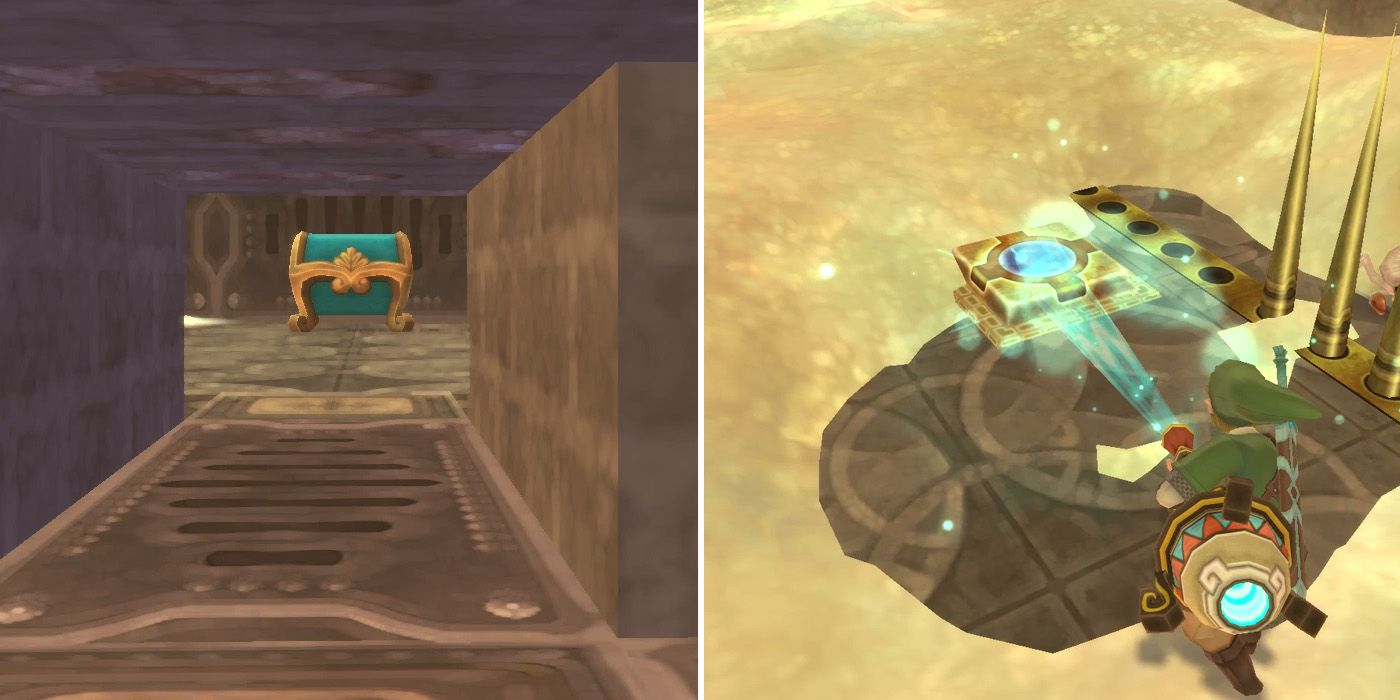
There are two vents along the western wall, the first of which leads to a chest containing a random rare component. The second leads to a large room that's full of sand and players will need to use the Dust Bellows to clear a path. They'll also need to work their way around some protruding floor spikes, while simultaneously keeping an eye out for a special floor tile that unlocks the door. There's a chest containing a red Rupee in the corner too, but getting to it is arguably more trouble than it's worth.
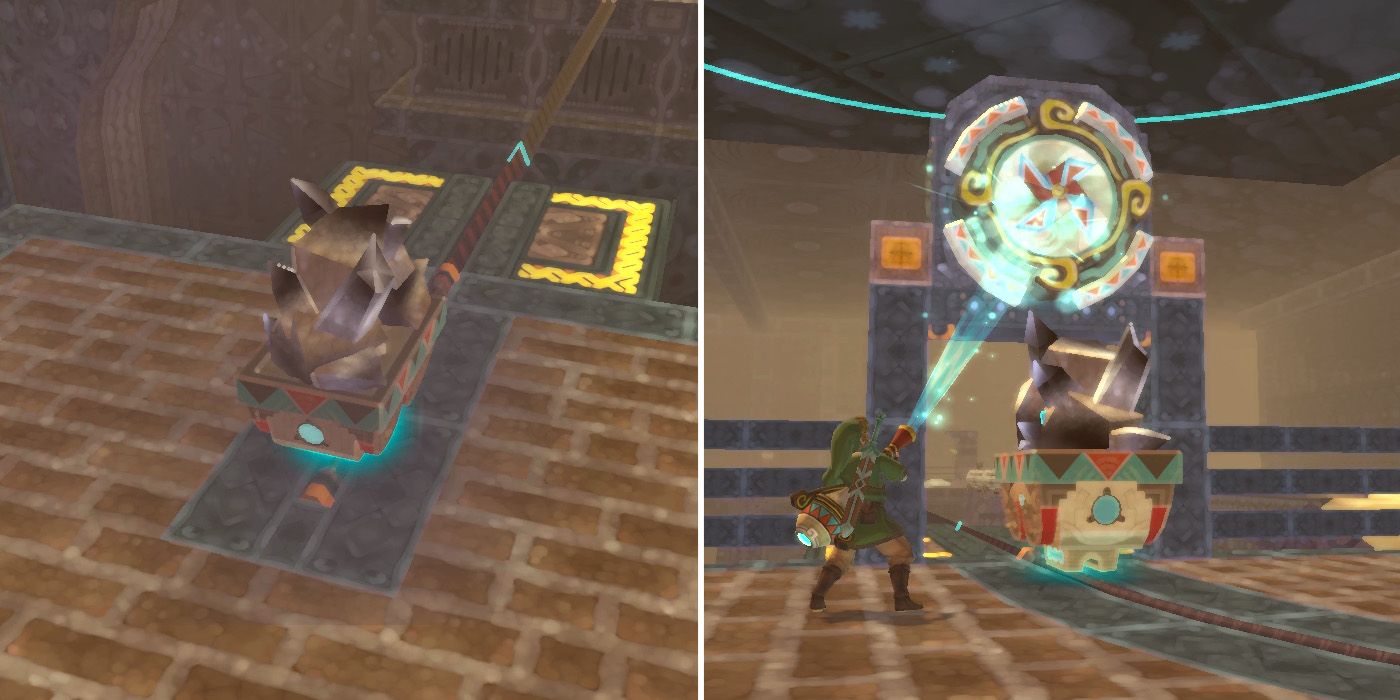
Exiting this room through the door will take players to the northwest corner of the third chamber, where they'll find a particularly large pile of sand. Buried beneath it is a minecart containing a Timeshift Stone, and, after uncovering it and hitting the stone, players will be able to follow the cart to a new area. It will eventually get stuck at a locked gate though, so after dealing with the newly revived Sentrobe, players will need to blow the pinwheel above the gate with the Gust Bellows to get the cart moving again.
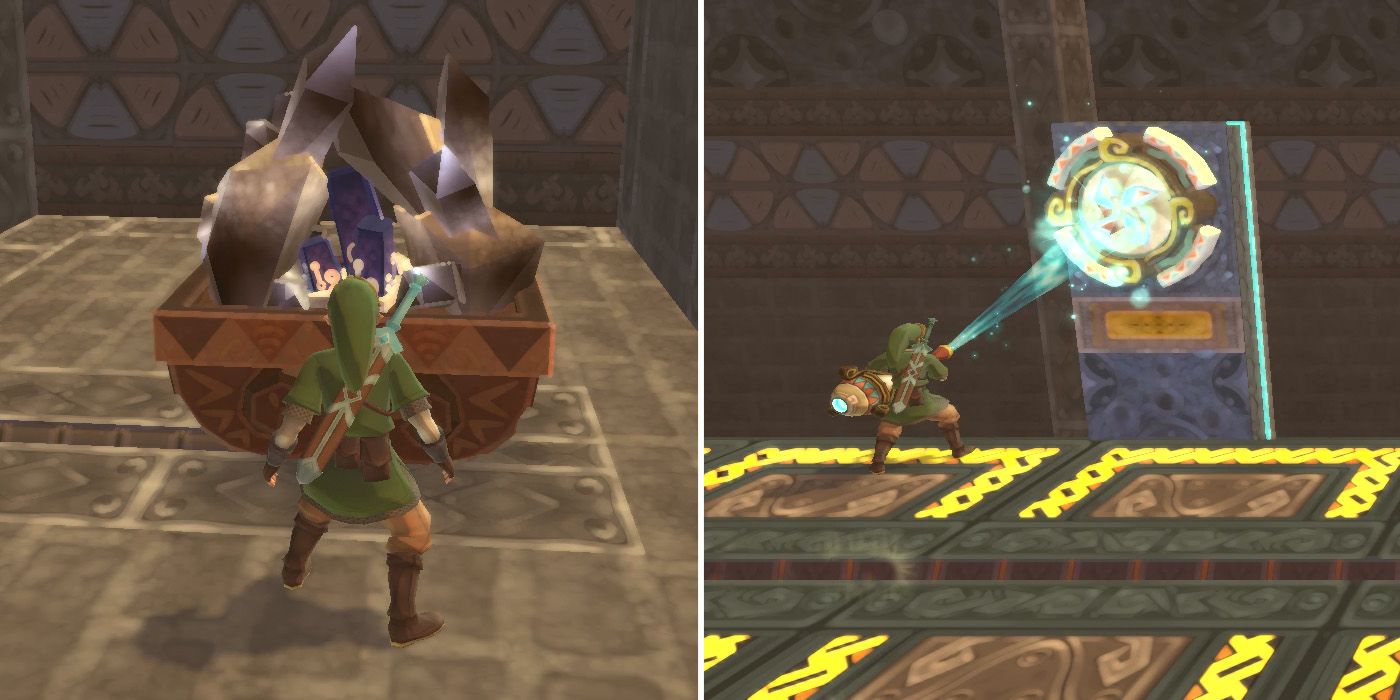
Link will need to continue clearing a path for the cart until it reaches the end of the line, at which point he'll be able to blow another pinwheel and unlock the gate that leads to the chamber's main entrance. Rather than passing through it though, players will instead want to take a left, where they'll find another minecart buried beneath some sand. Just like they did a moment ago, they'll need to activate the Timeshift Stone inside it and then follow the cart, making sure to blow the pinwheel on the right as they pass.
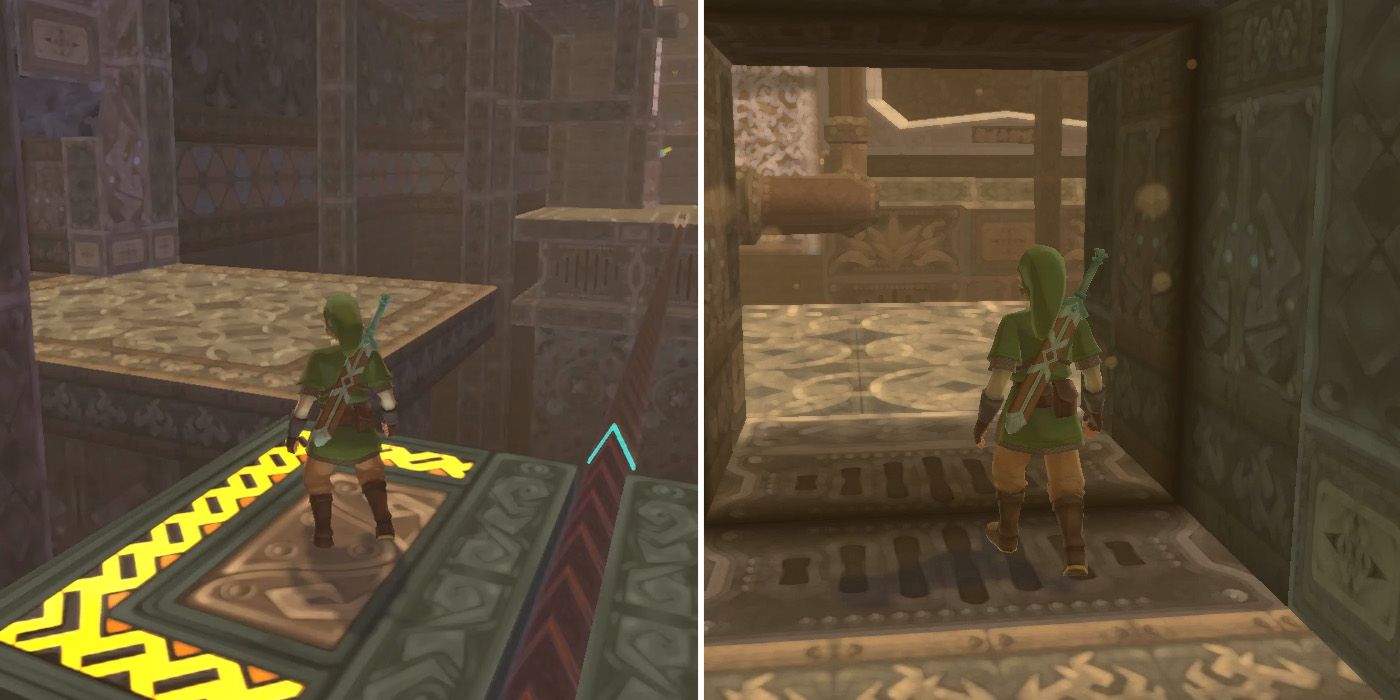
After reaching the other side, players should turn around and activate the stone again, which will give them another chance to blow the pinwheel if they missed it the first time around. Assuming they manage to do it on one of their two passes, they can now jump over to the platform on the left with the Beamos on it and head through the newly unlocked door.
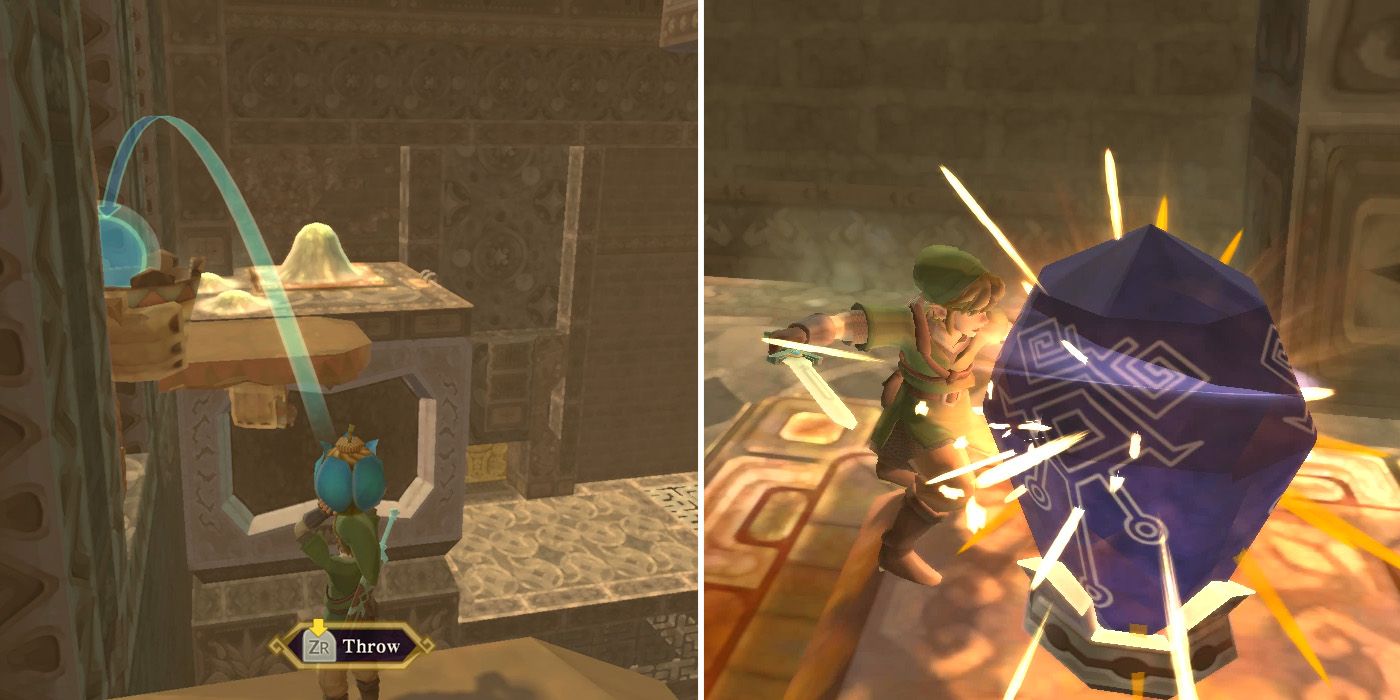
In this next room, players need to cross the stationary conveyor belt and then climb the dead vines on the wall while avoiding the gusts of wind. Once at the top, they'll need to toss bombs into the baskets of the statues on the wall so that all three of them are down and then hop across to the giant pile of sand on the far side of the room. Beneath it, they'll find another Timeshift Stone and should activate it before hopping back across the three statues.
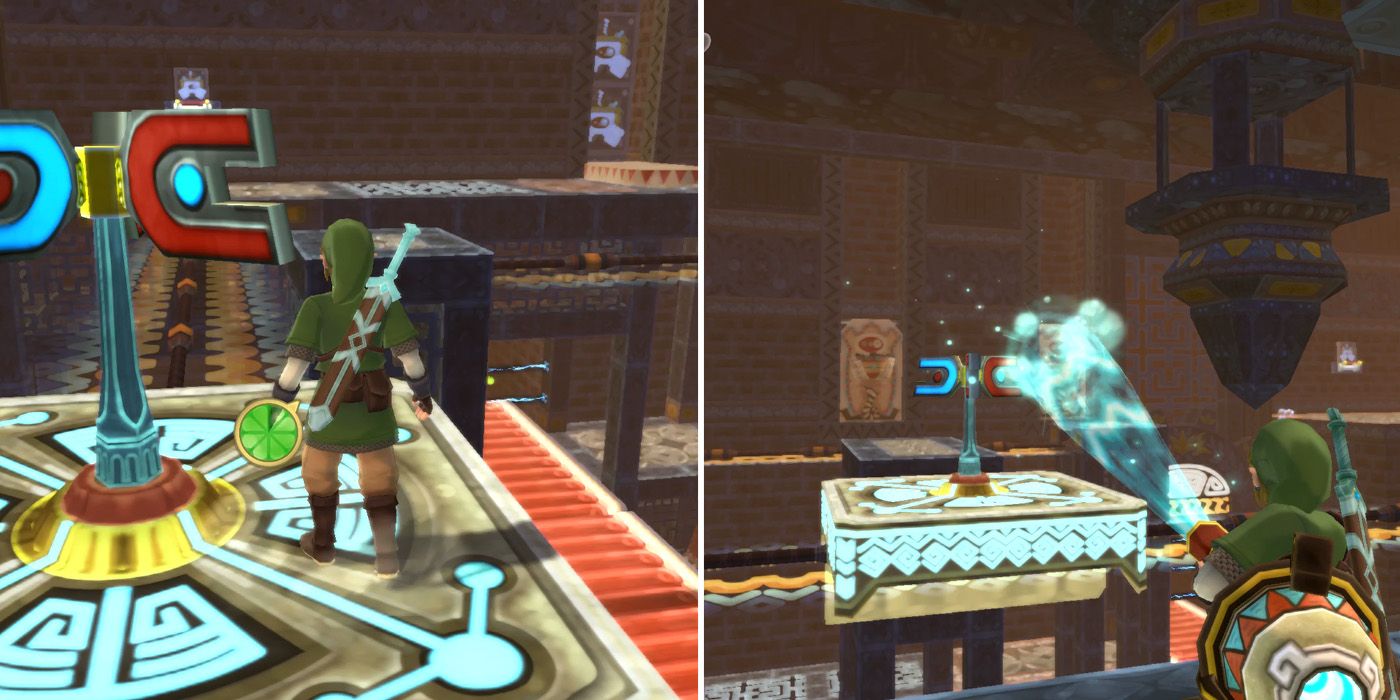
After killing the Beamos and crossing the two conveyor belts, players will come to another turbine platform and should ride it across to the other side. There'll be yet another Sentrobe here and some more wall statues that will need to be knocked from the wall with bombs. There's also another turbine platform that players will need to push to their right using the Gust Bellows. As soon as they're able to get on it, they should change directions and head to the north side of the chamber.
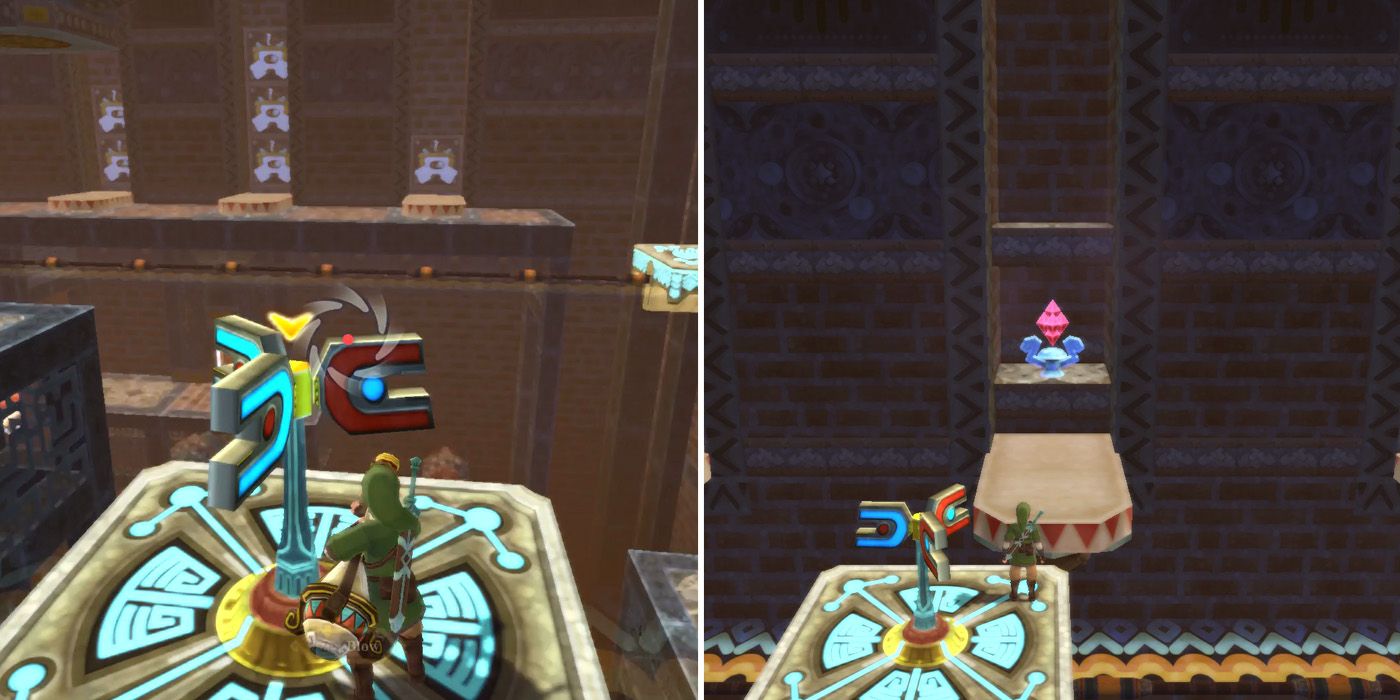
Next, players should push the red crate blocking the ladder out of the way and then head to the right to find another turbine platform. As they ride this one, they'll need to throw bombs into the baskets of the wall statues and then hit the red crystals in the order indicated by the images behind the statues on the opposite wall. For those who didn't uncover the statues, the correct order is the most northerly crystal first, then the most southerly, and, finally, the one in the center.
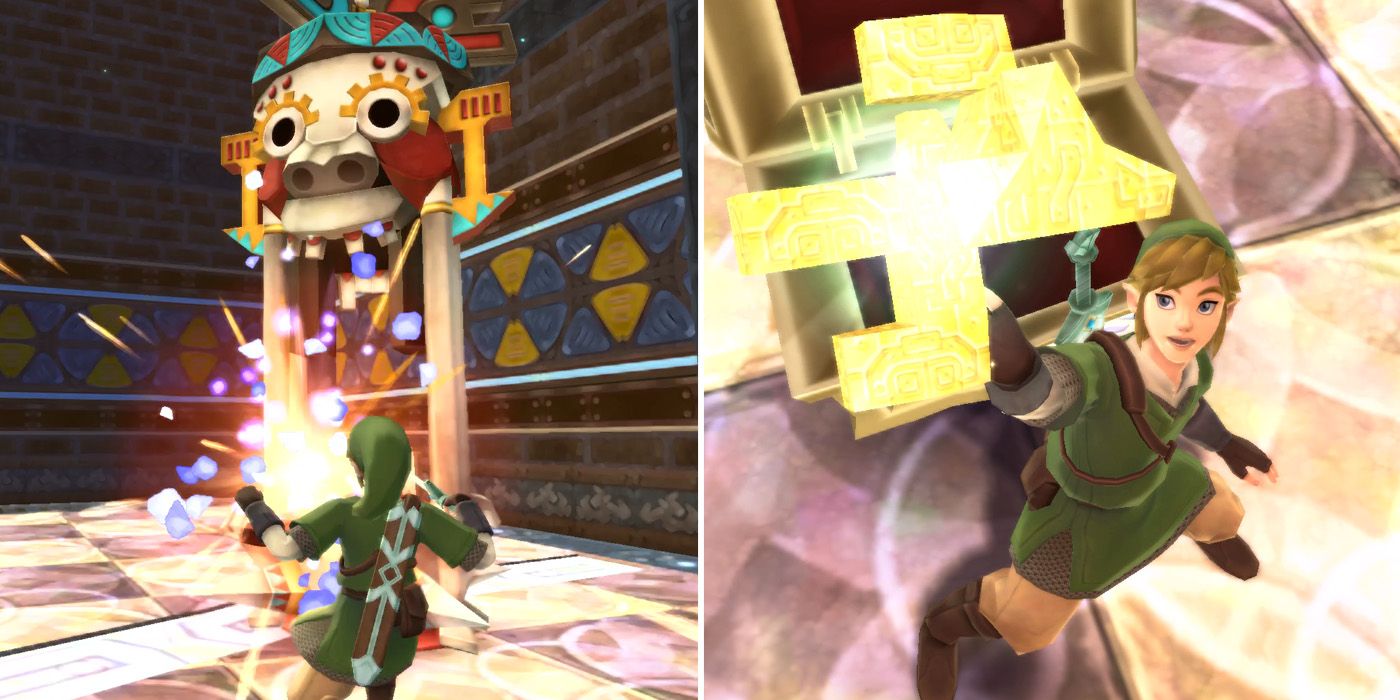
Once all three crystals have been activated, the door to the north of the chamber will unlock, so players should ride the turbine platform back to where they got on it and then head through the newly unlocked door. Inside, they'll find a pair of Armos, which can be taken on one at a time. After they've both been defeated, the bars blocking the dungeon's final chest will be raised and players can finally get their hands on the Ancient Circuit boss door key.
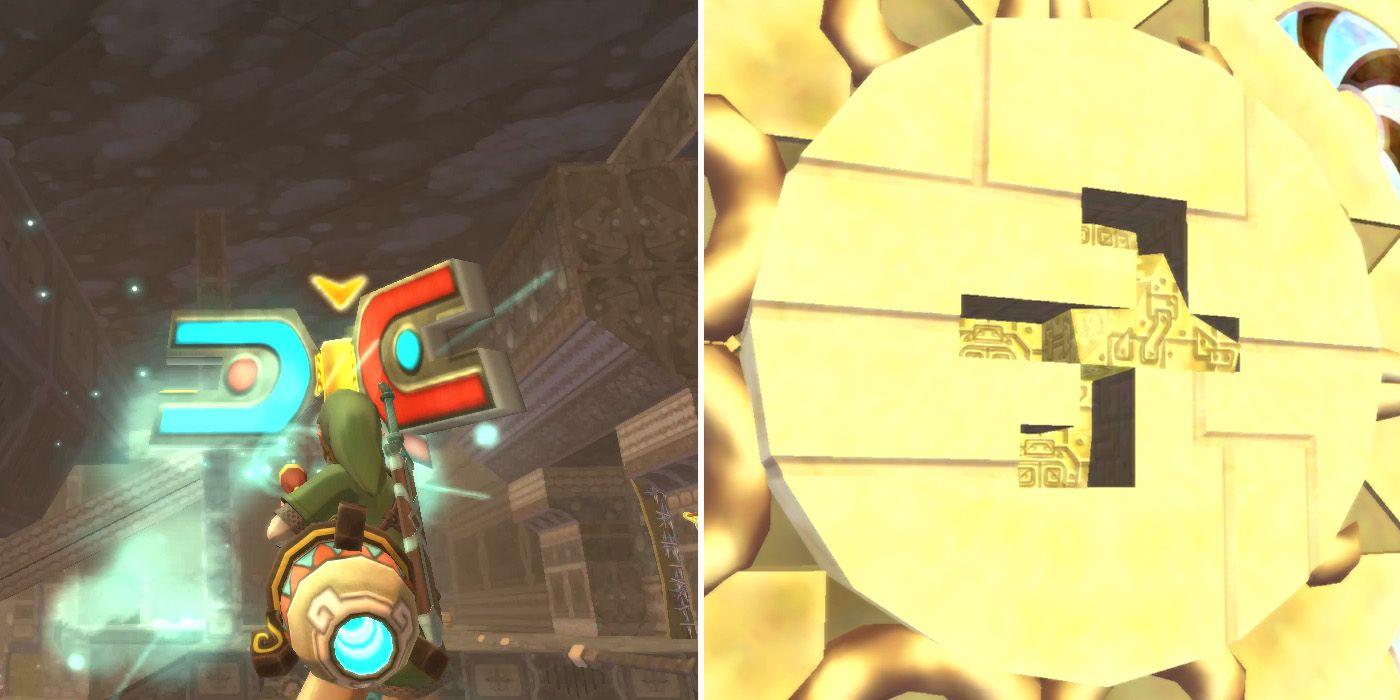
With the Ancient Circuit now in hand, Link can finally make his way to the boss door. To get there, players will need to drop down, cross the conveyor belt, and then head through the door in the back left corner of the area. This will take them back into the third chamber, where they'll find another minecart containing a Timeshift Stone. After activating it, they'll need to ride the turbine platform beside it, being sure to match the minecart's speed so as to avoid being blown off by the gusts of wind. They'll soon arrive at the boss door and can insert the Ancient Circuit to progress.
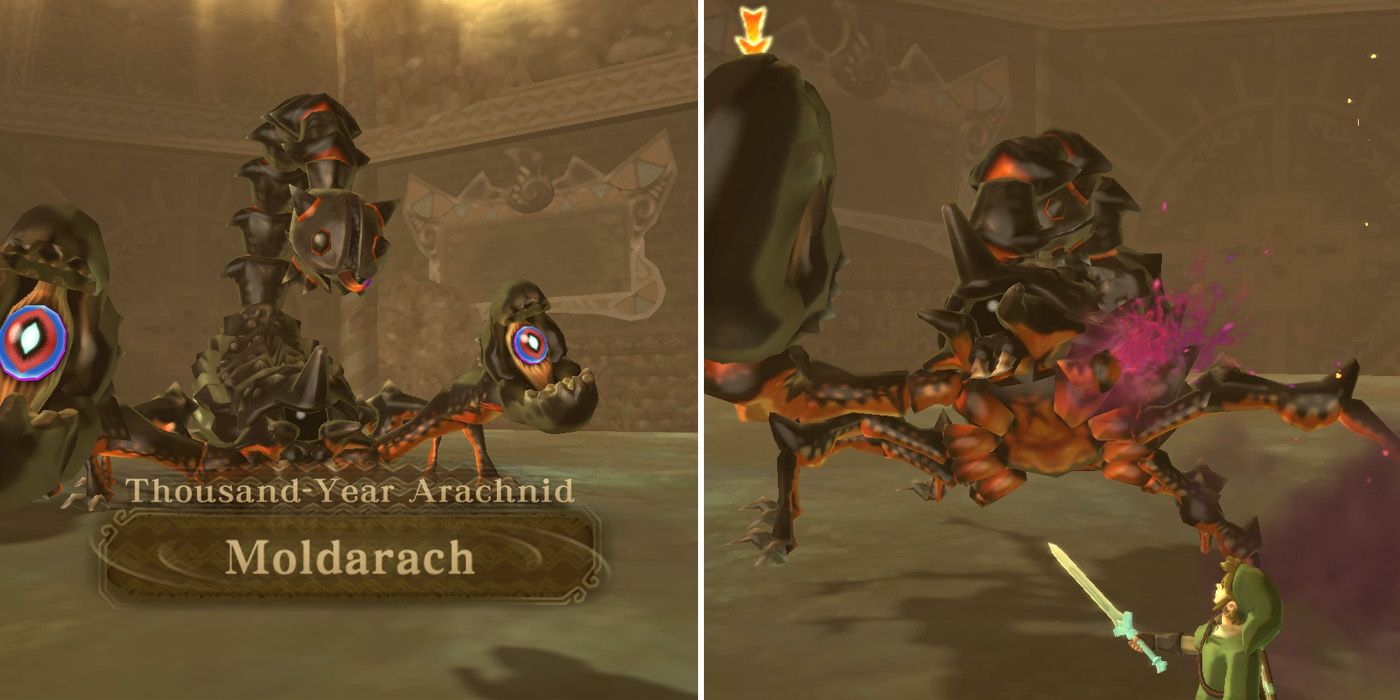
After heading through the boss door, Link will find himself in an empty sand-filled room. A few moments later, however, the ground will begin to shake and the scorpion-like boss Moldarach will show up. In the first phase of the fight, players will need to target the eyes in the center of its claws, using either horizontal or vertical strikes depending on the claws' orientation.
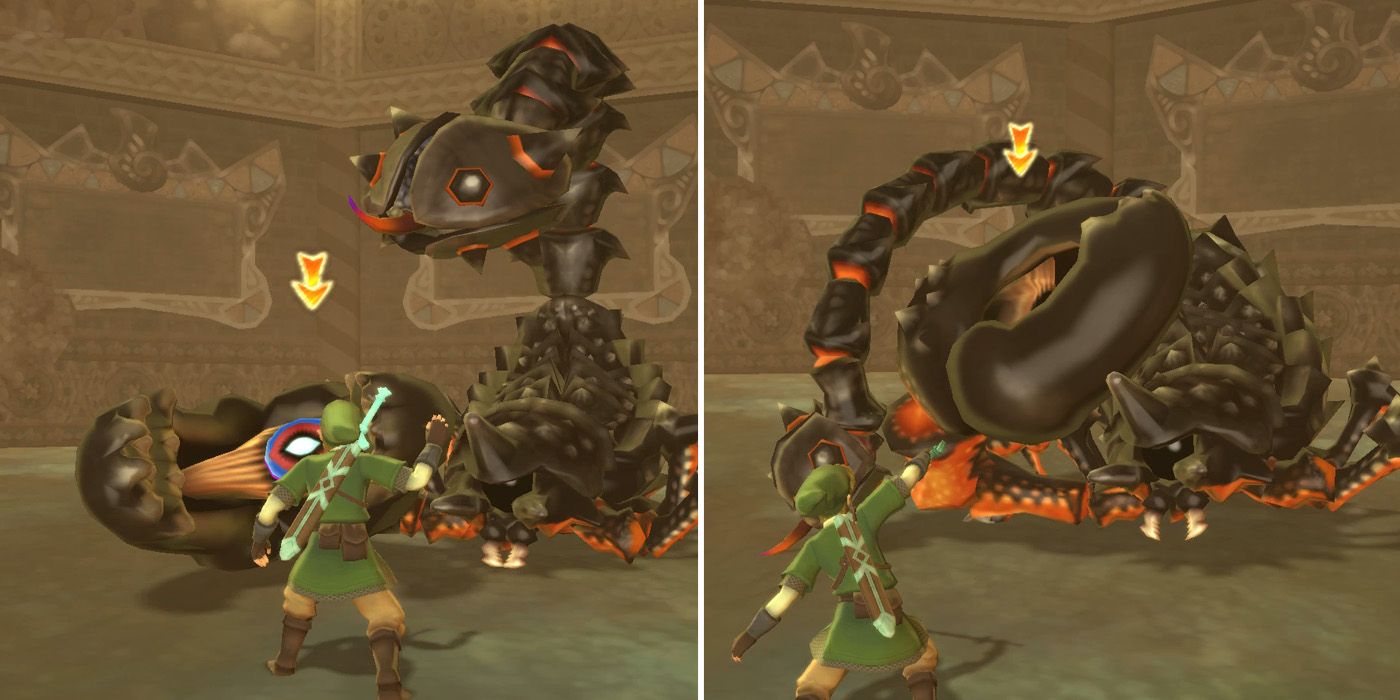
Initially, players will be able to simply walk backward taking swipes at the claws as often as they like. The eyes on the claws glow red just before they attack, but a well-timed strike will cancel the attack, so there's no need to be too defensive here. Once its first claw has fallen off, Maldarach will start to use a tail-swipe attack from time to time, but this can be easily dodged by jumping backward while locked on.
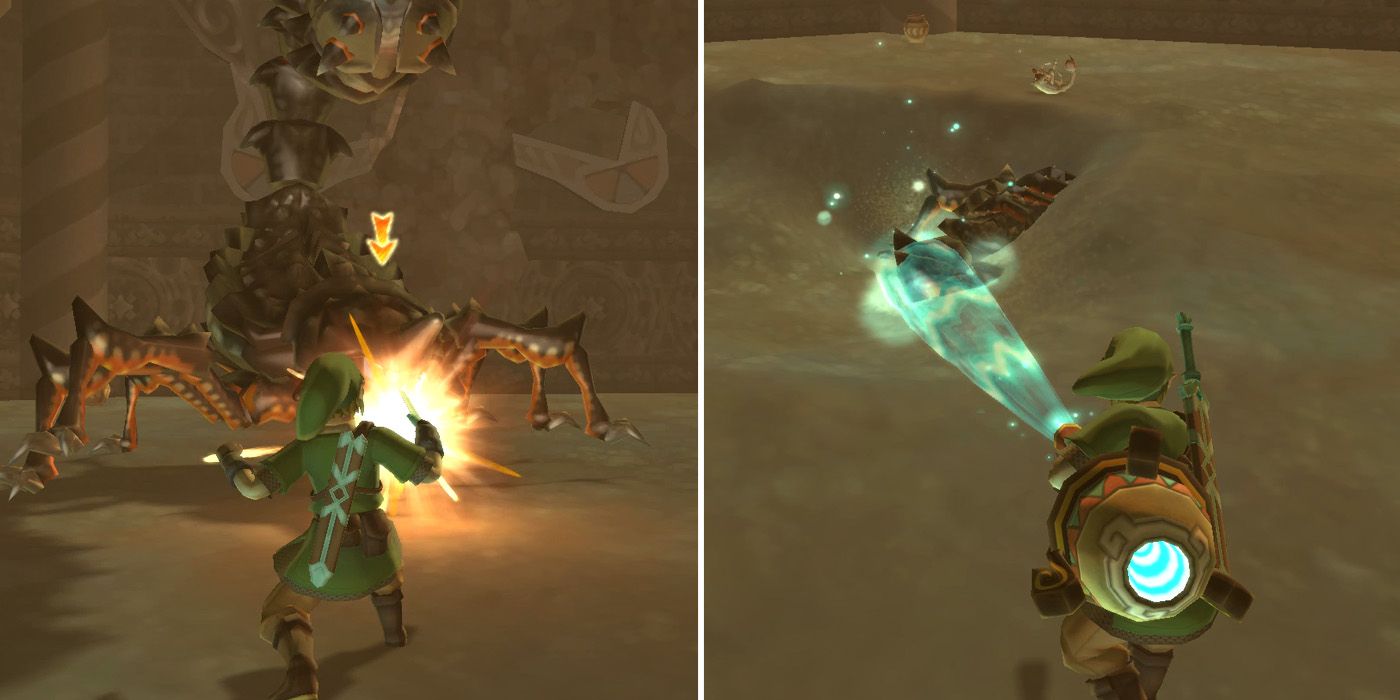
After both claws fall off, Maldarach will begin to open its main eye and players should jab it with their sword as often as possible by pressing the right analog stick in. The boss will periodically bury itself in the sand during this phase, so players will need to use the Gust Bellows to clear the sand until it pops back out. As soon as it does, players should continue attacking until the fight is over.
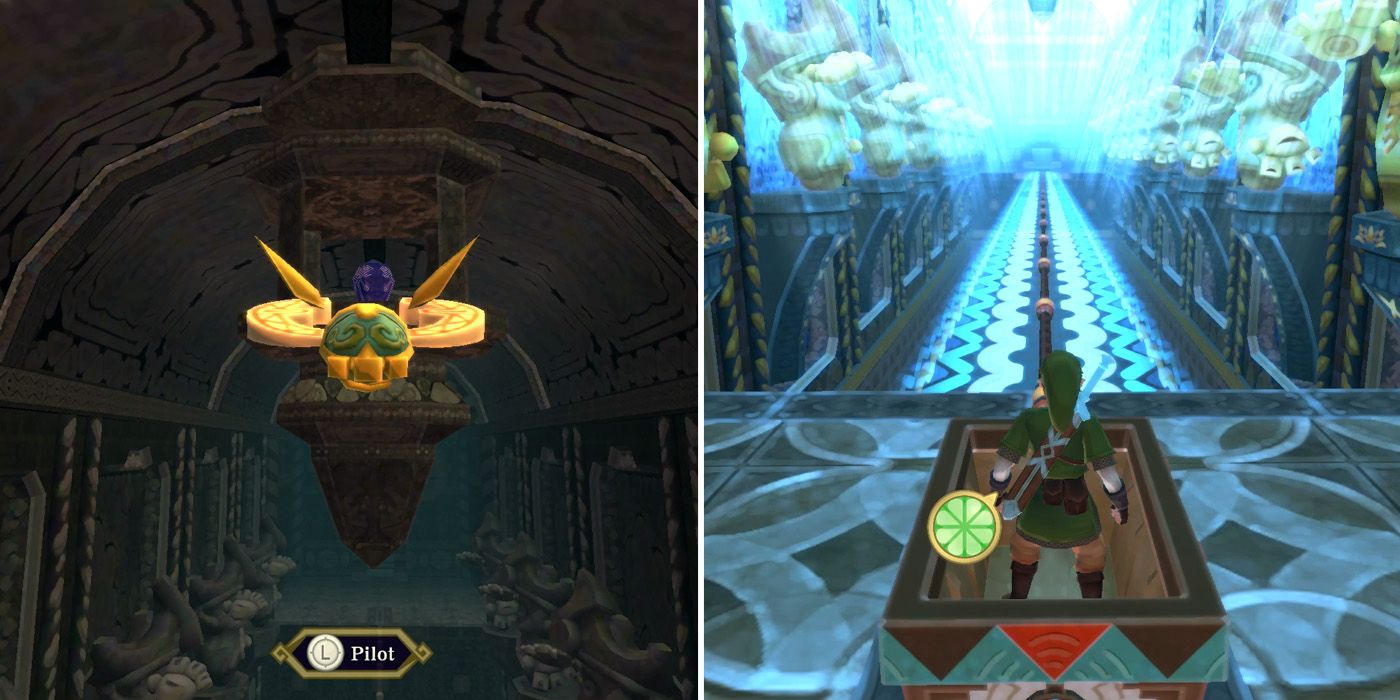
Once Maldarach has been defeated, a Heart Container will appear and all of the sand in the room will drain away. At the bottom, players will find a door that leads to a long corridor, and using the beetle to hit the Timeshift Stone in the distance will cause everything to come to life. Players can now jump into the minecart and ride it along the corridor to the Temple of Time.
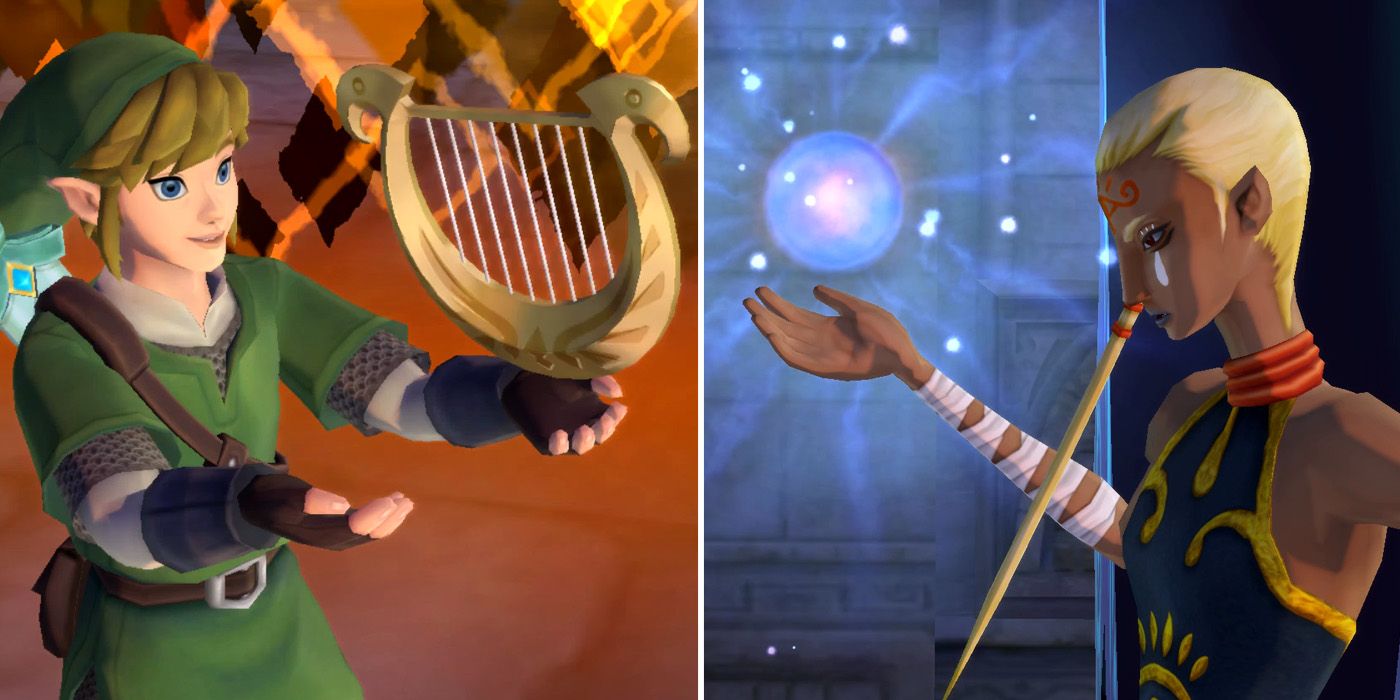
Link arrives just in time to see Zelda as she's preparing to pass through the Gate of Time, as too does Ghirahim. Thanks to some help from Impa and Link, however, Zelda is able to escape the demon lord's clutches, although not before giving Link the Goddess' Harp. Impa tells Link to seek out an old woman at the Sealed Grounds, before also heading through the Gate of Time and destroying it behind her to prevent Ghirahim from giving chase.
NEXT: The Legend of Zelda: Skyward Sword HD - How to Deliver Hot Pumpkin Soup to Knight Commander

