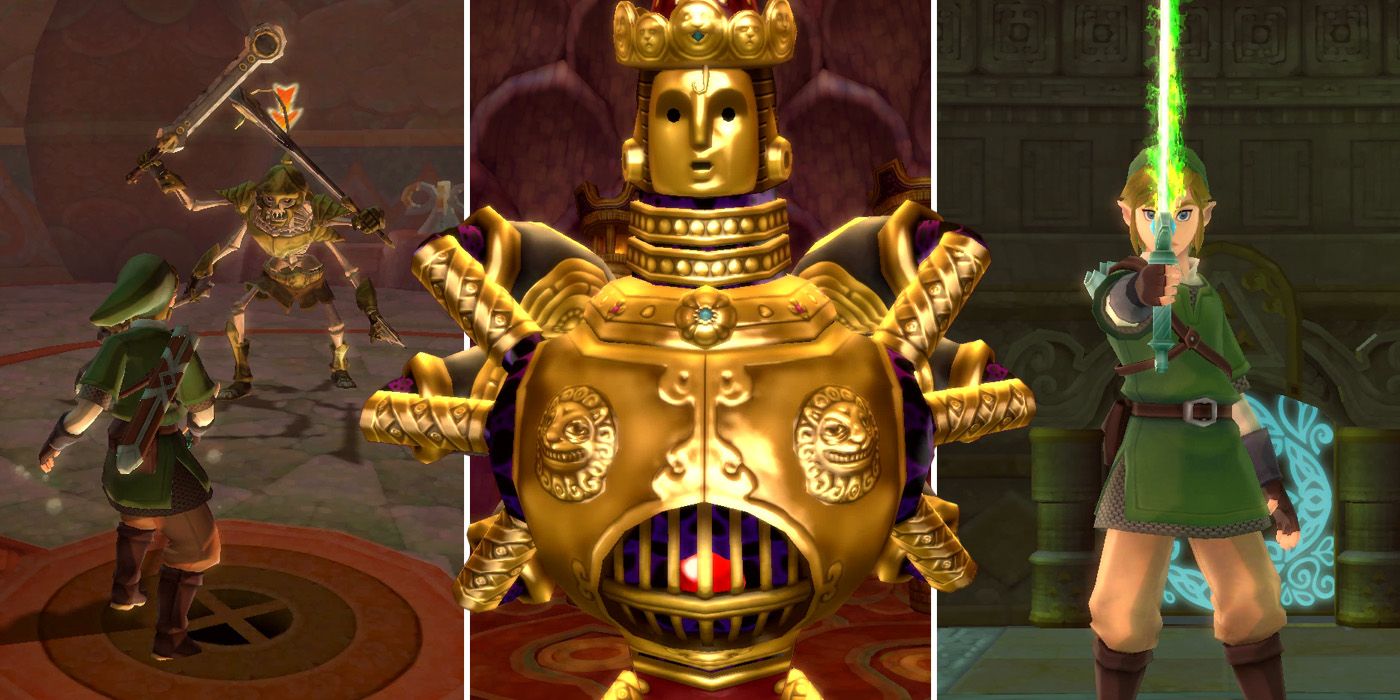
The Ancient Cistern is the fourth dungeon in The Legend of Zelda: Skyward Sword HD and is the location of the first of three sacred flames needed to power up Link's Goddess Sword for the battles ahead. The bad news is, it serves as the game's obligatory water dungeon, although, thankfully, it's nowhere near as long or frustrating as some of those that have featured in earlier Zelda games.
RELATED: Mistakes Everyone Makes While Playing The Legend Of Zelda: Skyward Sword HD
On their way to Farore's Flame, players will get themselves a brand new item and will also need to overcome the ancient automaton, Koloktos. There's a rather difficult mini-boss in the form of the Stalmaster too and a few tricky puzzles that will require players to double back on themselves several times before they're able to move forwards.
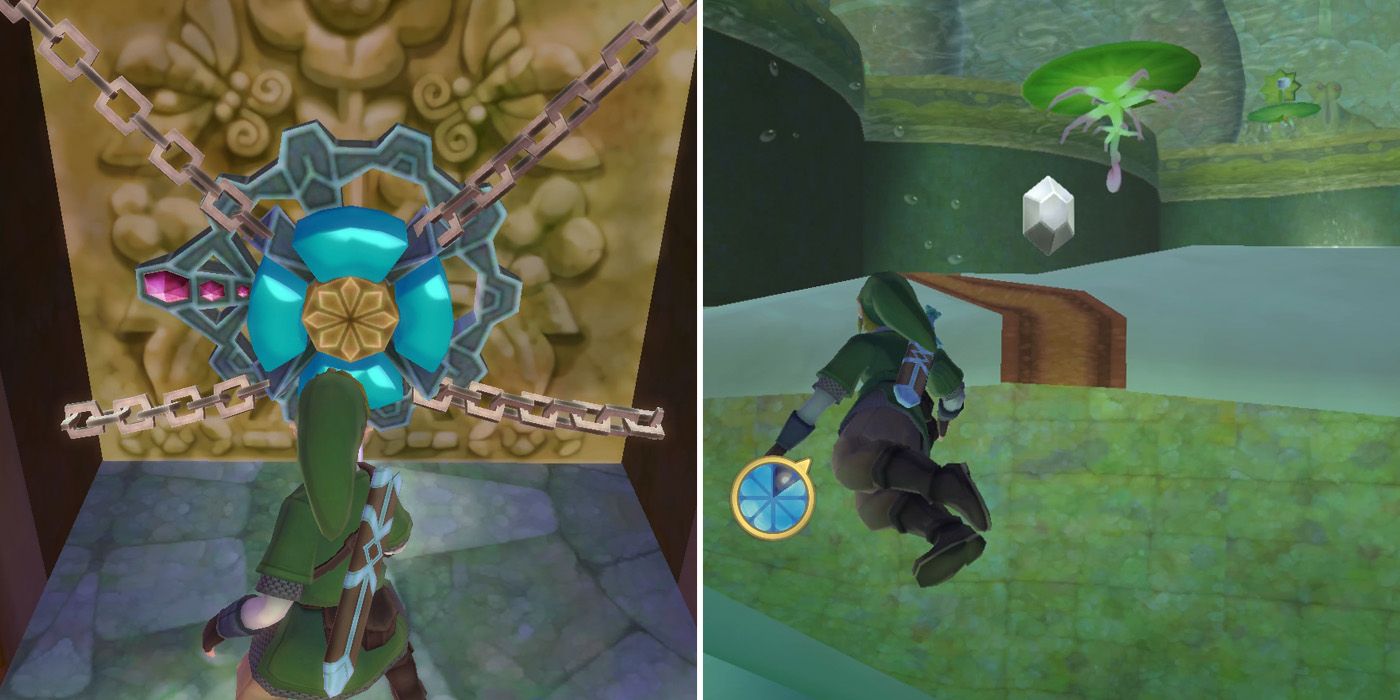
One of the first roadblocks standing in Link's way is a new type of door lock that requires the young adventure to enter a special combination with four directional slices. Those who already know the combination can skip this section and go straight to the lock if they like, although this will mean missing out on two silver Rupees.
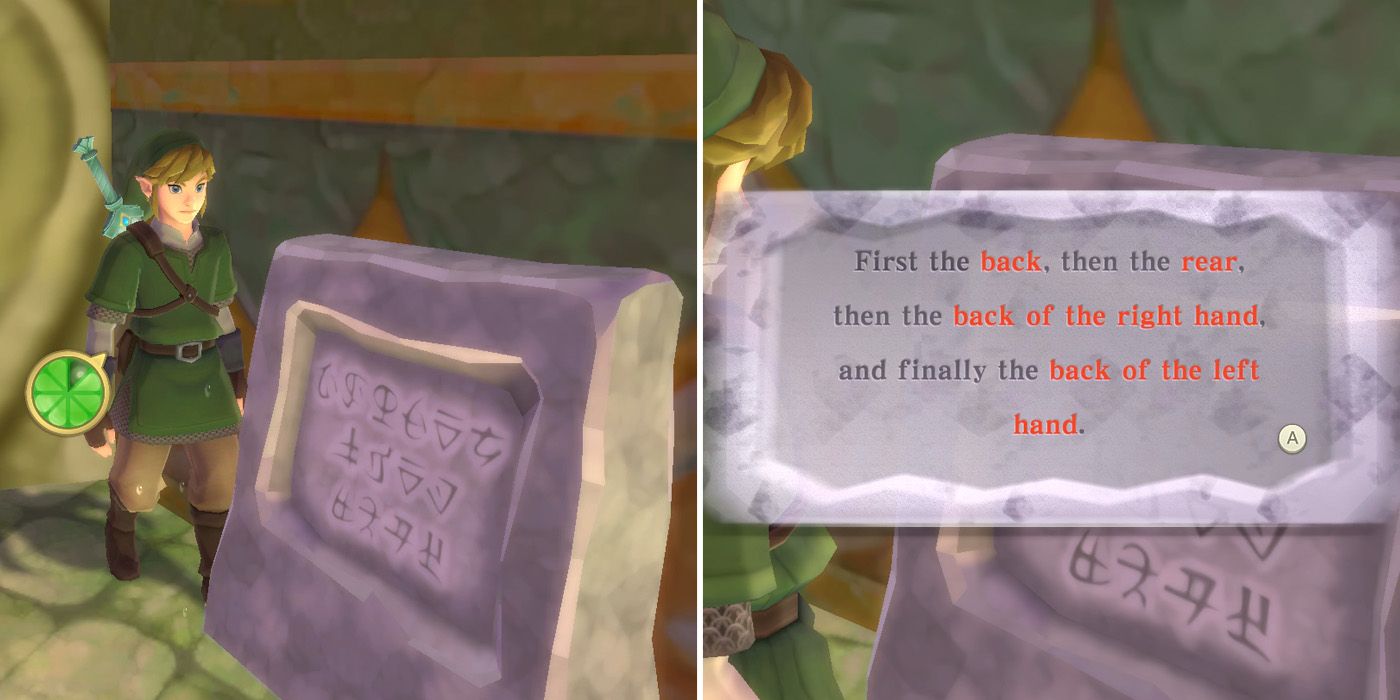
To find the combination for themselves, players will need to walk around the base of the giant statue in the main chamber and look for the stone tablet to the right of the locked key door. It will tell them that the direction on the back of the statue comes first, then the one on the rear, and finally the ones on the backs of the right and left hands respectively.
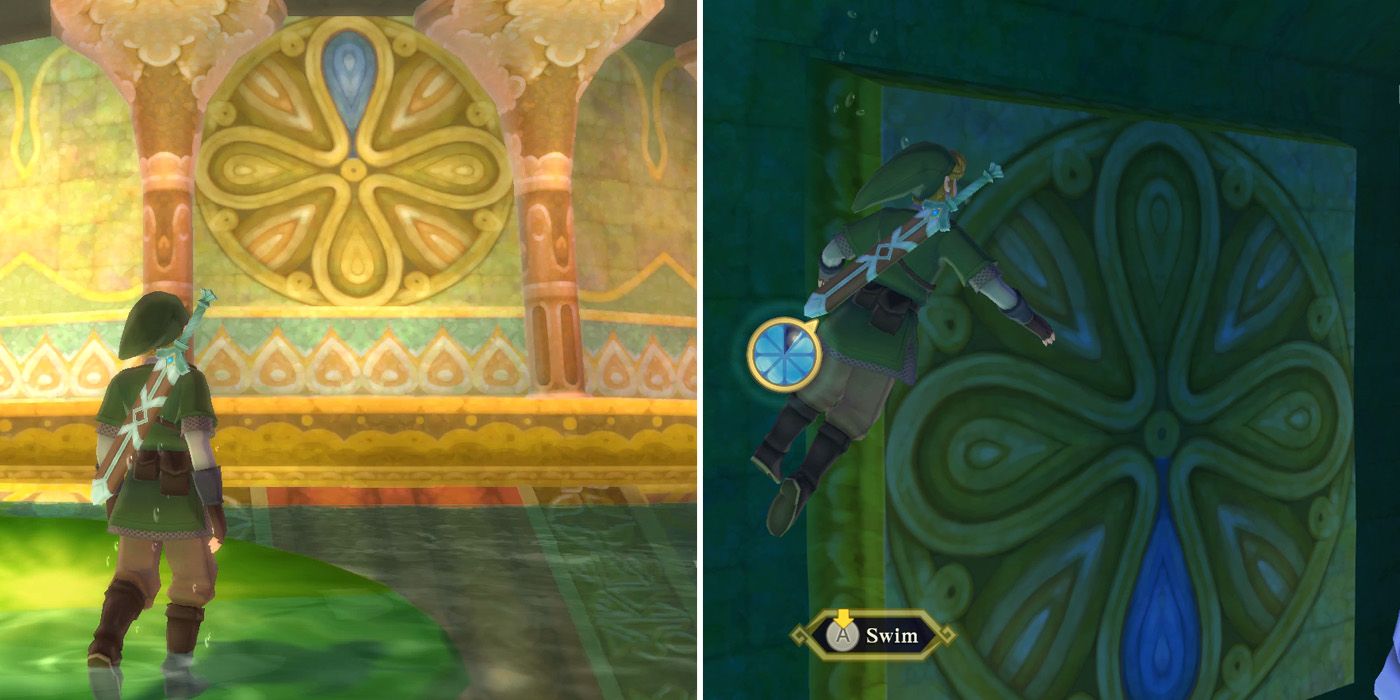
Players should therefore make their way round to the back of the statue first, where they'll find a symbol with a blue petal pointing up. Next, they'll need to jump down into the water beneath them and swim under a small arch. If they look in the direction of the statue as they do so, they'll see another symbol indicating that the second direction needed is down.
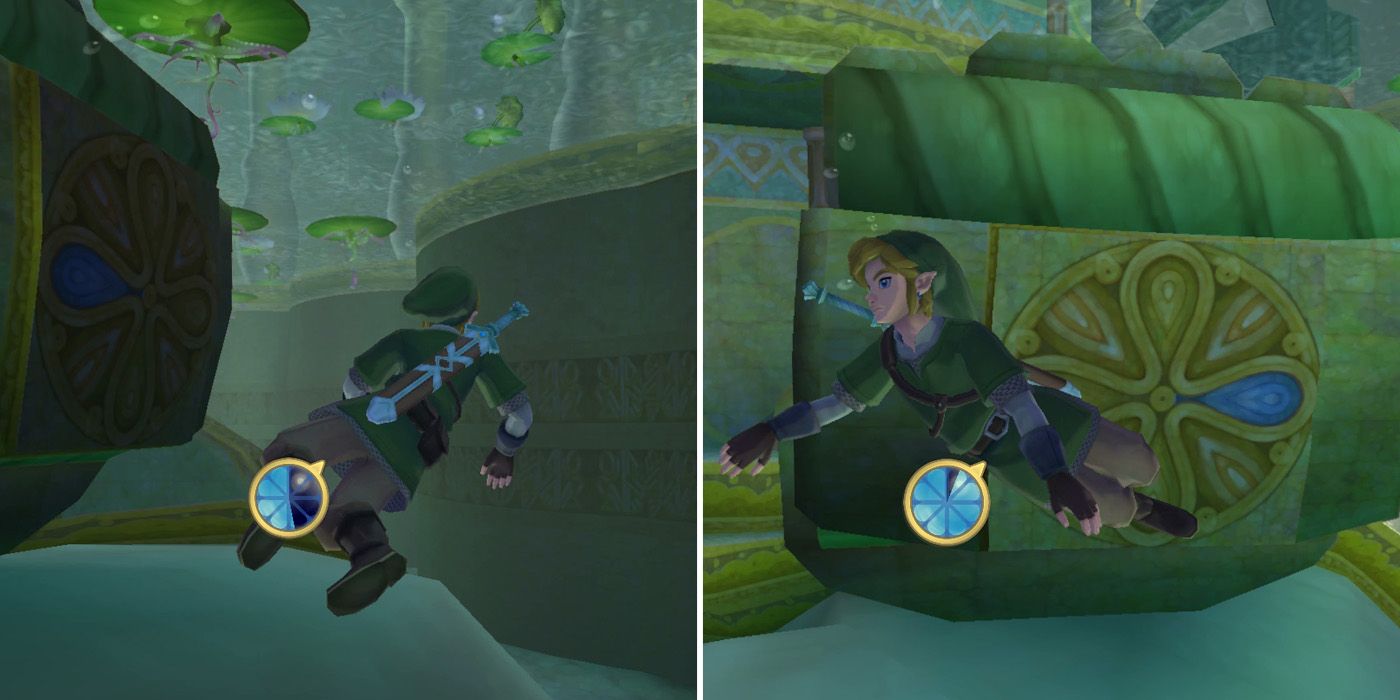
In order to get the final two directions, they'll need to return to the front of the statue and head over the statue's hands. On top of their palms are silver Rupees, but if players try to collect them at a normal pace, the hands will slam shut and grab Link. If they use Link's spin attack, however, they'll be able to collect the Rupee before the hands close, allowing them to get the directions they need. The right hand is left and the left hand is right, making the final combination up, down, left, right.
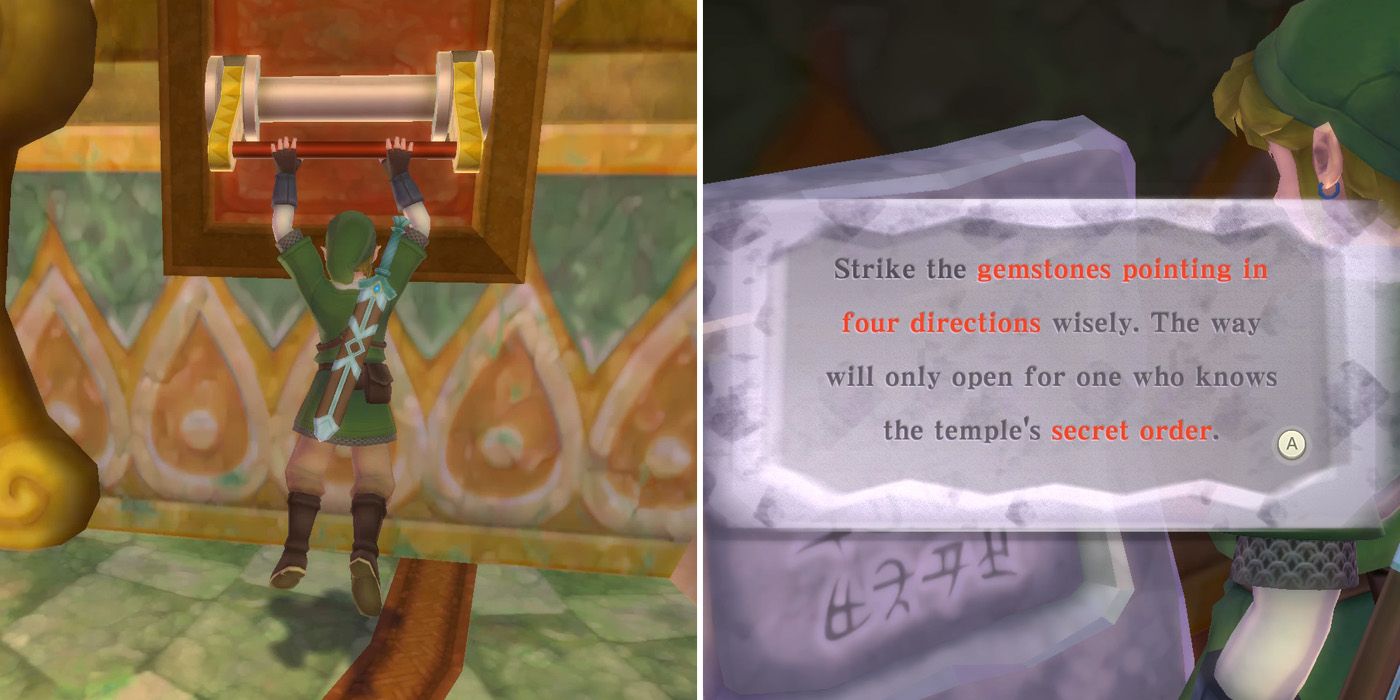
Now that players have the code needed for the directional lock, they should return to the dungeon's entrance and take the path to the right. They'll soon come to a door with a lever next to it, and pulling this lever will unlock the door. In the next room, they'll need to jump down from the starting point and then make their way past the Skulltula and its web to arrive at the combination lock door.
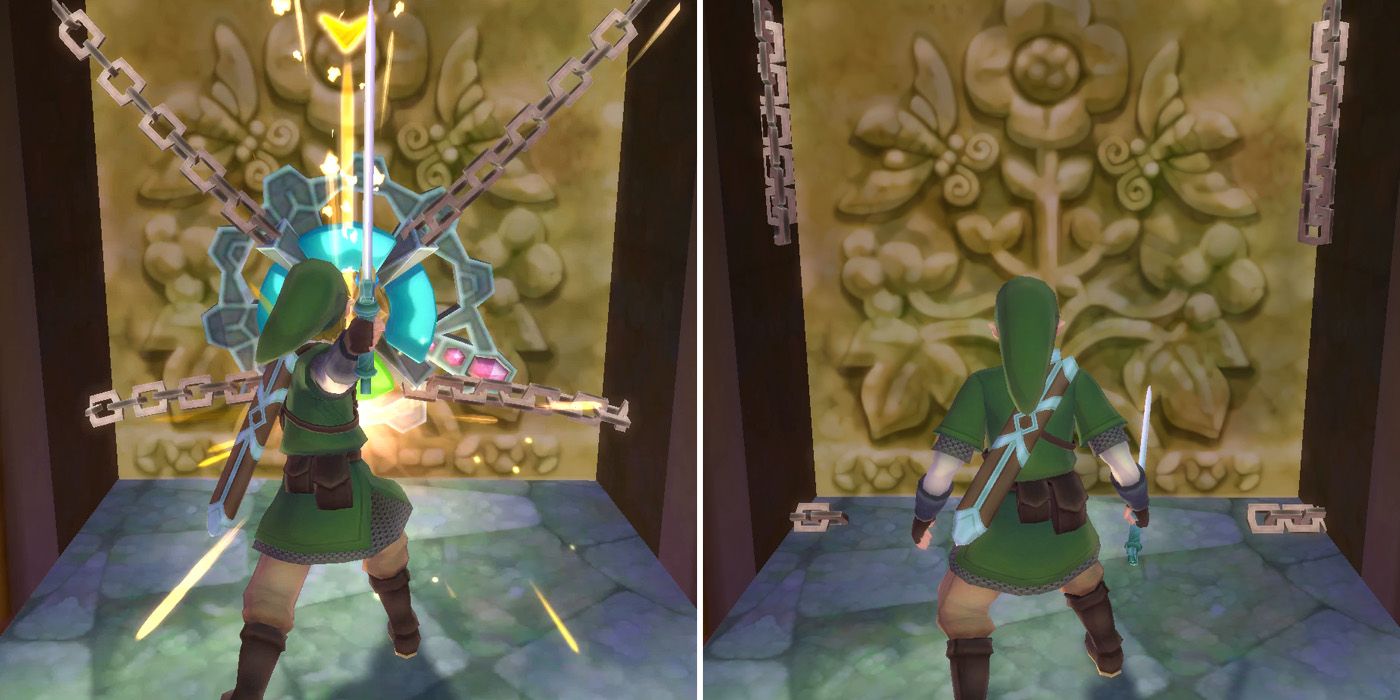
If they're using motion controls, they'll need to swing their Joy Con up, down, left, and then right to unlock the door. If they're using a controller, however, they should flick the right analog stick in the opposite directions, meaning down, up, right, and then left. Should they make a mistake at any point, they can reset the lock by bringing their total number of hits to a multiple of four.
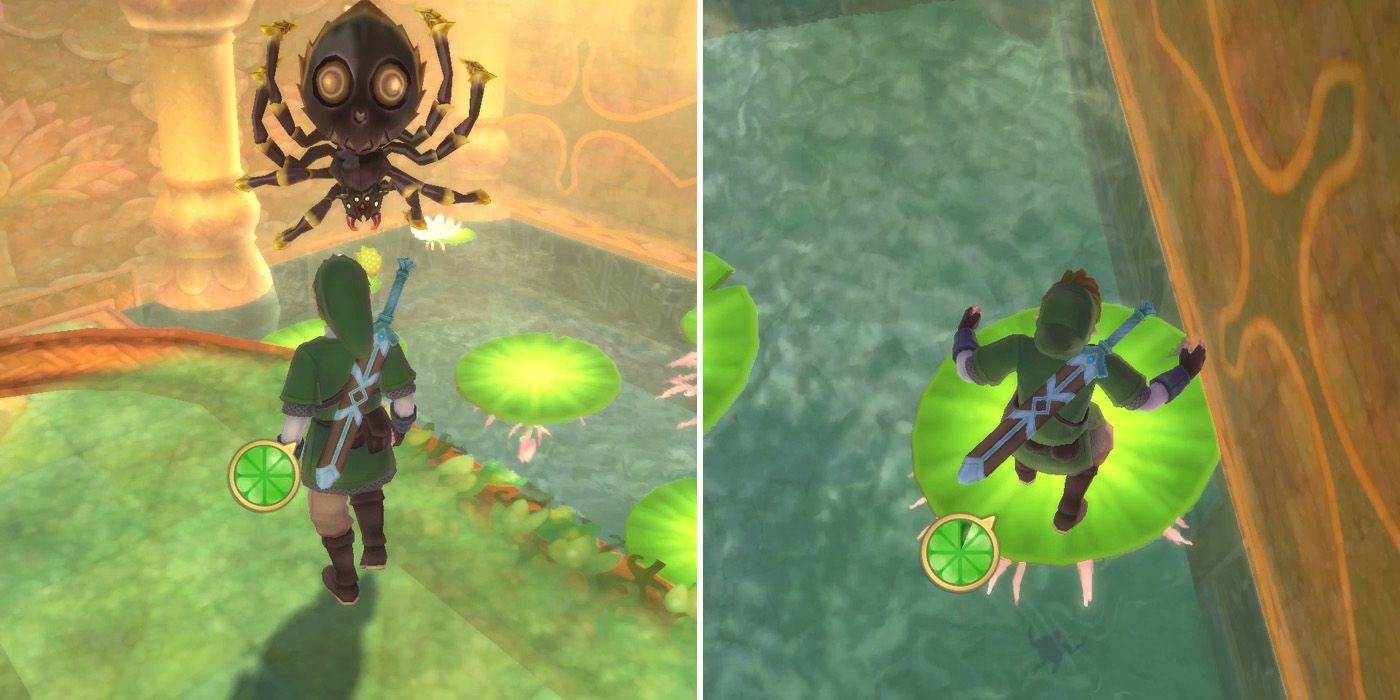
After passing through the newly unlocked door, players will find themselves in another room with more lilypads and some Skultullas hanging from the ceiling. Before doing anything, they should use the beetle to cut the Skulltula's threads and then use the slingshot to knock the Walltula down from the vines so that they can climb up to the raised platform in the southeast corner of the room.
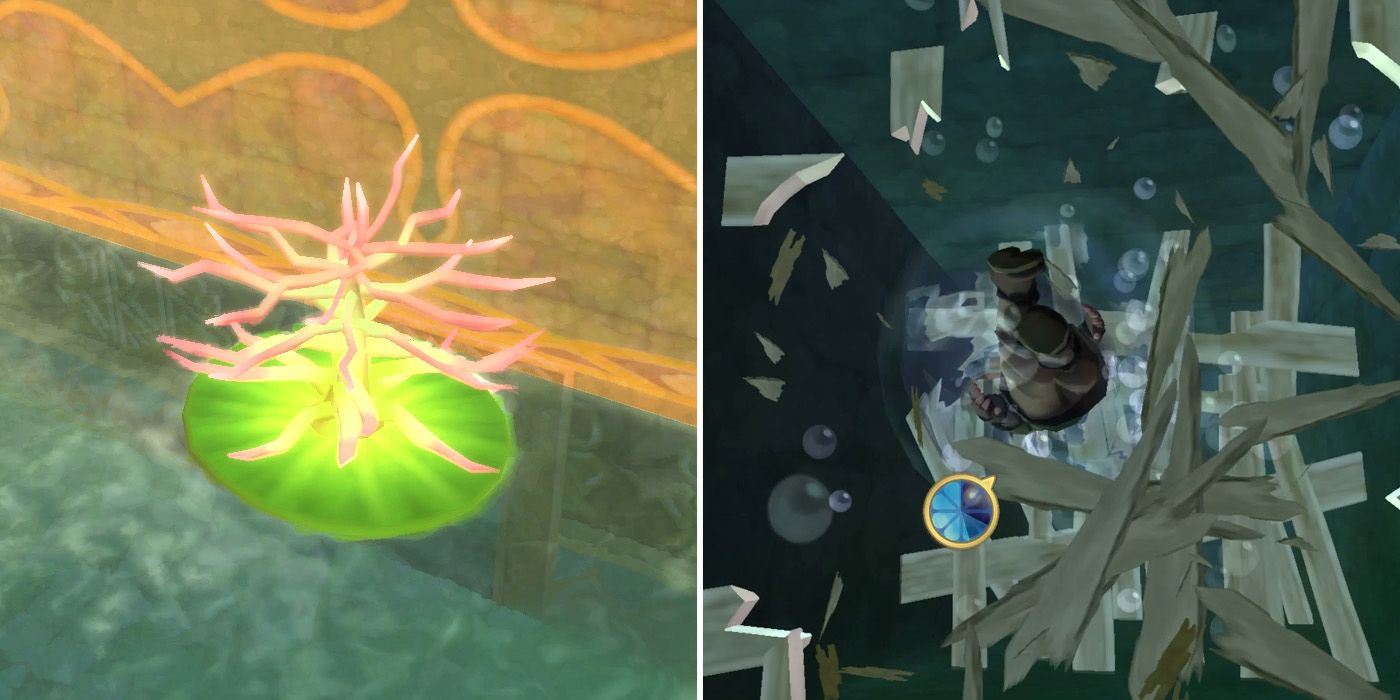
Once at the top, they'll need to jump off the platform and aim to land on the lilypad in the center of the room's eastern wall. This will cause it to flip upside down, granting access to a secret tunnel in the wall behind it. Players should use Link's spin attack to break through the wooden planks and can then climb out of the water on the other side of the tunnel by using the vines.
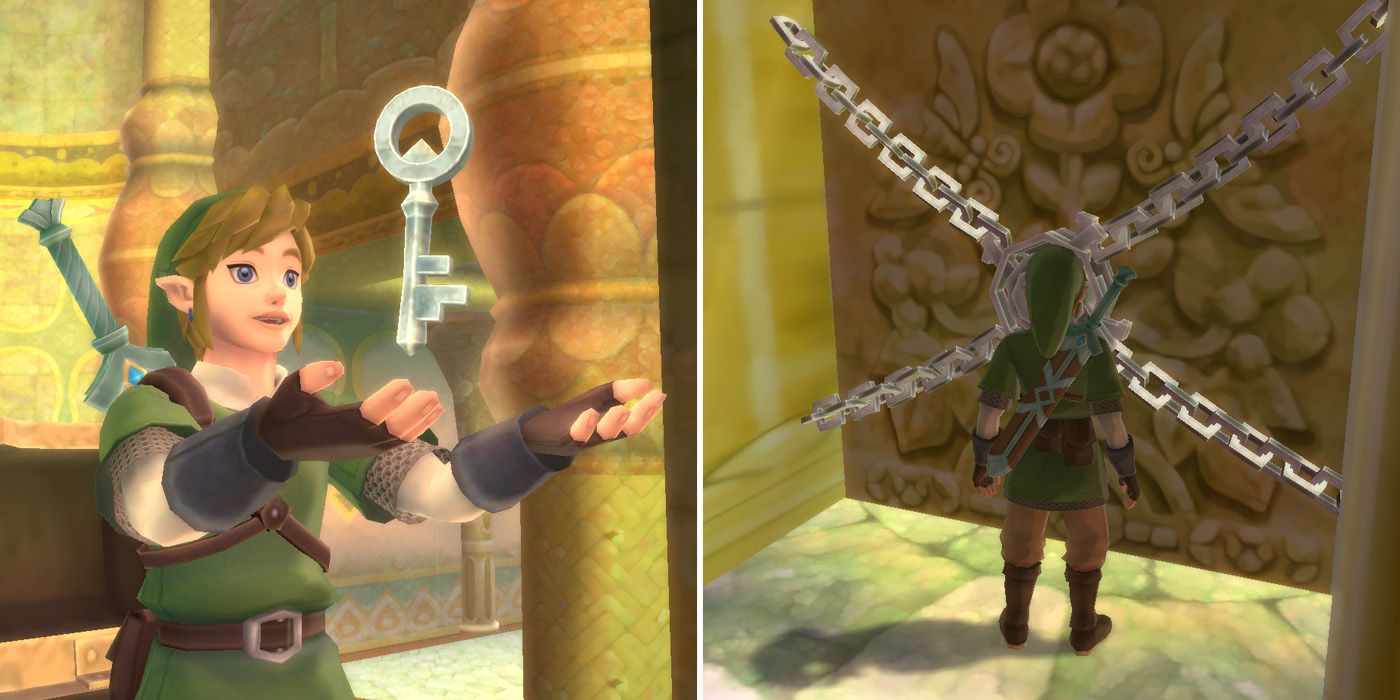
The door in front of them will lead players to a raised platform in the previous room, on which they'll find a chest containing the dungeon's first small key. After collecting it, they should jump down and use the water geyser to their left to get back up to the platform with the door. Next, they'll need to use the small key to get through the locked door on the front of the giant statue and then drop down into the lowest part of the chamber to fight the dungeon's mini-boss, the Stalmaster.
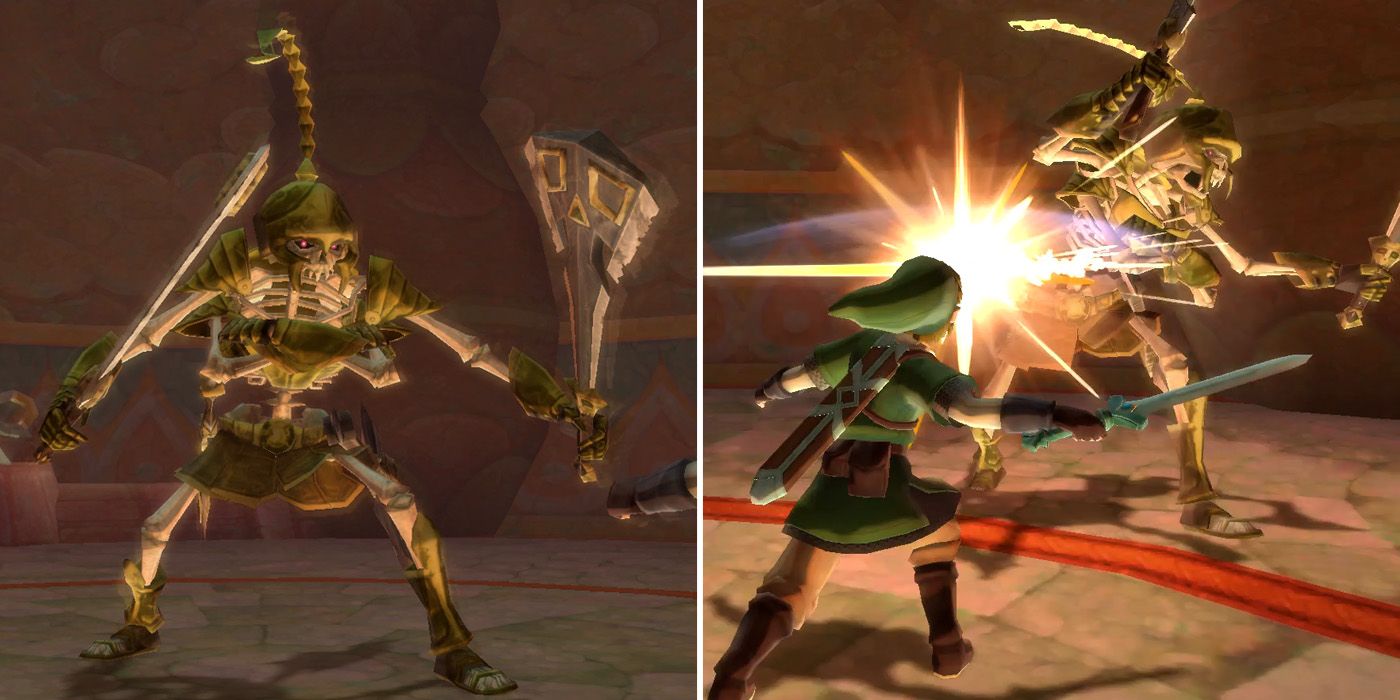
The first phase of the Stalmaster fight is a lot like fighting a regular Stalfos and so shouldn't cause players too much trouble. Its arms will block in two directions, so players should swing their sword in either of the other two directions to damage it. When it's winding up for an attack, players should jump backward and keep in mind that its attacks are often made up of two slashes rather than just one.
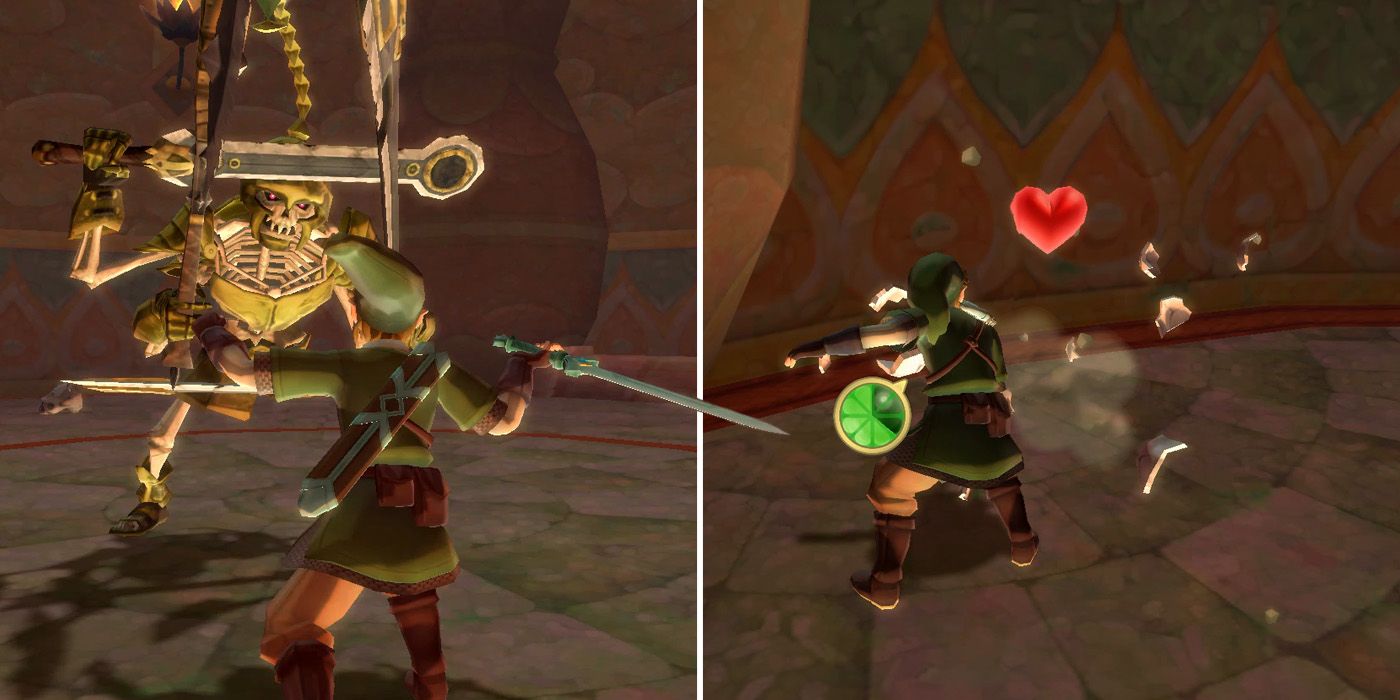
Once players have dealt enough damage, the Stalmaster will unleash another two arms, and it's at this point that the fight can become a little difficult. Now, the Stalmaster will block attacks from three and sometimes even four directions and can adjust its guard at a moment's notice. Its attacks also become a lot more powerful too, so players should approach this phase with caution and be ready to jump backward in the event that their attack is blocked. If needed, they can break the skulls on the ground to replenish their health.
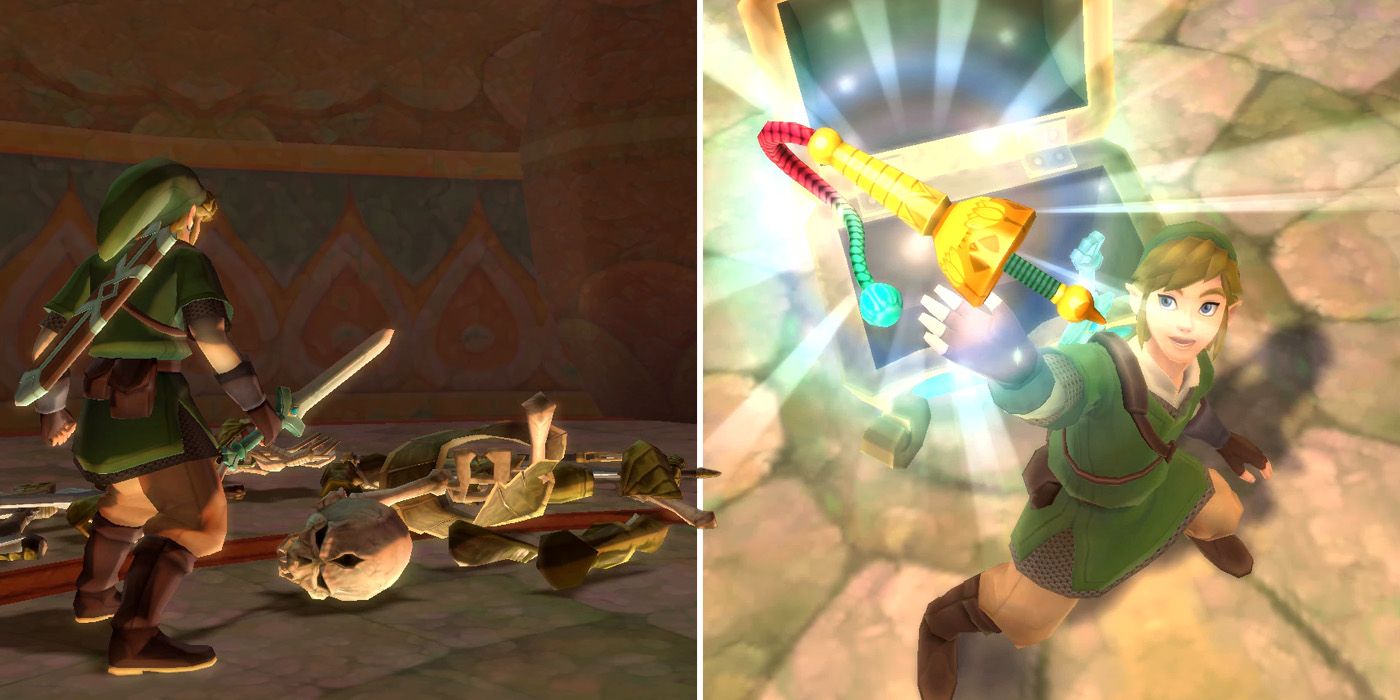
With enough successful blows, the Stalmaster will eventually crumble, causing the door to the next room to unlock. Inside, players will find a chest containing the dungeon item, the whip, which can be used for a variety of things, including collecting items, swinging from certain structures, and pulling hard-to-reach levers. It can also be used to turn special wind-up keys, which creates water geysers that Link can ride up to reach higher levels of the Ancient Cistern.
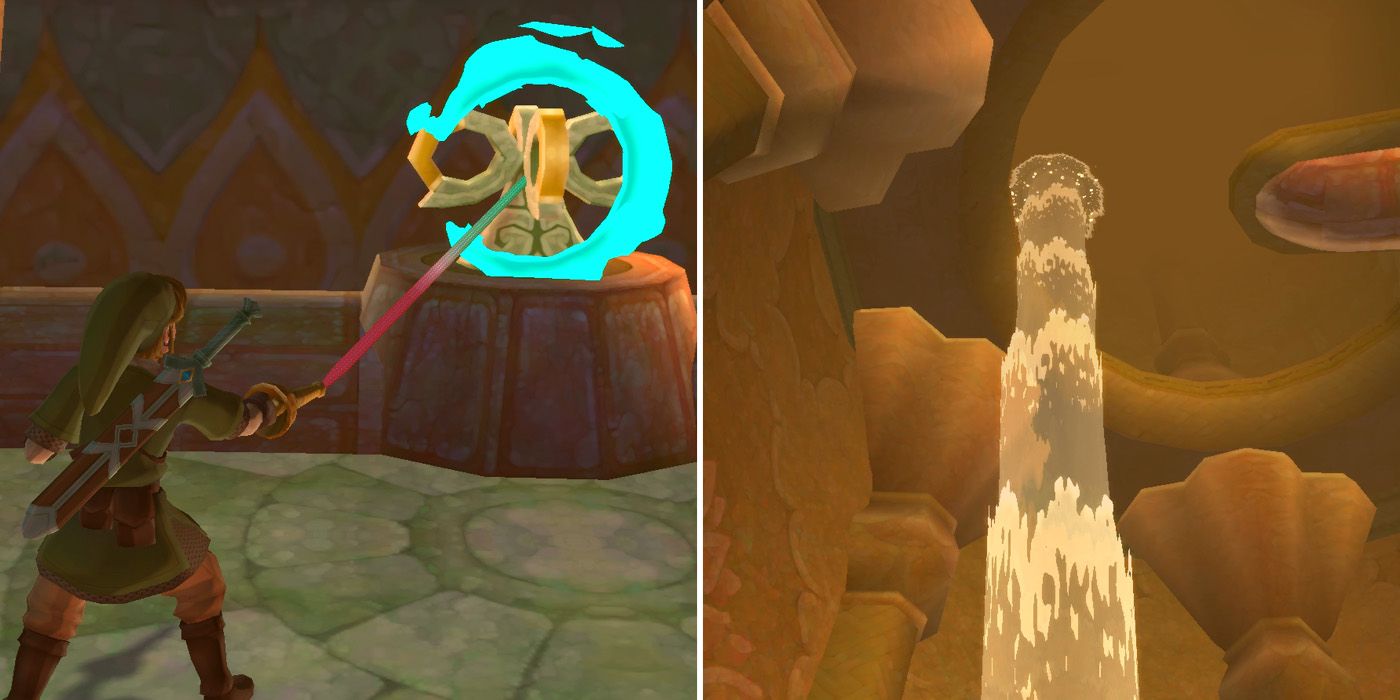
Now that players have the whip, their next aim should be to find the dungeon map. First, though, they'll need to get out of the mini-boss room and so should use their new whip to turn the wind-up key at the back of the room and then ride the water geyser up to the next level. There's no point in going any higher just yet, so they should head through the door and back into the main chamber with the statue.
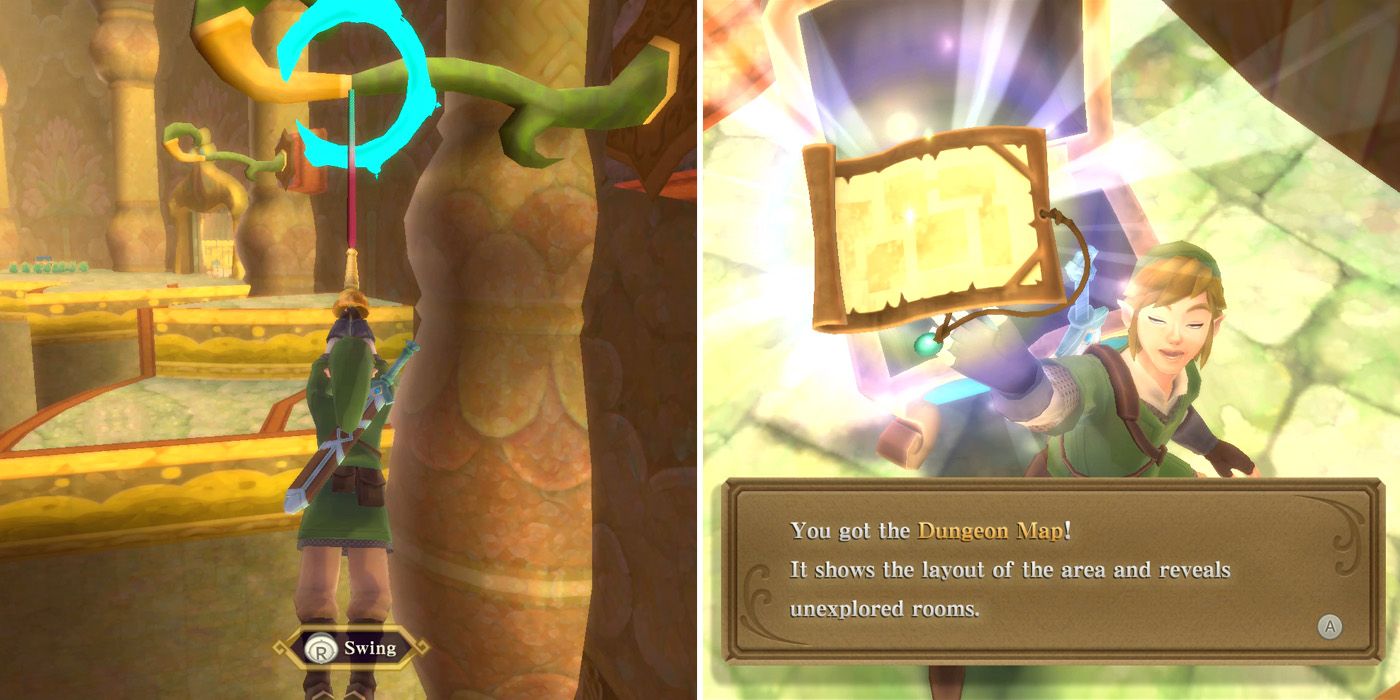
From here, they'll once again want to take a right at the main entrance, but this time should go past the door on the right and instead climb up the platforms in front of them. They'll now see some green poles sticking out of the wall to their right, and can use their whip to swing across the gaps to find a blue chest with the dungeon map inside.
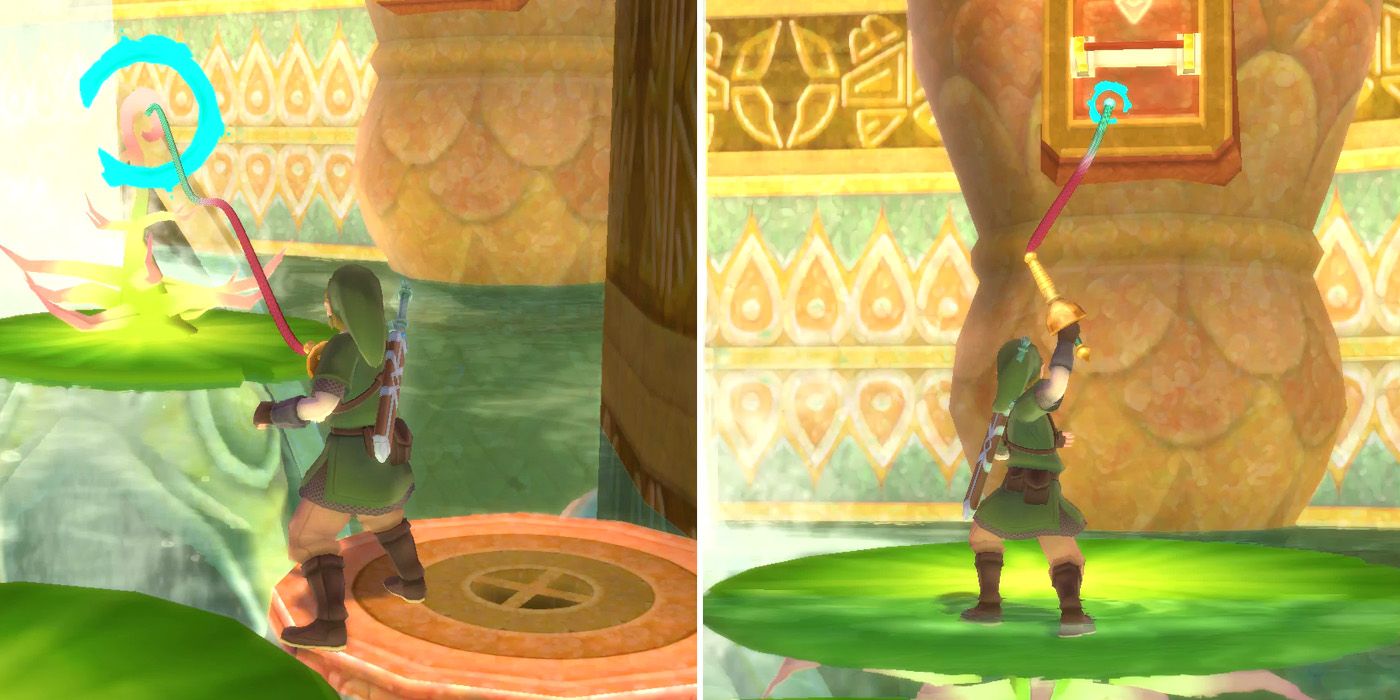
After acquiring the dungeon map, players should drop down into the water and follow the wall around in a counter-clockwise direction until they come to an upturned lilypad. By climbing onto one of the nearby lilypads and using their whip, they'll be able to flip the lilypad over and can then jump on top of it use their whip to pull the lever on the nearby wall.
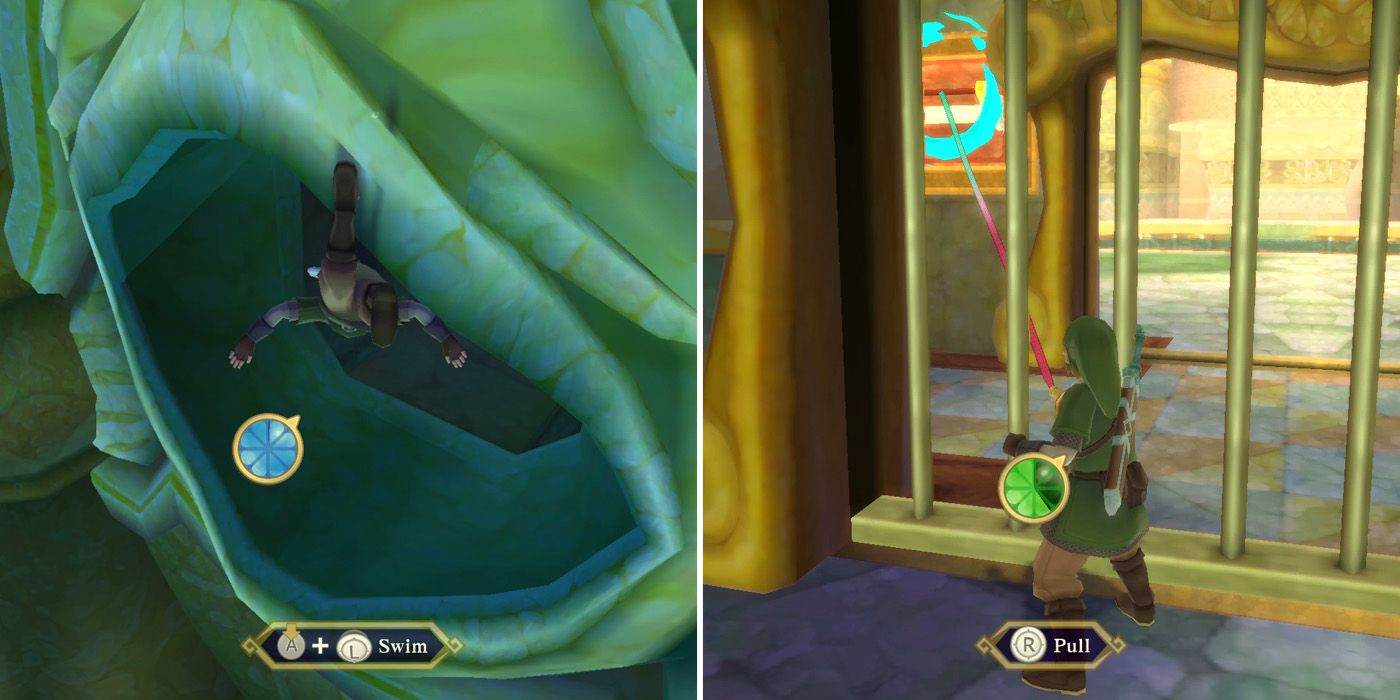
Pulling this lever will stop the flow of water a little to the player's left, allowing Link to swim through the mouth of the giant fish down beneath them and into a new room. After killing the Skulltula, players can grab a red Rupee from the chest behind the fish's head and then use their whip to pull the lever on the other side of the metal gate.
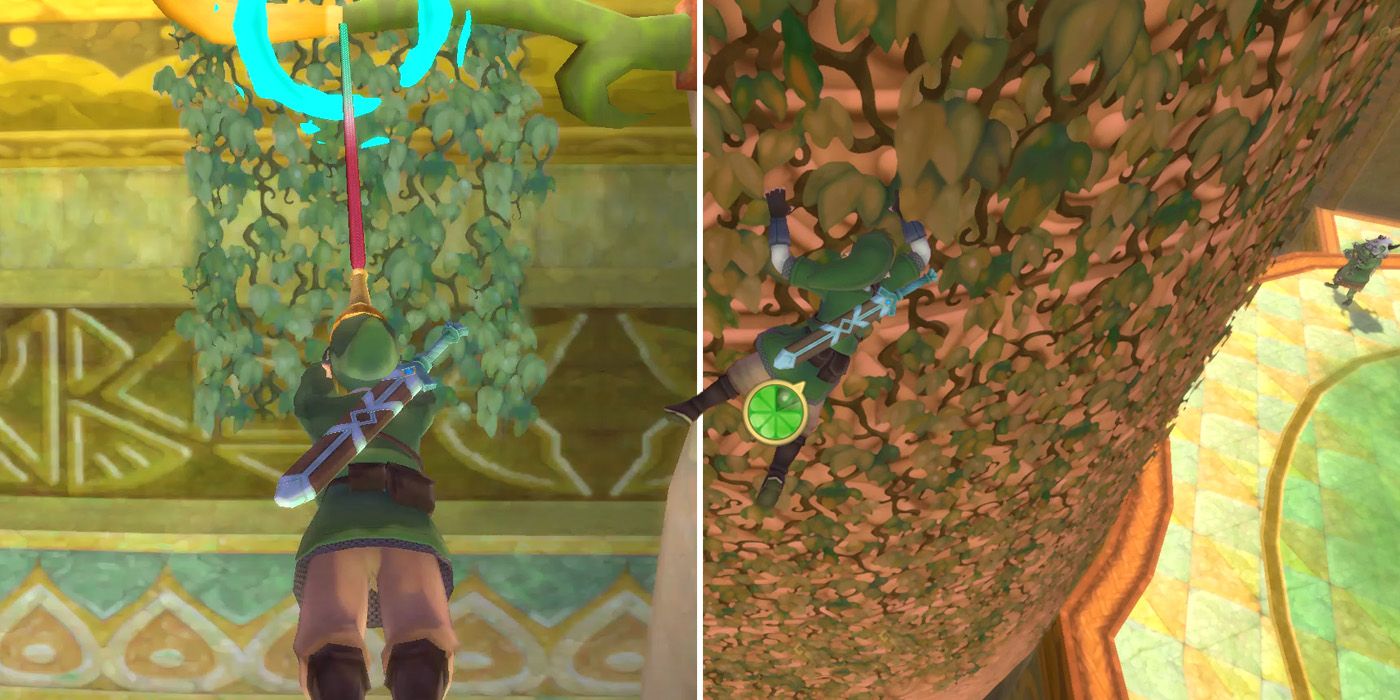
In the next room, Link can use his harp to activate a Goddess Wall near the butterflies on the side left of the giant pool and should then climb the platforms to the right of the room. Players will need to use their whip again to swing across to the vines, and then, after killing the two Deku Babas, should grab the vines on the rotating stone column and ride it round to the platform with the green Bokoblin on it.
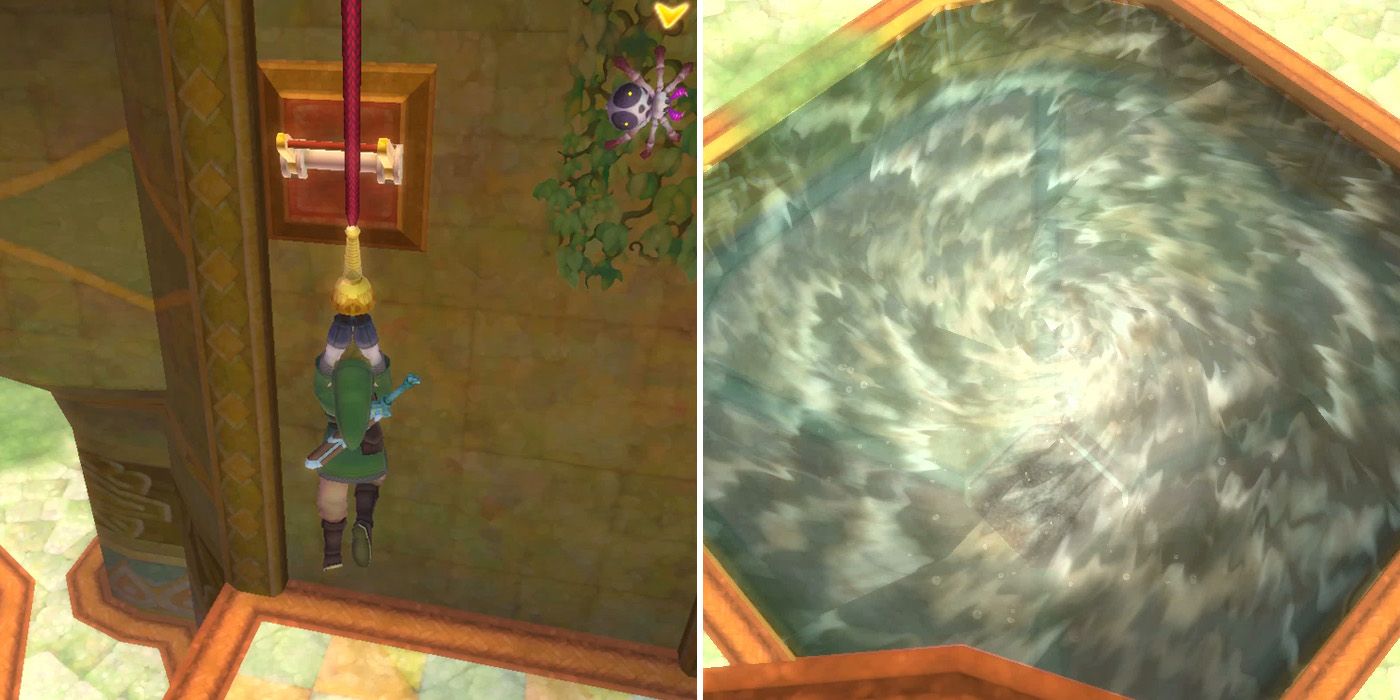
The next part requires players to use their whip to swing from the green branch onto the lever to the left of the vines. It might take a few attempts, but after pulling it off and removing the metal bars, players can kill the Walltula with the slingshot and then return to the previous platform and use the whip to swing onto the vines. They'll then find three more Deku Babas protecting another wind-up key, which will cause the large pool below to turn into a giant whirlpool when turned.
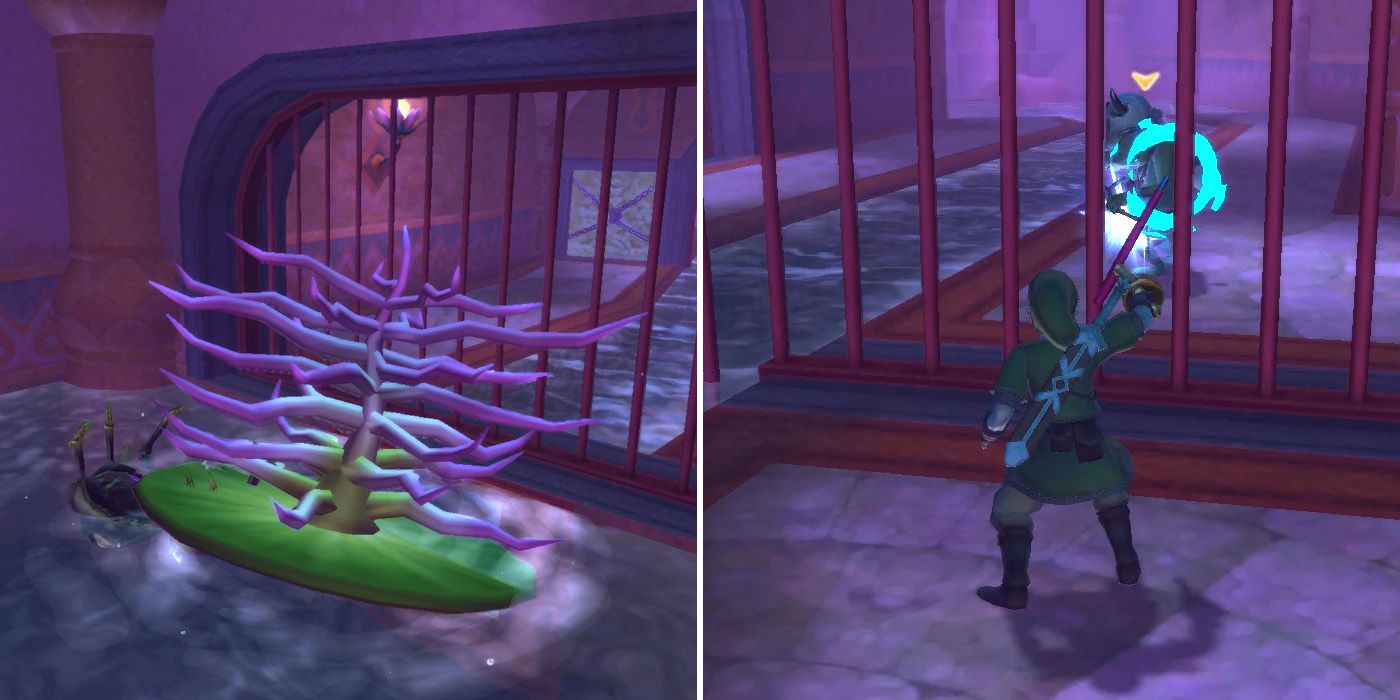
After jumping into the whirlpool, players will find themselves in a new room with a bird statue and some more Skulltulas. Using the beetle to cut the thread of the one closest to the metal gate will cause it to fall down onto the lilypad beneath it and flip it over, unlocking a tunnel for Link to swim through. Following this tunnel will lead to another locked door, but players can use their whip to steal a small key from the Bokoblin on the other side of the bars in order to progress.
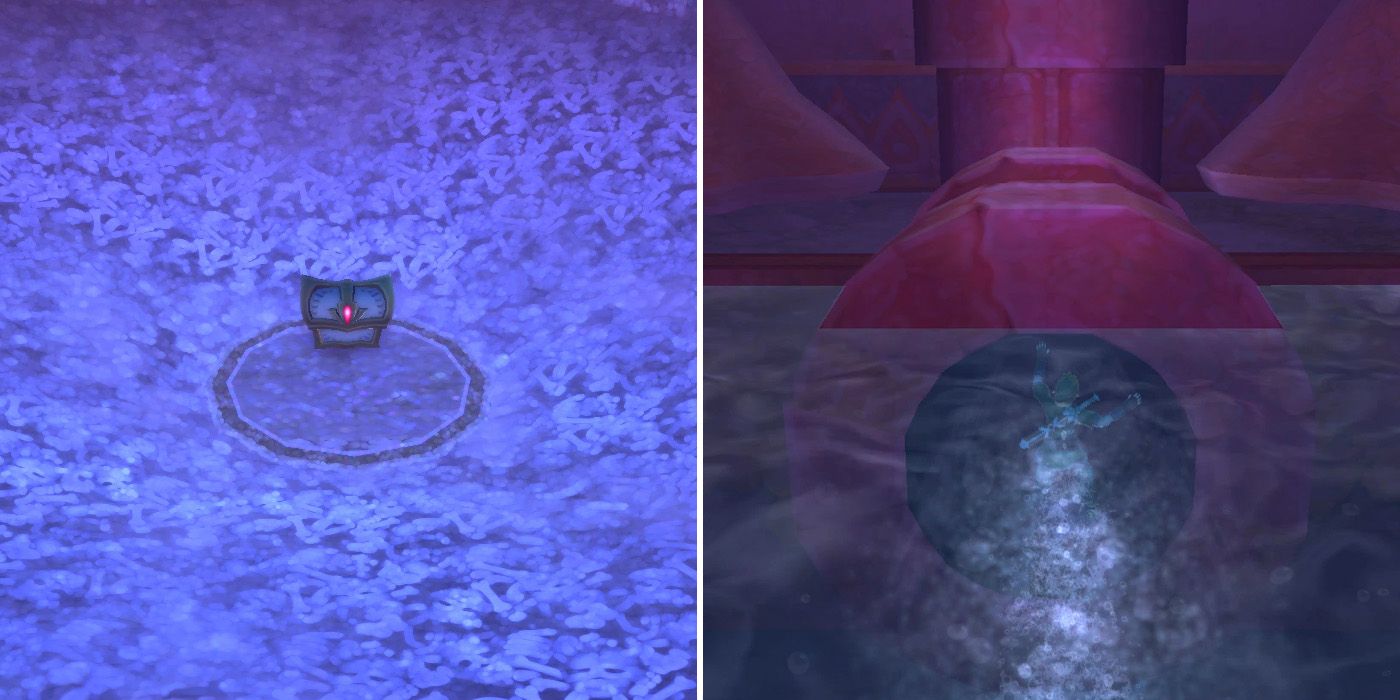
The last item for players to collect is the Blessed Idol, which unlocks the path to the dungeon's boss. Unfortunately, it's going to take quite a bit more work to get it, although players can at least get a glimpse of the chest containing it straight after passing through the key door. For now, however, they should follow the passageway along and head through the red pipe at the end of it to get to a new chamber.
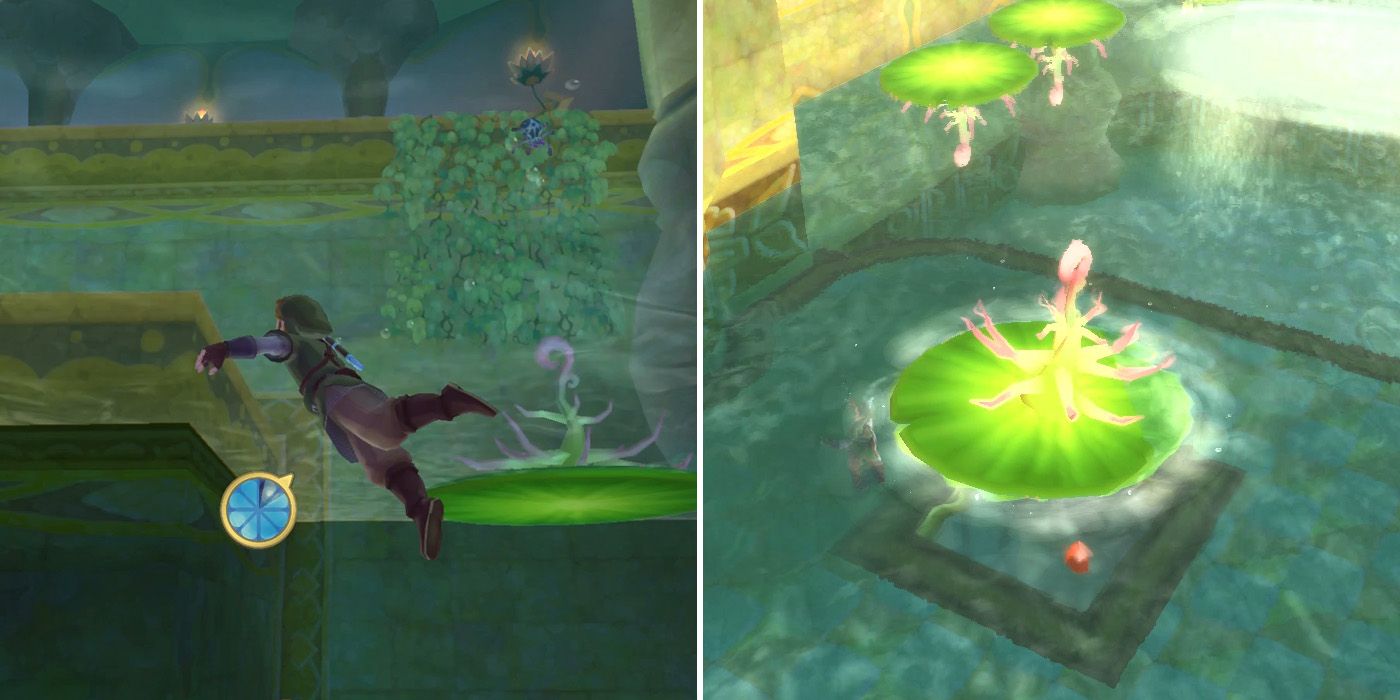
Here, players should pull the lever in front of them to open a door back to the main chamber and will then want to head to their right and use the spin attack to get out of the water and onto the pathway near the upturned lilypad beneath the vines. By using the whip, they can flip the lilypad over and climb the vines up to the next level, although should probably take out the Walltulla before they do. After dealing with the Deku Baba, they need to jump down onto the lilypad beneath them so that it flips over and then swim through the newly accessible passageway to reach the other side of the room.
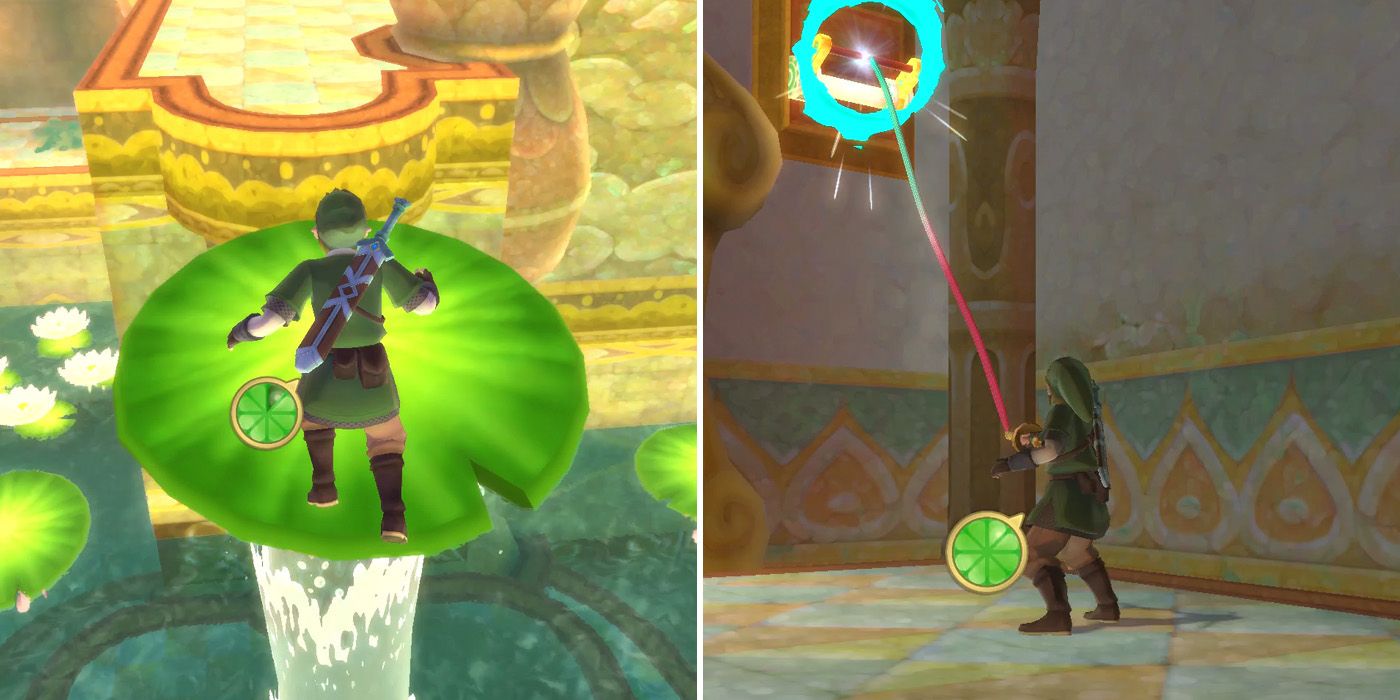
There's another Deku Baba here, and a wind-up tap that will shoot a geyser out in the spot with the upturned lilypad. Players should climb the vines again, flip the lilypad with their whip, and then jump across and follow the passageway to a door with bars blocking it. They can use the whip to pull the lever to their right and remove the bars, which will allow them to reach the highest platform in the dungeon's main chamber.
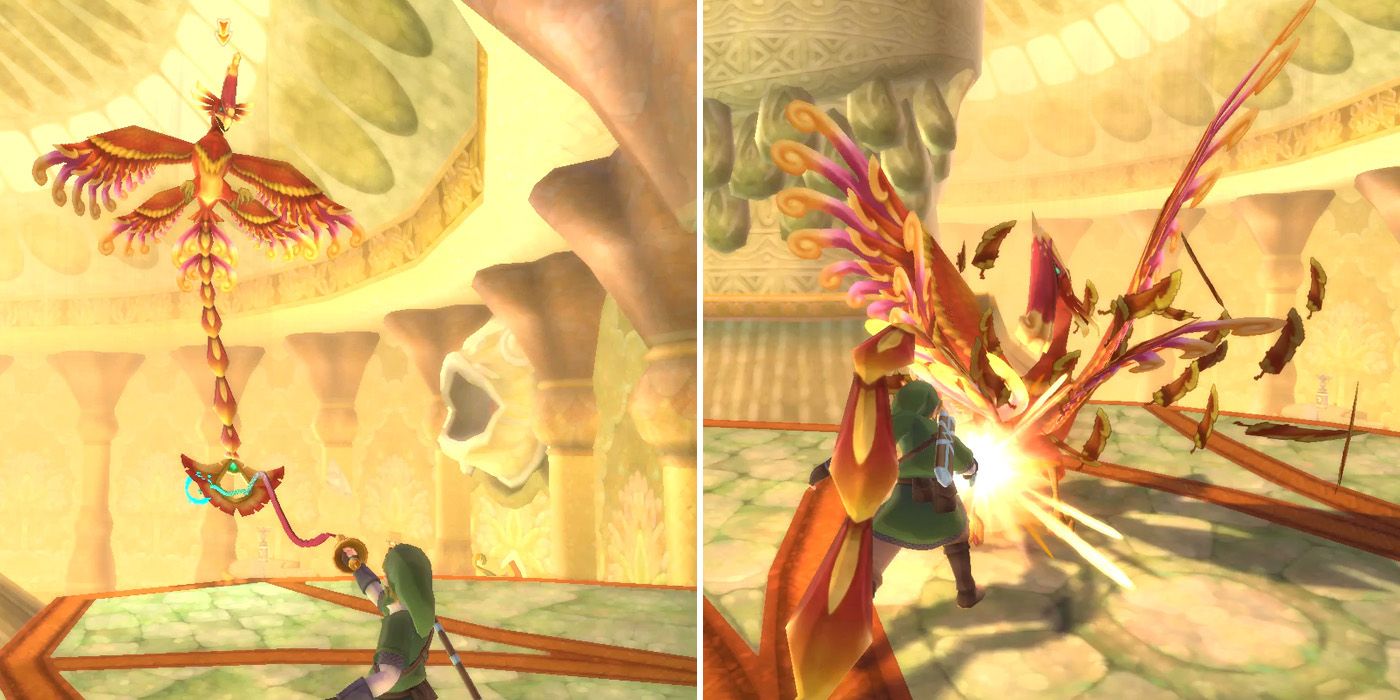
It's at this point that players will encounter Furnixes for the first time, although despite their threatening appearance, these Phoenix-like creatures are actually pretty easy to deal with. Players just need to wait for them to unfurl their tails and then pull them down with the whip before finishing them off with a few sword strikes.
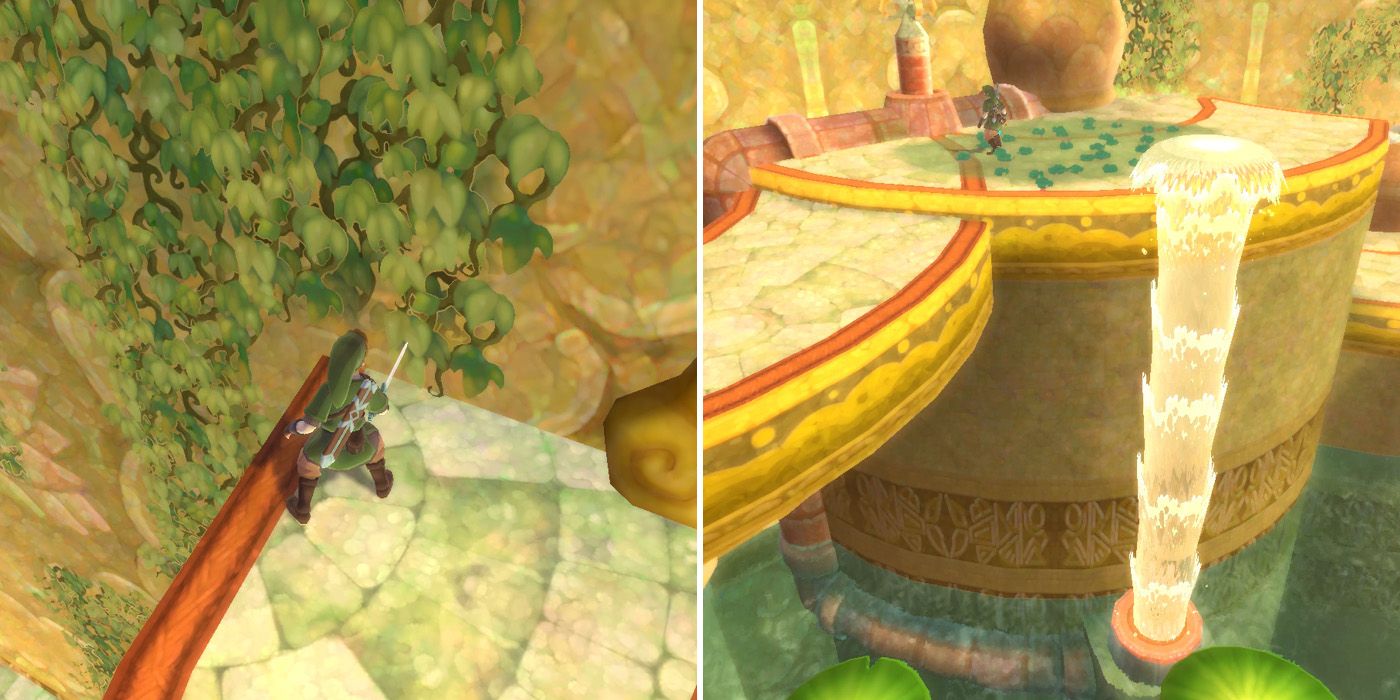
If players look to their right, they'll find some vines that can be used to climb down to a platform a little lower down. It's worth taking out the Walltula before starting, as it's quite a long climb, and getting back to this point can be a real pain if players fall down. Thankfully though, there's a wind-up tap just on the other side, which opens up a shortcut that allows players to easily return to this point should they need to. Players can also double back across the vines here to find a chest containing a red Rupee if they like.
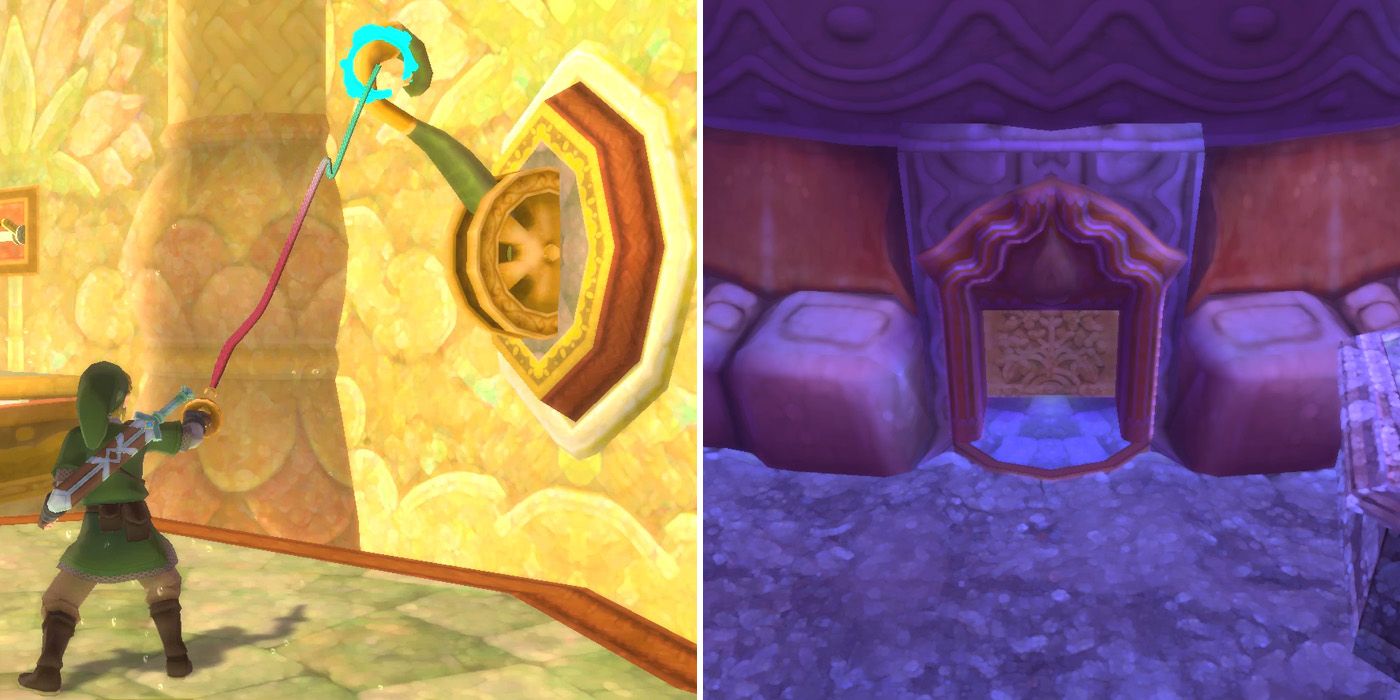
After pulling the wind-up tap, players will need to grab the green lever on the wall to their right with their whip and pull it down, making sure to move their Joy Con or analog stick in the correct direction. This will cause the statue to be lowered lower, allowing players to visit a brand new area of the dungeon. To do so, they should return to the first key door at the base of the statue and then drop down to the lowest level.
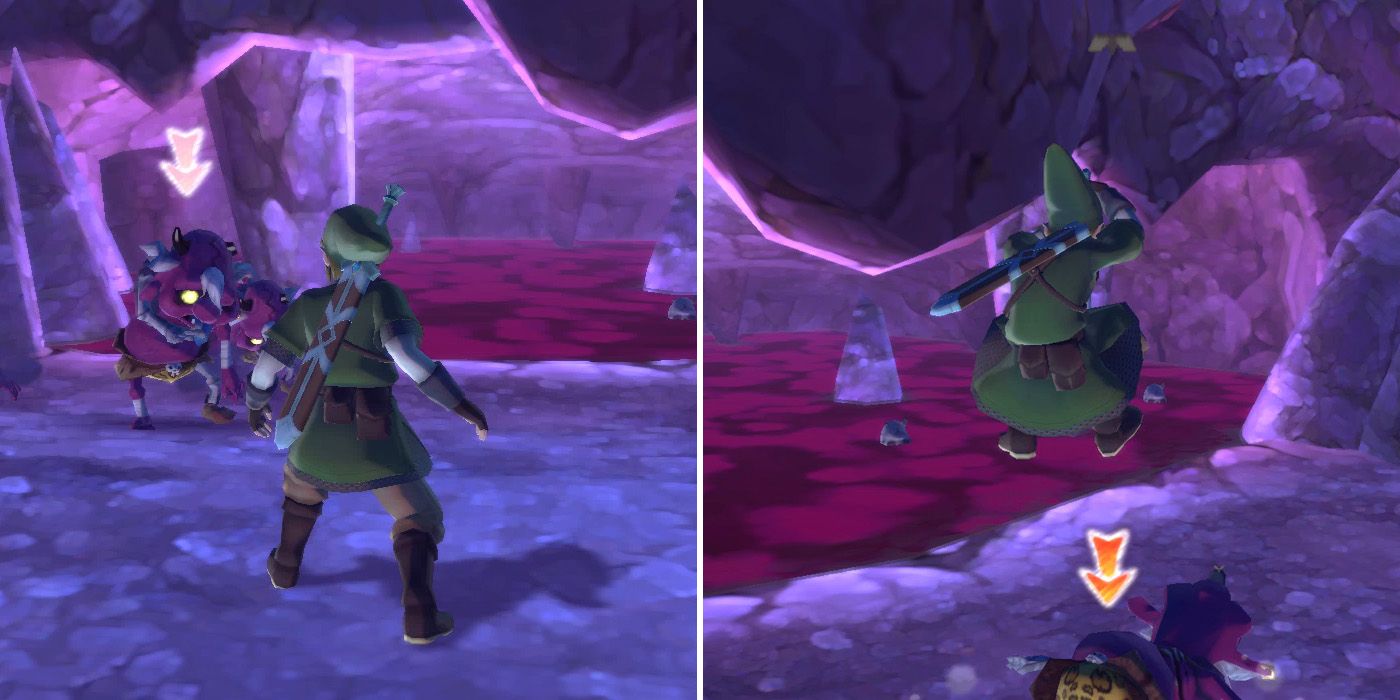
This new area is full of Cursed Bokoblins, which although not all that strong, can be a real pain to deal with. The only way to kill them with a sword right now is by performing a fatal blow, so players should aim to knock them down and then finish them off as quickly as possible to avoid being overwhelmed. Alternatively, players can just run away from them, as they move at an incredibly slow pace. They do sometimes drop Evil Crystals after being defeated though, which can be useful for certain upgrades back at the bazaar on Skyloft.
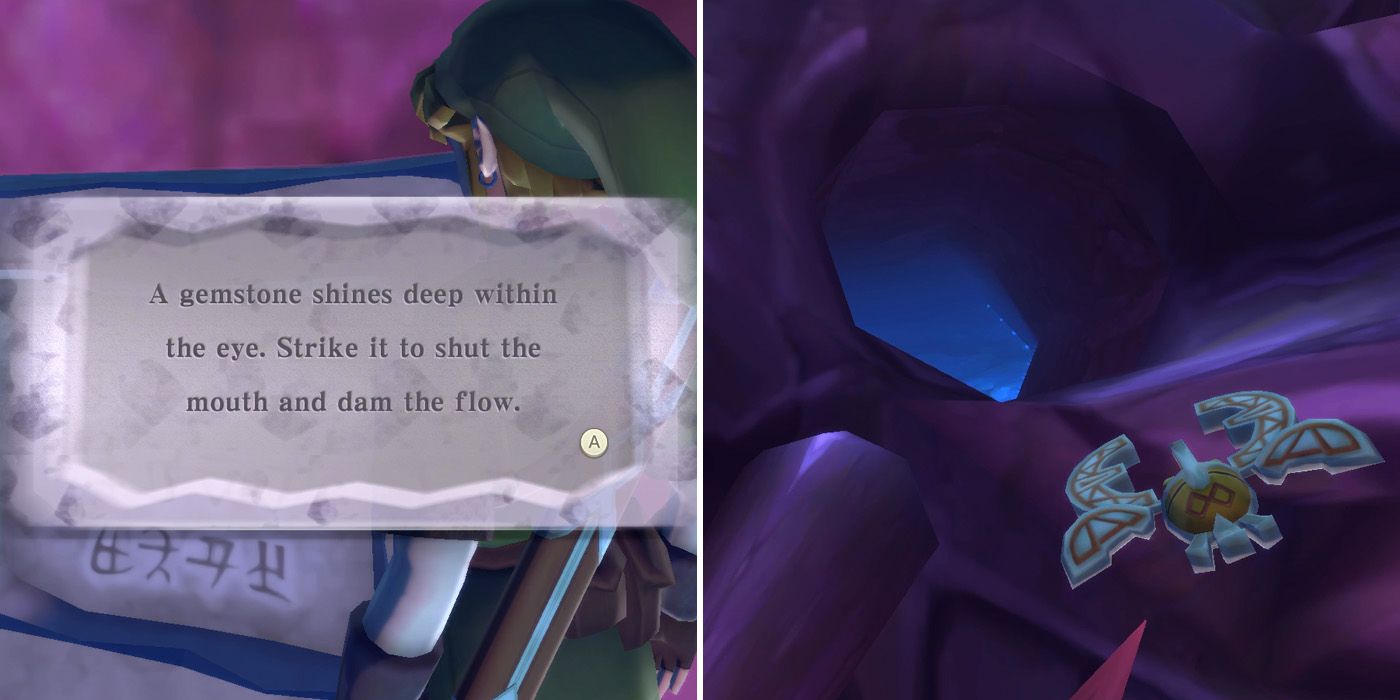
If players follow the path to their left, they'll eventually come to a point where there are some gray lilypads to their left. They can follow the path around to their right if they like, but all that's there is a clue telling them that there is a gemstone in the eye of the statue. Instead of going that way, they should follow the lilypads and the resulting path until they reach a dead end and then use the beetle to hit the red crystal in the eye of the nearby demon statue.
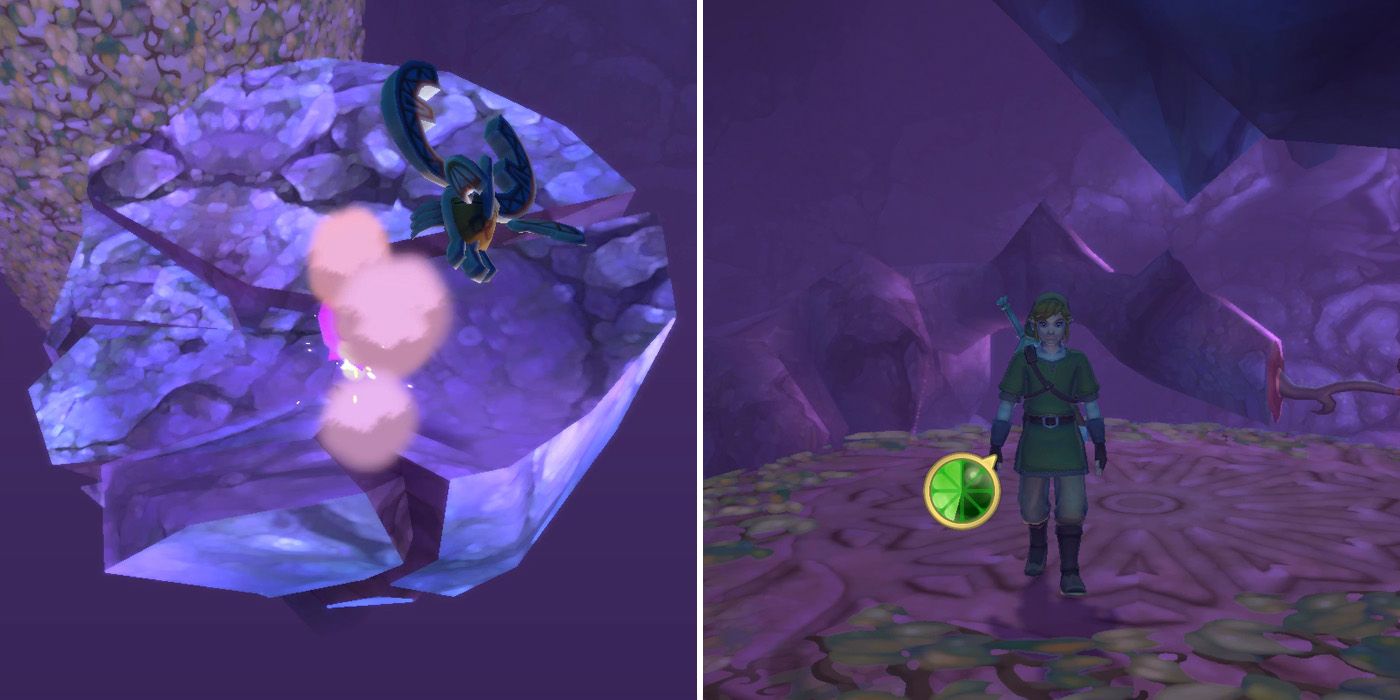
Hitting the crystal will cause the red liquid to stop flowing down from the statue's mouth, allowing players to use their beetle to pick up a bomb from the cave on the other side. Players will need to fly this over to their current location and drop in on the destructible boulder that's blocking their way forward. They can then use the whip to swing across and, after doing so, should climb on top of the nearby rotating stone column using the vines.
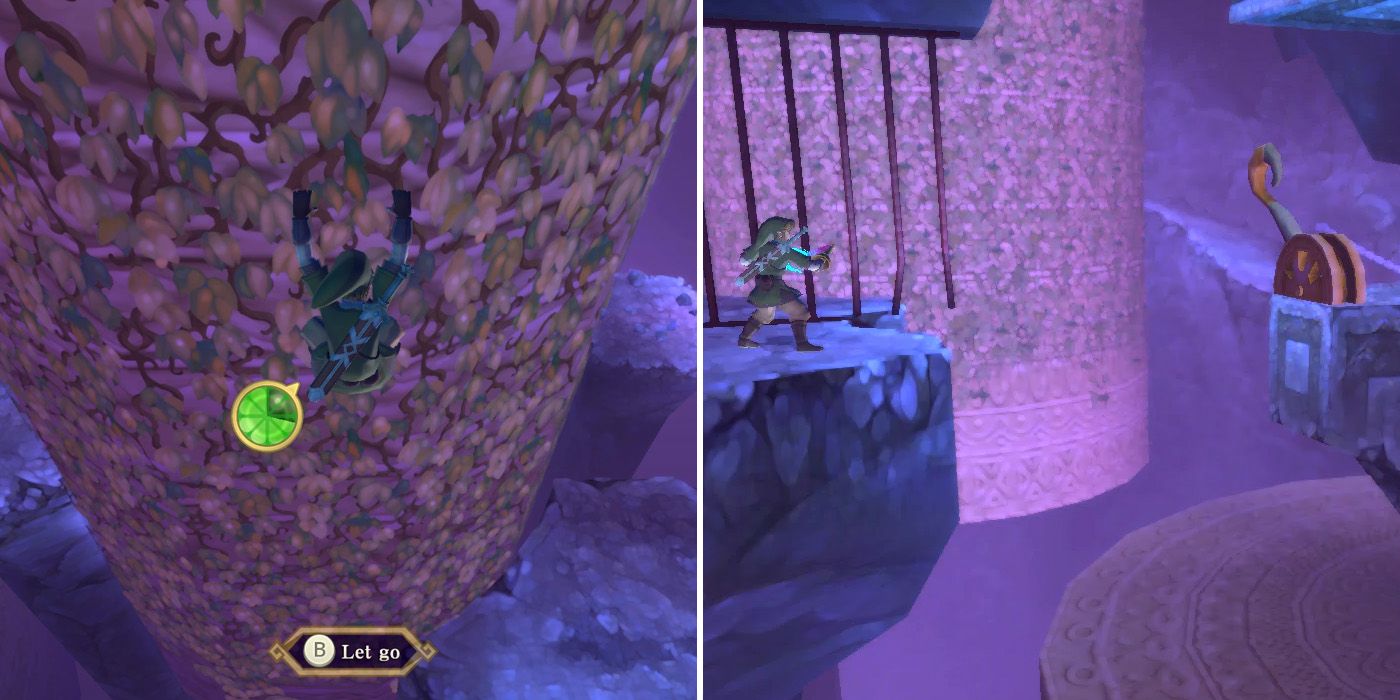
From here, players will want to jump onto the next rotating column, but rather than getting off at the first platform they come to, they should continue moving round to the second one instead. They can then follow this path around and use their whip to pull the lever on the other side of the gap, which will reverse the direction of the giant spinning disk down beneath them.
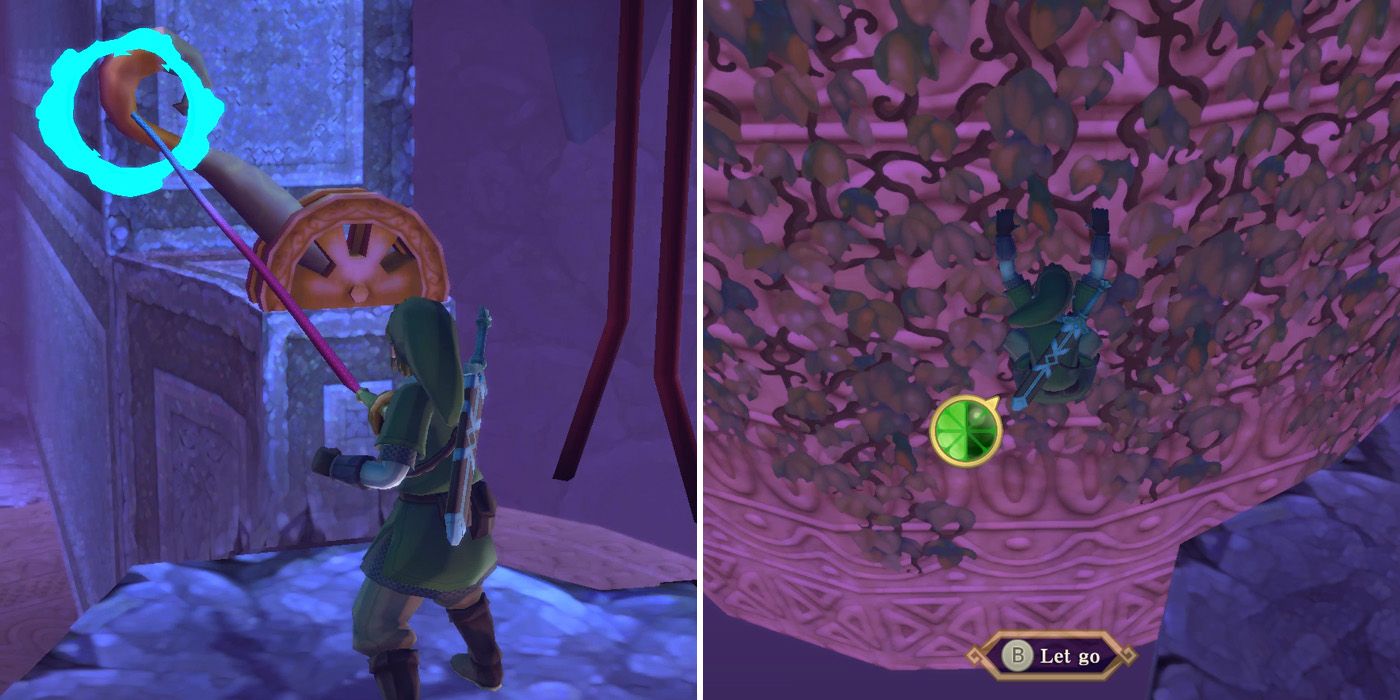
With the direction now changed, they can jump down and follow the path below to another rotating stone column, killing or dodging the Cursed Bokoblins as they do. Following this round will take them to a ledge with some vines and the other side of the metal gate near where they pulled the lever a moment ago. Pulling it again will switch the direction of the rotating column they just jumped off, and riding this column round in the opposite direction will lead to a new area.
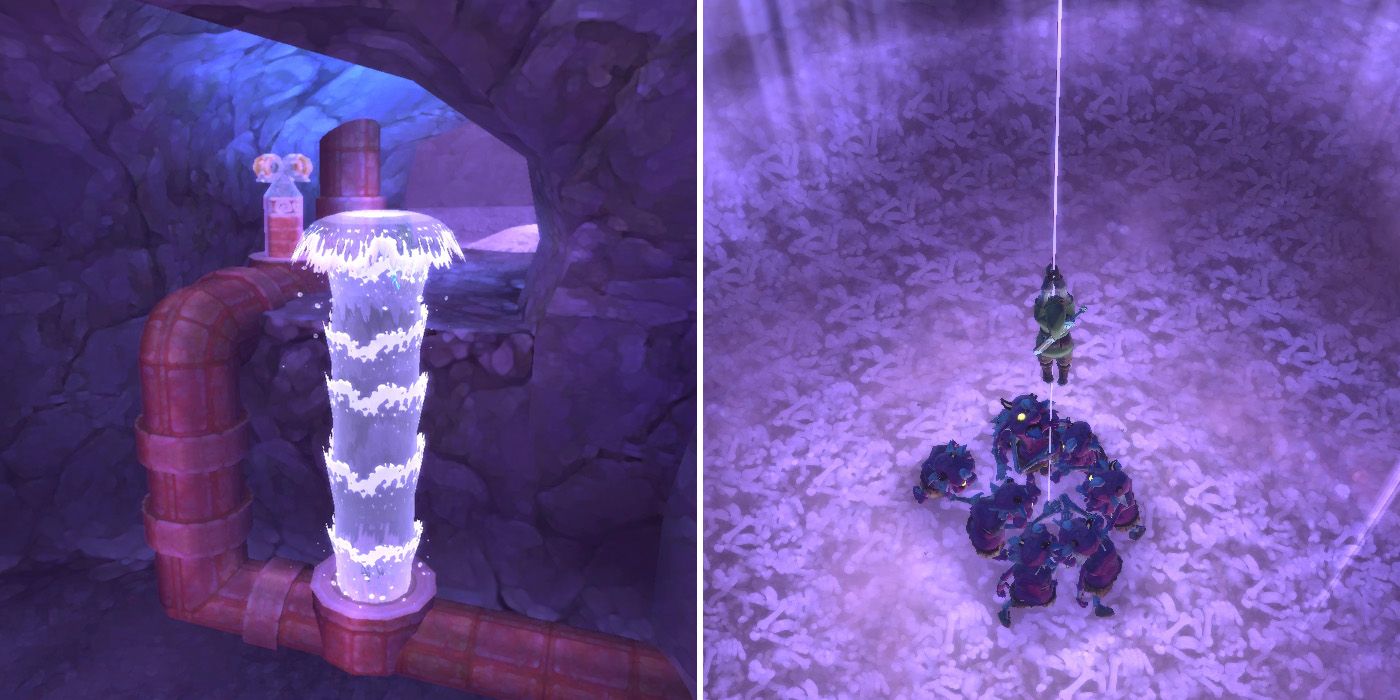
Before grabbing the rope dangling from the ceiling, some players may choose to head straight past it and pull the wind-up key to open up a route back to the entrance, although this isn't really necessary. Regardless, whenever they're ready, players can climb the rope back up to the main chamber, fighting off the Cursed Bokoblins that try to drag Link back down as they do.
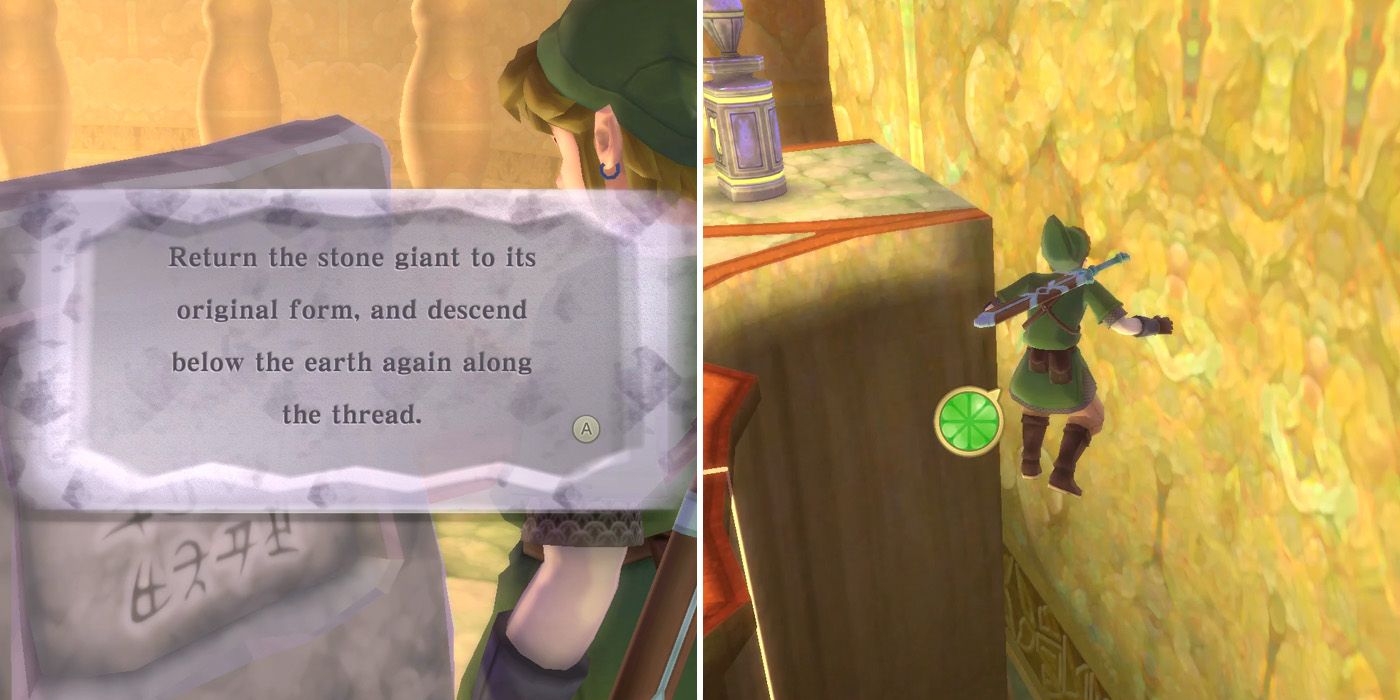
At the top, they'll find a message telling them to reset the statue to its original position and so should set about doing just that. Again, some may want to pull the red lever on the wall to open up another shortcut, but it's the green lever that players need to pull to move forwards. Once the statue is back in its original position, players can jump back down the hole with the rope that they just came through and then head past the wind-up tap and down into the area below.
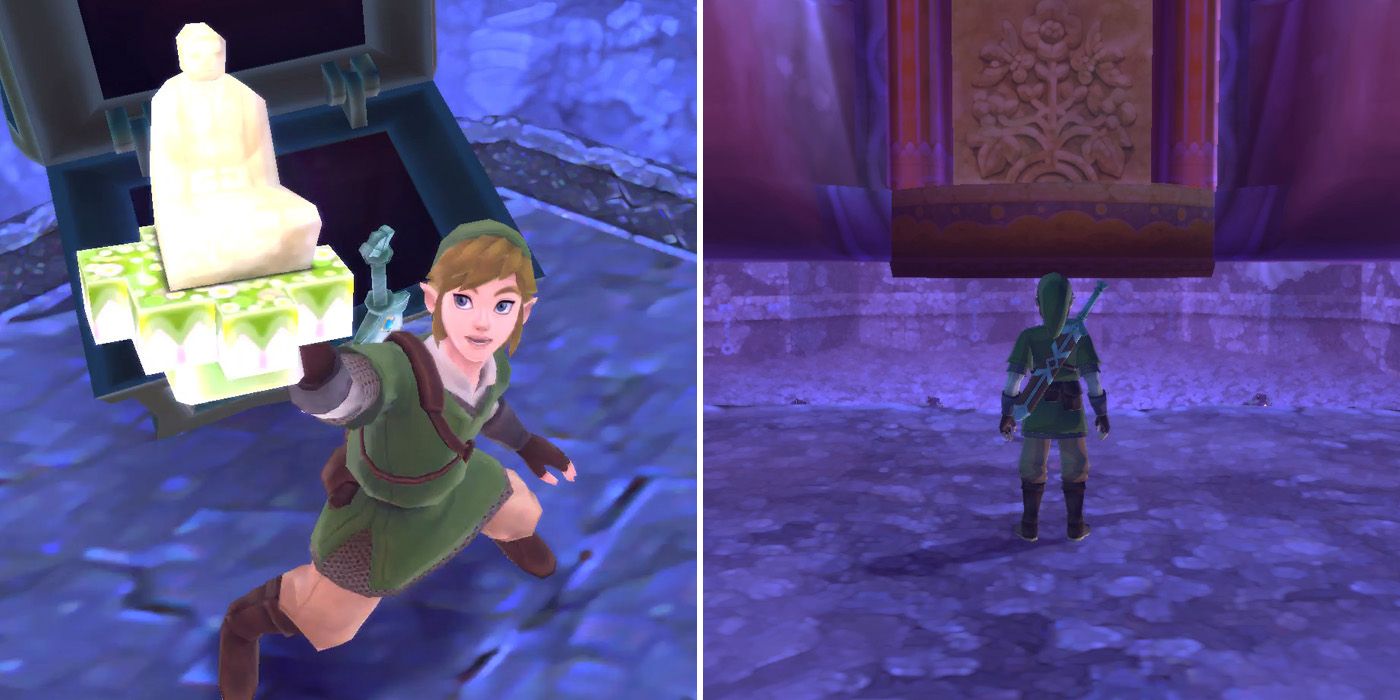
With the statue now raised, players will finally be able to access the chest with the Blessed Idol, which they'll find straight in front of them immediately after dropping down. As soon as Link opens the chest, the statue will begin to fall and a hoard of Cursed Bokoblins will show up, but players can run straight past the Bokoblins and wait for them to be crushed by the immense weight of the statue.
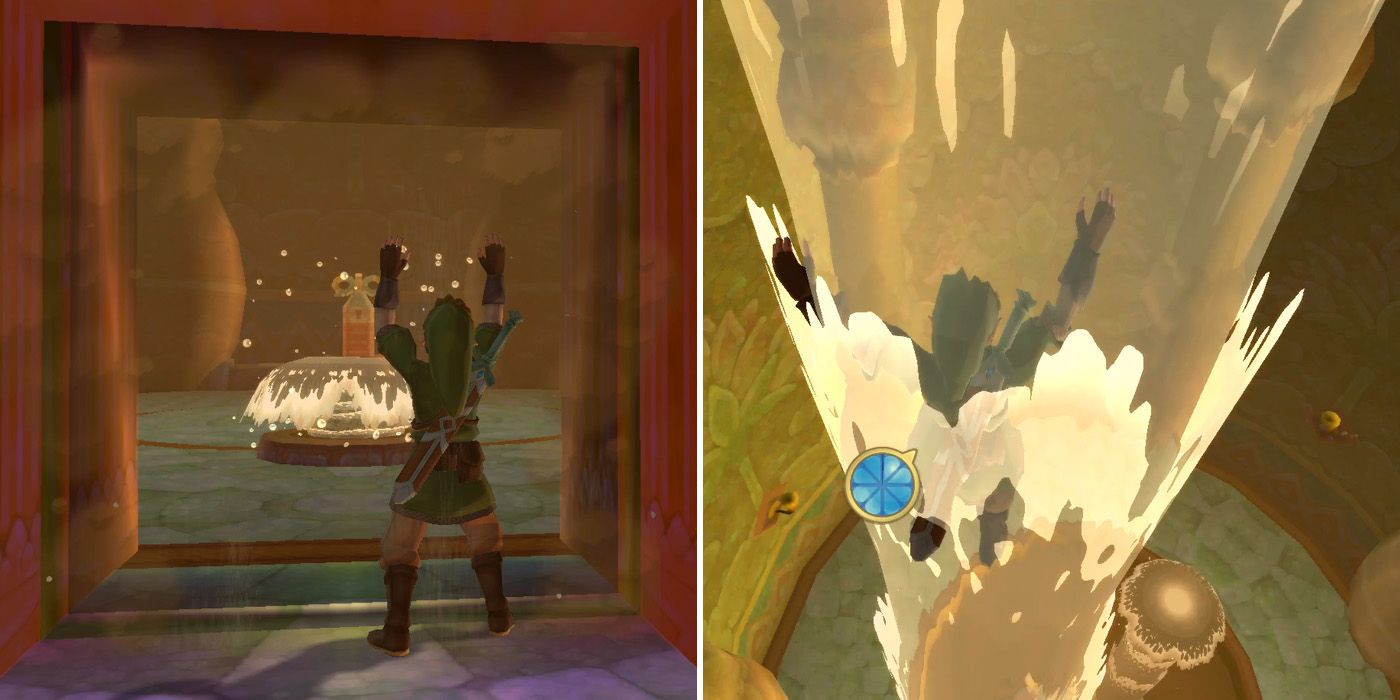
Thankfully, getting to the boss door is considerably easier than getting hold of the boss key. Players just need to head through the door that just appeared next to them and then ride the water geyser up to the next level. From here, they'll need to climb up two more floors by turning the wind-up keys with their whip and riding the resulting geysers up.
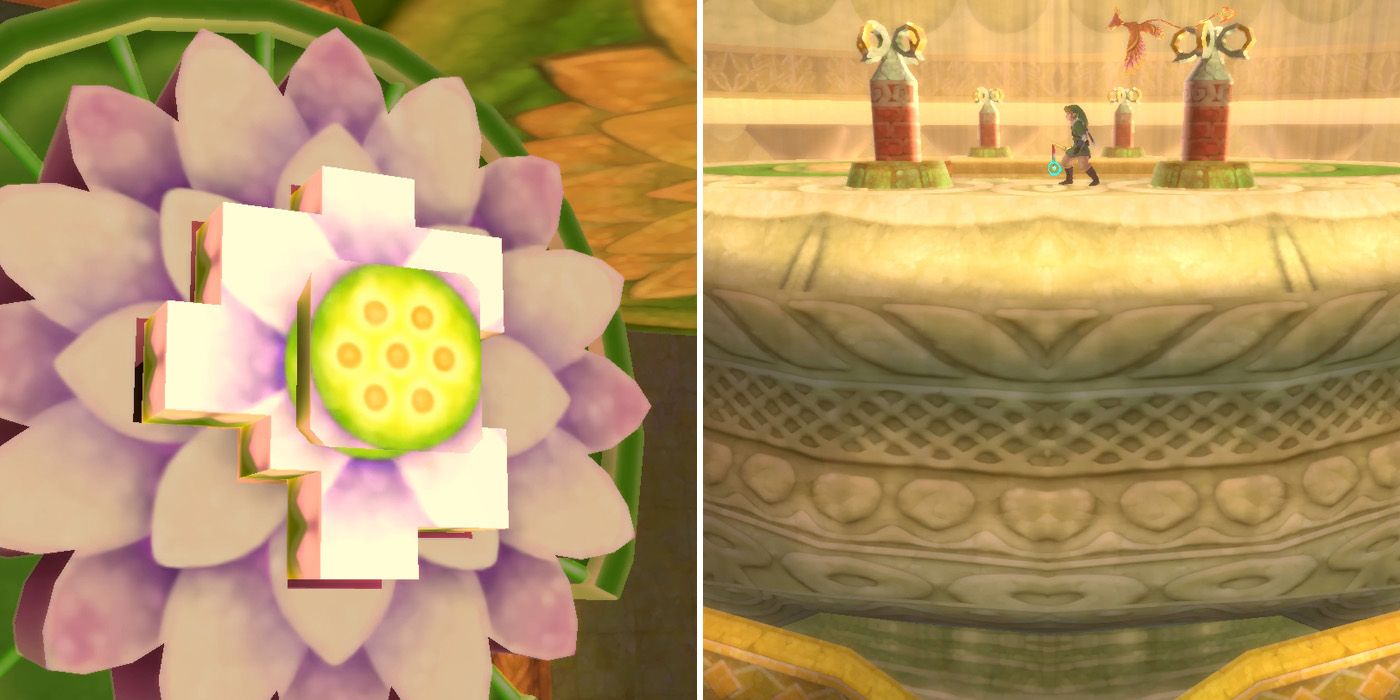
Once they've gone as far as they can go, players will be greeted by a green and pink device on the wall, and it's here that they need to insert the Blessed Idol boss key. Doing so will allow Link to climb on top of the statue, and turning the four wind-up keys that surround the square opening will cause the statue's head to rise, taking Link up to the dungeon's boss chamber.
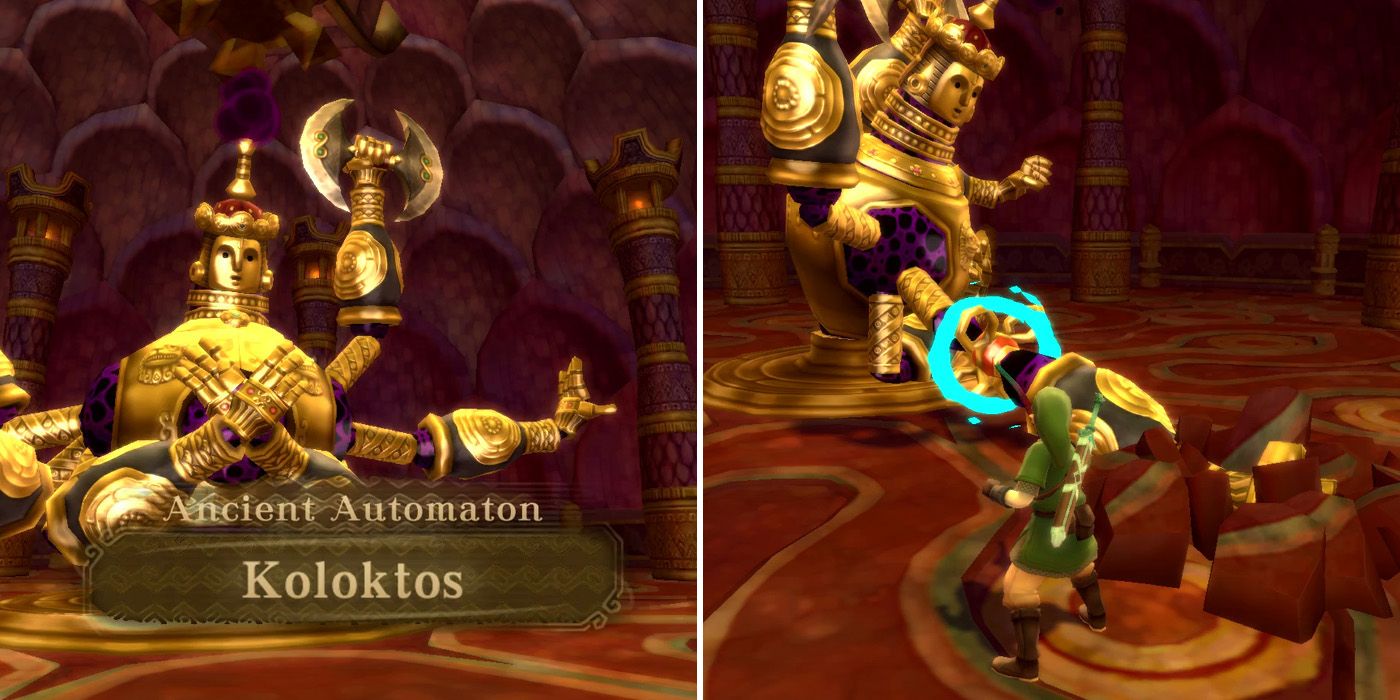
Upon entering the boss chamber, players will once again be greeted by Ghirahim, who, after a short exchange, will activate the dungeon's boss, Koloktos. The ensuing fight consists of two phases, the first of which is actually relatively straightforward. Players simply need to wait until the boss slams its hands into the ground and then use the whip to turn the wind-up keys to remove its arms one by one.
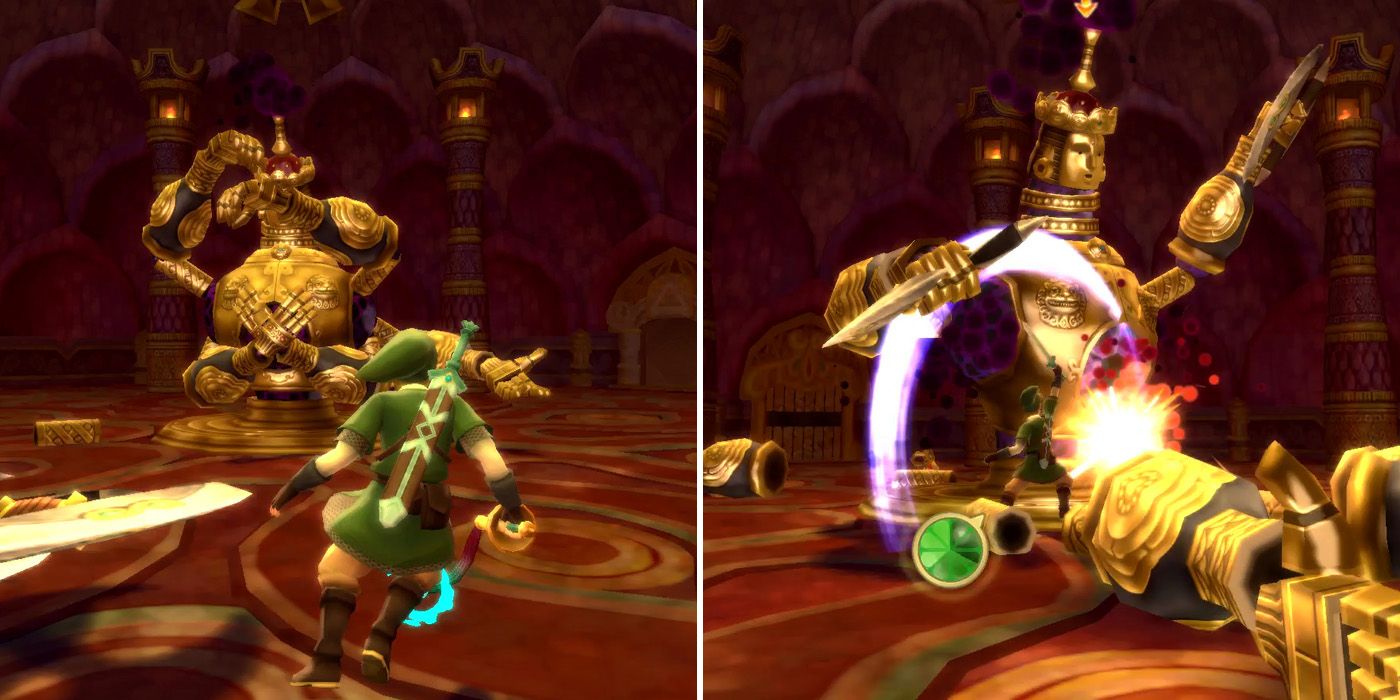
Every now and again, Koloktos will throw its knives at Link, but they're fairly easy to dodge. They act like boomerangs though, so players should be careful not to get too close to the chamber's walls, as this is where they tend to turn around. After yanking off four of the arms, players will be able to attack the red weak spot on Koloktos' chest, and doing this a few times will end the phase. It's worth noting that if players are fast enough, they can remove two arms at a time.
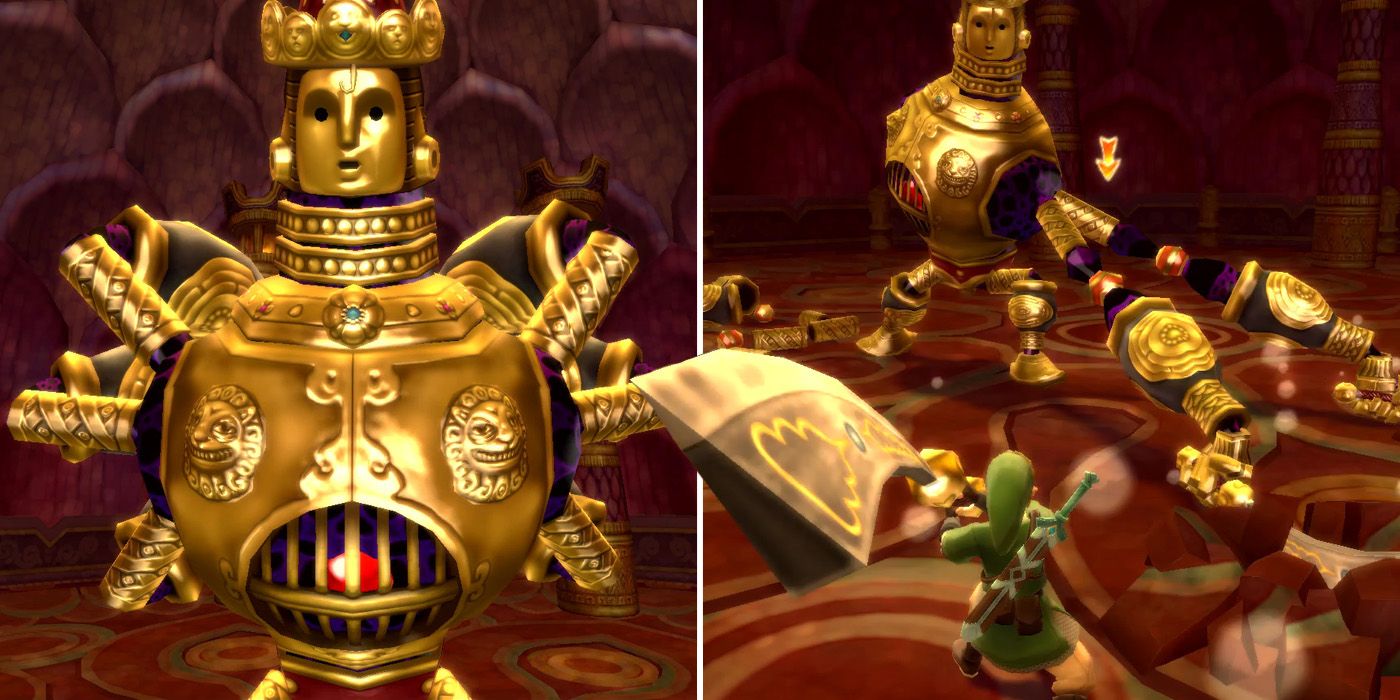
The second phase of the battle is a little tougher, with Koloktos standing up and pulling out six giant swords. Players will again need to wait until it slams its arms into the ground, only this time, they'll only be able to remove one of them with their whip. For the rest, they'll need to pick up one of the giant swords and then use it to cut off the boss's arms whenever it slams them down. Players can again cut off multiple arms at once during this phase, which speeds up the process quite a bit.
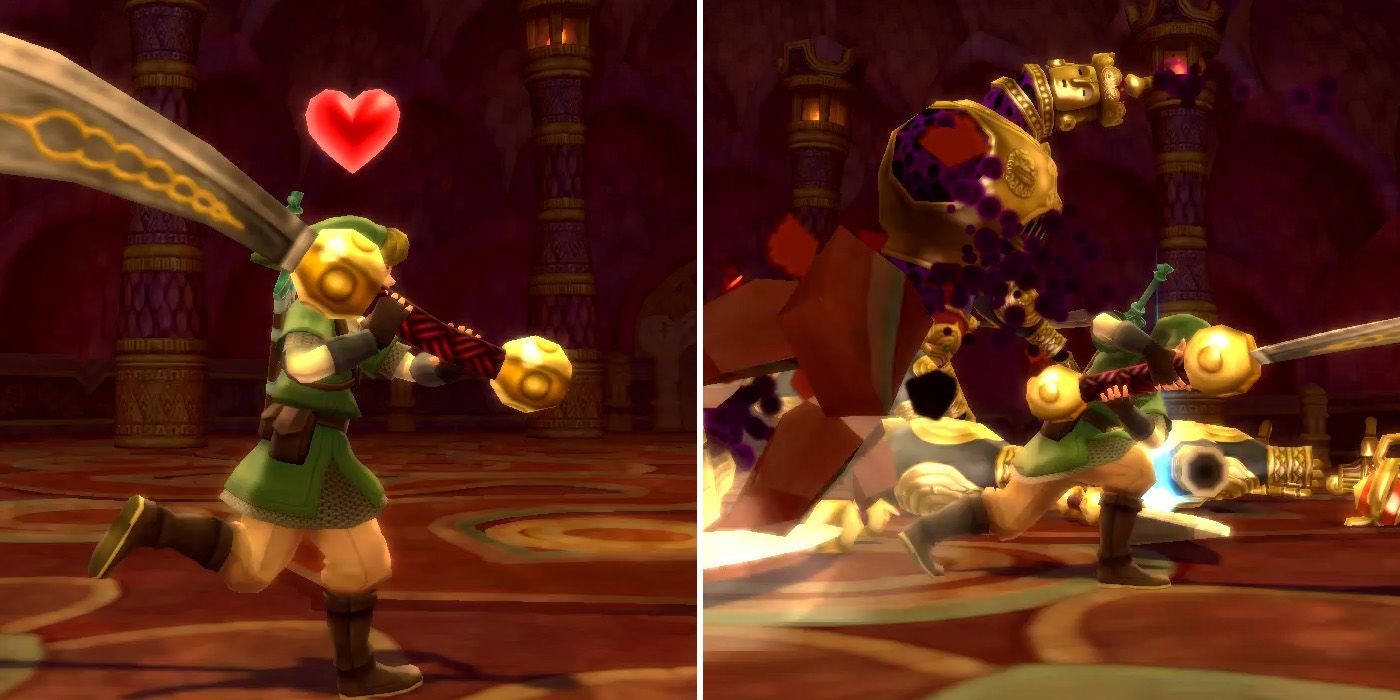
In terms of strategy, it's best not to lock on to Koloktos while dodging its attacks as this will slow Link down. He can't roll while holding the giant sword either, so players will need all the mobility they can get. If players need hearts at any point during the battle, they can use the giant sword to destroy the large stone pillars around the chamber or have Koloktos do it for them by standing behind one and waiting for the boss to swing at them.
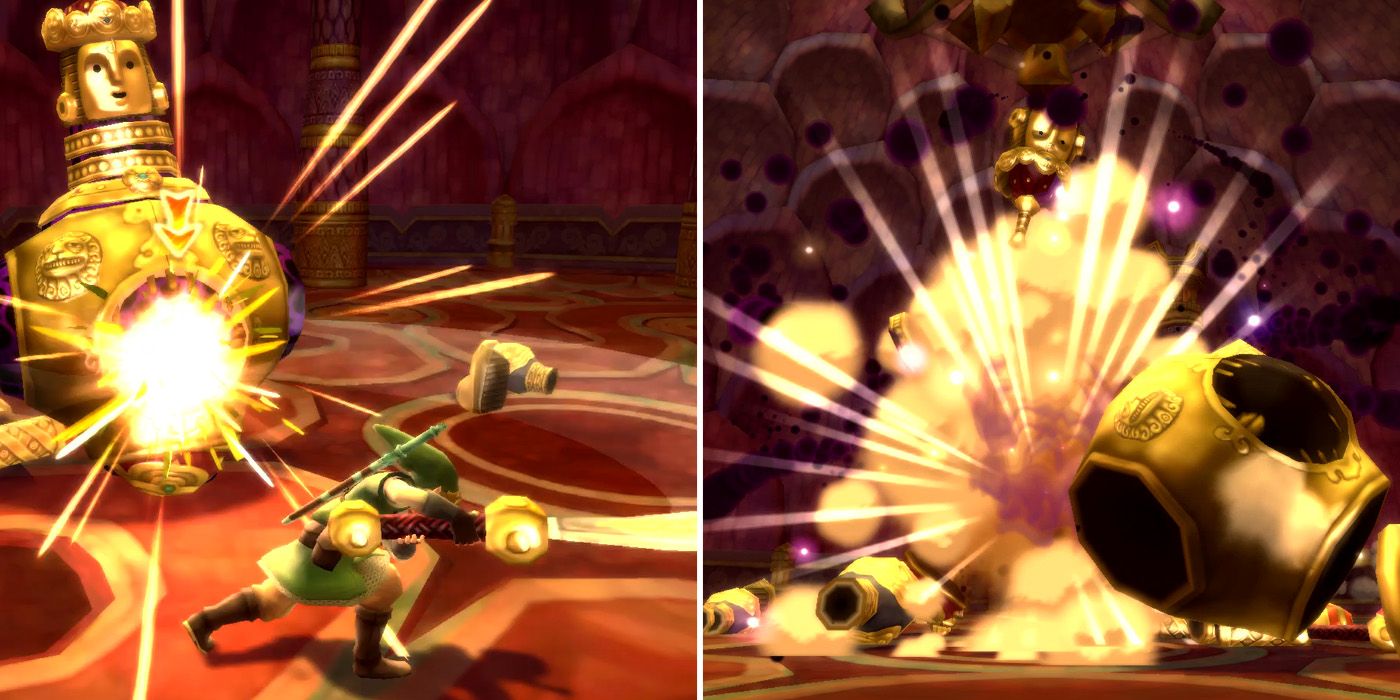
Once players have removed all six arms, they'll be able to cut off Koloktos' legs and can then use the giant sword to destroy the metal bars protecting its weak spot. After a few attacks, the boss will reattach its limbs and the phase will restart, although this time it will summon a few Cursed Bokoblins from time to time as well. The game plan remains the same, however, and after damaging Koloktos' weak spot a few more times, the battle will soon come to an end.
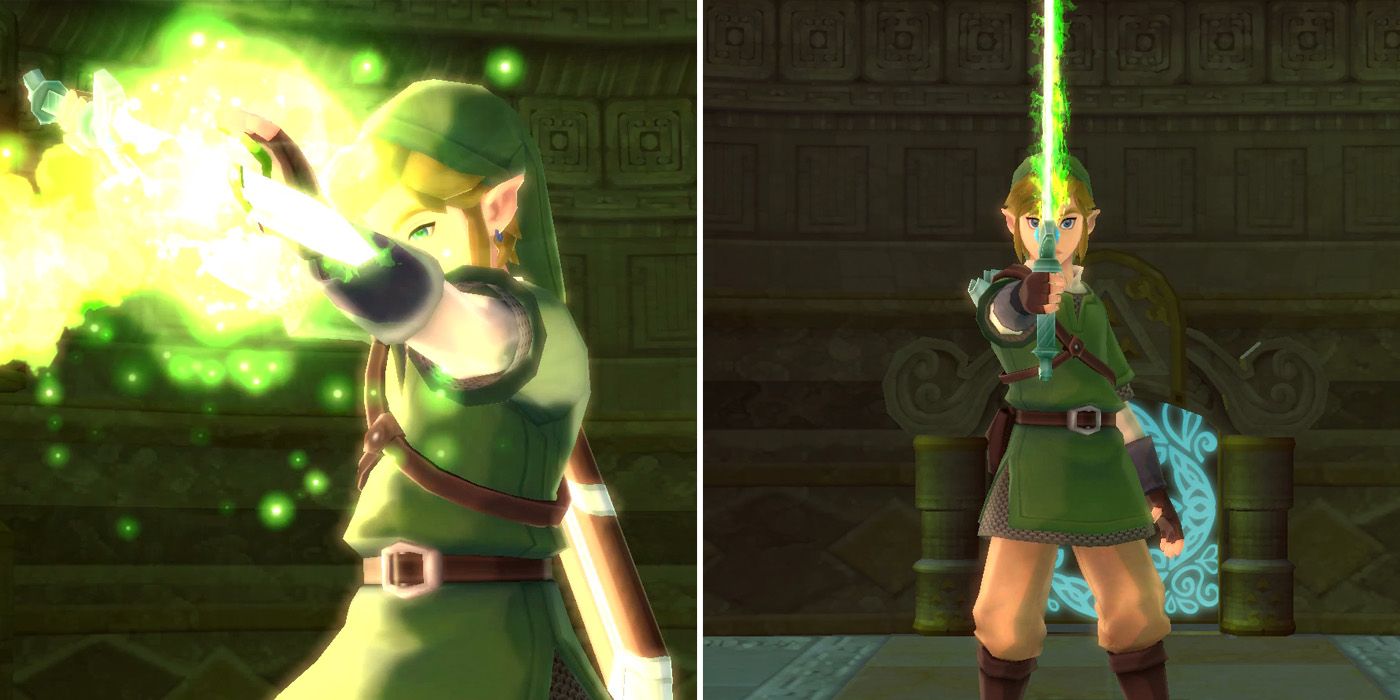
With the boss now defeated, players can collect their heart container and head through to the next room. After hitting the crest with a Skyward Strike, a short cutscene, in which the Goddess sword is imbued with the power of the flames of Farore, will play out. This transforms it into the Goddess Longsword, which, as well as being longer than the original Goddess Sword, deals twice as much damage to enemies. Fi will then suggest returning to the Isle of Songs, and Faron will say her goodbyes to Link as he leaves the temple.
NEXT: The Legend of Zelda: Skyward Sword HD Complete Guide For Dungeons, Items & Collectibles

