


Community is at the heart of cosplay, and no tool, material, or technique is as valuable as advice from a seasoned expert. The community has been hit hard by the ongoing COVID-19 pandemic, as cancelled or digital-only conventions have deprived cosplayers the opportunity to show off their work, compare notes, compete, and enjoy each other's comradery. But with live events primed to make a big comeback in 2022, now is the perfect time to start working on a new costume for veterans and newcomers alike.
Game Rant spoke with a trio of cosplaying professionals who authored books featured in Humble Bundle's recent Return of the Cosplay Book Bundle sale. These experts shared a number of useful tips about their specialties that can help cosplayers of all skill levels bring their favorite characters to life. The following transcripts have been edited for clarity and brevity.
RELATED: Impressive Cosplay Mash-Up Combines The Strengths Of Wonder Woman And Sailor Moon

Q: Cutting wigs is a very high risk art form, as one wrong snip could sour the whole look. What is the easiest and most economic way to get practice trimming wigs?
A: I always make a point to save my leftover hair scraps or to rescue any old or trashed wigs that my friends are tossing out. These "bad" wigs may not look nice enough to wear, but they're fantastic tools to experiment on! If you don't have any practice wigs laying around, try looking at your local convention's flea market or in online cosplay sales groups where some cosplayers are looking to bulk sell their old wigs on the cheap.
Q: What products or chemicals would you recommend for those trying to style wigs into very distinctive anime-esque shapes? Are certain products incompatible with certain wigs?
A: Got2B Freeze Spray is an all-time favorite for many cosplay stylists - it's a heavier duty form of hairspray and is amazing for creating spikes, flips, or any other extreme shape. For foamwork fans, I actually suggest simple Tacky Glue or white PVA glue for this type of wig styling. It's safe and extremely permanent! If using craft glue sounds surprising, remember that cosplay wigs are made of synthetic plastic fiber, so products formulated for human hair likely will not work as well or work at all on your wig.
Q: Many cosplay conventions are in the spring and summer. Do you have any general tips for making wigs more comfortable in hot weather?
A: Keeping heavy wig hair off of your neck and out of your face is the best way to keep cool! When styling your wig, try to avoid crowding your forehead and eye area if you can, giving that hair a bit of lift away from your skin with a little teasing. Long wig styles sometimes can't be helped, however: in this case, ask a friend to give you a break from the heat by lifting the back of your wig away from your neck... And then remember to return the favor!
Steven Meissner, the owner and lead artist of SoloRoboto Industries, is a life-long cosplayer who turned his passion into a profession. He has been crafting props and armor full-time since 2012, producing pieces for film and television. He is the author of A Robot’s Guide to Bondo, and A Robot’s Guide to Sanding.
Q: Sanding foam and 3D prints can be incredibly labor intensive. Do you have any advice to make large projects more manageable?
A: I literally wrote 2 books about this! I'd say, "You should just read them," but seriously, that's why I wrote them. To save everybody time and labor!
Some quick tips, though. First: don't overdo things! There's no reason to sand anything to 1,000 grit if you're just going to put some primer on it! Most primer will cover any scratches finer than 220, and will be about as rough as 300 grit paper itself (with very few exceptions, like Tamiya "Extra Fine" rattle cans - love that stuff).
Tip two: On the flip side, don't jump ahead, either. Lots of people make the mistake of going through all the grits of sandpaper but still see sanding lines in their thing. Why? Because they didn't spend enough time with the 120 to get rid of all the 80 grit lines! So they've just made those 80 grit lines really smooth! Spending just enough time with each higher grit to completely remove the previous one's marks will save you a lot of time. Take the time at each step, so you don't have to repeat extra steps later.
Not-exactly-but-kind-of-a-tip number three: There's no set, defined amount of time for any of this. There's no magic "I sanded for X hours, now it's done!" That "X" is always different. If you're sanding for a long period of time, you've definitely not read my books and you're making way too much work for yourself). Each step of making a thing smooth takes... However long it takes. Stick to it until you're there. Don't overdo it, but don't skip ahead either.
Q: By the same token, detail-work on small or intricate pieces can be extremely challenging. How should people handle small recessed areas or other fine details?
A: Riffler Files. Everyone will tell you about "needle files,” 90 percent of those are useless; I've used my set maybe 10 times (and I sand things basically every day). They're made for metal work - not plastic or foam! You want "diamond coated" needle files, which have actual grit on them and come in different grits—120, 220, 400. But what you really want to get are "riffler files." Again, the "diamond coated" variety. Same idea as needle files, but they come in all sorts of crazy shapes! When I discovered these a few years ago they shaved (ha!) hours off my sanding. I have three that I use all the time on small stuff, because the shape is so unlike anything else.
And "sanding twigs" - they're like those foam nail files, but super skinny and also come in grits. Most hobby stores seem to carry them in convenient variety packs these days. They cut easily, so when the ends wear out you just snip them off with scissors and you still have a useful sanding stick that's like 1/8" wide! You can also just glue or tape some sandpaper to a stick. I like paint sticks for bigger stuff, but I use popsicle sticks a lot - they cut easily to get into weird corners super well.
RELATED: This Black Widow Cosplay Is Just Scarlett Johansson From Another Timeline
Q: Do you have any safety tips for first time cosplayers who aren’t terribly used to working with tools?
A: Wear a respirator! Most of the stuff we sand (foam, plastic, body filler) can't be broken down by the body - meaning it sits in your lungs. The stuff we can break down places horrendous stress on the body - much of which we can recover from, if we give it time to do. So if you plan to do this more than a handful of times, spend the $15 to $20 to get a silicone respirator with real cartridges - they'll last longer than an entire box of disposable paper N95 respirators. And they’ll protect you much better.
As to actual tool safety? Start slow! Always try out the tool you're using on some scraps or something that does not matter first! Practice, practice, practice some more. You will get better over time. If you don't have anybody to teach you in person, ask YouTube! Then listen to the experts. Never assume you're smarter than a pro who's been using the tool for decades - they always have a reason, and it usually comes from some painful experience.
Oh, and if you're using anything that moves? Wear safety glasses/goggles! They cost literally a dollar. Get some. Wear them. Complain about them, and take them off after you're done. But wear them.
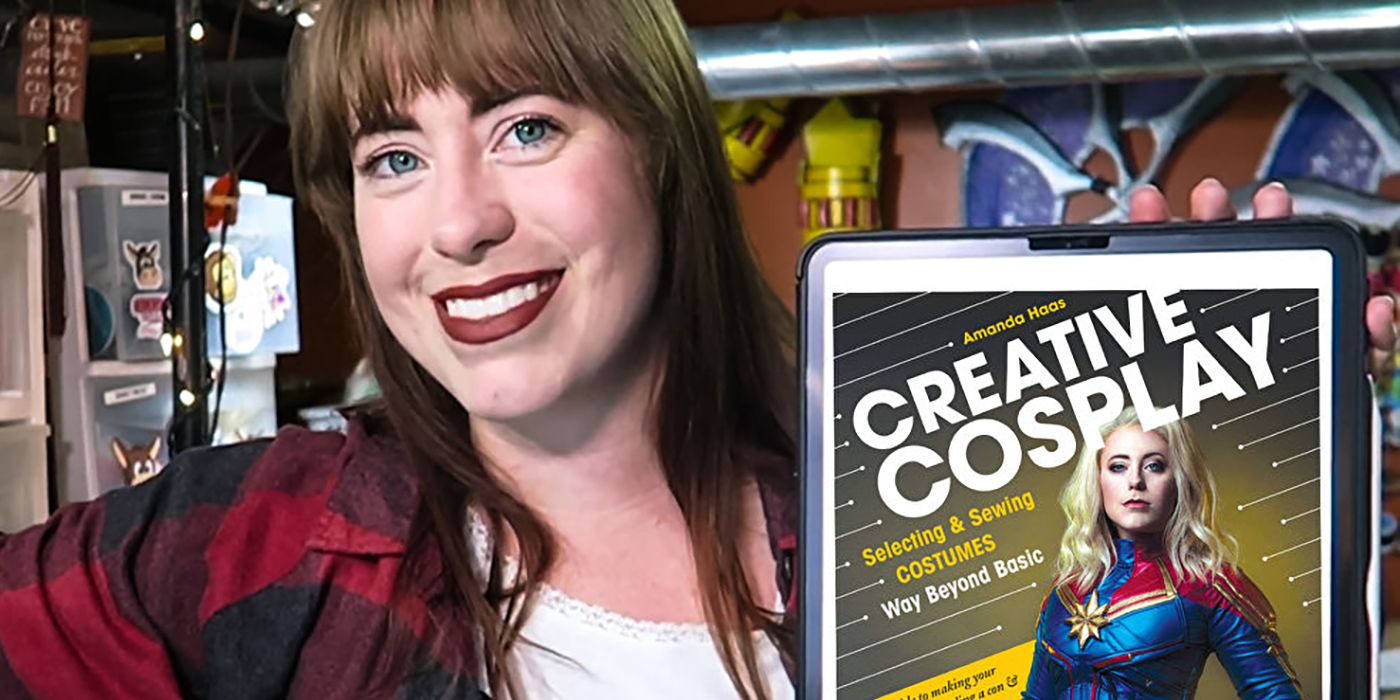
Amanda Haas, AKA Jedimanda, has been sewing costumes and clothing professionally for over a decade. She earned her bachelor’s degree in Fine Arts from the University of Louisville, and has served as both a contender and a judge in nationwide cosplay competitions. In addition to her work as a wig builder at Custom Wig Company, she has been featured on the covers of Cosplay Culture Magazine, Cohaku, and numerous gaming culture websites. She is the author of Creative Cosplay.
Q: For those cosplaying on a budget, what features of a cosplay, in your opinion, have the greatest impact on the overall look of the character being portrayed?
A: I tend to spend more money on a great wig than purchasing super expensive fabric. You can make cheaper fabric work more for you than a cheaper wig, in my opinion. I like my wigs to be styled and colored perfectly so a better quality wig is always in my cart. Experimenting with different types of fabric with different price ranges is sometimes fun, I love a good challenge.
Q: How do you select the right material (foam, fabric, leather, etc.) for the right apparel, if the pattern you are working off of doesn’t provide you with any guidance?
A: Lots of research. I study concept art, movie quality costumes, and sometimes high-quality sculptures. From lots of studying, I will usually have the materials down that I think will work then I ask my peers or sometimes Instagram or Discord audience. I love being in a collaborative state with folks, and it’s nice to see others care about my builds as well.
Q: Certain cosplays are tricky to hold in place. Wigs, wings, accessories, and so forth. Do you have any advice for keeping things together?
A: Magnets! I wish I worked with magnets much sooner in my career. I place magnets within my undergarments to keep capes from falling off. I’ve even put magnets in my wigs to keep my crowns from falling off. There are these rare earth magnets that you can purchase that are so, so strong, I highly recommend, just be careful working with them because the connection is very strong. I’ve shattered some. Yikes!
[END]
MORE: Cosplayer Really Hopes Mobius Gets To Ride His Jet Ski