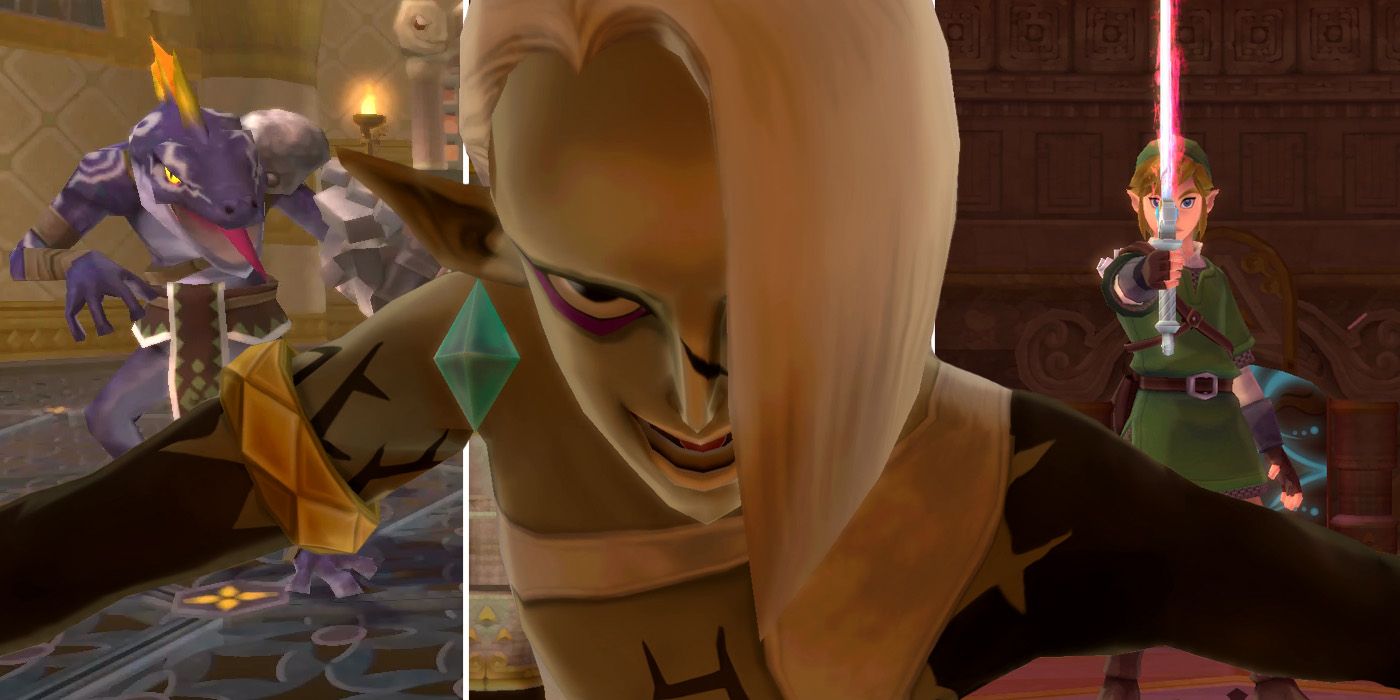
The Fire Sanctuary is the sixth and penultimate dungeon in The Legend of Zelda: Skyward Sword HD. To gain access to it, players will first need to complete Eldin Volcano's Silent Realm to obtain the Fireshield Earrings. After doing so and exploring the area around the volcano's summit, they'll then need to head to Lake Floria to borrow the water dragon's basin in order to extinguish the flames that are guarding the dungeon's main entrance. Only then can they enter.
RELATED: The Legend of Zelda: Skyward Sword HD: How To Get All 80 Gratitude Crystals
Inside, players will face a number of new enemies and one or two tricky puzzles that will likely leave some players scratching their heads. There's also another fight with Ghirahim, a new item that allows players to tunnel underground and, amongst other things, a chance to pick up an extra empty bottle. Perhaps most importantly though, the Fire Sanctuary houses the third and final Sacred Flame, which will transform Link's Goddess Sword into the Master Sword and allow him to finally awaken the Gate of Time at the Sealed Grounds.
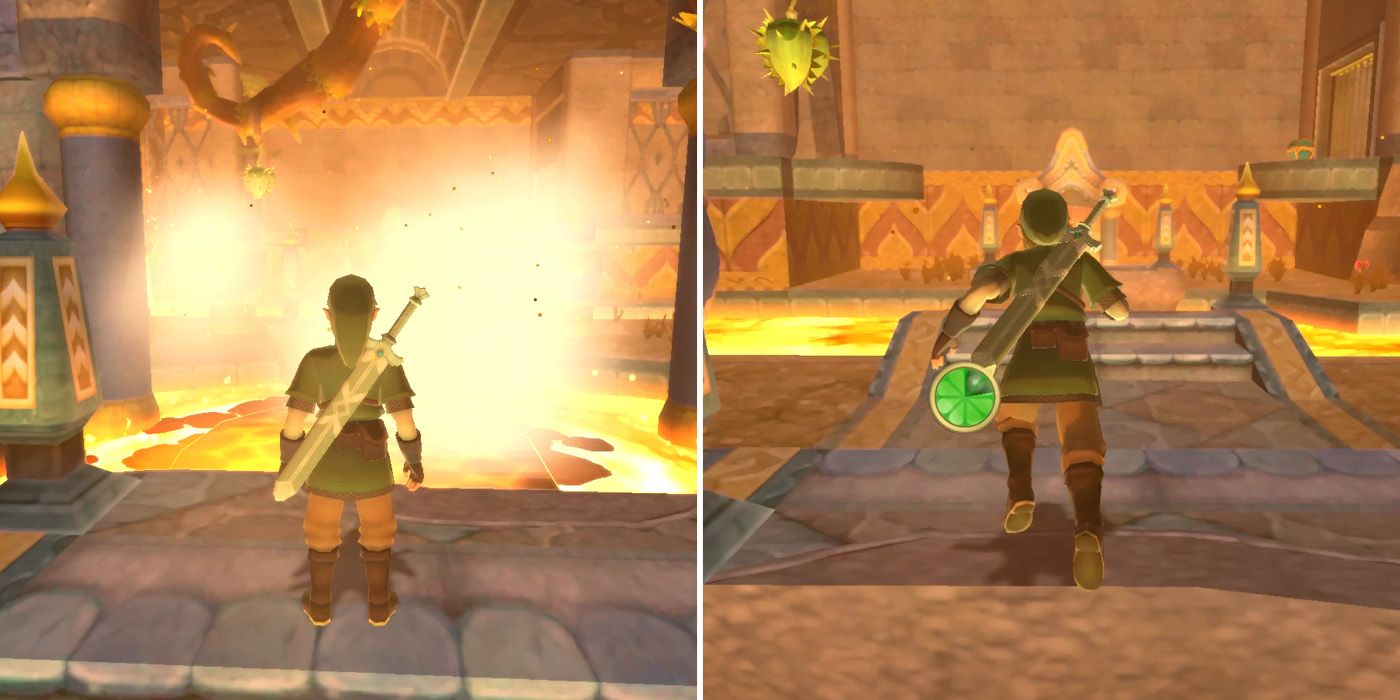
Immediately after entering the dungeon players will see a strange green plant growing above the lava in front of them. They'll need to hit this with either an arrow, the Clawshot, or the beetle, which will cause a water bulb to fall down into the lava and create a platform. Players can then use this temporary platform to cross over to the other side of the room.
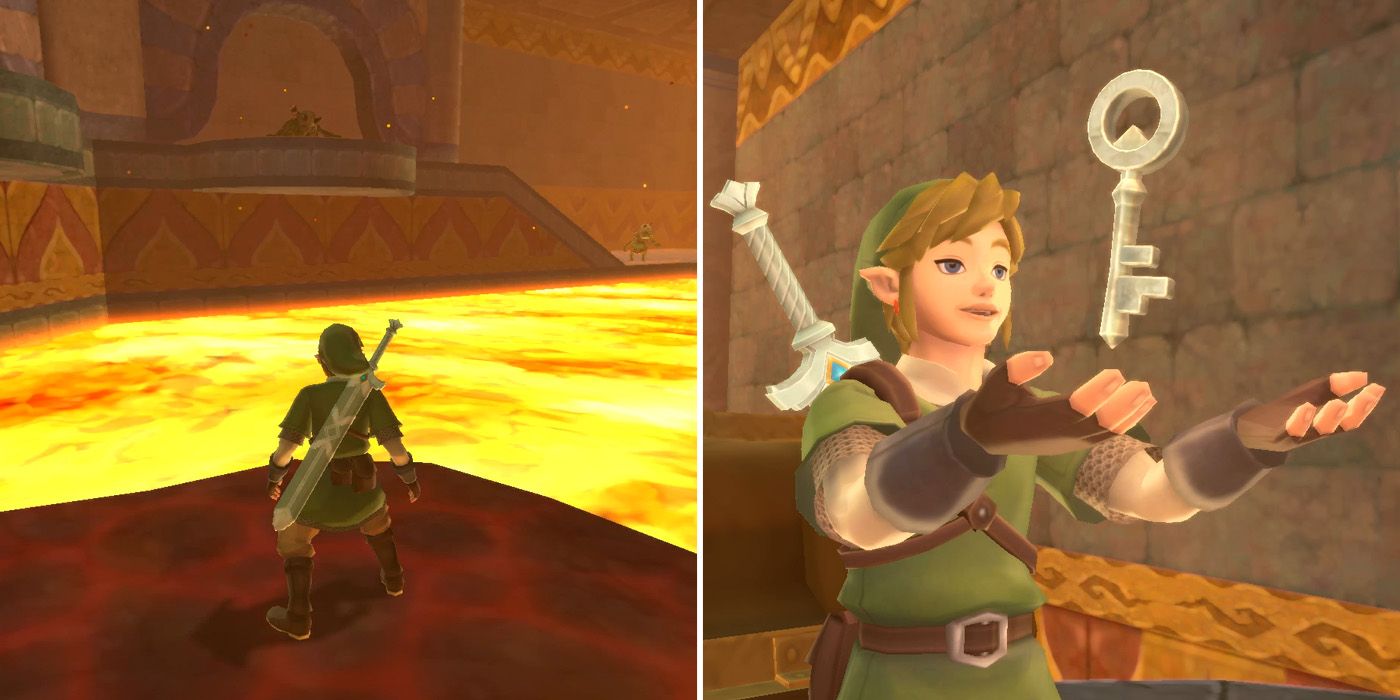
Once they're safely across, players will need to repeat this process with the plant to their left, only this time, they'll be riding the platform round to the right. There are some Bokoblins that will need to be taken care of in the next section, and, once they've all been defeated, the metal bars blocking the player's progress will rise. This will allow Link to collect the dungeon's first small key from the chest on the other side.
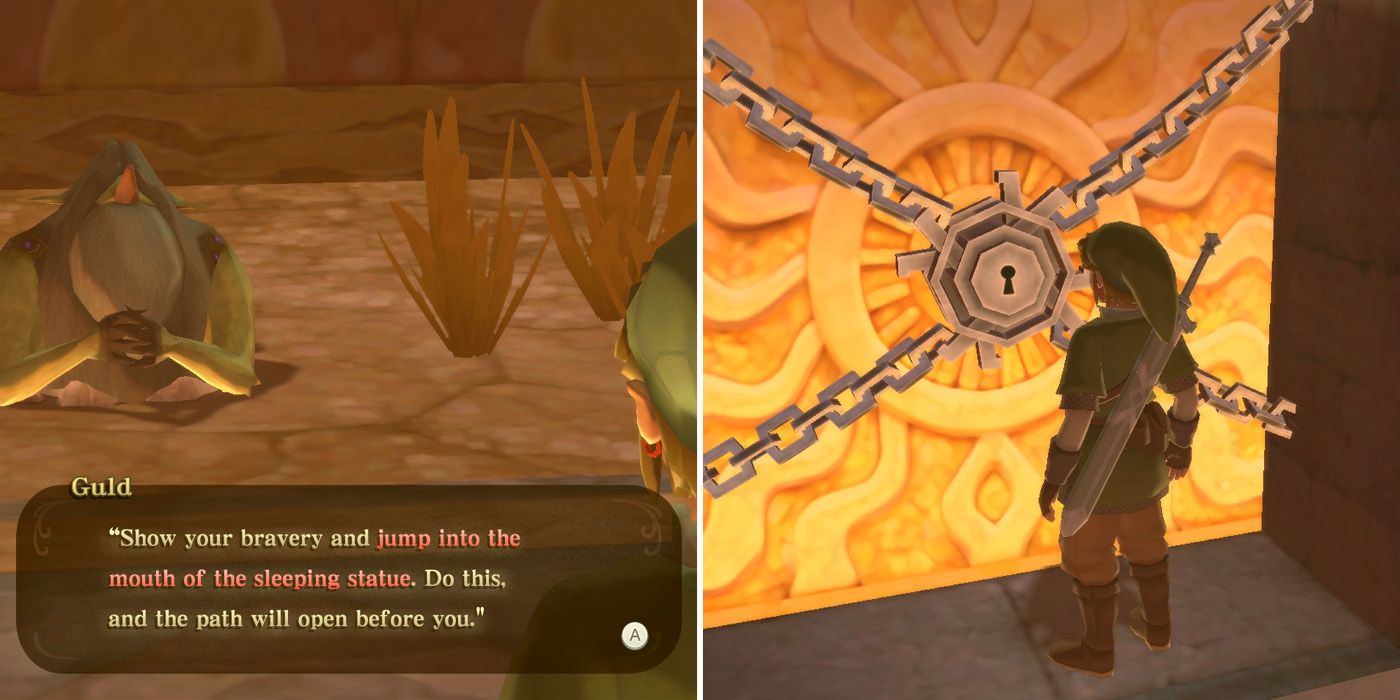
After obtaining the small key, players should drop down into the area beneath them, where they'll be met by a Mogma named Guld, who'll show up again a little later on as part of the Pumpkin Harvest side quest. He'll tell Link that to find the treasure, he should look for two statues that are facing each other and then jump into the sleeping one's mouth. This will come in handy later, but for now, players should make their way through the nearby key door and into the next section of the dungeon.
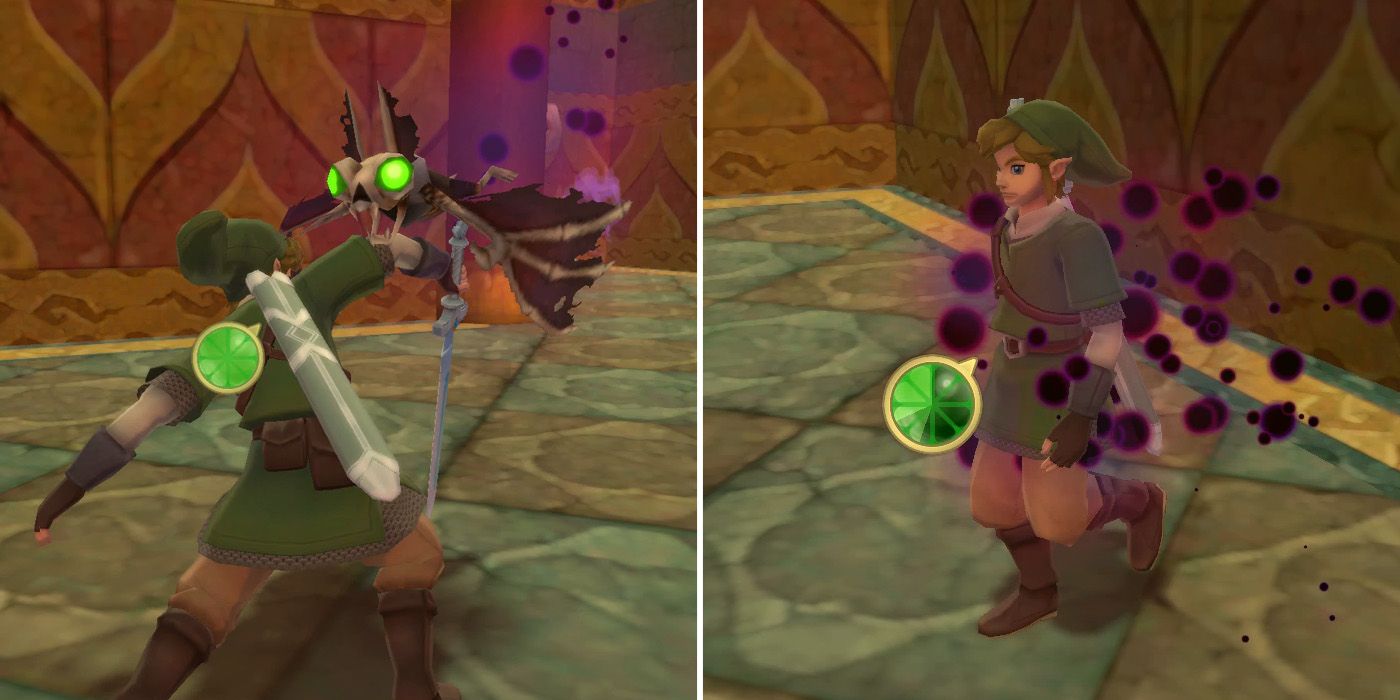
This new area contains some Dark Keese, which, like the Cursed Spumes and other Dark enemy variants found in the Fire Sanctuary, can inflict a special status ailment on Link that will prevent him from using his sword or items for a short period of time. As such, players should aim to take them out quickly to minimize their chances of being hit. There are plenty of arrow drops as well as a few Goddess Walls throughout the dungeon, so using the bow is strongly advised.
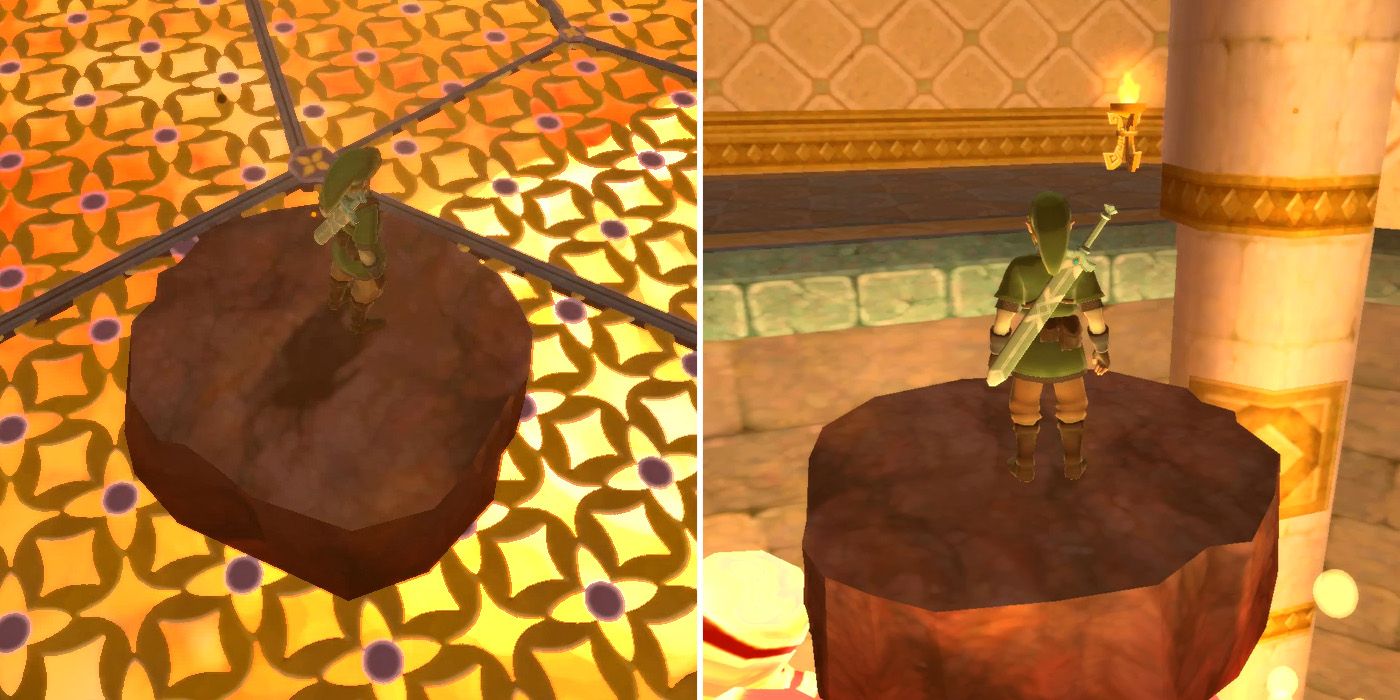
Upon passing through the door and the resulting short corridor, players will come to a T-junction. They can head left to find a chest containing a red Rupee if they like, but will need to turn right to progress through the dungeon. The passage will lead them to a large octagon-shaped room with lava beneath the floor. There's a new type of enemy here known as a Magmanos, but as players don't yet have the tools to defeat it, they should head straight for the stone platform and wait for the fiery hand to push them and the platform up into the air where they'll be able to jump to a nearby ledge.
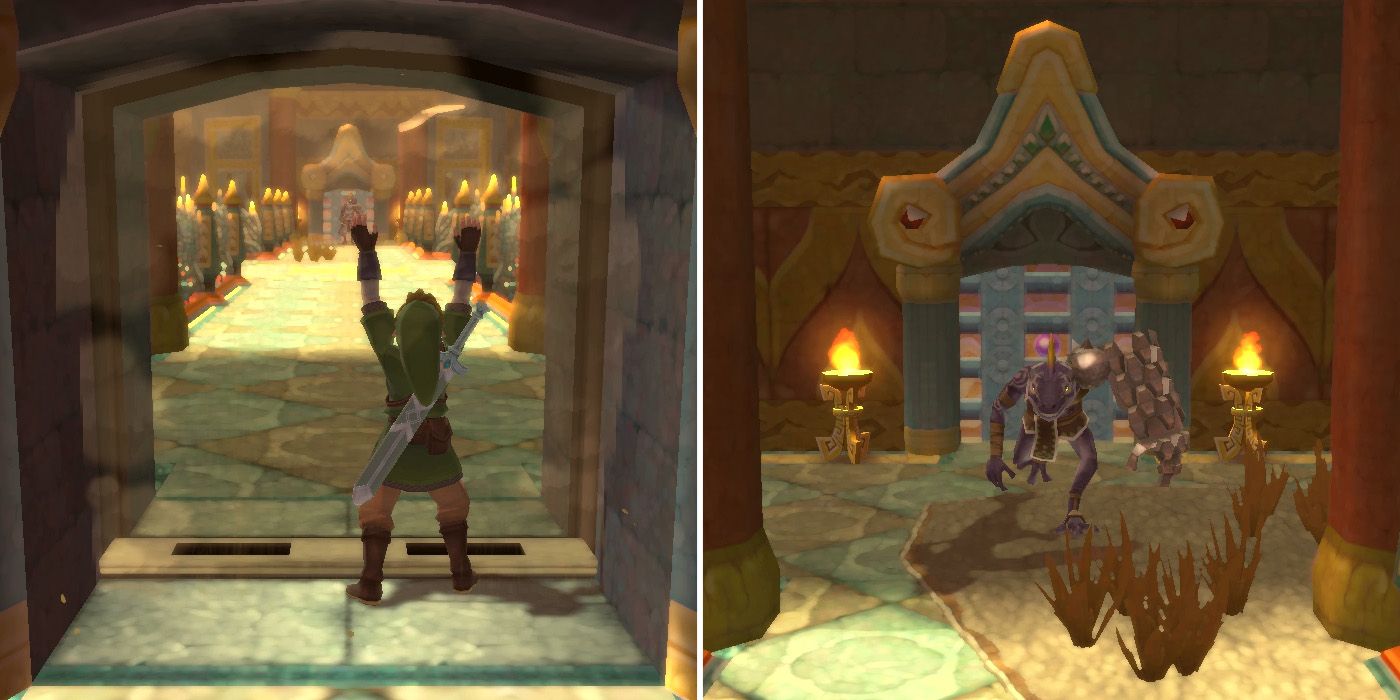
After killing a few Bokoblins, players will arrive at some vines and should follow these around the room to reach a new platform with a door and a bird statue. Passing through the door will lead to a mini-boss style battle against a Dark Lizalfos, although apart from it being a little stronger and having the ability to inflict status ailments, this fight can be approached in much the same way as one against a regular run of the mill Lizalfos.
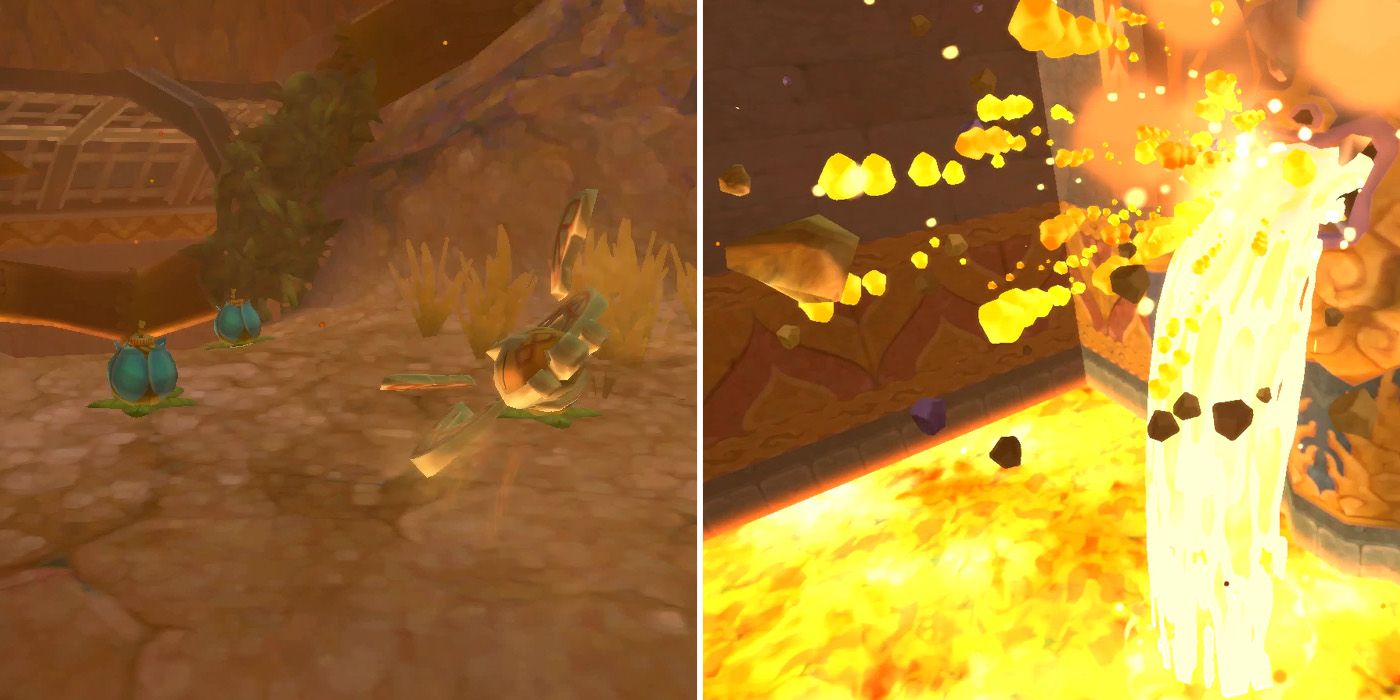
With the Dark Lizalfos now vanquished, both doors will unlock and players can run across the bridge and head through the one on the opposite side. They'll then be faced with another lava-filled room with one of those strange, green plants, but before they can ride the platform, they'll first need to increase the flow of lava coming from the statue to their right. To do this, they'll need to fly their beetle into one of the holes in the wall, pick up a bomb, and then use it to destroy the rocks that are blocking the statue's mouth.
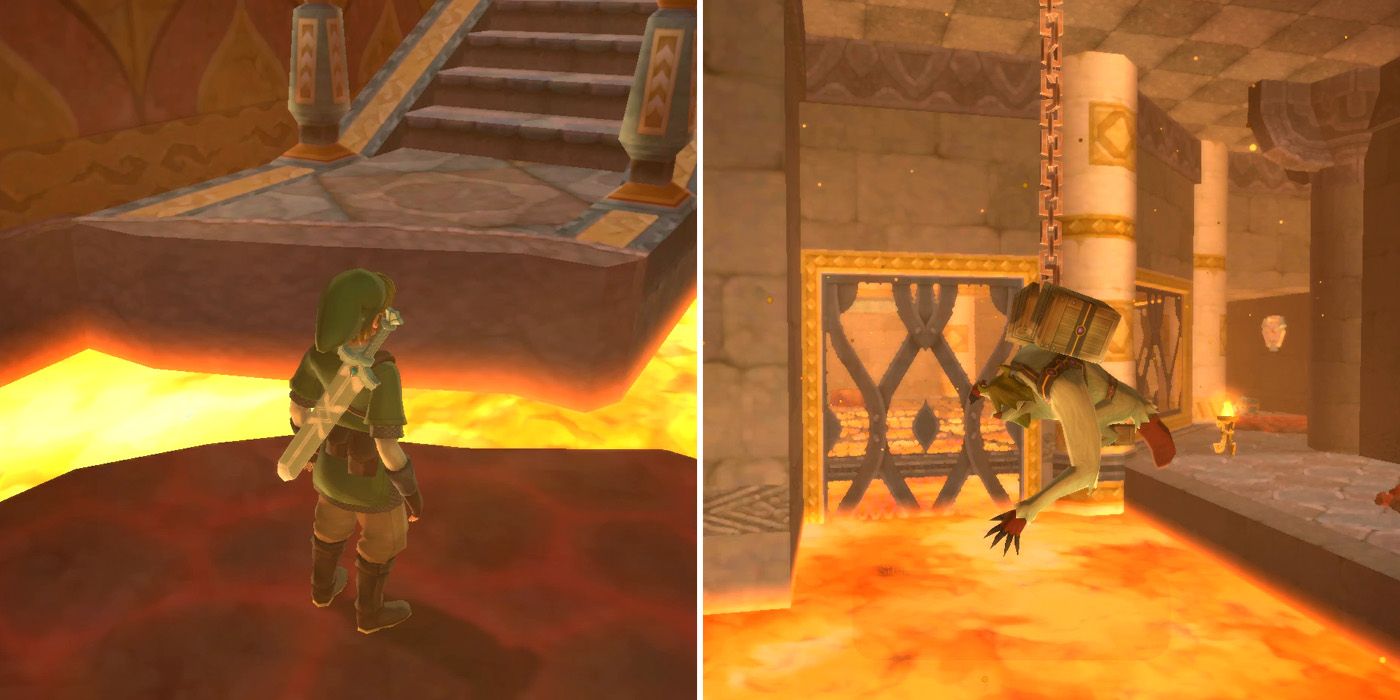
Now that the lava is flowing regularly again, players can hit the green plant so that it drops a water bulb into the lava and then ride the resulting platform over to the other side of the room. They won't be able to head through the key door just yet, so should instead take the door to their right, which will take them to a new room containing a Mogma hanging from a chain.
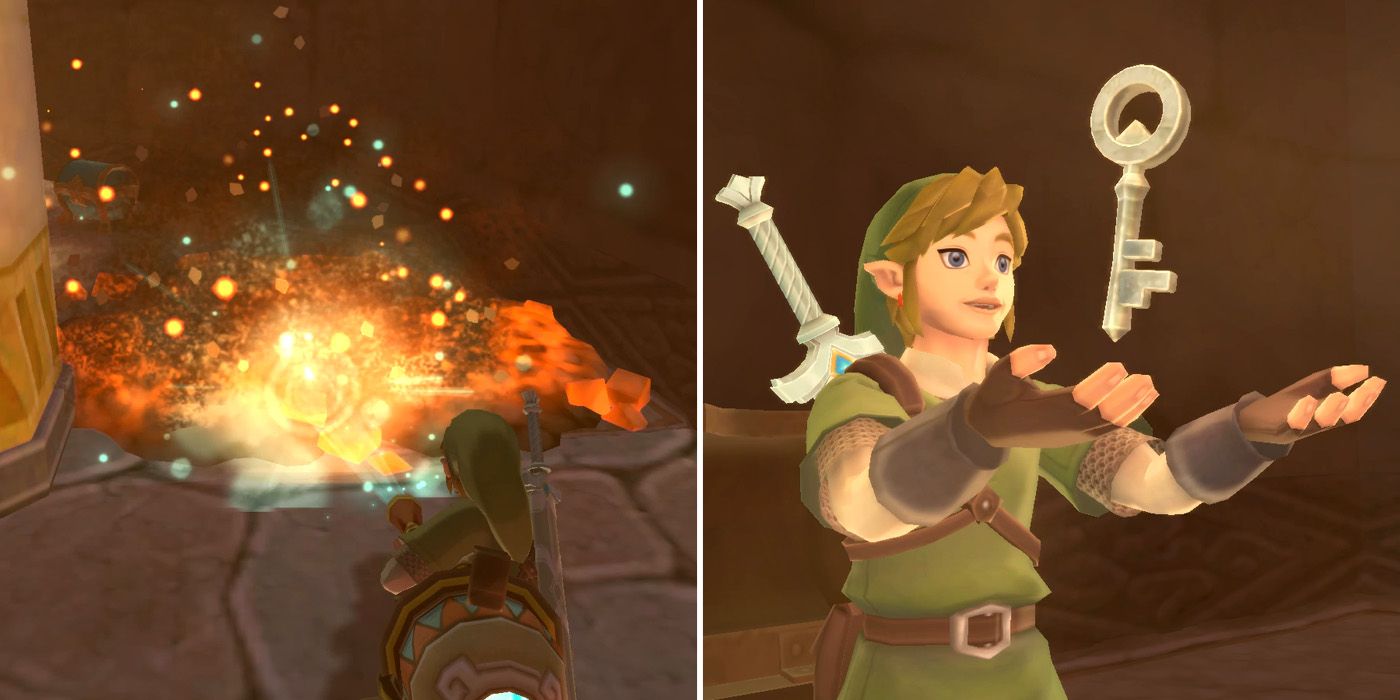
Silva will ask Link to help him to get down, but for now, at least, there's nothing that the young adventurer can do. With that in mind, players should use the Gust Bellows to clear the hot magma patches from the floor, which will enable them to reach a chest containing the dungeon's second small key. There's still no way to help Silva just yet though, so players should return to the previous room and head through the key door from a moment ago.
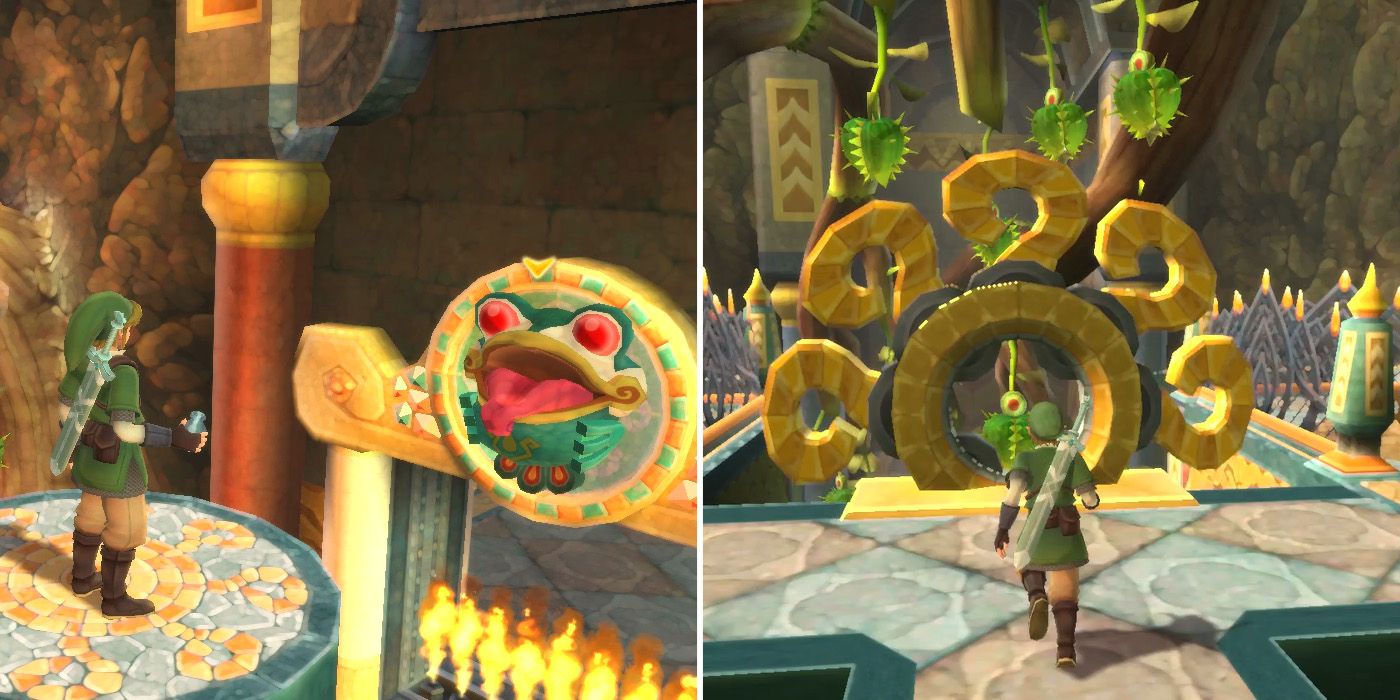
The next area is full of green plants which players will have to navigate around or destroy to avoid taking damage. There are two chests in the area too, which contain a red Rupee and a random crafting component respectively, as well as a couple of large dig spots. After collecting everything they need, players should make their way to the raised platform facing the frog statue and then look for a green plant directly behind them in the center of a circular yellow structure.
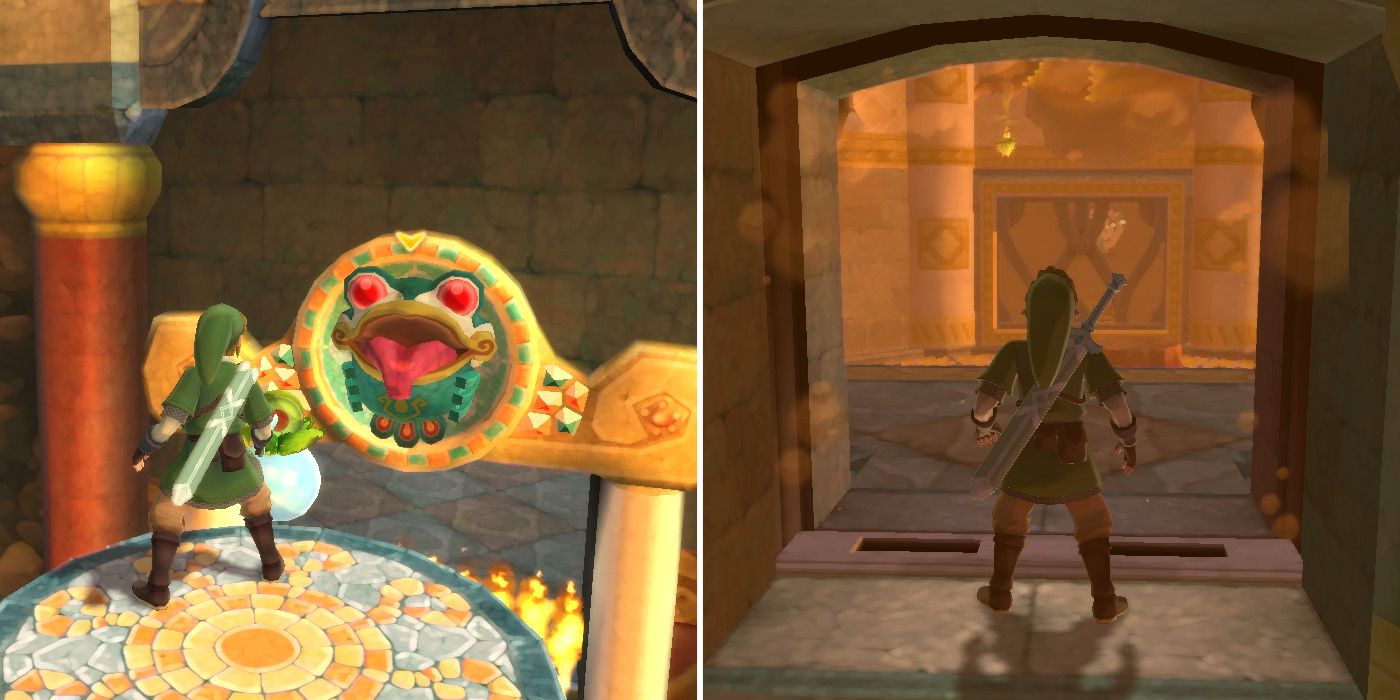
Players will be able to stab this green plant with their sword to pick up a water bulb and can then flick their sword to fling the bulb into the mouth of the frog statue. Once the flames are extinguished, players should head down the corridor and defeat the Dark Keese and Green Bokoblin and then through the door. This will take them to the dungeon's mini-boss; the Magmanos pair.
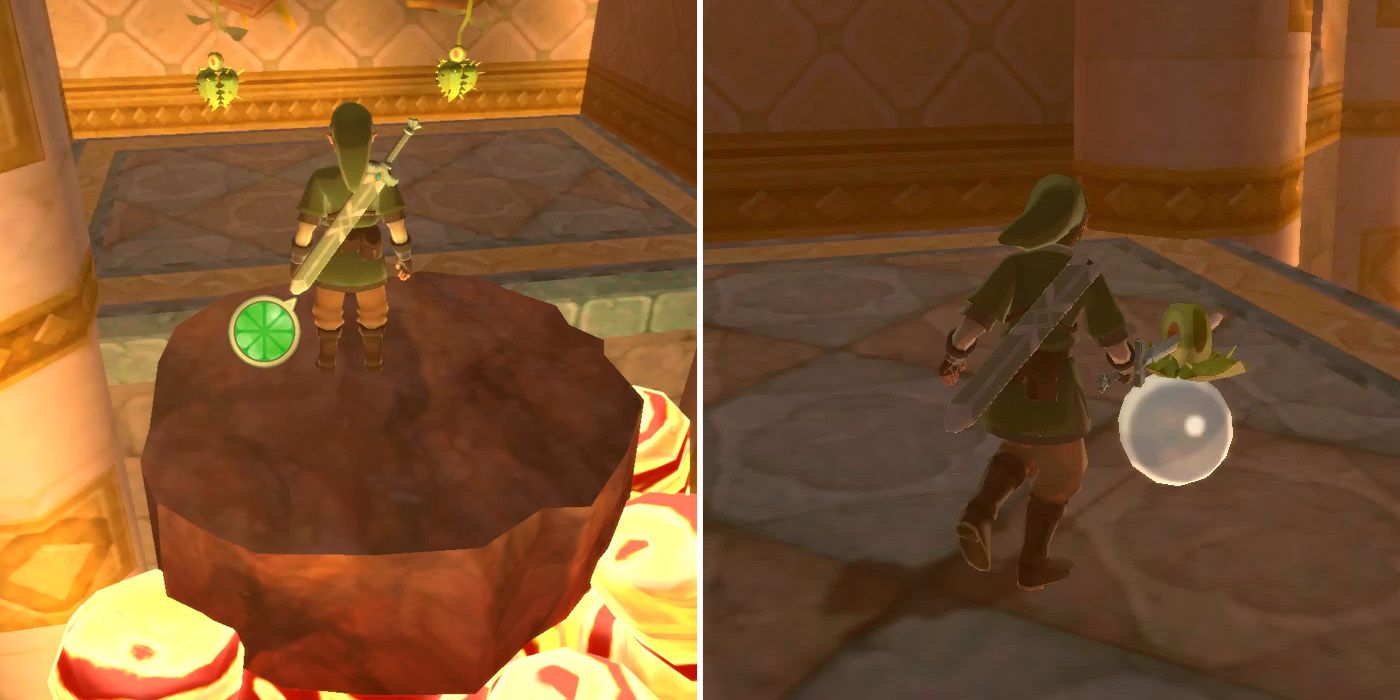
Compared to some of the other mini-bosses in the game, the Magmanos pair is actually a pretty straightforward battle. Like their last encounter with a Magmanos, players will want to stand on one of the circular stone platforms and then wait for one of the Magmanos to push the platform into the air. This will allow players to reach an area with more of the green plants, and Link can again use his sword to collect one of their water orbs.
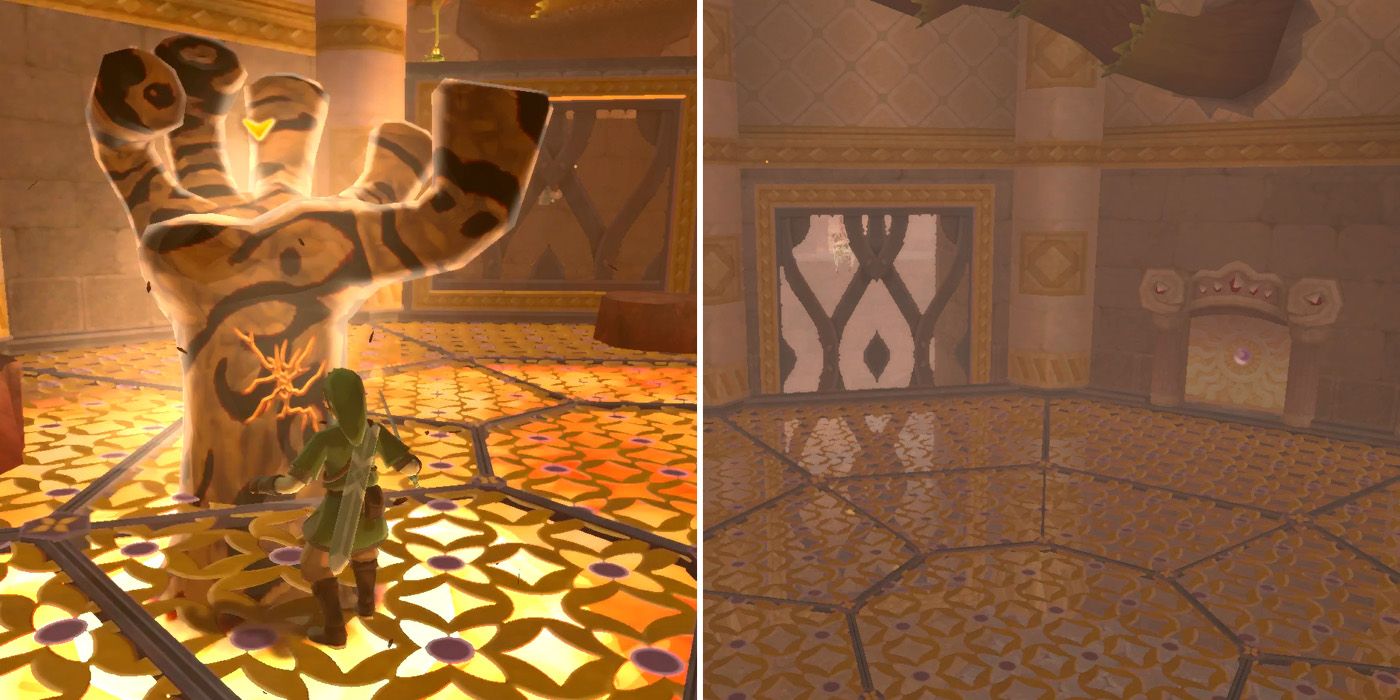
With a water orb on the edge of their sword, players should drop back down into the area below and fling the orb at one of the fiery hands when it appears above the metal grating. This will cause the Magmanos to solidify, at which point Link will be able to defeat it with four regular sword slashes or jabs. After repeating this process for the second Magmanos, the lava beneath the metal grating will drain away and players can head through the newly unlocked door to exit the chamber.
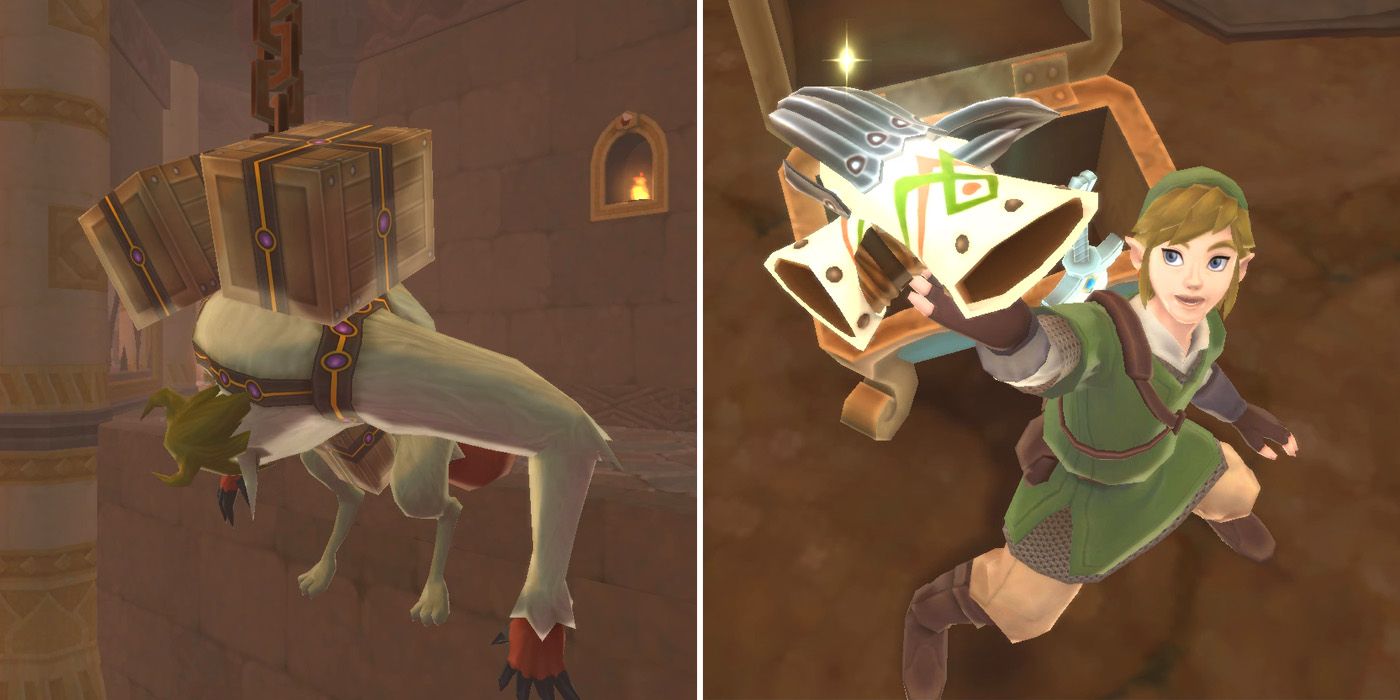
The door will lead players to the other side of the room where they left Silva hanging. With the lava now gone though, they'll be able to use their whip to pull a wall lever, which will lower the stranded Mogma down. Needless to say, he's pretty grateful for being rescued and gives Link a chest containing a shiny pair of Mogma Mitts as a way of showing his gratitude. These new mitts allow Link to burrow underground at certain dig spots and serve as a replacement for the Digging Mitts that the young adventurer obtained shortly before his visit to the Earth Temple.
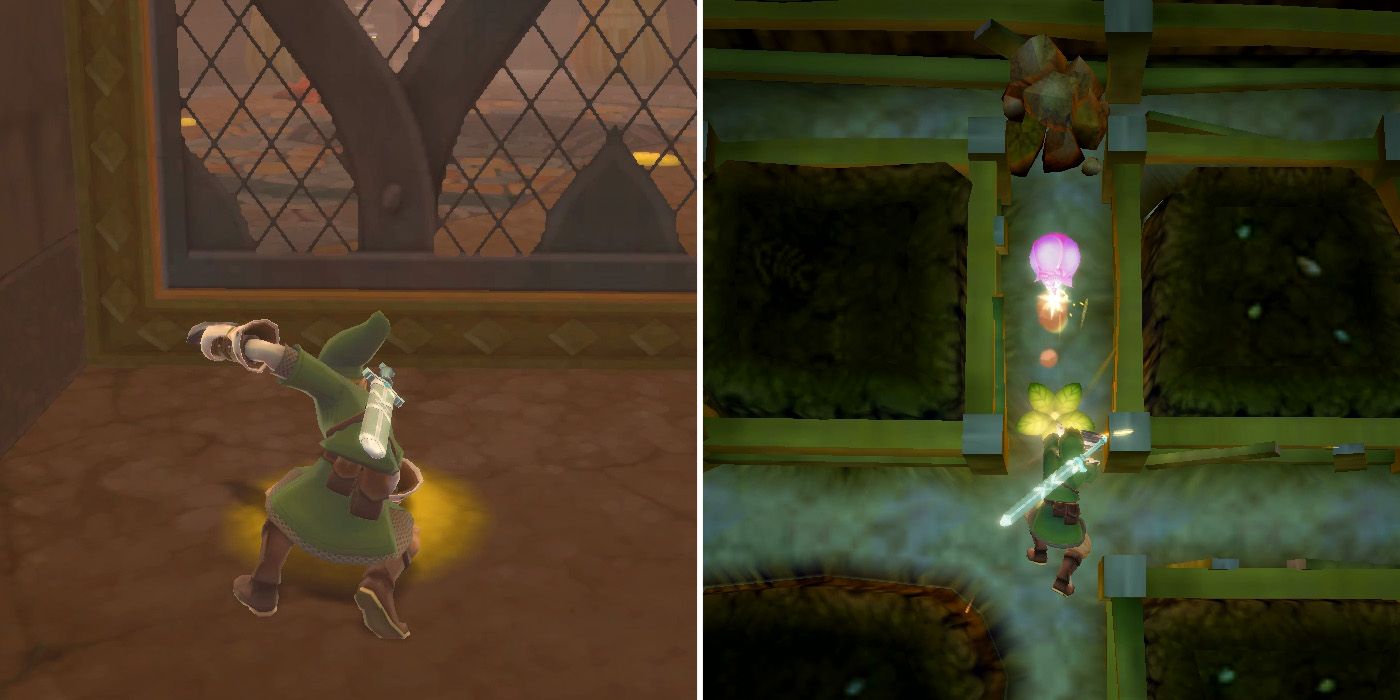
Now that they have the Mogma Mitts, players should dig in the spot directly in front of the metal gate. This will take them underground, where they'll need to destroy the boulders by punching them and then push the Bomb Flower into a pile of rocks to the north of the screen to clear a path to the exit hole. There are also some Rupees to the east of the area, if players are running low.
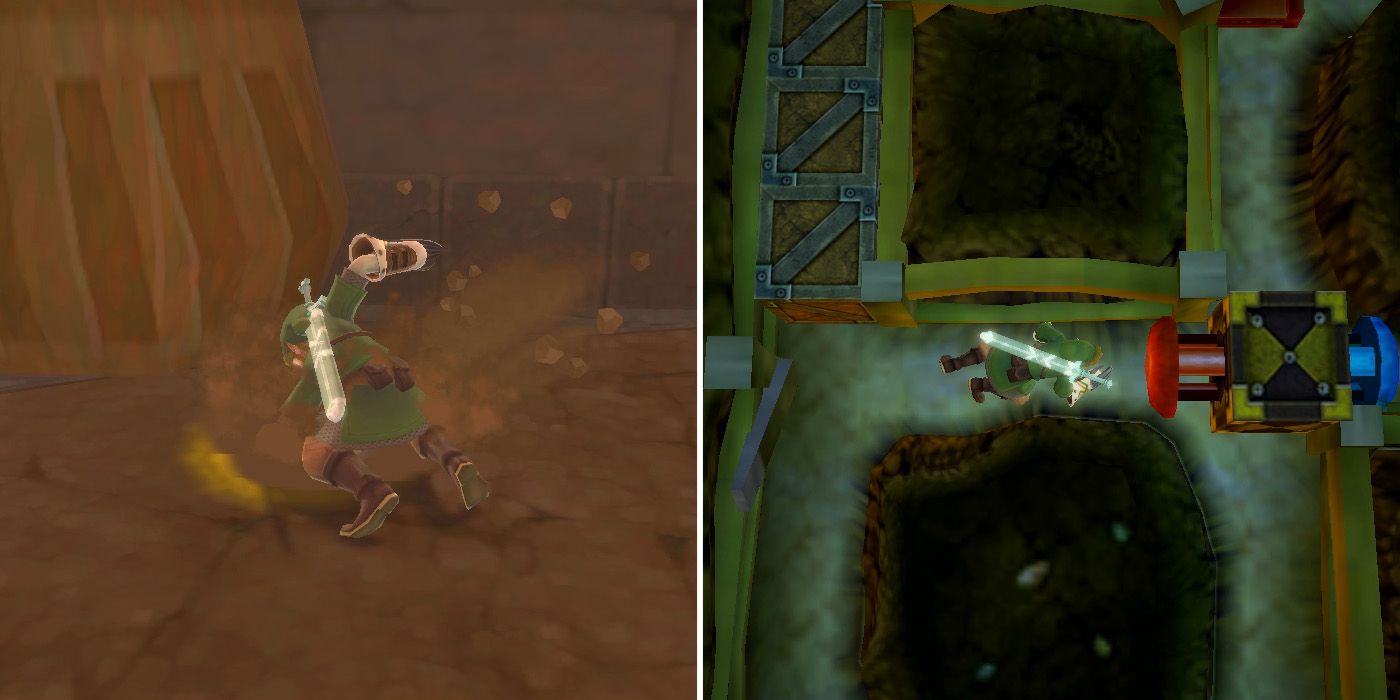
Upon returning to the surface, players will find themselves in a room with another locked door and some hot magma patches on the floor. Here, they'll need to clear the magma patch to the right of the key door using the Gust Bellows and then dig down into another underground area. This time, they'll need to push the red switch, which will open the metal gate in the previous room.
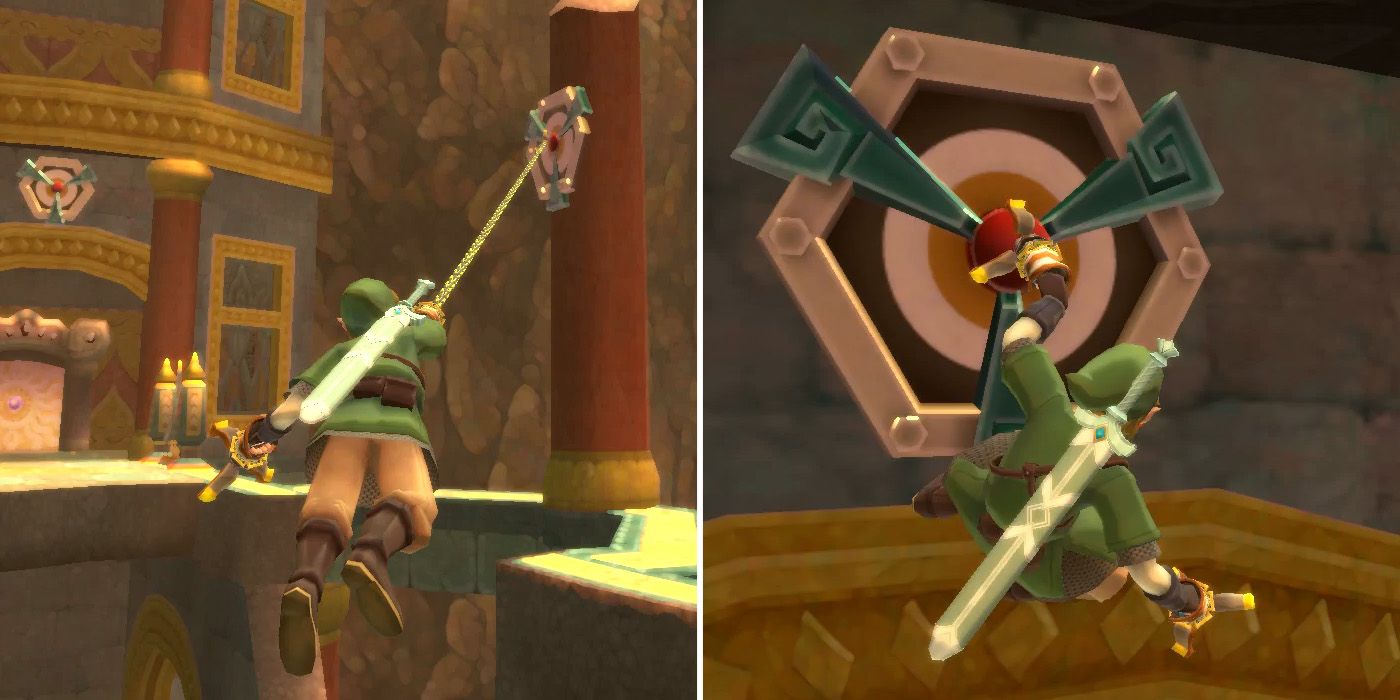
Passing through the now open gate and up the stairs will take players back outside. For now, they need to head for the door directly in front of them, using the Clawshot to get across the damaged walkway. They should be sure to take out the Bokoblin archers first to avoid being knocked down to the area below, but if they do happen to fall, they can take this opportunity to fill up on bombs and use the nearby Goddess Wall for any other items they might need.
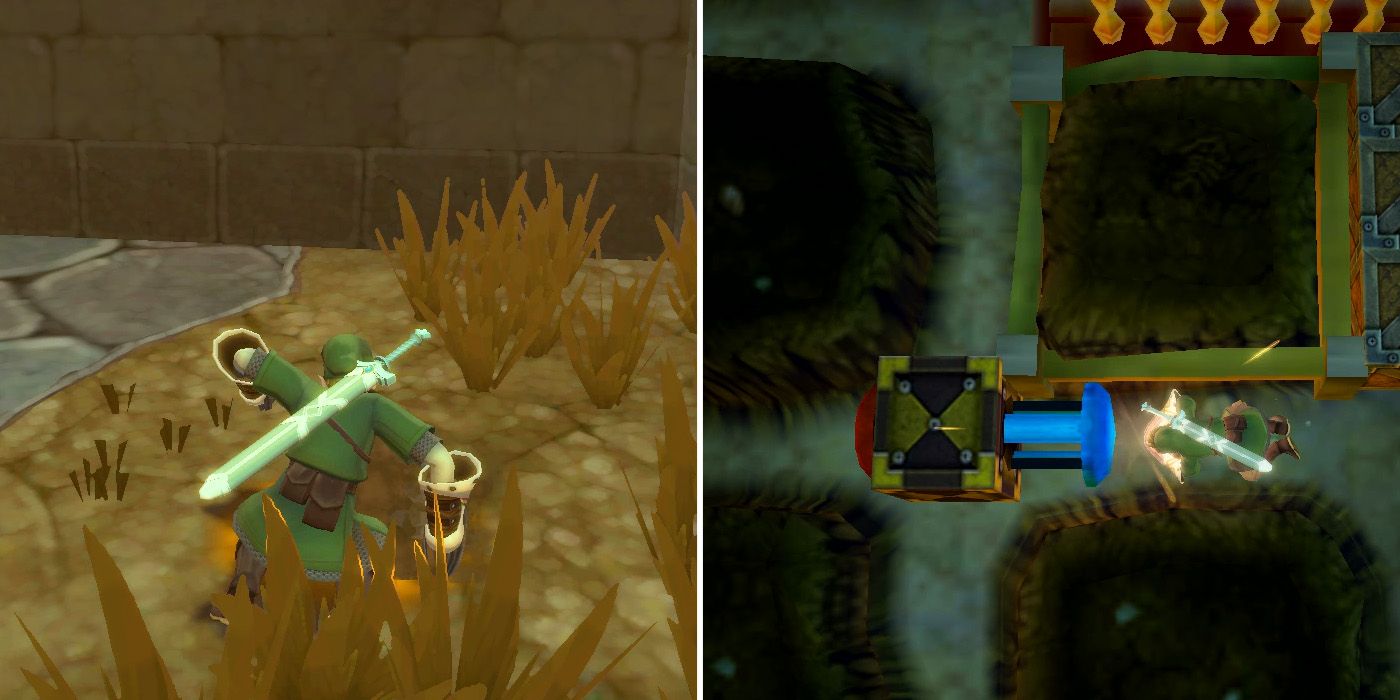
Through the door on the other side of the walkway, players will find another stranded Mogma named Bronzi, who will offer to tell Link a secret about the room if the young hero helps him down. Players should head to the dig spot in front of the metal gate and make their way underground, where they'll this time be faced with two switches. They'll only need to hit the one on the right though, so, when they return to the surface, both switches should be red.
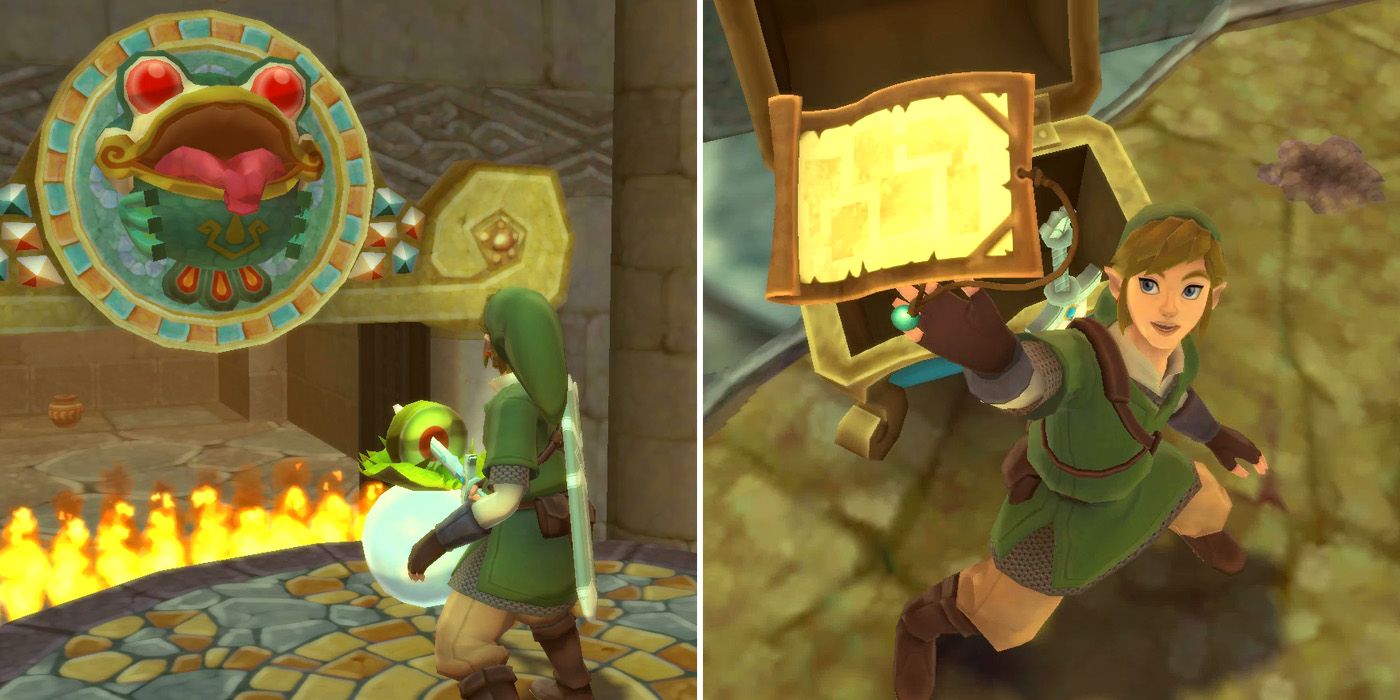
If done correctly, players will now be able to access the caged-off area with the green plant and can grab a water orb and fling it into the frog statue's mouth to quench the flames. On the other side, they'll find a wall lever, which will lower Bronzi back to the ground. As promised, he'll tell Link about a secret room to the east of the one they're in and also give the tunic-clad adventurer a chest containing the dungeon map.
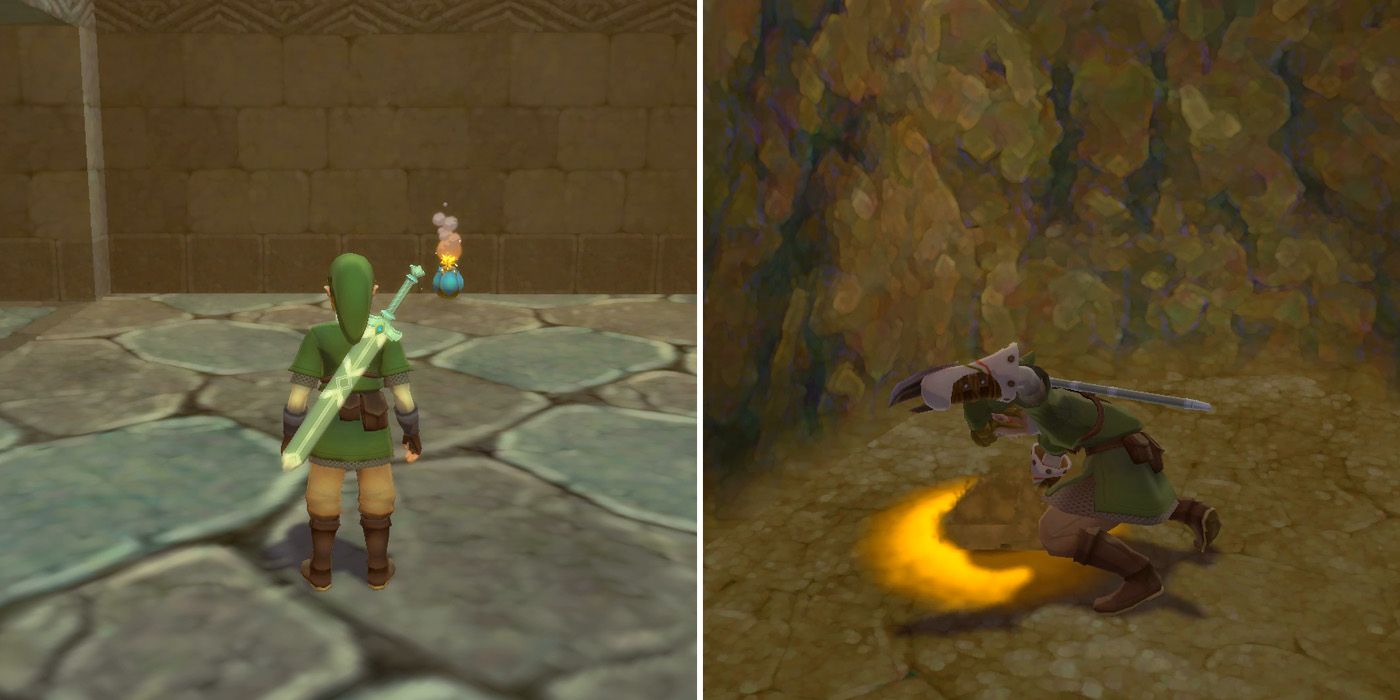
Now that they know about the secret room, players should head over to the room's eastern wall and destroy it by using a bomb. If they're having trouble finding the right spot, they can check it on their map. On the other side of the fake wall, players will find another dig spot, which will take them to a new underground area containing the centipede-like Moldorn enemy.
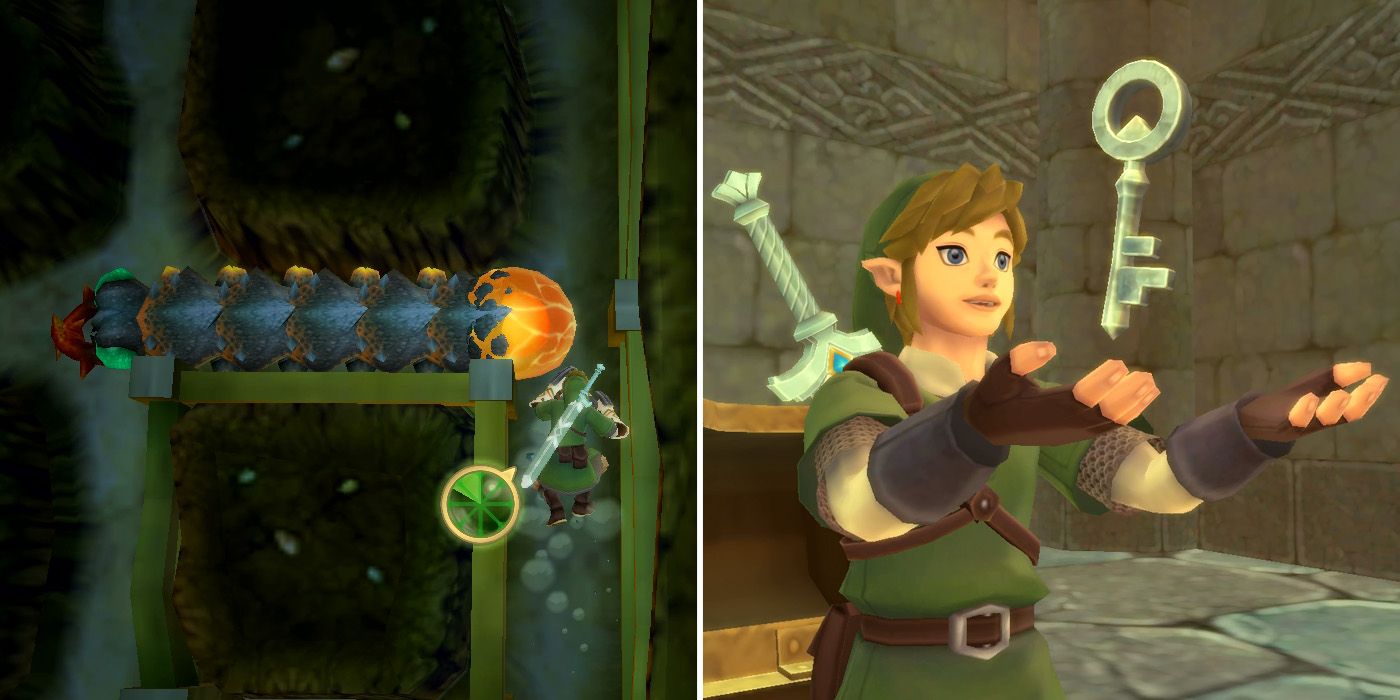
To defeat a Moldorn, players will need to get behind it and punch the pulsating orange ball three times. It's worth noting that players can use the B button to crawl faster while underground, which can make keeping up with the Moldorn a lot easier. After it's been defeated, players should exit the area through the hole to the west, which will take them into a room containing yet another small key.
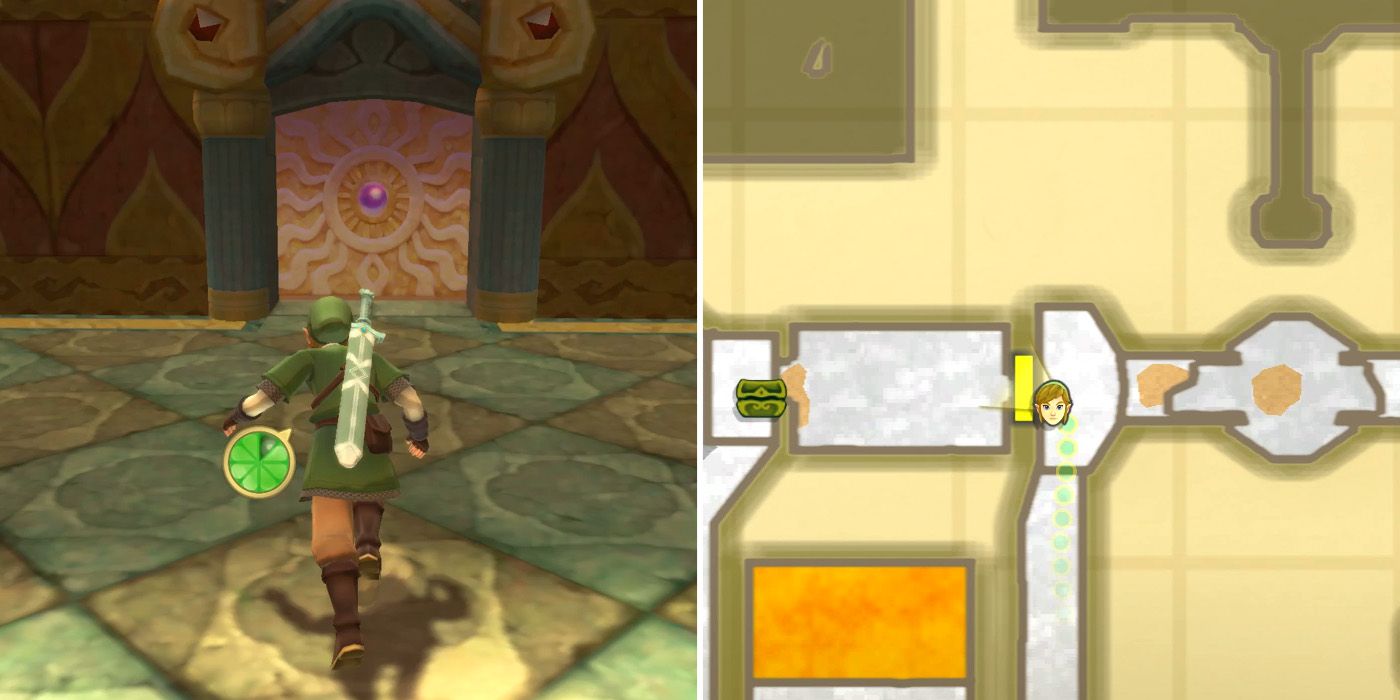
With the dungeon's final small key now in hand, players should climb the vines to return to the room where they rescued Bronzi and then head back outside, where they should once again use their Clawshot to cross over the broken walkway. Before going through the door in front of them, however, players have a decision to make, as there is an opportunity to pick up an extra empty bottle by returning to an earlier section of the dungeon.
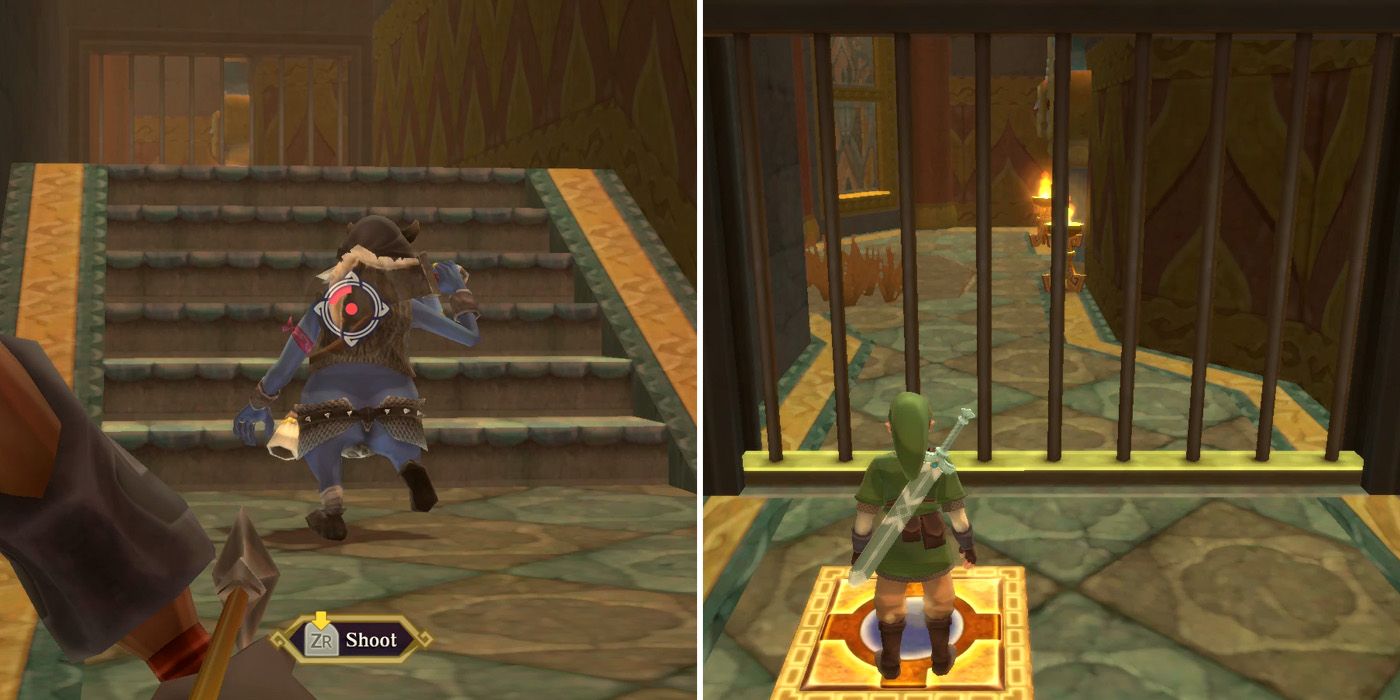
Given that there are four other empty bottles in the game, some players may opt to skip this one, as obtaining it involves a little bit of back-tracking. For what it's worth though, it really doesn't take too long, and one never knows when an extra empty bottle might come in useful. That said, those who really aren't interested can skip this section and head straight through the door. Those who are, however, will instead want to follow the path to the left of the door.
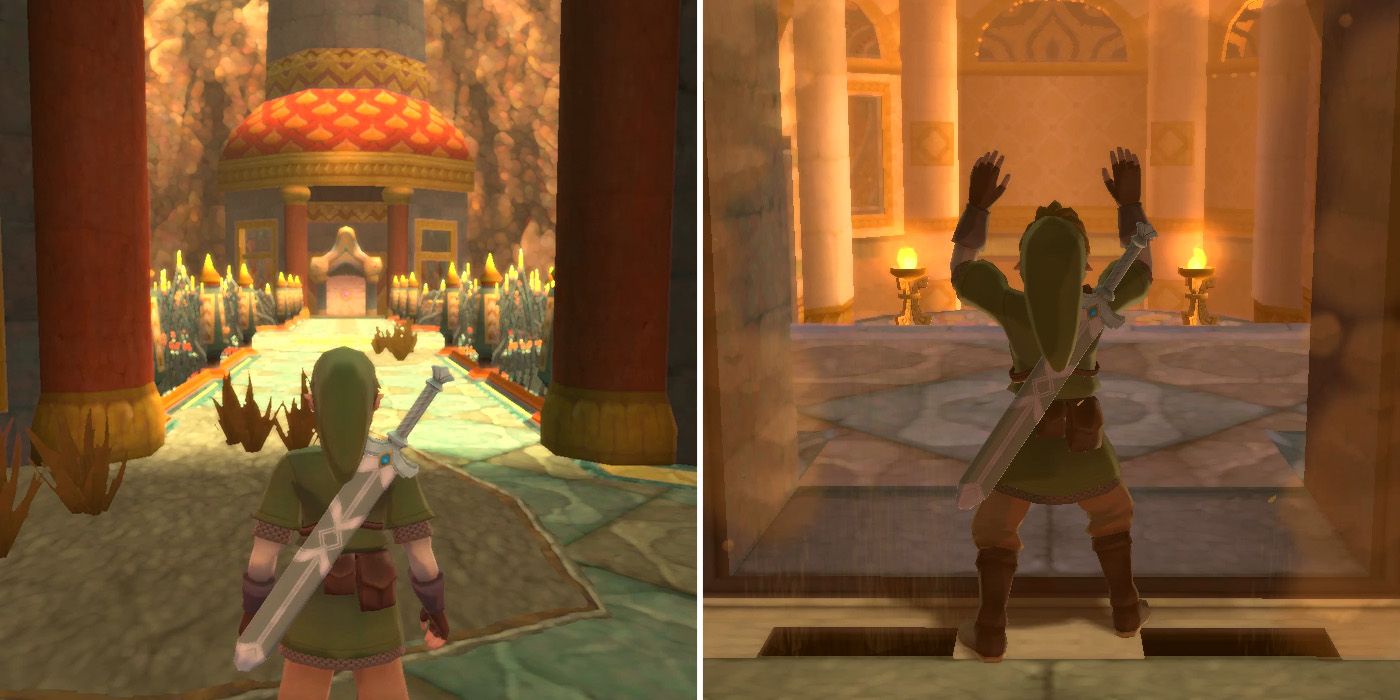
After killing a blue Bokoblin and heading up some stairs, players will come to a special floor tile that will open the metal gate in front of them and allow Link to return to one of the areas he passed through a little earlier on. Here, players will want to take a left and head over the bridge and through the door on the other side, which will take them back to the chamber containing the first Magmanos that they encountered.
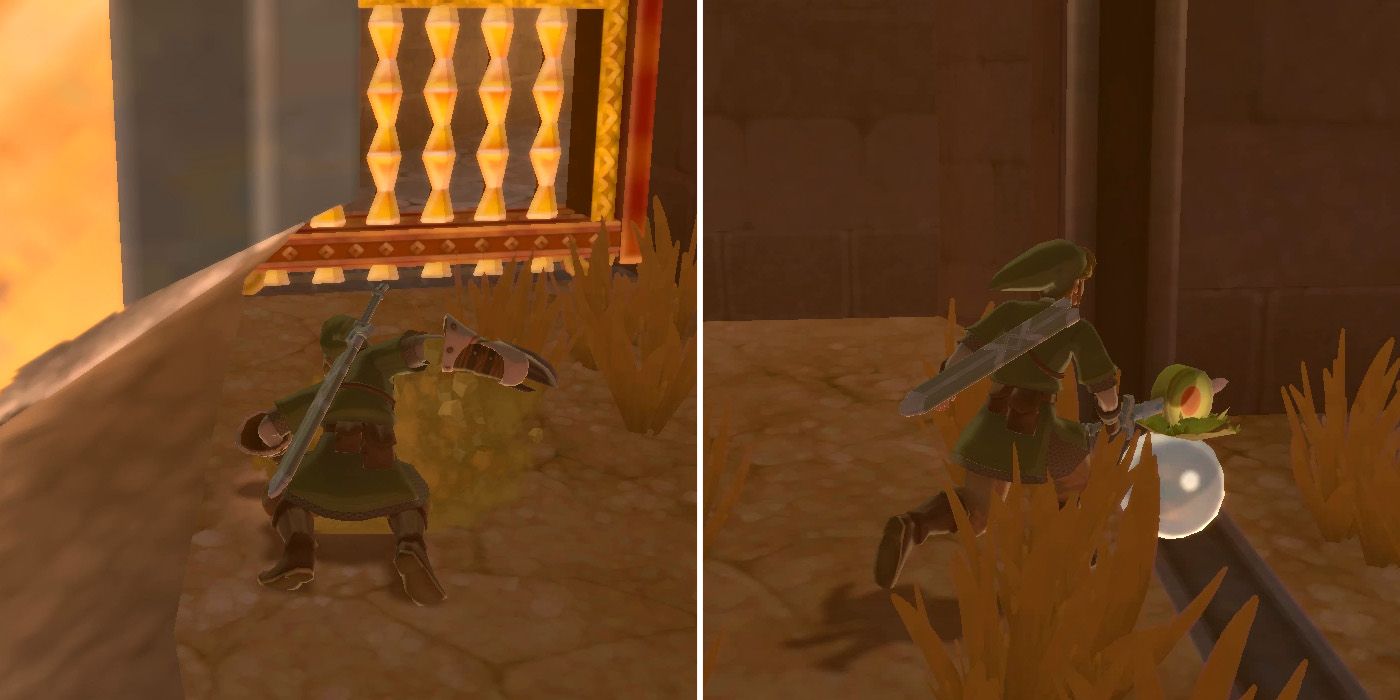
Immediately after entering the chamber, players should see a metal gate in an alcove to their left. There's a dig spot directly in front of it, and they can use this to head underground yet again. By following the path around to the right, they'll be able to push the blue switch, which will open the metal gate above ground. Following this new path will take players to an area with a floor switch and some green plants, and these can be used to kill the Magmanos and drain the chamber of lava.
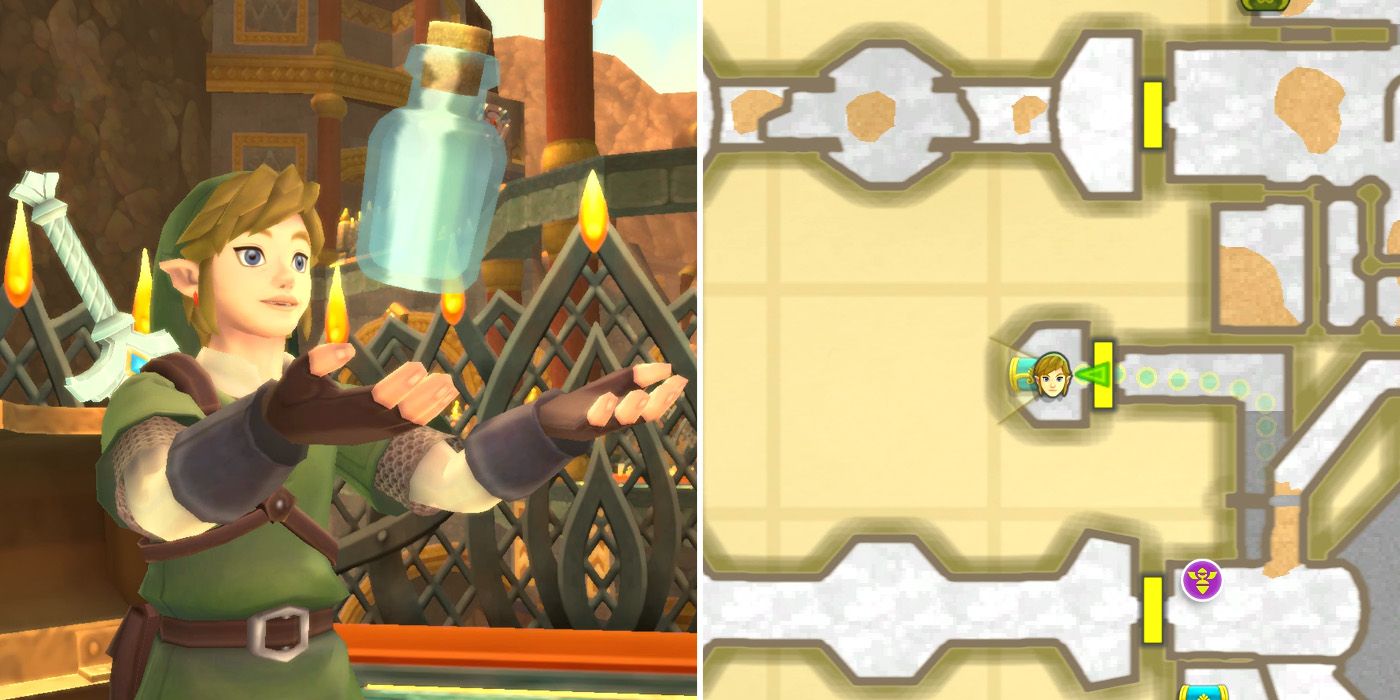
If players follow the newly opened path, they'll soon find themselves in a small outside area with a chest, inside of which is an empty bottle. If they missed it earlier, players can also take this opportunity to head upstairs and open the chest with the red Rupee if they like. Whenever they're ready though, they should head back through the exit on the west side of the room, take a right after crossing the bridge and then go back through the door on their left.
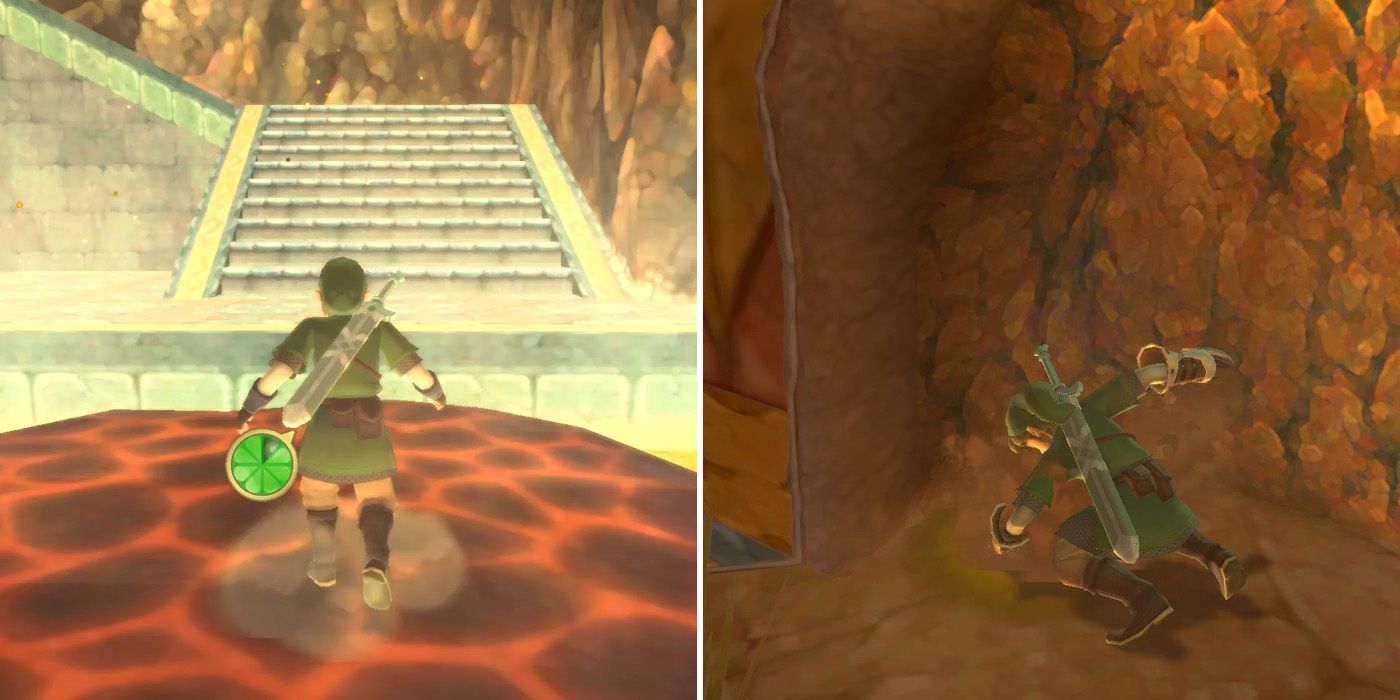
This door will lead players back to the dungeon's final key door, through which they'll find another outdoor area. After heading up the steps, they'll come to another lava stream and should use the green plant to create a platform to cross over to the other side. At the top of the next set of steps, players will come to another door that leads to a large room. They should kill the Dark Keese and the blue Bokoblin inside and then head underground via the dig spot in the alcove on the other side of the room.
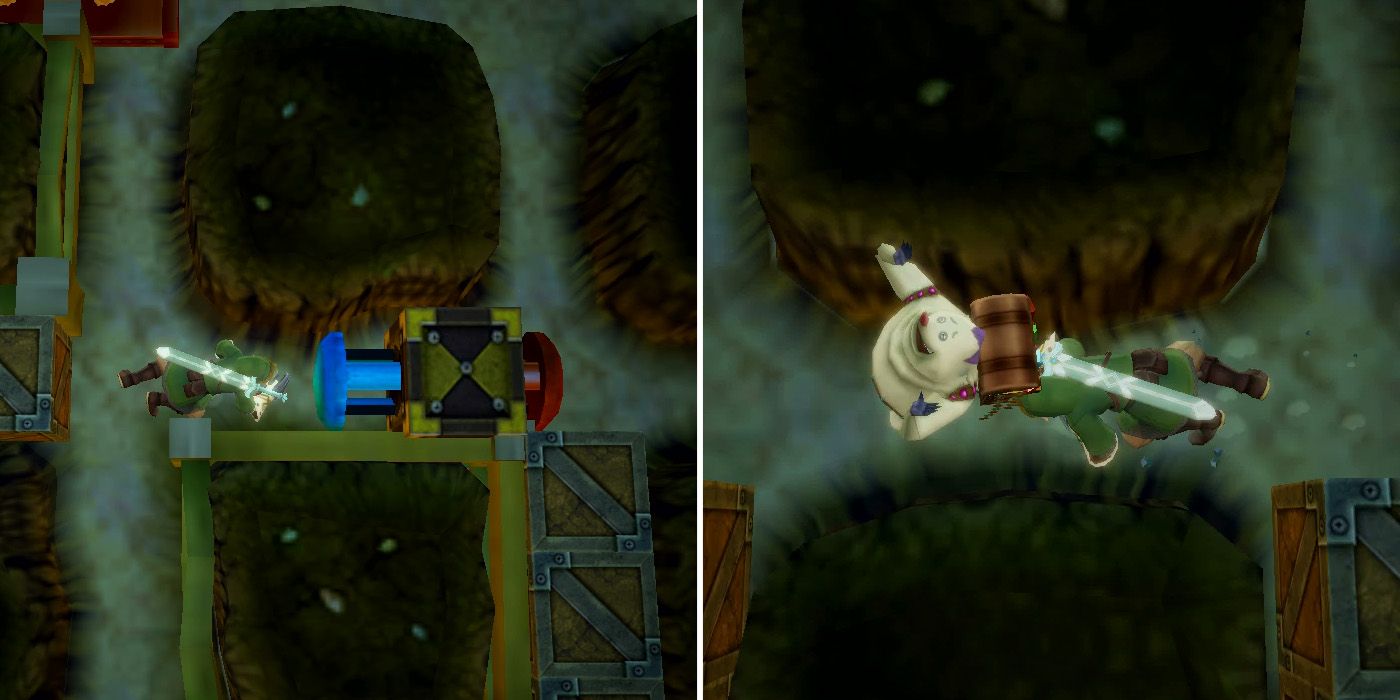
Here, they'll need to hit the blue switch and then chase down the fleeing Mogma. The best strategy for doing so is to hang around in the central area, wait for the Mogma to head towards one of the corners, and then cut him off. Again, players should remember that they can use the dash button to crawl faster while in these underground sections, which will be vital when it comes to catching the Mogma.
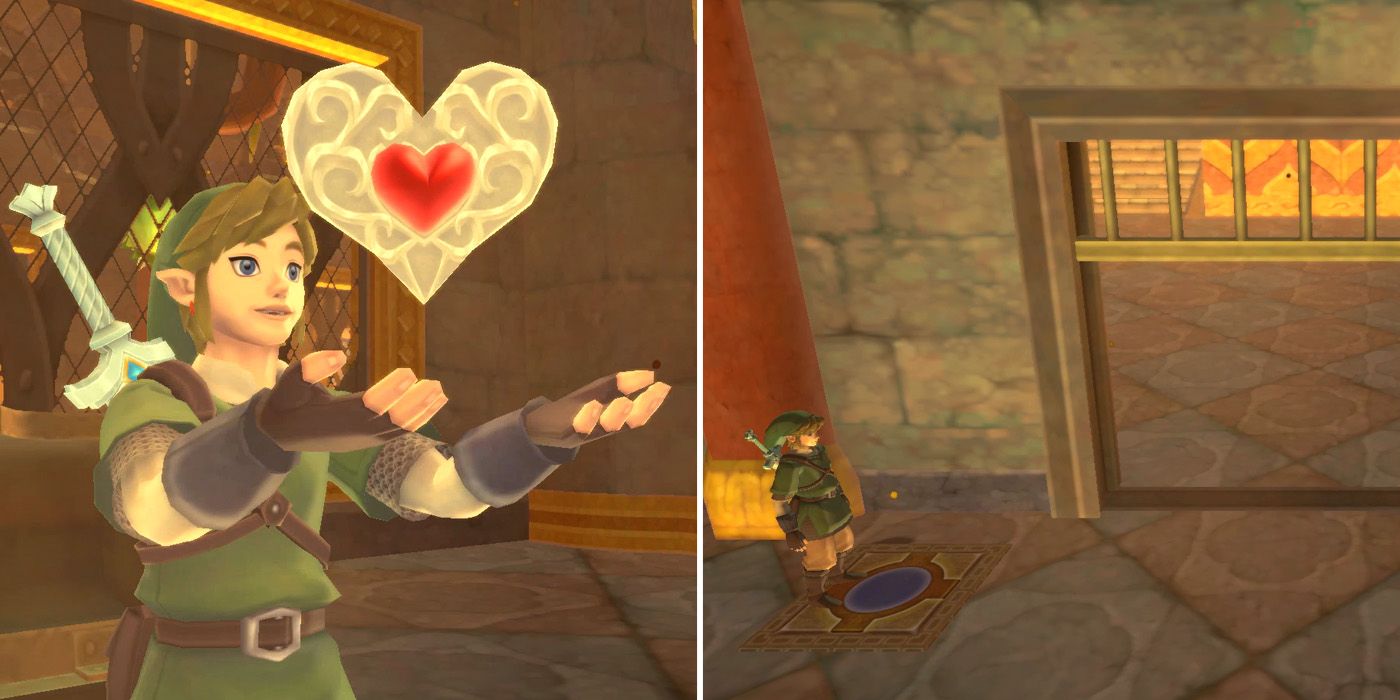
Once caught, Plats will give Link a chest containing a piece of heart. Players can then head through the now open gate and use the green plant to create a platform that will take them to a new area containing a bird statue. If they didn't do it earlier, players should deal with the Bokoblins here and then use the special floor tile to unlock the metal gate to the left of the statue.
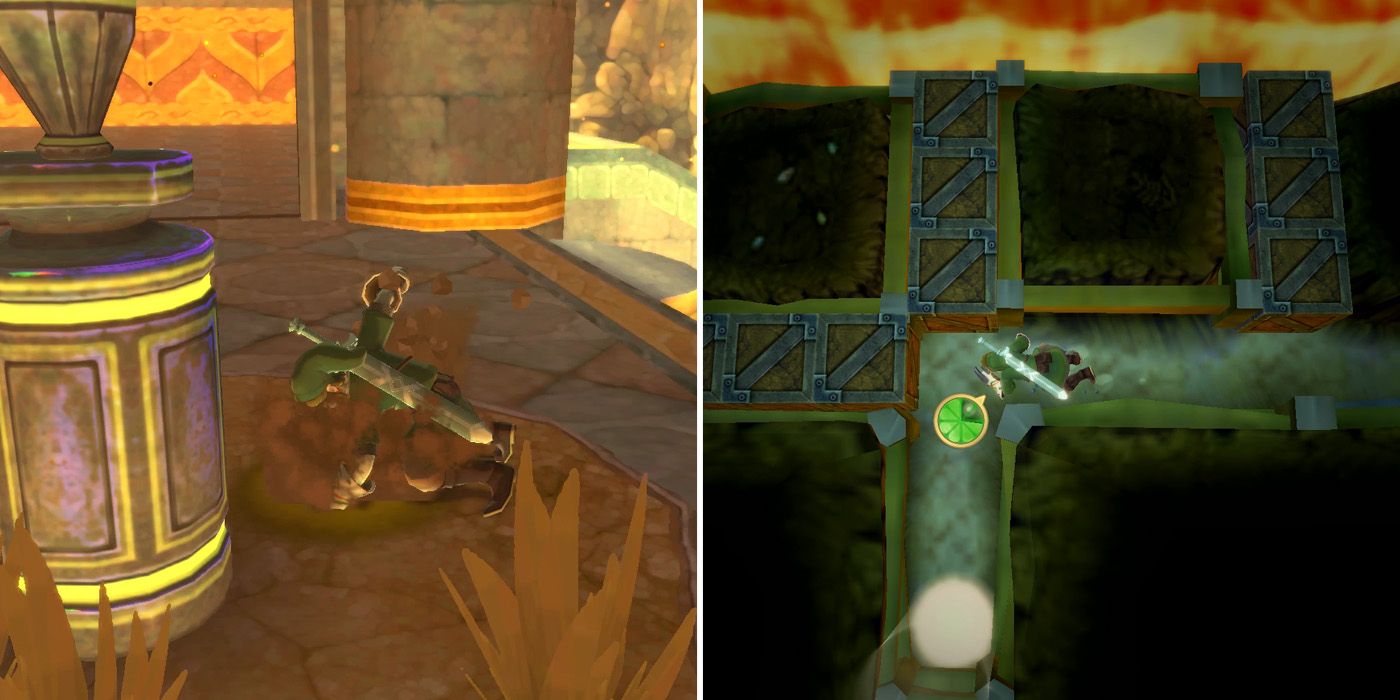
Before leaving, however, players should head underground using the dig spot behind the bird statue and make their way to the north of the area. They'll need to destroy the three boulders and then hit the bomb so that it destroys the rock at the top of the screen. This will cause lava to begin flowing through the entire area, so players should make their way south as quickly as possible and head back up through the hole before the lava reaches them.
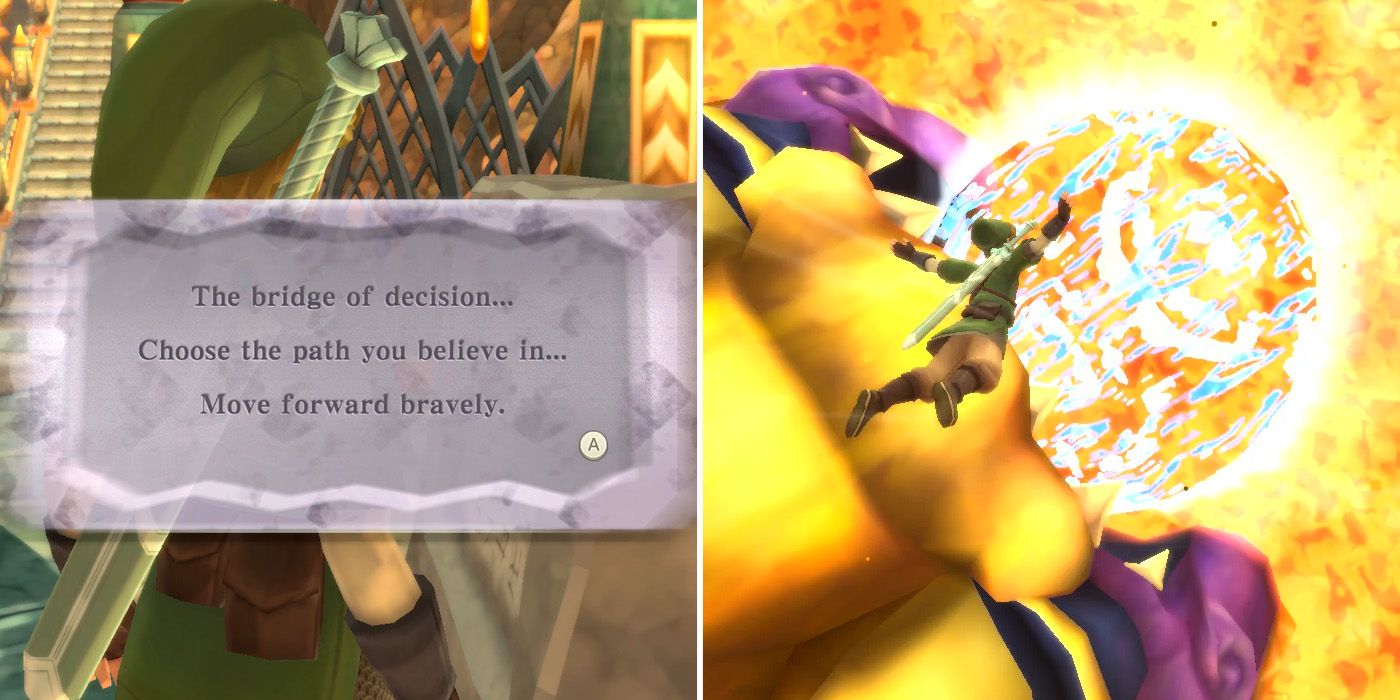
With the lava now flowing again, players can return to the outdoor area and create another platform by hitting the green plant. This time, they'll be able to ride the platform round to the left, which will take them to a bridge known as the bridge of decision. If players look down, they'll see two large statues facing each other, and, as per Guld's advice earlier on, should jump down and into the mouth of the one that's eyes are closed, which is the one to the player's left.
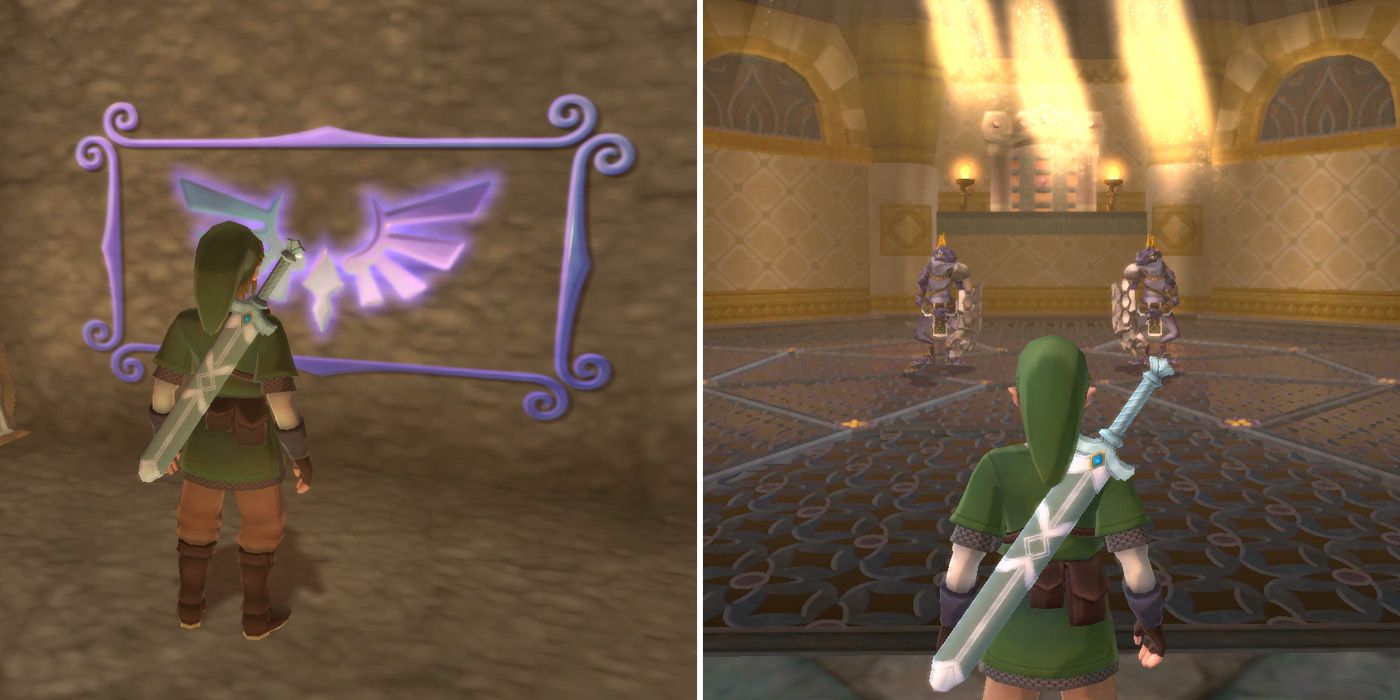
Rather than falling into the lava, a blue platform will appear and take players safely into a hidden area. There's a Goddess Wall opposite the entrance, but, assuming Link is well well stocked up on items and health, players can ignore this for now and continue on through the door up ahead. Once inside, they'll need to defeat two Dark Stalfos and can then head through the door that's up on the ledge.
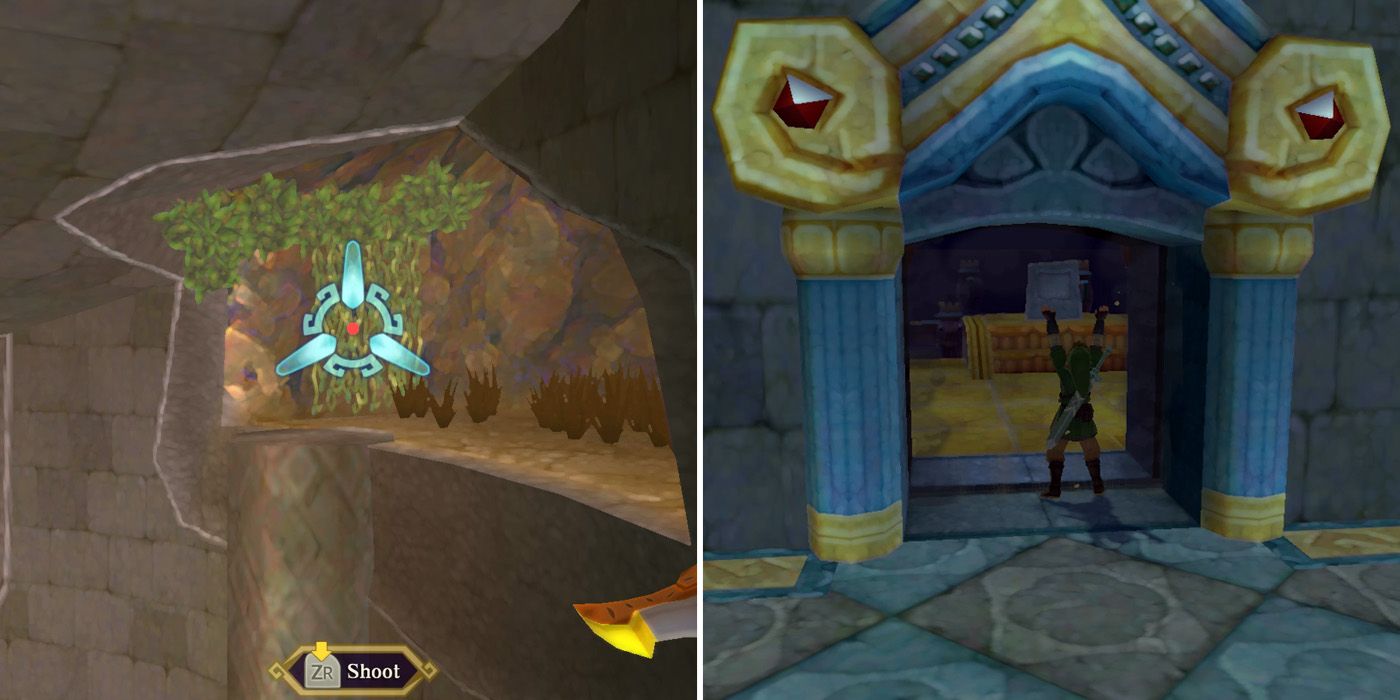
At the top of the steps, players will find another Goddess Wall spot and a large, winding stone staircase. It's worth taking the Dark Keese out here to avoid being knocked down, and players can also use their Clawshot to access a chest containing a rare crafting item by grappling onto some vines about halfway up the staircase. The main goal, however, should be heading all the way to the top of the stairs and into the next room.
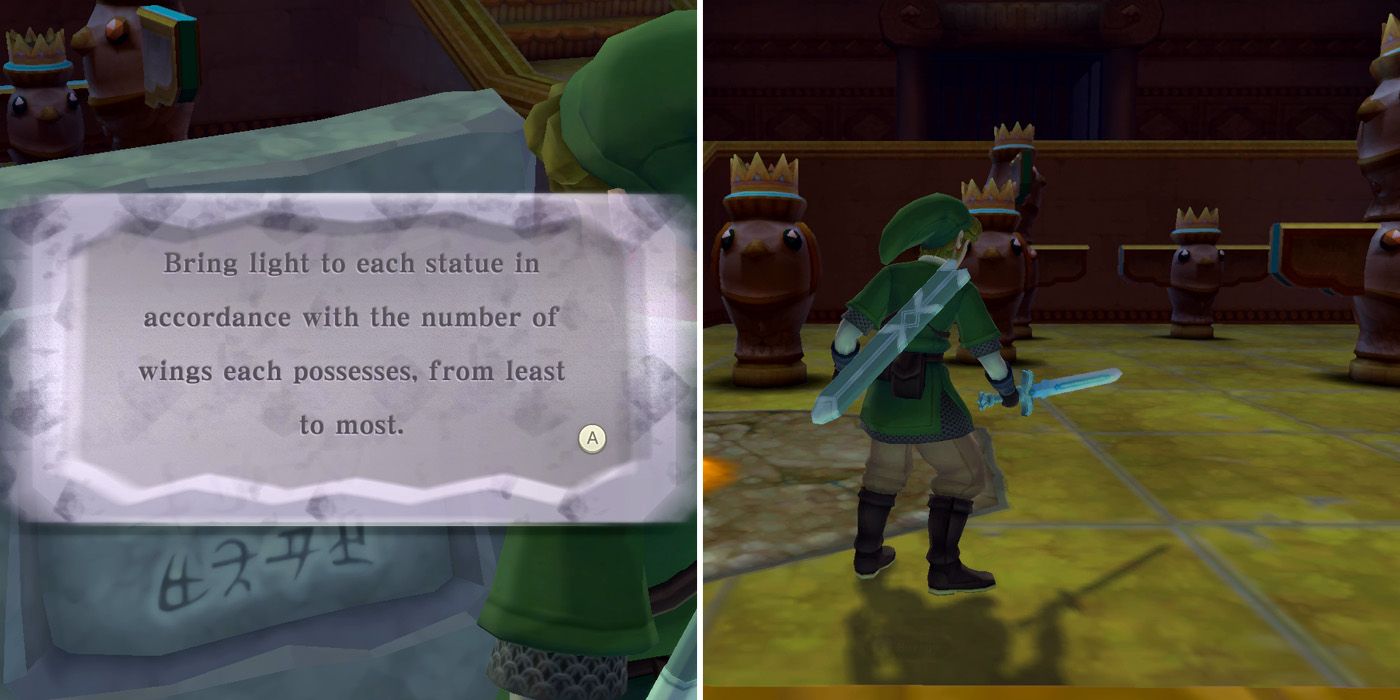
Here, players will find five statues and a stone tablet with some instructions. The statues will need to be interacted with in a specific order, which is based on how many wings each statue has. Looking at them from the position of the dig spot, this should be bottom left (no wings), middle center (one wing), top right (two wings), bottom left (three wings), and then top center (four wings).
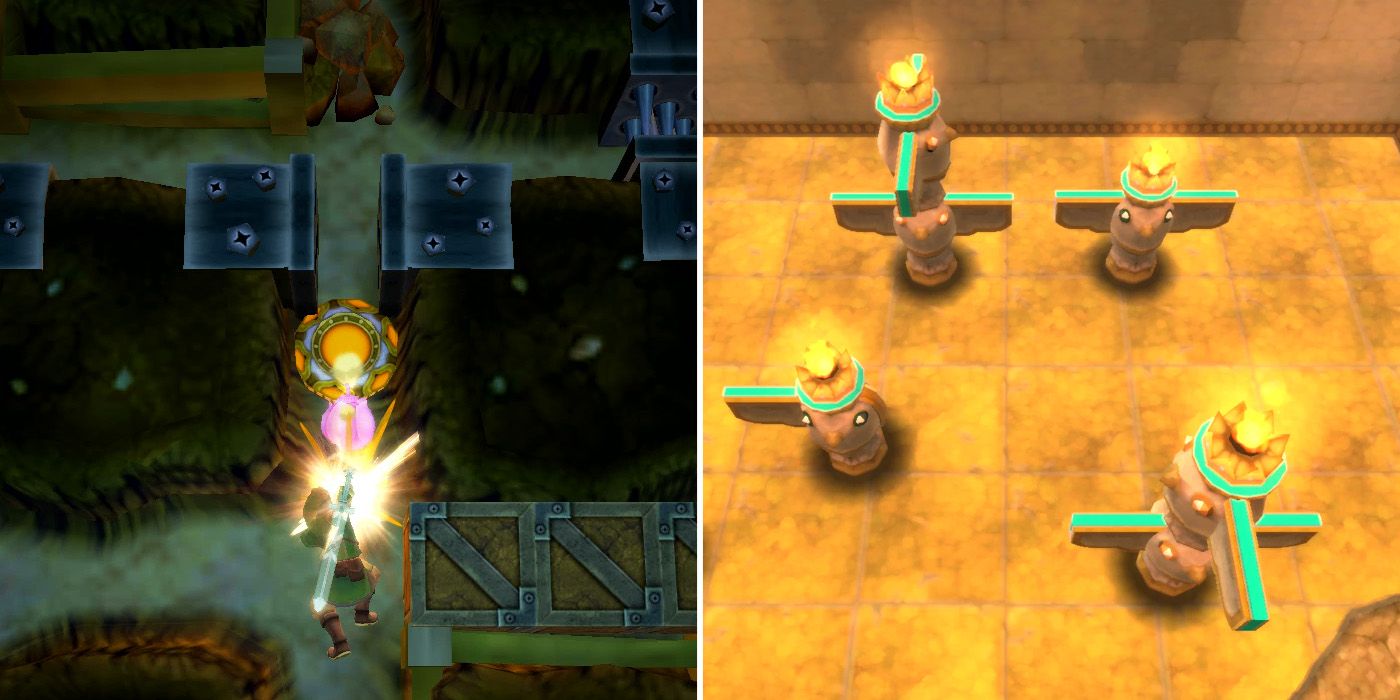
After confirming the order in their heads, players should head underground via the dig spot and then crawl past the statues in that order to light them up. If they forget, they can use the LT button to look above ground at any time, making this an incredibly simple task. They will need to use a Bomb Flower to destroy a stone at one point though, and so should be sure not to pass through the statue immediately above the Bomb Flower after doing so.
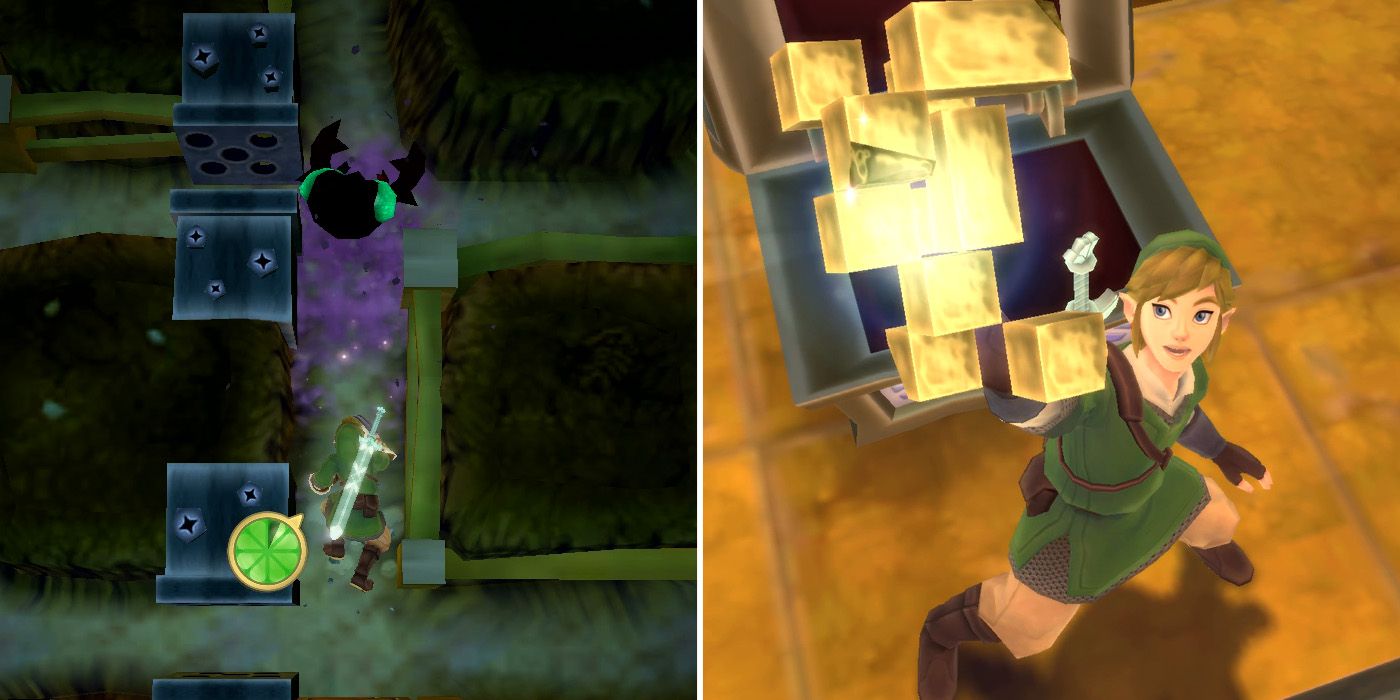
Once the statues have been illuminated in the correct order, players will be locked in and will need to kill another Moldorm by attacking the orange orb at its rear end three times. Once that's all taken care of, players can head back above ground through the hole that they originally came down and open the chest to obtain the Mysterious Crystals. Despite the on-screen message mentioning that several of the crystals are missing, there's no need to worry, as it will still be able to open the boss door in its current state.
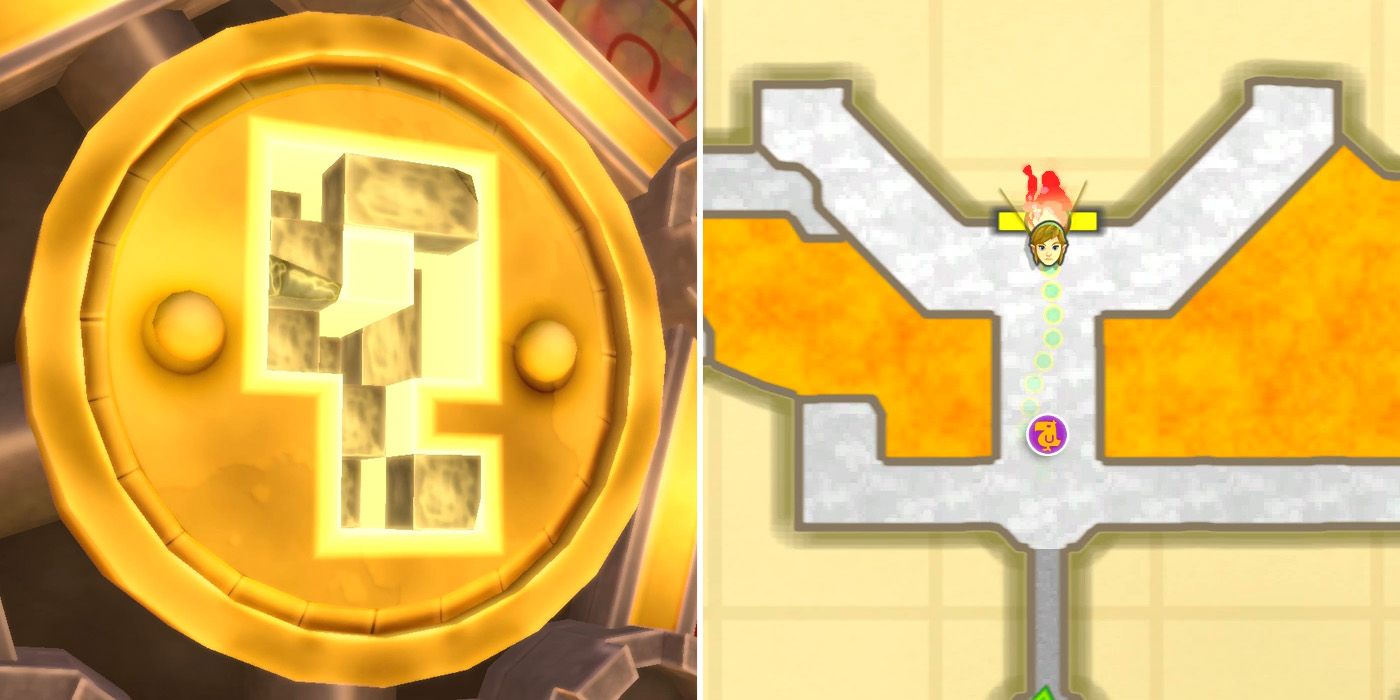
Thankfully, finding the boss door from the room with the Mysterious Crystals is relatively straightforward. Players should head through the door at the top of the stairs and then step on the special floor tile to remove the bars. From here, players just need to take the first right they come to in order to arrive at the boss door. For those who were wondering, returning to the bridge of decision and jumping to the other side just leads to Link falling into lava, so, assuming Link's health is full, players should insert the Mysterious Crystals into the boss door and then head inside.
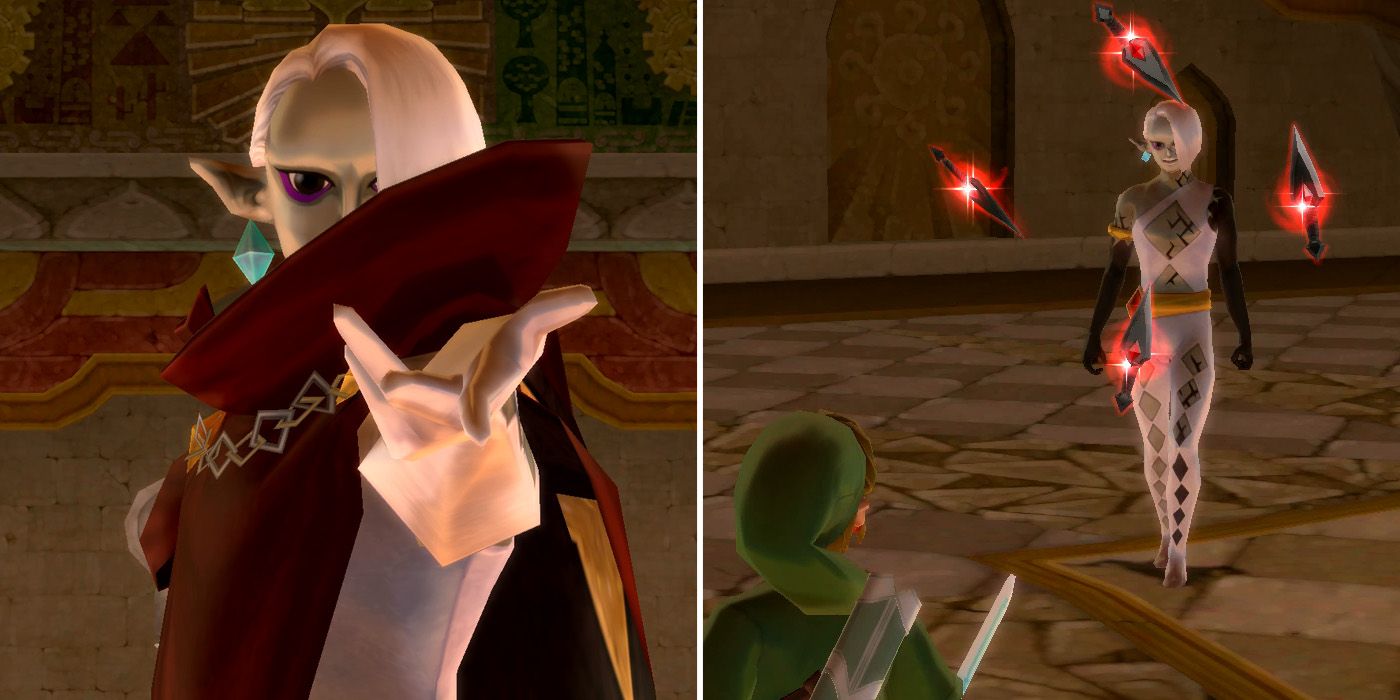
Upon entering the boss room, players will be treated to another cutscene with Ghirahim, after which, another fight with the demon lord will immediately begin. The first phase is much like the first phase of the pair's last fight, with Ghirahim grabbing Link's sword if attacked head-on. This time, however, he'll be accompanied by a swarm of the red daggers that showed up in the second phase of the original fight.
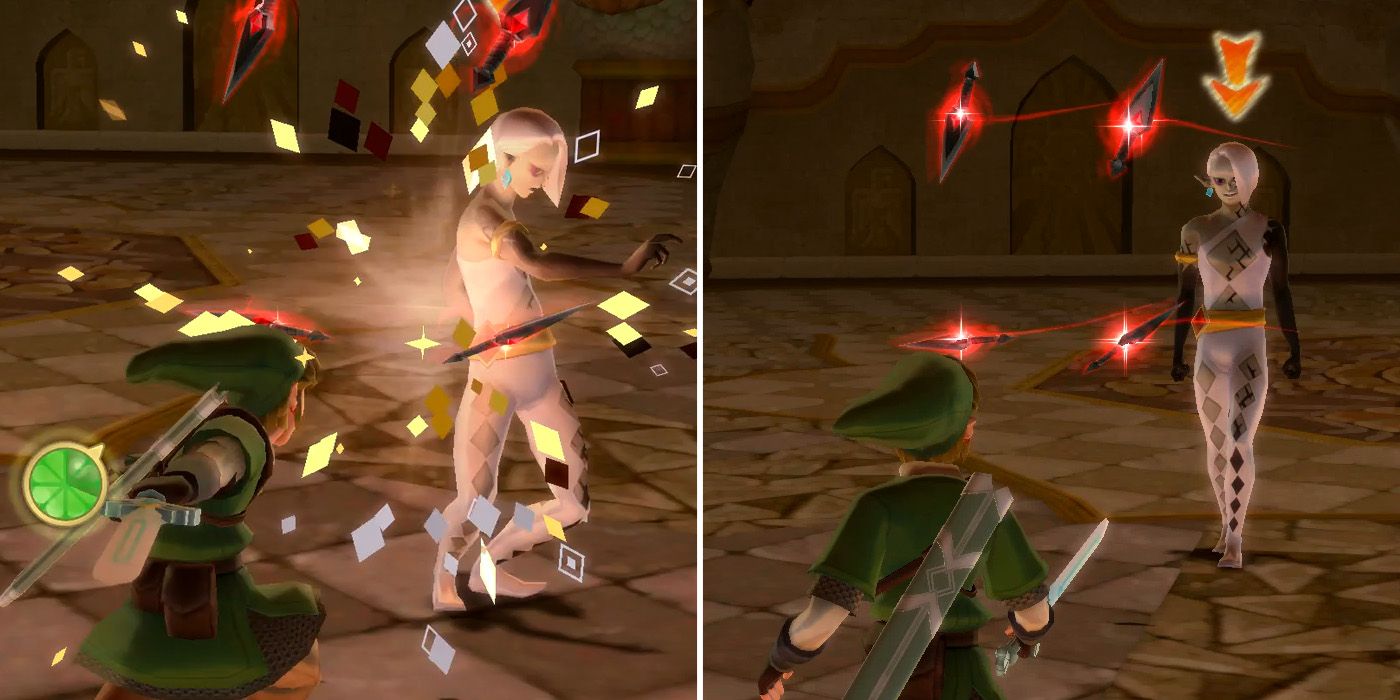
Players will need to cut through these daggers to get to Ghirahim, and he'll occasionally fling them at Link as well. While the daggers are surrounding the boss, players can usually take them all out by using either Link's spin attack or his front-flip slash. When they're traveling towards Link, players will need to observe their pattern and then swipe their sword in the appropriate direction to deflect them. Ghirahim will summon more daggers shortly after they're all gone, so players should aim to deal as much damage as possible before he does.
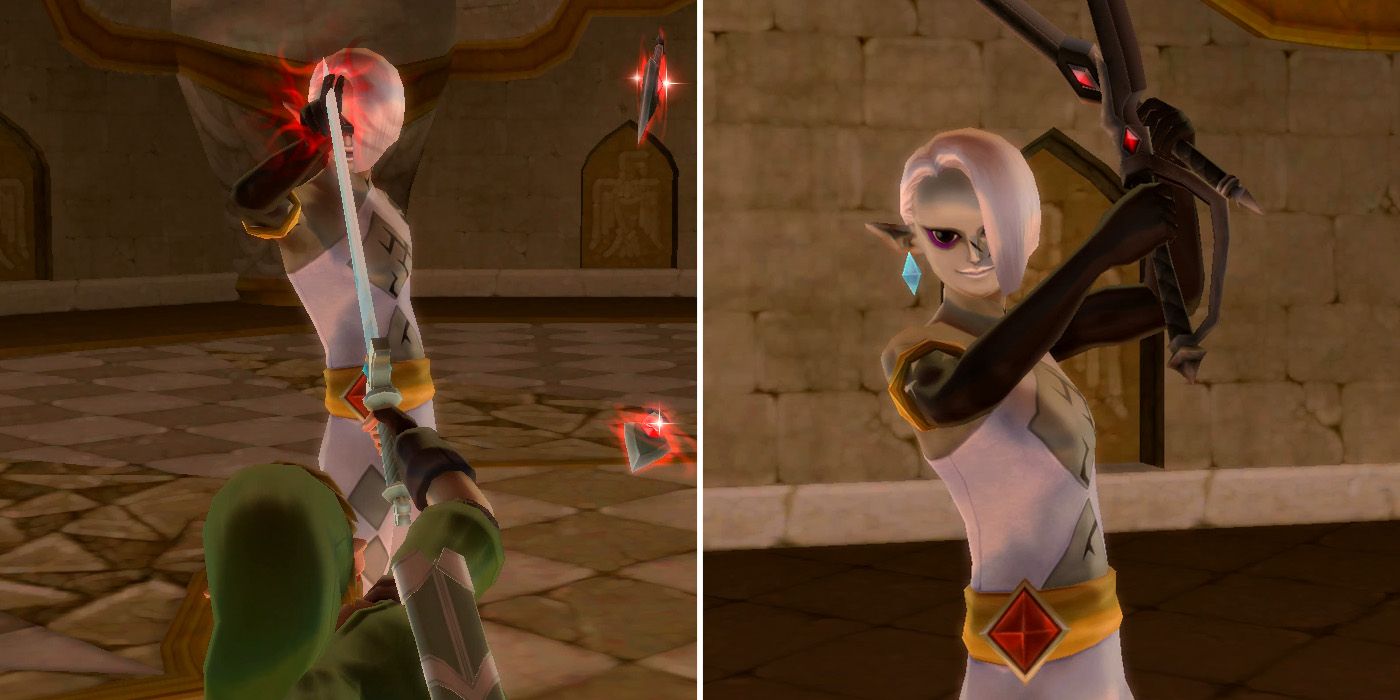
Much like the last fight, players should position their sword to one side so that Ghirahim adjusts his guard and then quickly slash at him in the opposite direction. If he does manage to grab Link's sword, they'll need to yank it straight upwards to get him to release it. After players have dealt enough damage, the demon lord will summon two swords and the second phase of the battle will begin.
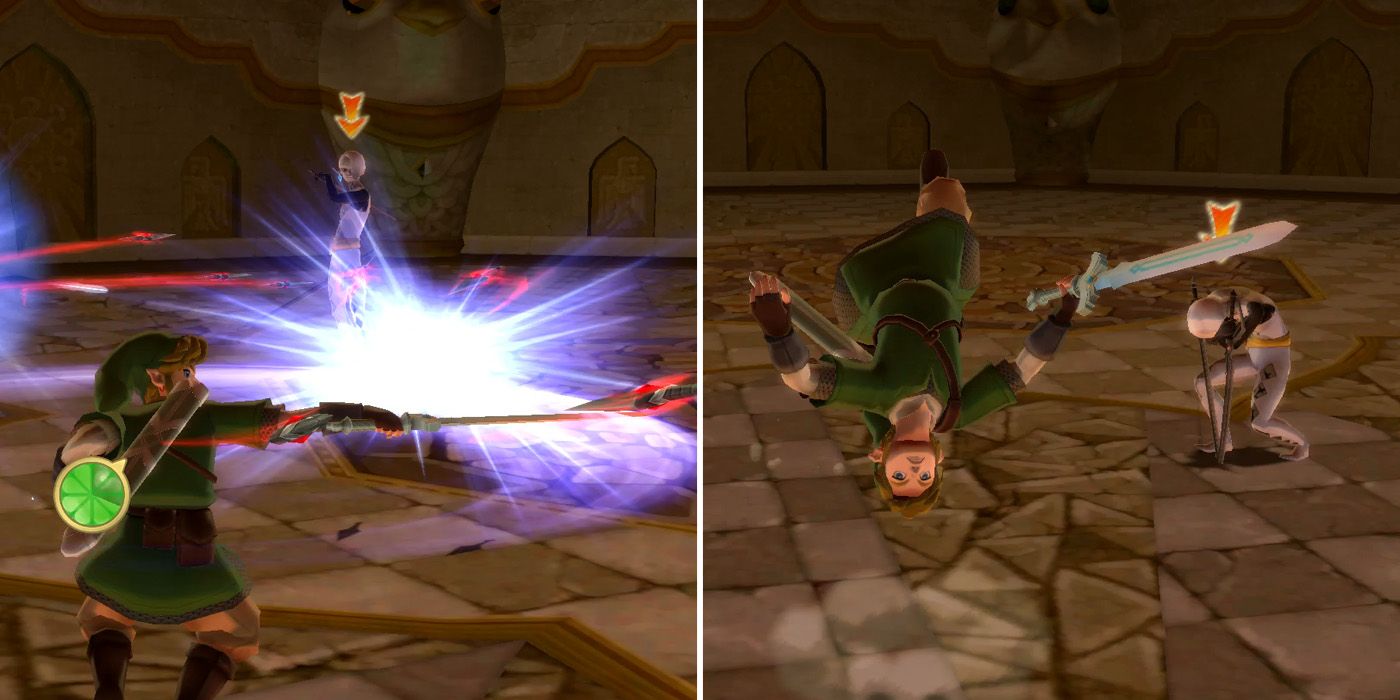
The second phase is much like the first, only this time, Ghirahim will be far more aggressive and will be able to summon a lot more daggers. The teleport attack from the first fight returns too and he also has a new attack where he leaps into the air and then deals a devastating attack on his way down. To counter the latter, players should start jumping backward or to the sides with the A button as soon as he goes up into the air and keep doing so until he lands.
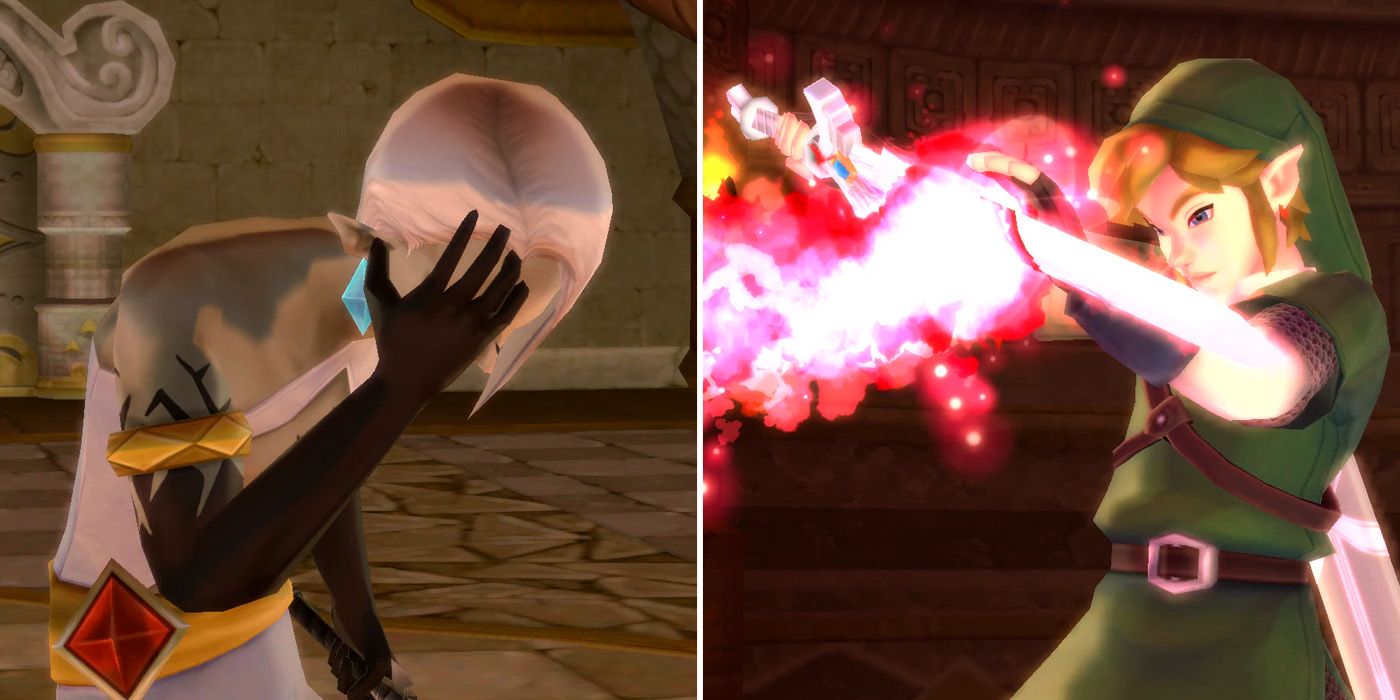
As in the previous battle, the best time to damage Ghirahim is immediately after dodging one of his attacks, with players usually able to get in four or five slashes each time if they're quick enough and are mindful of his guard. Assuming they are, the battle should be over relatively quickly, and players can collect their heart container, strike the crest with a Skyward Strike and watch on as the final piece of the triforce appears on the back of Link's hand and his sword is imbued with the red flames of Din. This transforms the blade into the iconic Master Sword, which can be used to awaken the Gate of Time at the Sealed Temple.
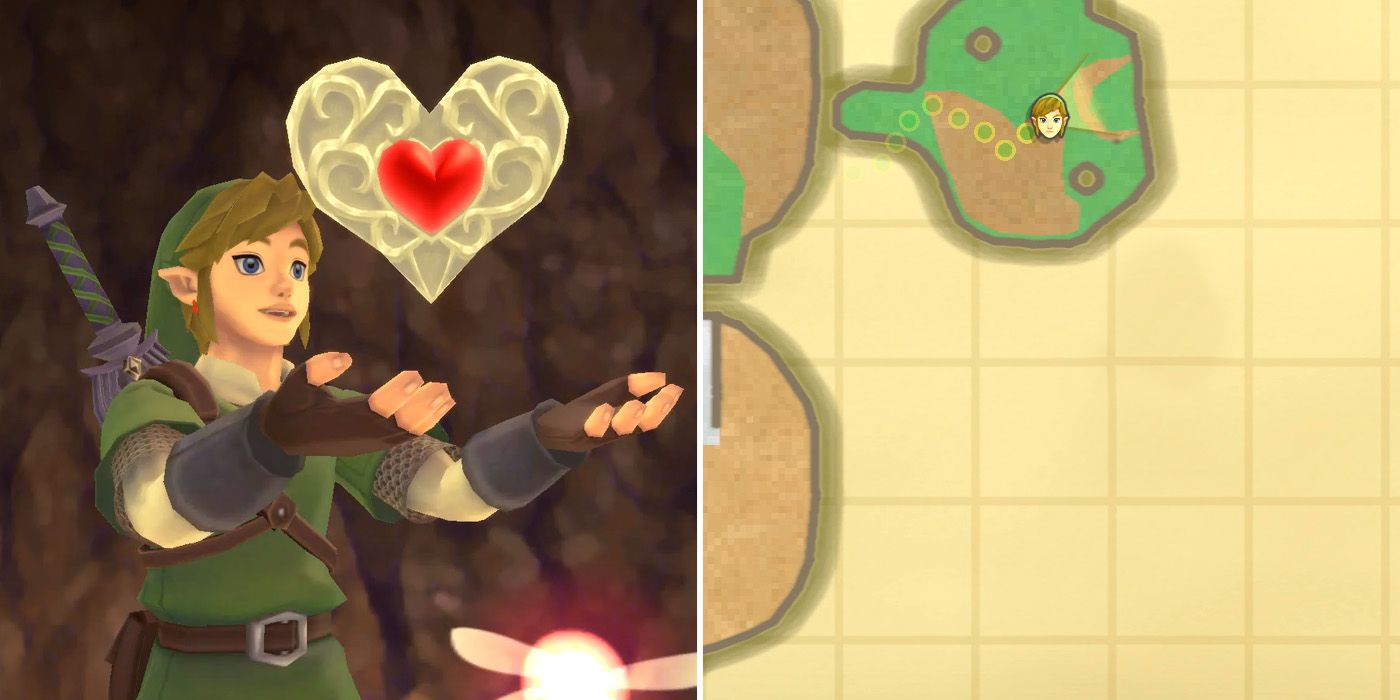
Once the cutscene is over, Fi will recommend that players make their way straight to the Sealed Grounds, although players may want to take a quick detour before returning to the sky. They'll find themselves back at the dungeon's entrance and, from there, can head up the stairs in front of them to find a dig spot on the left-hand side of the first room that they come to. This will take them to an underground section, which in turn leads to a secret room containing some fairies and another piece of heart. After collecting it, it's finally time to return to the sky.
NEXT: The Legend of Zelda: Skyward Sword HD Complete Guide For Dungeons, Items & Collectibles

