

Genshin Impact has just recently been updated with its new 2.0 content. This update has added a new area, quests, and even new Genshin characters from Inazuma to collect. One quest players can get is to complete the Sacred Sakura Cleansing Ritual.
In order to get the quest, players will first have to unlock the Inazuma area. Players need to first be Adventure Rank 30 and have completed Autumn Winds, Scarlet Leaves, the prologue to Chapter 2 of the Archon Quests, as well. After that, players just need to speak with Katheryne in Liyue Harbor Adventurer's Guild. This will start the Setting Sail quest which leads players to a boat that will carry them to the Inazuma Islands area.
RELATED: Genshin Impact: How to Observe the Mikage Furnace
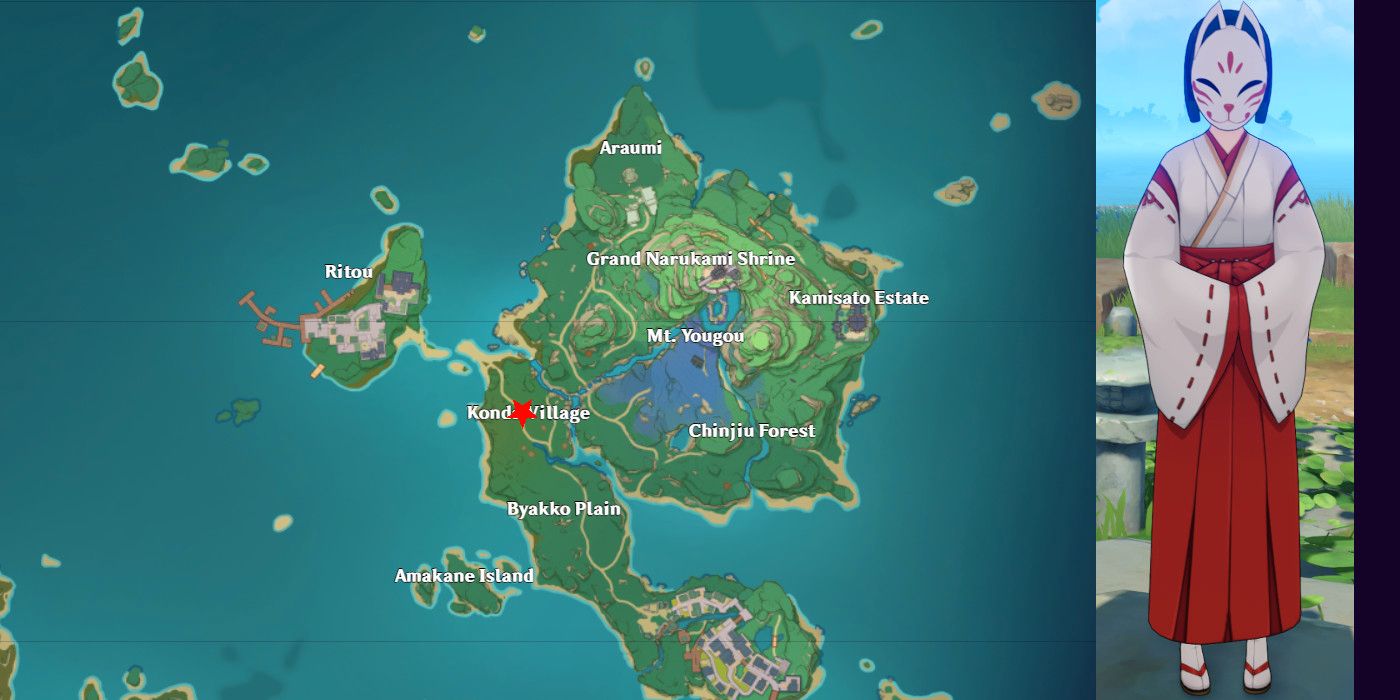
Once in Inazuma, players will need to speak to Kazari, an NPC that lives in Konda Village. She will start players on the five-part quest to get cleansing in one of the best mobile games of 2020.
The ritual will require that Genshin Impact players complete five total quests in order. These quests will drag players all over the islands, forcing them to explore and uncover the story bit by bit. These quests are:
- A Strange Story in Konda
- Sacrificial Offering
- Cleansing Defilement
- Hayashi of Tanuki in the Forest
- Yougou Cleansing
- Speak to Kazari, the masked Shrine Maiden, who will give players the Quest.
- Use an Electro Spell on the Sky Kitsune Statue and get the Ward.
- Head to Konda Village and ask the locals and the Village Chief for information.
- Look for Clues 1/3 - Obtain Purse By the Dried-Up Well
- Look for Clues 2/3 - Obtain Cargo Bag Fished Out From Water
- Look for Clues 3/3 - Obtain Ragged List of Goods
- Talk to the Village Chief again and read their diary on the rooftop.
- Follow the diary's instructions and find the key to the well.
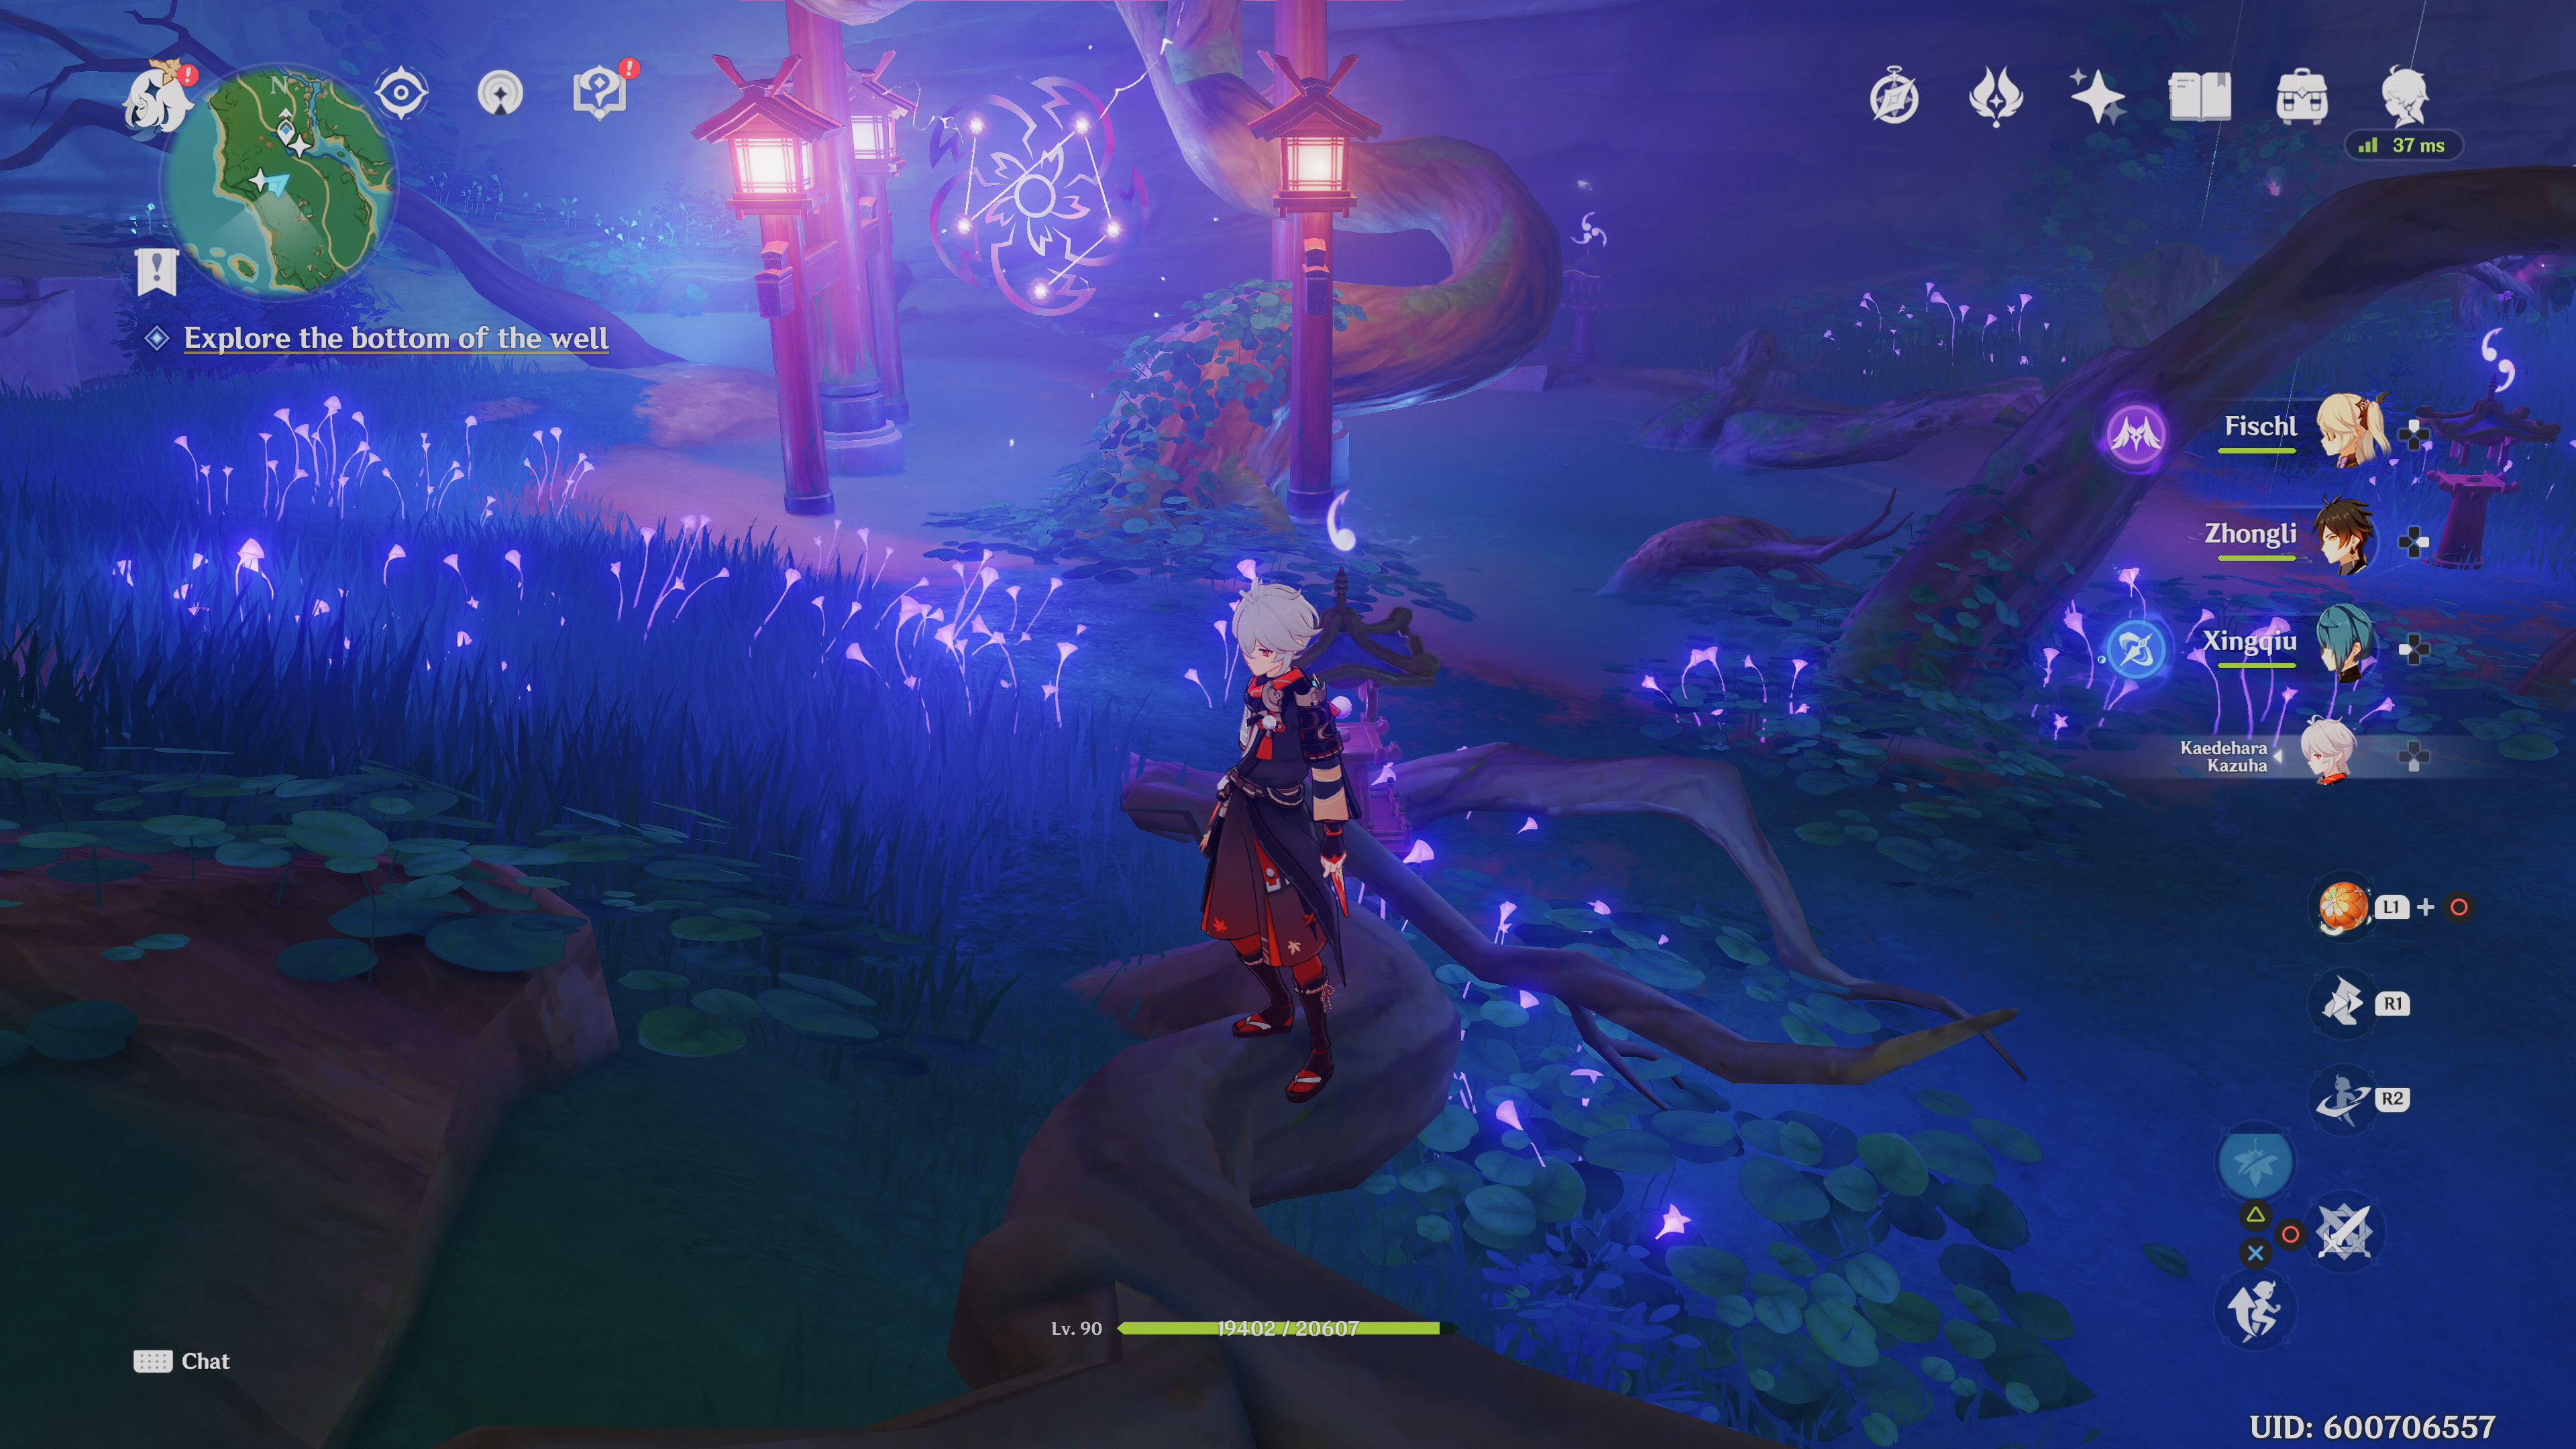
- Interact with the well after finding the key and climb down into it.
- There is an Exquisite Chest at the bottom of the well and a breakable wall. Break the wall, and then use a Genshin Impact Electro power to get through the purple barrier.
- Find the shrines and the constellation decoration on the wall past the barrier.
- Use the Ward to set the shrines in the order they appear on the constellation from bottom to top. Once players have set the shrines in order from 1-5, pray at the initial shrine one final time to trigger a mini-boss fight.
- Raid all the rooms under the well for treasures.
RELATED: Genshin Impact: How to Get Aloy
- The next step will take players to the northeastern part of Konda Village where there is an abandoned shrine.
- Investigate the shrine, the Kitsune Statue, then the shrine again.
- After investigating everything, some mysterious shadows will appear, and players need to go talk to them.
- Follow the mysterious shadows as they move, talking to them each time.
- Obtain the Sacred Sakura Cleansing Summary.
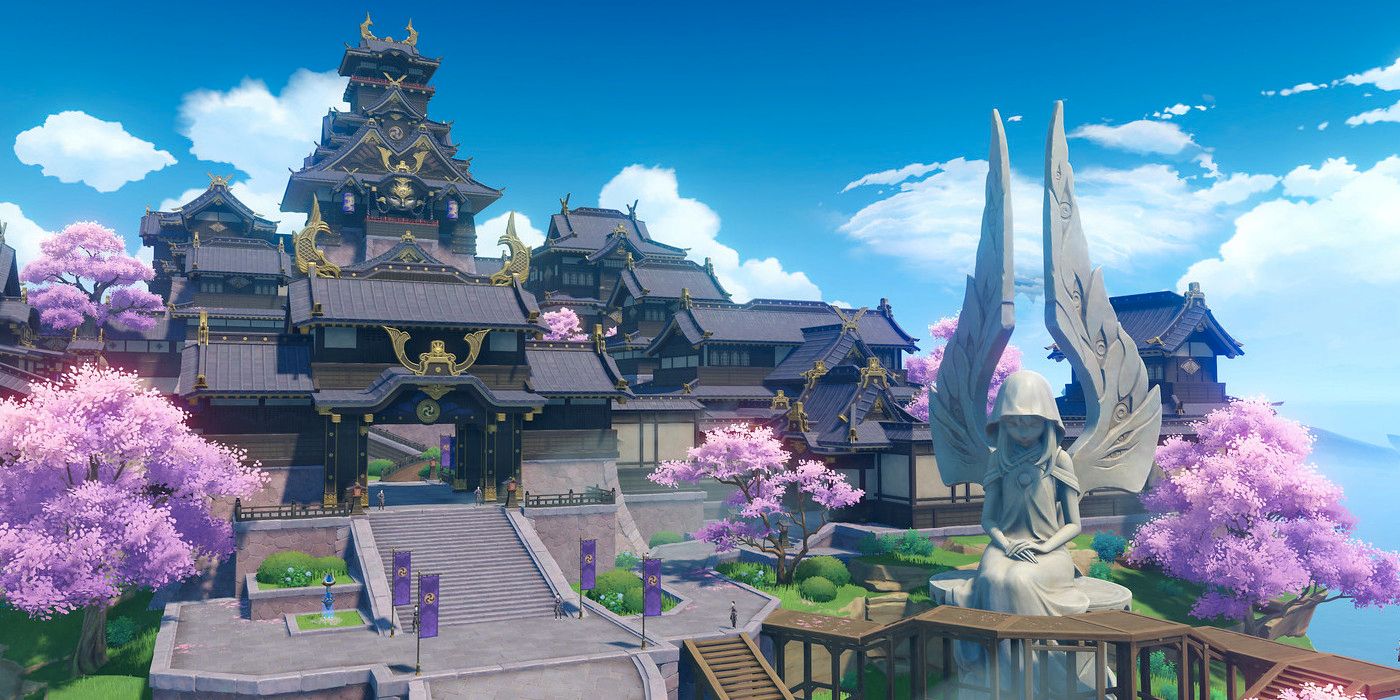
- Go to the Grand Narukami Shrine to get the Memento Lens.
- Go back to the abandoned Shrine and use the Memento Lens on the Earth Kitsune Statue three times to reveal the Seal lines.
- Recite the sacred words by interacting with the Sky Kitsune Statue and get the Ward.
- Head back to the Grand Narukami Shrine and find the Sacrificial Offering Quest barrier in Genshin Impact, and then destroy it. Players will need the Rust-Worn Key item from under the well in the last part of the quest to complete this part.
- Return to Kazari, the Shrine Maiden that gave the first quest.
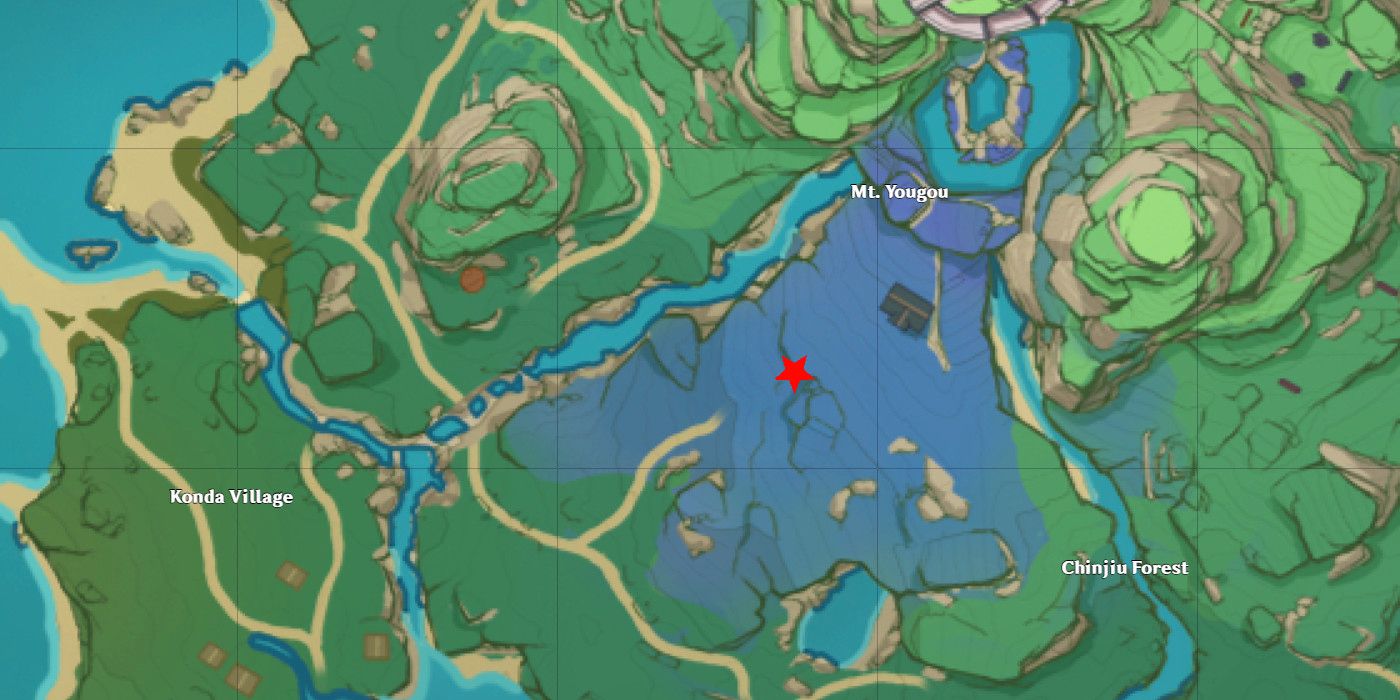
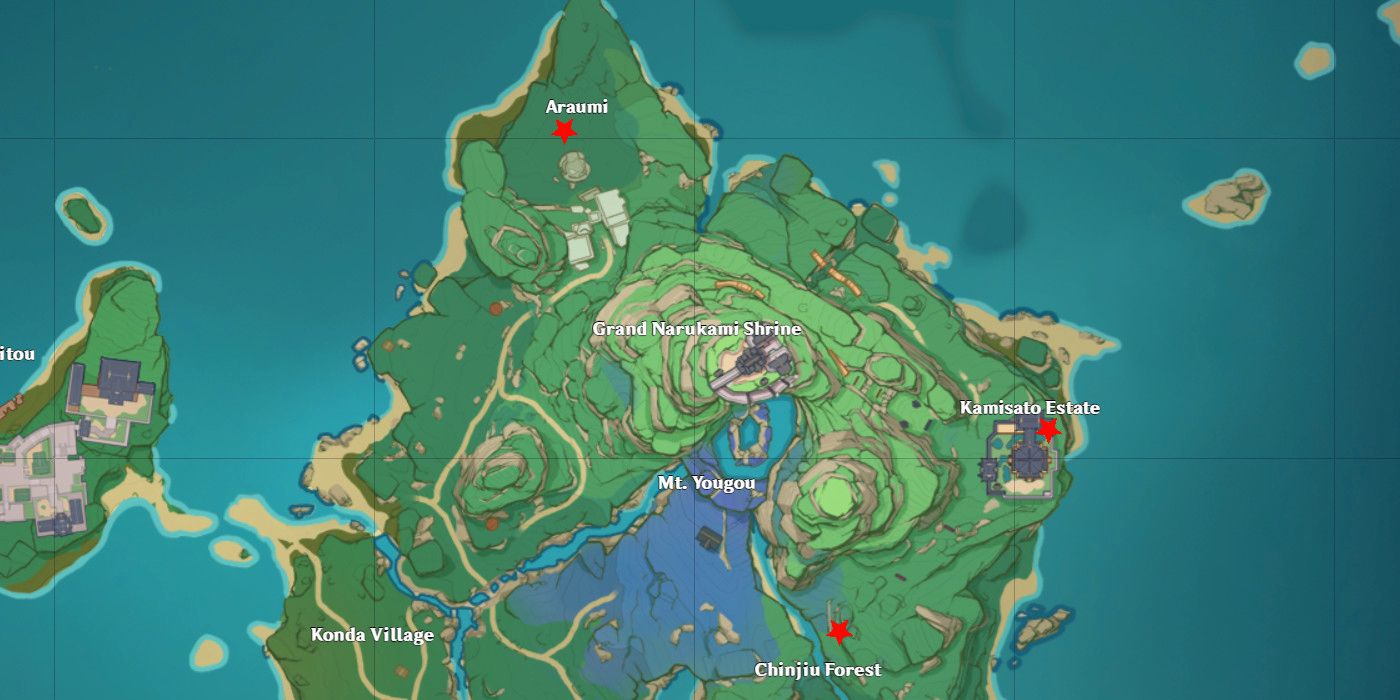
Players need to complete the Cleansing Rituals at three locations, and this will complete both the Cleansing Defilement and Hayashi of Tanuki in the Forest parts of this quest chain. The three shrines are located in Chinju Forest, Araumi, and Kamisato Estate. Players can complete these three Rituals in whatever order they choose.
- Located in Chinju Forest.
- Follow the path up the mountain and look for the big Tanuki Statue.
- Kill Enemies in the area, then talk to the Statue.
- Players then get a quest to play with the three tanukis.
- Play with the 3 Tanukis 1/3 - On the path with the gates, light the torch that is unlit.
- Play with the 3 Tanukis 2/3 - Look for a barrel surrounded by hilichurls.
- Play with the 3 Tanukis 3/3 - Along the forest path, the Tanuki will be sitting in the center of the path. Follow it until it leads to three unlit torches. Light the center torch.
- Go back to the big Tanuki, and it will reward the player with a Ward.
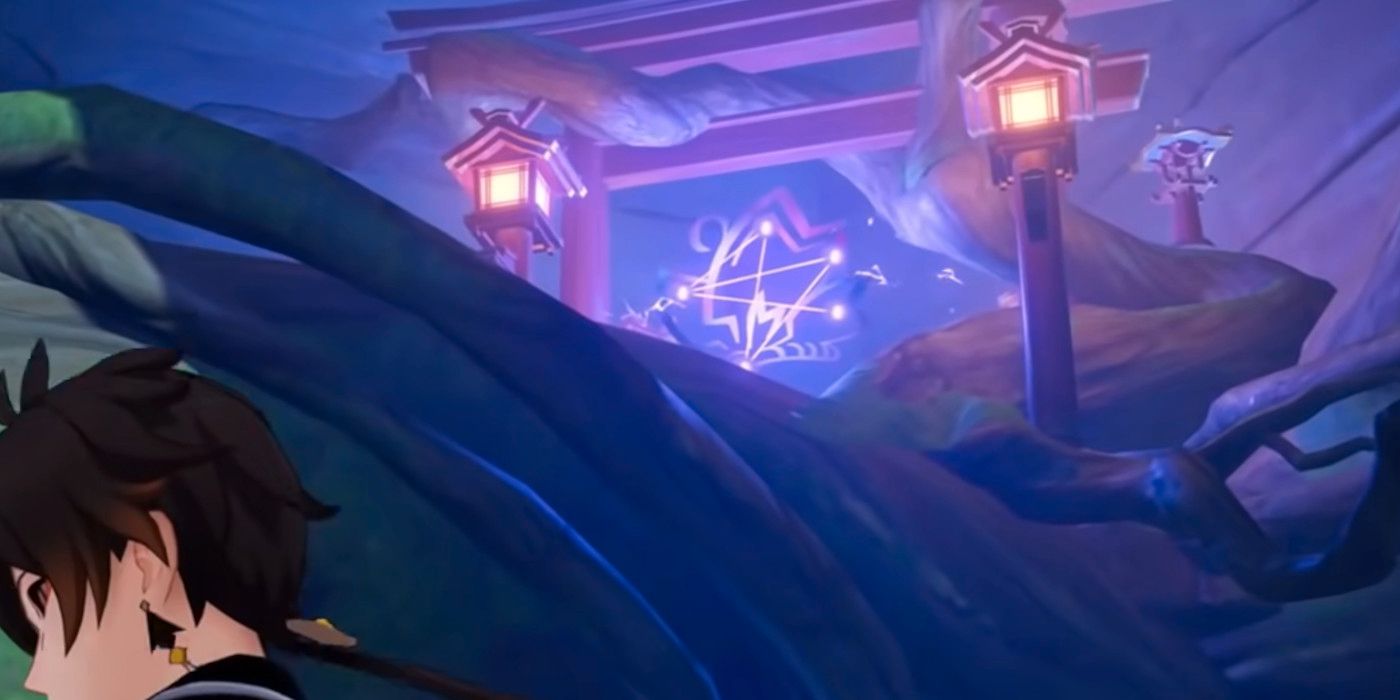
- Head to the designated area to reveal a Torii gate.
- Set the shrines with the Ward in the correct order
- Kill the Ochimusha.
- The site will then be cleansed.
- Look for the large pink Sakura tree north of the Kamisato Estate.
- Use the Memento Lens from the Sacrificial Offering Quest on the small Kitsune Statue there.
- Head further north towards the wrecked ship.
- Look for another small kitsune statue there in the middle of a small island.
- Use the Memento Lens again this statue. Another magic Torii Gate will open.
- Solve the puzzle. Beware of the Balethunder effect.
- Kill the Ochimusha.
- The site will then be cleansed.
- There are four Electro pillars in this area.
- Hit all four with an Electro power in order to activate them.
- The mechanism should activate, giving players access to the destroyed tower.
- Look for the three statues in the tower; use the Memento Lens on all of them.
- This will open a cavern; enter the cave.
- Again use the Memento Lens. Near the entrance of the cave, there will be an Electrogranum.
- Pick up the Electrogranum, and then run through the Electro barrier.
- Find the Kitsune statue on the other side.
- Use an Electro skill on it to unlock the Ward.
- Backtrack to the Torii Gate.
- Use the Ward on the Shrines there to activate the puzzle.
- Two of the shrines needed are disguised and can only be viewed properly through the Memento Lens.
- Activate the shrines in the correct order like the last puzzles.
- Kill the Ochimusha.
- The site will then be cleansed.
The last part of this quest chain has players returning once again to Kazari.
- Now that all the shrines have been cleansed, the barrier is now gone.
- Head through where the barrier was.
- There will be an enemy on the other side called a Miasmic Tumor, which will hurt players just for being in the area.
- Use the Electrograna to help mitigate damage.
- Defeat the Oshimusha.
- Solve the shrine puzzle, just like the previous puzzles.
- The Tumor will fall; attack it.
- Defeat the Miasmic Tumor,
- Return to Kazari.
If players are still confused about how to solve the constellation puzzles, here's a quick primer to make it a little easier.
- After activating the shrine with a Ward, a constellation will appear.
- Look at the constellation; it is a map of the nearby shrines. The top-most dot will be the first shrine.
- Players can interact with the shrines in order to change their order.
- A symbol will appear over the shrine, and that symbol will have 1, 2, 3, or 4 petals. The first shrine needs the symbol with one petal, the second shrine the symbol with two petals, etc.
- Once all the shrines have the correct symbol over them, head back to the first shrine and interact with it.
- A boss will then appear.
Genshin Impact is available on mobile, PC, PS4, and PS5.