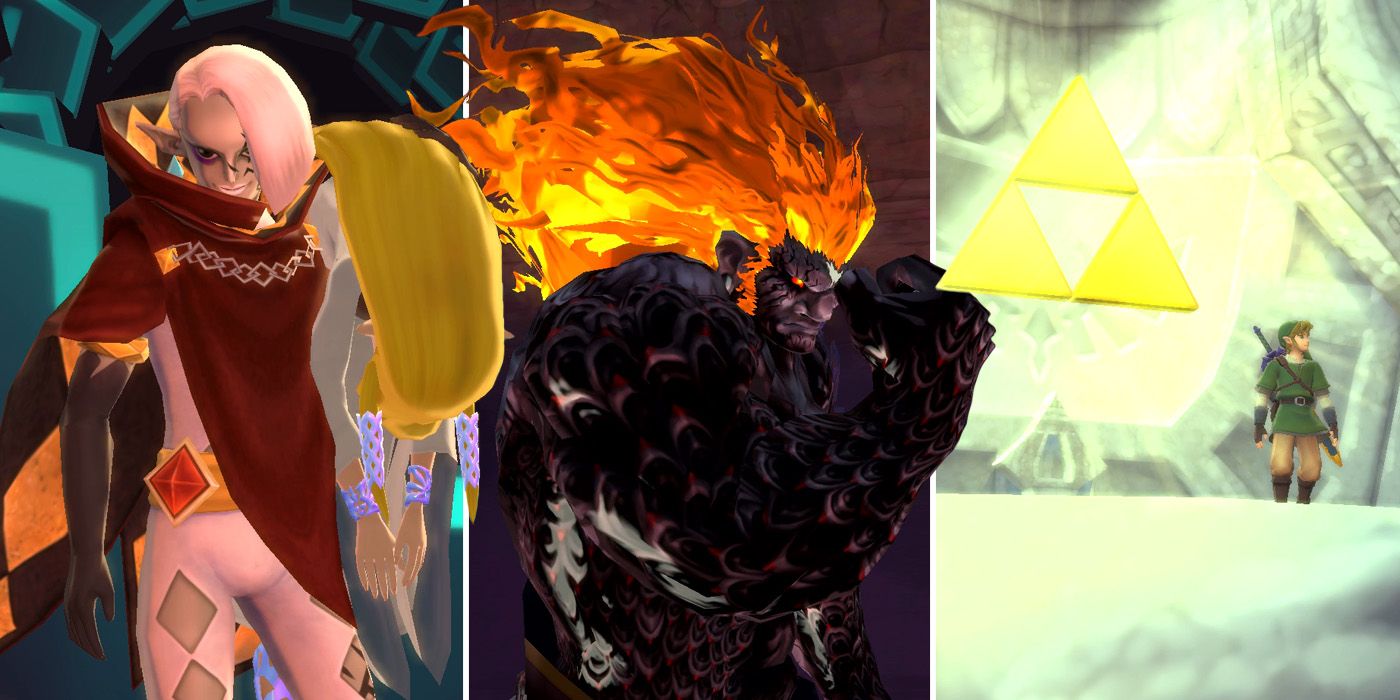
Sky Keep is the final dungeon in The Legend of Zelda: Skyward Sword HD and can be found hidden beneath the statue of the Goddess on Skyloft once players have obtained the Stone of Trials from the island's Silent Realm. It's one of the shortest dungeons in the game if players know what they're doing, although its puzzles can be a little tricky to figure out for those who don't.
RELATED: The Legend of Zelda: Skyward Sword HD: Where To Find All 24 Pieces Of Heart
Unlike the other six dungeons in the game, Sky Keep doesn't have a final boss as such, with players instead tasked with searching for the three pieces of the Triforce. None of this is to say that things are going to be easy though, nor should it be assumed that players' combat skills won't be thoroughly tested. The dungeon also leads straight into two big boss battles, both of which will require expert swordsmanship if players are to emerge from them unscathed and complete the game.
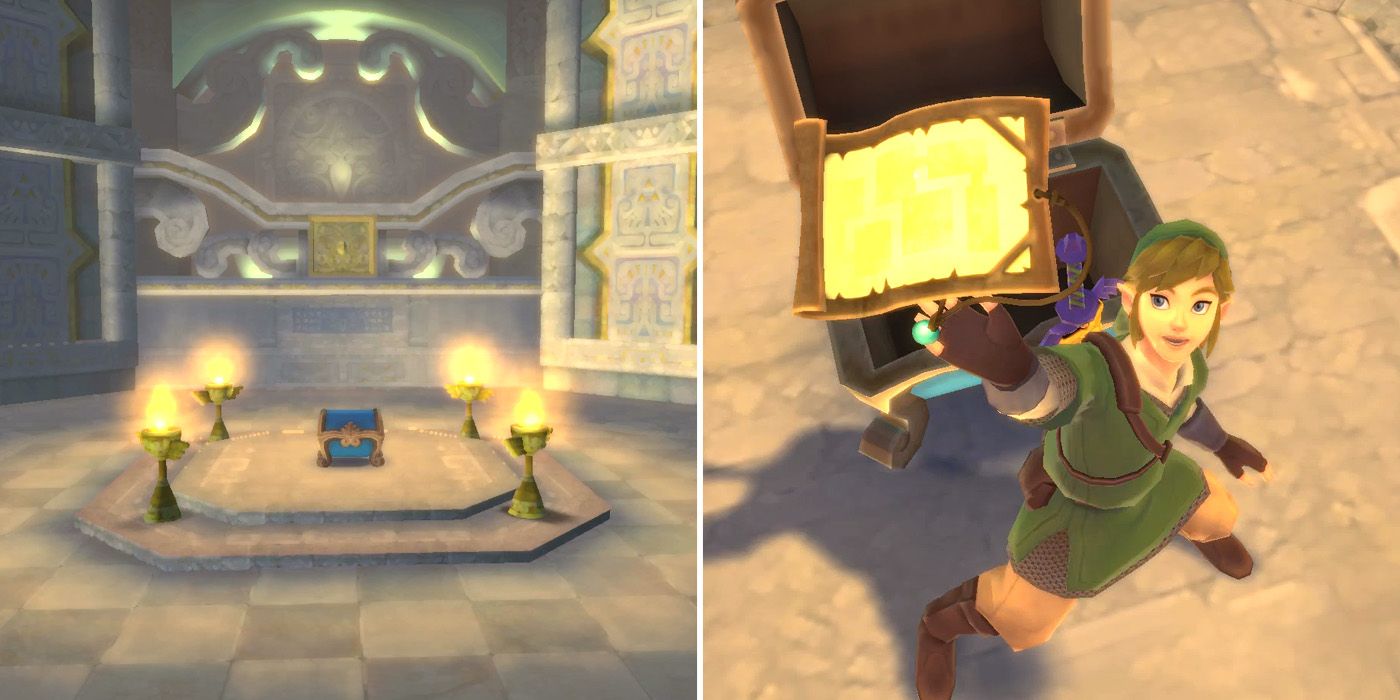
In previous dungeons, players were made to wait quite a while before being able to get their hands on a map. In Sky Keep, however, they'll find the Dungeon Map in a chest in the dungeon's very first room. This isn't the only thing that sets Sky Keep apart either, with players also able to completely change the dungeon's layout with the use of special stone altars that are found in a few of the rooms. After collecting the map, players should make their way to the first of these altars and set about deciding their route.
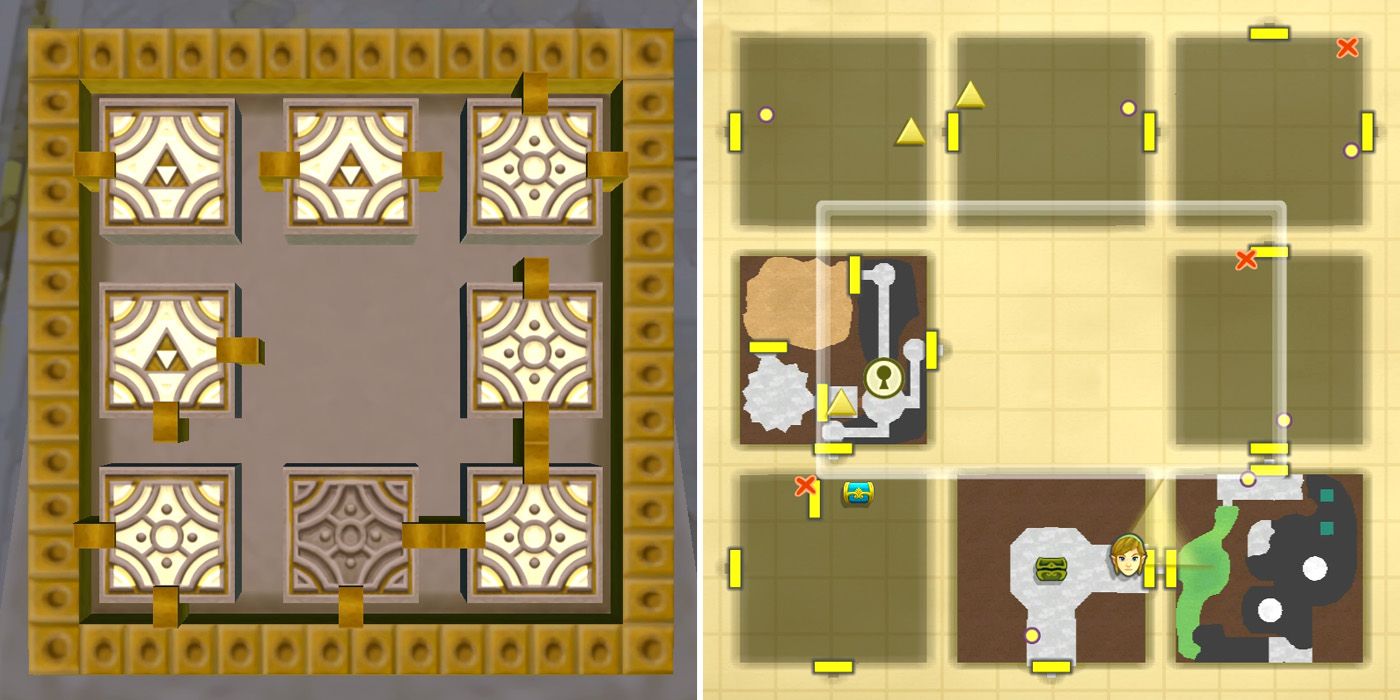
Though it's possible to access the room with the Triforce of Courage (the square with the green Triforce piece on the altar) straight away, players won't be able to get to it without a small key. As such, they should instead move the tile with exits on the north and west sides to the bottom right-hand corner of the altar and the one with exits to the north and south to the slot above it.
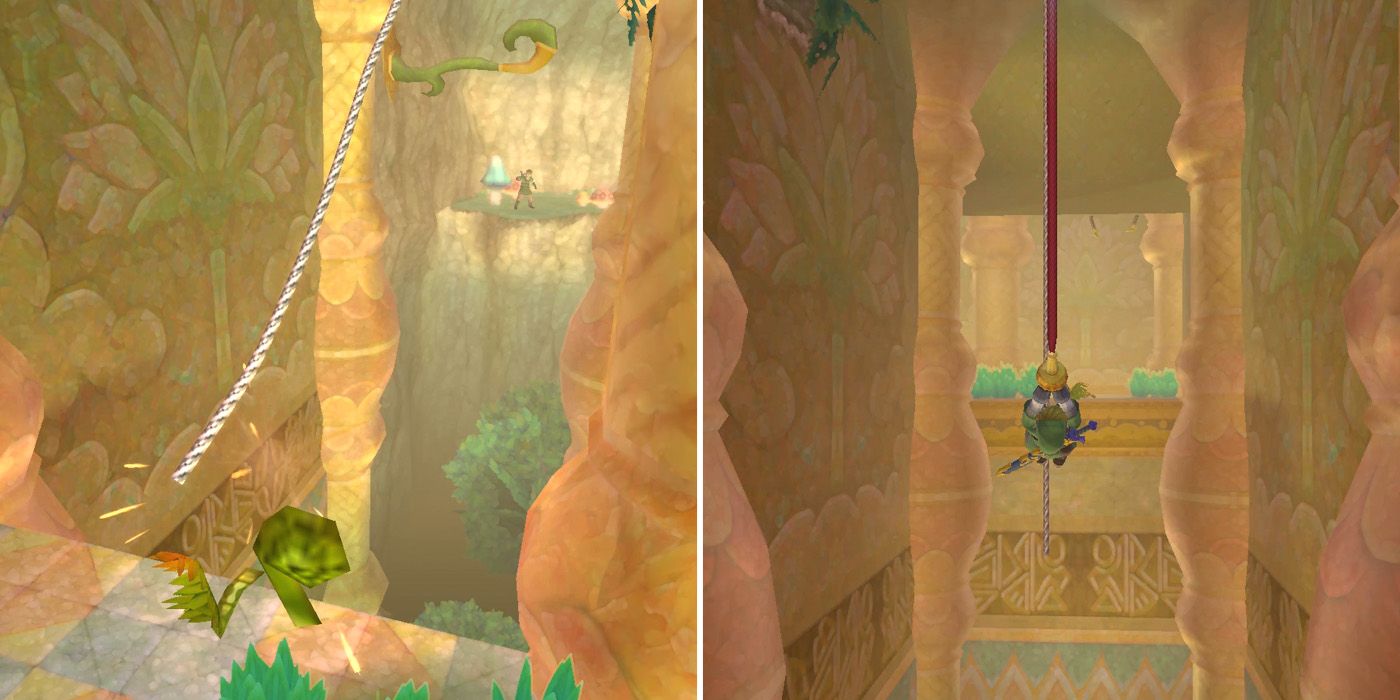
With these changes made, players should head into the first room and follow the path around to their right. After killing some Deku Babas, they'll come to a large gap and see a branch that can be grabbed onto with the whip to their right. Before doing so, however, players will first need to send the Beetle over to the other side of the gap and crash it into the vine that's tied to the opposite ledge so that it swings freely. This will allow them to swing from their whip onto the vine and safely reach the other side.
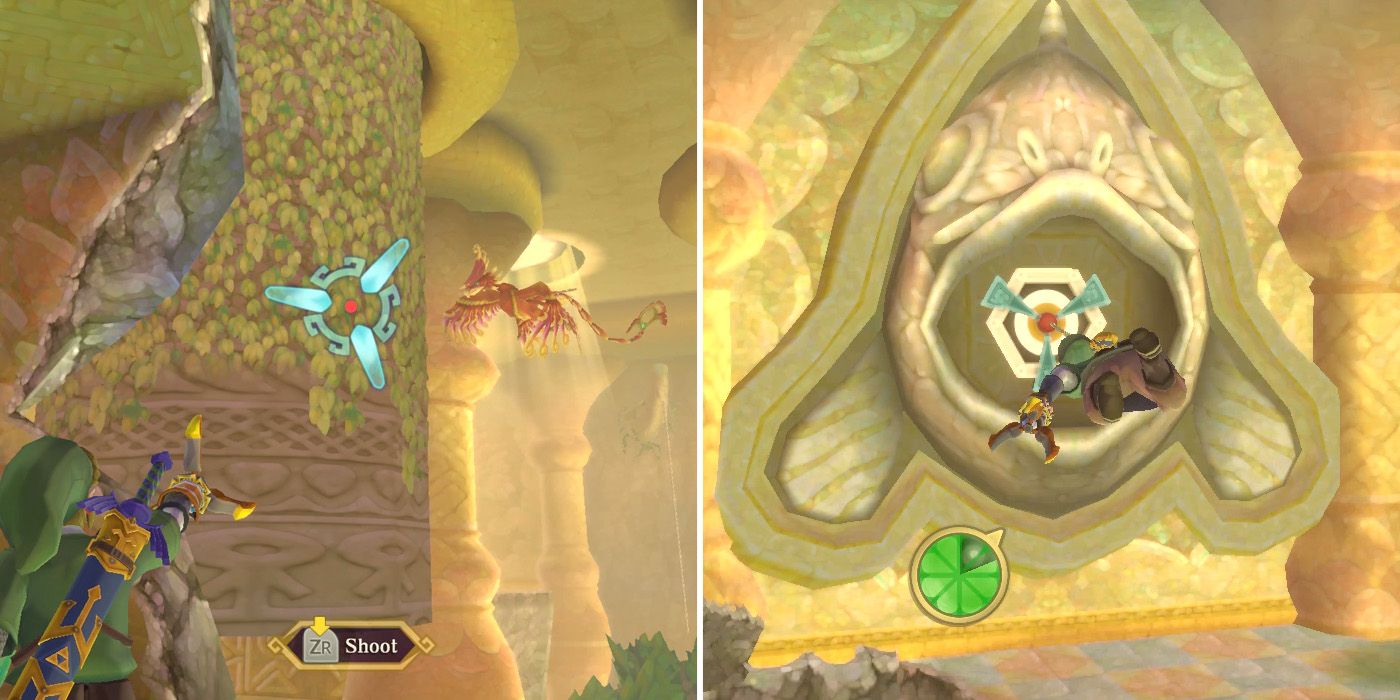
After dealing with the Skulltula that drops down on the other side of the doorway, players will need to use the Clawshot to grapple onto the vines on the rotating stone pillar to their left and then grapple onto the next pillar. From here, they'll be within range of the Clawshot target on the wall on the left and should grapple their way over there as quickly as possible. It should be possible to do all this without attracting the attention of the Furnix that's flying around, but if not, players can use the whip and their sword to deal with it first.
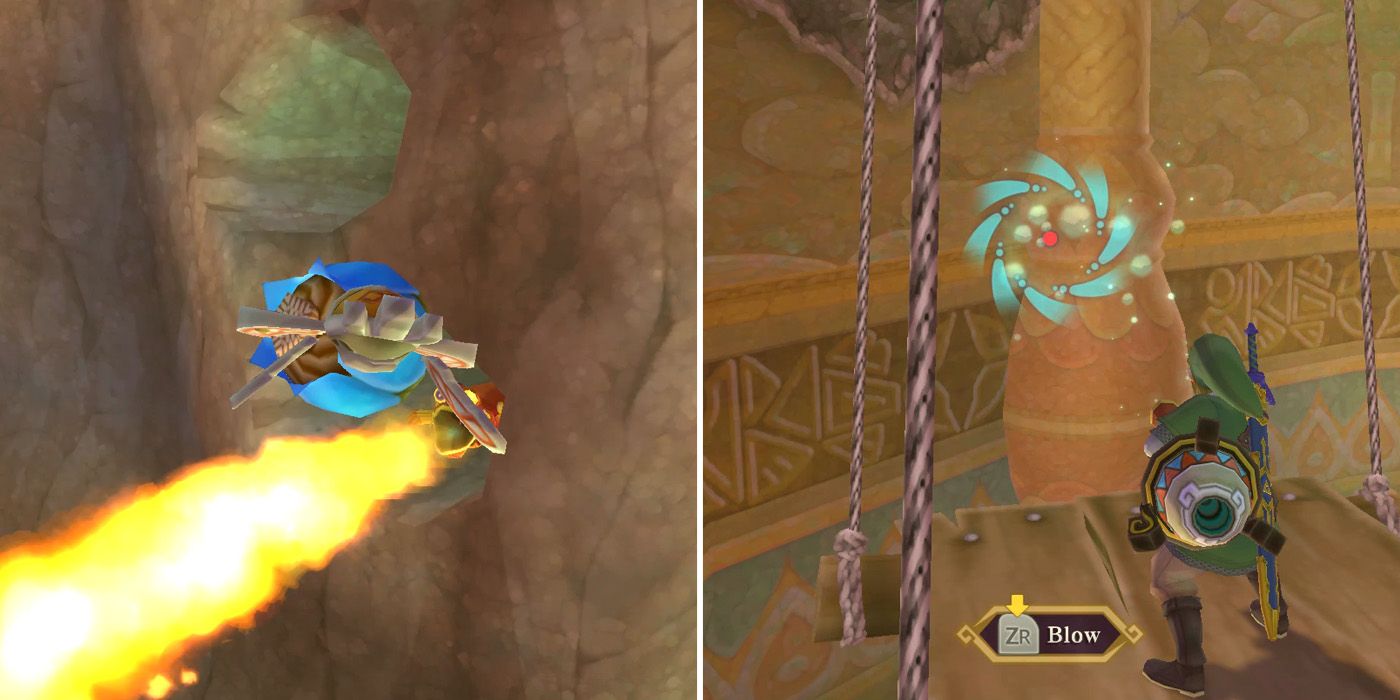
Before players can go any further, they'll need to use the Beetle again to clear out the fire-breathing Pyrups that are blocking their path. They can do this by grabbing bombs from the second stone column and crashing them into the holes that the wall that the Pyrups are hiding in. Once they're out of the picture, players can use the vine to swing over to the first of two swinging platforms and then use the Gust Bellows to move the platforms in order to reach the room's exit. Before leaving though, players should make sure to pull the lever on the wall, as they'll be coming back through this way again later.
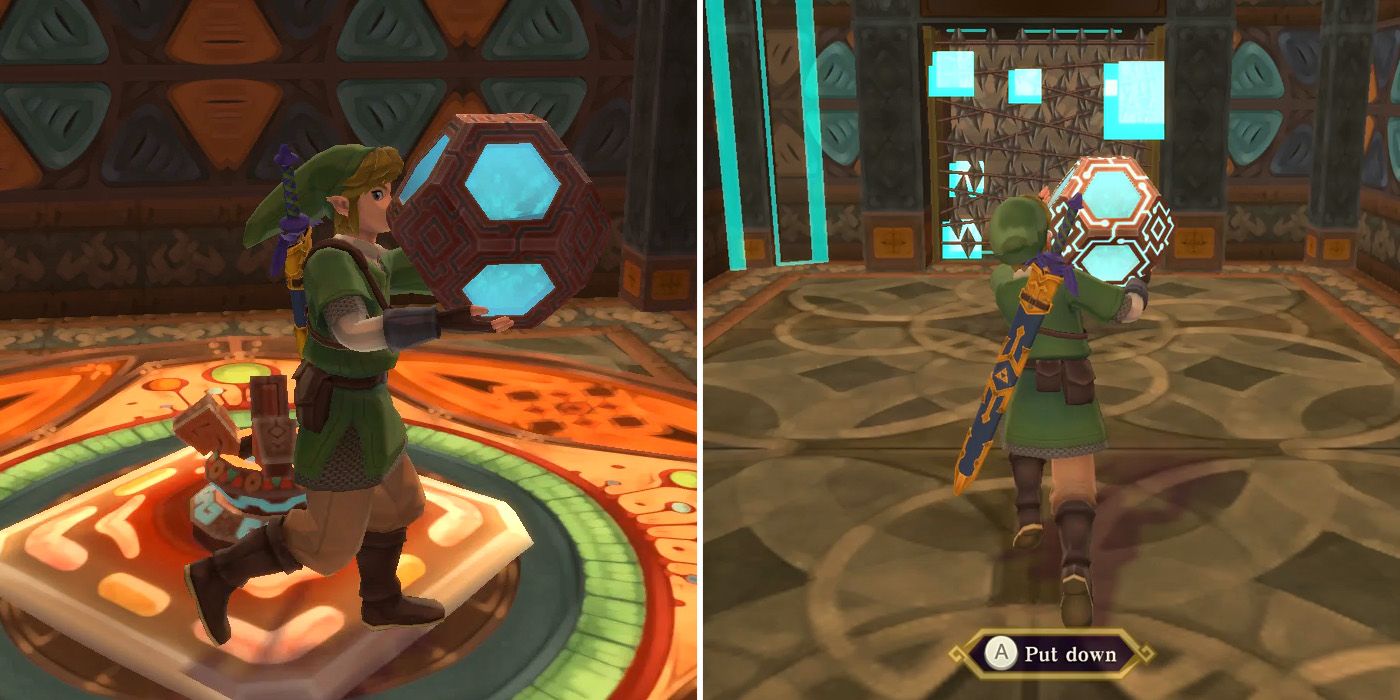
The next room requires players to escort a Timeshift Orb throughout the area to progress, which can be incredibly annoying due to the amount of Technoblins and other futuristic enemies that they'll run into. If they move fast enough though, the enemies will soon be out of range of the orb and will cease to exist. Alternatively, players can put the orb down to attack them, but running on ahead is definitely the fastest option.
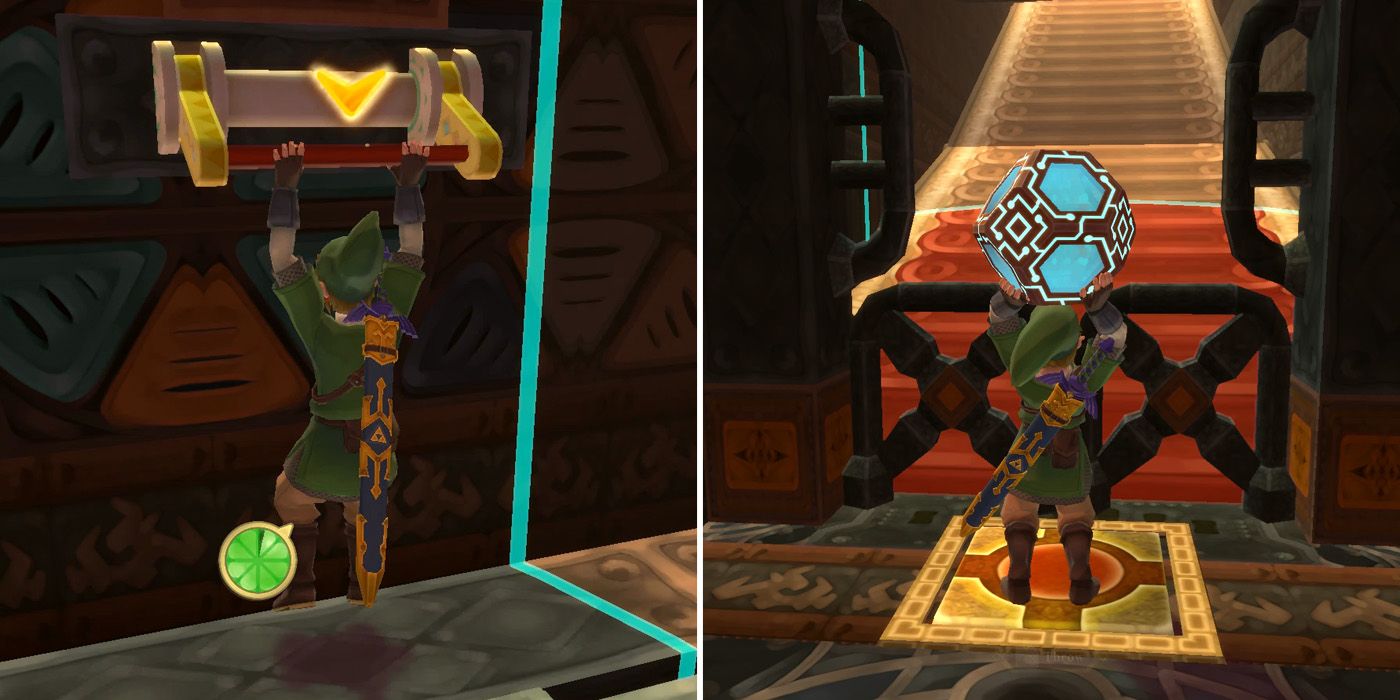
After picking up the orb, players will need to head straight and then follow the path down some stairs until they come to a ladder. Here, they'll need to put the orb down and climb up to the next level and then pull the lever on the wall to their left. With the gate below now open, they should drop back down and pick up the Timeshift Orb, step on the special floor tile to open the hatch, and then throw the orb onto the conveyor belt on the other side in much the same way that they'd throw a bomb.
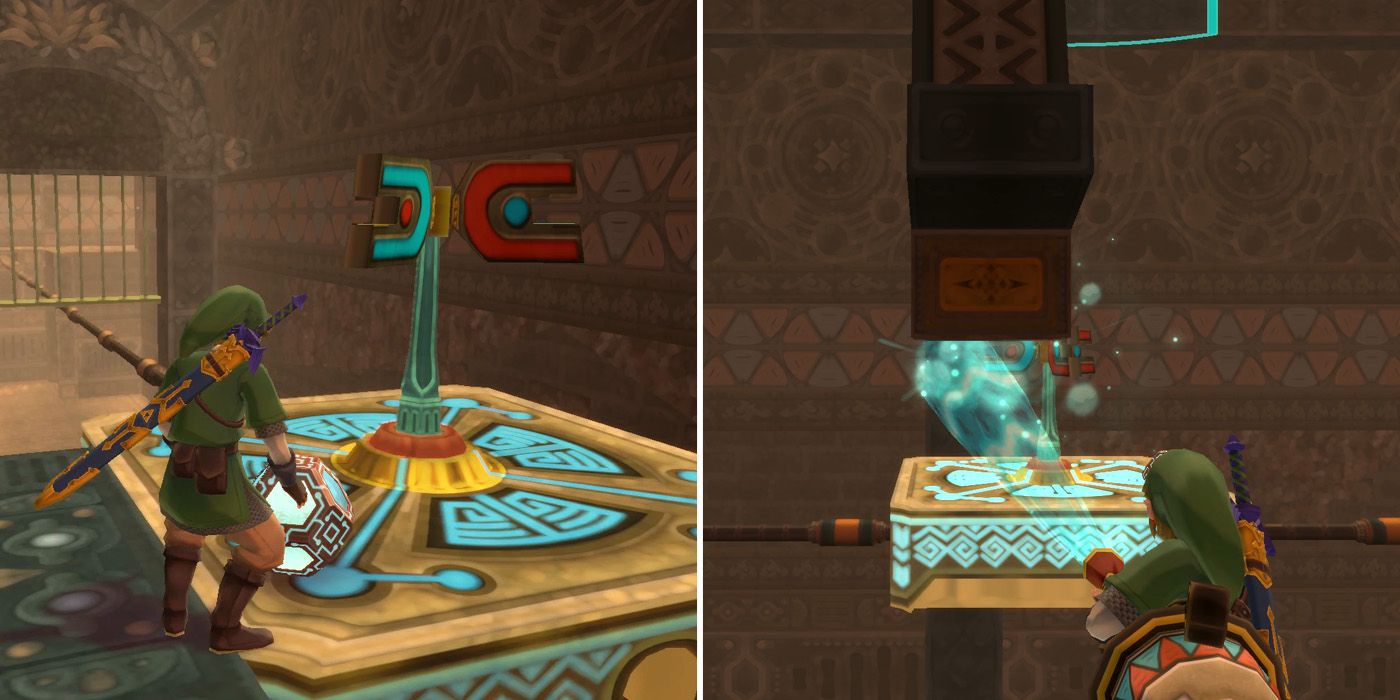
After heading back up the ladder and stepping on the floor tile at the other end of the conveyor belt, players will be able to reclaim the orb and should then head through to the next section. Here, they'll need to place the orb on the moveable platform with the magnet-shaped turbines and blow it towards the far side of the room using the Gust Bellows from the walkway on the left. Eventually, it will get stuck at some metal bars, but players can remove these by standing on the special floor tile.
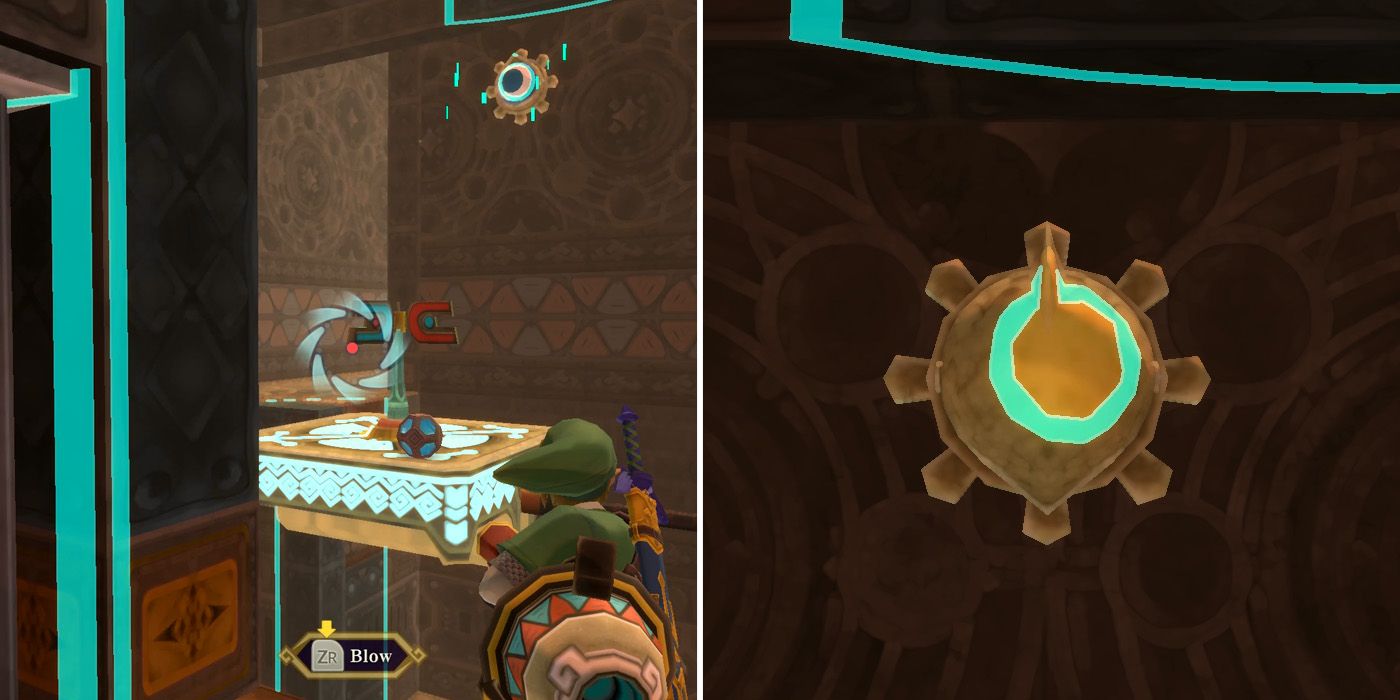
A little further along, players will find themselves stuck at a metal gate on the walkway. If they move the platform along far enough though, they'll unlock a blue target on the wall on the opposite side of the room, and hitting this with an arrow will cause the bars to rise. Players can then head through and pull the lever on the back wall to bring the platform all the way across, pick up the orb again, and then continue on to the next area.
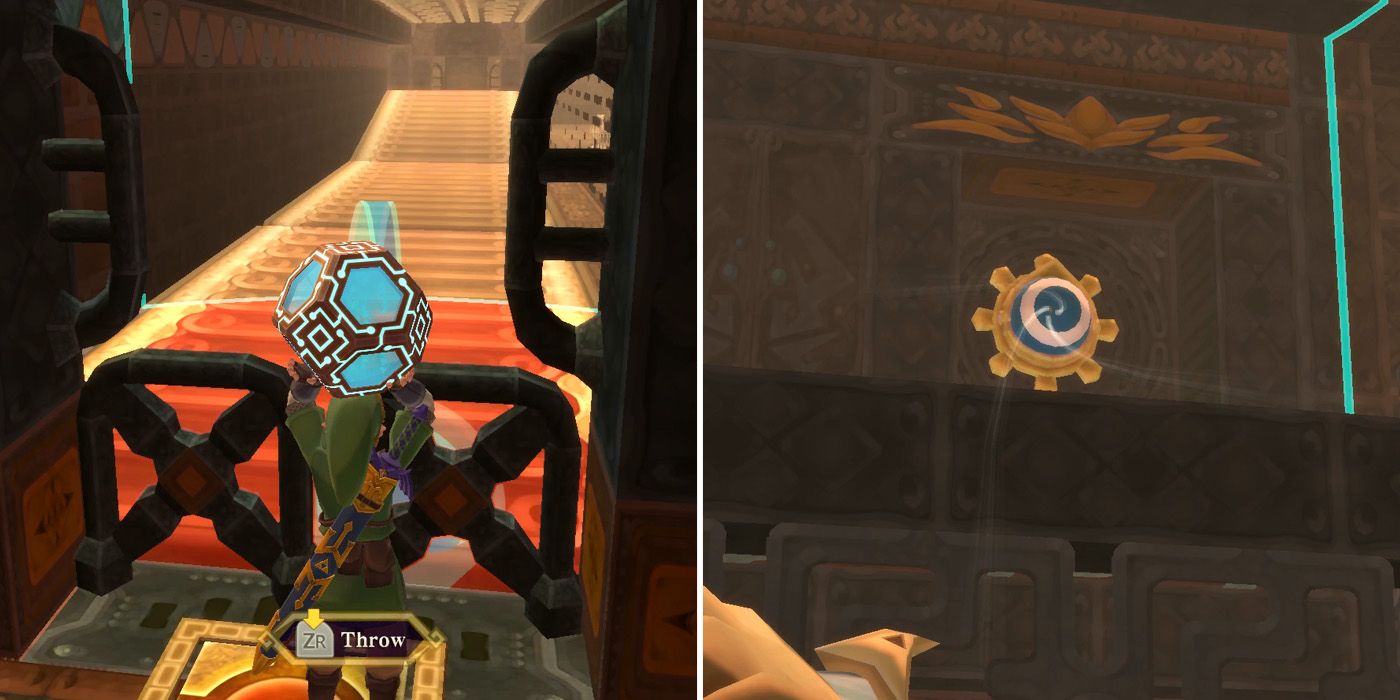
Before doing anything else, players should pull the lever on the wall to their left to unlock the door. Next, they'll need to step on the floor tile and throw the orb onto the conveyer belt. As it moves along, it will unlock more blue targets on the wall above it, and players will need to hit all five of these to gain access to the altar behind the bars in the corner of the room. If they don't get them all on the first pass due to the two Beamos, players can alter the direction of the conveyer belt by pulling the floor lever with their whip and get any that they missed.
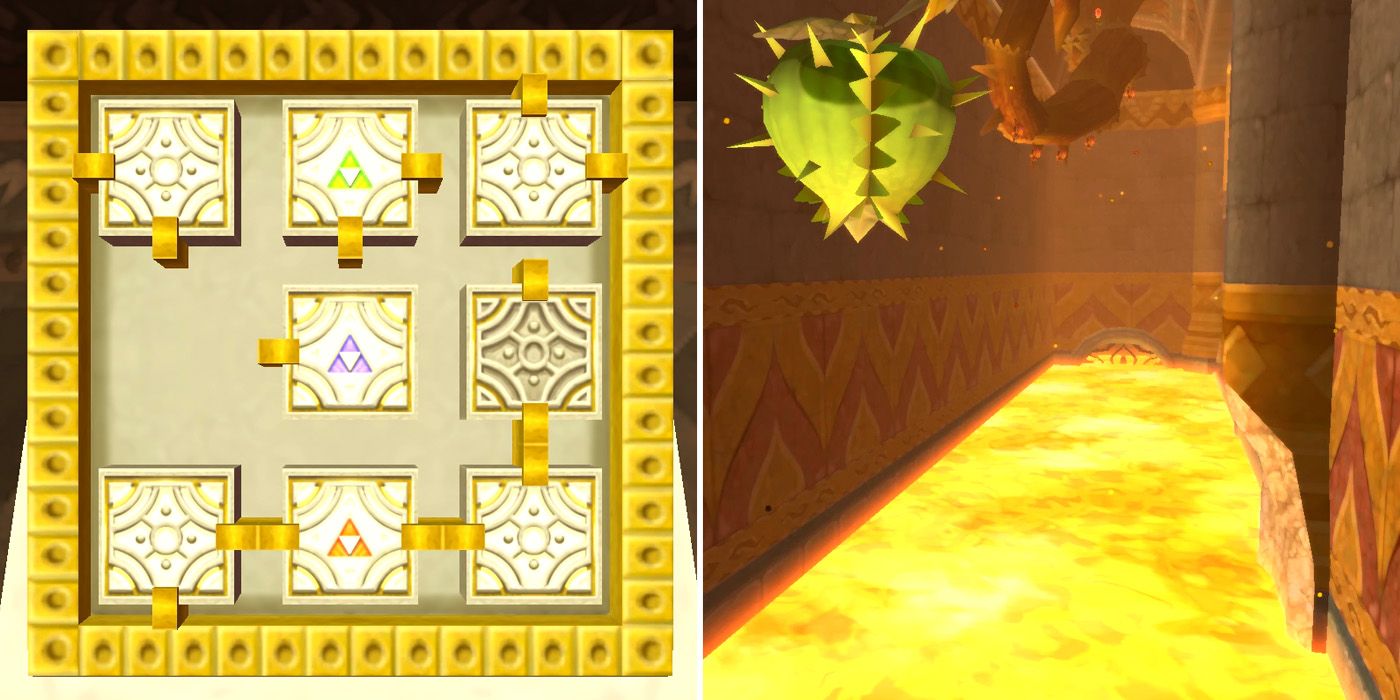
Once all five targets have been hit, players should head to the altar and once again rearrange the rooms. This time, they'll want to move the square with the orange Triforce piece with exits to the west and east into the middle spot on the bottom row and the square with exits to the east and south into the bottom left corner. Now, they'll need to backtrack through the two previous areas until they come to a new area that's full of lava.
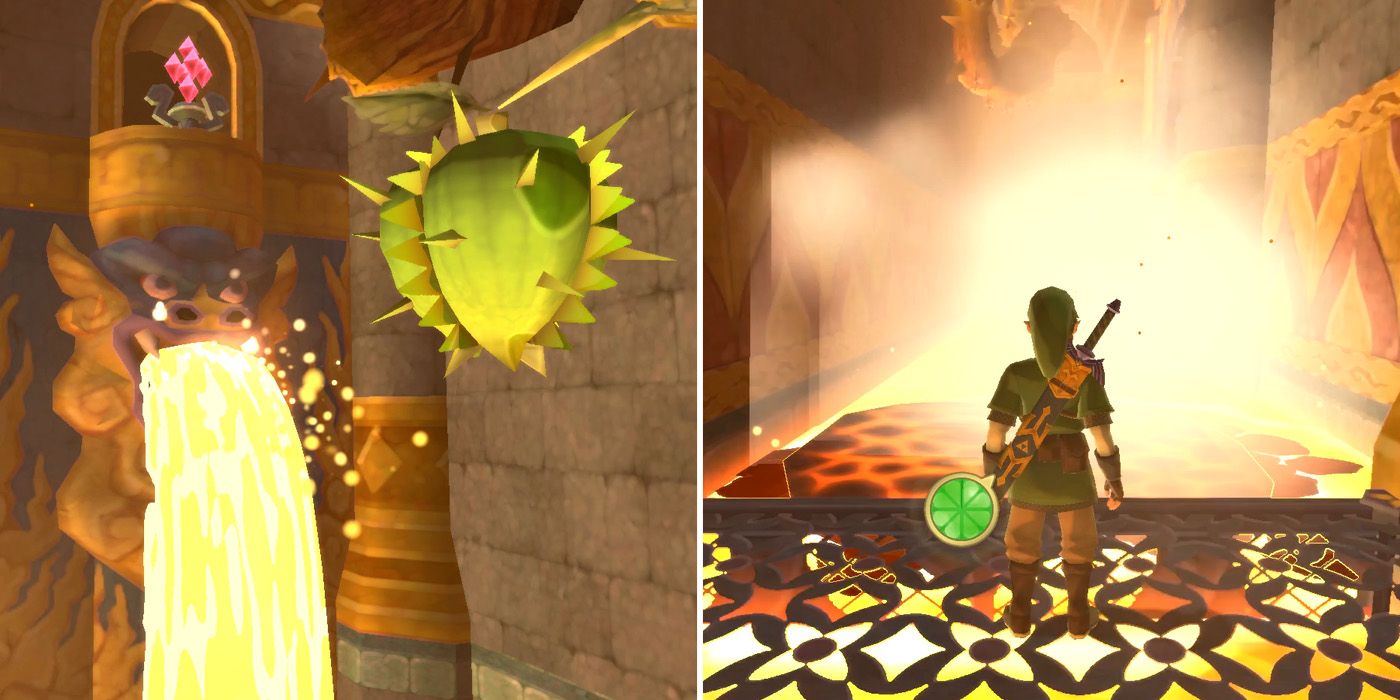
Before doing anything else, players should use the Beetle to hit a couple of red crystals to control the flow of lava. The first of these can be found by following the path of lava straight and then bearing to the right before reaching the wall. The second requires players to take two quick rights just before the wall and then follow the path that runs parallel to the first one. With that taken care of, players can hit the green plant in front of them with the Beetle or a projectile to drop a water orb into the lava and create a rideable platform.
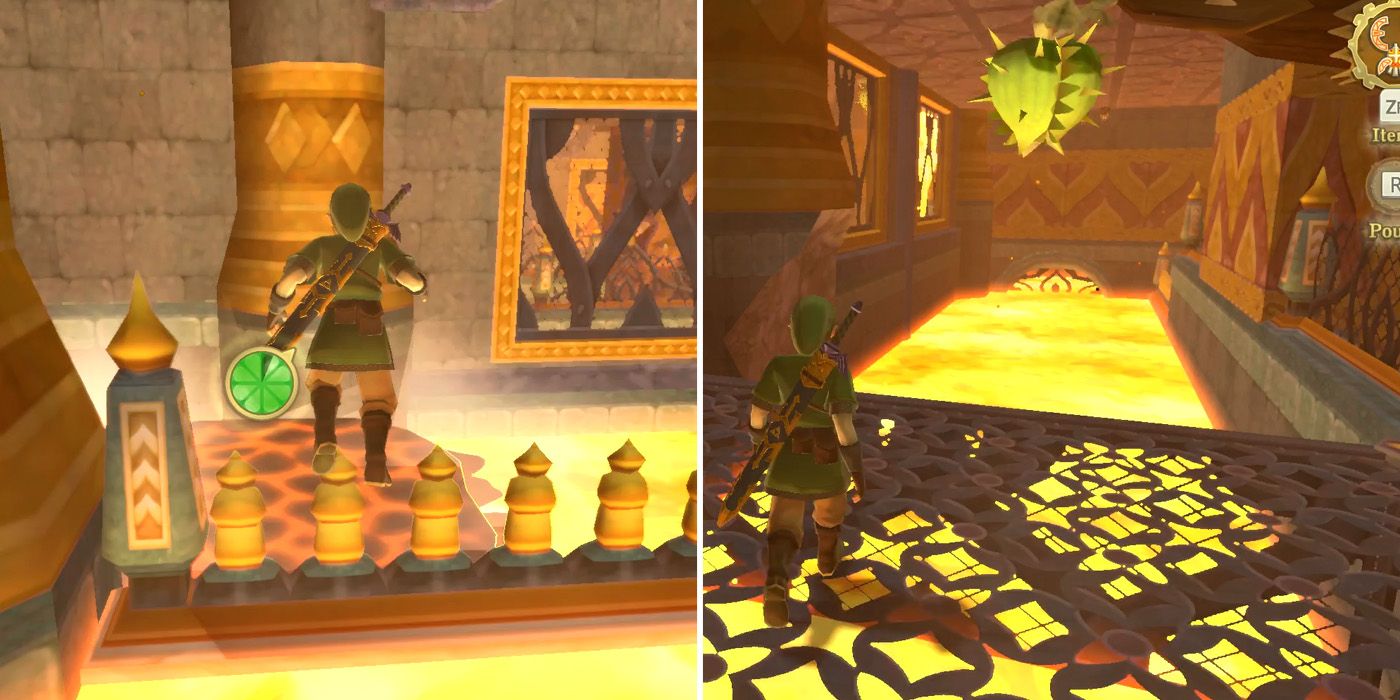
Players will need to ride this platform through the lava, hitting another plant to their right just before reaching the wall and jumping over the fence and onto the newly resulting platform. After a moment or two, they'll be able to jump onto a metal platform to their left and should pull the lever next to the door as soon as they do.
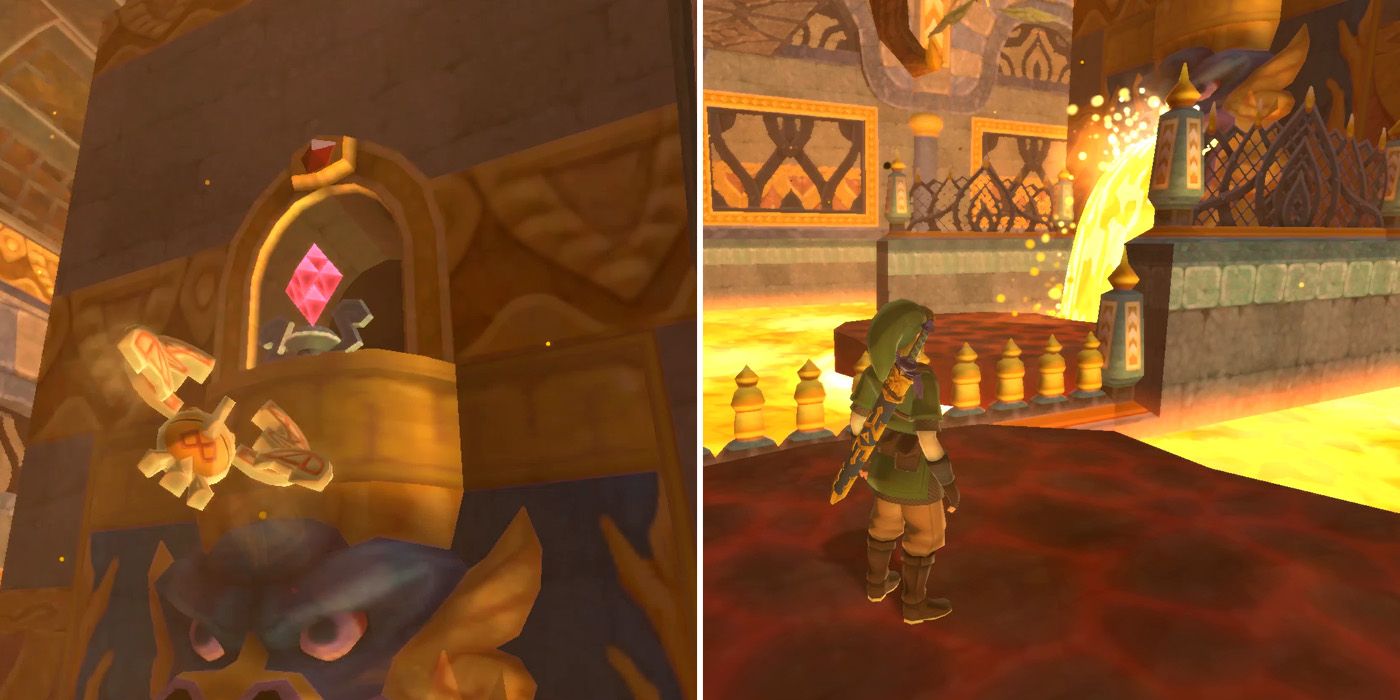
For this next section, players should again send the Beetle on ahead. This time, they'll need to send it straight and then round to the right to hit the red crystal above the statue so that it starts spitting out lava. With that taken care of, players can drop a water orb into the lava by hitting the green plant and then switch platforms just before reaching the wall just like they did in the previous section.
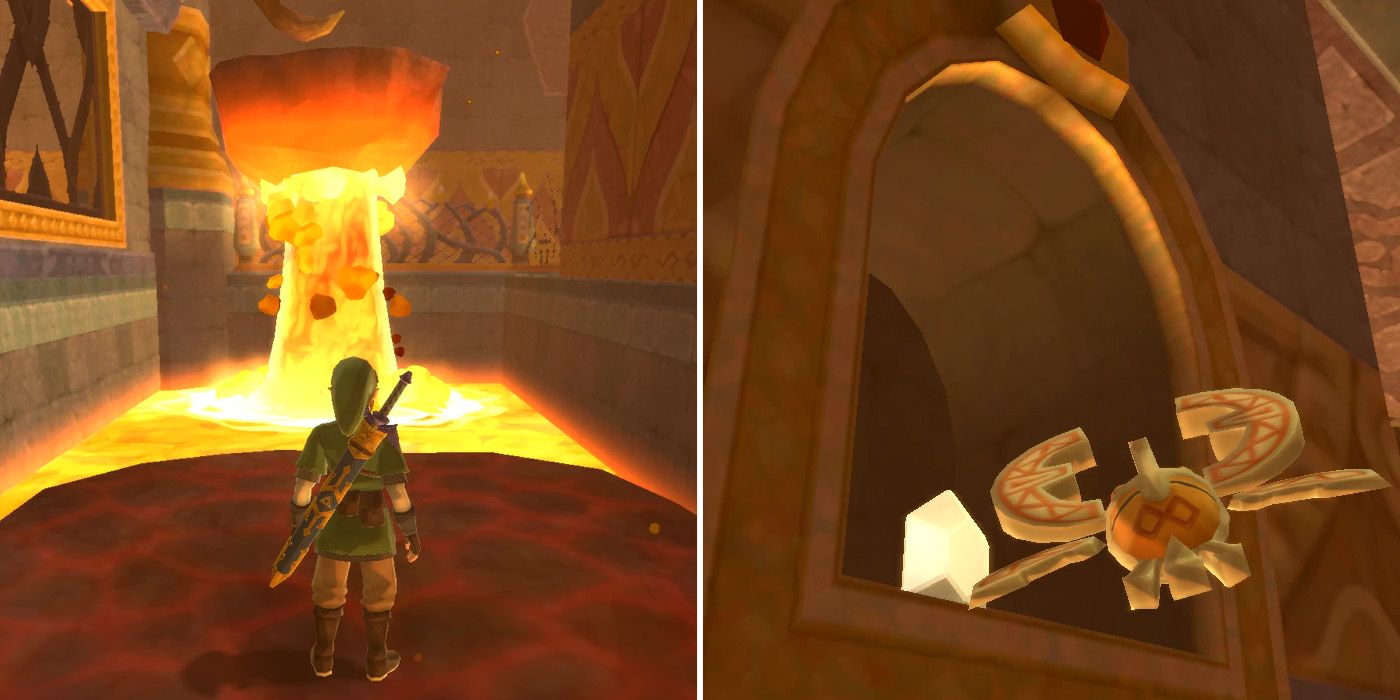
This time, however, the second platform will take them to a platform that is being periodically lifted up by a column of lava, so they'll have to time their dismount onto it well. Once on top of this platform, players should send their beetle back round the way they just came and hit the same red crystal that they hit a few moments ago. There's also a silver Rupee in an alcove to the player's left which can be grabbed with the Beetle, although Rupees are largely redundant at this point in the game.
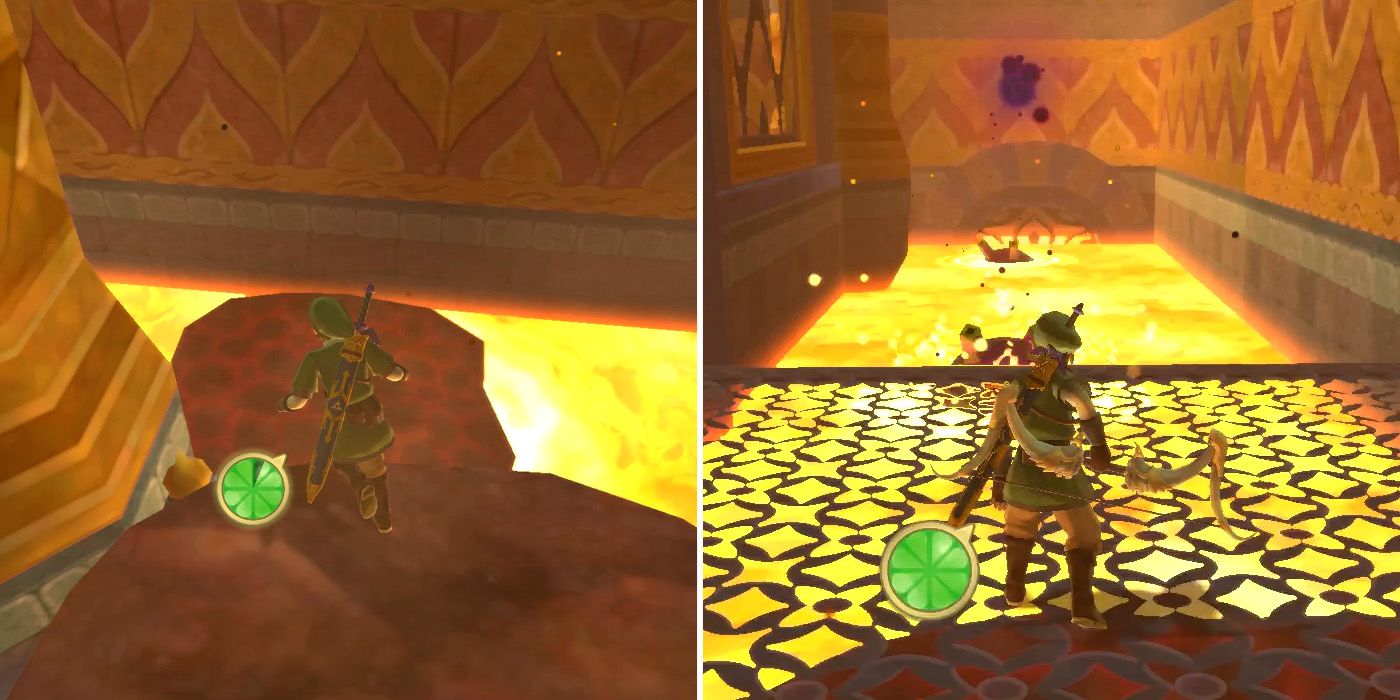
With the red crystal activated, the statue to the player's right should start spitting out lava, which will allow players to drop a platform on the other side of the fence by hitting the green plant in front of them. They'll then be able to ride this new platform straight to another metal platform. Players should aim to pass over the metal platform and hop straight back onto the platform they were just on, but if they're too slow, they can always turn around and drop another platform by hitting the green plant again.
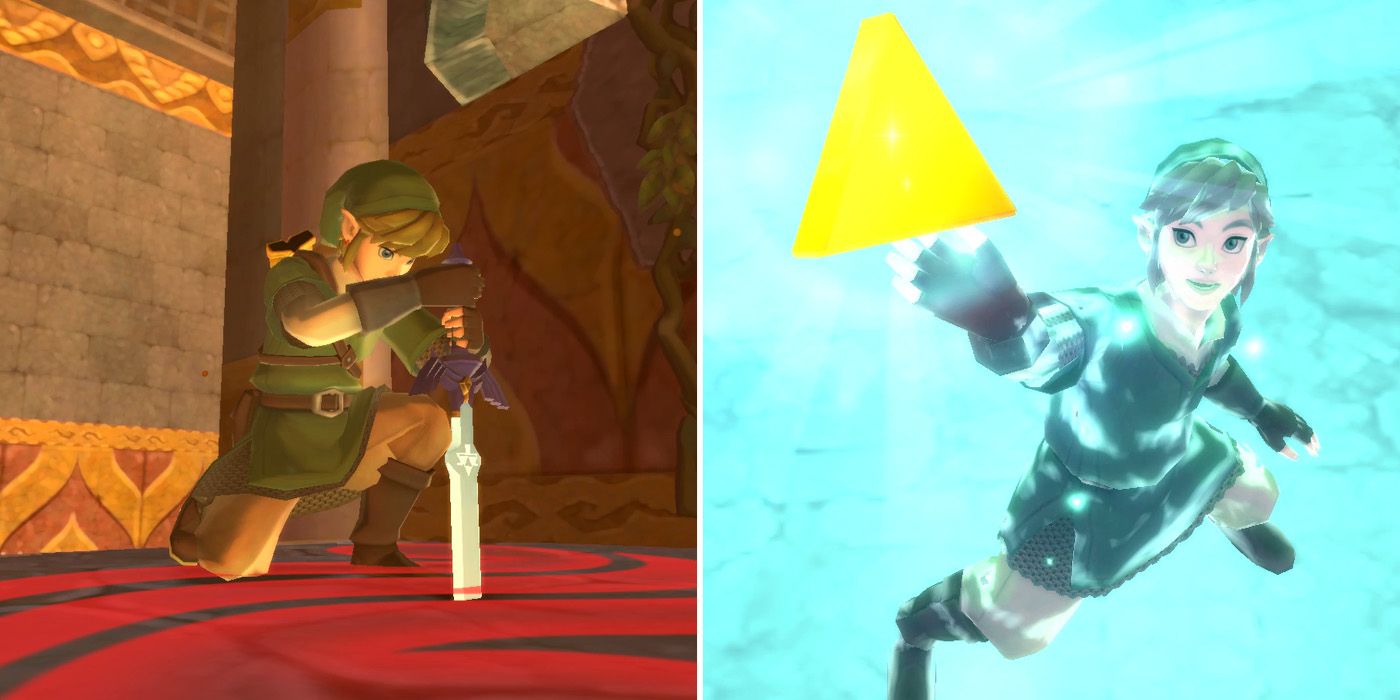
After dealing with a couple of Froaks in the lava, players will need to grapple onto a Clawshot target to their left just before the wall, which will take them to a solid platform with a glyph on the floor. Driving the Master Sword into this glyph will take Link to a new room, where he'll be able to grab his first piece of the Triforce; the Triforce of Power. Players will then be taken back to the previous room, where they should pull the lever on the wall, and head through the door to return to the dungeon's first room.
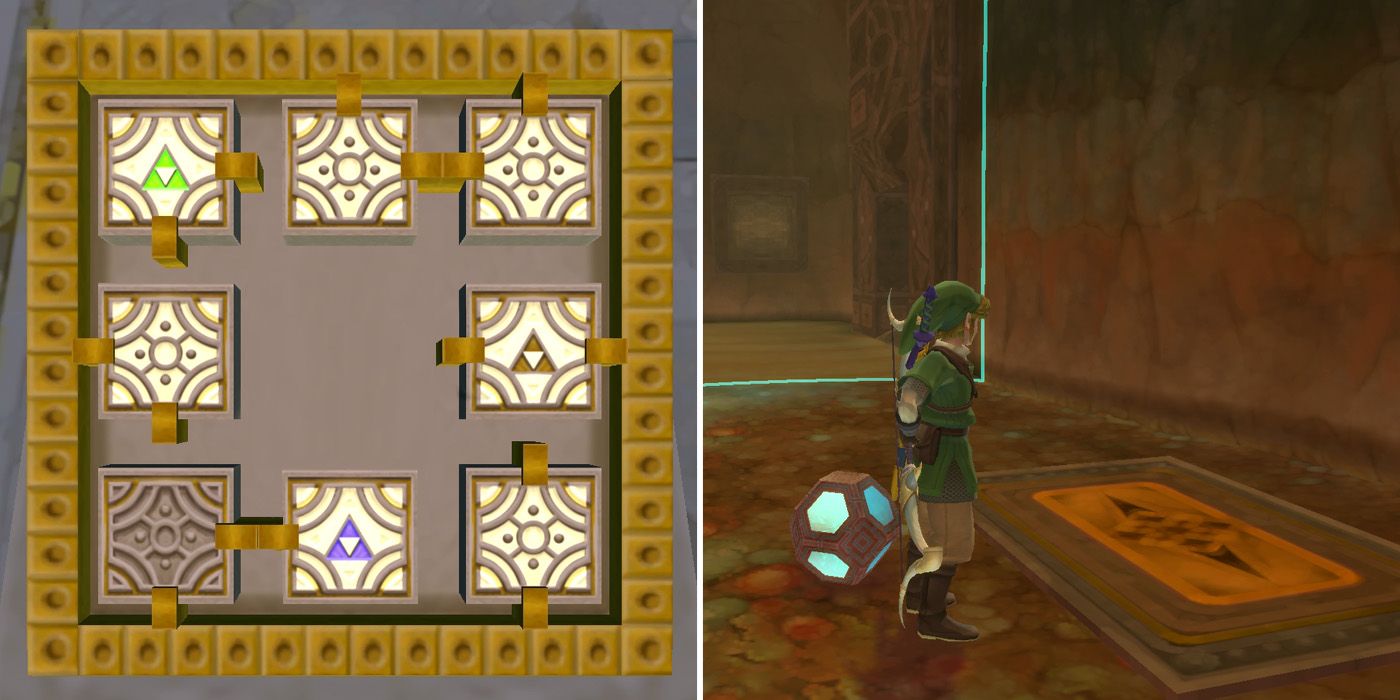
With the position of the first room now in the bottom left-hand corner of the altar, players will be able to move the square with the purple Triforce directly to the right of it. After doing so, they should head through the door and pick up the Timeshift Orb from the right side of the room. They'll need to carry the orb over towards the opposite side of the room so that the bars on the wall disappear and then put it down. If they run back to the spot where they first picked up the orb, players will now be able to fire an arrow into the alcove and hit a blue target, which will open up a new path to the left of where players first entered the room.
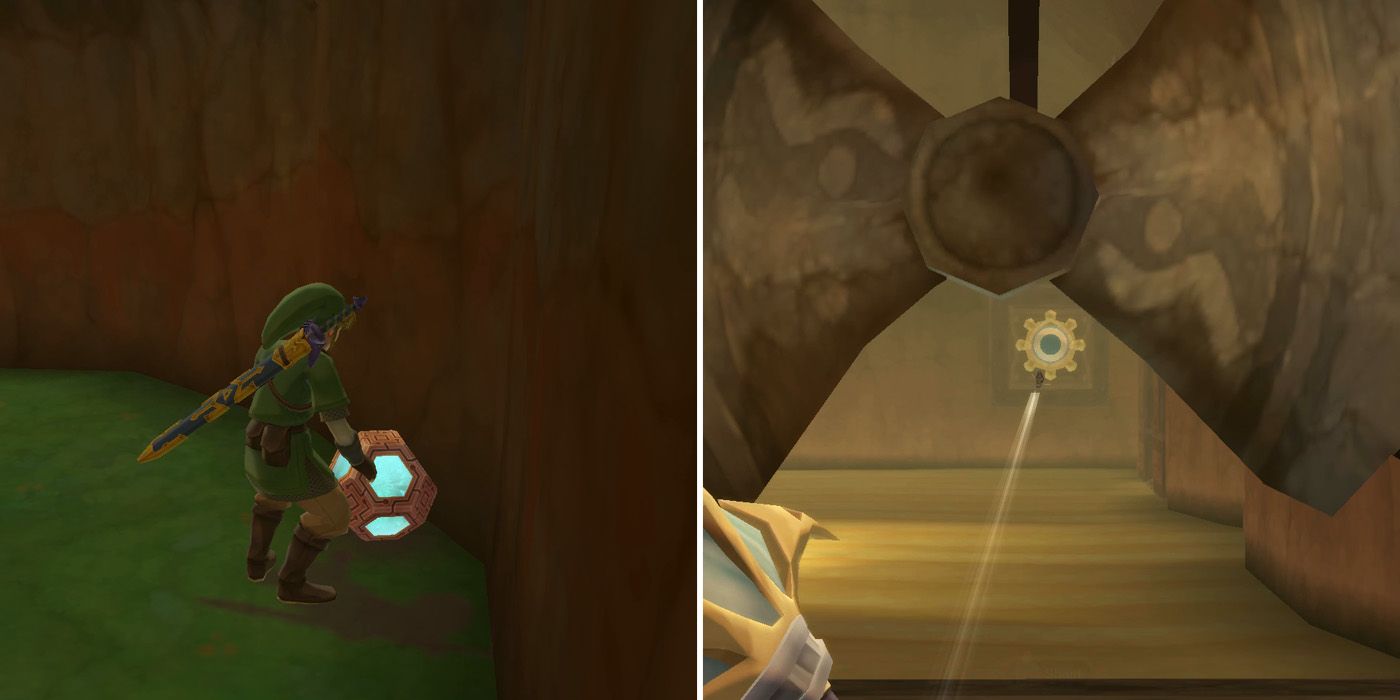
After returning to pick up the Timeshift Orb, players should head down this new pathway, stopping to kill the many Deku Babas that show up along the way. Eventually, they'll come to a special floor tile, but before stepping on it, they should put the Timeshift Orb down in the opposite corner so that the fan isn't spinning and the giant platform doesn't pop up from the ground. Now, stepping on the tile will allow them to fire an arrow at a blue target on the opposite side of the room, which will cause some metal bars opposite the entrance to rise.
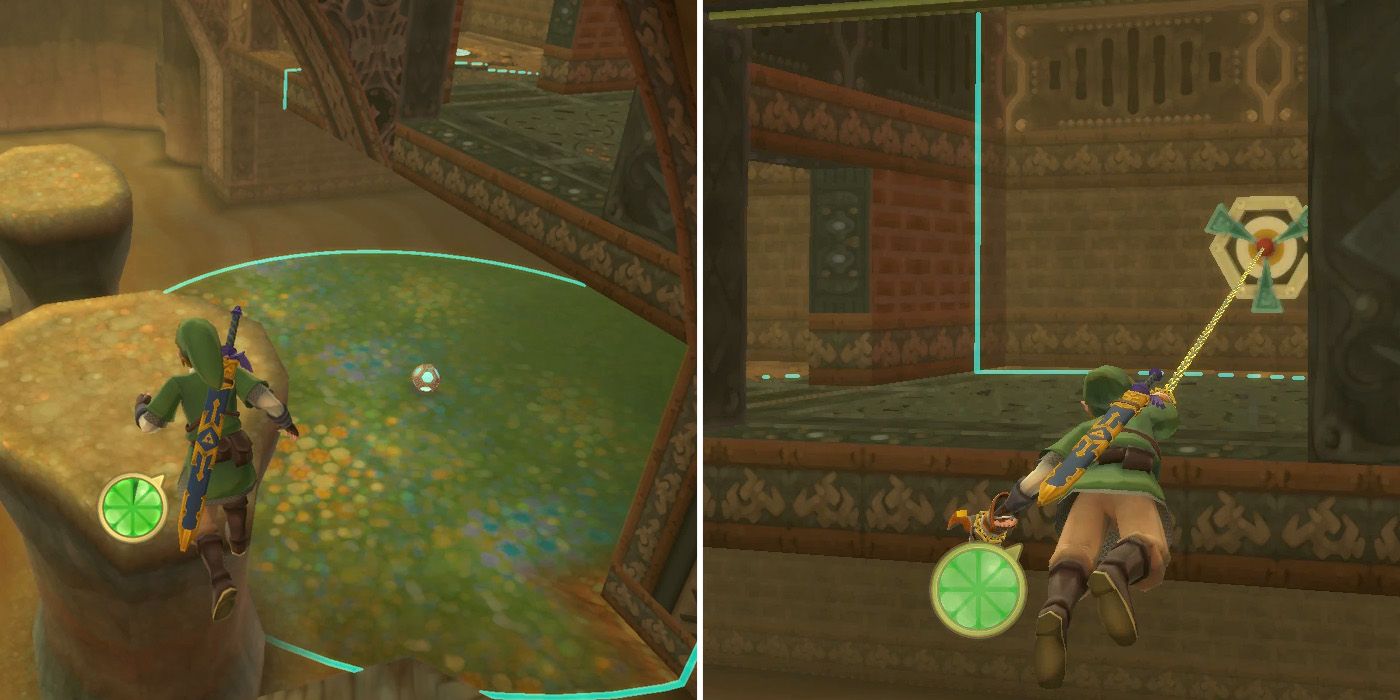
With the Timeshift orb back in Link's hands, players should head over to the newly accessible area and find a spot where the large platform comes out of the ground and the door separating the area with the Clawshot target from the one next to it is offline and put the orb down. By returning to the area where they first picked up the orb, players will now be able to hop onto the platform and use the Clawshot to enter this new area.
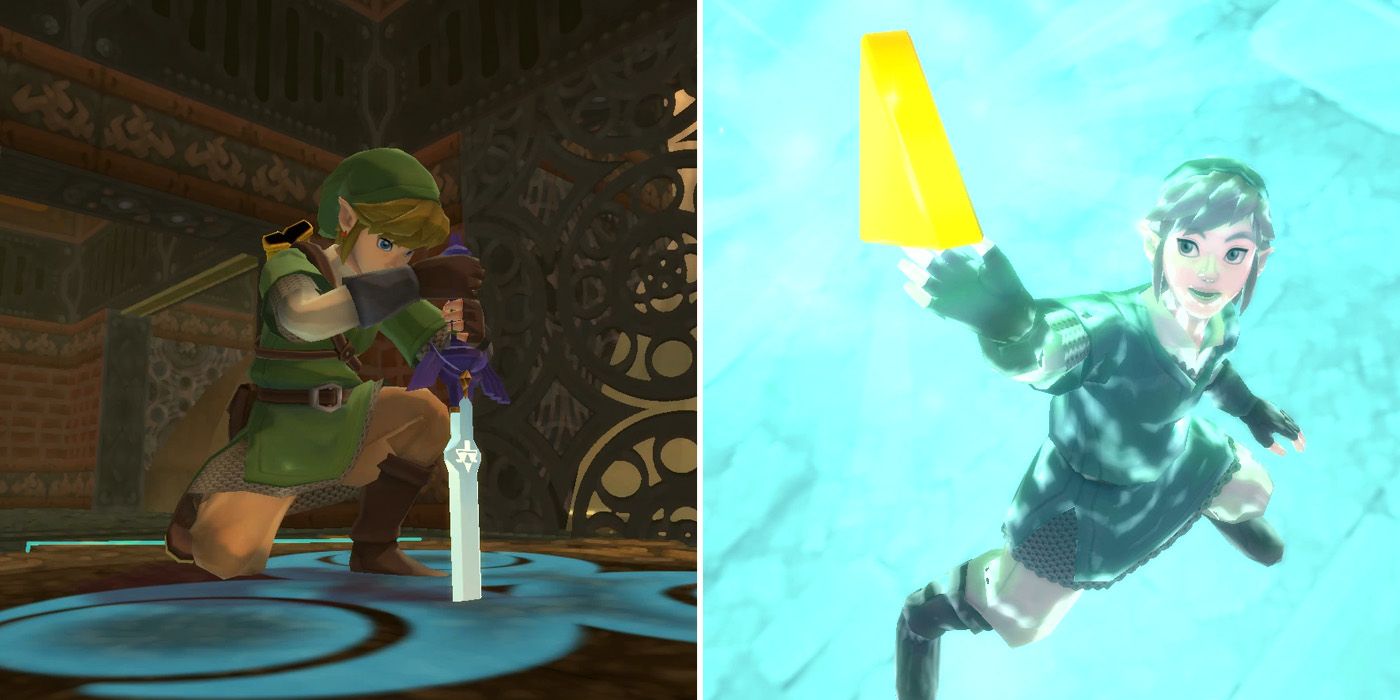
In the adjoining room, players will find another glyph on the floor and should drive their sword into it to be taken to the room containing the Triforce of Wisdom. With two-thirds of the Triforce now collected, they should exit the area the same way that they came in to return to the first room and head back over to the altar to rearrange things for the final time.
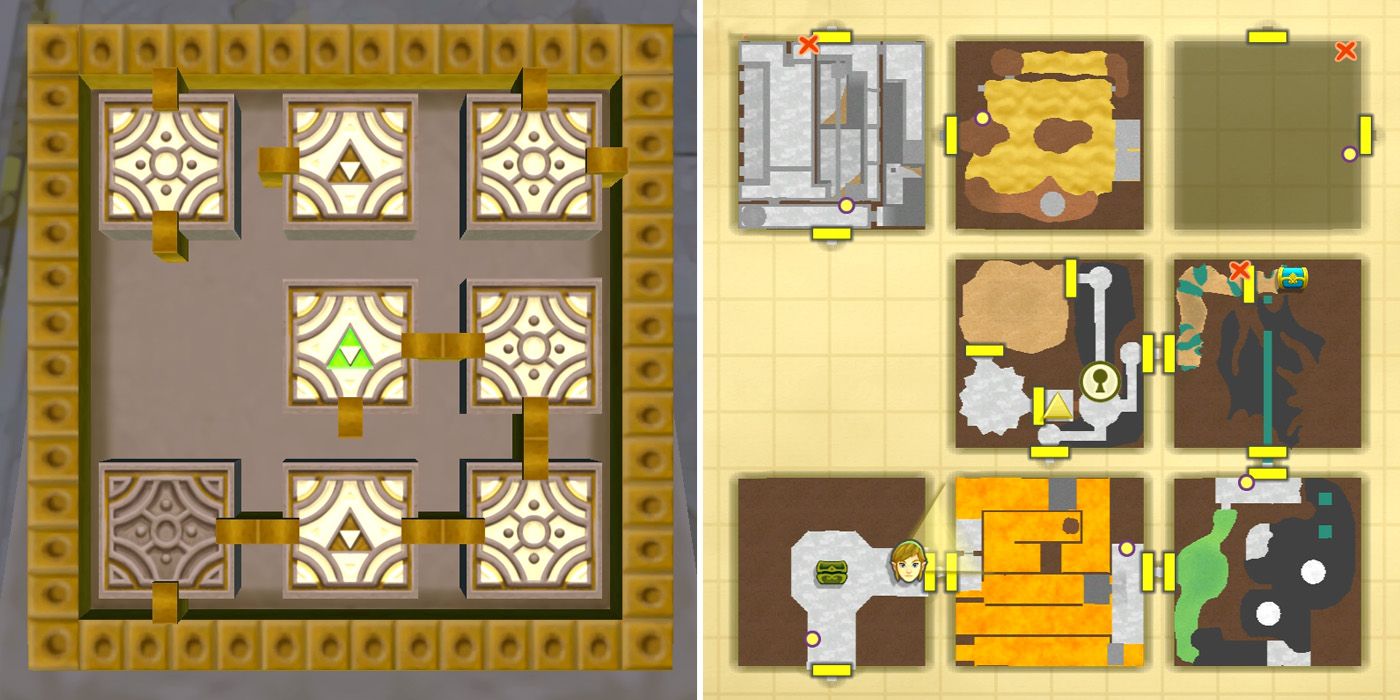
To create a route to the final piece of the Triforce, players will need to move the square with exits to the west and east to the middle spot on the bottom row, the one with exits to the north and west to the bottom right-hand corner, the one with exits to the south and west to the spot above it and the green Triforce square in the center. With that all taken care of, players can head through the door.
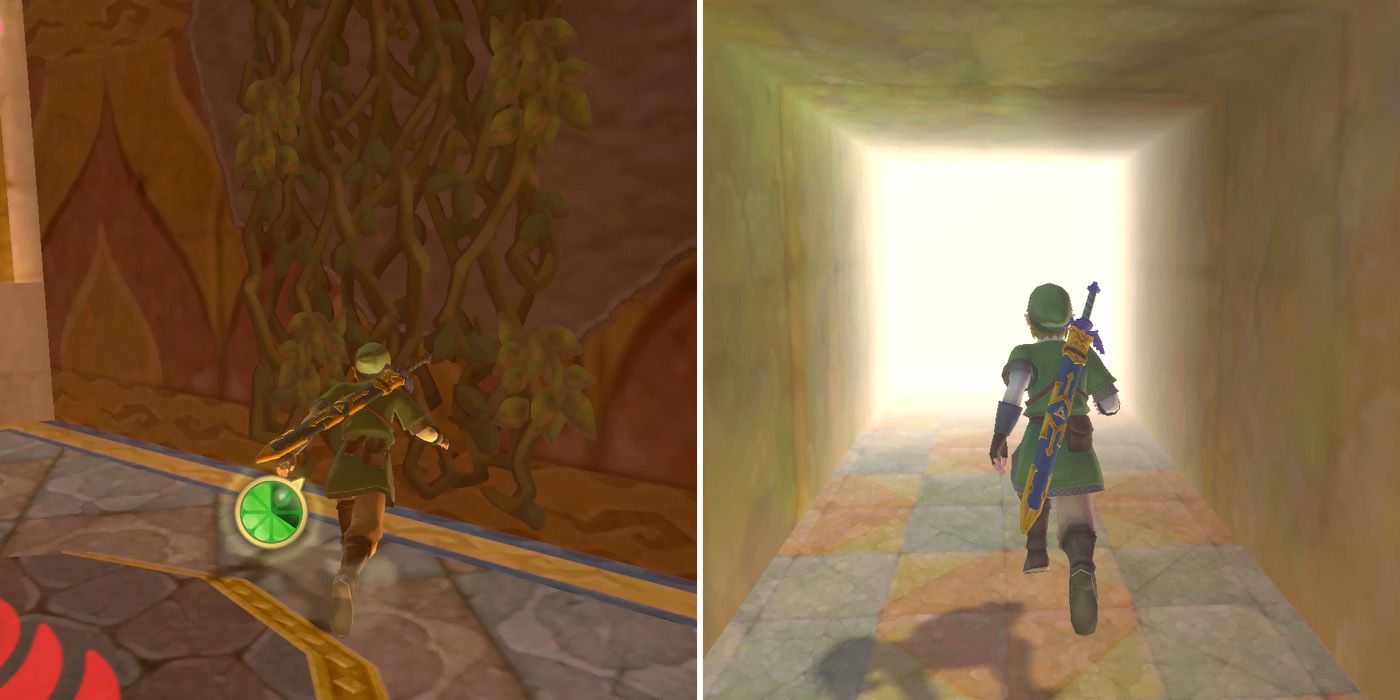
Upon returning to the lava room, players will find themselves back at the spot with the glyph. By climbing the vines to their right and following the path though, they'll soon reach an area with a locked door. Pulling the nearby lever will open it, allowing players to drop down to the area below and head through the room's east exit. They'll then just need to cut through the room with the rotating stone columns from earlier to reach the dungeon's mini-boss.
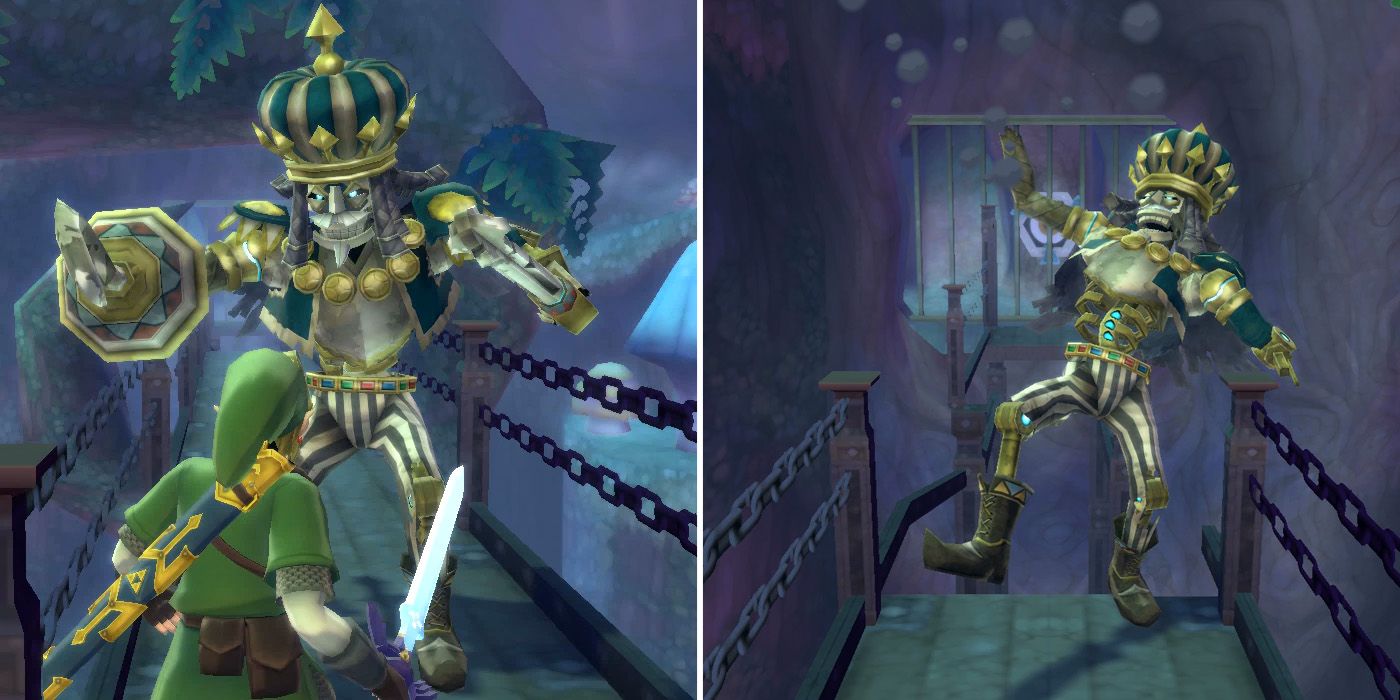
Not only does Dreadfuse look incredibly similar to the Scervo mini-boss from the Sandship, but the fight with him plays out almost exactly the same too. Players will need to drive Dreadfuse backward by stabbing him with their sword, while being sure to take a backward step whenever he attacks. All of his attacks can be blocked with a shield if needed, although dodging is just as easy and equally effective. After driving Dreadfuse to the end of the walkway three times, he'll end up falling down into the abyss below and the fight will come to an end.
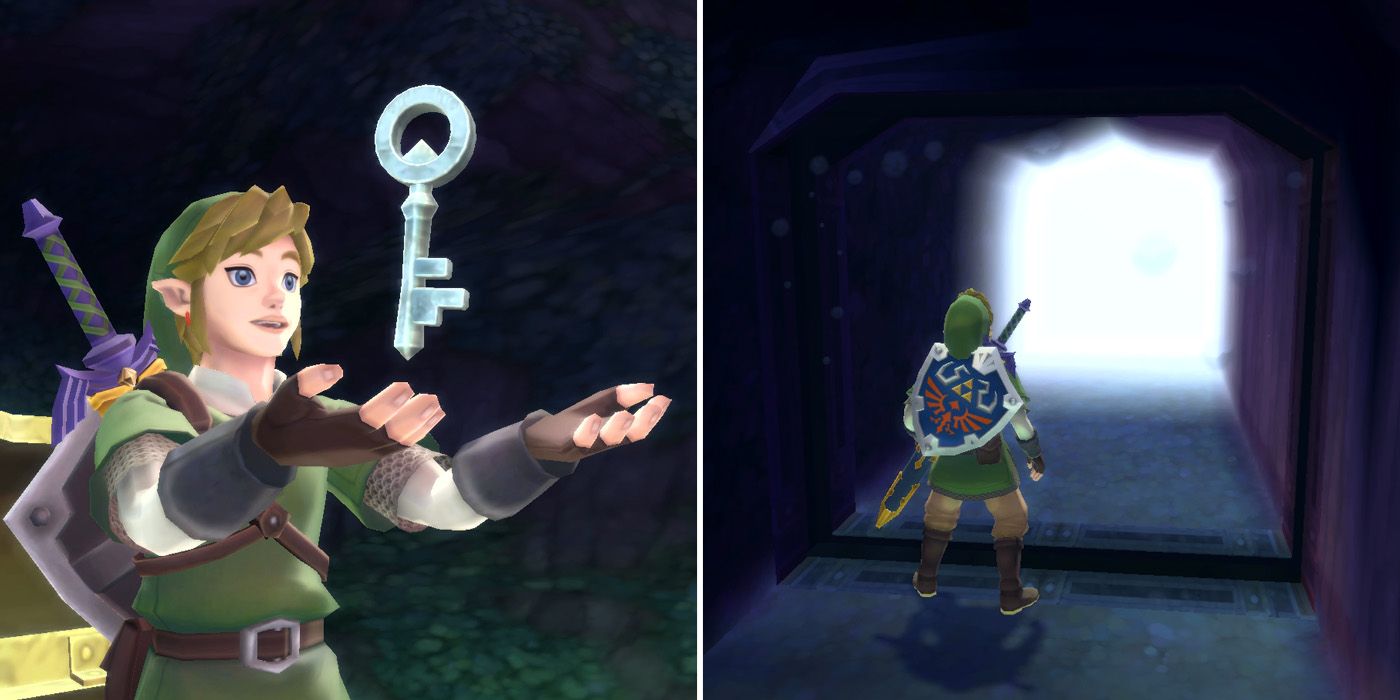
After defeating Dreadfuse, players will be able to use their Clawshot to get across the gap in front of them and then open the chest to obtain Sky Keep's only small key. If they lined up the rooms correctly earlier on, the door on the west side of the room should now take them to the room containing the Triforce of Courage, but if not, they can use the nearby pedestal to rearrange the rooms once more so that it does.
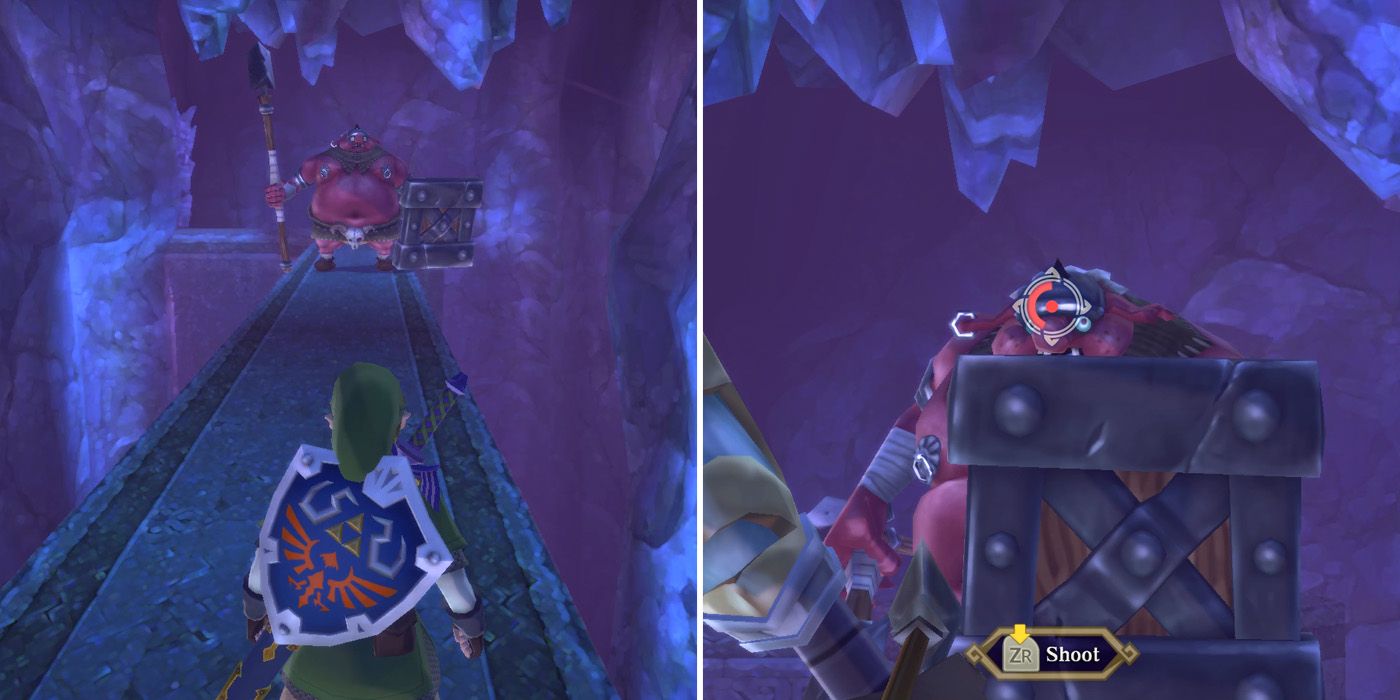
The next area is themed like the underground section of the Ancient Cistern and features a few difficult battles. The first, which comes directly after opening the key door, requires players to defeat two Metal Shield Moblins on a narrow passageway. Thankfully, the bow can be used to pick them off from distance, making the encounter far easier than it would otherwise be.
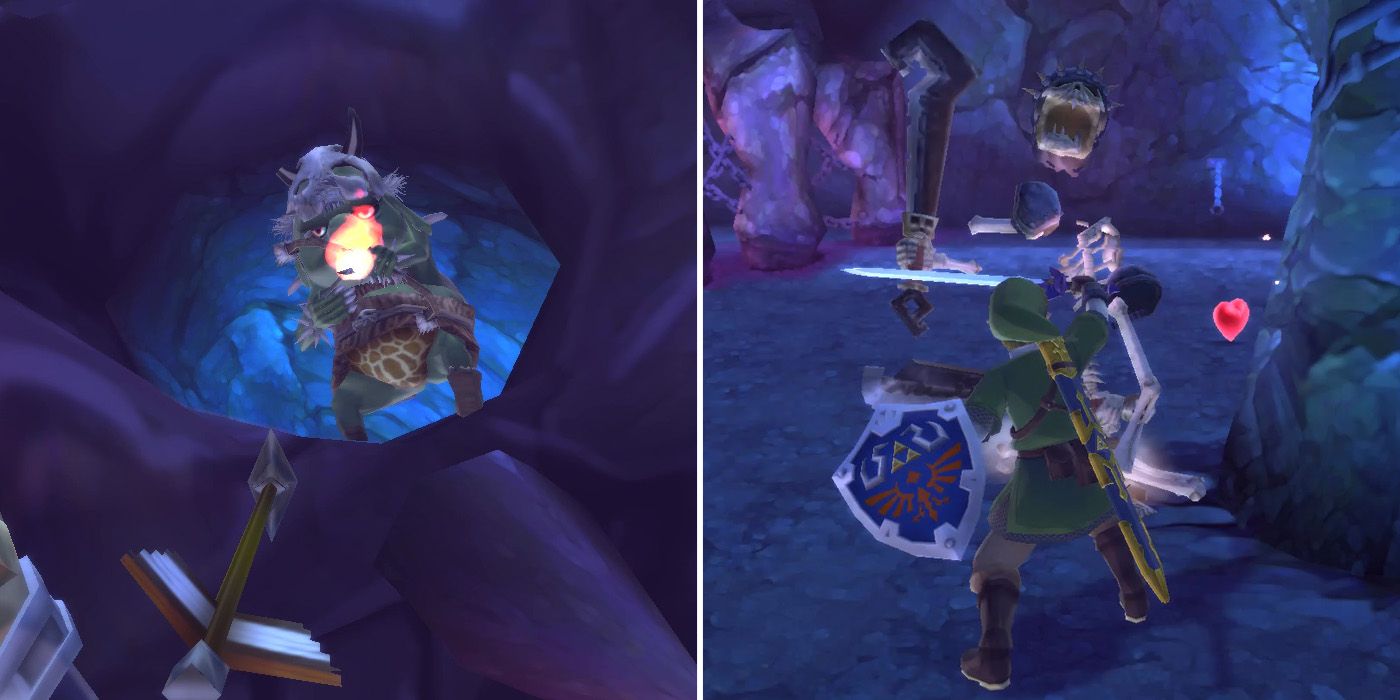
Upon passing through the next door, players will find themselves in a room with two Stalfos and a bunch of Bokoblins shooting fire arrows. Here, they should use their bow to take out the Bokoblins as quickly as possible, while being sure to keep their distance from the Stalfos as they do. With the archers gone, defeating the Stalfos is significantly easier and shouldn't take all that long.
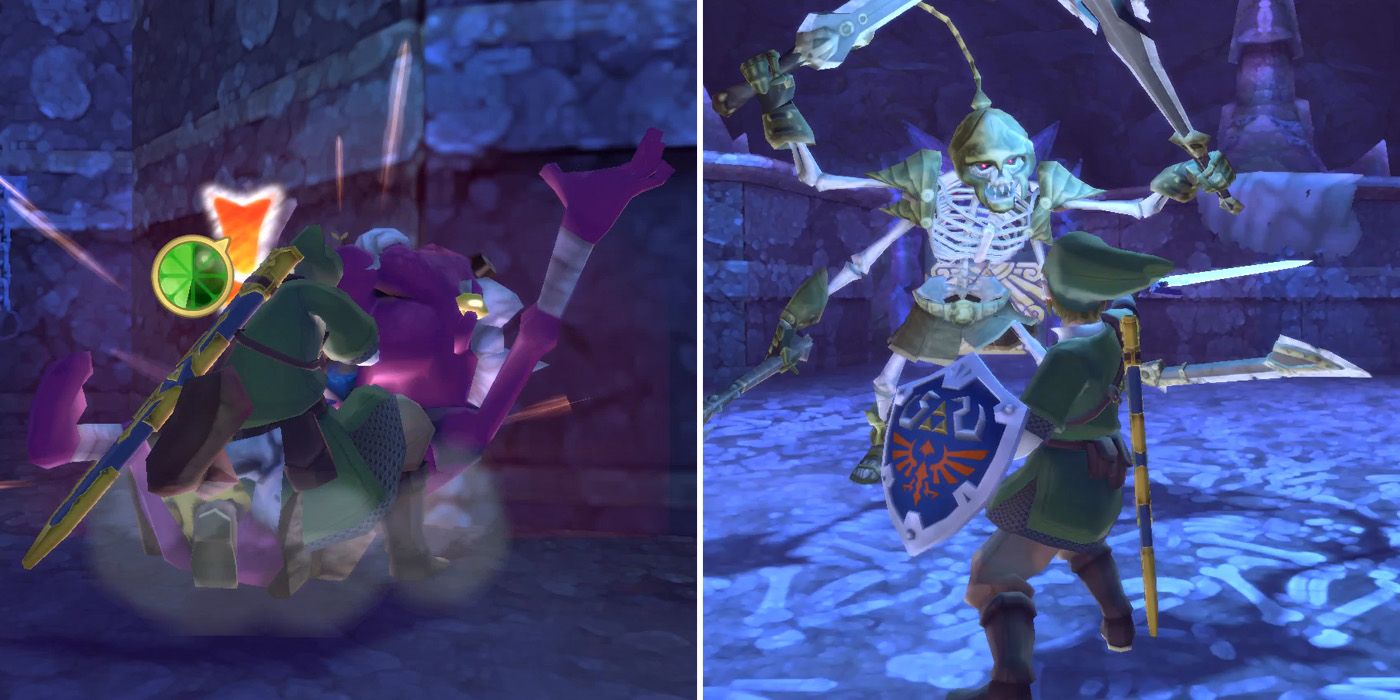
Once all of the enemies have been defeated, the door will unlock and players will be able to progress to the next area. Here, they'll encounter some Cursed Bokoblins and a Stalmaster, and should again focus on dealing with the weaker enemies first. Just like the Stalmaster they fought in the Ancient Cistern, players will need to orient their sword slashes in the direction that the Stalmaster isn't guarding or jab through the center of his guard if all four swords are up.
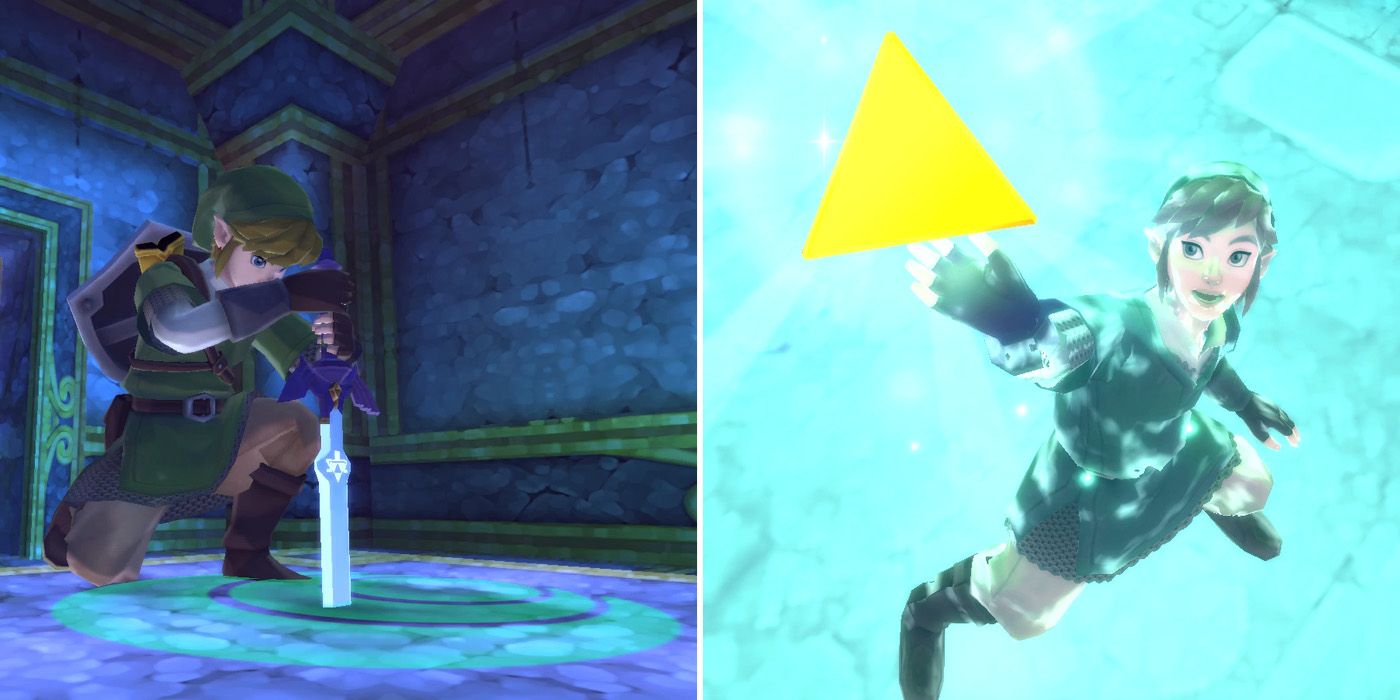
Thankfully, this is the final wave of enemies in this room, with the Triforce of Courage just on the other side of the now unlocked door. Before they can get their hands on it though, players will again need to plunge the Master Sword into the glyph on the floor, which will transport them to the room containing the third and final piece of the Triforce.
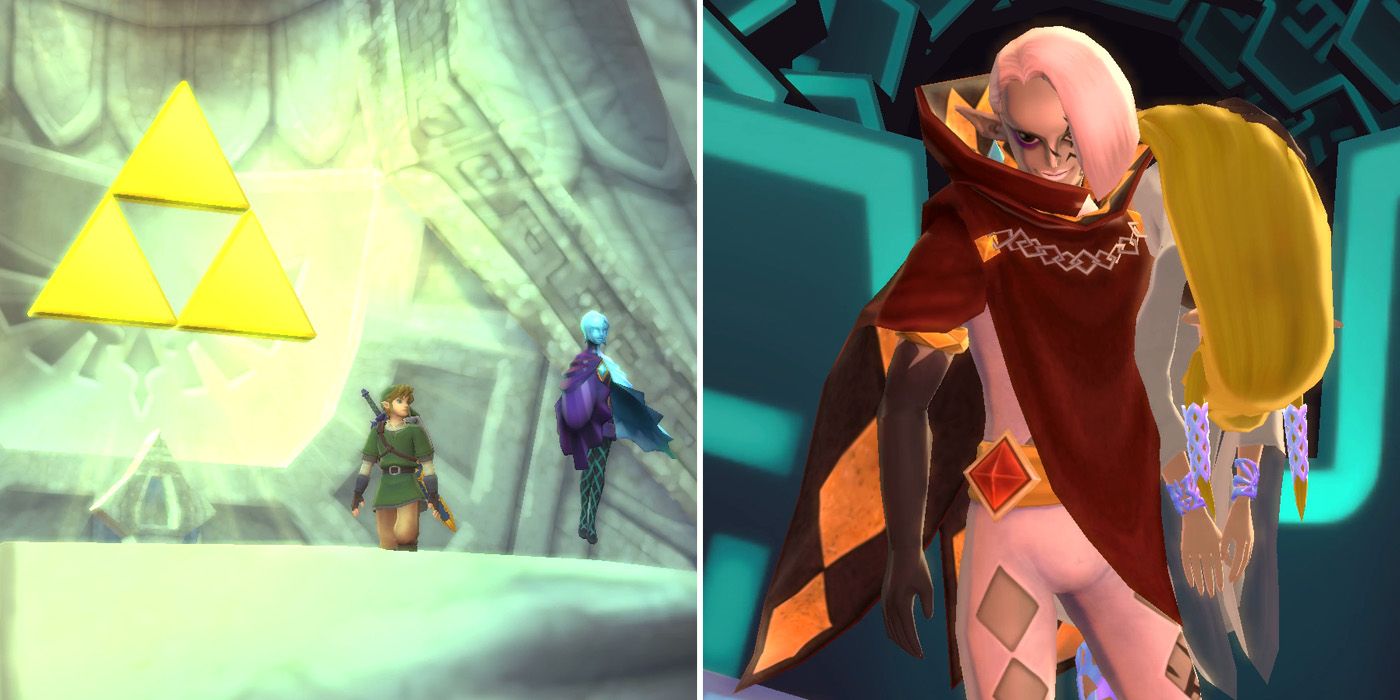
With the Triforce now complete, Link will be transported to the top of the Goddess Statue outside and can use the power of the Triforce to eradicate Demise once and for all. With the threat of the Demon King now gone, Zelda emerges from her long slumber and a happy ending seems to be on the cards. Ghirahim has other ideas though. The Demon Lord plans to resurrect his master in the past and drags Zelda through the Gate of Time in the hopes of doing exactly that.
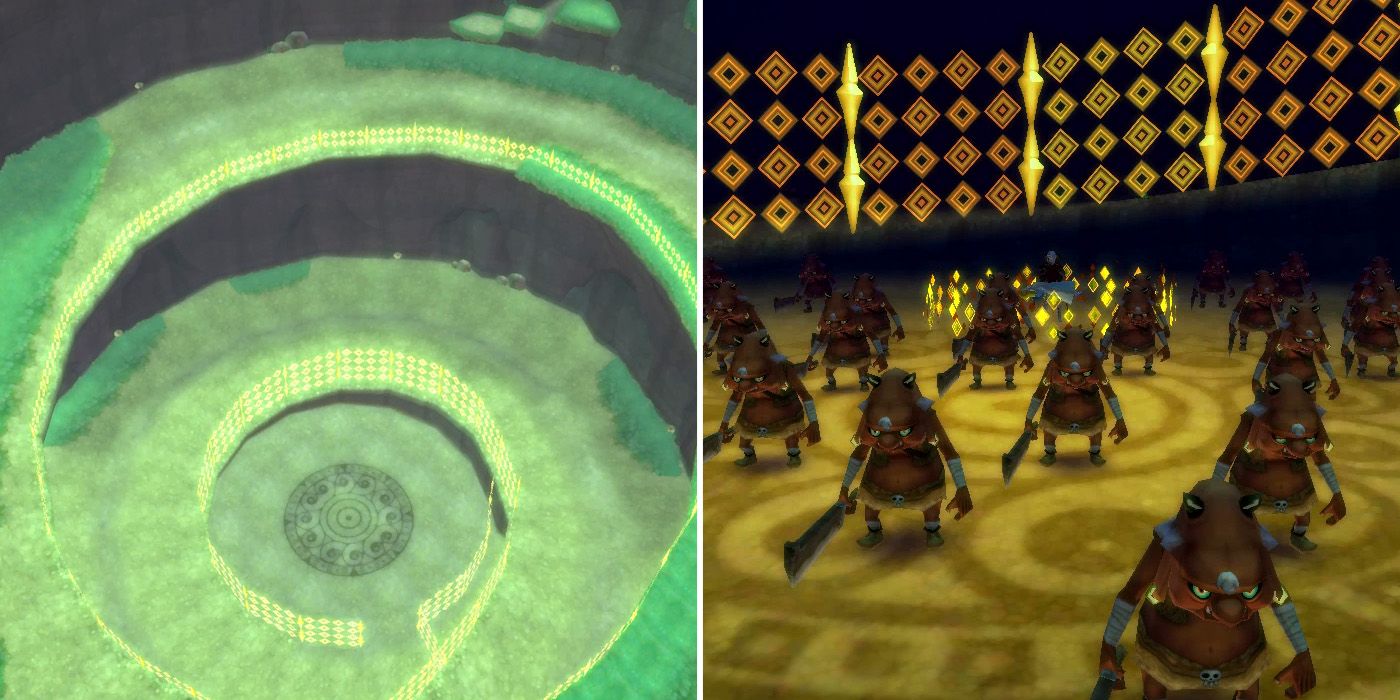
When players regain control, they'll find themselves in the Sealed Temple. If needed, they can use the nearby bird statue to save and the stool to replenish their health. Whenever they're ready though, they'll need to follow Ghirahim through the gate and then work their way through an army of Bokoblins and Moblins to get to him and Zelda. There are a lot of them, but many will drop hearts after being defeated, meaning players should be able to complete the section with close to full health. When they reach the bottom of the Sealed Grounds, they'll need to take on one more large group of Bokoblins and will then face off with Ghiarahim for the third and final time.
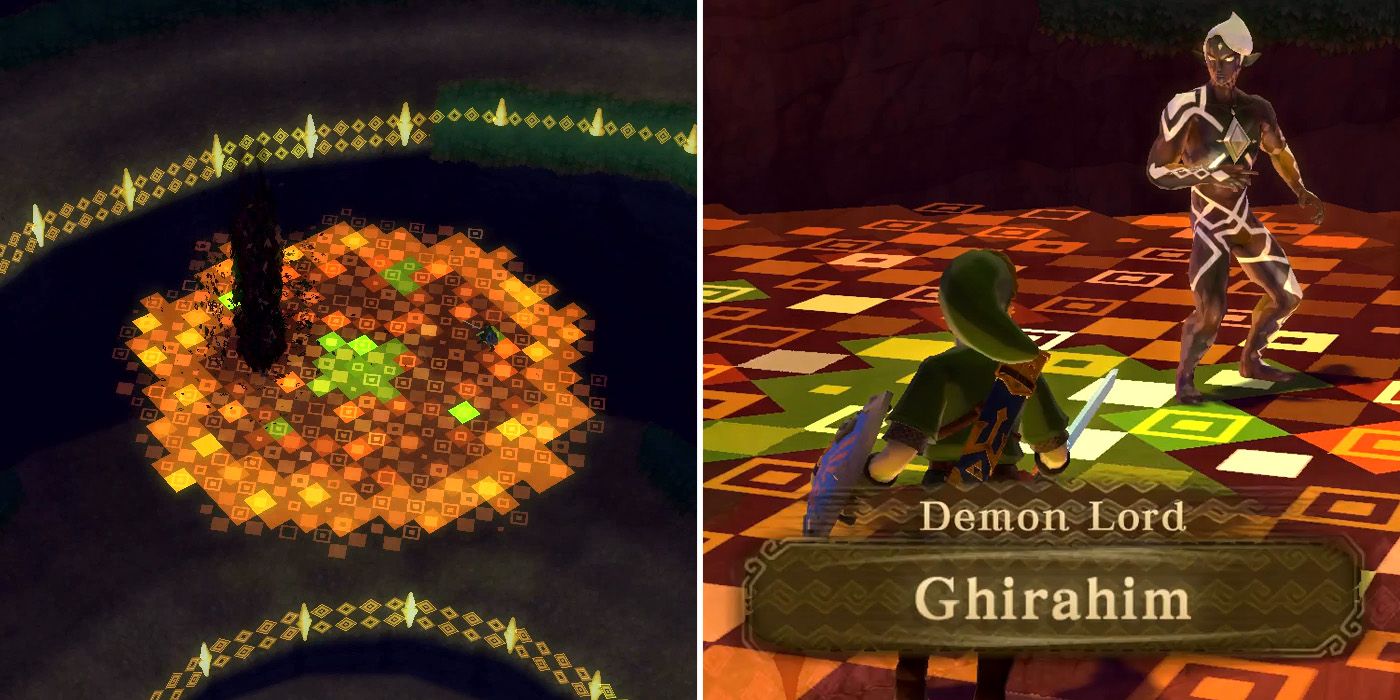
Link's fight with Ghirahim takes place on a number of floating platforms about the spot where Demise is sealed. Much like the Scervo and Dreadfuse fights from earlier in the game, players will need to push the Demon Lord to the edge of the platform and knock him off in order to damage him. This time, however, they'll also need to deliver a Fatal Blow as they make their way down from platform to platform.
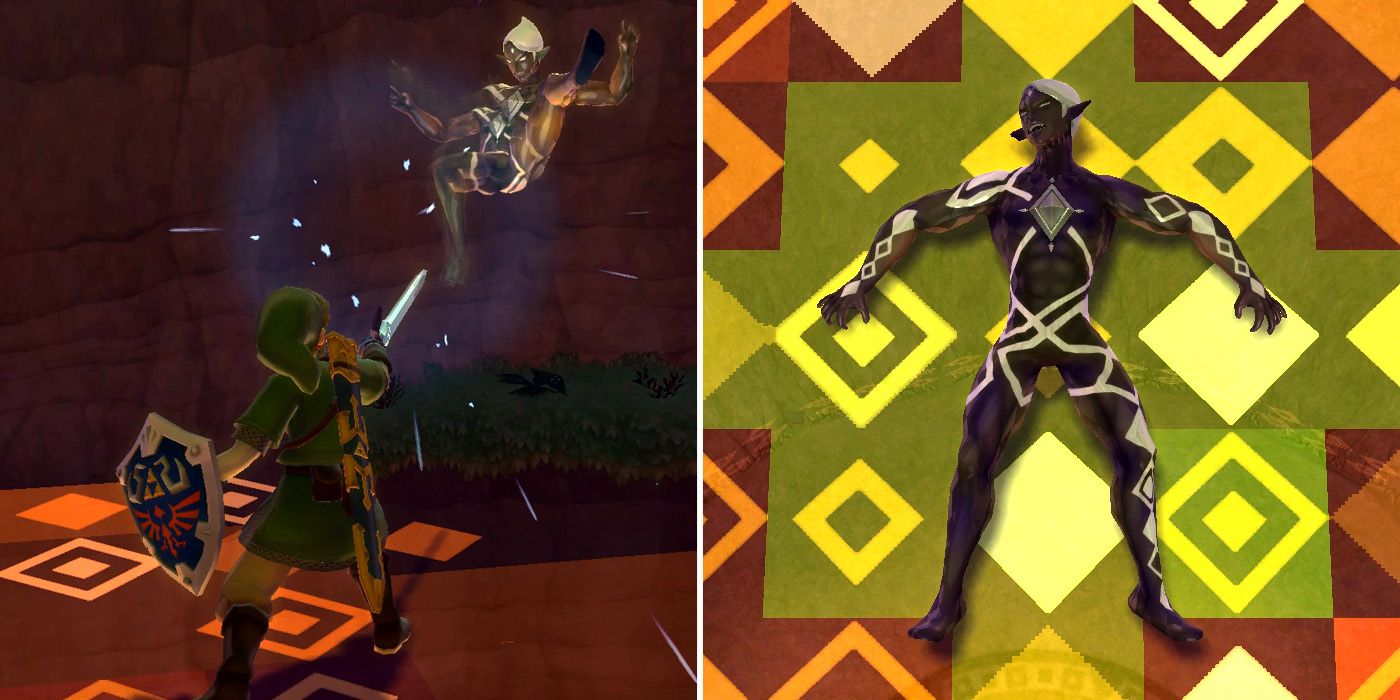
During the first phase of the battle, Ghirahim won't attack all that much, save for the occasional and easily dodged punch. Players should therefore focus on hitting him as much and as quickly as possible to drive him back to the edge of the platform. As in the Scervo and Dreadfuse battles, stab attacks seem to work best for this. Eventually, Ghirahim will fall and players should perform a Fatal Blow to drop down to the platform below and begin the next phase of the fight.
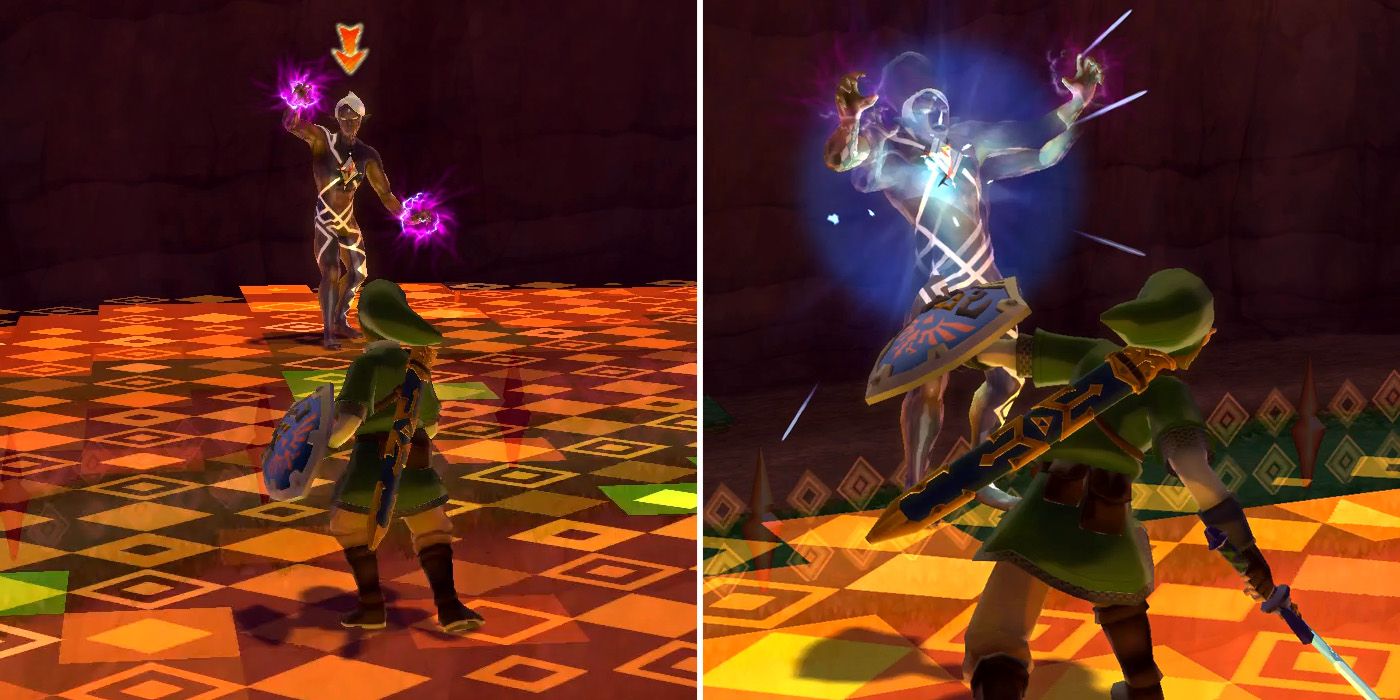
The second phase starts out a lot like the first, only now, when Ghirahim gets near the platform's edge, he'll start to channel pink energy through both of his hands. When this happens, players should look at the position of his arms and angle their sword strikes so that Link's attacks go through the two orbs of energy, rather than hitting them.
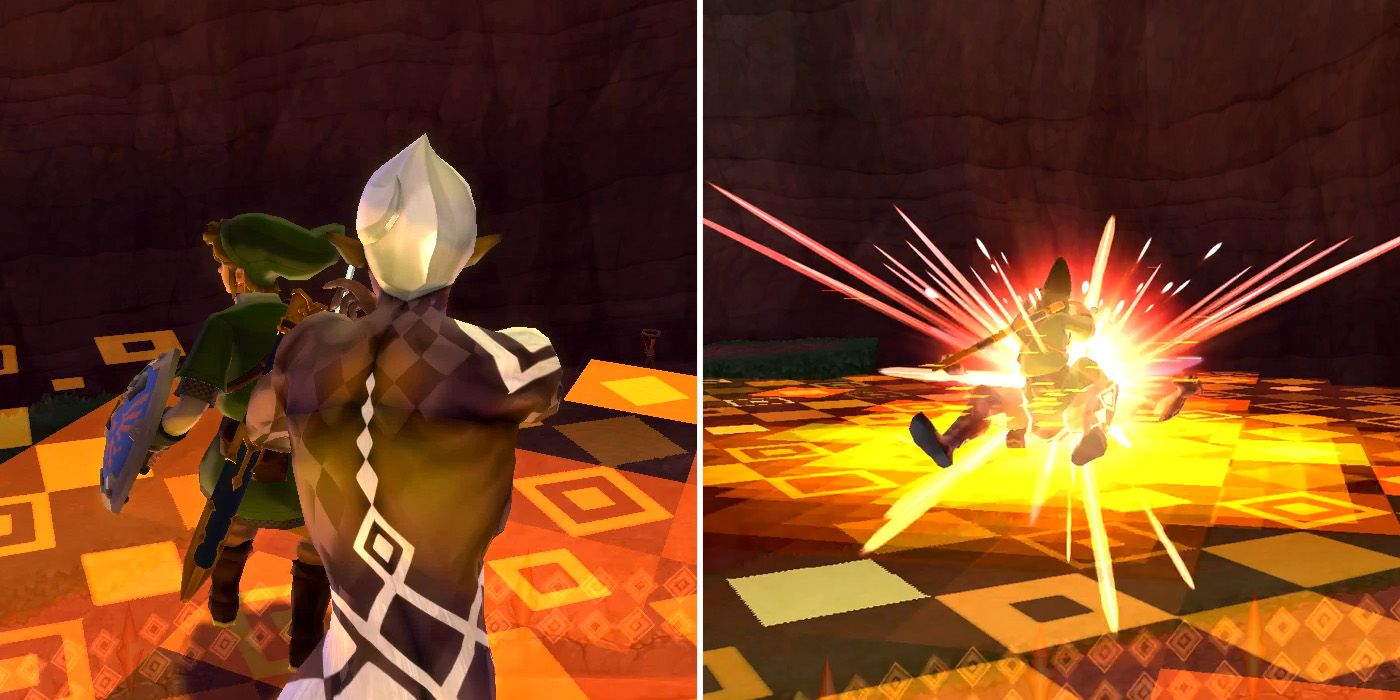
If players make a mistake, Ghirahim will switch positions with Link and players will need to move quickly to avoid being knocked down themselves. Assuming all goes to plan though, Ghirahim will be the one who falls and players can follow him down to the platform below with another Fatal Blow. The next platform is more of the same, although Ghirahim will this time reposition his arms a lot faster than before, making it a little more difficult to break through his guard.
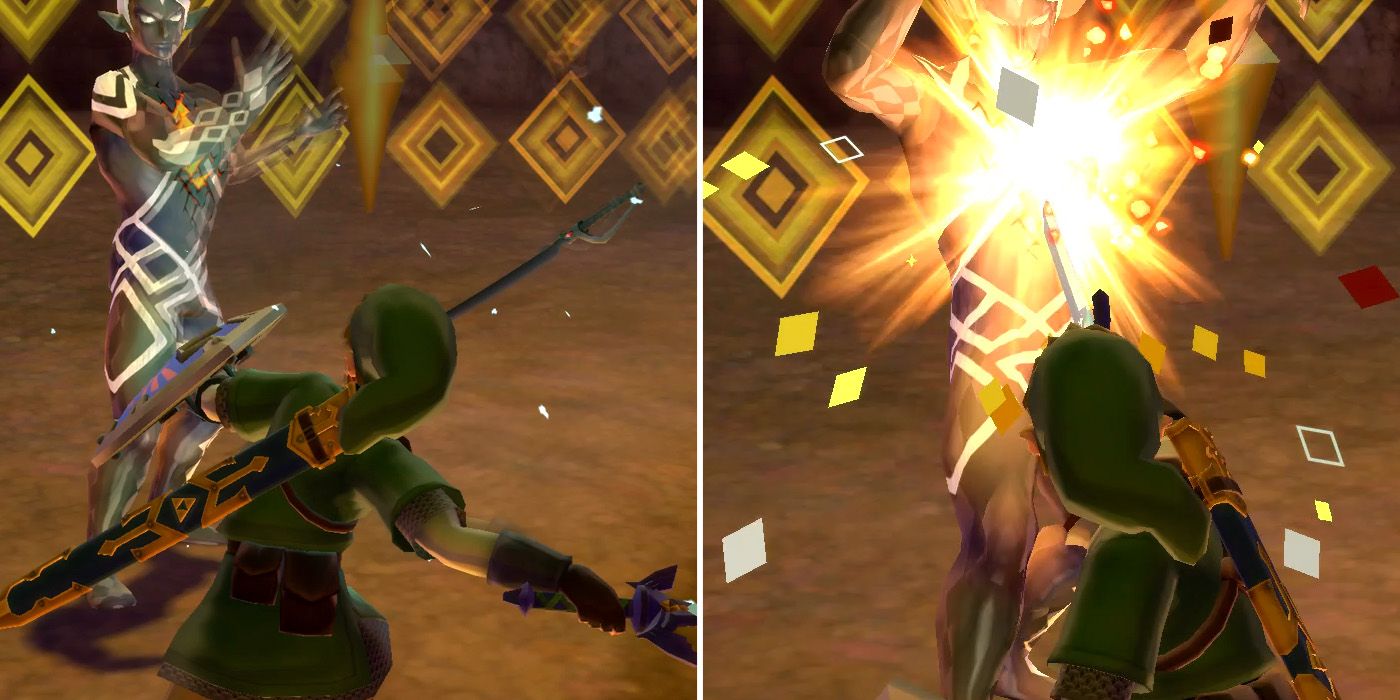
After knocking the Demon Lord down to the ground level, he'll summon a sword, which players will need to knock from his hands. This can be achieved with three or four horizontal sword slashes in quick succession, although Ghirahim will also perform sword attacks of his own, so players should be ready to dodge at a moment's notice if needed. Once he's disarmed, players should stab the red crystal on his chest with as many jab attacks as they're able before he recovers.
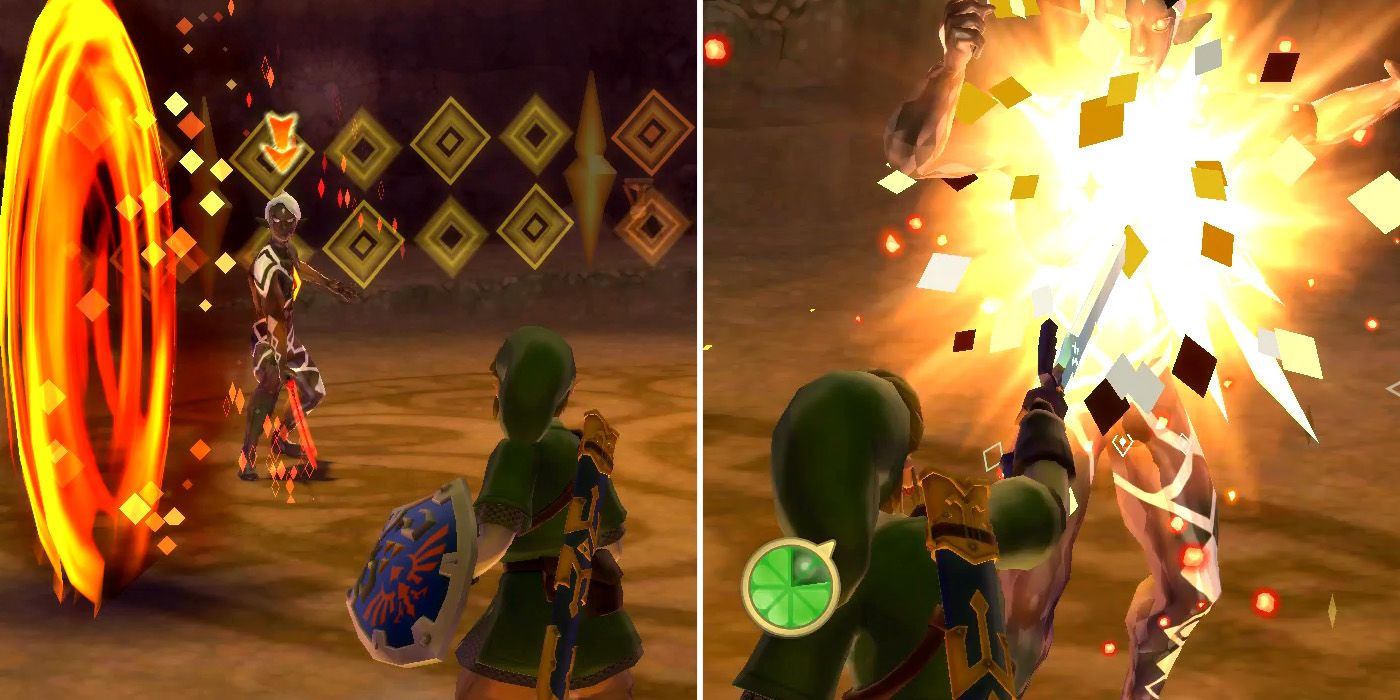
During this phase, Ghirahim will sometimes start sending either horizontal or vertical red beam attacks in Link's direction. Players can either dodge these until he stops or use directional swipes to send them back in his direction. If they opt for the latter, there'll be a short tennis-style rally, but eventually, Ghirahim will be hit by the beam and players will be able to rush in and land a few more jab attacks.
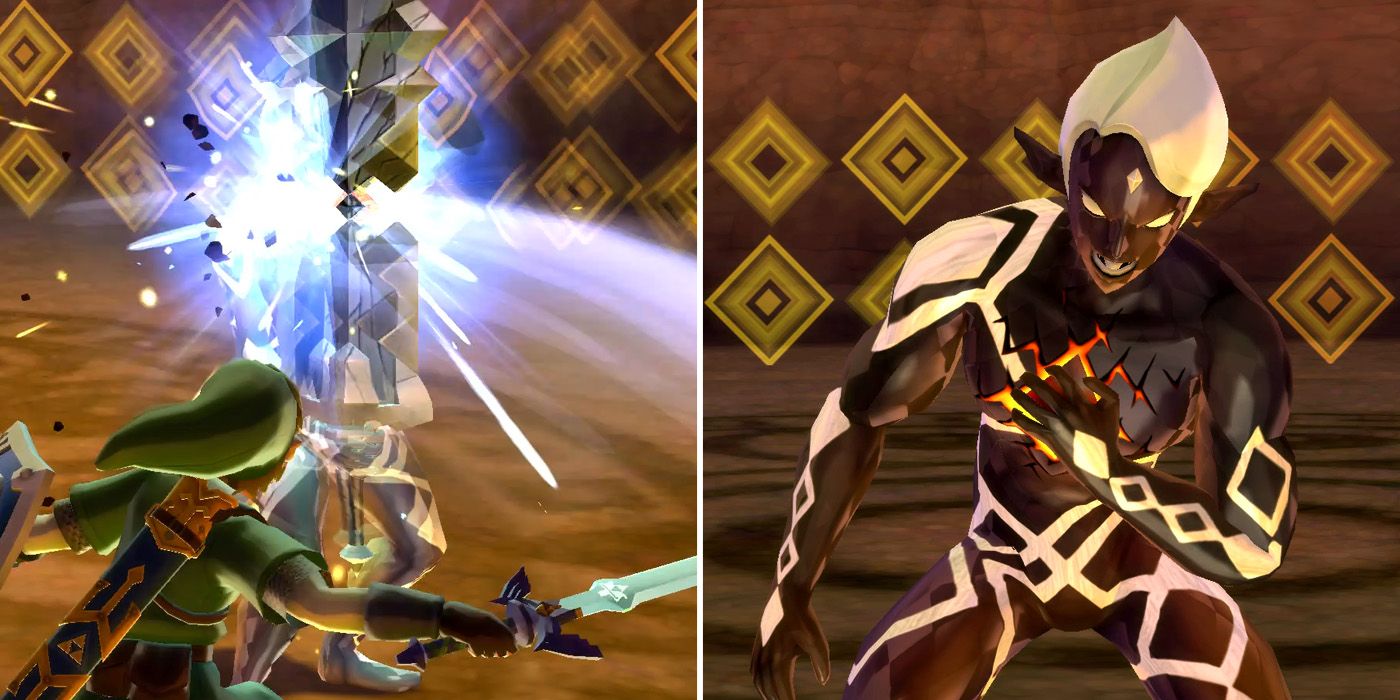
After taking a bit more damage, Ghirahim will switch from a thin, katana-like blade to a much larger one, which can deal considerably more damage to Link. When this happens, players should attack him so that he brings up his guard and then slash quickly in the opposite orientation that he holds the sword so that Link cuts it in half. This will again provide players with a short window in which to stab the red crystal on Ghirahim's chest, and doing so just a few more times will be enough to end the fight.
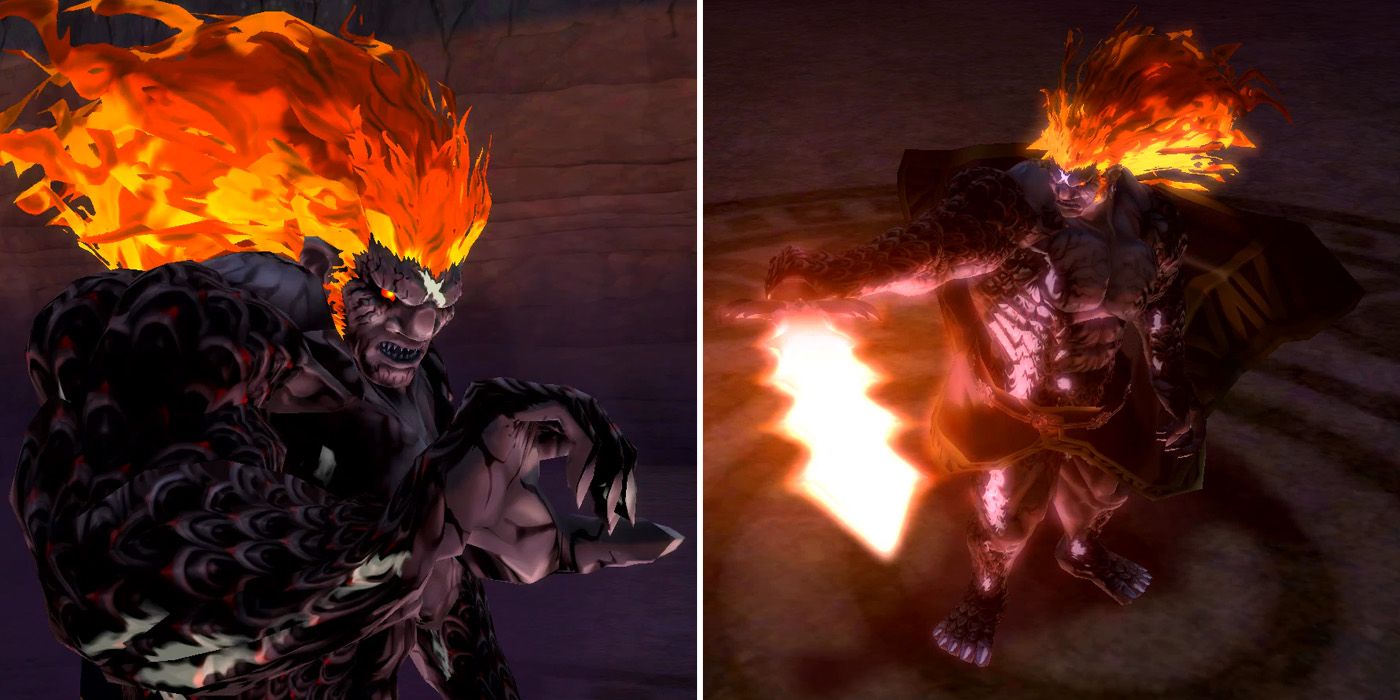
Despite losing the battle, Ghirahim appears to have won the war, as the Demon King Demise is resurrected in front of Link's very eyes. He's not all that grateful for Ghirahim's hard work and dedication though, pulling a mighty blade from his faithful servant's chest and then using it to absorb his remaining lifeforce. After a short conversation with Link, Demise creates a black portal in the center of the Sealed Grounds, through which the game's final battle will take place.
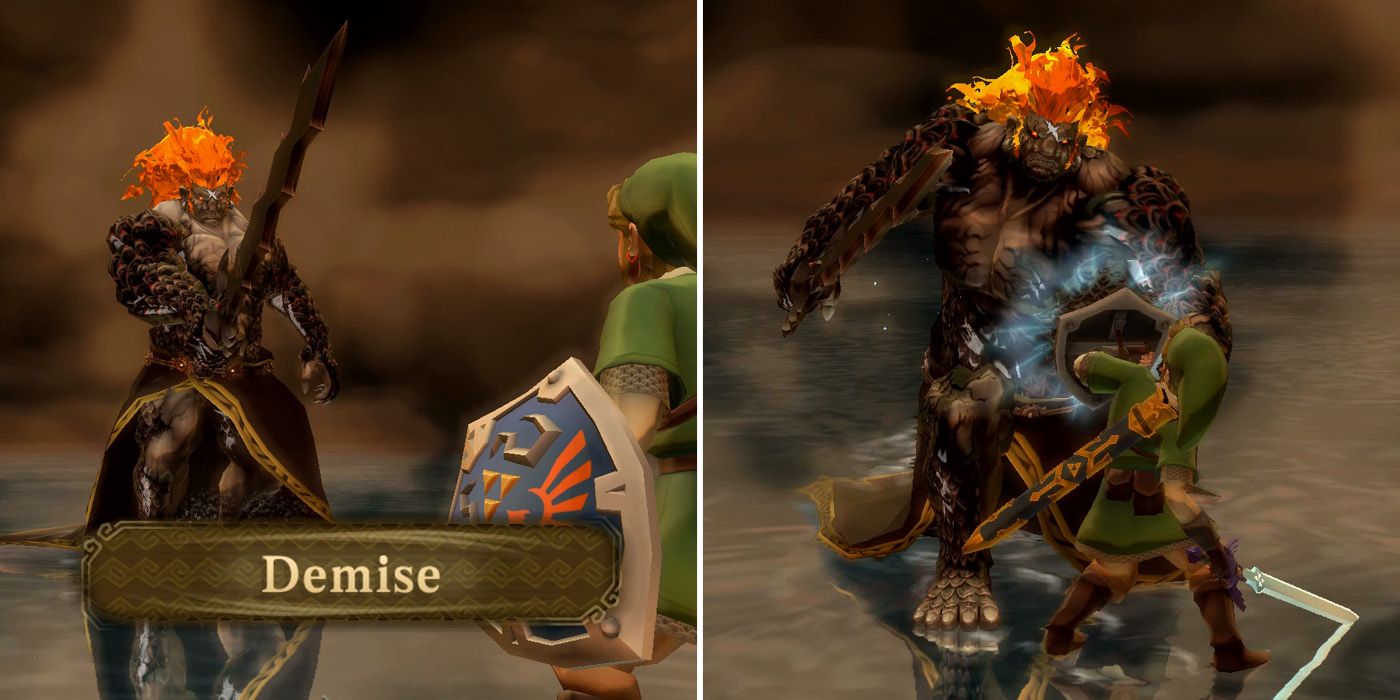
The final showdown with Demise has two phases, neither of which is particularly challenging. The first, in particular, can be reduced to mere child's play if players went out of their way to obtain the Hylian Shield from the Thunder Dragon at Lanayru Gorge. Even without it though, the battle really shouldn't prove to be all that challenging for the vast majority of players.
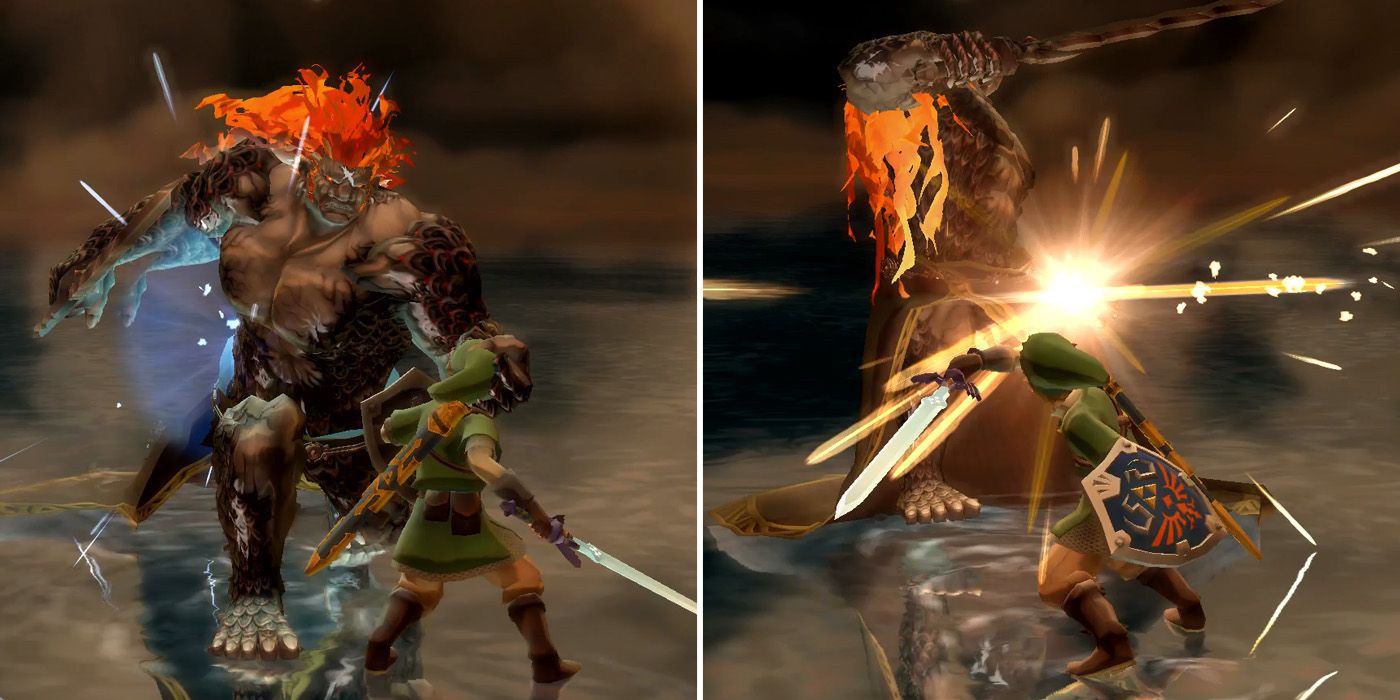
During the first phase, players should aim to stay as close to Demise as possible and use shield bashes whenever he uses his punch attack. If timed correctly, this will provide players with a short window to dish out some damage. If they don't have a shield, they should instead swing their sword at Demise so that he blocks and then hit him a few times from the other direction. If the Demon King starts winding up a punch attack or a sword slash, players should jump backward to avoid it before continuing their offensive.
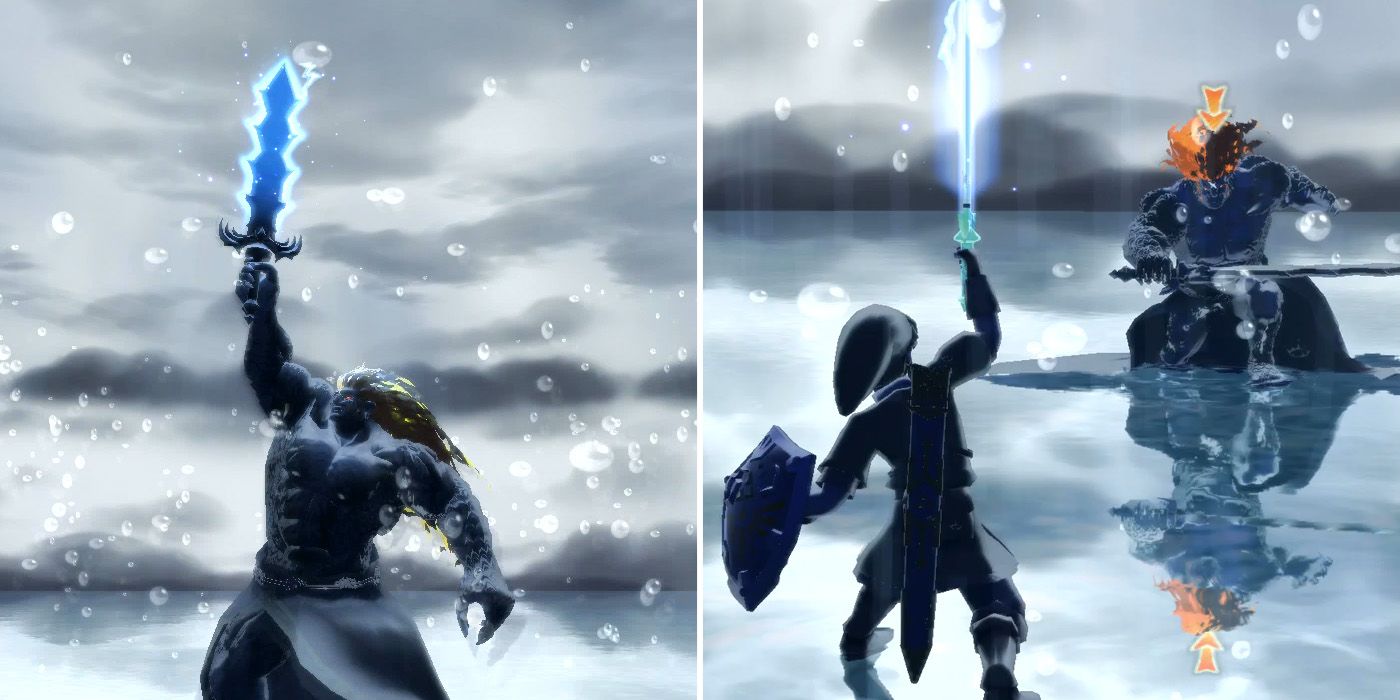
After landing 28 hits with Link's Master Sword, it will start to rain and Demise will begin to channel thunder through his sword to deliver some Skyward Strike-style attacks of his own. As soon as this happens, players should point their own sword up to the skies to attract some lightning and then deliver a Skyward Strike to Demise as quickly as possible. They'll need to be quick, as if both Link and Demise let off their attacks at the same time, the two will cancel each other out and the cycle will start again.
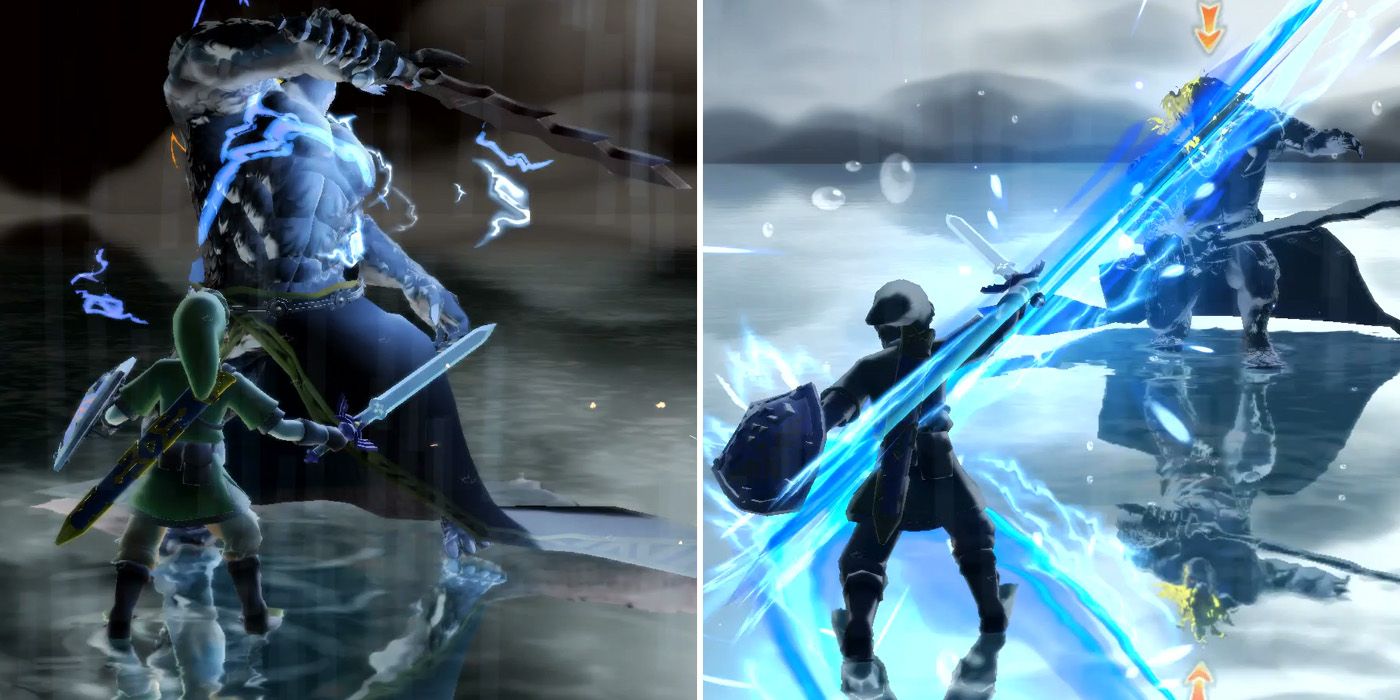
Immediately after being hit with a Skyward Strike, Demise will be vulnerable for around five seconds, allowing players to rush in and deal some decent damage. Eventually, Demise will be knocked to the ground and players will be prompted to perform a Fatal Blow, but should avoid doing so the first time this happens as Demise will move and knock Link to the ground. He also has a fairly devastating charge attack that he'll use if Link gets too far away from him, so players should again stay relatively close throughout the phase.
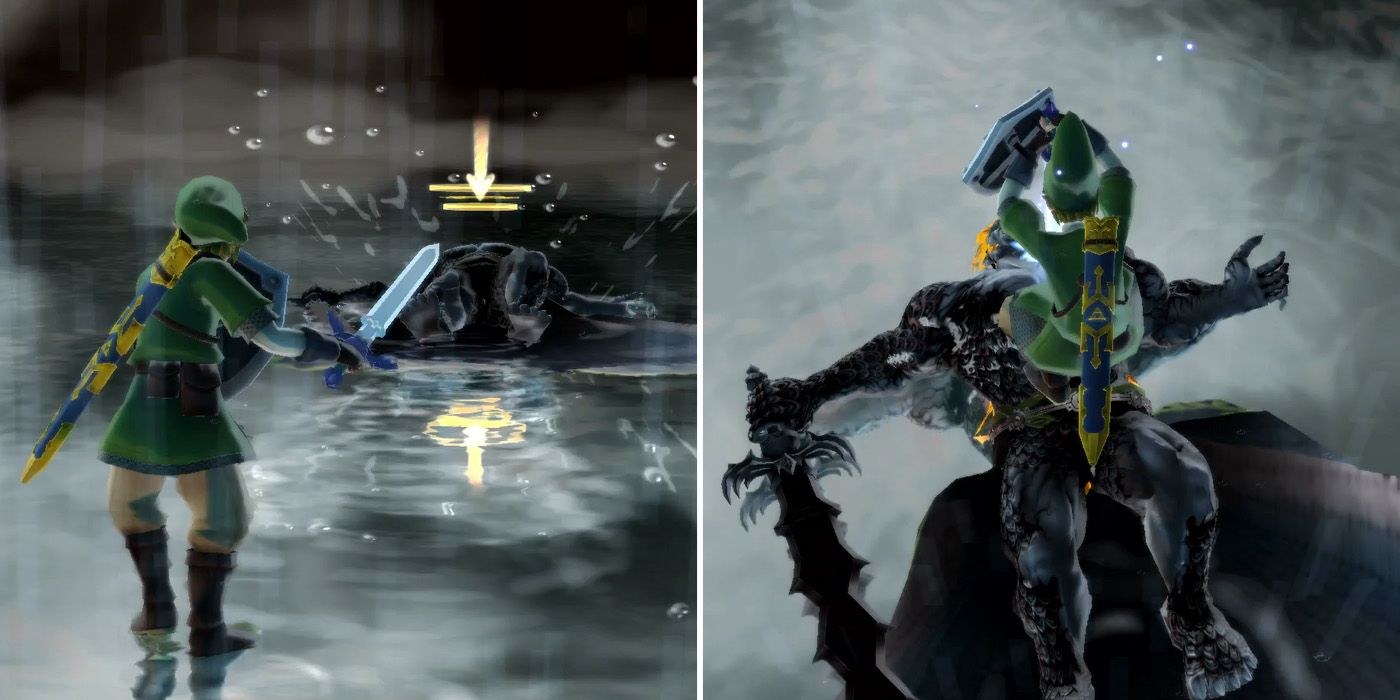
Once players have knocked Demise down for the second time, they'll be given another incredibly short window in which to deliver a Fatal Blow. This time, however, with enough speed, it's possible to land the attack and end the fight at this point. If players are too slow, they'll need to knock Demise down a third time, at which point they'll be given more than enough time to land a Fatal Blow and finish the Demon King off once and for all. Well. Kind of.
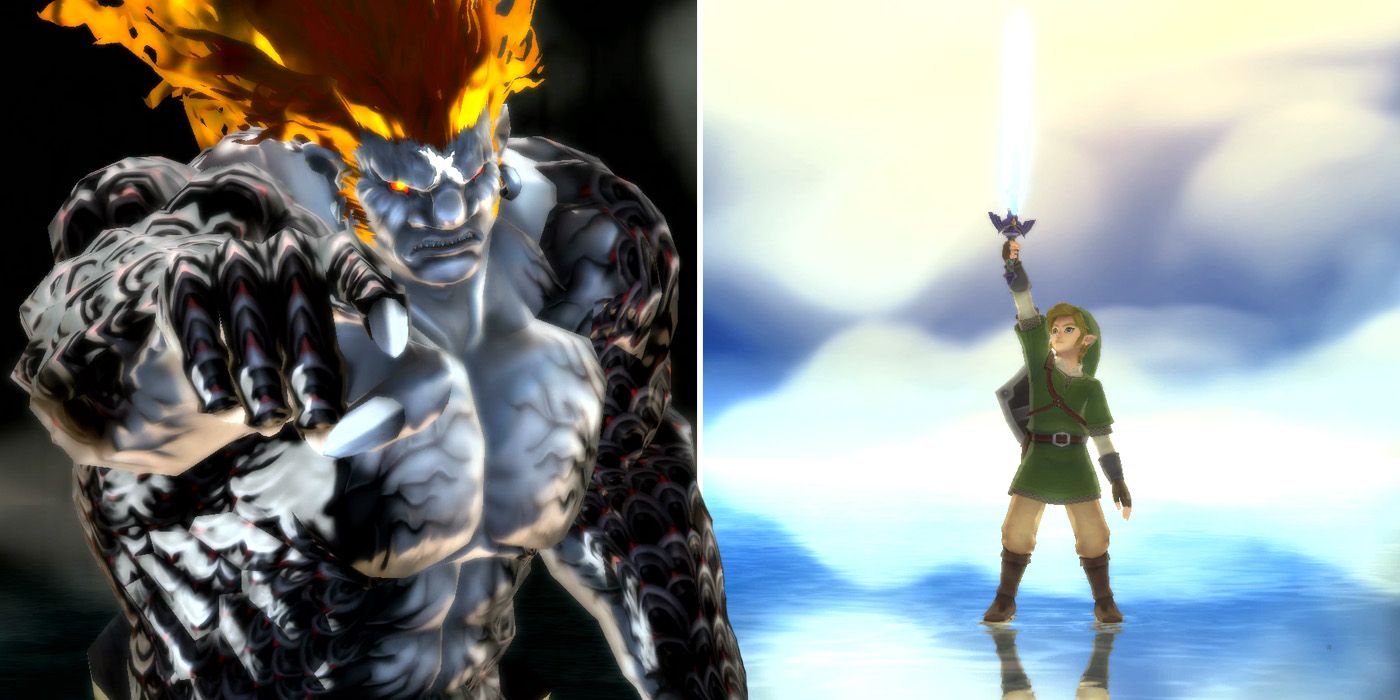
Bruised and beaten, Demise curses all of those to come with the blood of the Goddess and the spirit of the hero before being absorbed into the Master Sword. Fi and Impa say their goodbyes and players can sit back and enjoy the closing cutscenes before the game's credits roll. For those who still haven't had their fill of Skyward Sword HD, the game then offers players a chance to create a Hero Mode save file, which effectively allows them to replay the game at a much higher difficulty level. For everybody else though, the adventure is finally over for now.
NEXT: The Legend of Zelda: Skyward Sword HD Complete Guide For Dungeons, Items & Collectibles

