As with most modern games, Lost Judgment begins with an extended tutorial section that introduces not only some of the game's main characters, but also its core mechanics. Amongst other things, players will need to tail and chase a suspect, infiltrate a building, and also get a feel for how the game's combat system works.
RELATED: Lost Judgment: How Long to Beat
Much like its predecessor, Lost Judgment is a story-heavy game featuring some interesting characters and a beautifully crafted narrative. The seeds for this story are sown during the opening section, which really helps make it feel more like a part of the main game than something that was tacked on at the beginning just to teach newcomers how to play.
How to Tail Kosuke
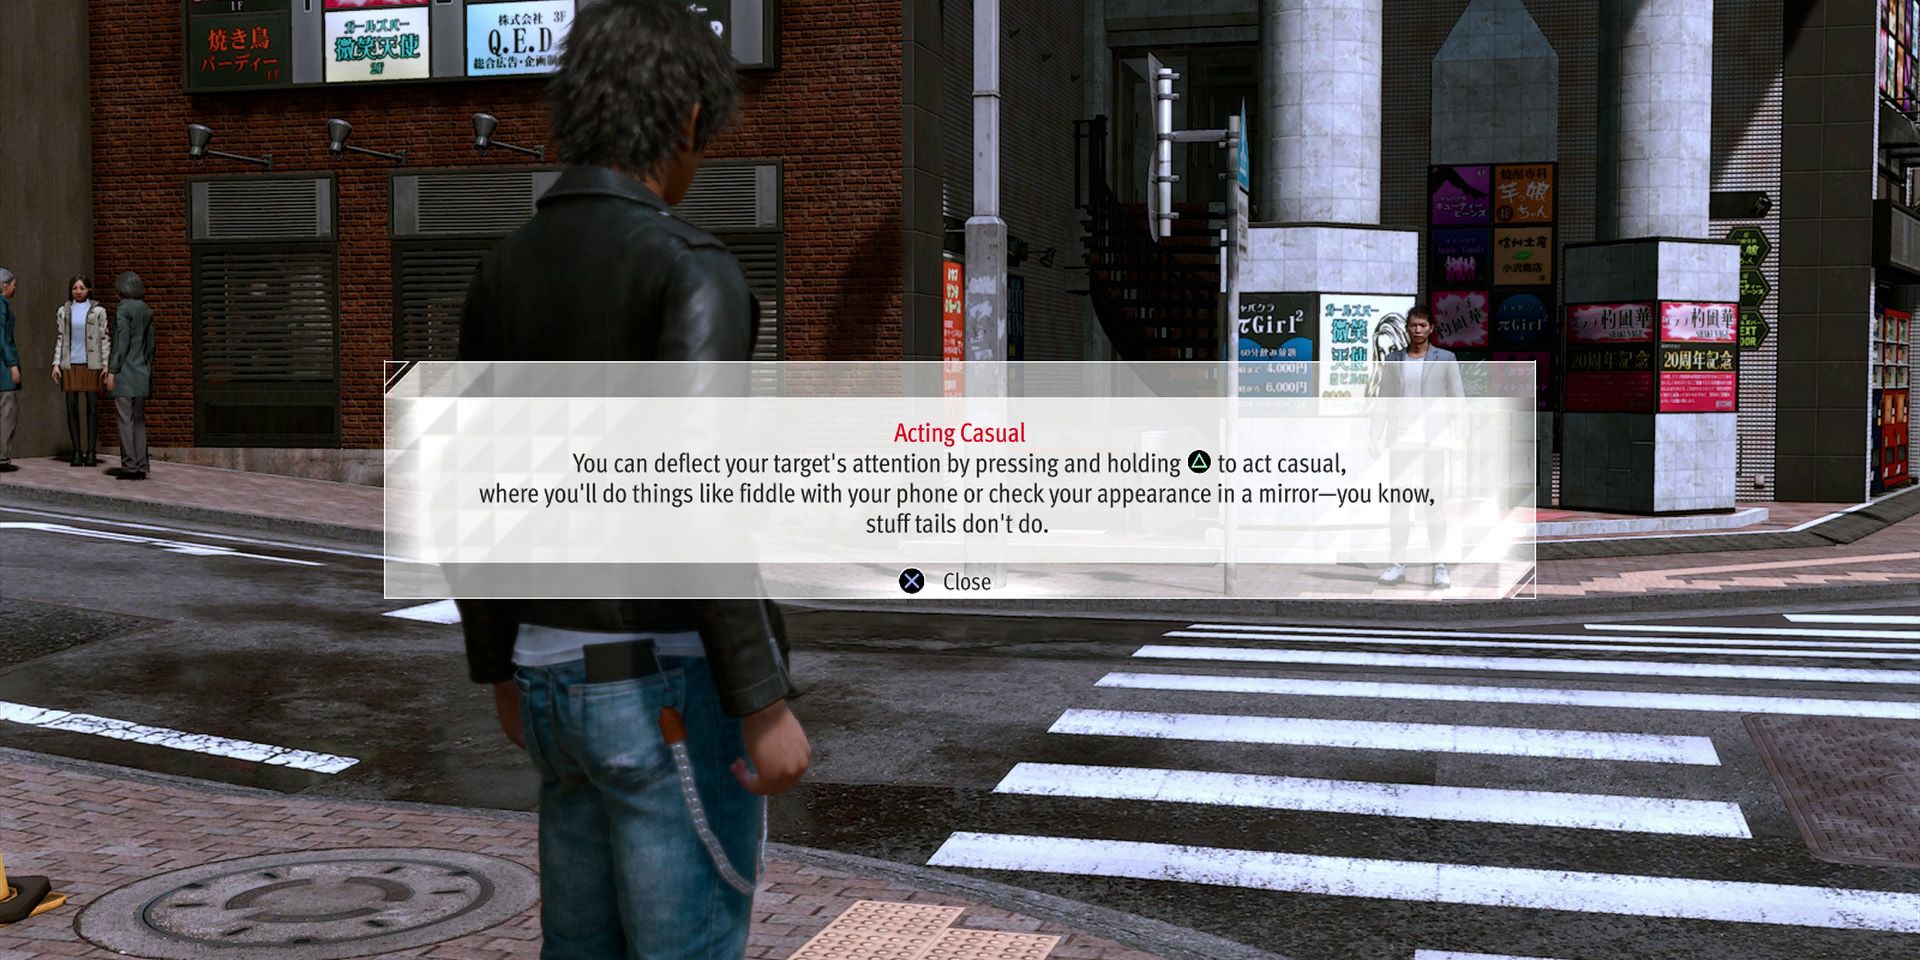
Given how unpopular tailing missions are these days, RGG's decision to start the game with one is, if nothing else, a very brave one. Players will need to follow Kosuke at a distance and should be sure to stop in the red areas whenever prompted to do so. If they do get too close, they can press the triangle/Y button to have Tak blend in, which will usually be enough to defuse the suspect's suspicions.
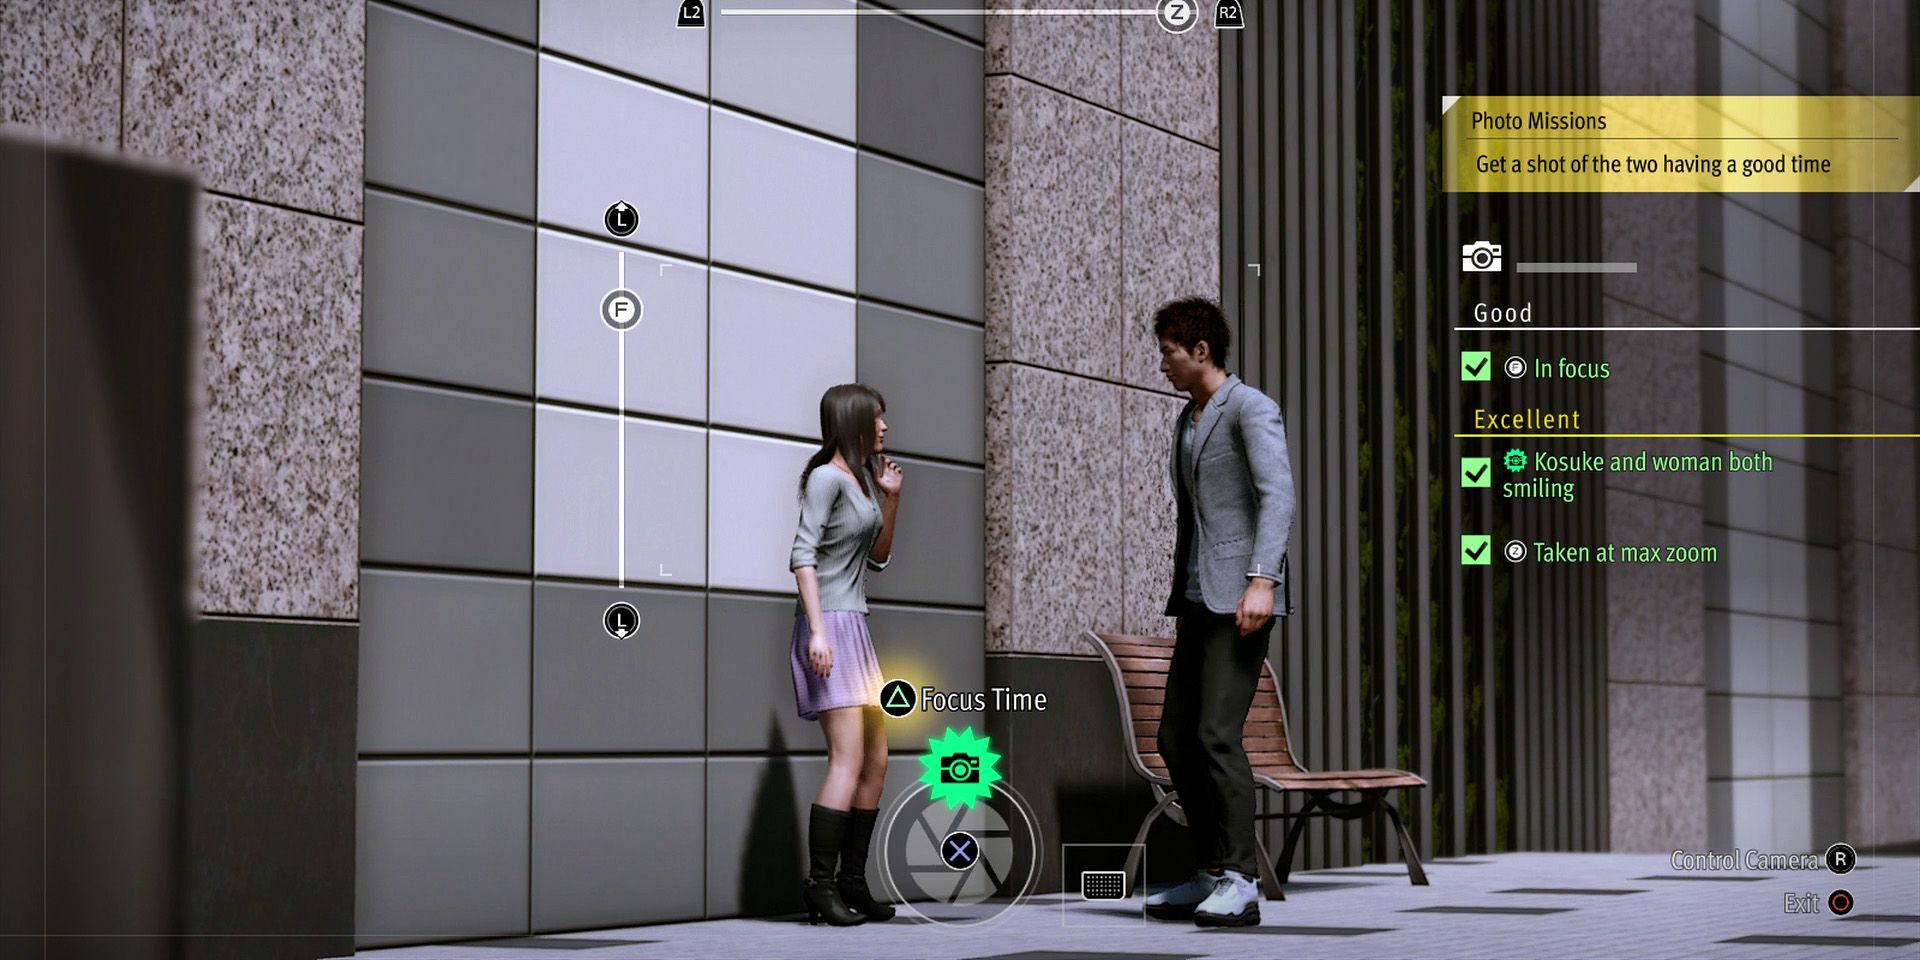
Players will also need to take a few pictures of Kosuke's misgivings during their pursuit and should aim to hit the criteria on the right side of the screen while doing so to ensure that they get maximum points. For the perfect shots, players can slow down time by pressing the triangle/Y button right before taking a picture.
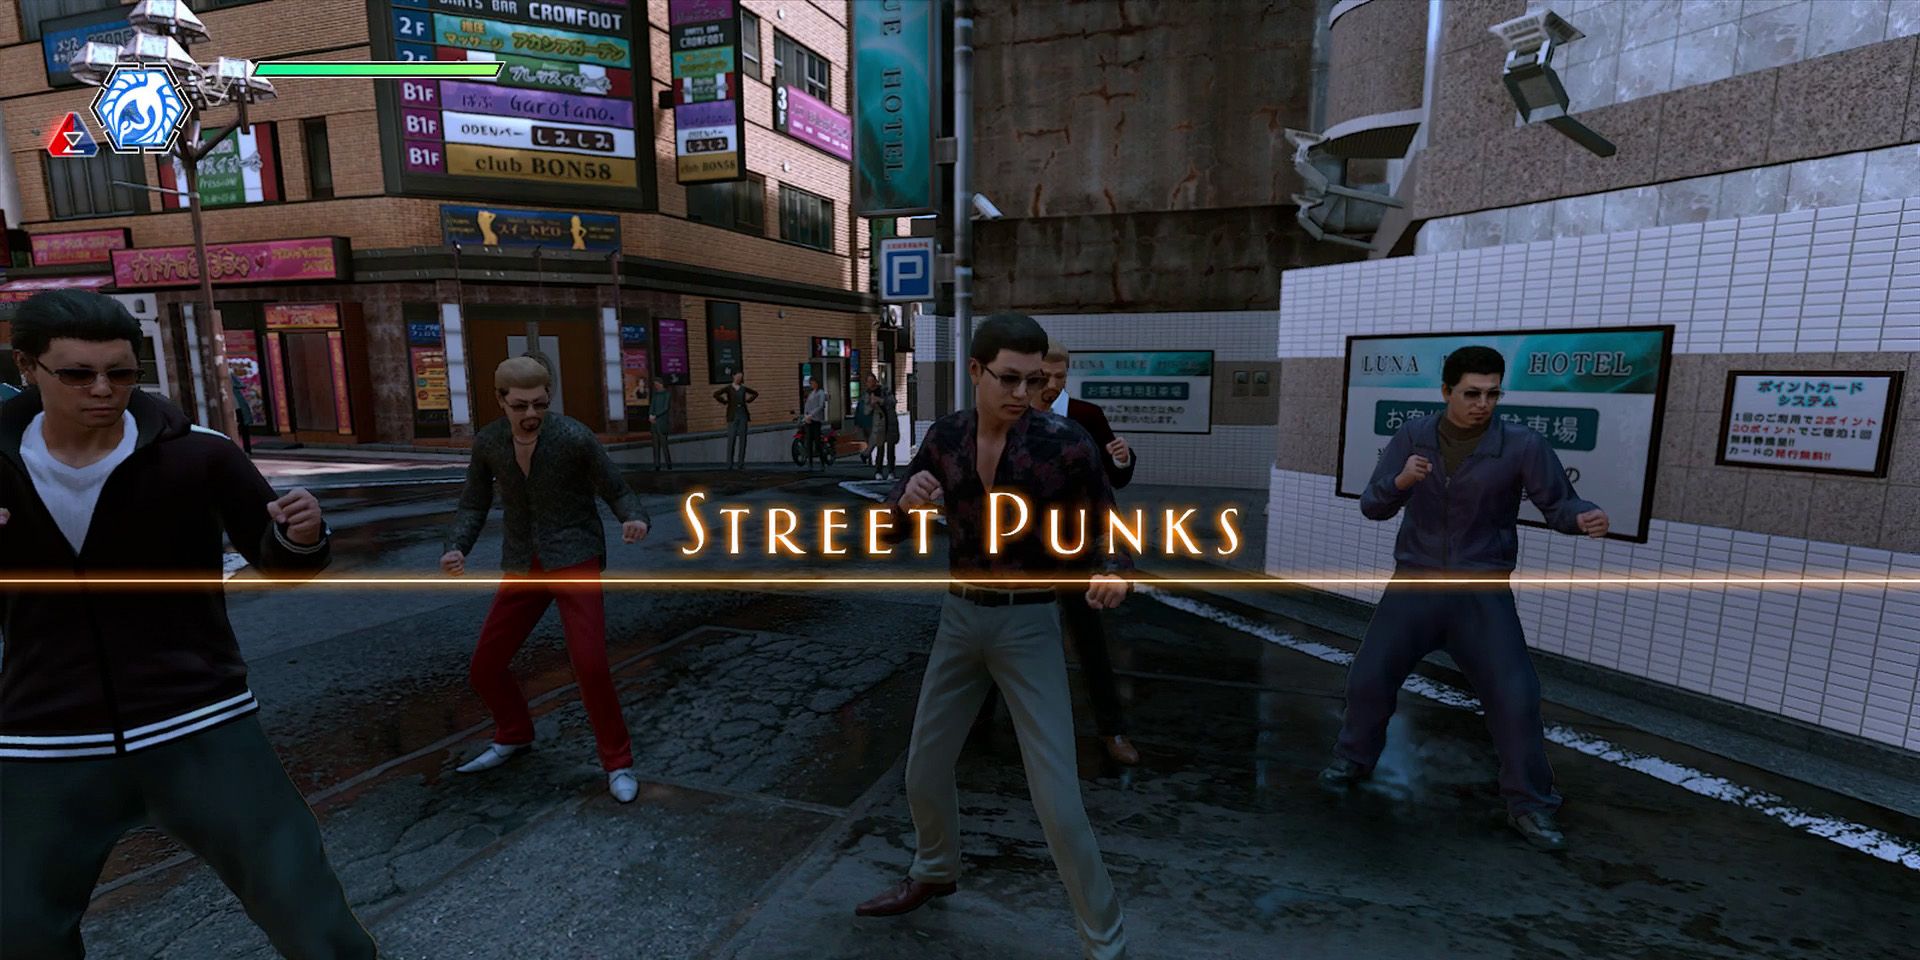
Around halfway through the section, Tak will be confronted by a large group of street thugs and will need to take them out before he can return to Kosuke. This is a tutorial fight, meaning that players won't be able to hurt the thugs until after they've completed all of the tutorial objectives on the right-hand side of the screen.
How to Sneak Into the Building
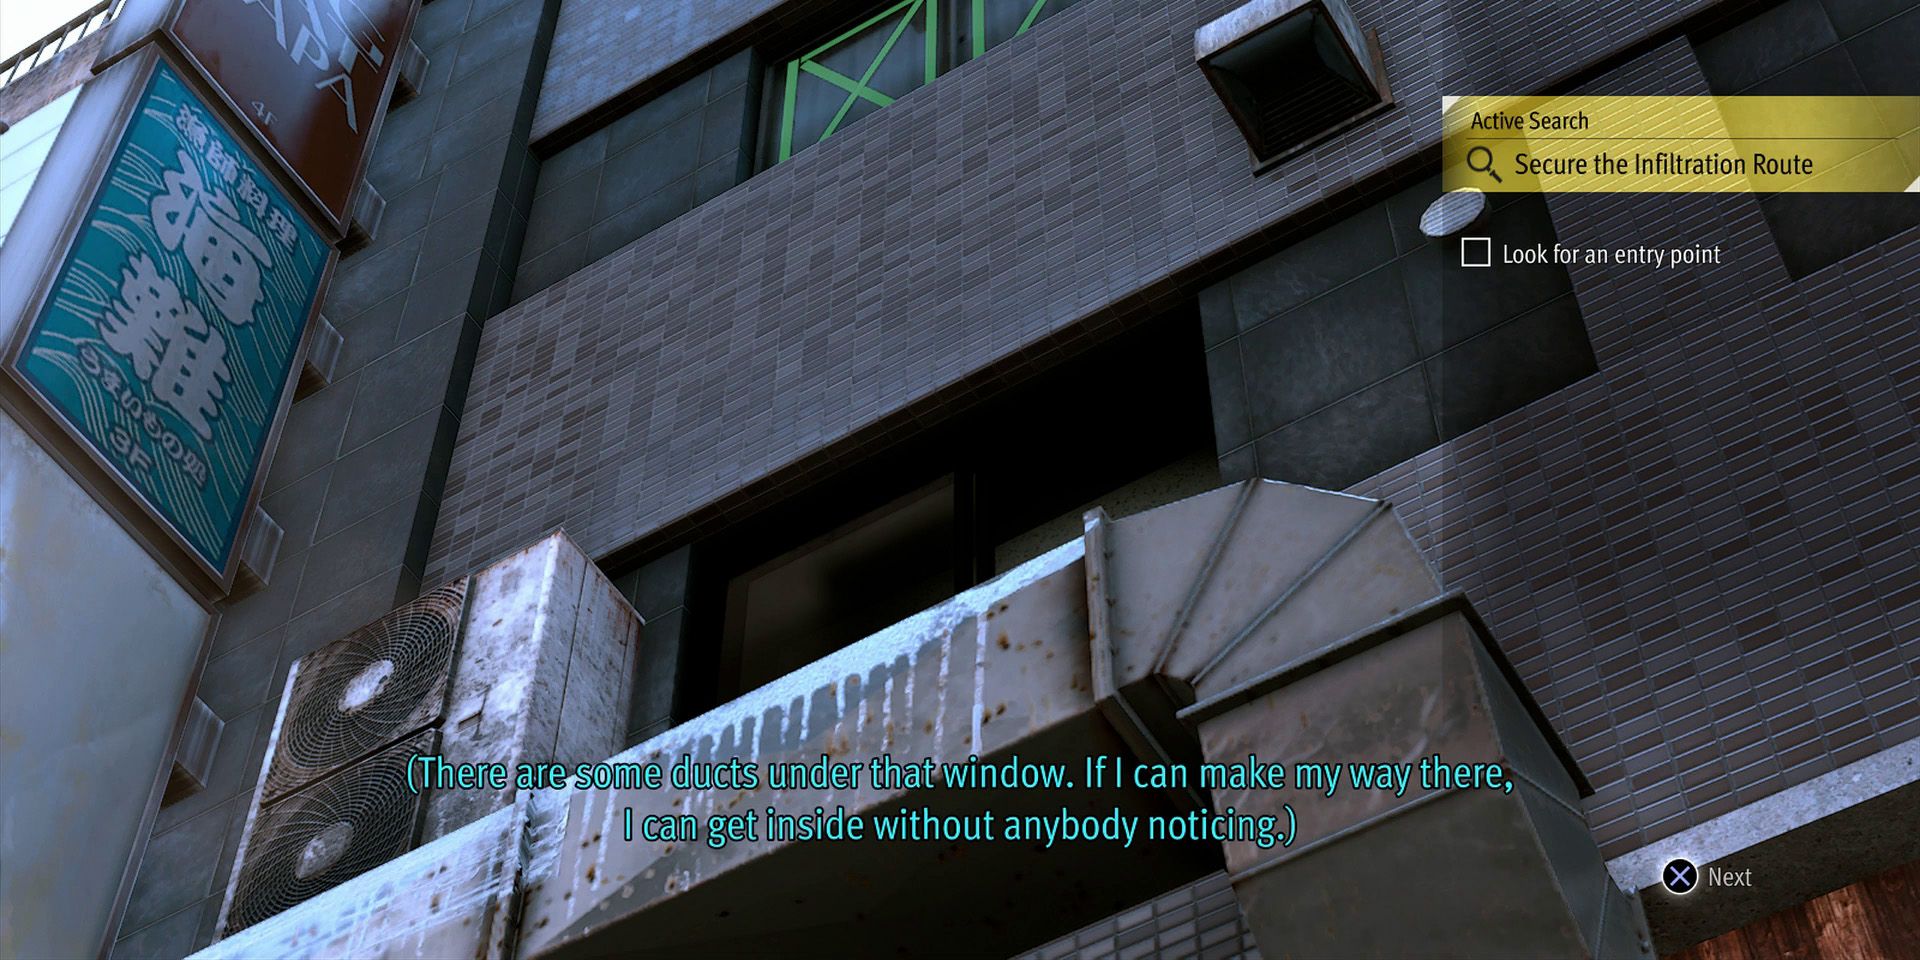
Eventually, Kosuke will head inside a building, but the doorman won't allow Tak to follow. Players will therefore need to find a way to sneak inside by completing an active search. There are quite a lot of things that they can focus on here, but the two main ones are the open window above the air conditioning duct and the alleyway that leads behind the building.
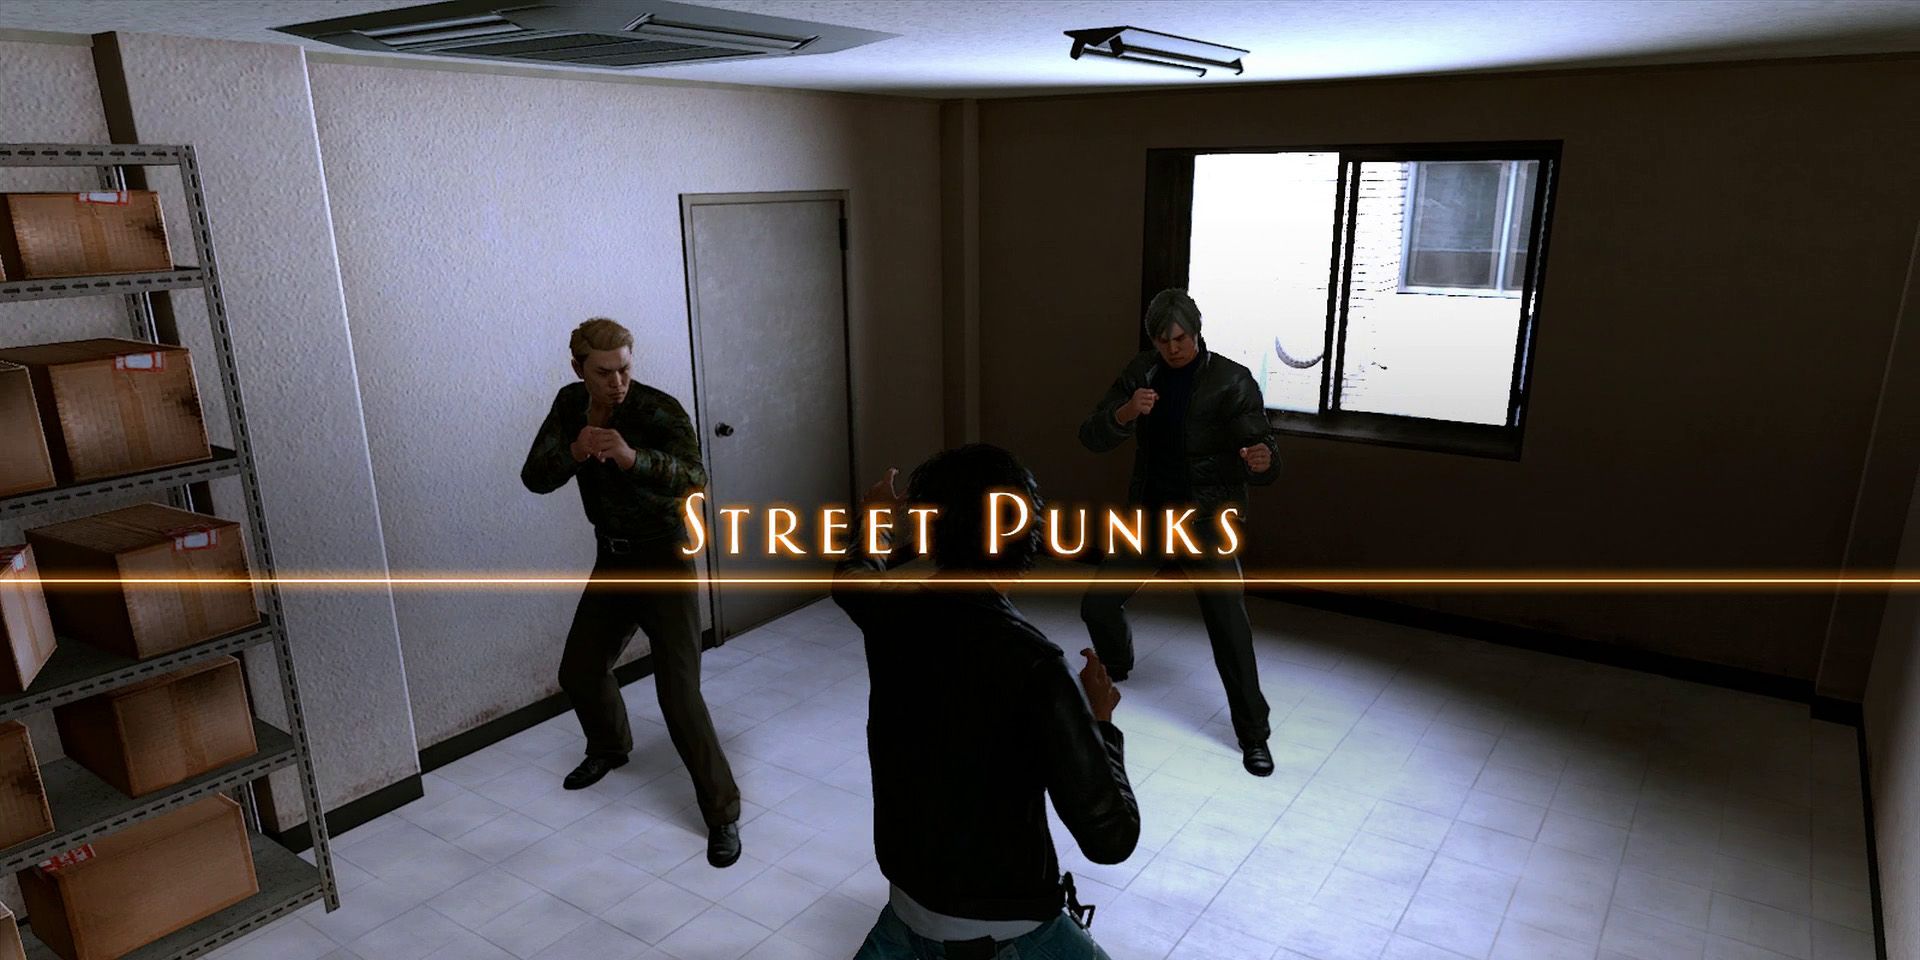
After going behind the building, players will need to examine the AC unit and the scaffolding. If done correctly, they'll now be able to climb up and enter the building, where they'll soon square off against two thugs. This is another tutorial fight, so players will again need to tick off all of the objectives before they can progress.
How to Get Into the Tatami Room
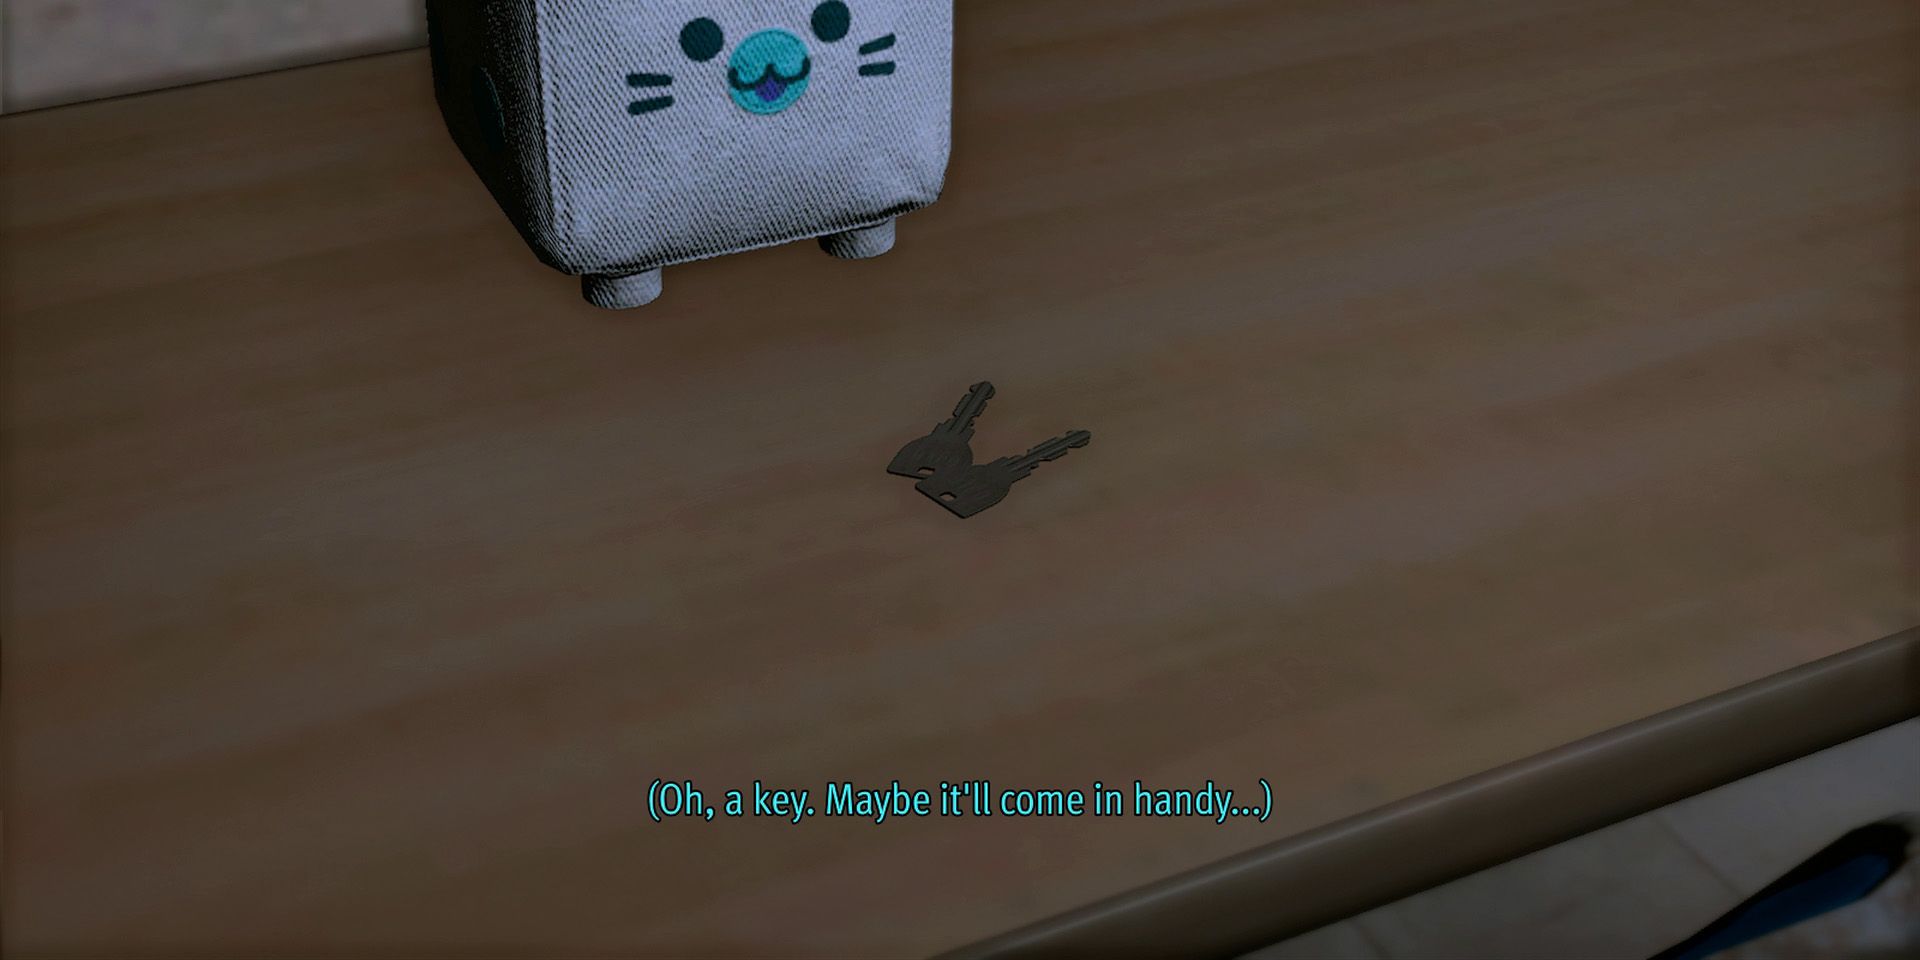
Once they've dealt with the guards, players will need to make their way upstairs to the tatami room. This means completing a stealth section, which begins by heading into the storeroom to the left of the player's starting position. Inside, they'll find a sleeping guard and should sneak over and pick up the key from the desk nearby. After that, it's time to head out onto the fire escape and up to the next floor.
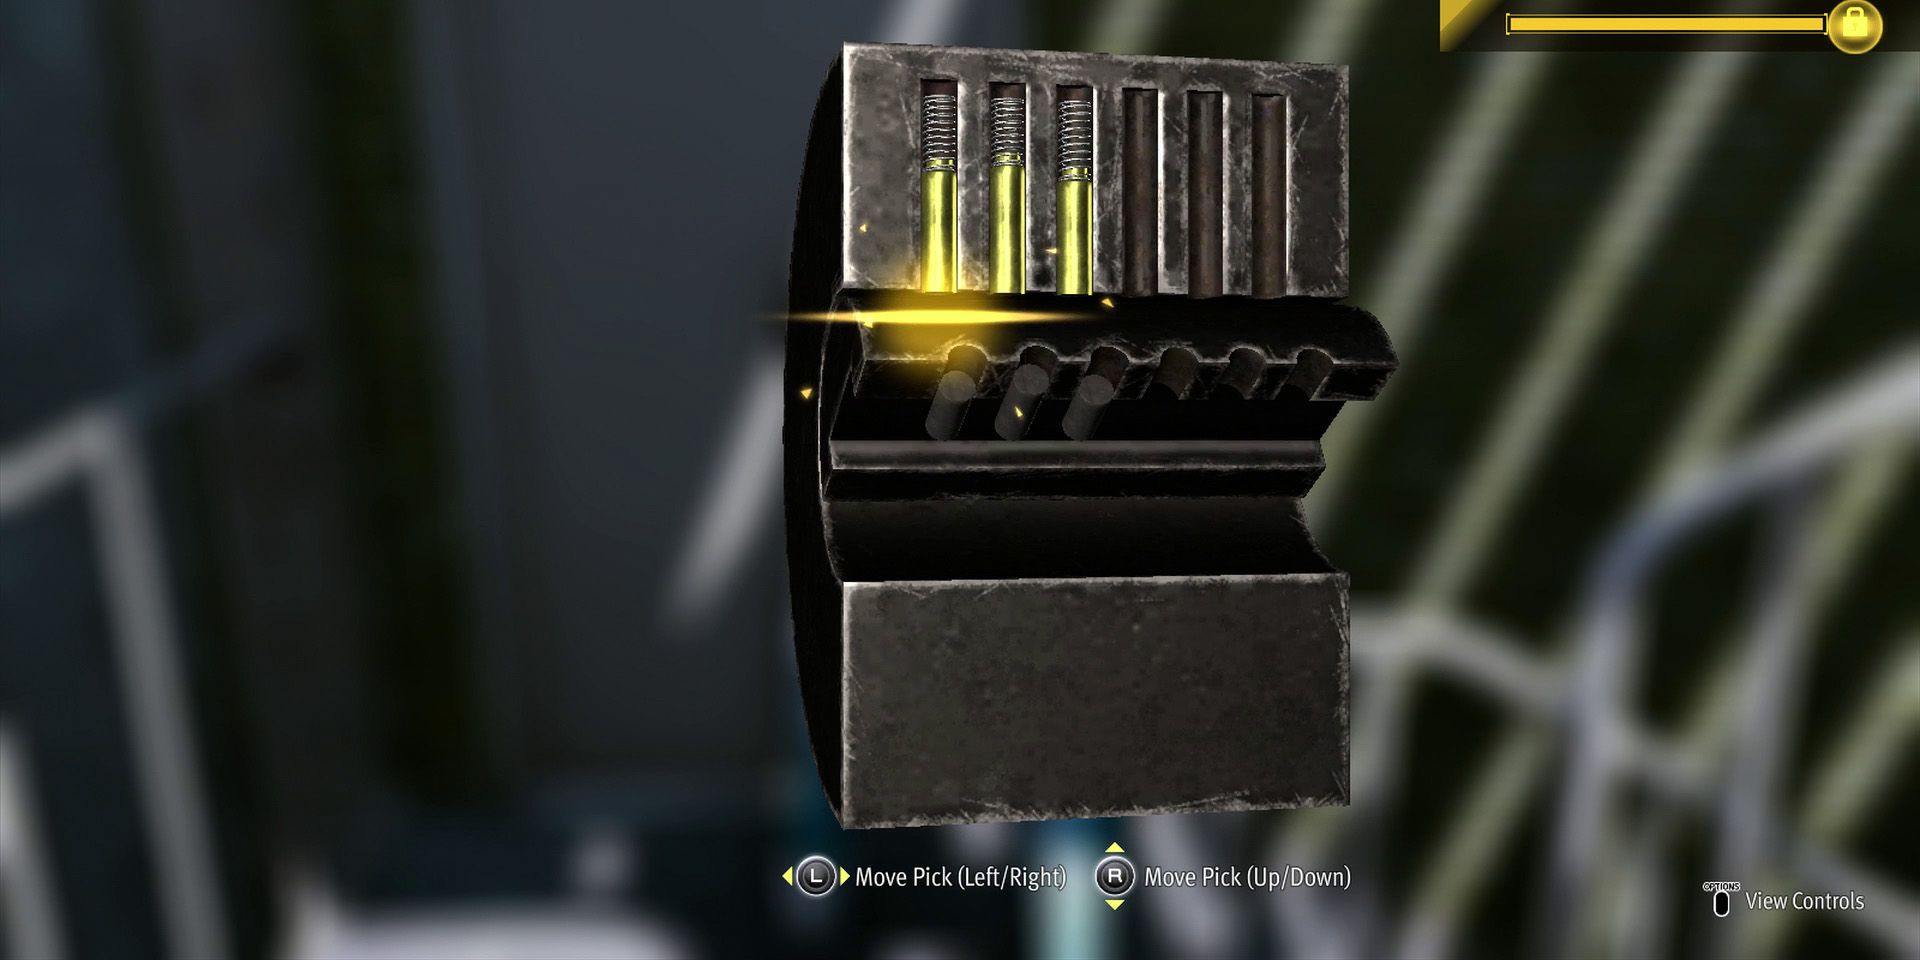
Upon completing a lock picking tutorial, players will find themselves back inside and right by the entrance to the tatami room. Before they can enter, however, they'll first need to distract the guard with a coin and then take him out by pressing triangle (PlayStation) or Y (Xbox). With the guard now out cold, stepping on the red marker will end the stealth section.
How to Deal with Kosuke
After hearing about Kosuke's manipulative tactics, it's finally time to confront him. Tak will first take him on in a one-on-one battle, but he's soon joined by a gang of generic thugs. The game's third battle teaches players about EX Boost and, like the ones that preceded it, cannot be completed until after players have met the tutorial objective.
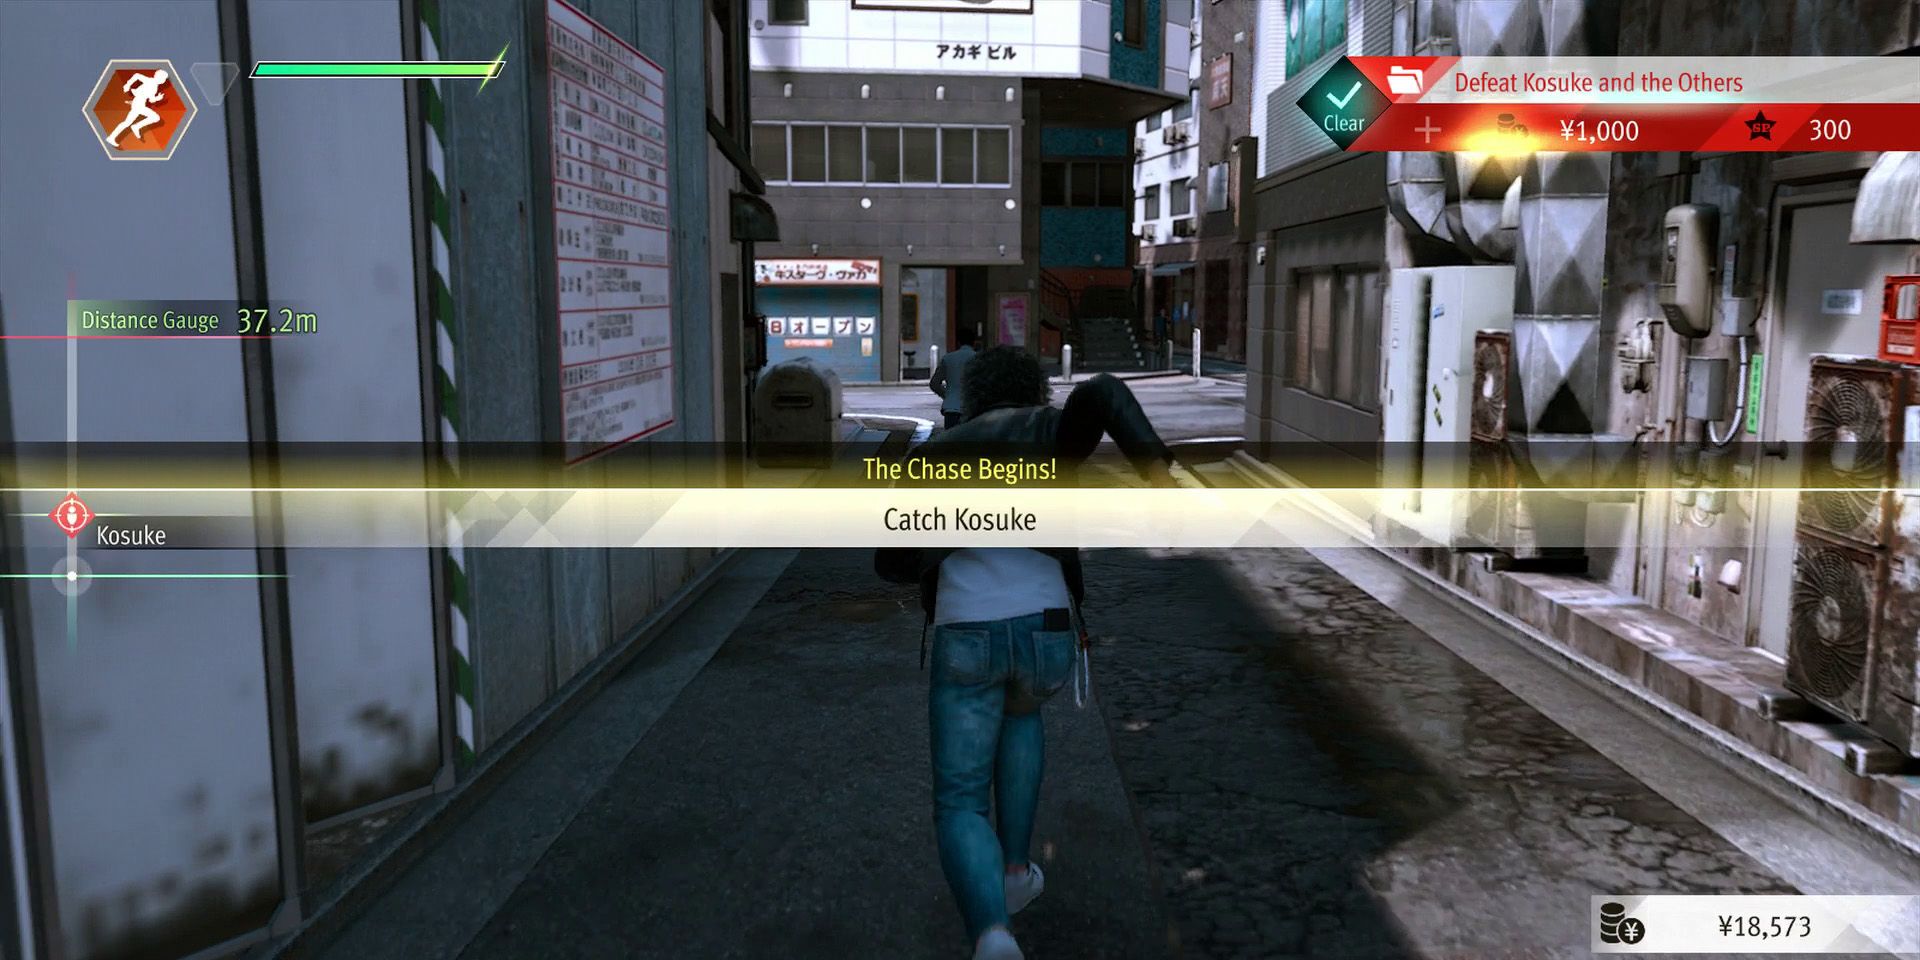
With his backup incapacitated, Kosuke will decide to run, giving players their first taste of a Lost Judgment chase. Like the rest of them, it's fairly straightforward, with players simply needing to use the left analog stick to avoid obstacles and collect energy replenishing items until the person fleeing runs out of stamina.
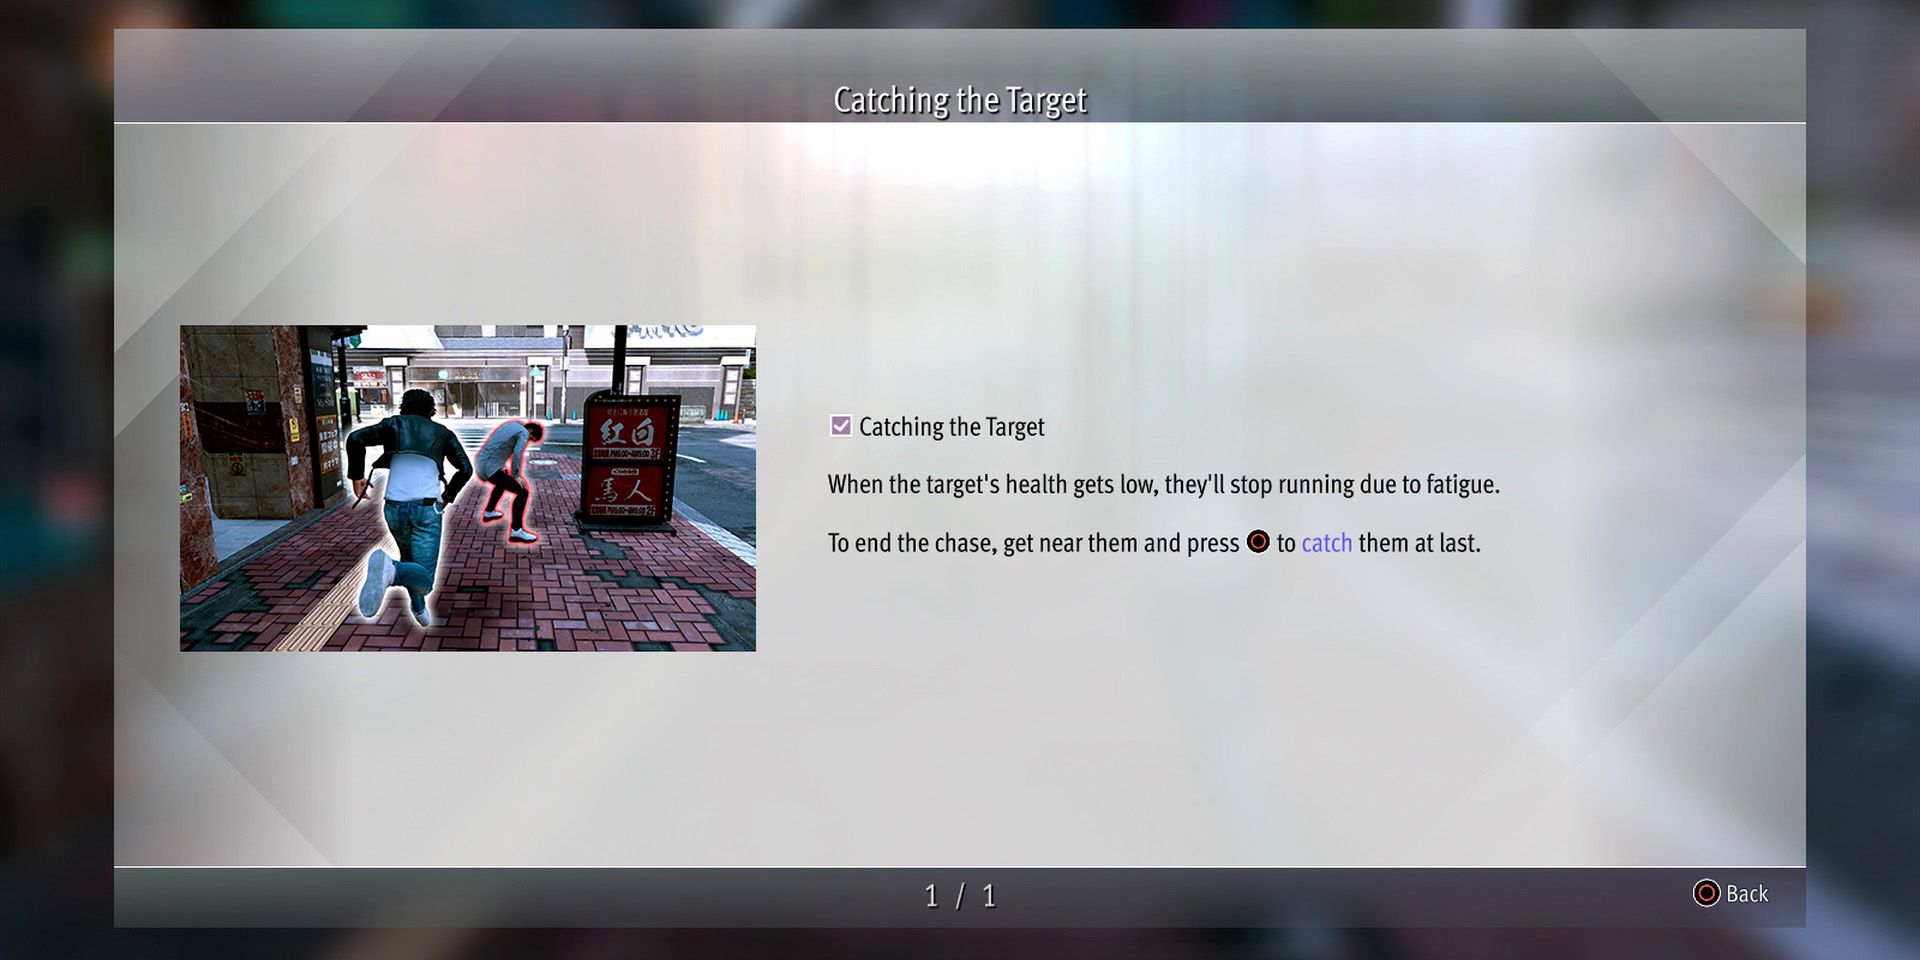
There are a few occasion button prompts thrown in there as well, with triangle/Y used to vault obstacles and kick balls or buckets at the person who is fleeing, circle/B used to tackle them when in range and X/A used to dodge things that are thrown at Tak. In some of the later chase sections, the Square/X button is also needed to slide over cars.
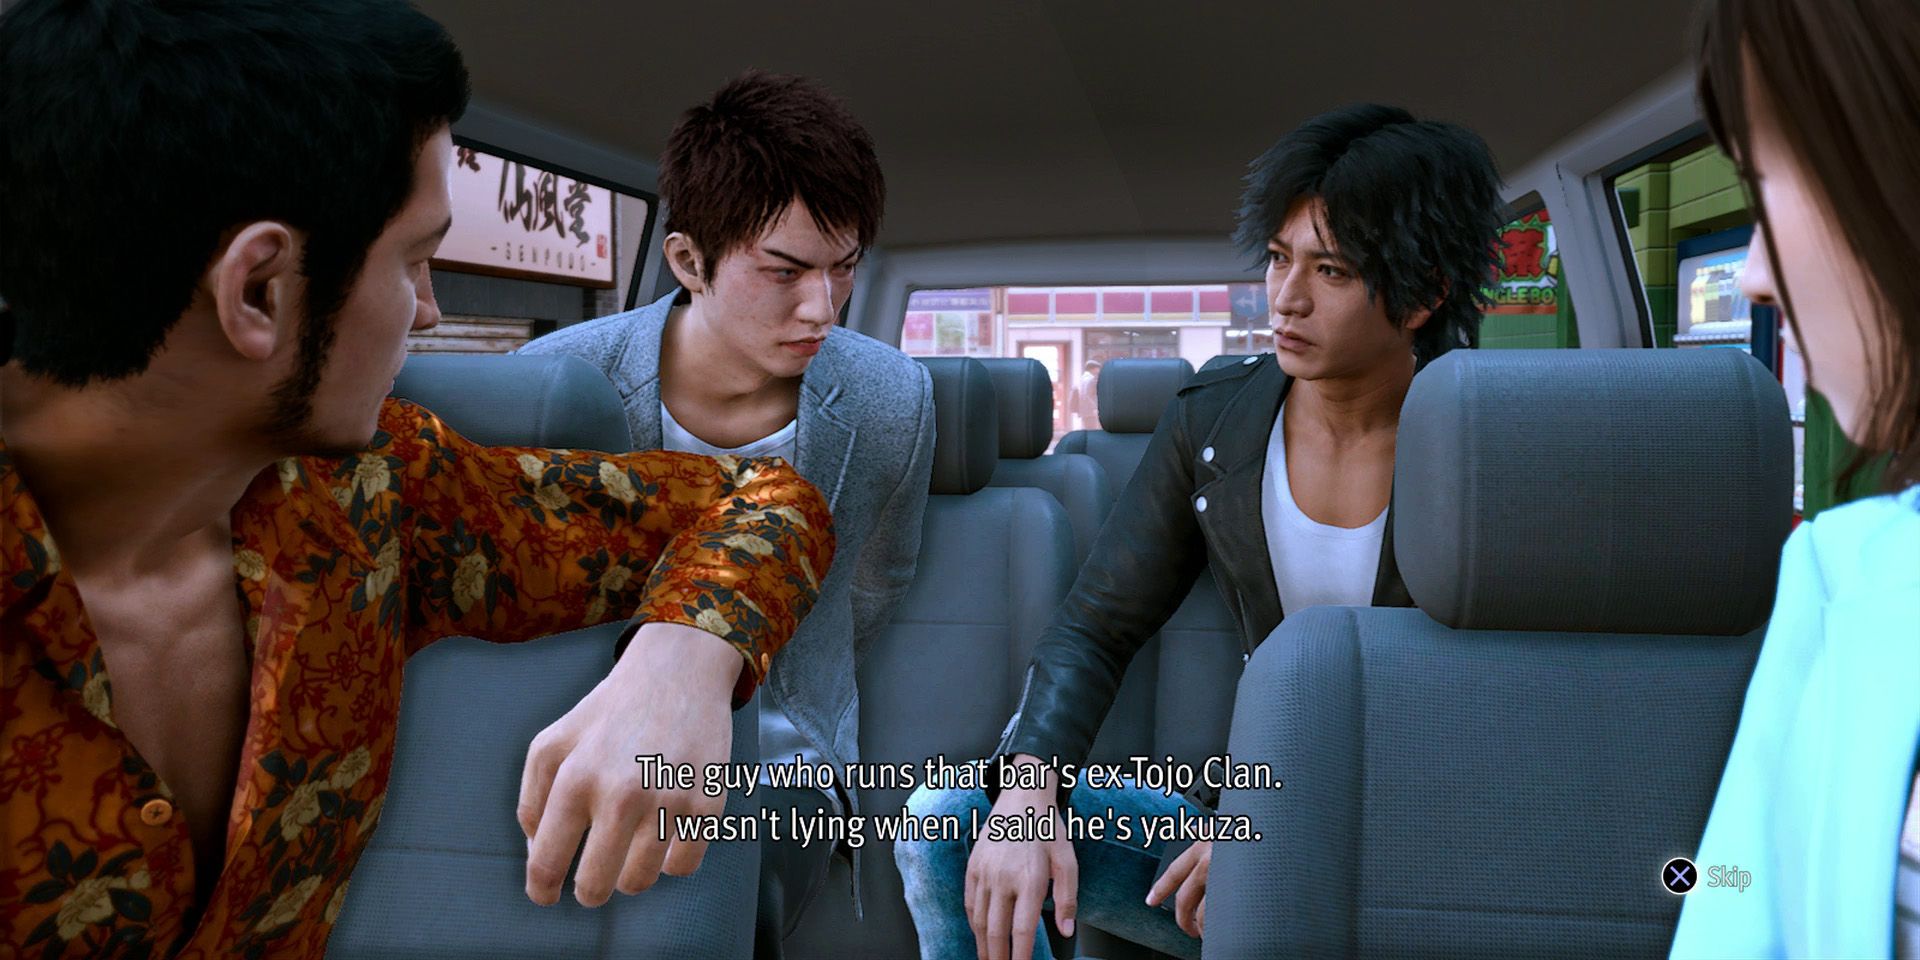
After catching Kosuke, he'll confess that he was working with the owner of a shady bar and Tak and Kaito will force him to call his accomplice up. Before heading over there to retrieve the client's money though, players will first need to drop her off at Genda Law. Here, players will learn about a groping case which the firm is handling and will then need to talk to Kaito to progress the main story.
How to Defeat the Shady Bar Owner
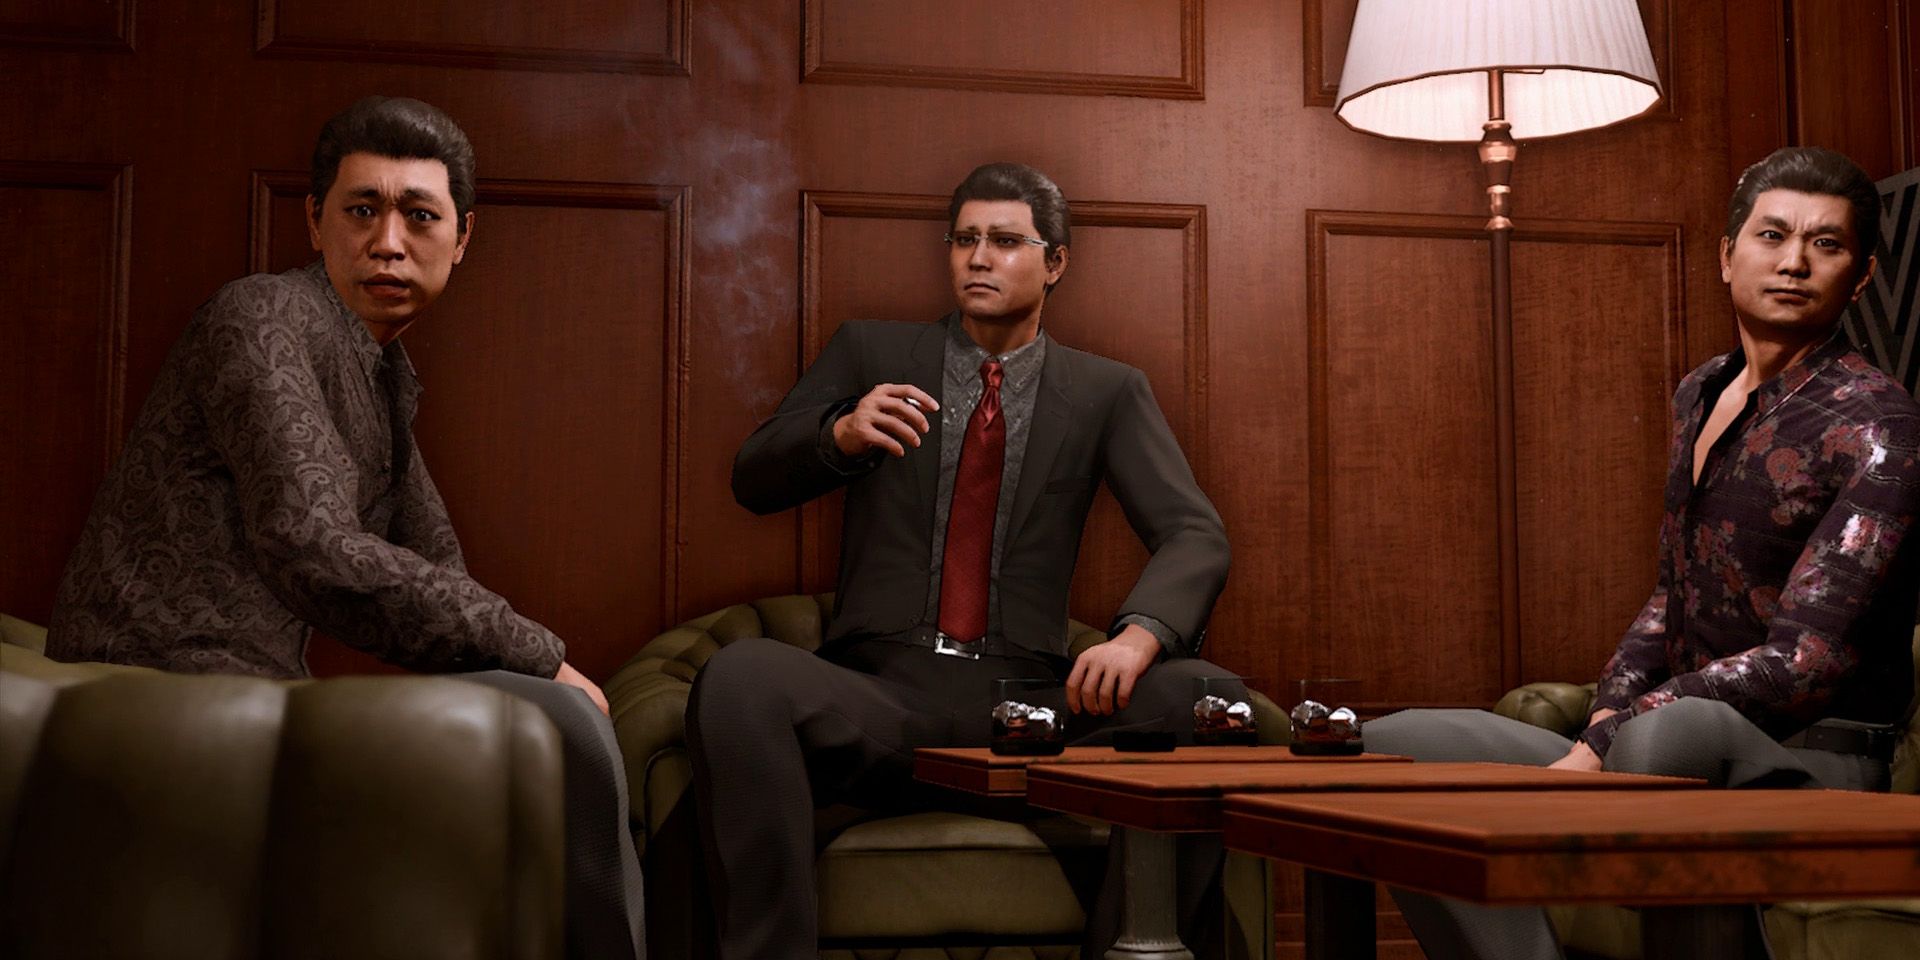
After confronting the bar owner and a few poorly-timed phone calls, players will need to take out a large group of thugs in combat. Kaito is there to help, though is nowhere near as effective as Tak and so players shouldn't rely on him too much. Despite their large numbers, it won't take more than a minute or two to defeat the thugs, after which players will be returned to Genda Law.
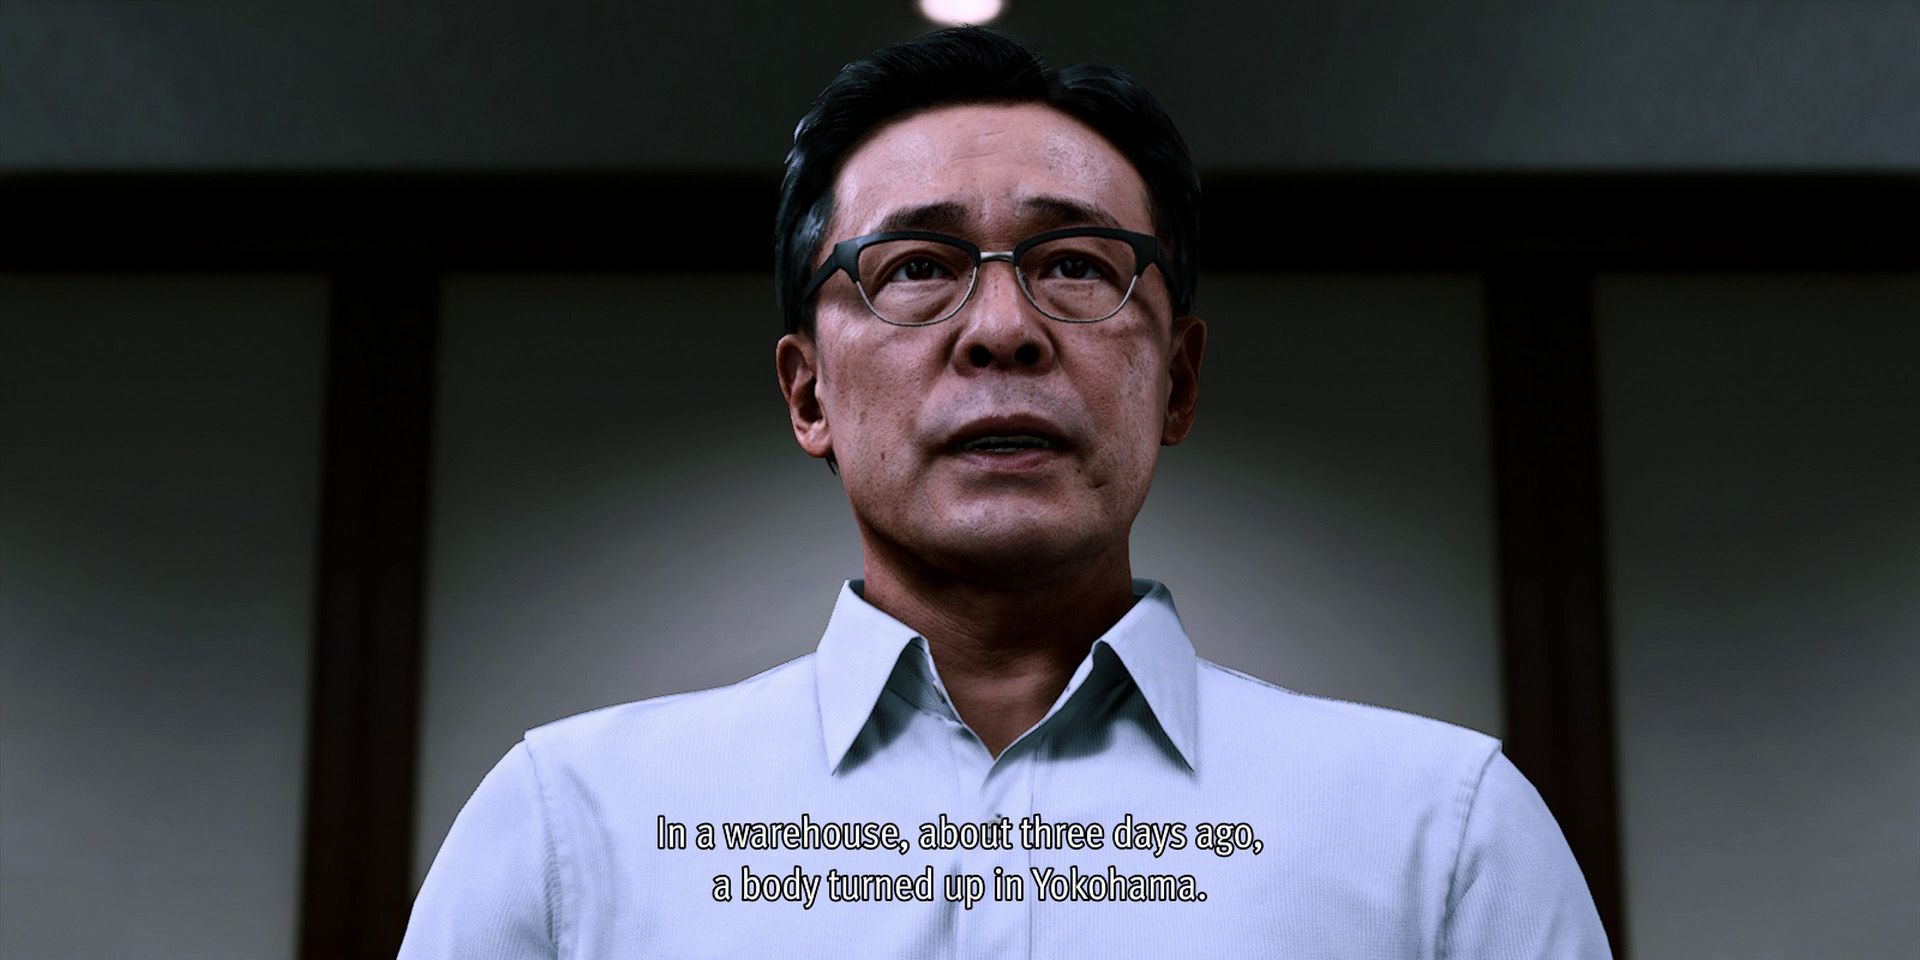
There's a fair amount of exposition at this point, with players learning that the body that was discovered at the start of the game is actually connected to the groping case. After watching everything play out, players can now explore Kamurocho a little if they wish, but the next objective is to return to the Yagami Detective Agency. Here, players simply need to speak with Kaito, which will bring an end to the prologue.

