By the time players arrive in the Dairon region of Metroid Dread, they should have already accrued a fairly decent supply of Energy and Missile Tanks. Even so, those having trouble with the game's devilishly difficult boss fights may want to take some time out here to hunt down a few more of them before continuing on with the main story.
RELATED: Metroid Dread: Every Energy, Missile & Power Bomb Tank in Cataris
Not all of Dairon's 20 upgrade tanks can be collected right away, with some requiring late-game equipment like the Gravity Suit or the Screw Attack to reach. When all's said and done though, players can expand Samus' health bar by two whole tanks of energy, as well as increasing her maximum missile and Power Bomb capacities by 32 and three respectively.
Quick Links
Every Energy Tank in Dairon
Energy Tank #1 (Energy Part)
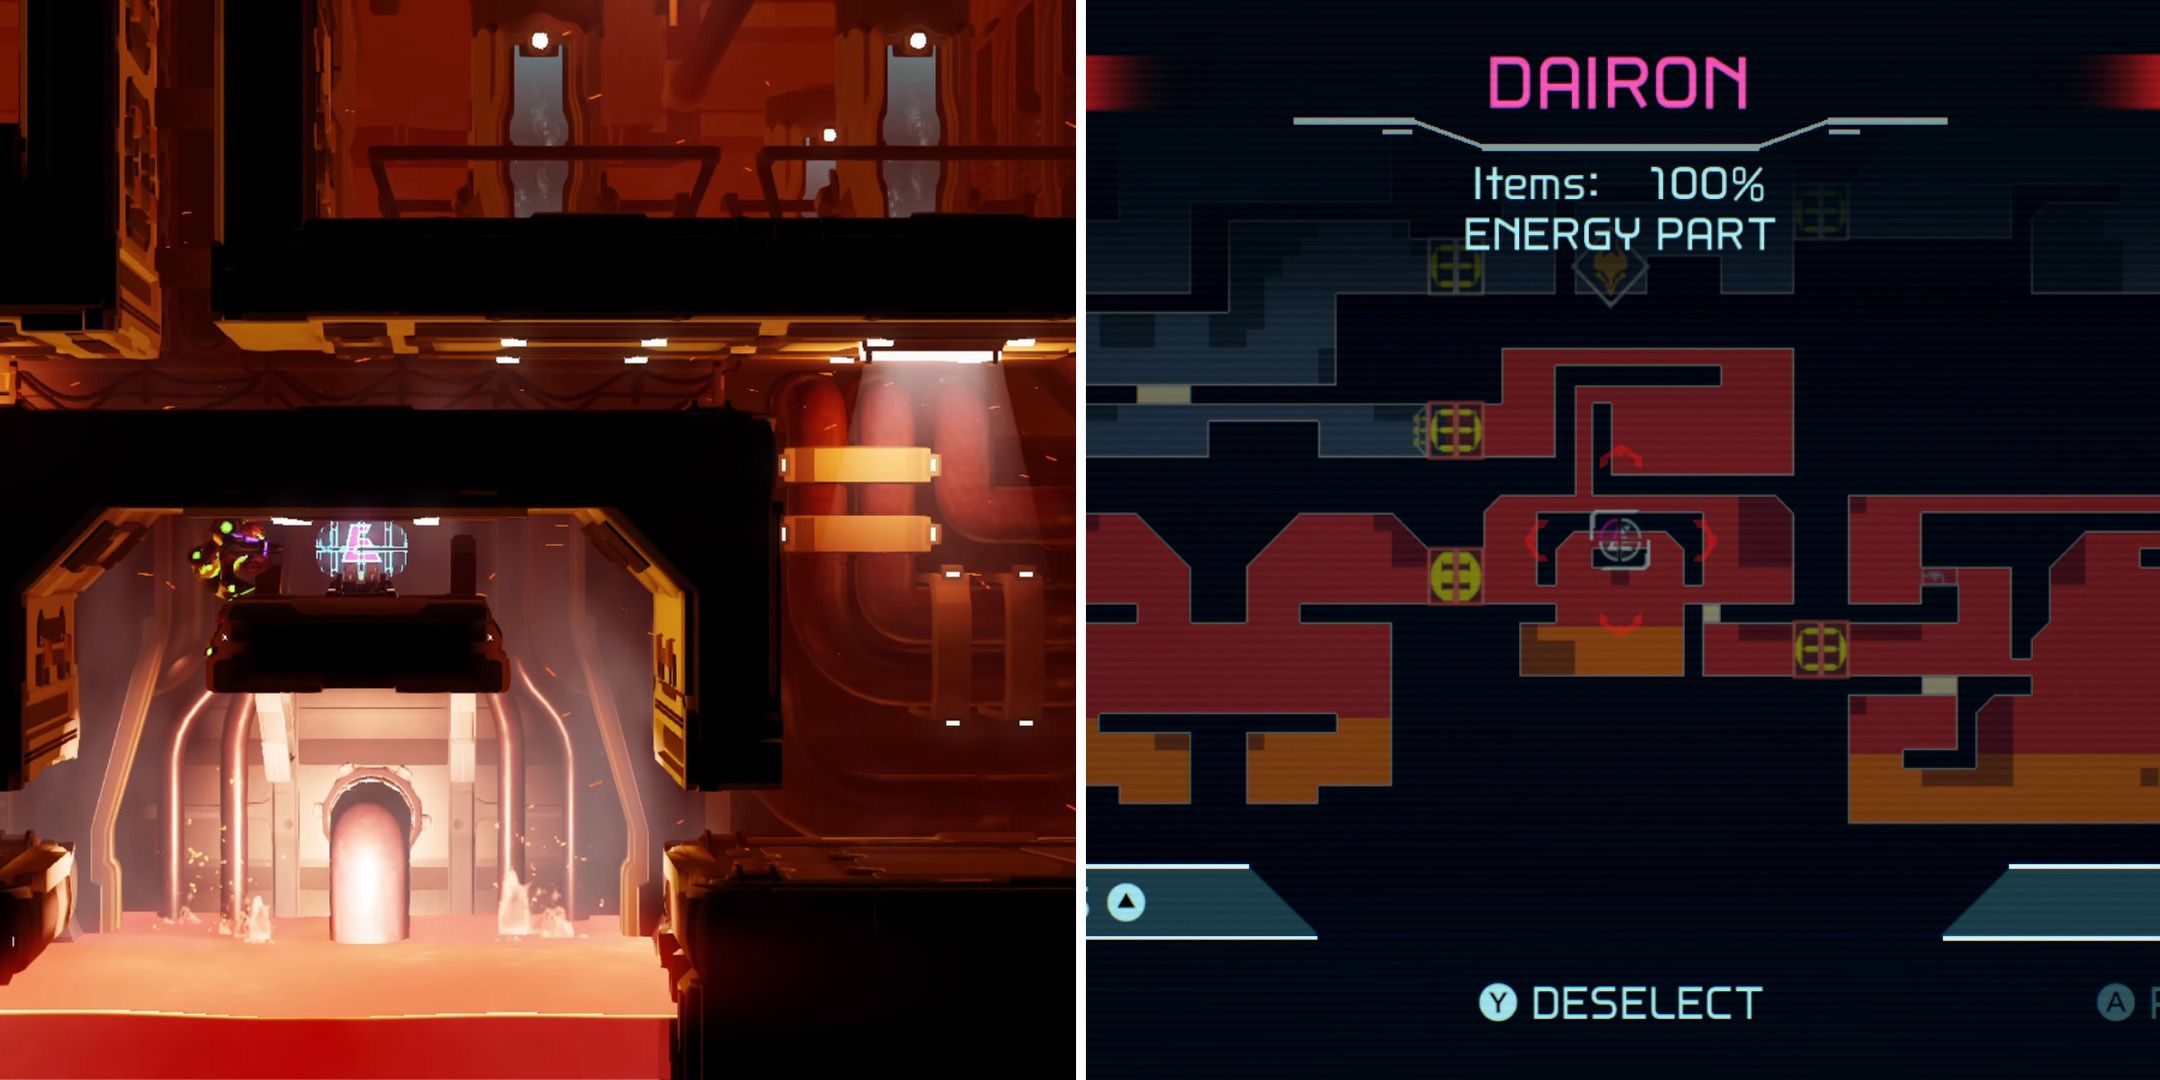
The first Energy Tank in Metroid Dread's Dairon region requires players to slide through either of the two gaps below and then grab onto the nearby ledge. If they're really having trouble, they can return after obtaining the Gravity Suit, as this will allow them to safely stand and jump in the lava below.
Energy Tank #2 (Energy Part)
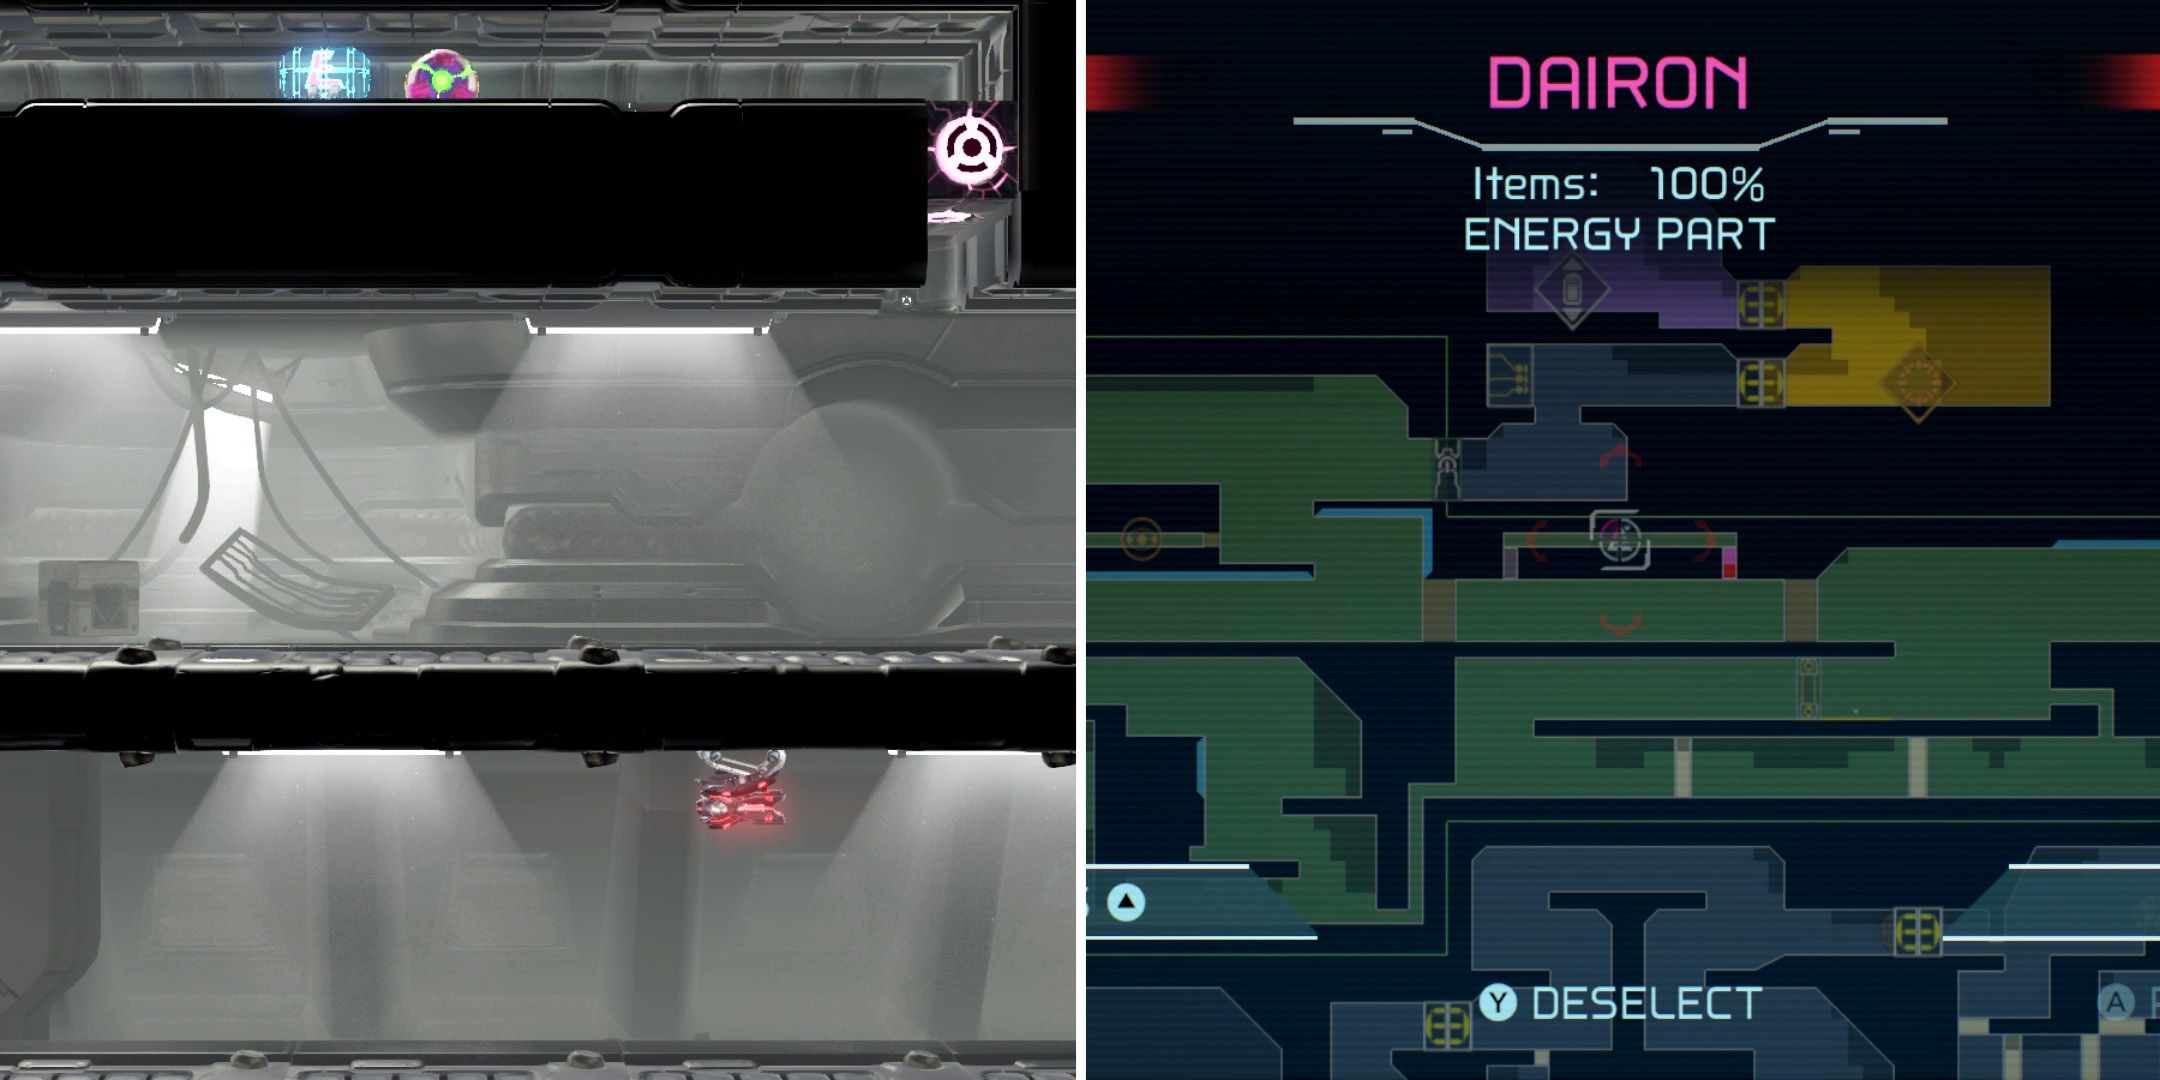
In order to get to the second Energy Tank in Dairon, players will need to destroy a block with a missile and then use Morph Ball bombs to launch Samus into the air. While she's up there, they should drop another bomb to destroy the second block, which will finally enable them to head into the tunnel and pick up the tank.
Energy Tank #3 (Energy Part)
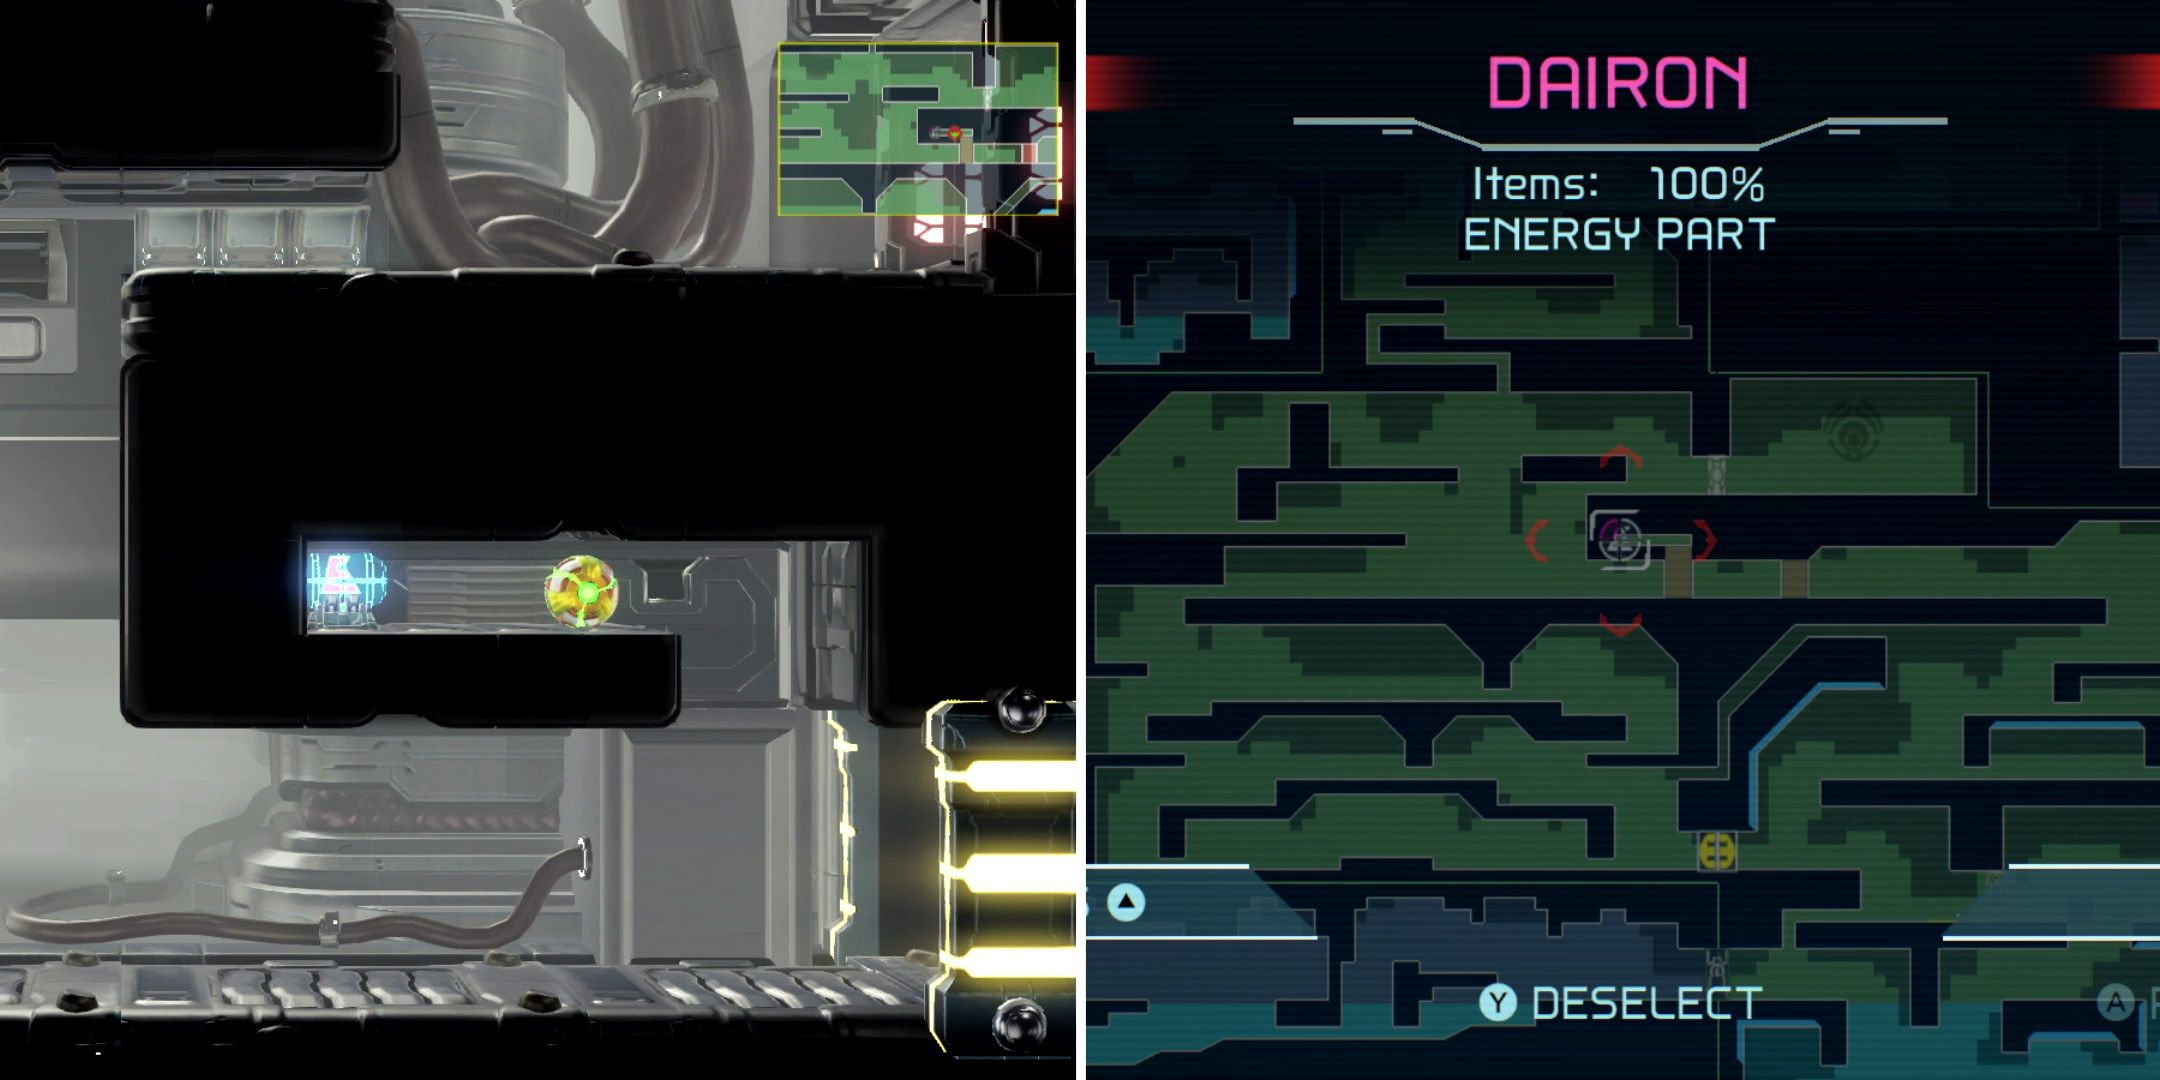
Players will be able to access Dairon's third Energy Tank by using the Speed Booster to destroy the orange blocks beneath it.
Energy Tank #4
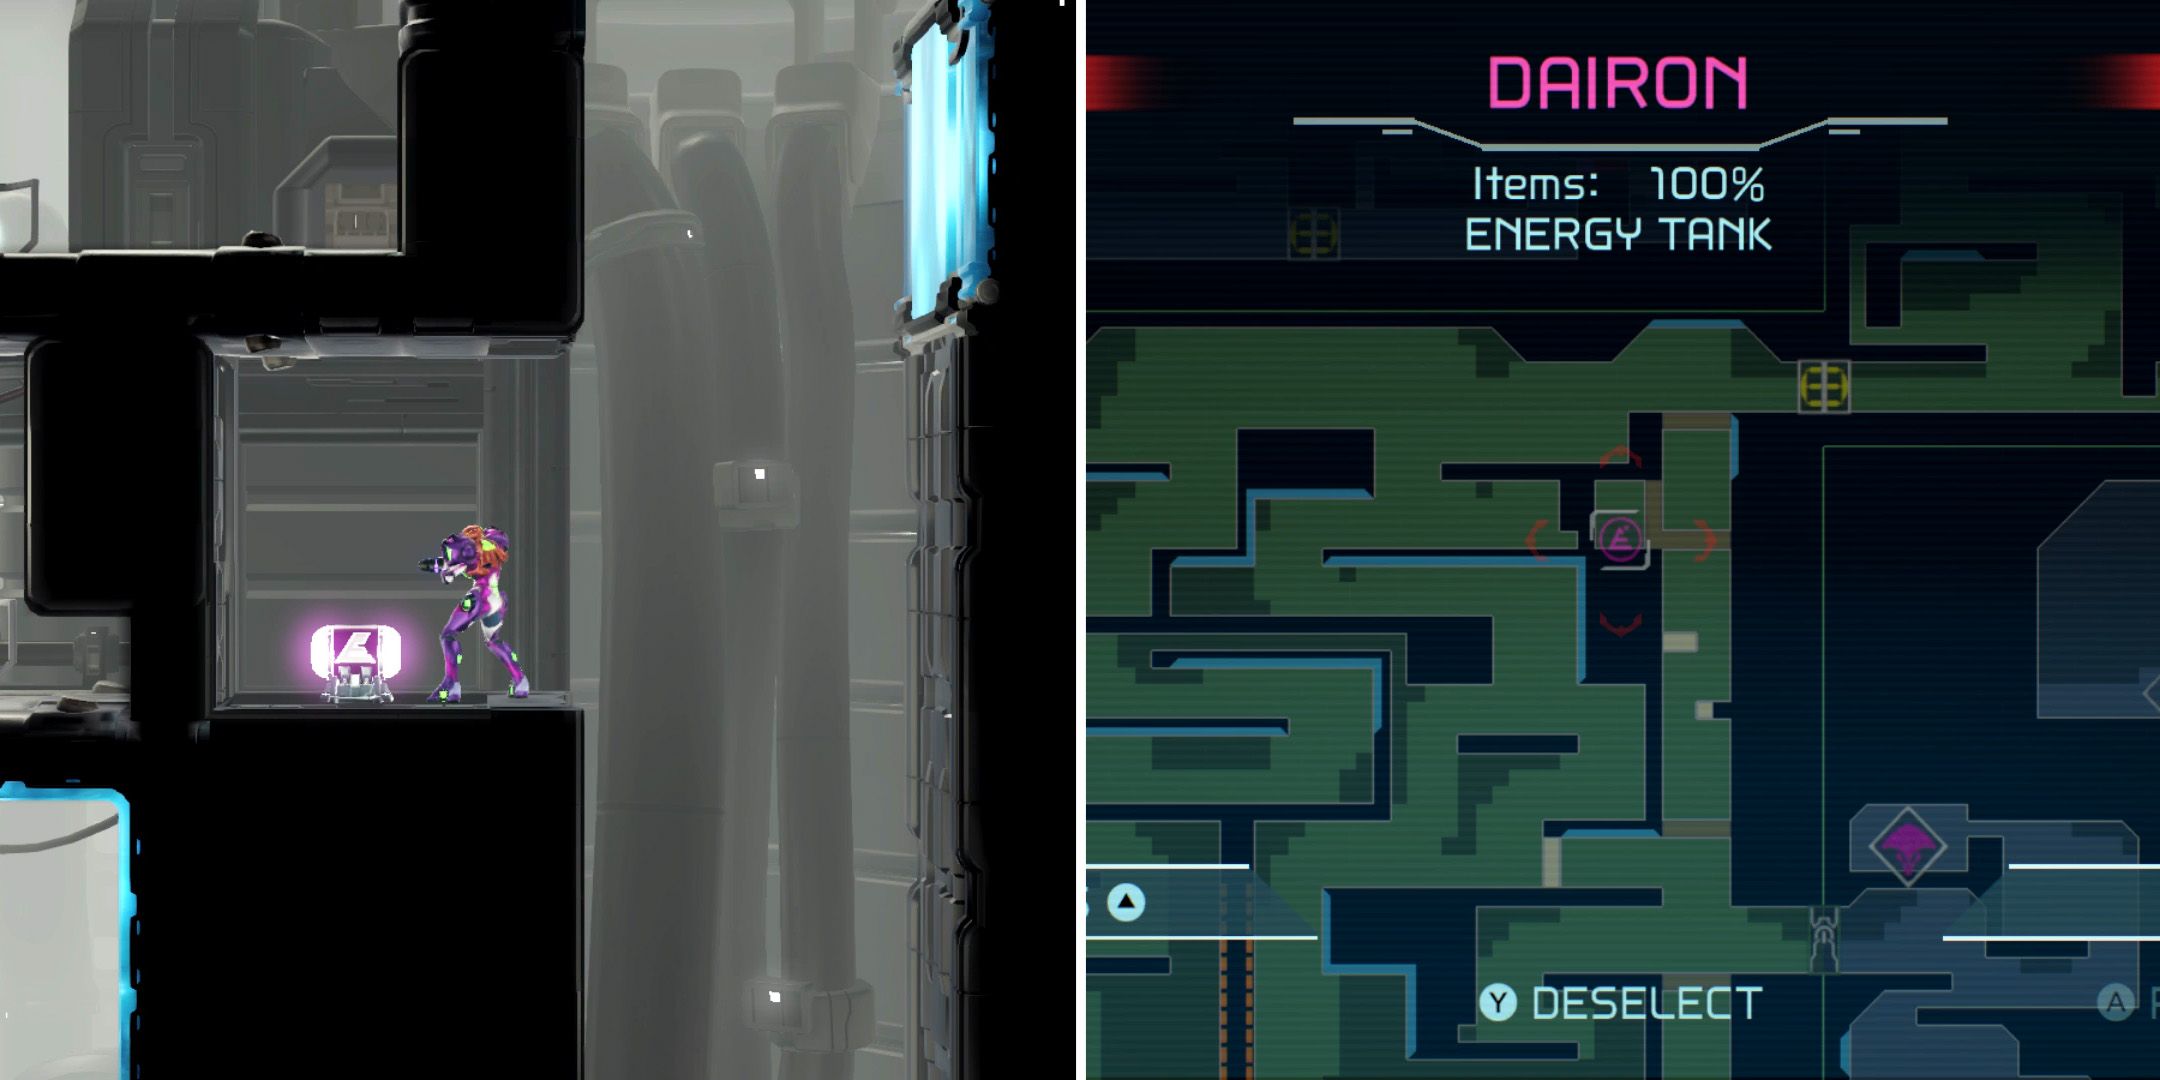
Energy Tank number four can be accessed by heading to the very bottom of the largest section of the E.M.M.I. patrol zone and then using Samus' Speed Booster and Shinespark abilities to shoot straight up. Doing so will destroy several clusters of orange blocks, allowing players to grab the tank.
Energy Tank #5 (Energy Part)
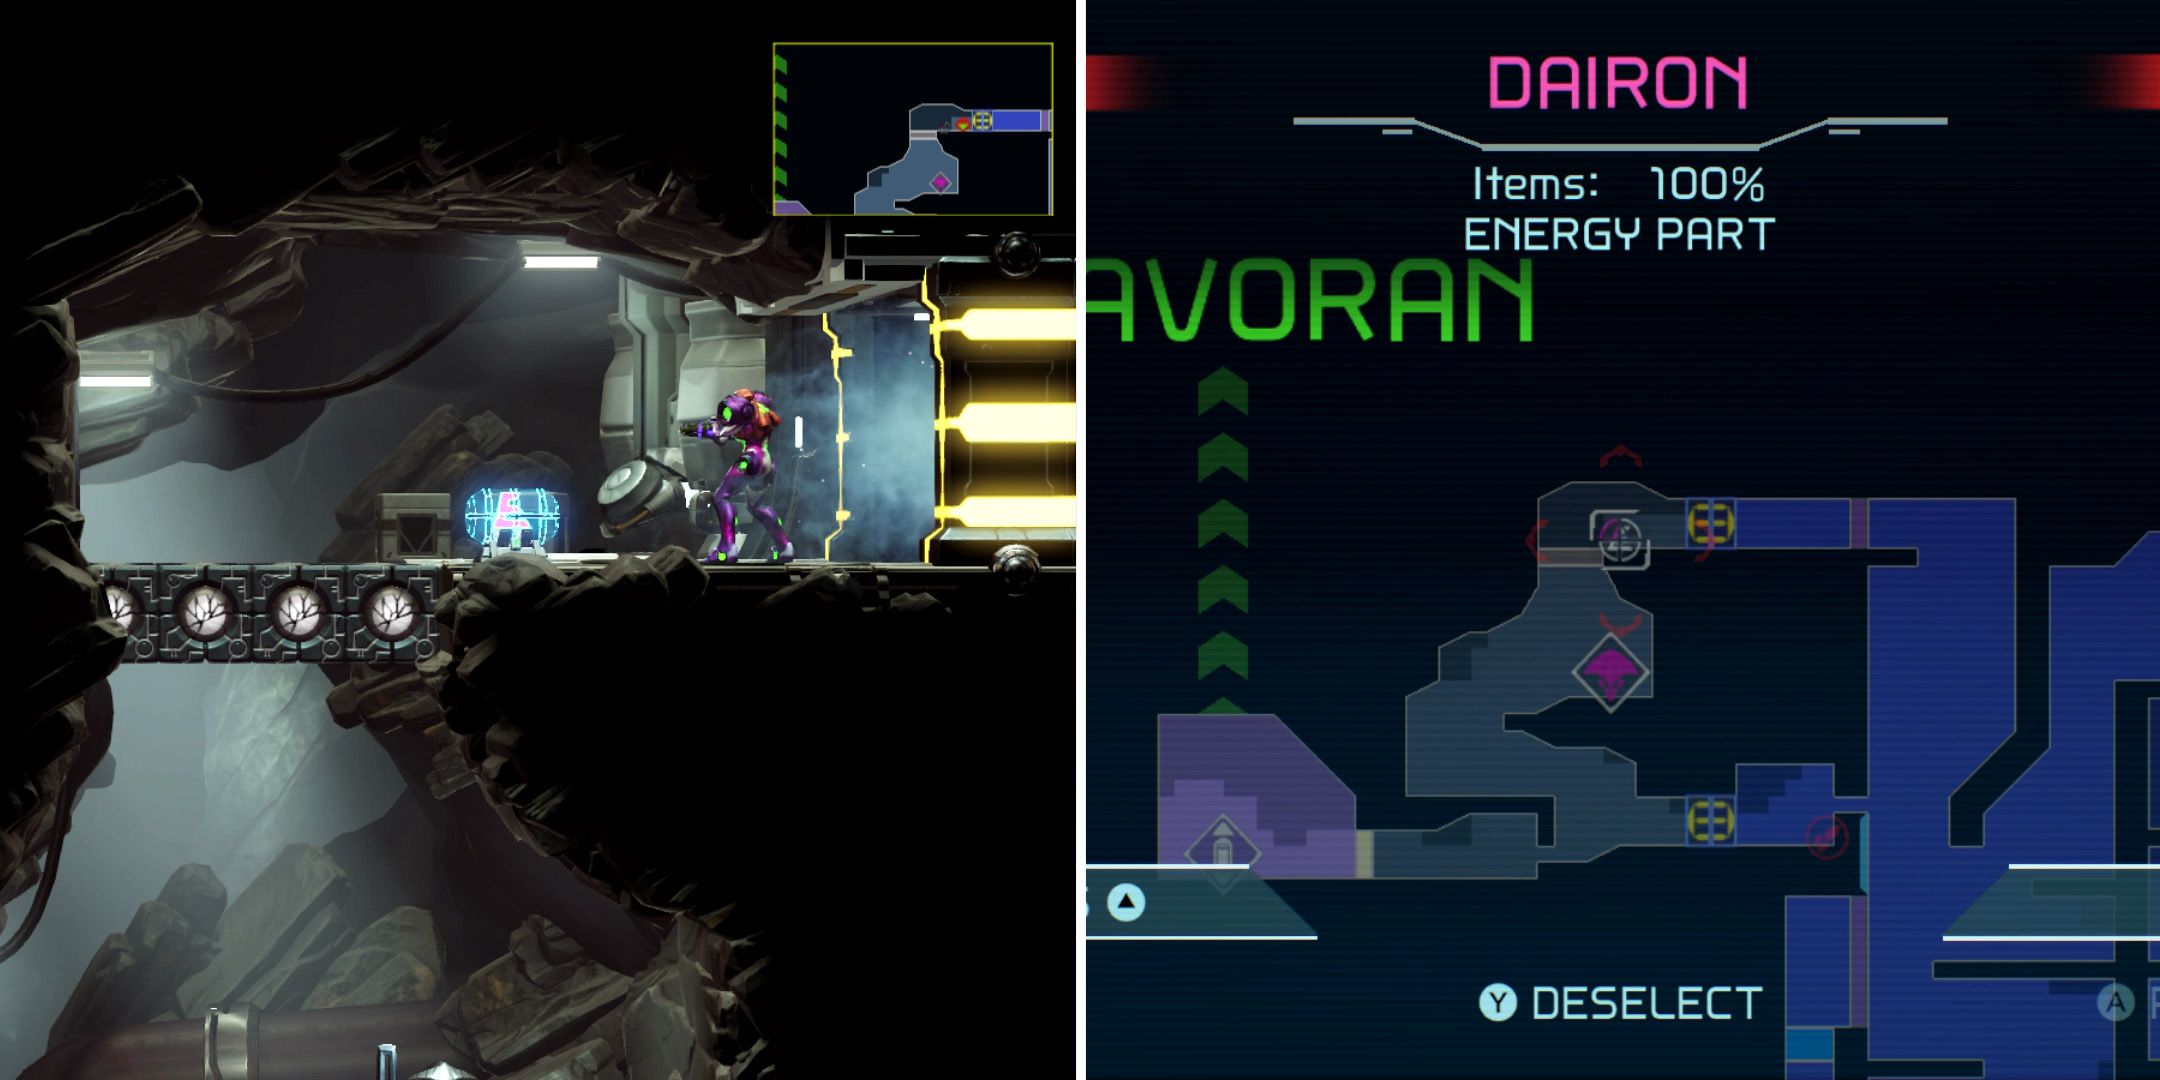
In order to get their hands on the final Energy Tank in Dairon, players will again need to utilize Samus' Shinespark ability. They can either do this from the bottom right-hand corner of the previous room or head to the yellow Save Room two rooms over to the right. From there, they should run to their left and then flick the left analog stick down after passing through the door. Immediately after this, they should Flash Shift to the left and then Space Jump until Samus is level with the diagonal ramp to her right. Here, players will need to activate Shinepark and then immediately flick the analog stick down upon making contact with the ramp. After that, they'll just need to jump up and activate Shinespark again while facing the orange blocks to the left. With the blocks now gone, players will be able to walk freely through the door and pick up Dairon's last Energy Tank.
Every Missile Tank in Dairon
Missile Tank #1
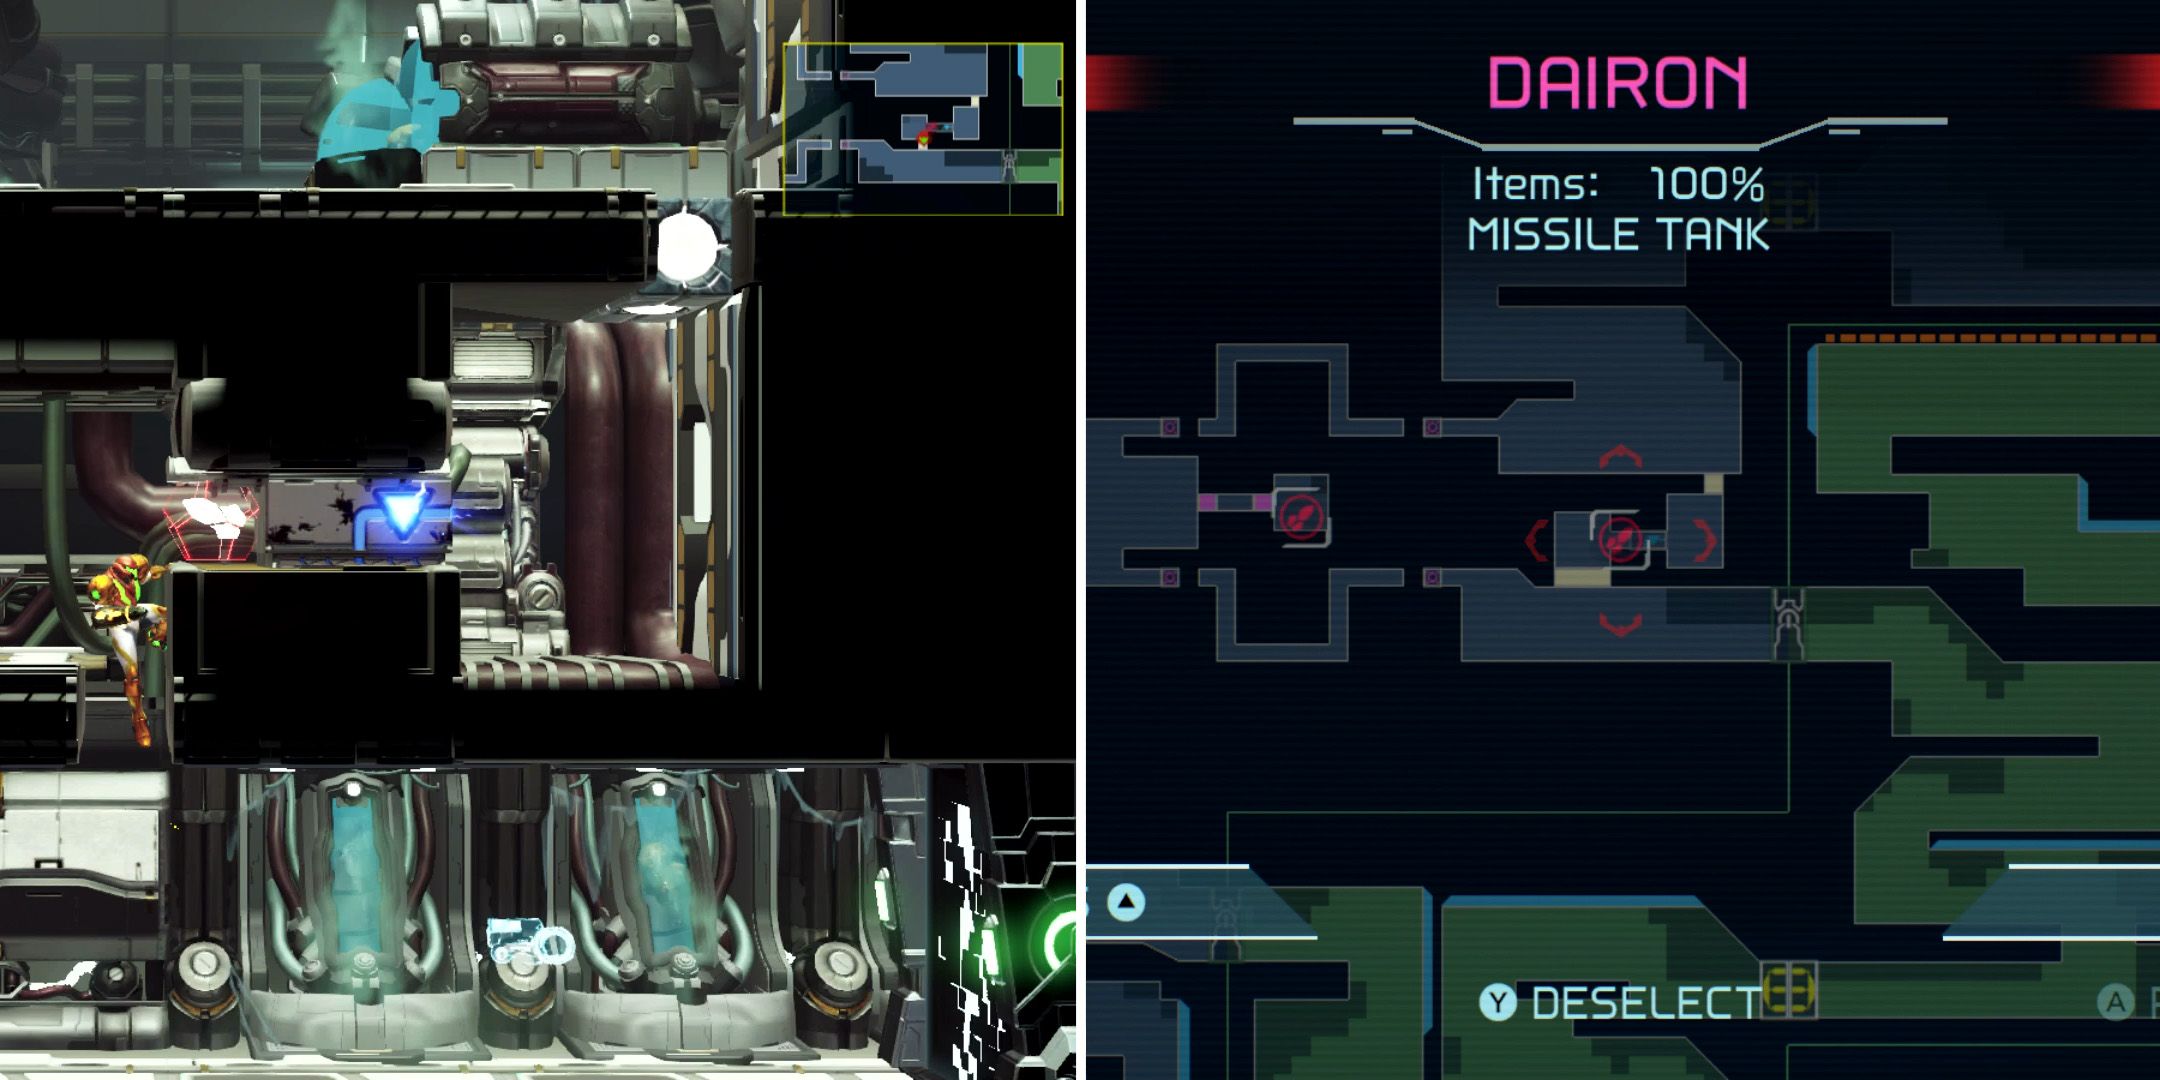
Players can reach Dairon's first Missile Tank by shooting some hidden blocks in the ceiling of the room shown above.
Missile Tank #2
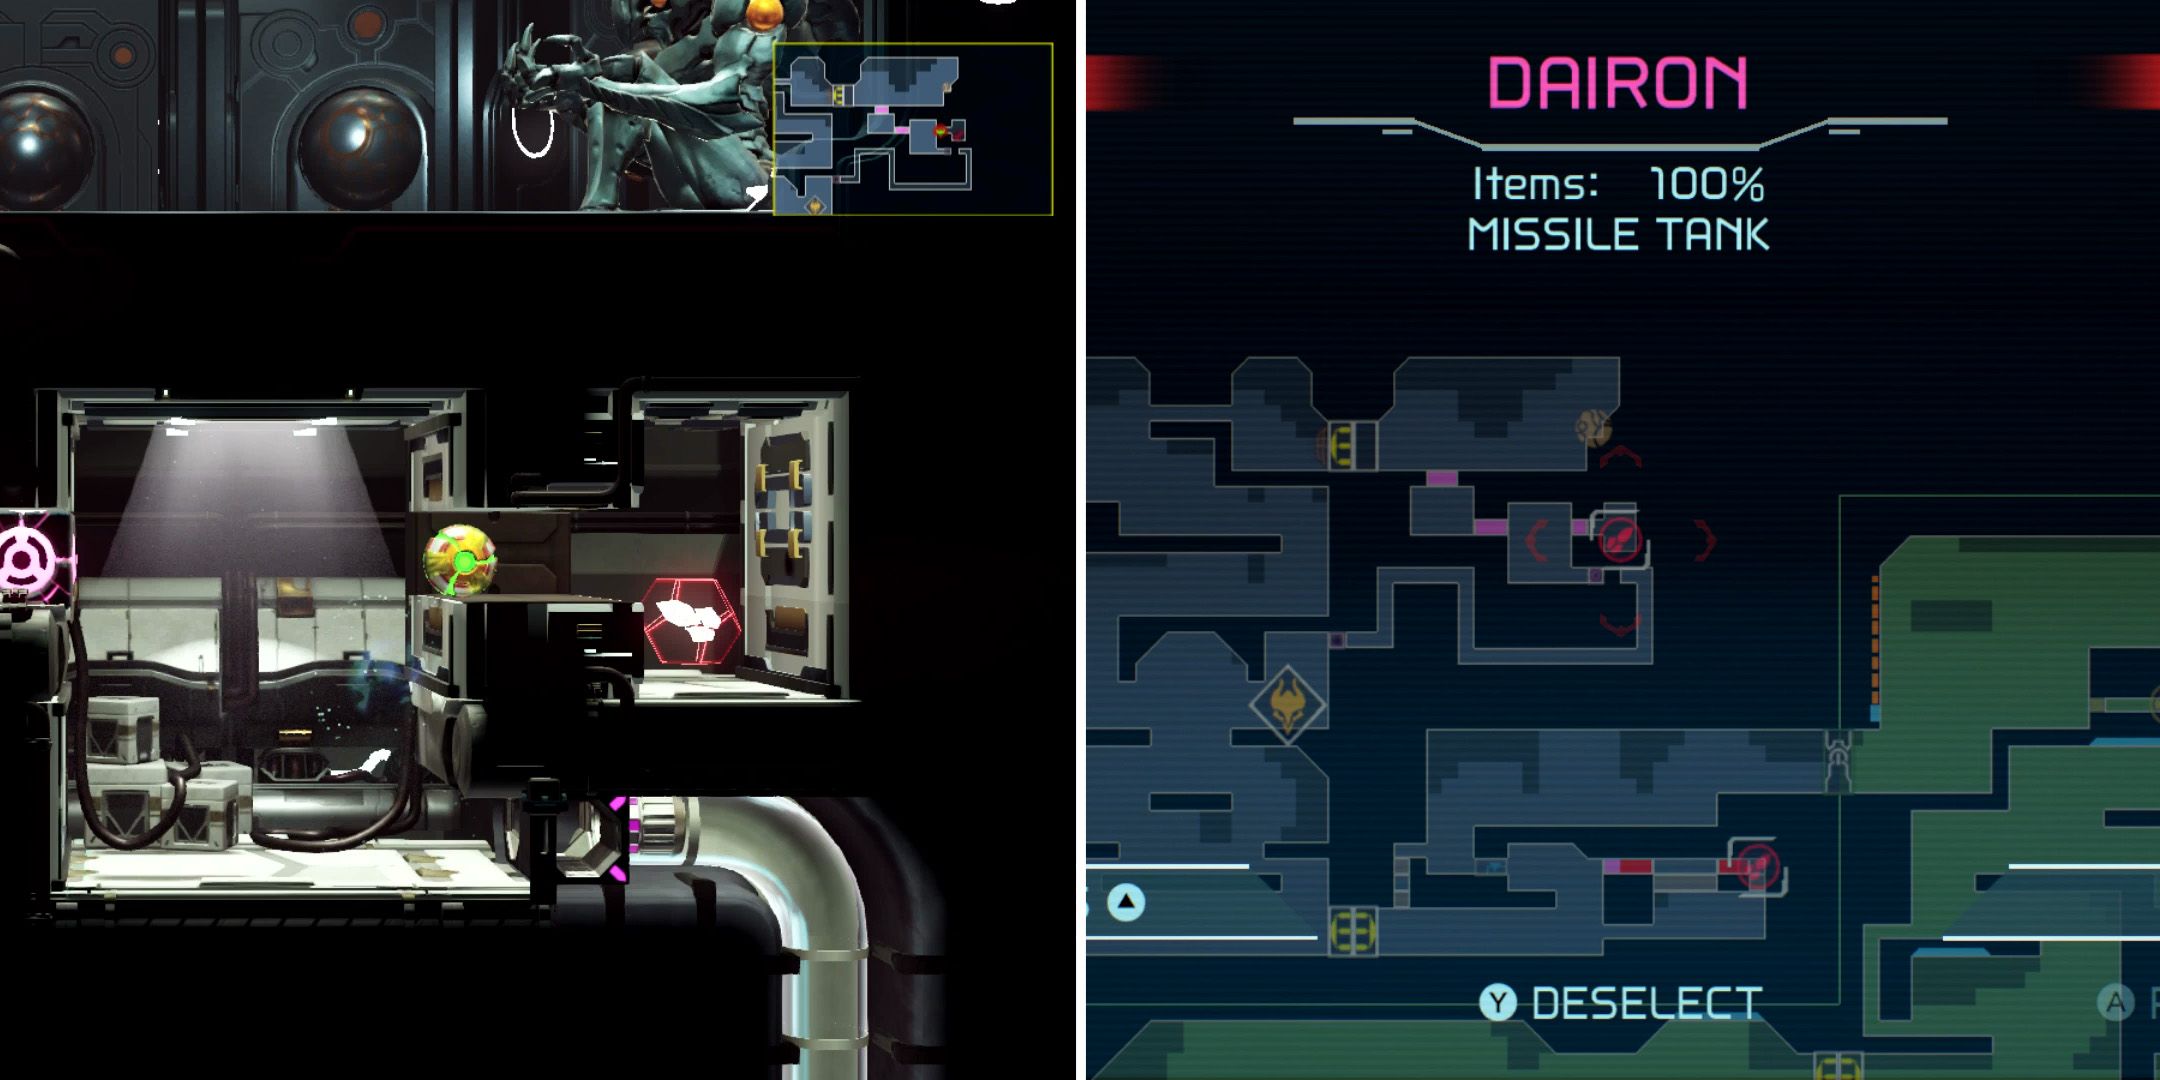
To get to the second Missile Tank, players will need to use the Morph Ball bomb to make their way down from the Chozo Statue room above.
Missile Tank #3
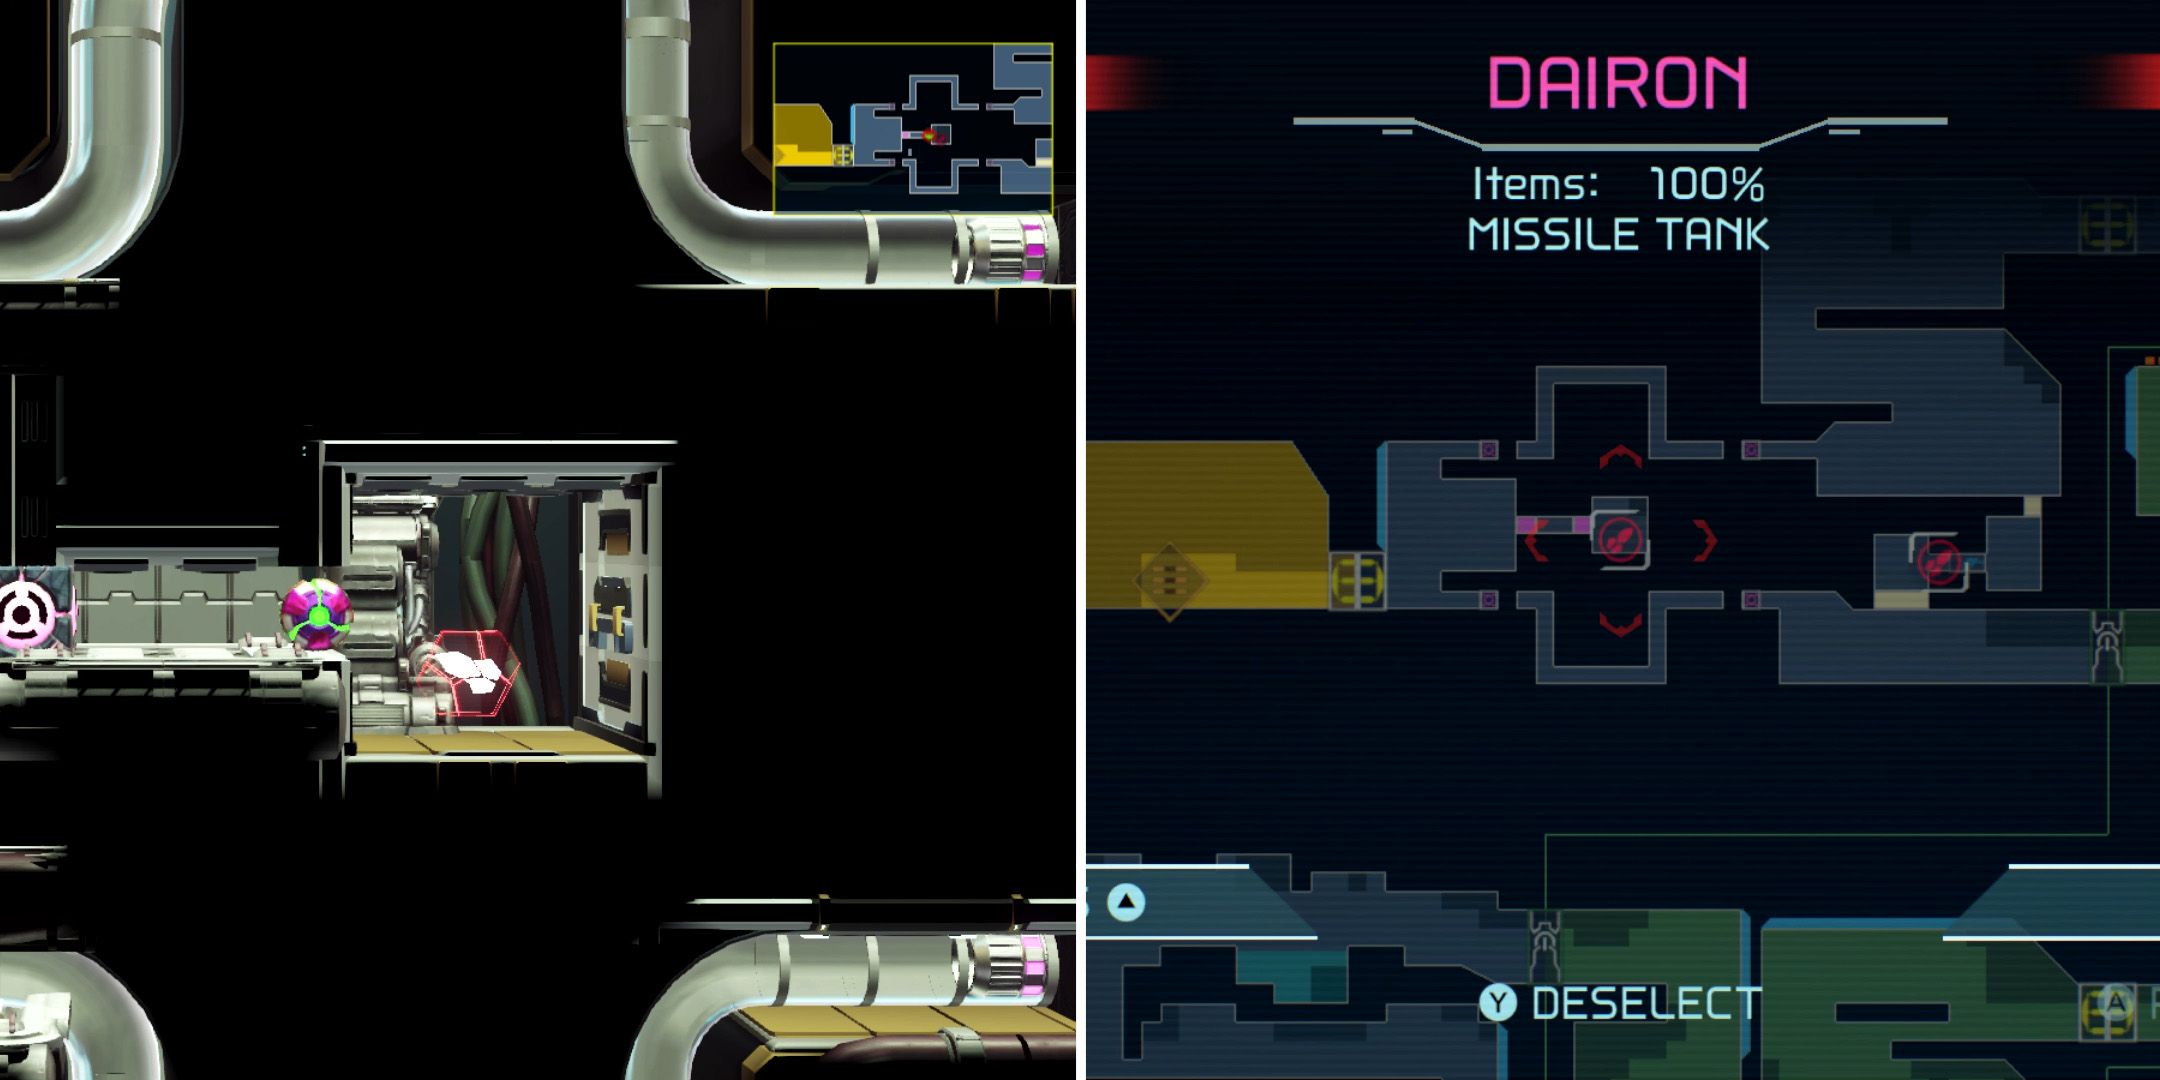
After passing through the first Morph Ball launcher, players can again use the bomb to uncover a hidden Missile Tank.
Missile Tank #4
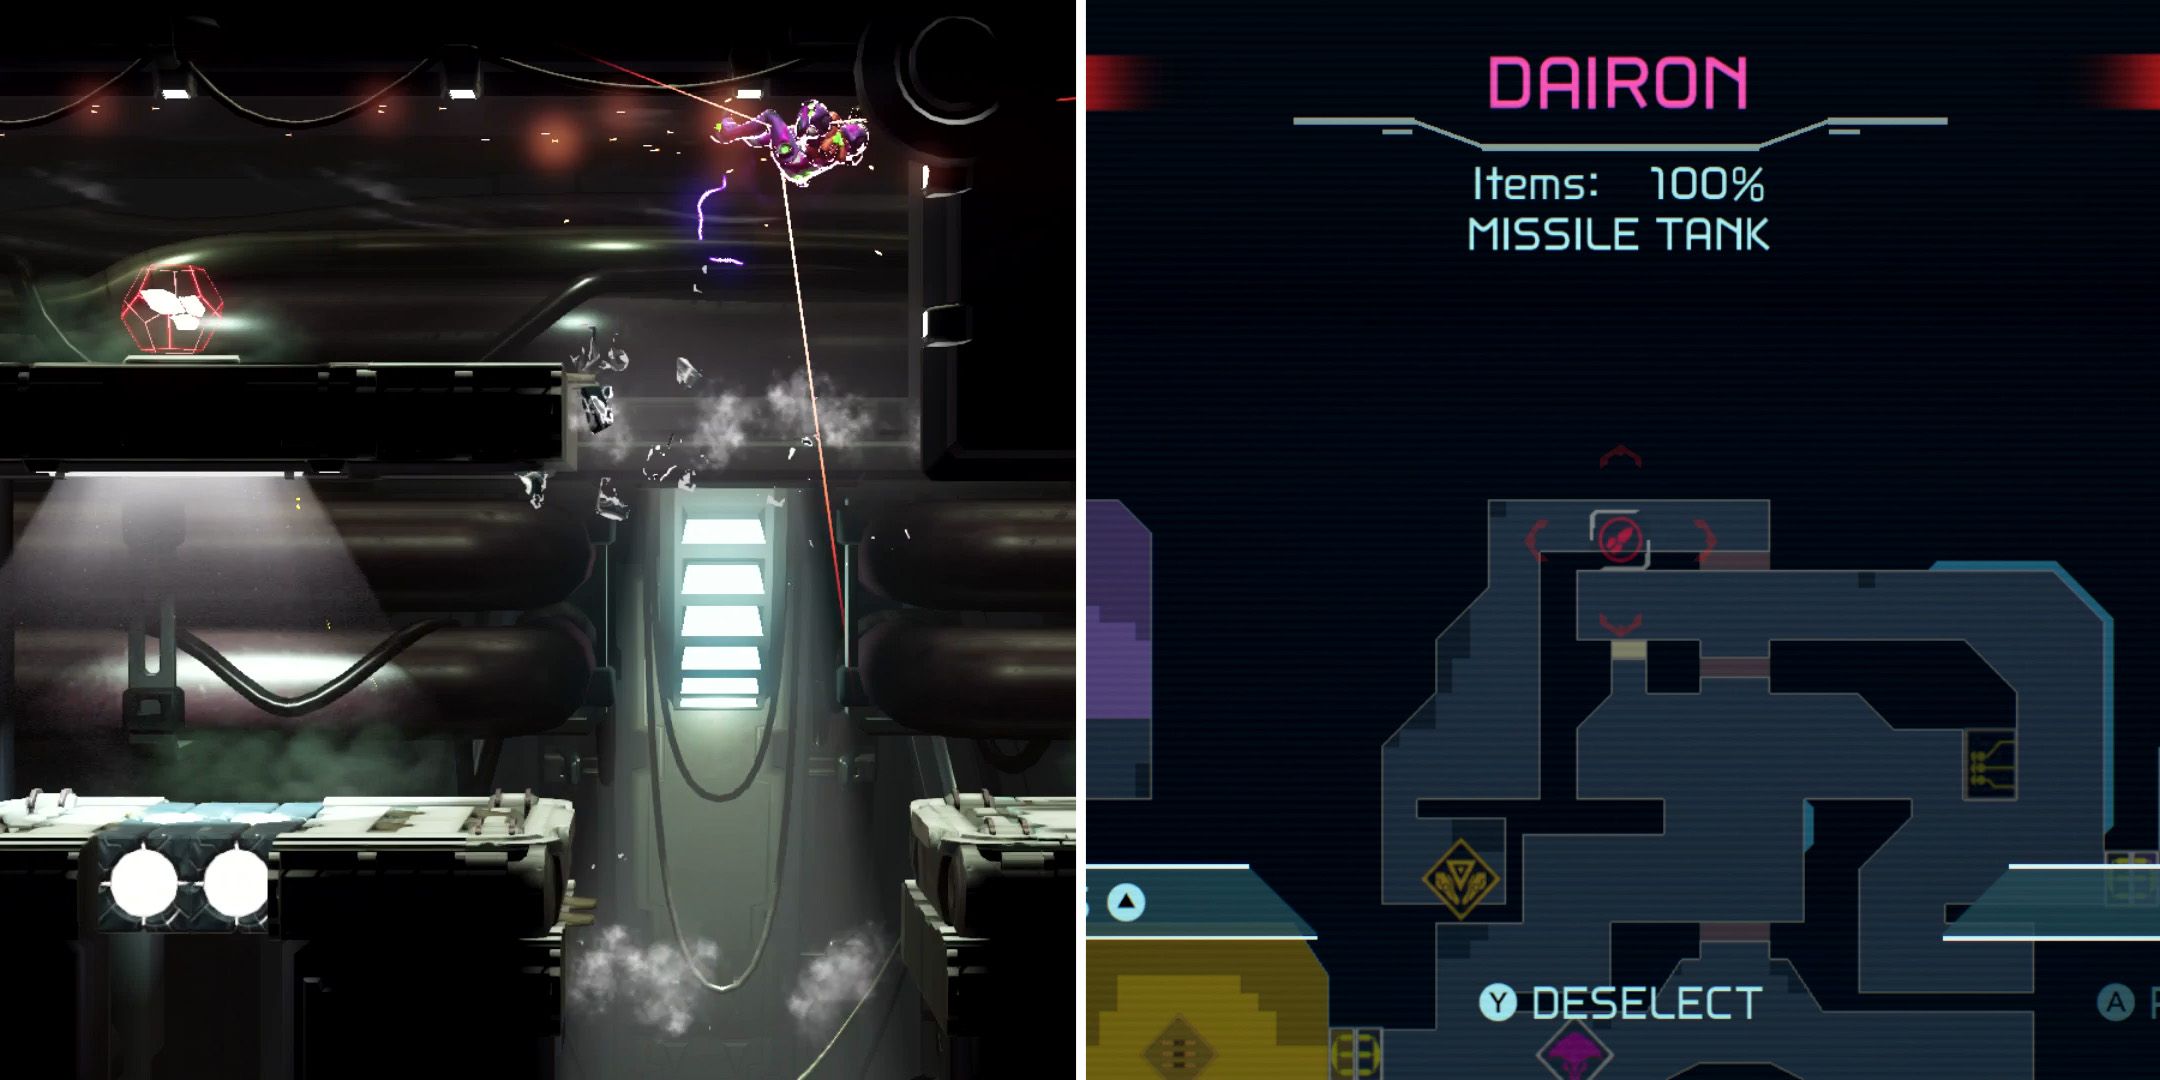
Once players have acquired the Speed Booster, they can use it to fire Samus upwards from the bottom of the large chamber to the northeast of the region. This will destroy several clusters of orange blocks and allow players to collect the region's fourth Missile Tank.
Missile Tank #5
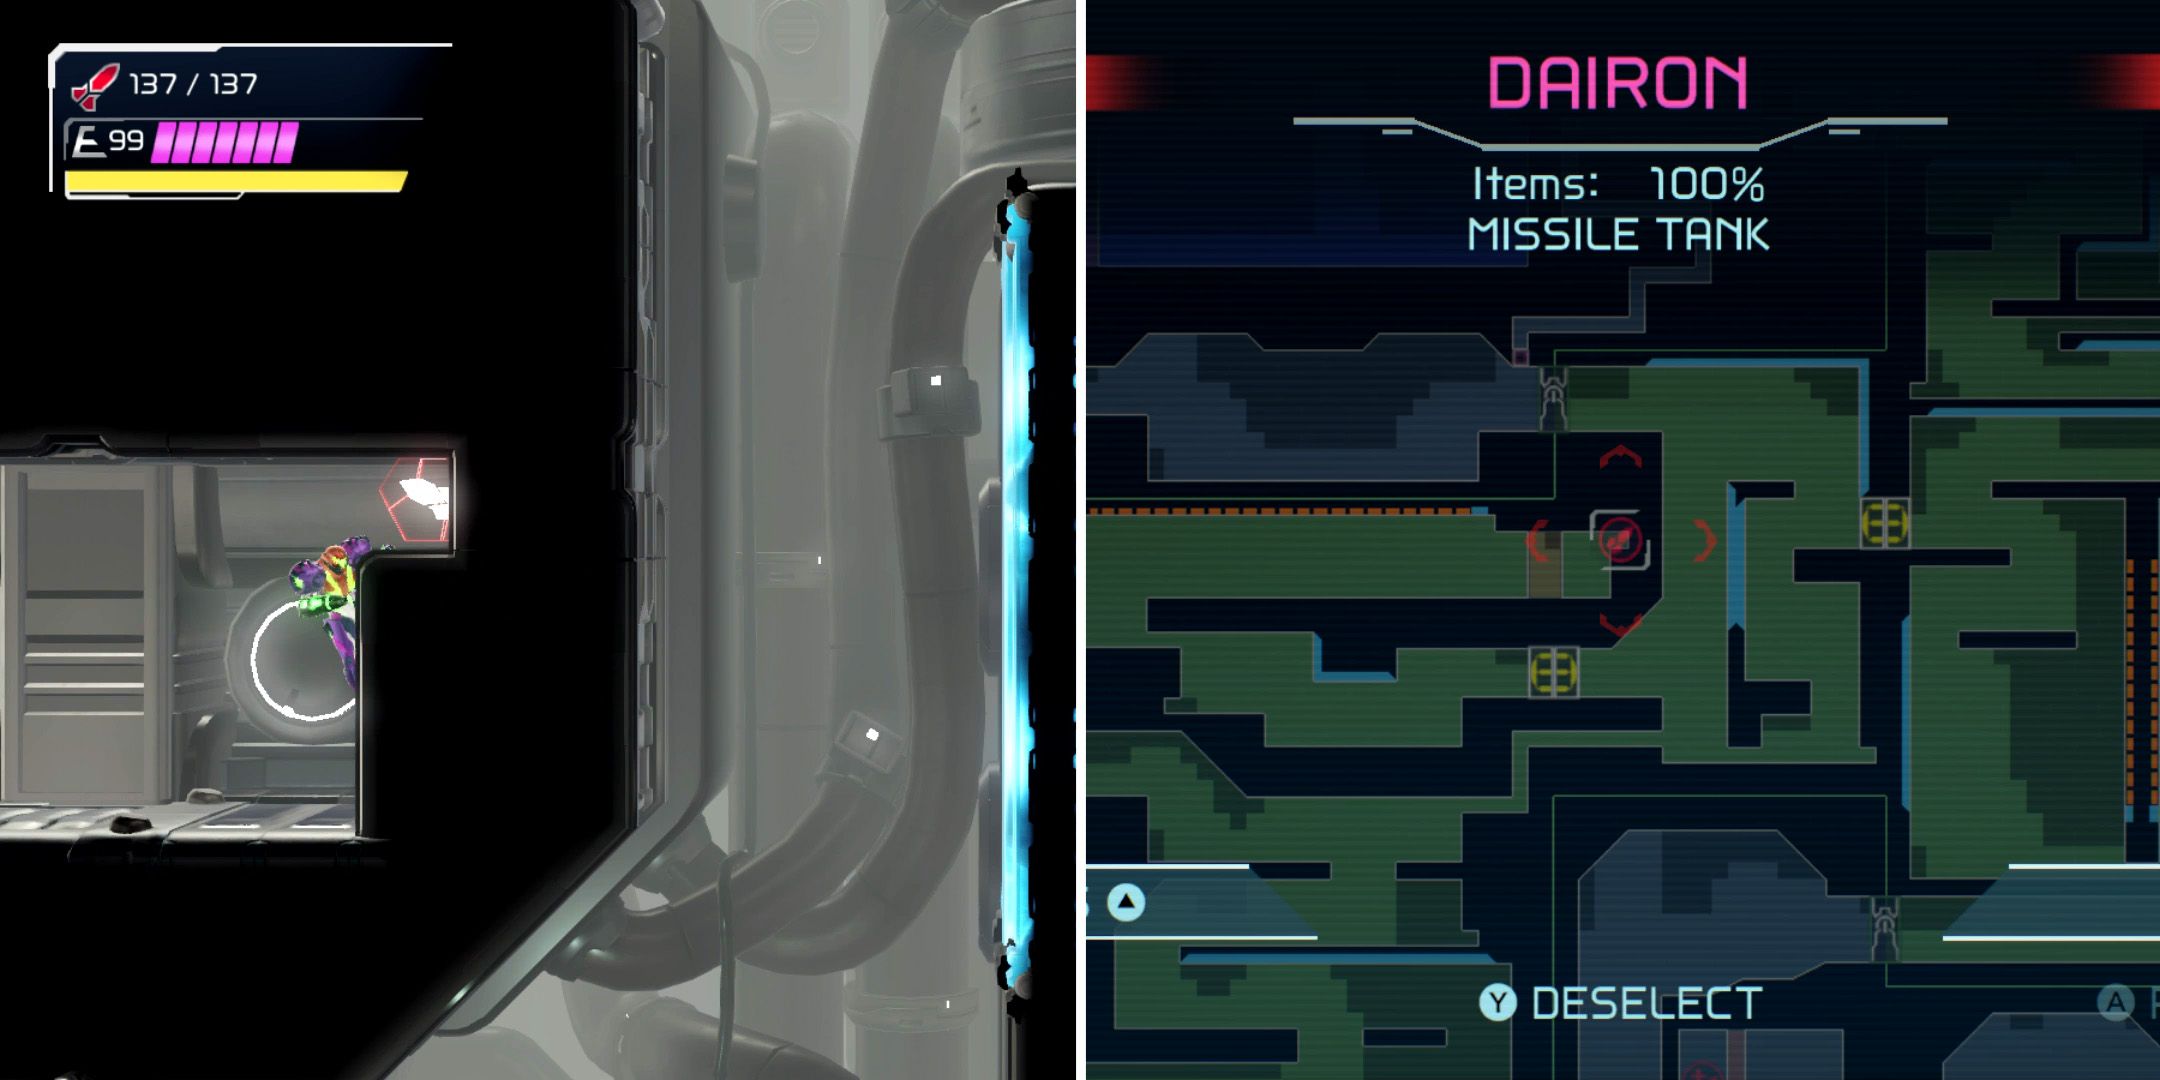
To get to the fifth Missile Tank, players will again need to use the Speed Booster, this time in a long corridor in the center of the E.M.M.I. patrol zone.
Missile Tank #6 (Missile+)
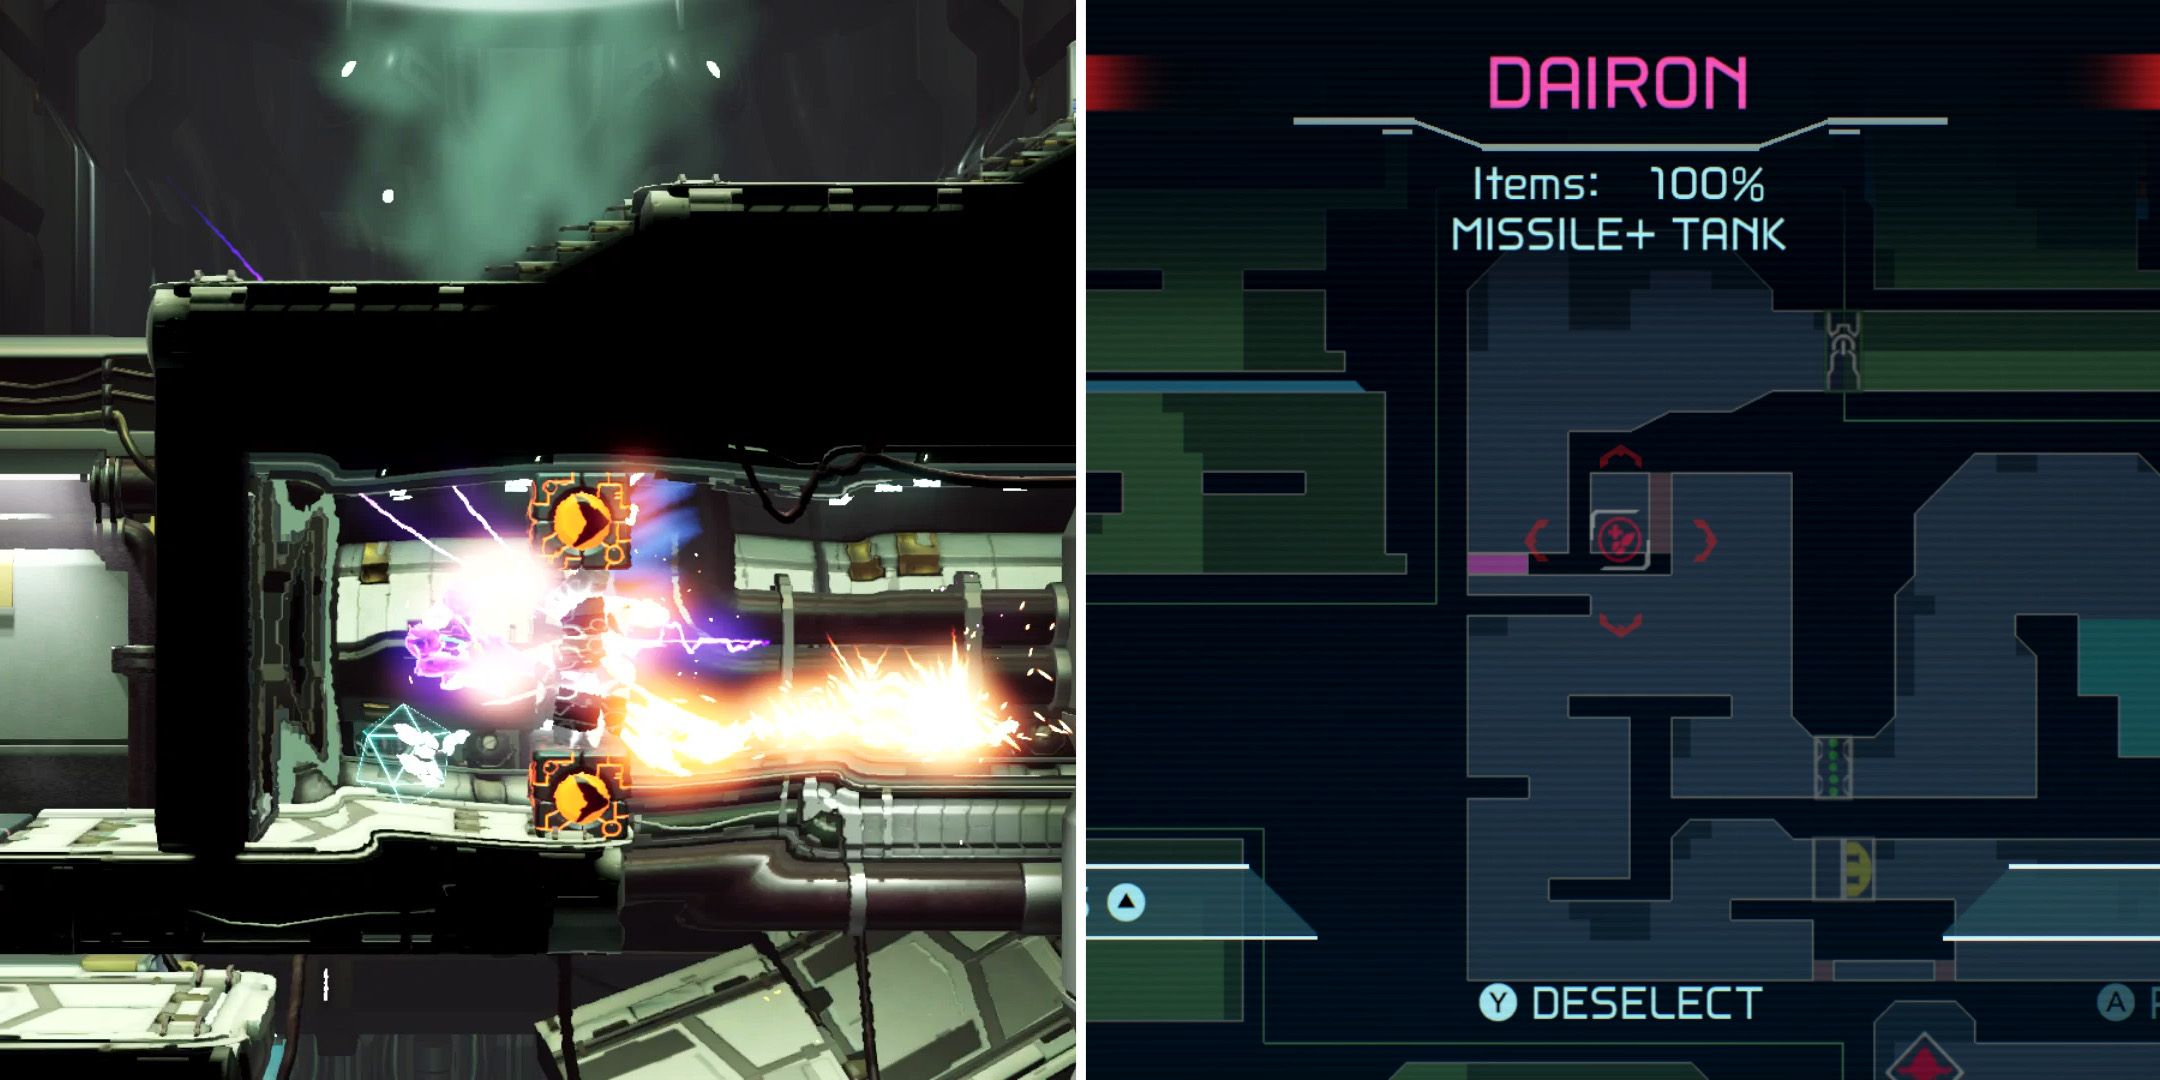
The sixth Missile Tank is locked away behind another wall of orange Speed Booster blocks. To reach it, players should head to the long corridor in the E.M.M.I. patrol zone above and to the right and then start running back to the left. Upon reaching the spot above the tank, players will need to flick the left analog stick down to preserve Samus' momentum and then destroy the nearby bomb blocks while in Morph Ball form. From here, they'll simply need to slide through the gap, jump, and then activate Shinespark to destroy the orange blocks. For those having trouble, detonating a Power Bomb just before beginning this process will clear the bomb blocks out of the way, allowing players to go quite a bit faster.
Missile Tank #7
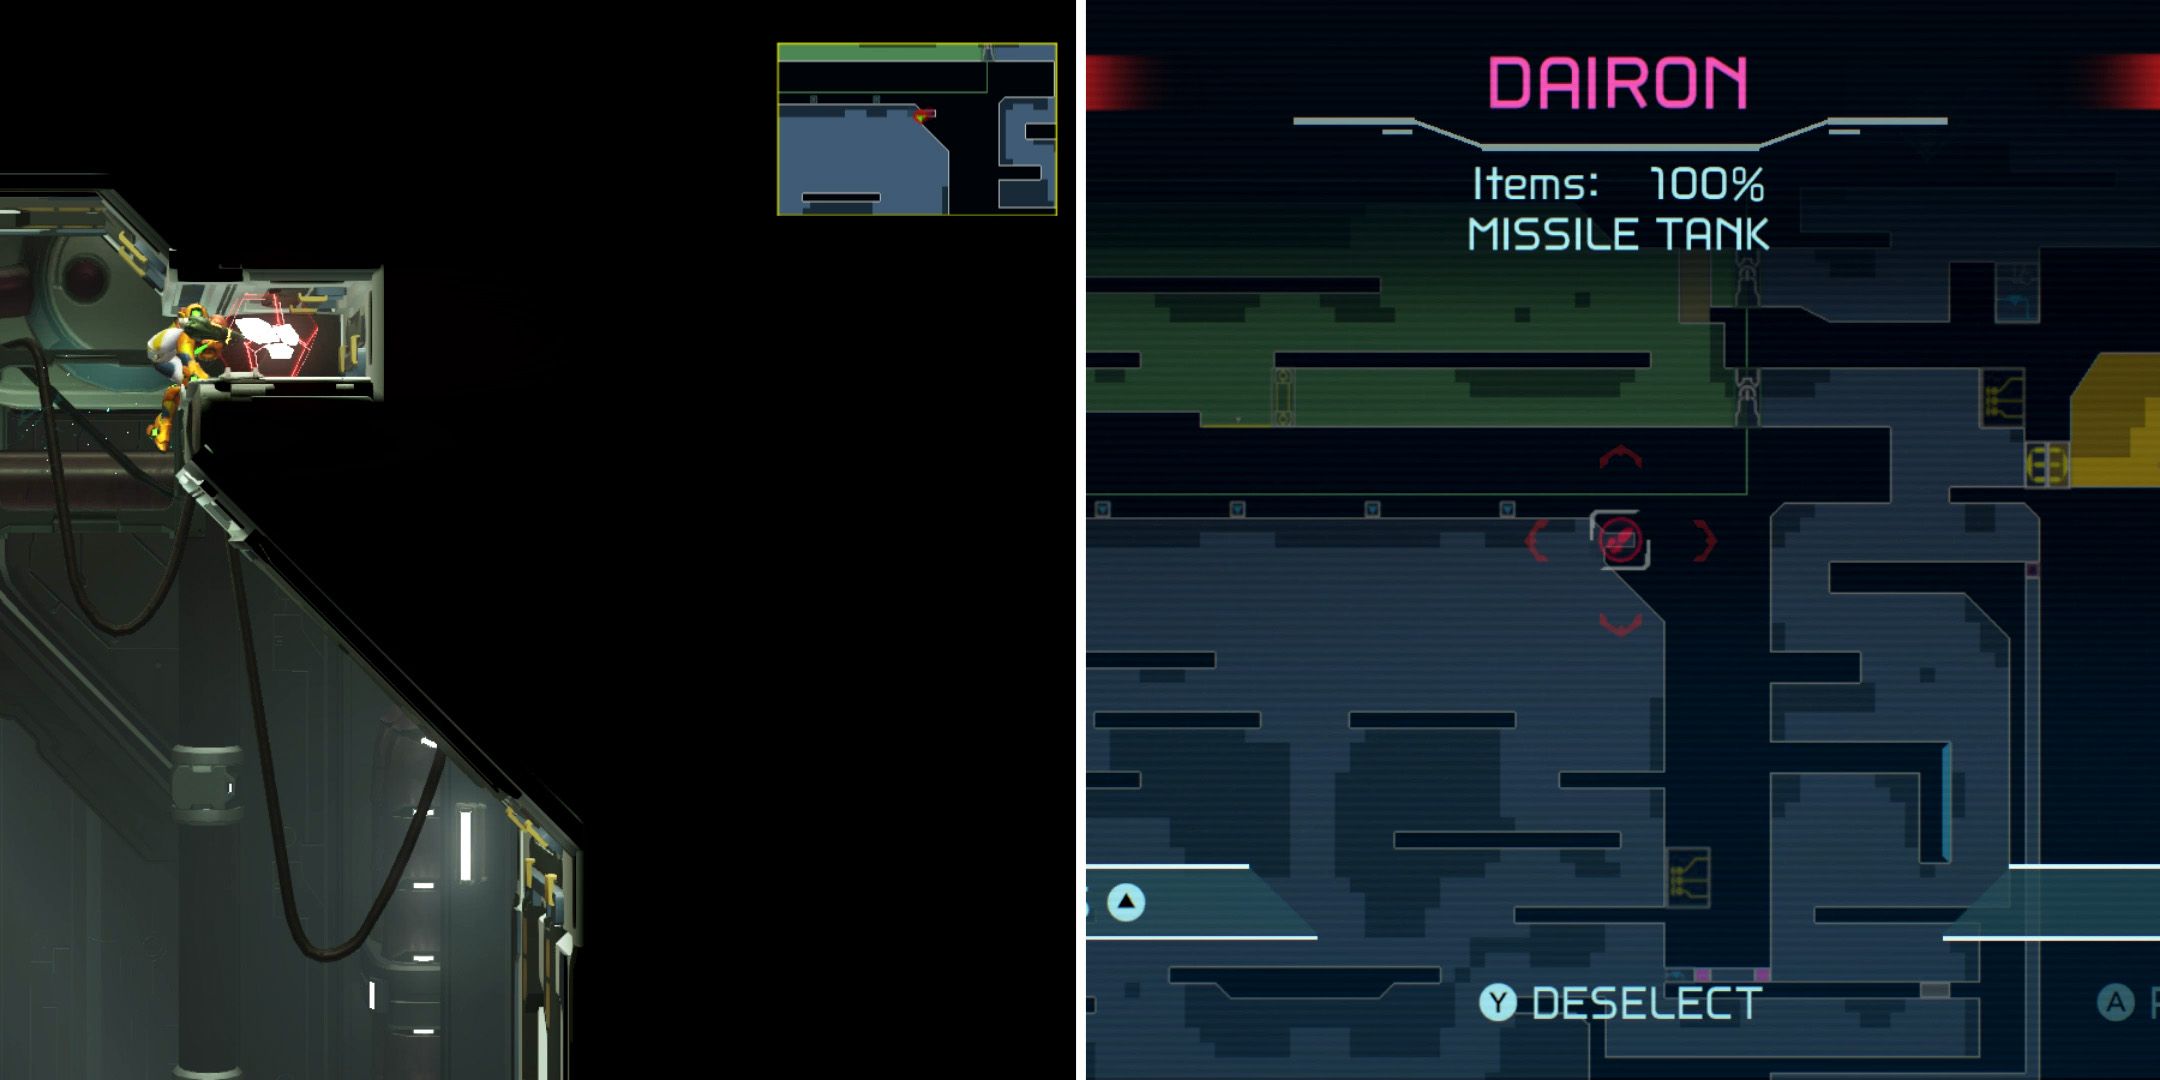
Players can reach the seventh Missile Tank by using the Grapple Beam blocks on the ceiling of the large room beneath part of the E.M.M.I. patrol zone.
Missile Tank #8
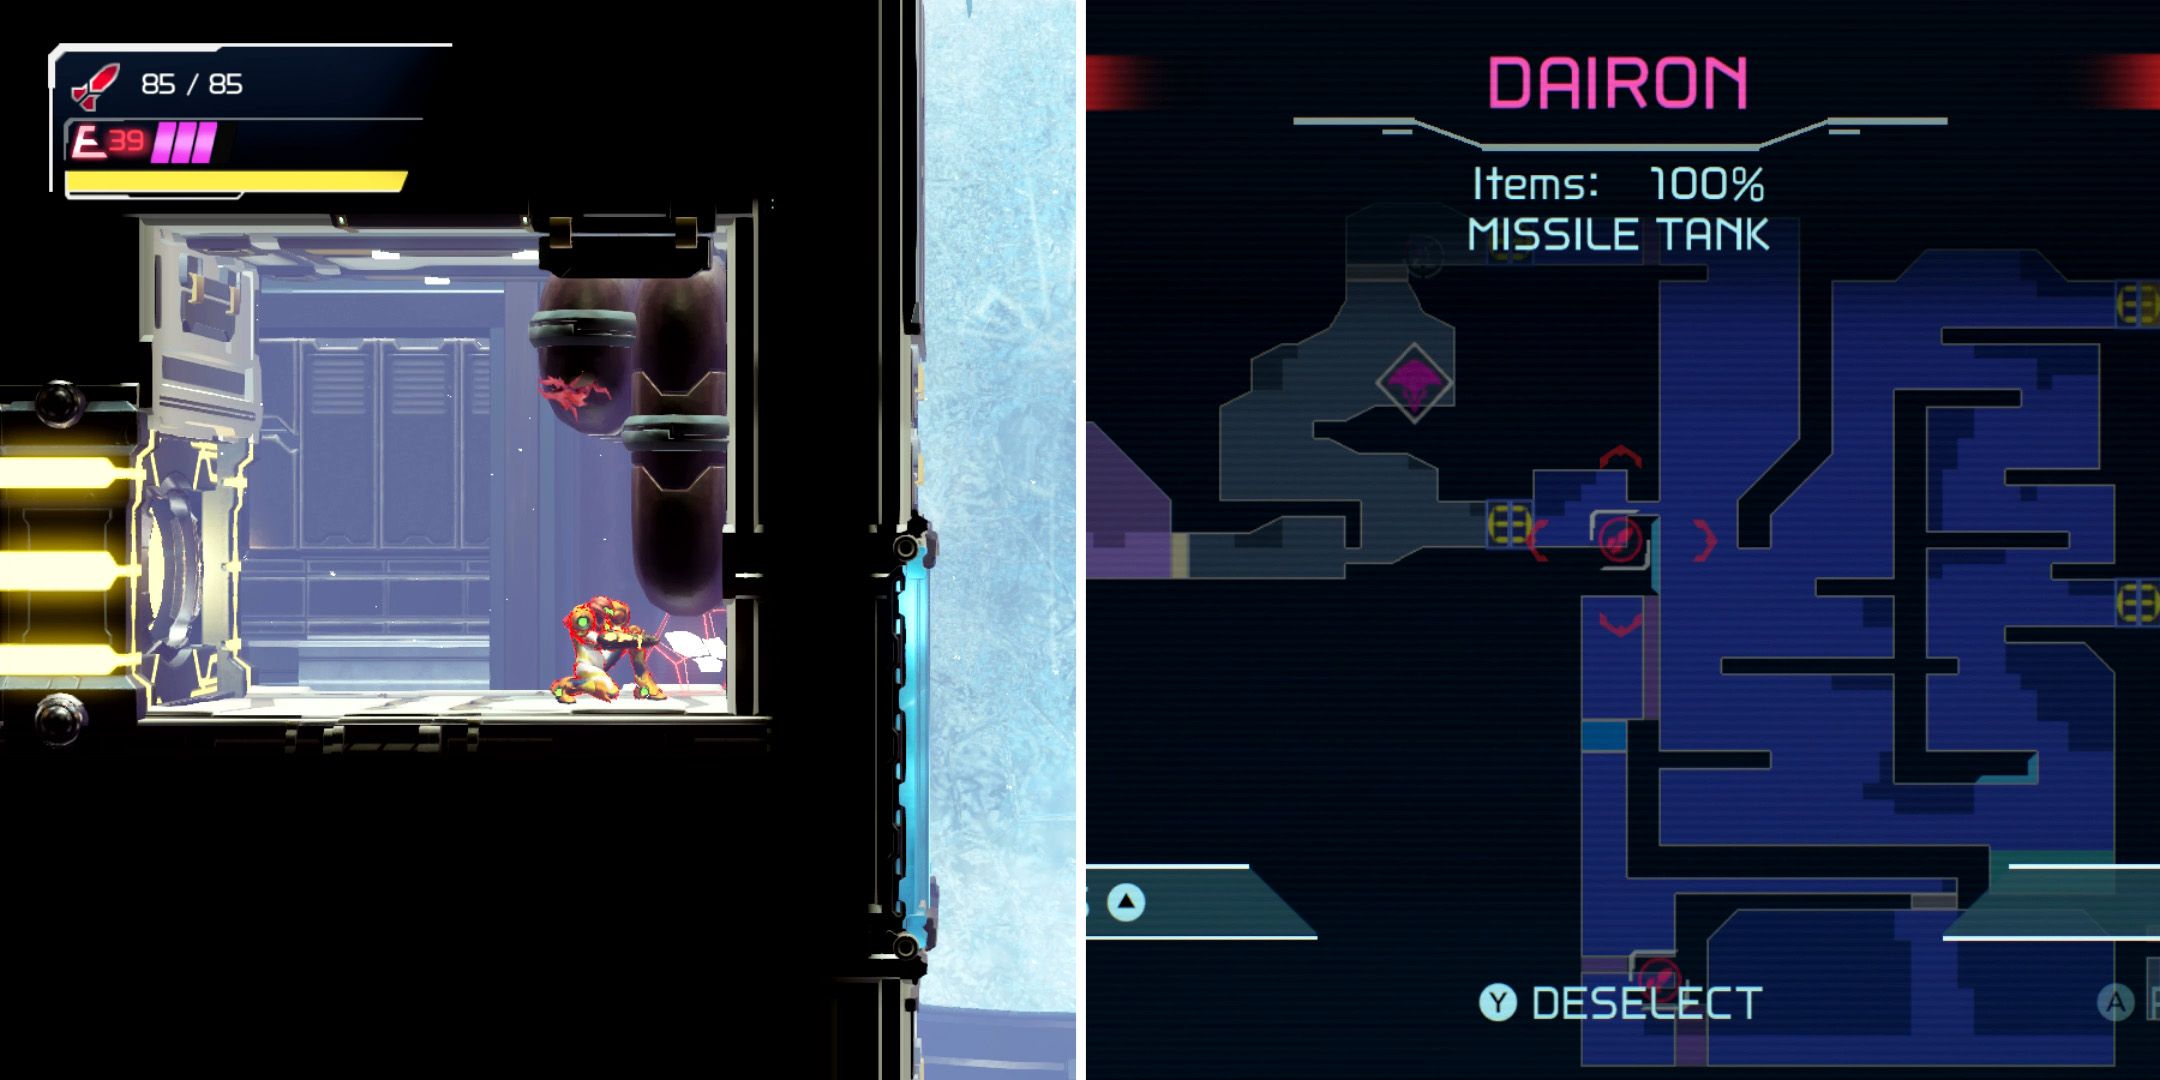
Players can find Dairon's eighth missile tank near the elevator that leads to Ghavoran in the northwestern corner of the map. It is possible to collect the tank before obtaining the Gravity Suit, though Samus will take damage while doing so and so players will need to be quick about it.
Missile Tank #9
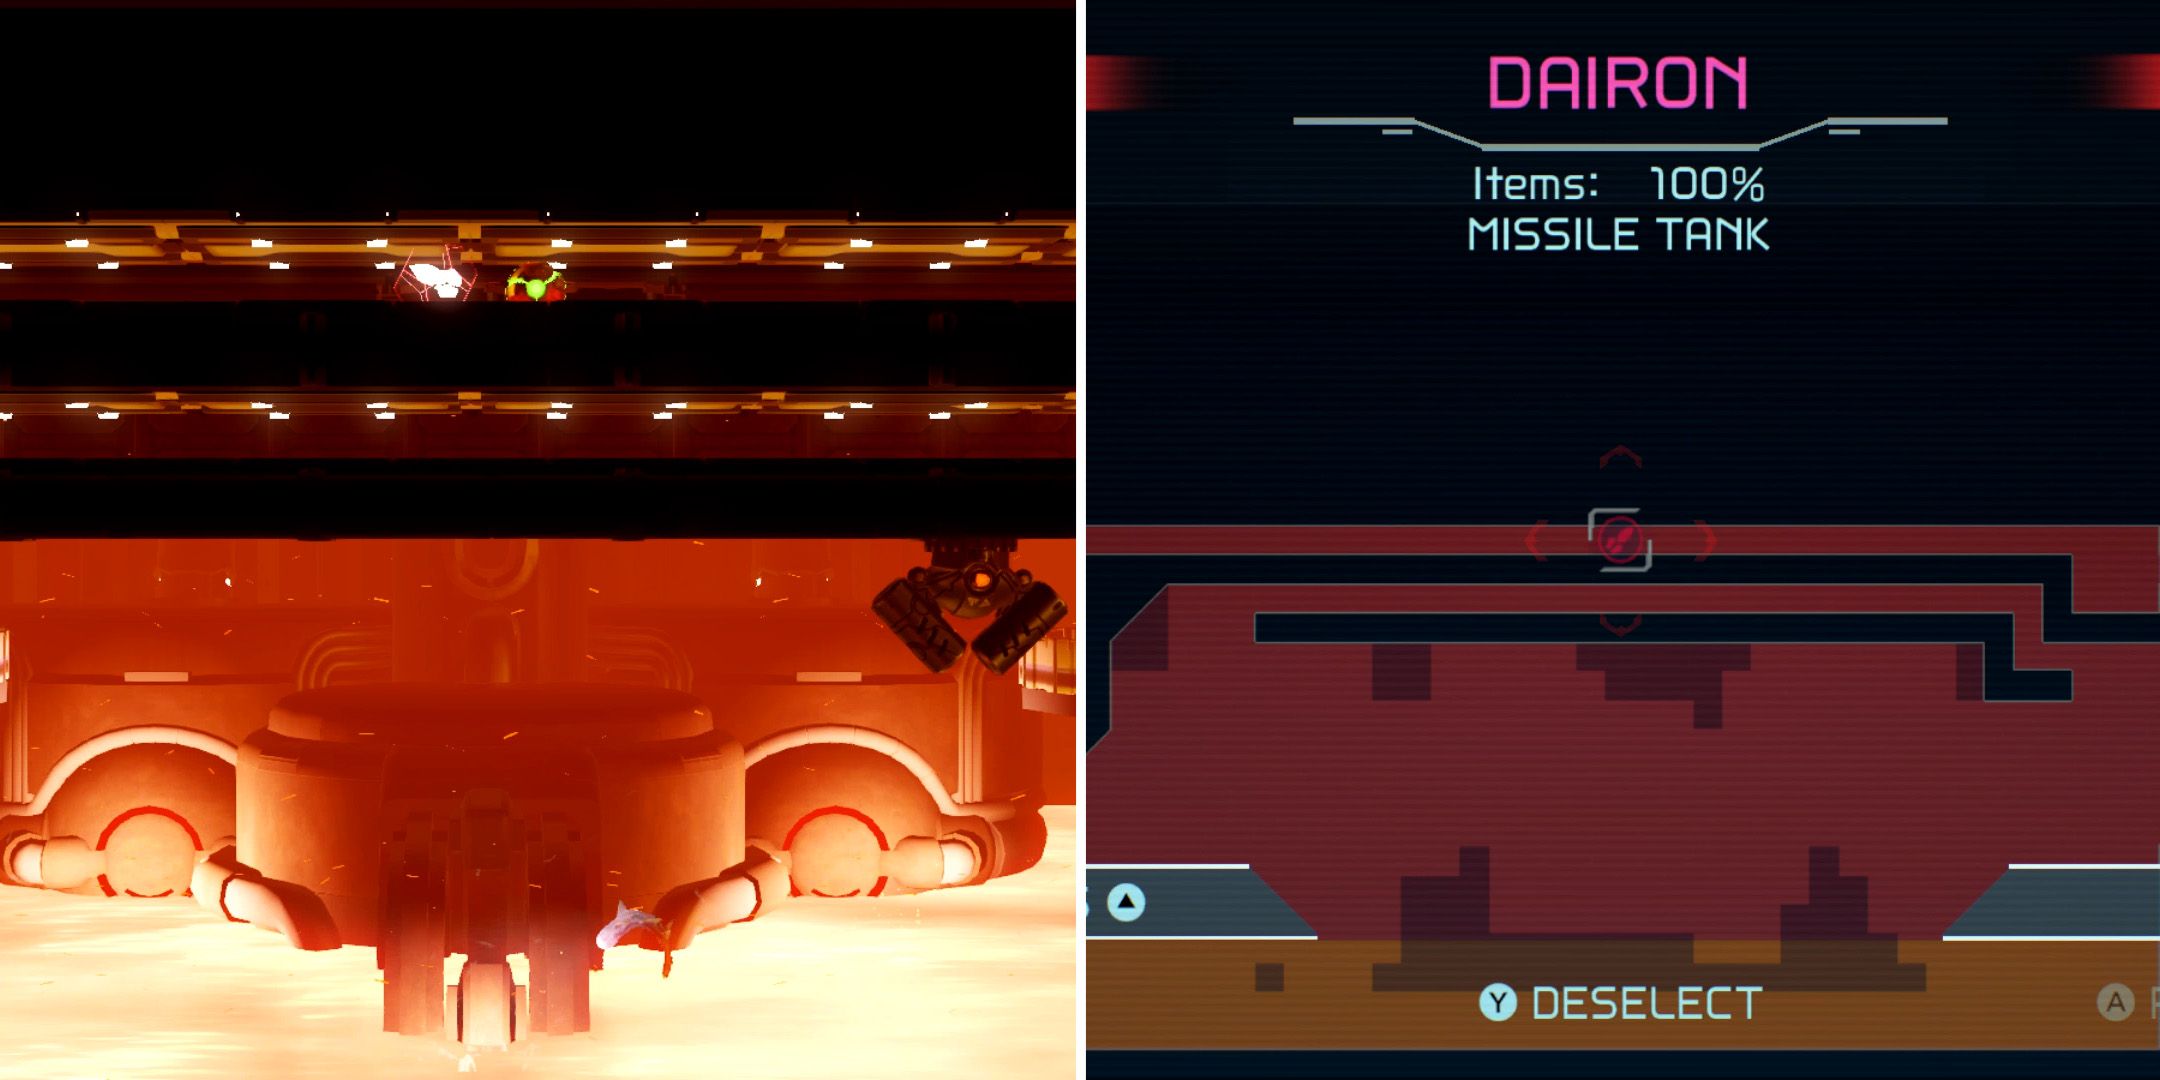
The ninth Missile Tank is in a Morph Ball tunnel above a pool of lava not far from the Artaria elevator in the southeastern corner of the region. Players will need to remove a Grapple Beam block to get to it though.
Missile Tank #10
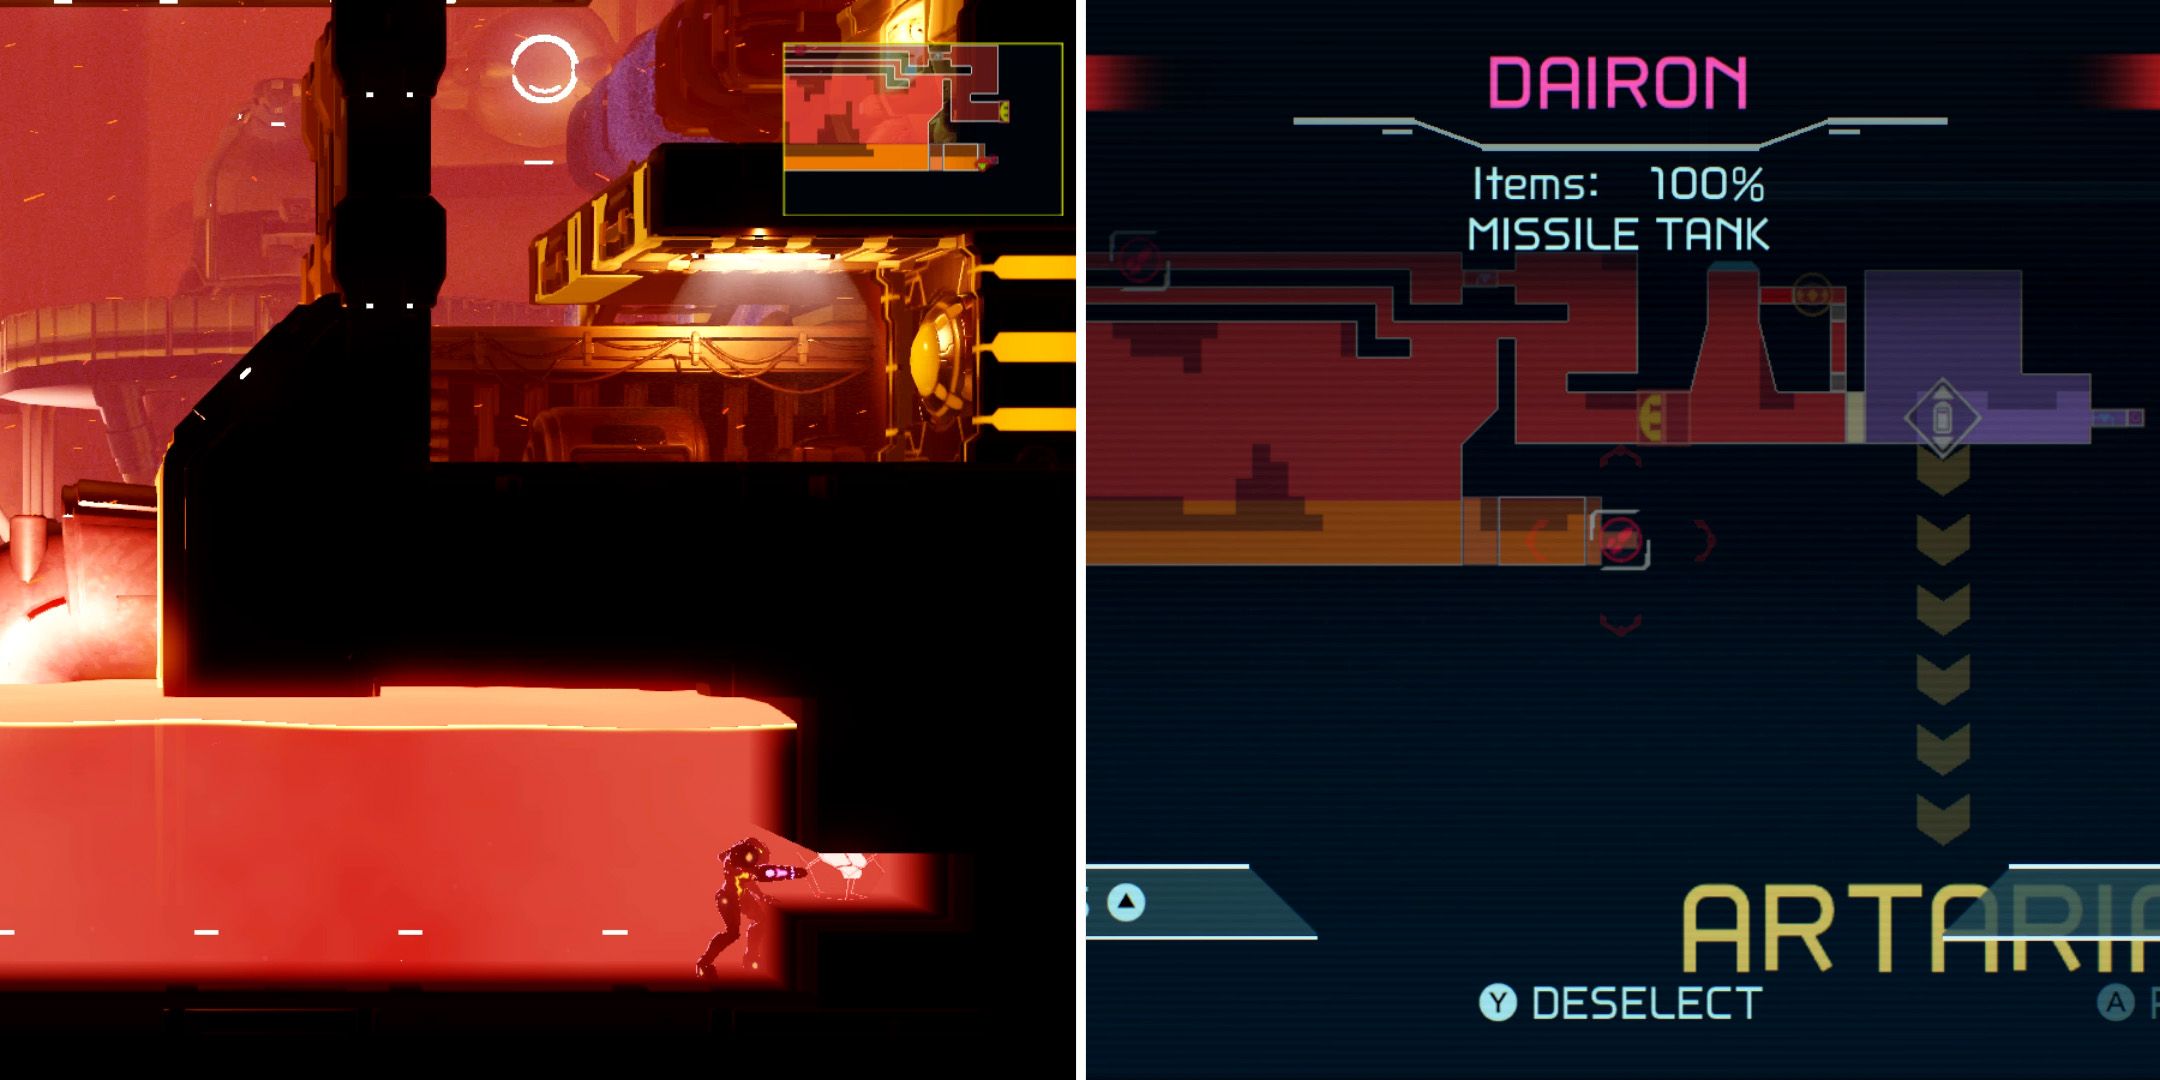
If players head into the pool of lava beneath the ninth Missile Tank, they'll be able to find another tank by running to their right and activating the Speed Booster. Due both to the heat of the lava and the way that it affects Samus' mobility, however, they'll need to have acquired the Gravity Suit for this to work.
Missile Tank #11
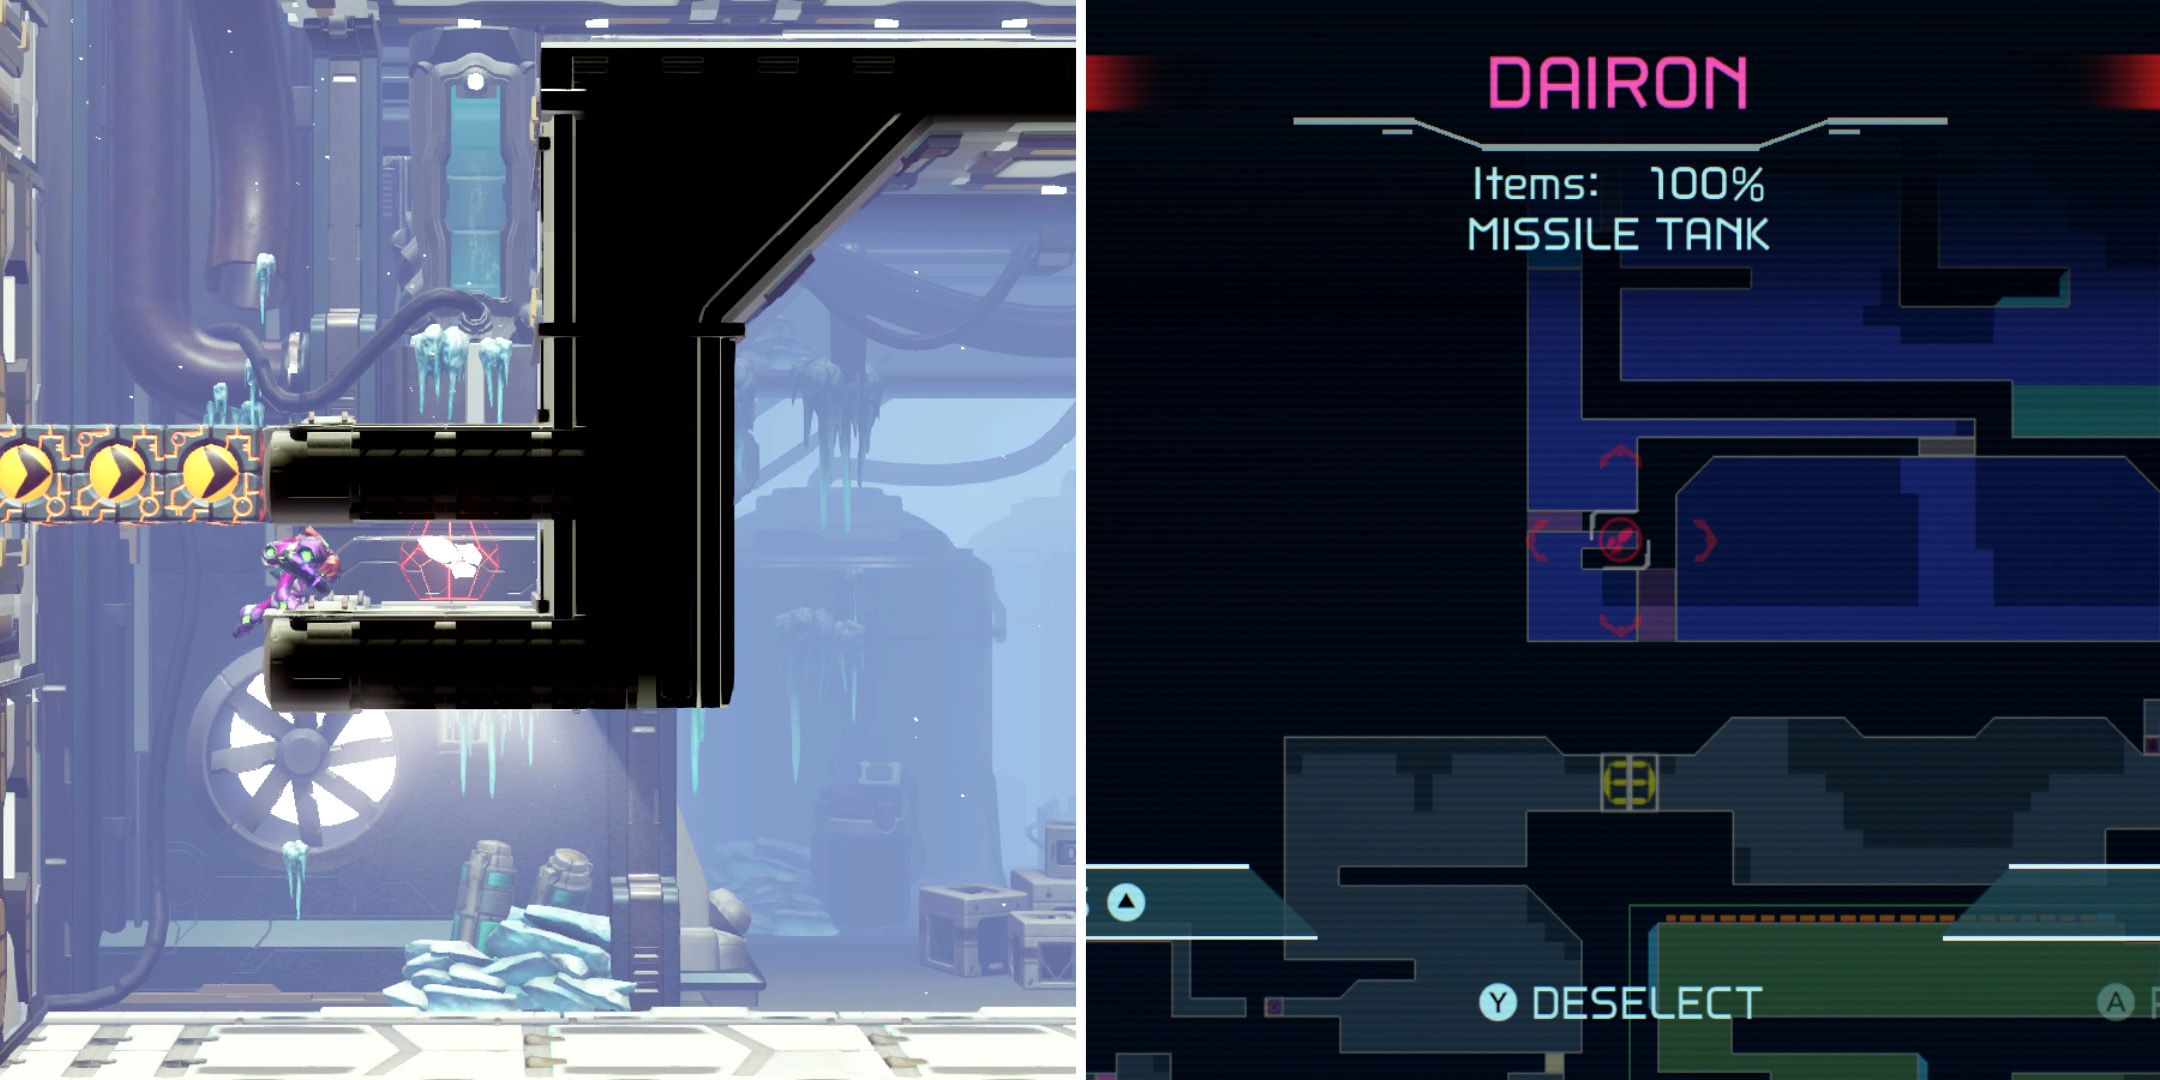
To reach the area containing Missile Tank number eleven, players will first need to use the Speed Booster to destroy some nearby orange blocks and then the Screw Attack to drop down to a new area. Once there, they should run to their left to activate the Speed Booster again, which will allow them to destroy some more orange blocks and gain access to the tank.
Missile Tank #12
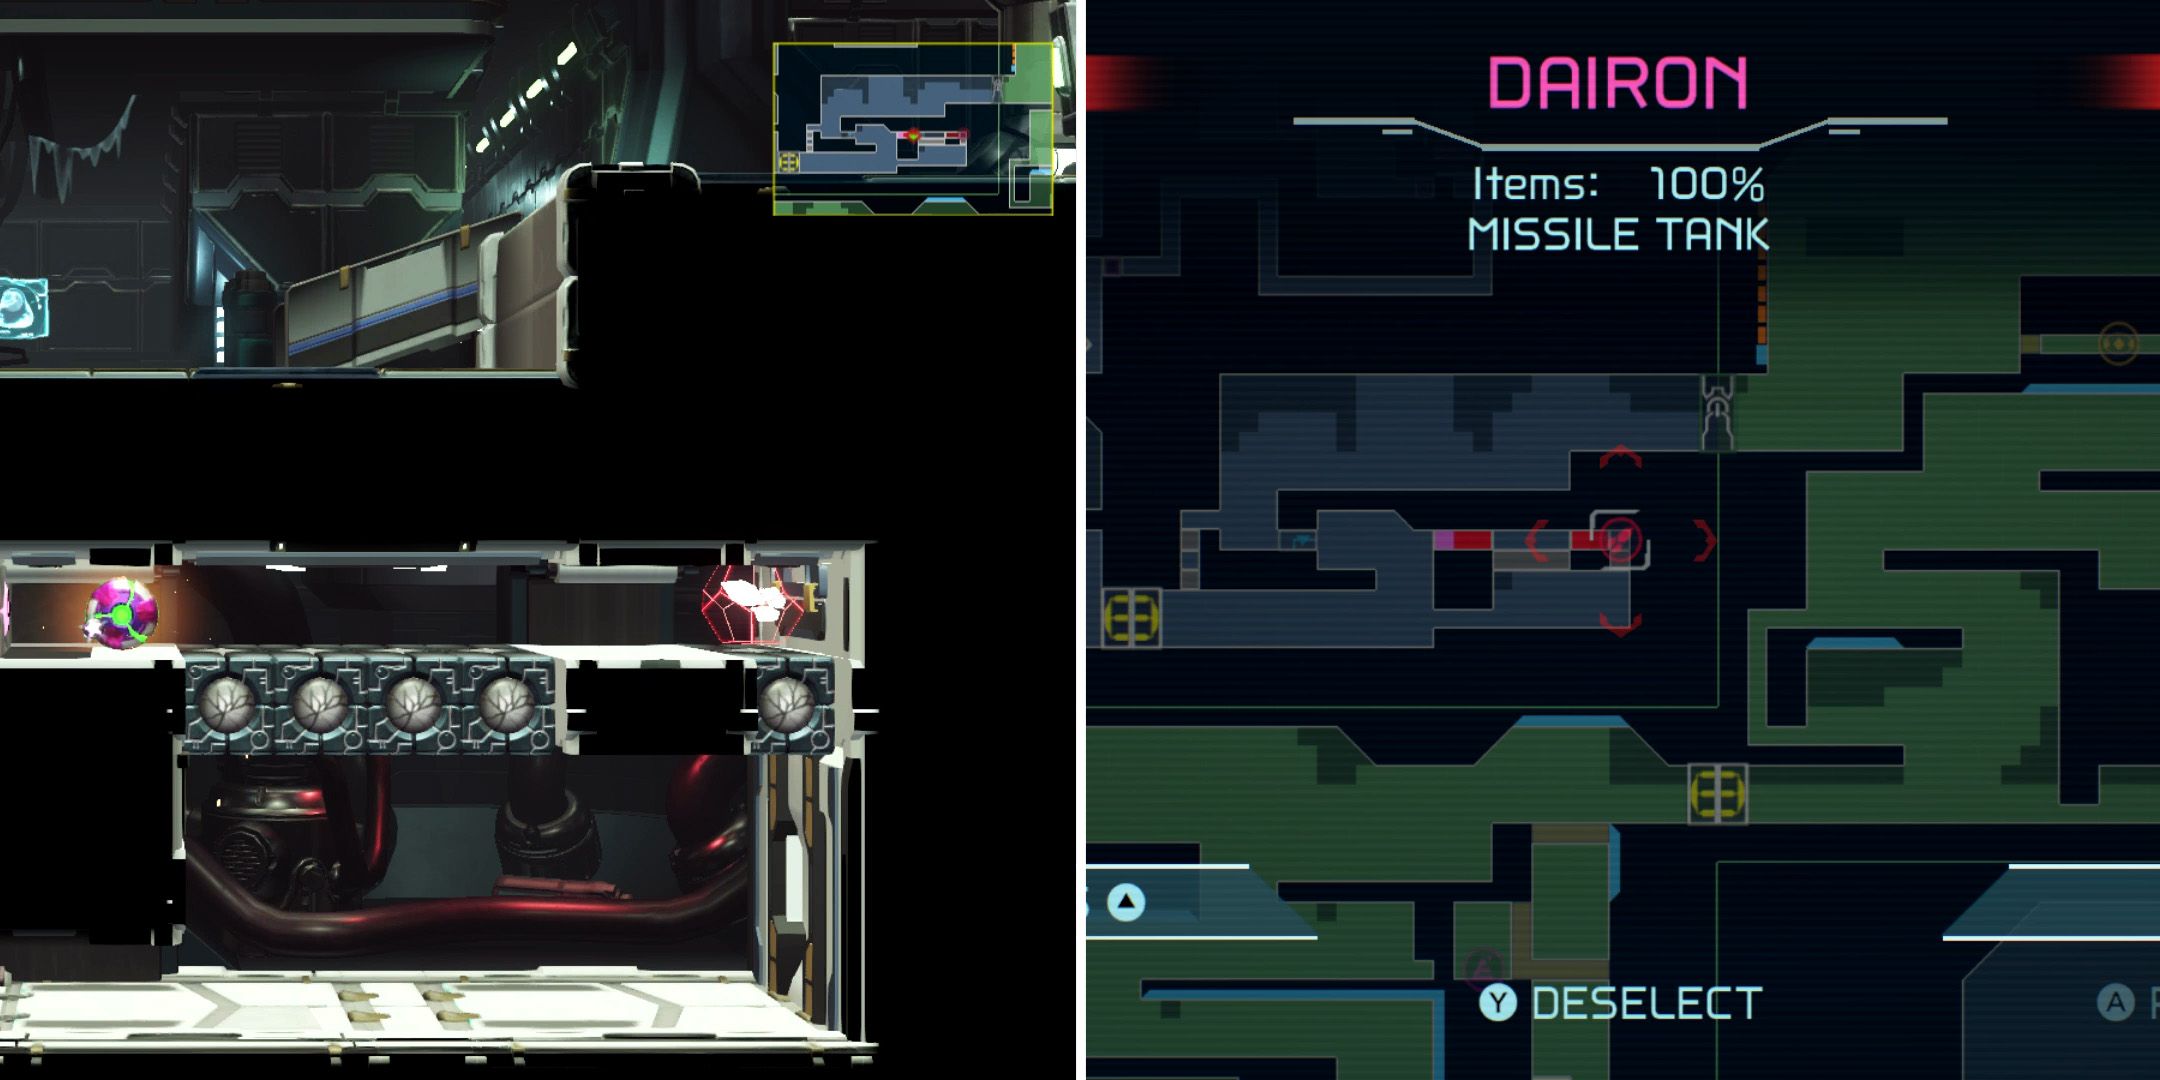
Dairon's final Missile Tank will require players to destroy a few blocks with regular missiles and then use the Cross Bomb to launch Samus over a row of pitfall blocks.
Every Power Bomb Tank in Dairon
Power Bomb Tank #1
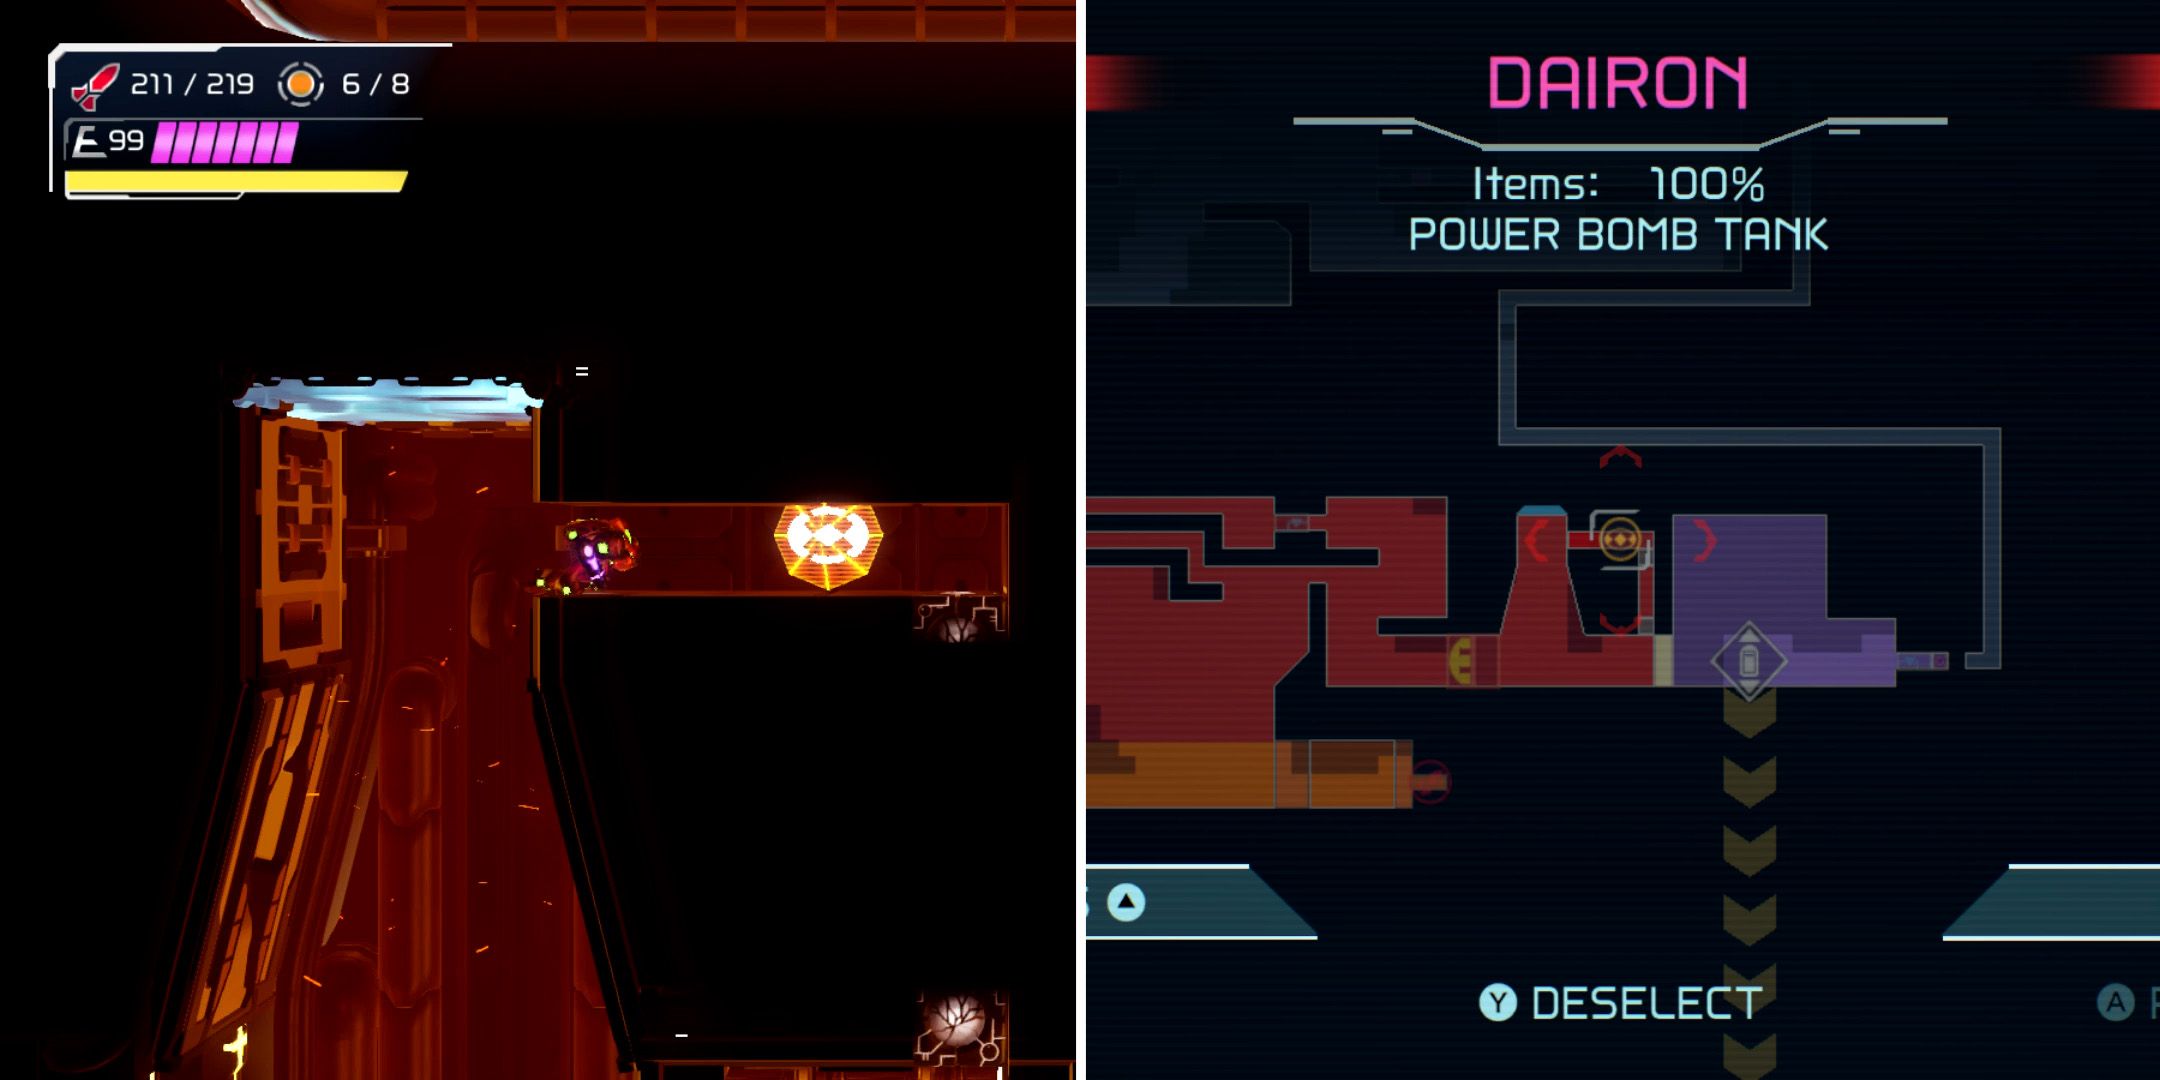
The first Power Bomb tank in Dairon is right next to the Artaria elevator in the southeastern corner of the map. To get to it, players will need to use the Grapple Beam to latch onto the nearby blue surface and then use Missiles to clear a path to the tank.
Power Bomb Tank #2
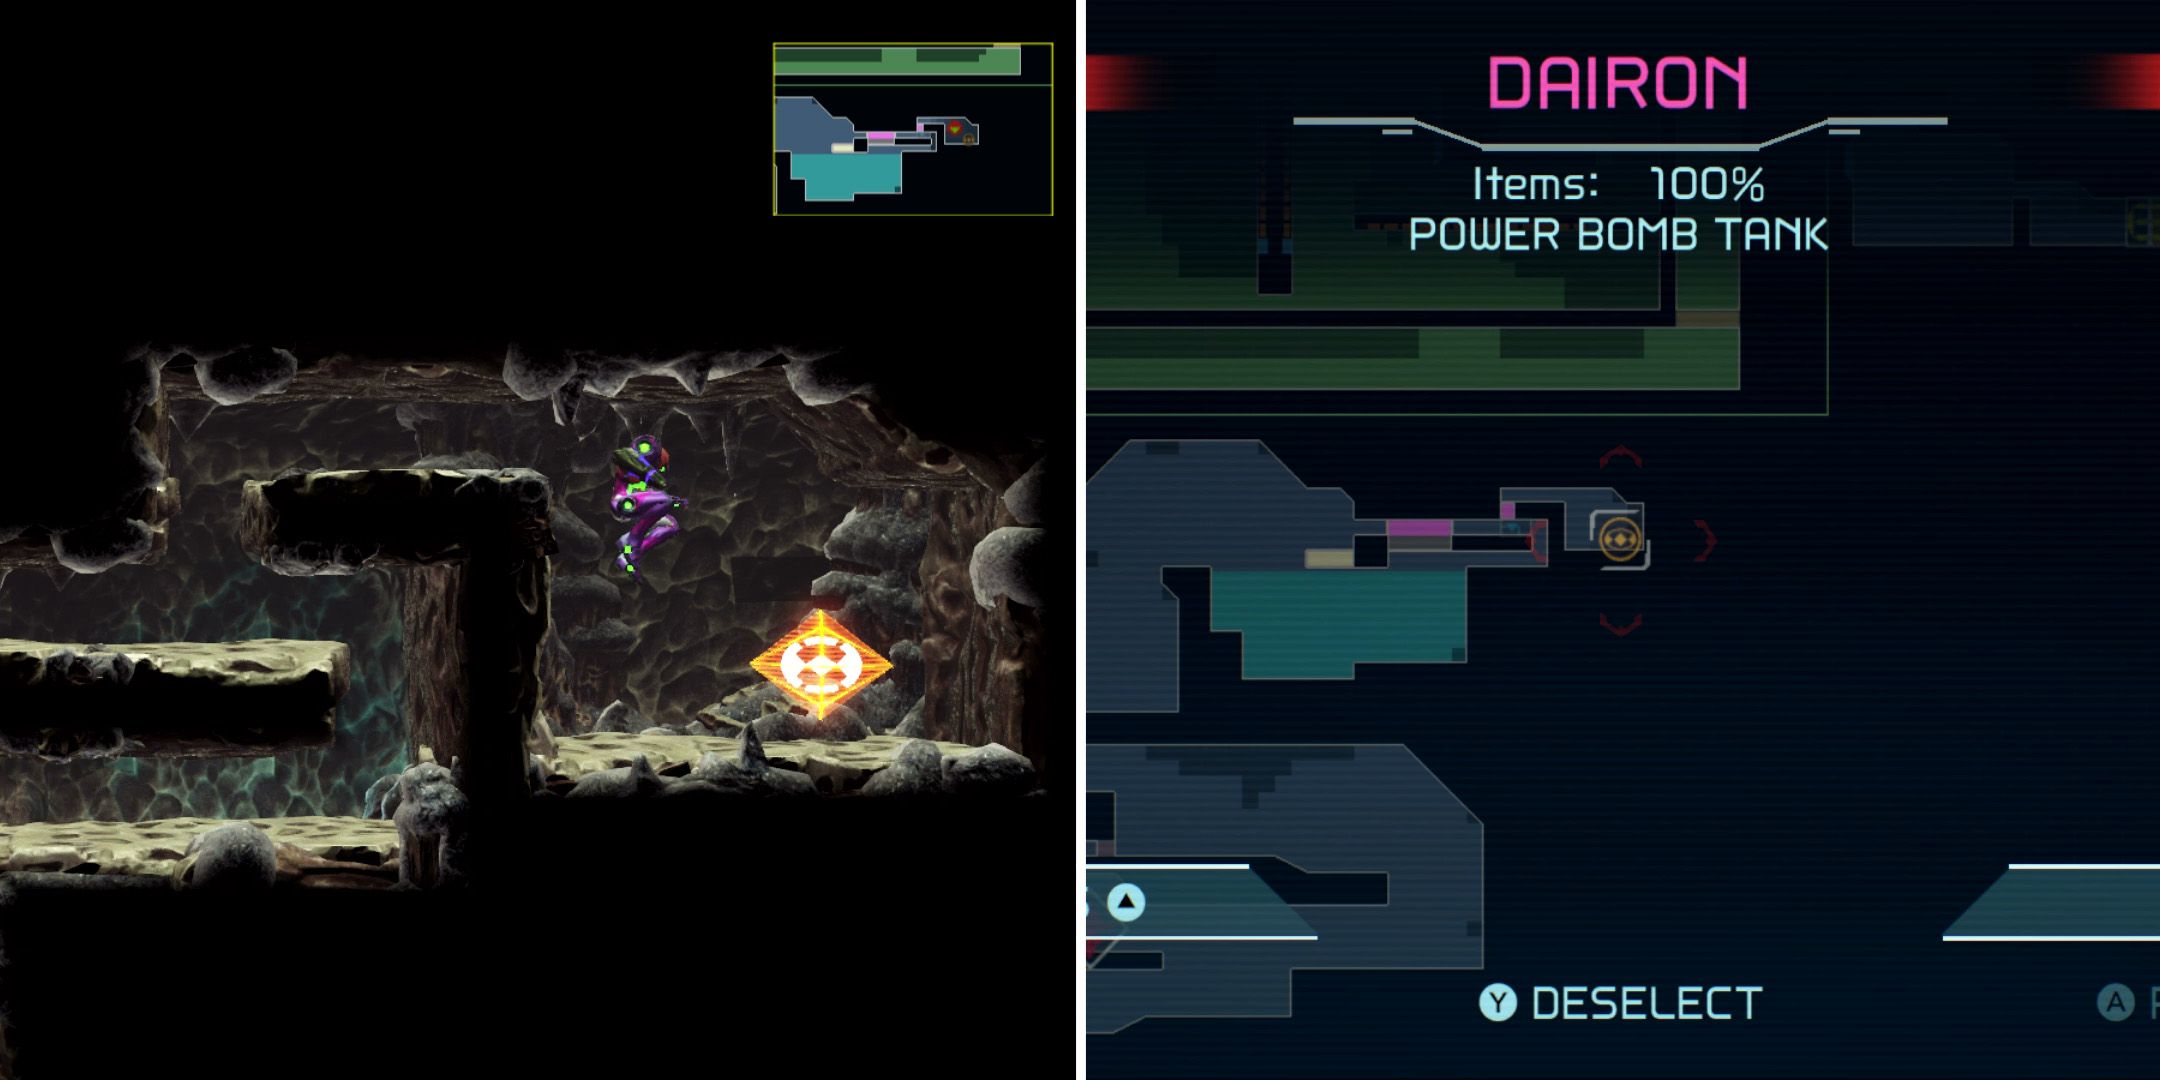
To get to the second Power Bomb Tank, players will need to use a Cross Bomb to destroy some blocks and then another to launch Samus over the four pitfall blocks below them.
Power Bomb Tank #3
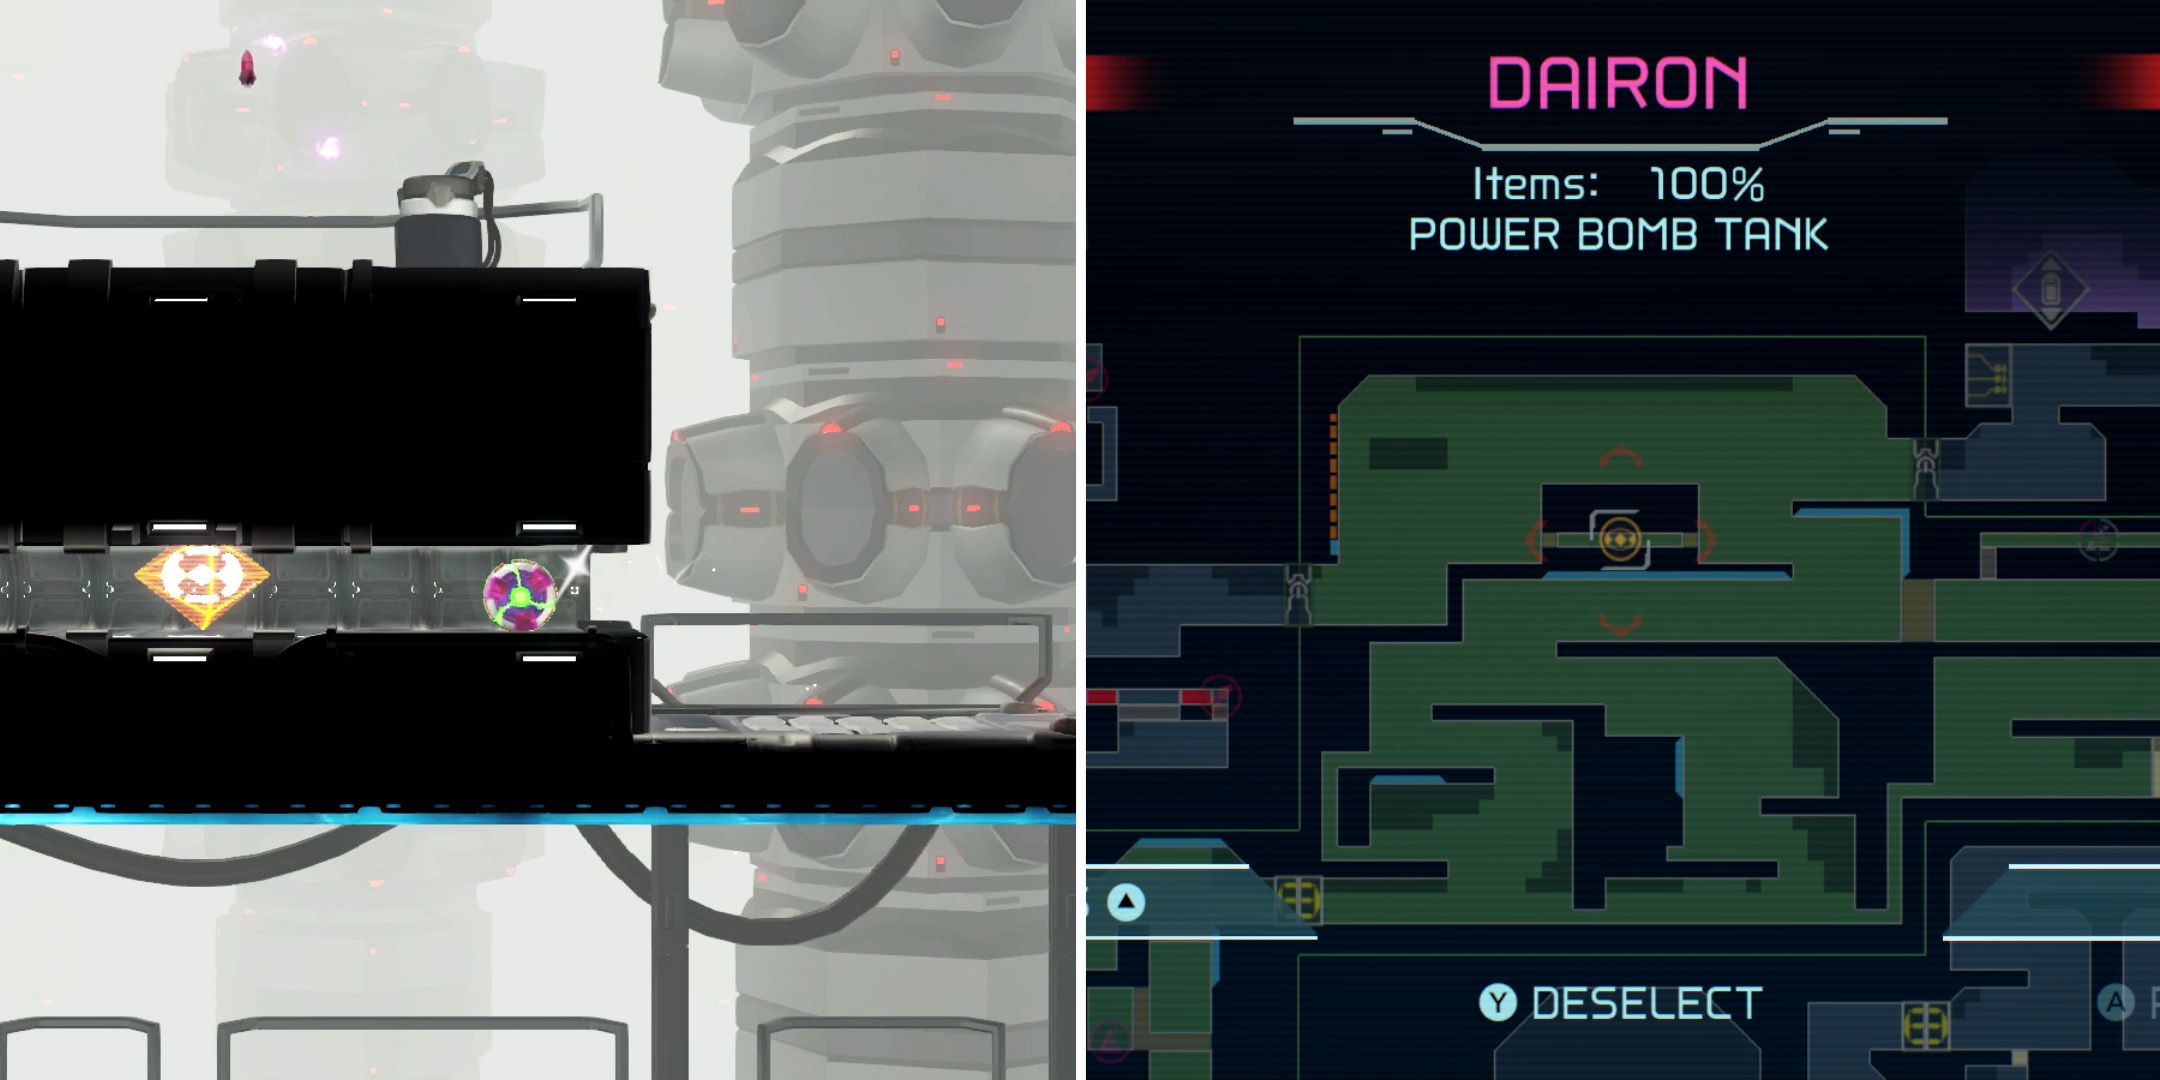
The final Power Bomb Tank in Dairon is in the E.M.M.I patrol zone just to the left of the central Ferenia elevator. It should be easy enough to find, though players will need to detonate a Power Bomb in order to gain access to it.

