

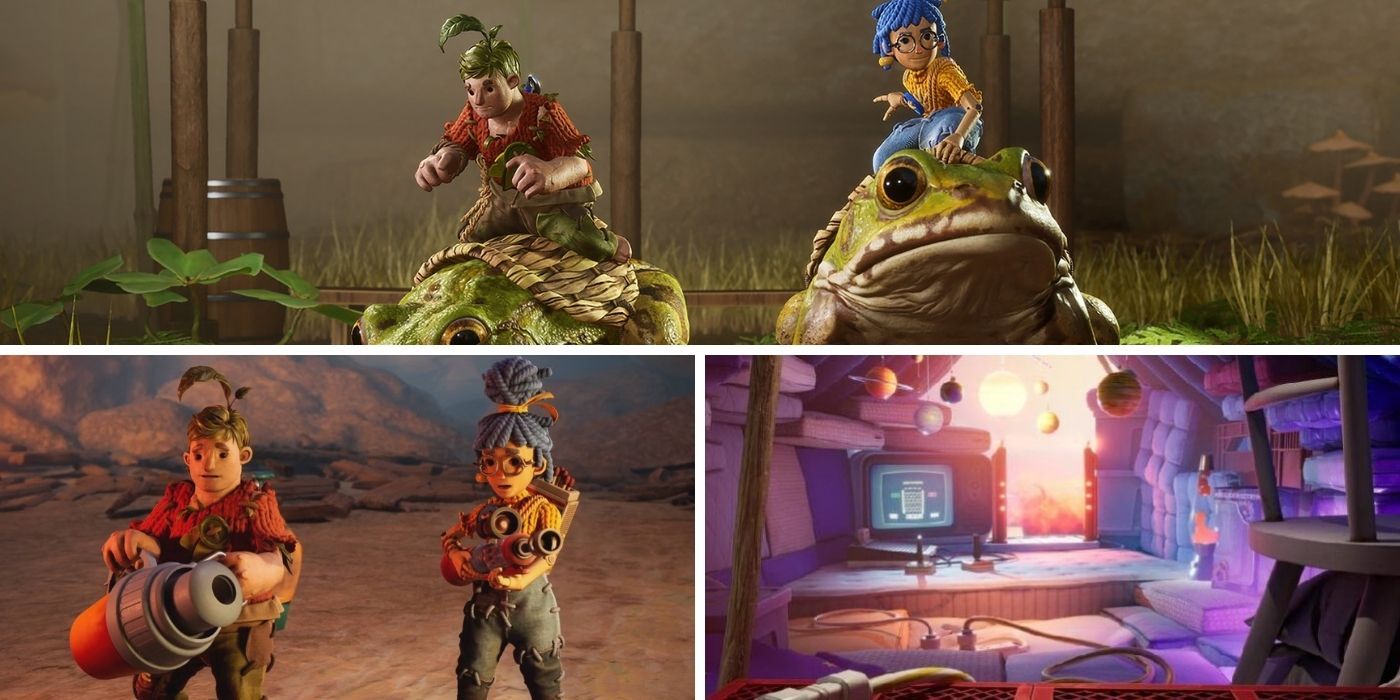
Hazelight's new co-op adventure, It Takes Two, is filled with nods to different game genres, easter eggs, and some pretty epic boss fights. Each one of the boss fights in this new game brings different mechanics and difficult co-op challenges for players to overcome.
RELATED: Co-Op Games To Play After Beating It Takes Two
Not all of these fights are easy to figure out right away. Some of them will have players guessing until these end up dying at the hands of a space monkey or a giant octopus, but that is all about trying to figure out how the game works.
Updated July 5, 2021 by Aden Carter: It Takes Two has been out for awhile now, but many players are just starting the adventure. Its critical acclaim has caused a spike in interest, with many regarding it as one of the best cooperative experiences they've had. There's a lot of charm in the action-adventure romp, made even better by the inclusion of two players that must actively work together to overcome obstacles.
This action gets even better with each boss fight, which introduce new challenges where players must use all the skills they've learned to survive. Because of all the new interest and players jumping in for the first time, this article has been updated to include mini-bosses and bullet points for better clarity.
- Fires bombs that Cody and May can launch back
- Boss uses different attacks during each phase
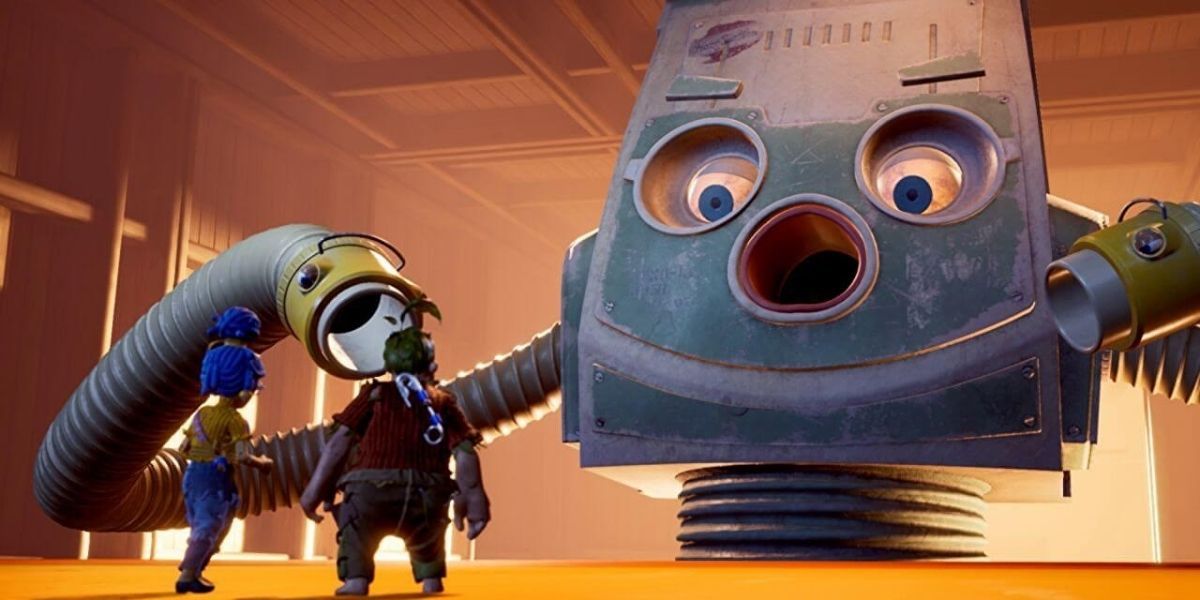
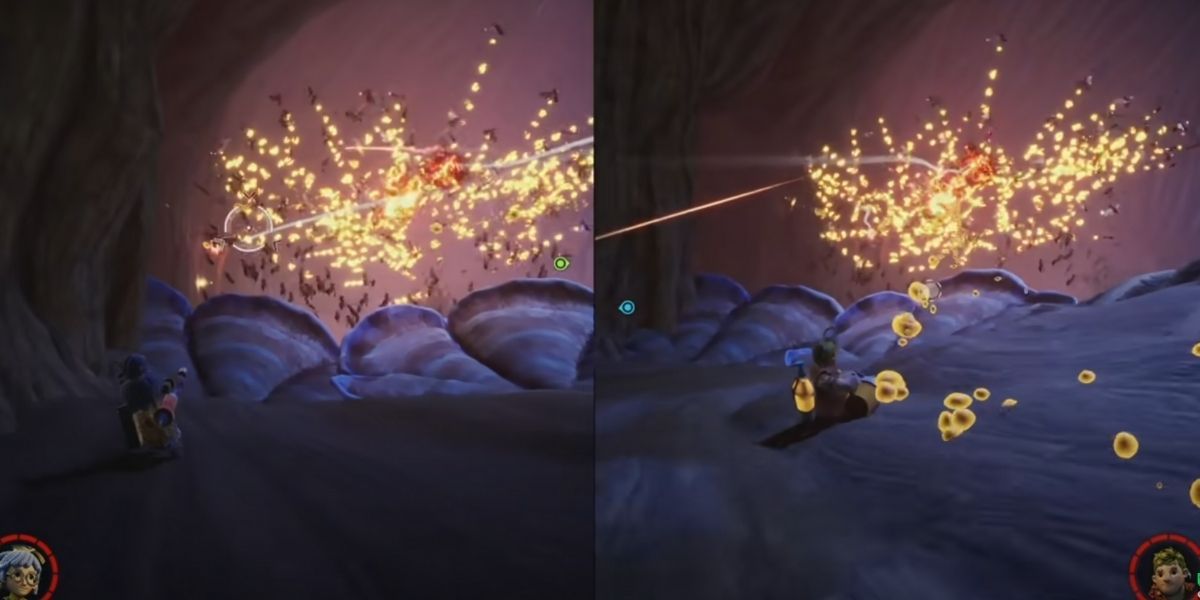
To start the fight, the Vacuum Tower will launch flaming canisters at the players. Dodge these and wait for a platform to raise up in the back of the arena. This platform will have a vacuum hose attached to the top and bottom. One player must hop on the bottom portion of the hose to suck up the flaming canisters, while the other player uses the top hose to shoot the canisters at the boss.
Once the players damage the boss enough, he will slam the arena. This will create areas of expanding air that the players must dodge. The canisters will then make a return and the players will need to perform their hose trick again. After damaging the boss a second time, he will start slamming the arena again.
After that, the boss will cause strips of explosive mines to fall down. Dodge a row and wait until they explode. Going back to where they just exploded will be a safe area. Damage the boss with more canisters and then survive the onslaught of slams, mines, and flaming lint balls. Damage the boss one last time to defeat it.
Once the health bar is gone, the boss's hoses will fall. Both players must grab a hose and direct them to the boss's eyes. This will start the cutscene where the boss meets his end.
- Boss fight has two phases
- During phase one, May will remove the first arm
- During phase two, Cody will need to throw nails at the canister on top of the boss
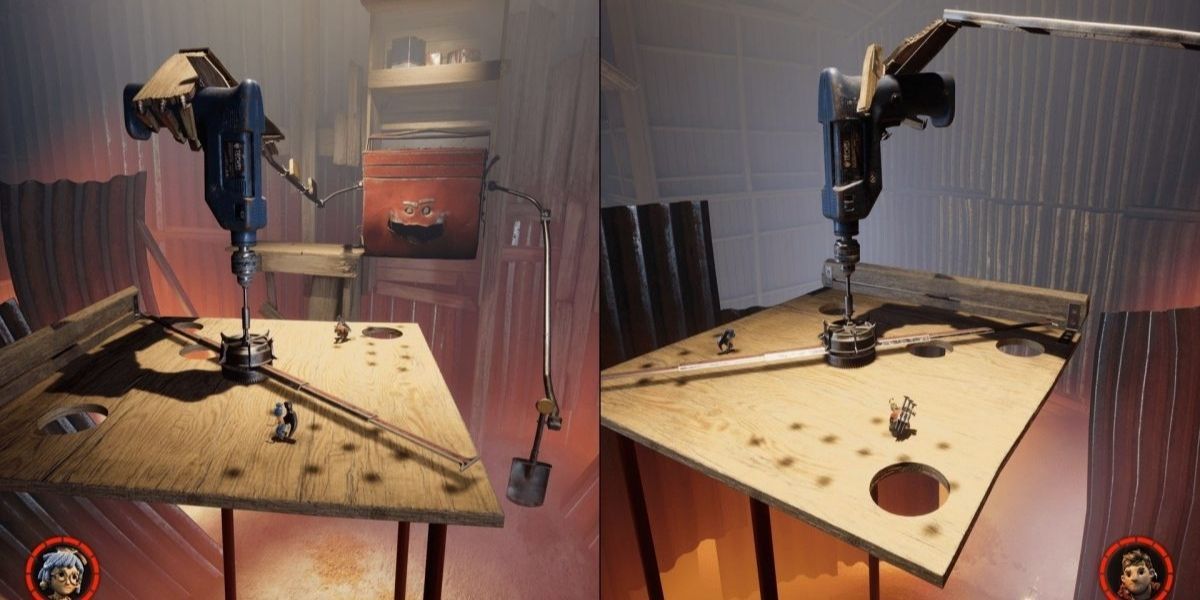
The boss will start off by firing nails all over the platform, before taking his arm and swinging it from right to left. Jump the arm and the player who is controlling Cody will need to throw a nail into the boss's arm to pin it down. Cody must then throw the other nails into the two wood pieces in the boss's arm so that May can swing up to the platform next to the boss. May must then hit one of the locks with her hammer until it breaks off.
Toolbox will now throw more nails, while also using a drill to create holes in the arena. After a little while, the boss will throw out some saw blades. Dodge everything until the boss brings out his arm. Have Cody pin down the arm again, and swing May over to the other lock. Break the other lock and the boss's arm will fall off. With one arm gone, the boss will start using the other arm to slam down on the arena.
After dodging the arm for a little while, the boss will place it on the right side of the arena. Cody must stand on the arm while May hits the other end to launch Cody into the air. While in the air, Cody will need to throw nails at an aerosol can on top of the boss. Cody must hit the can a few more times using the same mechanic.
The boss will use two new moves in the meantime; using a saw blade to cut off pieces of the arena and spinning his arm around to knock the players off the map. Once the can is destroyed, it will take the toolbox down with it.

- Watch out for charge attacks
- Cover boss in sap from behind and detonate with matchsticks
The first boss fight of the Tree chapter is against the Shield Wasp. This boss fight goes by pretty quickly, because the boss performs the same maneuver over and over again. Shield Wasp will charge at either May or Cody three or four times before switching over to the player.
Dodge to the left or right when the wasp charges, and turn around quickly to cover it in sap using Cody's sap gun. Once the boss is covered in enough sap, May will need to use her match launcher to ignite it. Do this a few times, and the boss will be defeated. Remember, the more sap covering the boss, the more damage the matches will do.
- Boss launches explosives
- Cover the boss in sap and light with matchsticks to defeat
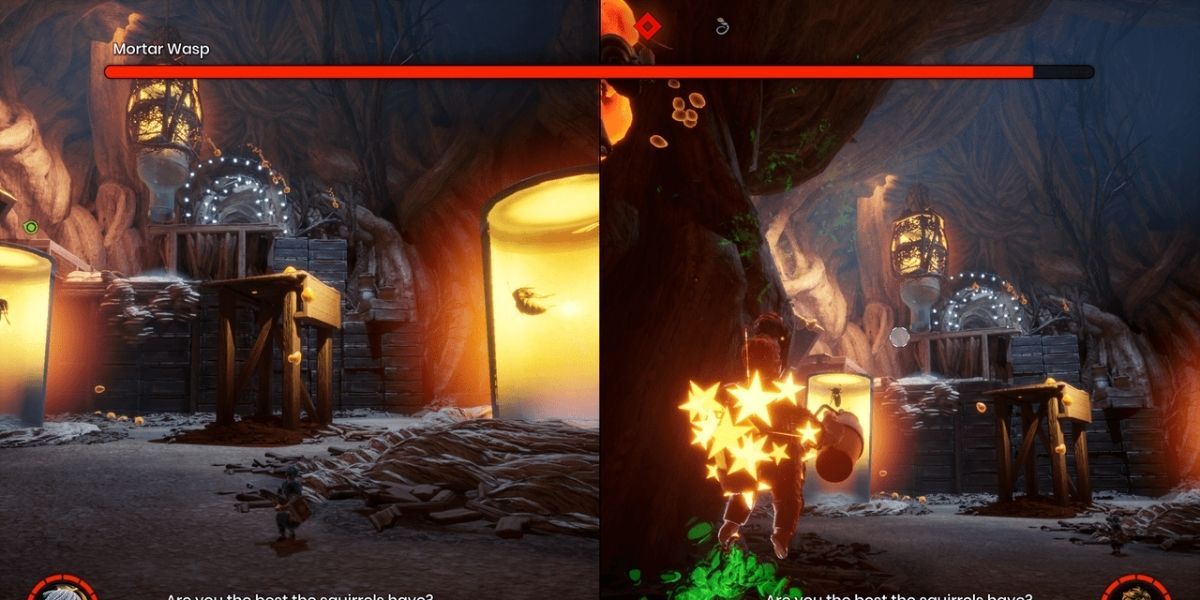
The Mortar Wasp boss fight is another straightforward boss fight that is simple to complete. It will fly above Cody or May and drop green mortar bombs on top of them. As with the Shield Wasp fight, Cody must coat the Mortar Wasp in sap until it is completely covered.
After that, May needs to shoot it with a match. These explosives will defeat the Mortar Wasp after a little while. Just keep rinsing and repeating.
- Boss fight has two phases
- During first phase, boss will slam the arena
- During second phase, boss will block the player's path
Though it isn't marked as a boss with a large health bar at the top of the screen, the Wasp Swarm is still a difficult enemy to handle. The Wasp Swarm mini-boss is taken down in two phases. During the first phase, the team will need to dodge the wasps as they form the shape of a hammer and attempt to hit Cody and May. The player controlling Cody must use the sap gun to cover the wasps like in previous fights. May can then use her matchstick gun to ignite the sap and hurt the wasps.
Phase two will start when the Wasp Swarm starts hitting the ground over and over. This will cause the floor to break, and Cody and May will fall down. They will land on a different part of the tree that they must slide down. The Wasp Swarm will form various shapes to block Cody and May's progression down the slide. Keep the pattern of hitting them with sap and then a matchstick to break up the formations. The boss fight will end when the players enter a cutscene for the next area.
- Fill the sewer grates with sap and detonate to damage boss
- Avoid charge attacks
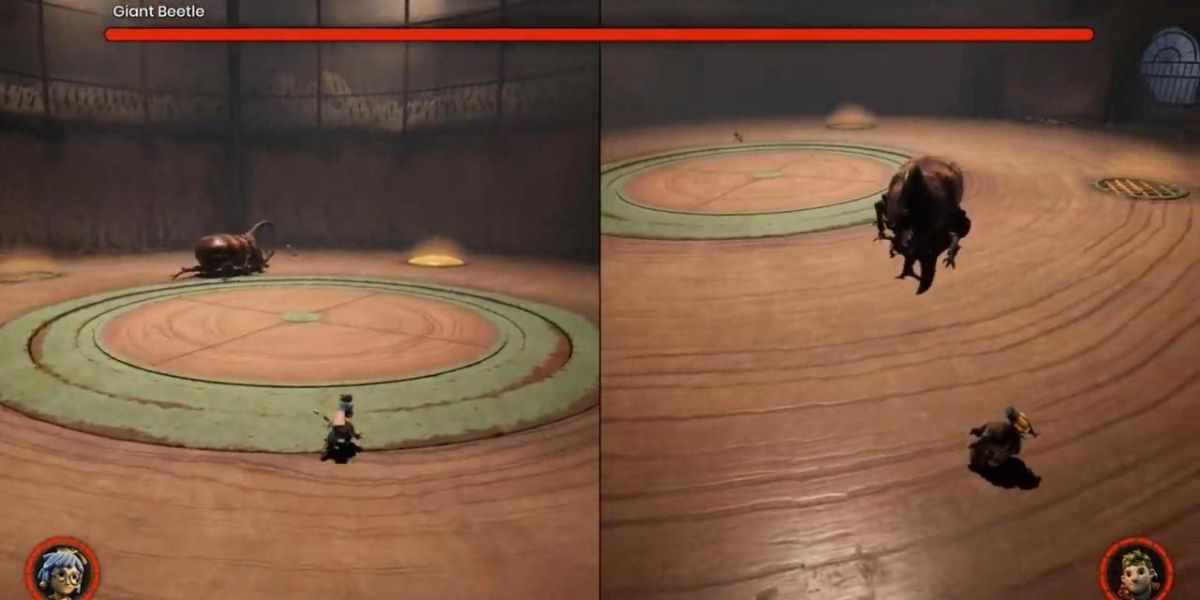
The Giant Beetle will start off by charging at either May or Cody. Run around the map while dodging the charges to make it over to the sewer grates. There are four sewer grates around the arena. Cody must fill these up with his sap gun.
RELATED: Best Online Co-Op and Multiplayer Games For Social Distancing
One of the players can then lure the boss over one of the grates while May shoots the sap. Once the boss is damaged, it will slam the ground, creating one to three red rings that will expand outward. Jump the rings and get ready to have the boss charge again. Keep damaging the boss with the sap in the grates until its health bar is depleted.
- Avoid the wasp swarm attacks
- Boss is defeated by destroying the armor around it
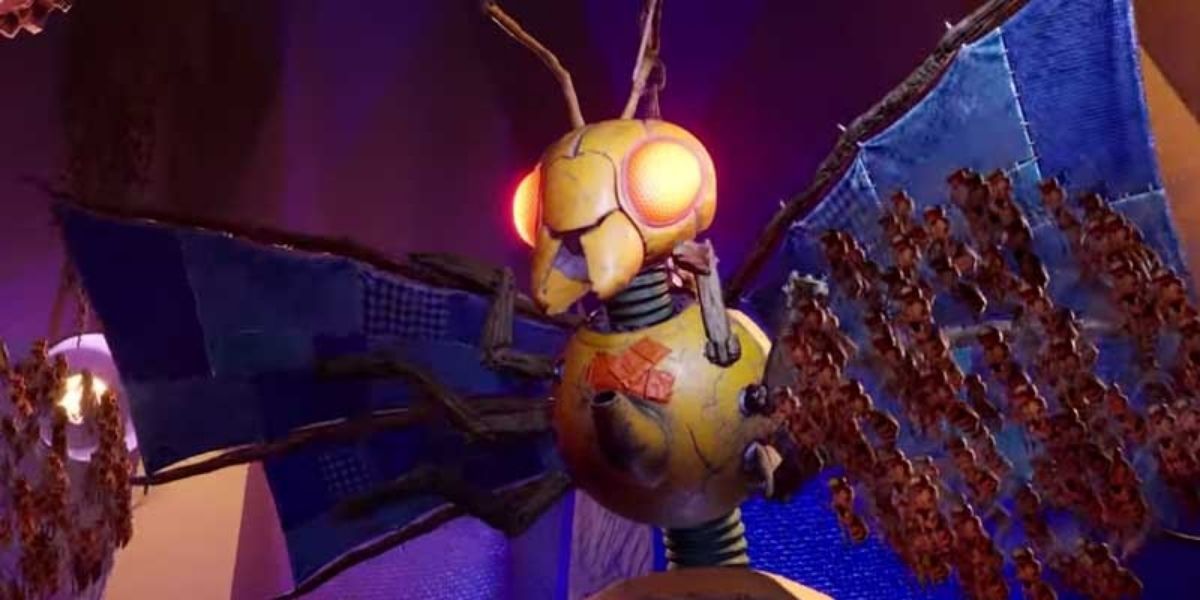
The key to defeating the Wasp Queen is coating each section of the armor in sap and blowing it up. There are four pieces of armor that must be destroyed; two on the front and two on the back.
To start the fight, the Wasp Queen will have a swarm with her that will arrange themselves into a hammer to try and hit the players. Dodge the hammer strikes and start aiming at any piece of armor that isn't protected by a swarm. After a third of the boss's health is gone, it will start shoot fire onto the arena. Take the rails on either side of the arena to avoid it. The boss's swarms will also start performing the hammer strikes and a horizontal bar move. Keeping dodging the attacks while destroying the boss's armor plates.
With half of her health gone, the Wasp Queen will command her swarm to drop onto the arena like bombs, with an explosive radius made of wasps. The wasps will also start to fly across the map in the shape of scissors. During this time the view will change to a top-down view. Once the view returns to normal, Cody and May will need to take out the remaining armor of the boss.
Once the Wasp Queen is low enough on health, the arena will fall away and the rest of the fight will take place on a rail that encircles the Wasp Queen. During this time, Cody and May will need to take aim at the chain holding the boss up, which will be protected by swarms. Take out the swarms and hit the chain enough to defeat the boss.
- Avoid tail sweep attack and Hadouken attack
- Try to get behind the boss to deal the most damage
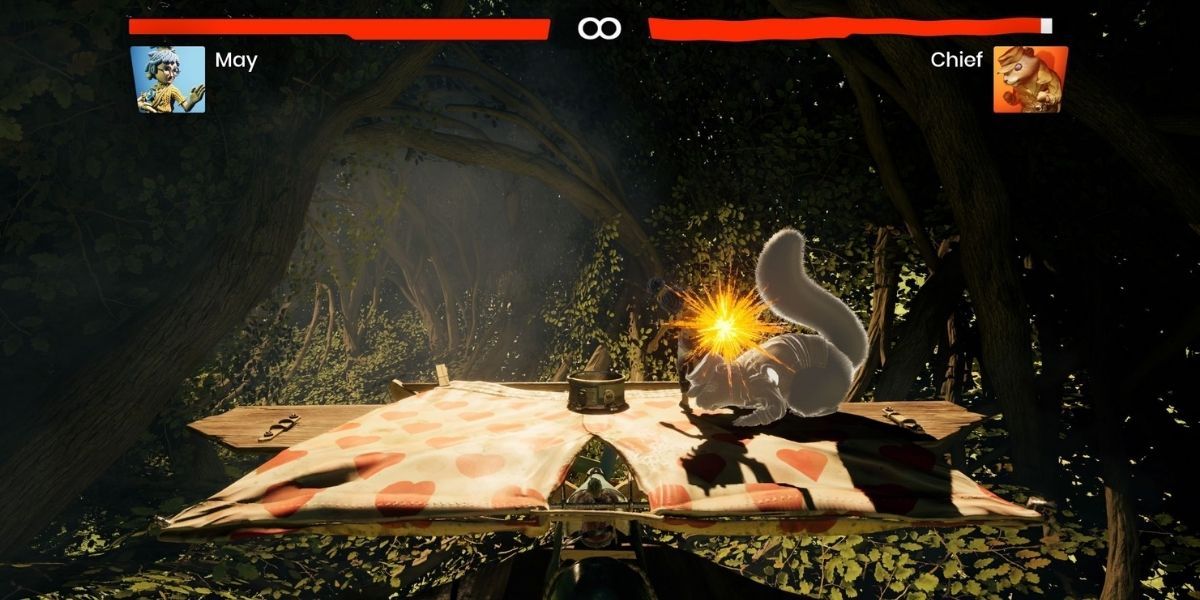
As Cody and May are trying to escape the tree on the makeshift plane, Chief will fly out of the brush and land on top. May will climb to the top of the plane and enter a Street Fighter-style battle with him. Cody will need to fly the plane while the fight commences and steer clear of any obstacles that appear. May needs to focus her attention on Chief.
Chief isn't extremely hard to defeat, but watch out for a few key attacks. He likes to perform a tail sweep and the infamous Hadouken from the classic fighting game. Those two moves do the most damage and can throw off the fight.
- Boss fight has three phases
- Avoid the laser as it does significant damage
- Lure the laser to the pylons to defeat
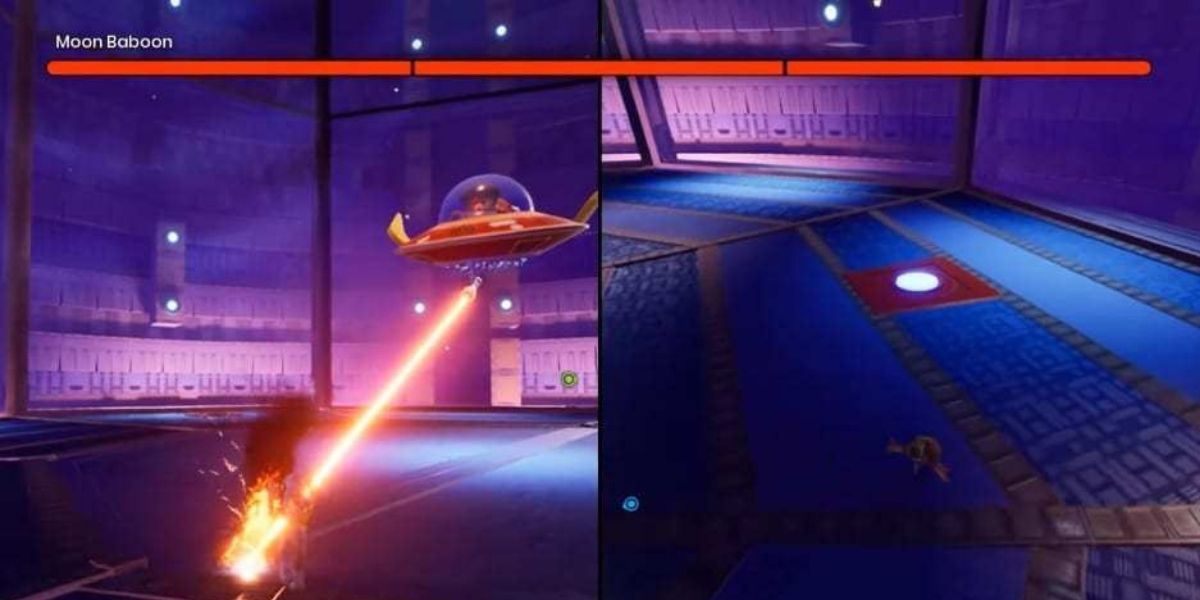
Moon Baboon will start off the boss fight in a UFO and will fire a laser at either Cody or May. Whoever is targeted will need to run away from the laser while the other player finds the glowing button on the floor of the arena. Once the player finds the button, stand on it to make a pylon come up out of the ground. The playing who is being chased by the laser will need to guide the laser over to the pylon. Once the laser hits the pylon, it will damage Moon Baboon.
After the boss takes damage, lasers will shoot out of the center of the arena. Keep jumping the lasers as they spin around the arena. During this time the players will also have to dodge grenades that Moon Baboon throws out. Now it will repeat the laser part. Repeat the process above until all four pylons have been hit by the laser.
A cutscene will play once a third of the boss's health is gone. Moon Baboon will land on the ground, and Cody will need to become large to lift the ship so May can pull off the laser. During the second phase, Moon Baboon will shoot rockets. Run away from these until they land on the ground. Jump on the grounded rocket to ride it, and fly the rocket over to Moon Baboon to damage him. Rinse and repeat until another third of his health is gone, at which point another cutscene will play.
After the cutscene, Cody will need to shrink down and climb inside the rocket. He will need to jump platforms, avoid electrified walls, and maneuver around lasers until he reaches the big red eject button to ground pound. Meanwhile, May will need to continuously dodge lasers, grenades, and slams while running around the arena.
Once the eject button is slammed, another cutscene will play and Moon Baboon will be on the moon while May hops into the cockpit to fly the UFO. While May is flying the UFO, Cody will man the laser gun. Cody will need to use the radar to shoot the laser and hit Moon Baboon, while May flies around the moon.
- Destroy tentacles whenever they appear
- Be careful to avoid the ducks when they appear
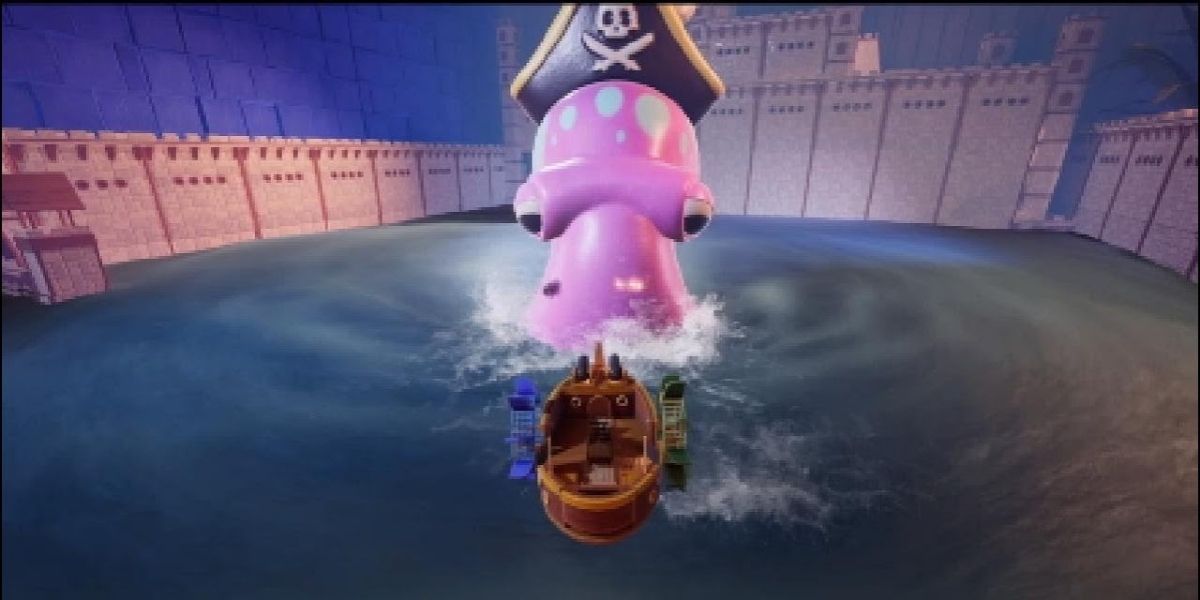
At the start of the fight, May and Cody will be aboard a ship that they must work together to pilot. The Octopus will spawn and the two characters should immediately aim at its face. Watch out for any tentacles that come up out of the water, because these will damage the ship. When a tentacle spawns, turn the ship and shoot it, then go back to shooting the Octopus. Rinse and repeat until a cutscene plays.
After the cutscene, the players will be caught in a whirlpool where they will only be able to spin. The Octopus will disappear, but its tentacles will keep spawning to send out rubber ducks with explosives fixed to them. Destroy the ducks until the Octopus comes back into the arena. When the main body of the Octopus pops back up it will also spawn multiple tentacles. Take out the tentacles and then attack the main body. Rinse and repeat this until the Octopus is defeated.
- Avoid the jump attacks
- Watch the other chess pieces to learn their movements
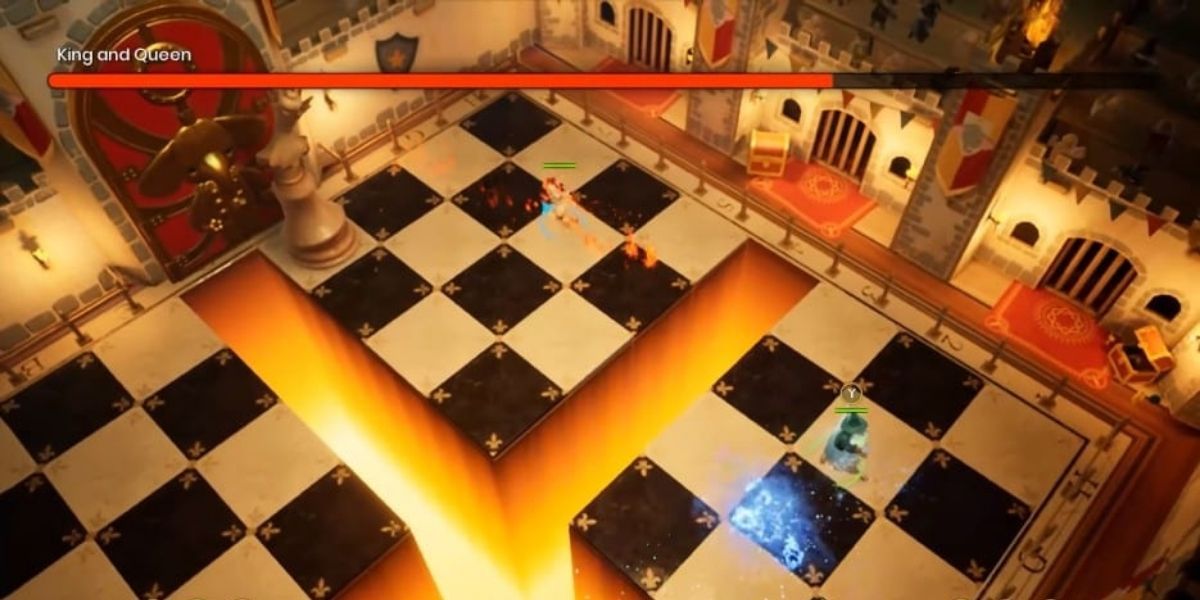
The King and Queen boss fight appears during the time that the game turns into a dungeon crawler. Cody has his magic and May has her flaming sword. The King and Queen don't pose much of a threat; Cody and May just need to avoid them jumping around.
The real threat is in the extra chess pieces that spawn during the fight. The Knights will run in a straight line across the board and will hurt the player, as will their black magic trail. The Bishops will shoot out lines of black magic in an X-formation. Lastly, the Pawns will shoot electricity around them in a square formation. Avoid the attacks from all the different pieces while attacking the King and Queen.

- Avoid charge attacks
- Cody and May need to rely on their abilities for the fight
- Bull can be avoided easily by using clones
The Mechanical Bull boss fight is pretty easy despite being farther along in the game. The Bull will charge May for the most part. There is an area in the front of the arena where Cody can reverse time, which will cause a button to appear on the ground. Once the button appears, May will need to place a clone somewhere and then stand on the button.
RELATED: It Takes Two: Where to Find the 'A Way Out' Easter Egg (Plastic Prison Breakers)
This will cause the Bull to charge. When the Bull charges, May will need to swap places with her clone to make the Bull smash the statue. After this is done twice, the statue will fall but miss the Bull. Have Cody reverse time and get May to pull the ol' switcheroo on the Bull one last time. When the Bull hits the statue, let time play and the statue will hit it.
- Dark Rings will appear wherever the boss will attack
- The fight is over once the entire platform is destroyed
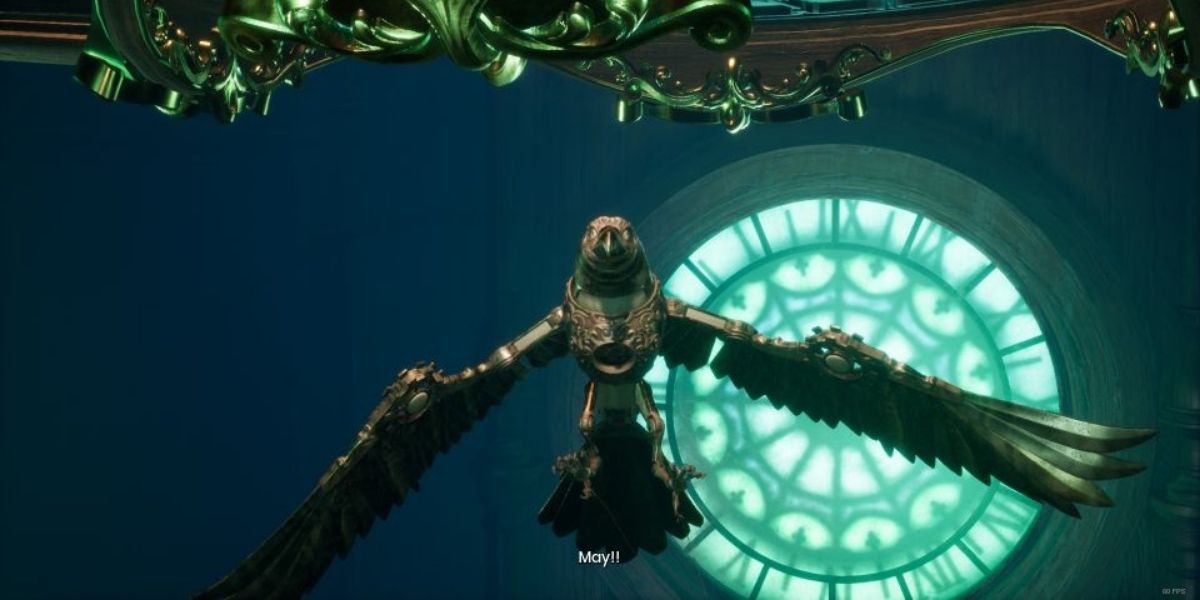
The Mechanical Bird is another fight without the giant health bar, but it can still be quite challenging. The fight starts with Cody and May being dropped onto a glass fixture in the clock. Be careful not to fall off the edges as the bird destroys it. Cody and May will need to dodge the bird as it flies through different parts of the glass. A dark circle will appear on each section the bird will destroy. The bird disappears after all the glass is gone and the next cutscene ends.
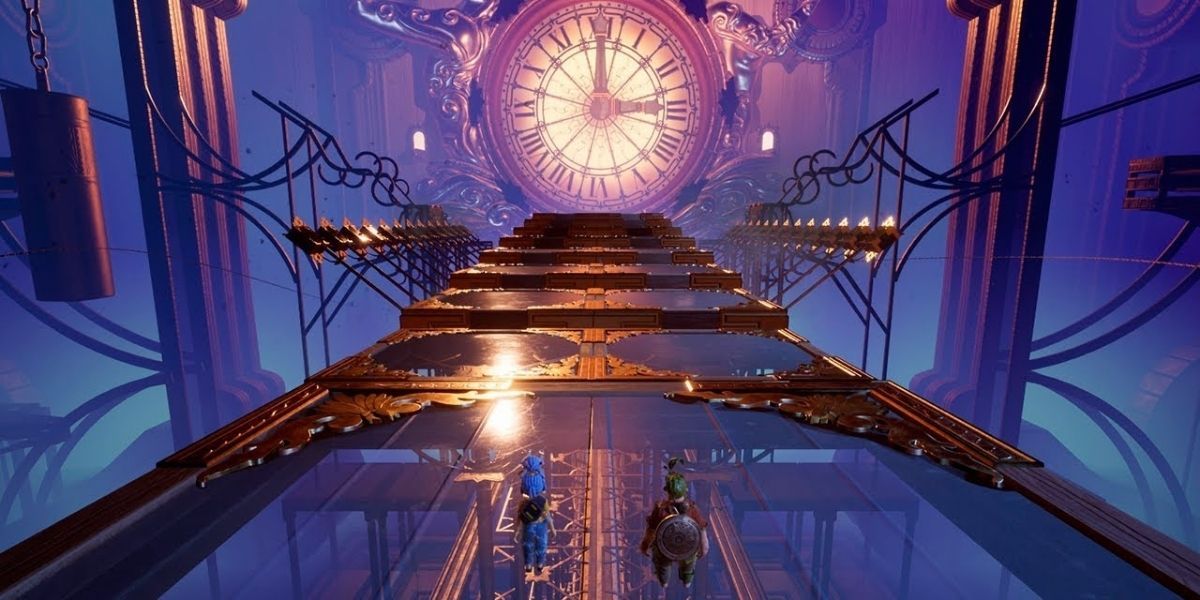
- Boss fight has four phases
- Watch out for the pendulums because they can instantly kill
The Clock mini-boss can be a bit of a nuisance for players, as it's a test of survivability and reaction times. It starts off with Cody and May a glass platform, with pendulums swinging across it. May and Cody will need to avoid them since they are a one-hit kill. After the first wave of pendulums, the camera will shift. During this time, Cody and May should stand in the center of the floor. Pendulums will come down and destroy the outermost end of the platform, after which a second wave of pendulums will fall. Avoid them until the camera switches again and then stand in the center of the platform once more. The rest of the platform will disappear and the players will be stuck in the center.
The second phase is pretty straightforward. Once all the platforms disappear, Cody and May will plummet down a hole. Avoid all the objects coming out of the walls until the next cutscene starts. Avoiding the objects is fairly easy, and doesn't result in a death sentence if the play gets hit.
At the end of phase two, Cody and May will get reversed back to the top of the hole and back onto the platform from the first phase. This time, however, wooden platforms with clocks will surround them. The key to this phase is to break all of the clocks. At the start of this phase, lights will appear around the players. They must run to a clock and dodge the bomb when it falls to destroy the clock. Keep doing this until all of the clocks are destroyed.
Phase four will start with a massive explosion. Cody will stop time with his clock, and May will land on a platform. Now, the player controlling Cody will need to play with time to get May across the platforms and over to the clock. Pay attention to the platforms, and move time forward or backward to get them to line up. May will be able to jump across the various platforms until she lands safely over at the clock. It will now be Cody's turn to move time forward, and fling a pendulum at the clock. He will land on the platform with May and then they will both need to run for safety as the clock falls apart. Jump over the broken pieces of the platform and don't fall into the holes.
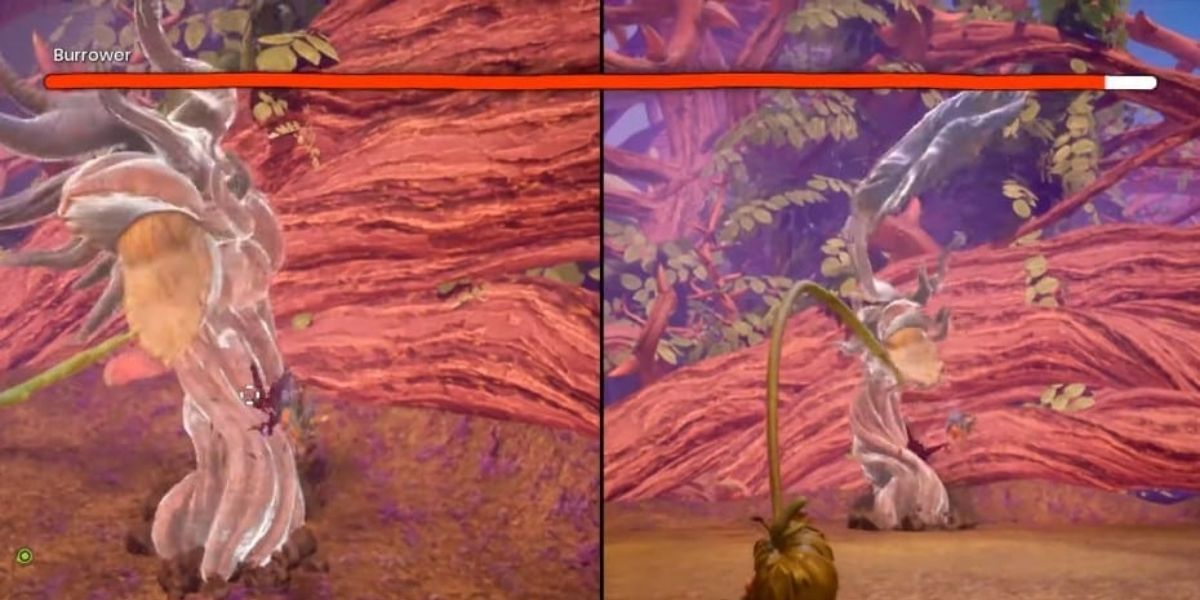
- Avoid the trail the Burrower leaves behind
- Quickly dispatch the root creatures to not get overwhelmed
The Burrower boss fight, like the Bull, is pretty simple. The Burrower will burrow into the ground and roam around the arena. Whenever it pops up, Cody will need to hold it with his head leaf while May goes to town on it with her sickle. The boss will summon root creatures to chase down the players. Quickly dispatch them and keep wailing on the boss whenever it makes an appearance. Repeat this until it dies. Make sure to also avoid the trail the Burrower leaves behind whenever it is in the ground.
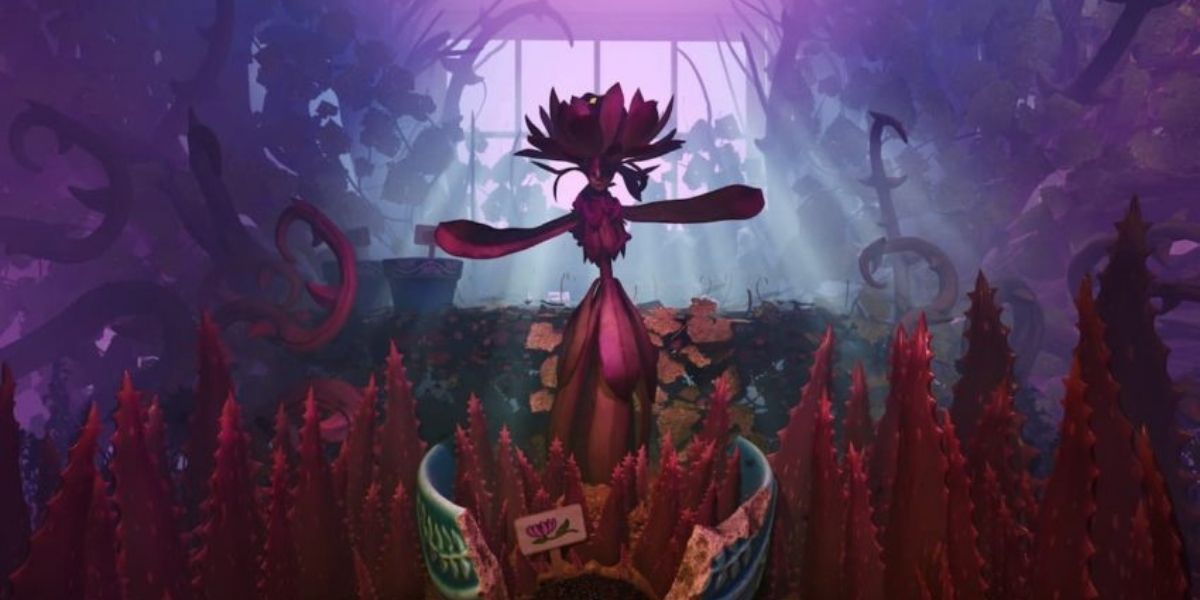
- Quickly water down the poison to avoid damage
- Avoid the falling objects when the second phase starts
Joy isn't the typical boss fight that players will experience in the game. While most bosses have health bars, Joy is defeated by completing the three phases.
Phase one will start with Cody transformed into a tomato while corrupted plants attack. Some of these plants will be larger and spew poison. May must take care of the poison with her water sprayer while Cody slams into the corrupted plants. The phase will end once Cody returns to normal and the plants blocking Joy disappear.
May will then need to wet the soil in front of Joy. Once wet, Cody can ground pound on the soil to become a part of Joy. Button mashing is the key here. A prompt will appear on screen after a short cutscene. Smash the button until the infected part of Joy gets lowered down to where May can attack it with her sickle.
With the infection cleared, phase two will begin with Joy spawning plants to smash the ground. Pay attention to where the shadows are and avoid the plants. Once they are gone, it will be exactly like before, only this time Cody will be a potato. Clear the corrupted plants and hijack Joy's mind for the second time. Once the second infectious part is cleared, phase three will start.
Similar to phase two, phase three will start with Joy trying to smash Cody and May with large plants, only this time they are on pot lids. Keep dodging the plants wherever the shadows appear until the pot lids are all destroyed. Again, clear the corrupted plants with Cody's new lime form ,and hijack Joy for the third time. With the final infected area cleared, the fight will be over.
NEXT: It Takes Two: Where to Find the Zelda Easter Egg (Force Triangulated)