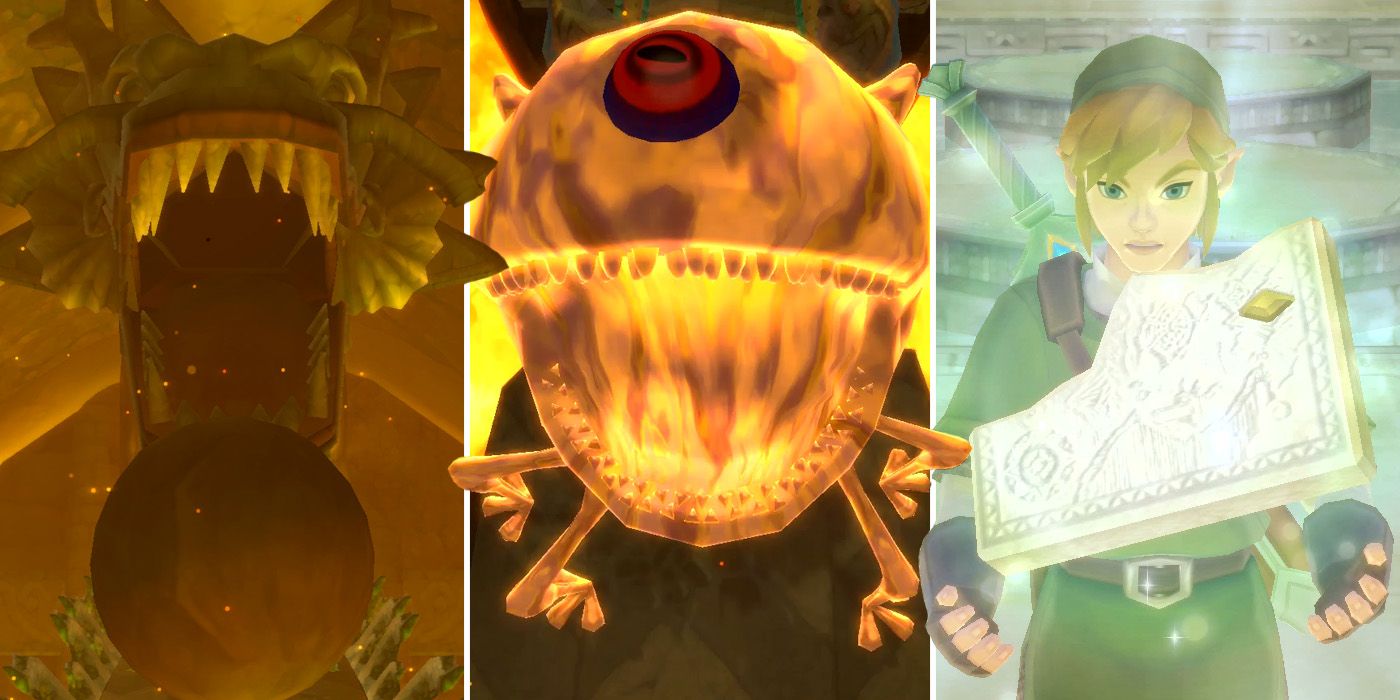
Once players have tracked down the five pieces of the key, they'll gain access to The Legend of Zelda: Skyward Sword HD's second dungeon, the Earth Temple. In keeping with its volcano setting, the temple is themed around lava and fire and will see Link come up against a variety of new enemies and difficult challenges.
RELATED: The 5 Best & Worst Things About The Legend of Zelda: Skyward Sword HD
As players make their way through the temple, they'll also find a number of new items, including the Bomb Bag, which lets Link store and carry around bombs. He'll also get his hands on the Amber Tablet, which opens up another hole in the Clouds that allows the young adventurer to visit the Lanayru Desert area a little later on.
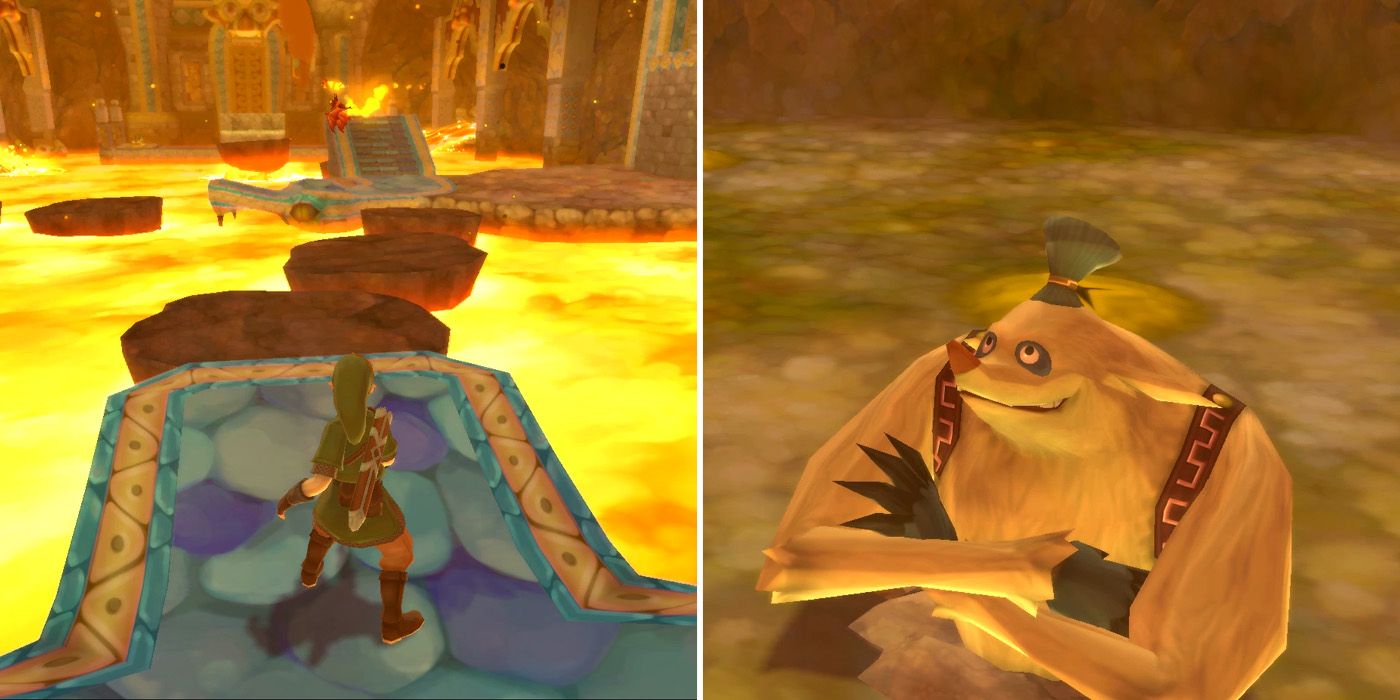
Upon entering the temple, players will be faced with a large chamber with a raised drawbridge at the rear. After jumping across the first three platforms, players will arrive at a dig spot that's hiding a hot air geyser and, by riding it up, they'll be able to find a chest containing a red Rupee. The path to the left leads to a few more dig spots and a Mogma named Cobal, who'll tell Link that he's worried about his friend.
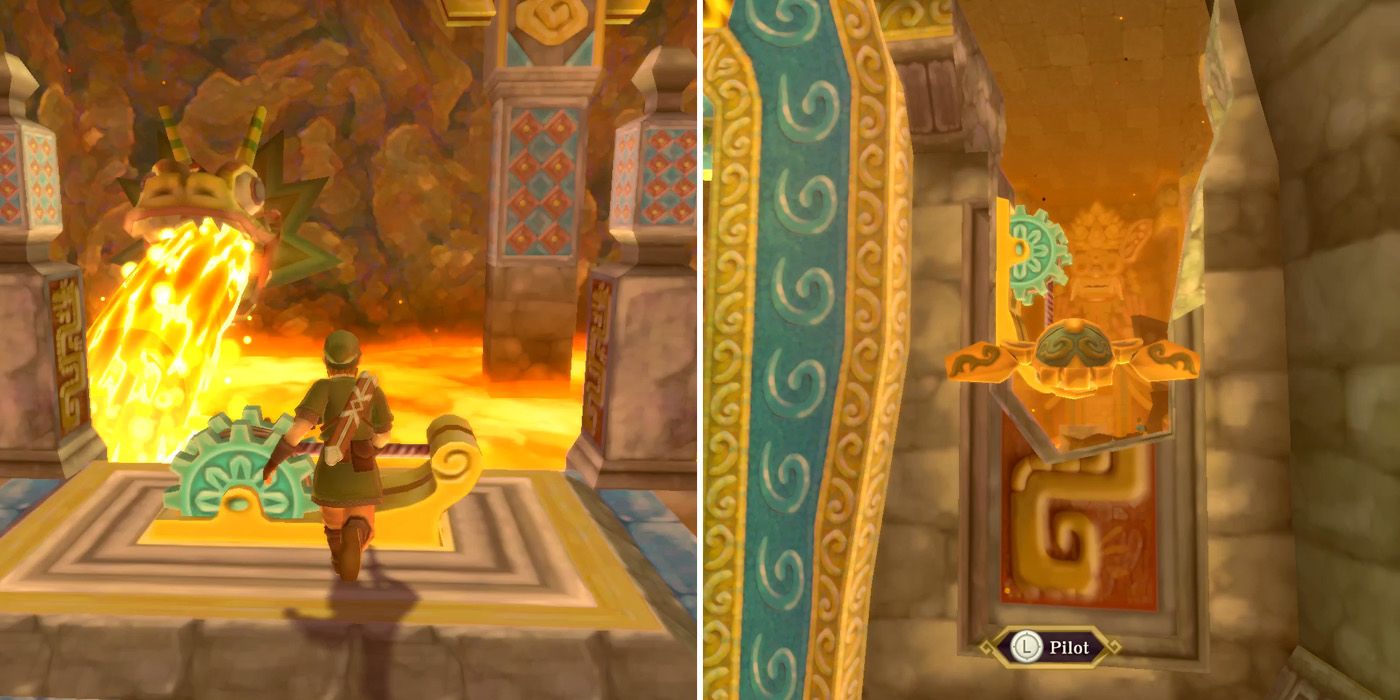
When they're ready to move on, players should use the floating platforms to head over to the drawbridge and use vertical strikes to cut the ropes on the two geared mechanisms. There's another rope that needs to be cut over to the right of the bridge itself, but as it's well beyond Link's reach, players will need to use the beetle to get to it instead. Once all three ropes have been cut, the drawbridge will lower and players can move on to the main chamber.
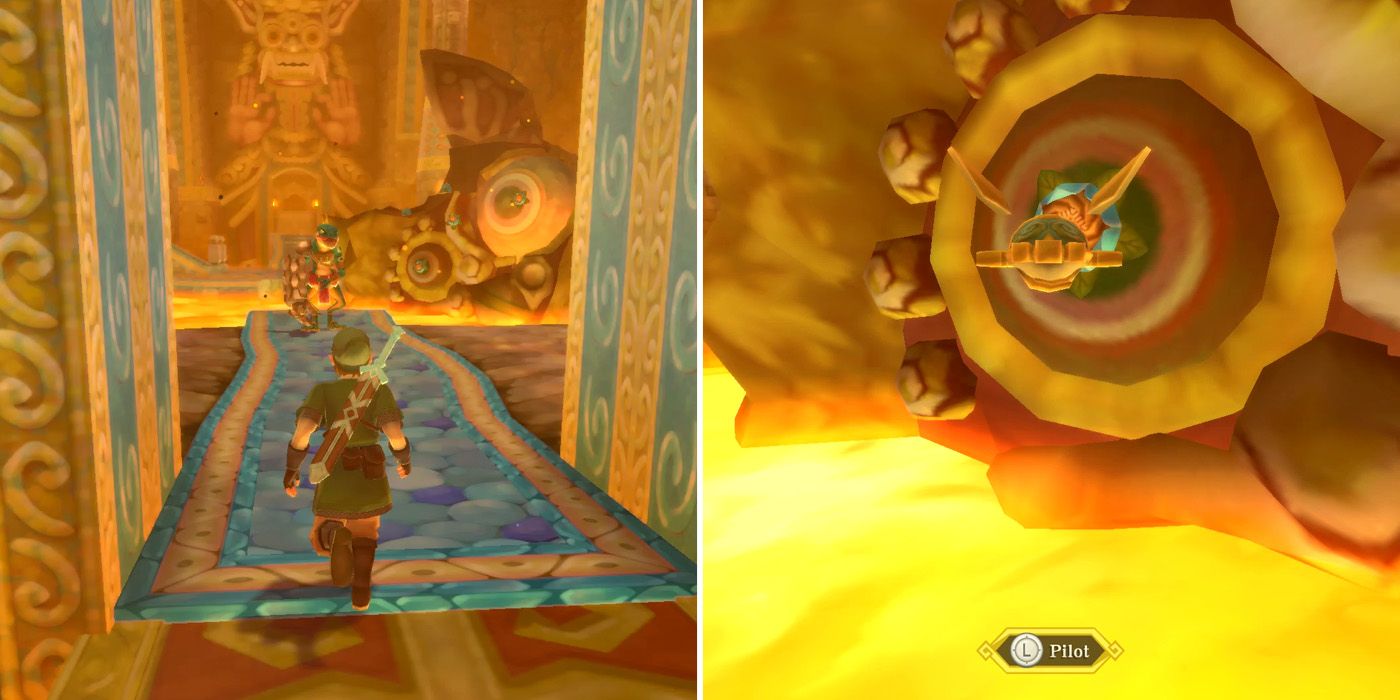
Upon entering the main chamber, players will encounter their first Lizalfos. These lizard-like enemies are much faster than anything that Link's fought thus far, so players will need to be quick with their sword slashes and aim to strike in the opposite direction that they're guarding. Once it's down for the count, players should use the beetle and crash it into one of the Bomb Flowers that's growing on the giant statue in the lava so that the whole thing explodes.
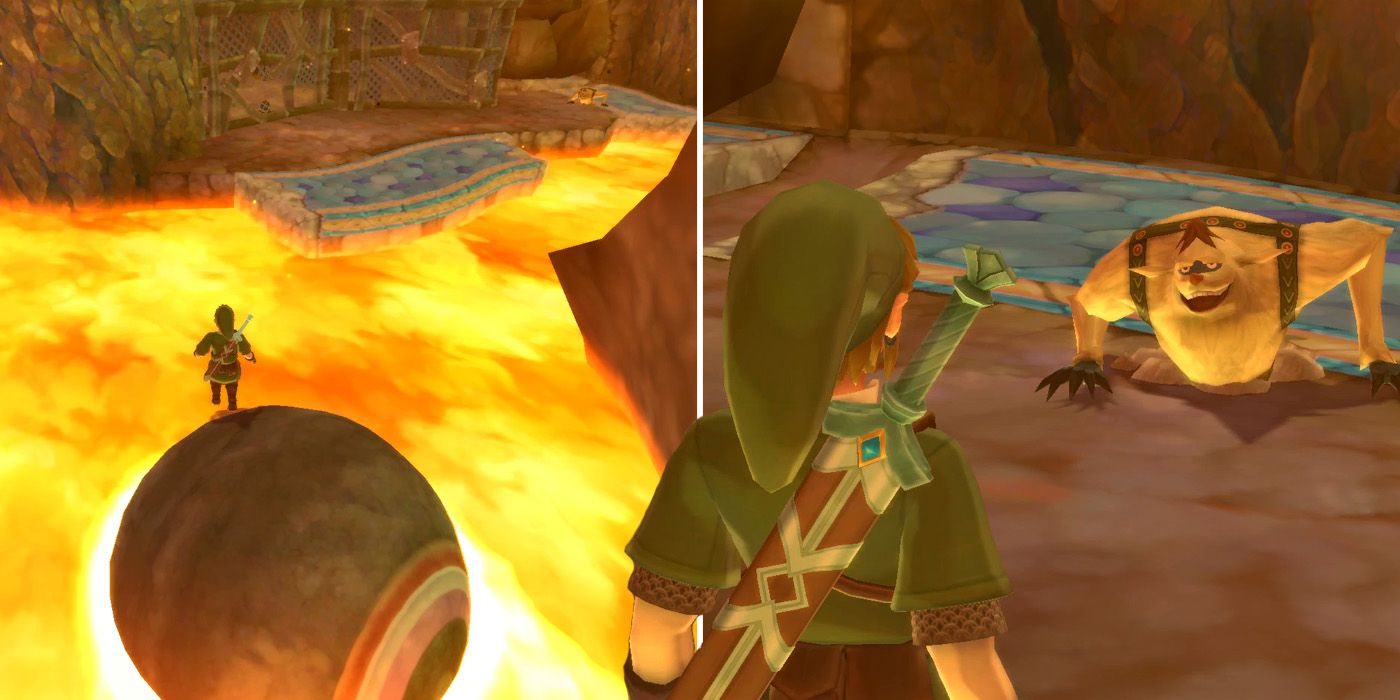
After the explosion, Link will be able to ride one of the statue's eyes through the lava, so players should hop onto the stone ball and head to their right where they'll find another Mogma named Ledd. He'll mention that he dropped his bomb bag a little earlier on and ask for Link's help procuring it. To do so, players will need to crawl through the nearby gap to gain access to the fenced area and then kill the red Bokoblin.
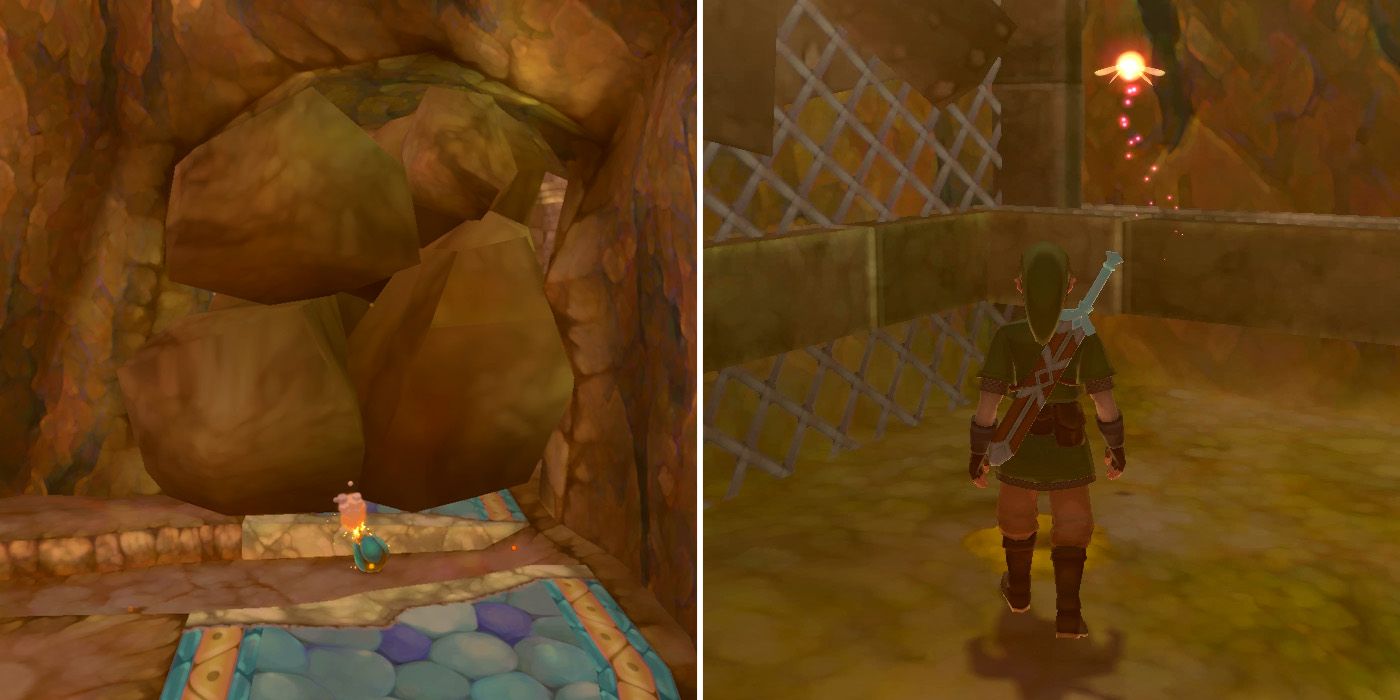
The aim here is to roll one of the Bomb Flowers through the gap that Link crawled through so that it blows up the rocks blocking the path to the left. It might take a few attempts, but it should be simple enough for most players. Before leaving the fenced area, players should climb the ladder and break the two pots for two red Rupees. They can also walk along the edge of the fence to reach two more dig spots; one of which is hiding a Fairy that may be useful for the next section.
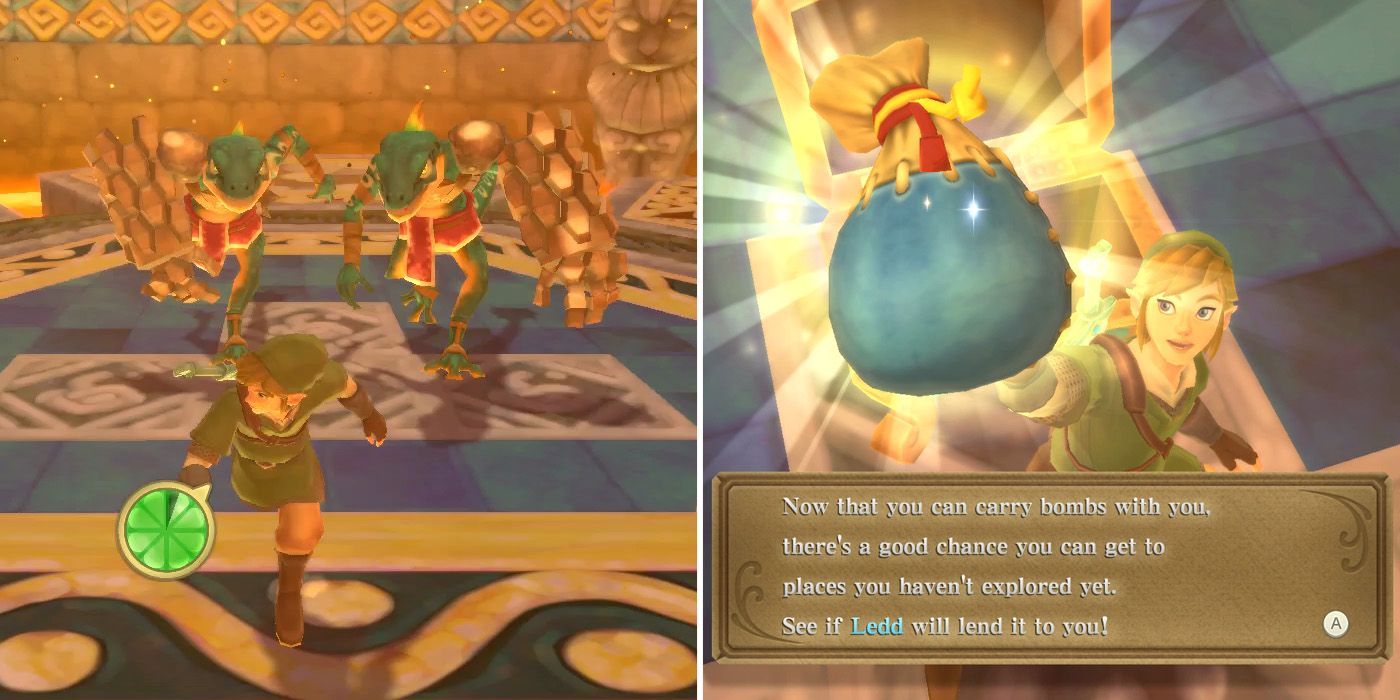
With the rocks now destroyed, players can make their way into the next room, which contains two more Lizalfos. It's best to try and keep them apart if possible, while also being sure to utilize Link's Fatal Blow attack as soon as one of them goes down. Once they've been defeated, a chest containing the Bomb Bag will appear in the center of the room. Ledd will kindly allow Link to keep the bag, meaning that from here on out, players can store Bomb Flowers by picking them up and pressing the B button.
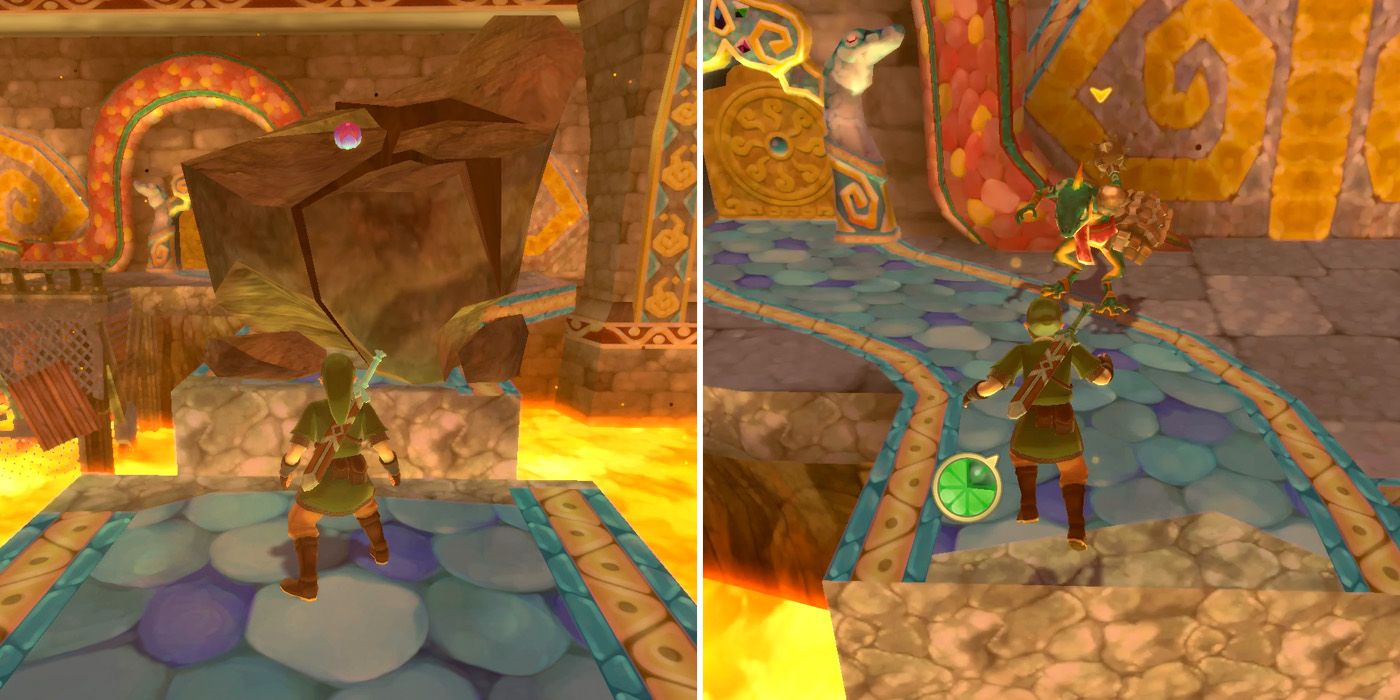
After filling up on bombs, players should ride the ball to the platform into the center of the chamber and climb the steps to the left. There's a destructible block preventing them from jumping across, but a well-placed bomb can quickly rectify this. On the other side, players will encounter another Stalfos and a door with lizards carved on either side of it that leads into another cavern.
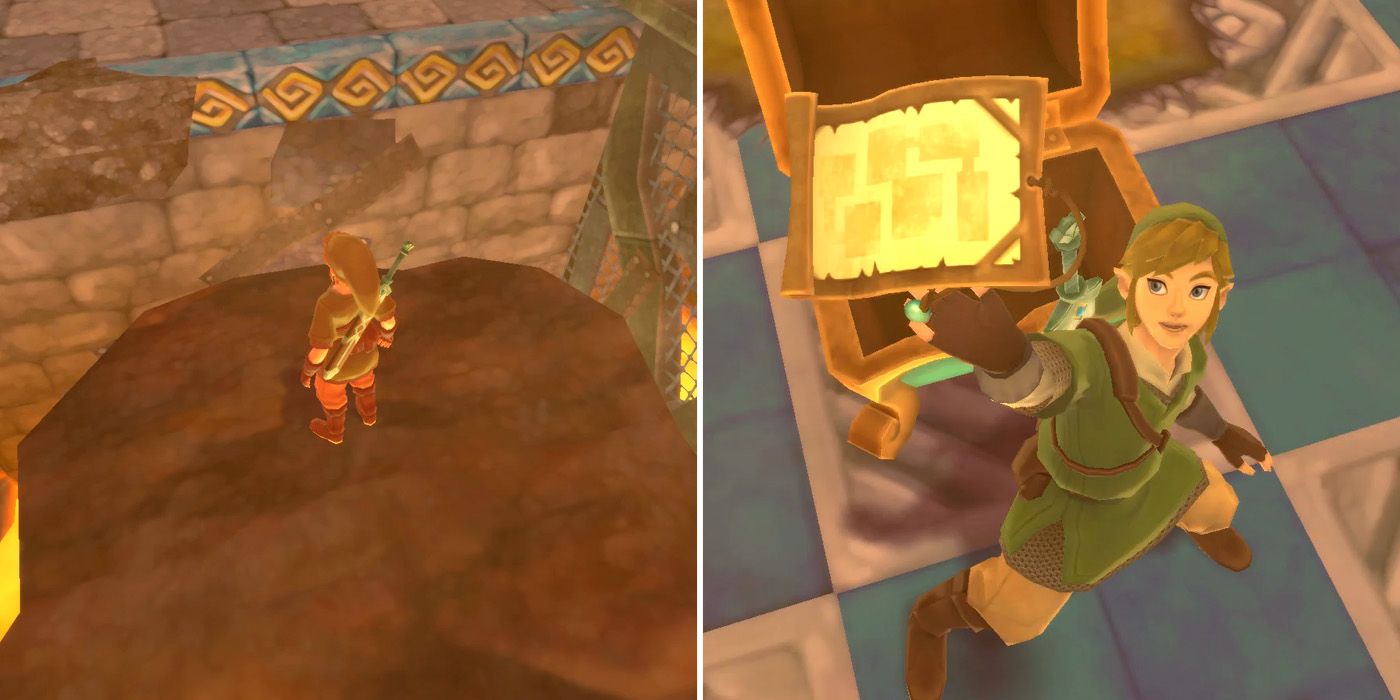
This new cavern contains some red Bokoblins and a few more of the frog-like Magma Spumes swimming around in the lava. Players will need to jump across the floating platforms until they reach the one that's occasionally shot into the air by a plume of lava. By hopping onto it before the burst of lava, they'll be able to ride it up to an area with three more red Bokoblins and a chest containing the Dungeon Map.
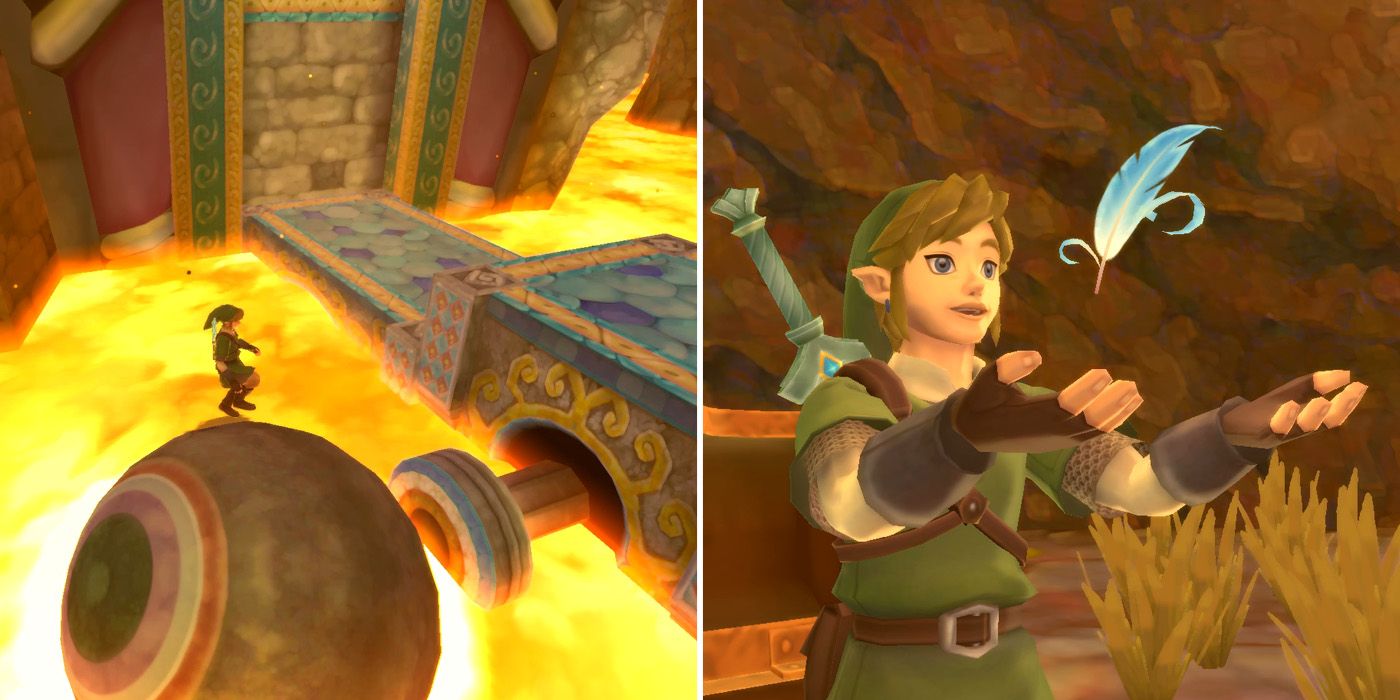
Before players can progress any further, there are two plunger-like switches that need to be pushed in the main chamber. The first of these is in the lava to the left of the central door and will need to be pushed in by rolling the stone ball into it. On the way there, players can pick up a Blue Bird Feather from the chest in the northwest corner of the chamber as well as a bunch more Rupees and a Gold Skull. To get the latter, players will need to ride a platform to the west of the chamber up and destroy some rocks with a bomb to reveal the chest that it's inside.
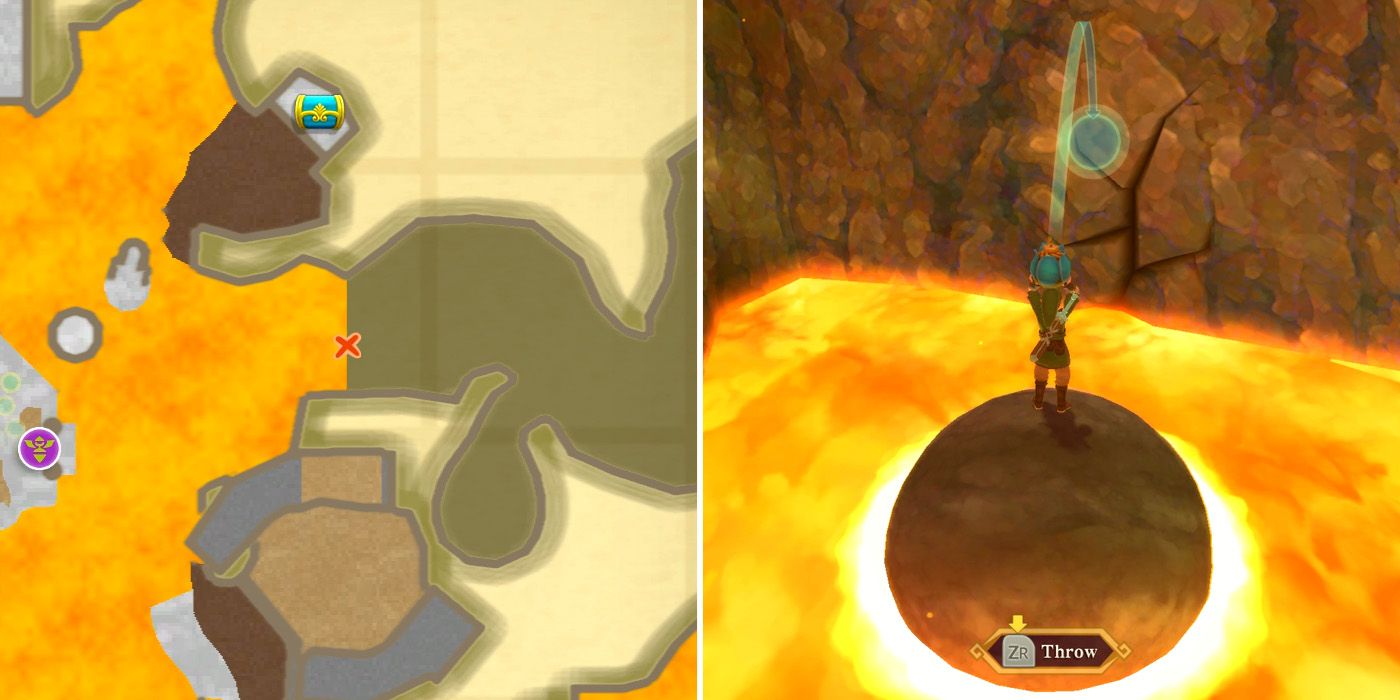
Though players will be able to see the second switch from their current location, they won't actually be able to reach it. To do so, they'll need to make their way to the right side of the chamber and look for an X on their map. This marks a section of the wall that can be destroyed using bombs, and hitting it twice will open up a new passageway that Link can ride the stone ball through. For those wondering, items like bombs can be used while riding on the ball.
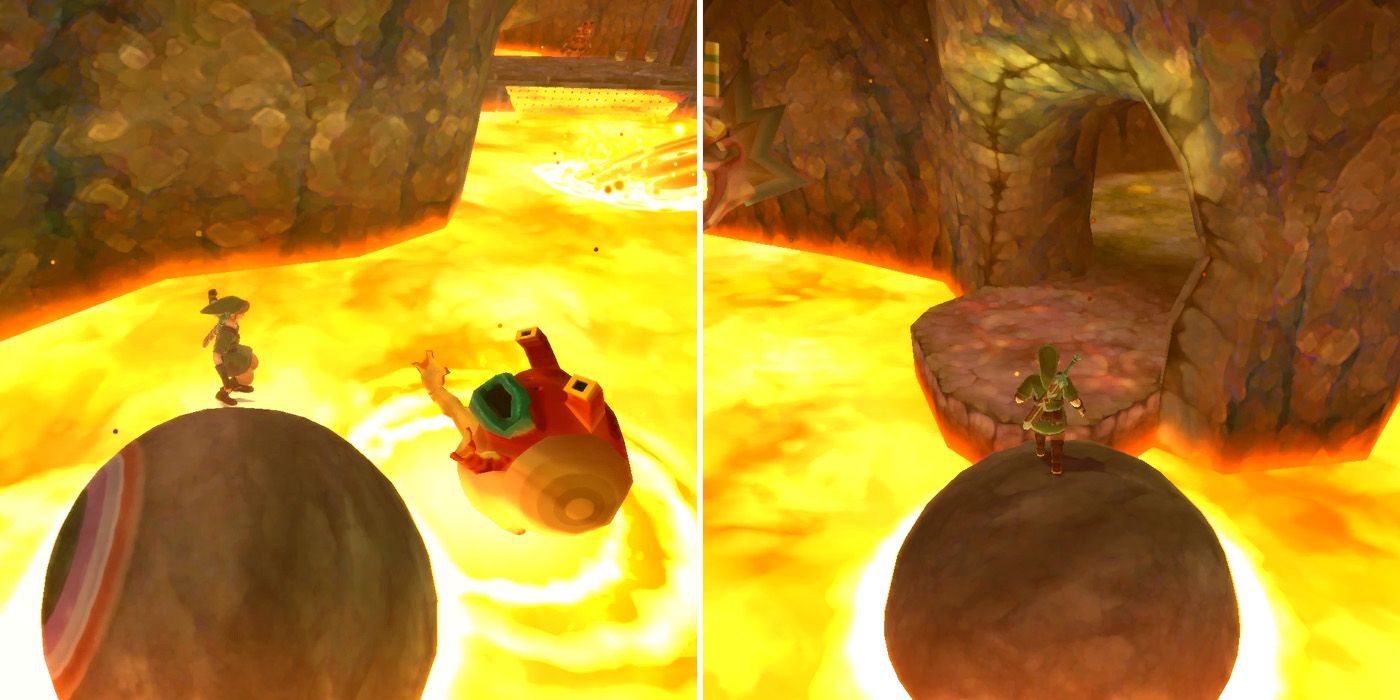
Players will need to dodge the lava that's spouting from the walls on their right as well as the projectiles from the Maga Spumes. Rolling over the Magma Spumes with the ball is the best way to do this, as it will not only kill them instantly, but also reward players with a heart. There's a room on the right that players can use to stock up on bombs, and they can also find a silver Rupee by sending their beetle inside the ornate statue that's above them.
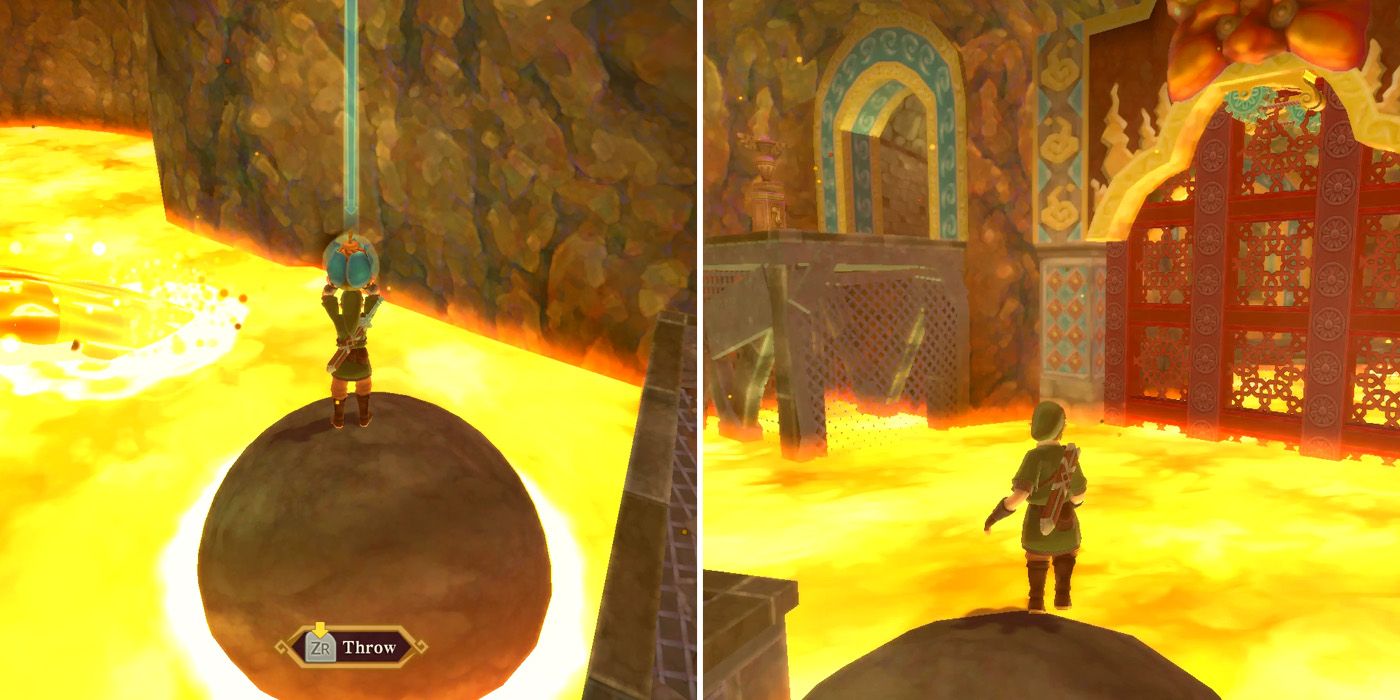
Upon continuing onwards, players will soon encounter a metal platform with a red Bokoblin on it that's blocking their path, but if they look to their left, they'll find another destructible wall. Two more bombs will open it up, while also unleashing a bunch of Fire Keese that players will need to take care of before going any further. A moment or two later, and Link's progress will once again be blocked; this time by a large red gate.
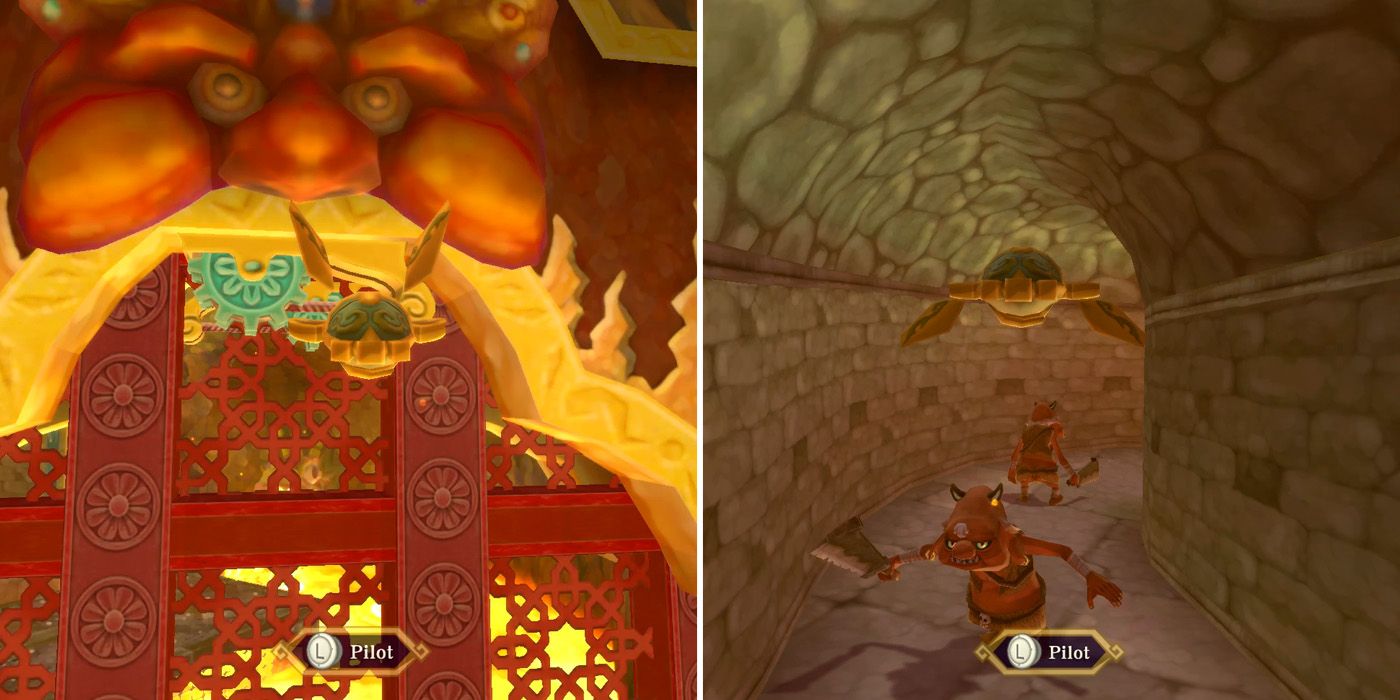
To open it, players will again need to use the beetle to cut some ropes. The first is on their side of the gate directly beneath the red face, but to reach the second, Link will need to fly the beetle through the passageway on the left and then double back to reach the other side of the gate. The rope's in the same position on the other side, so it shouldn't be too difficult to find. Players should be sure to fly the beetle above the red Bokoblins in the tunnel though, as they'll sometimes swat it out of the air.
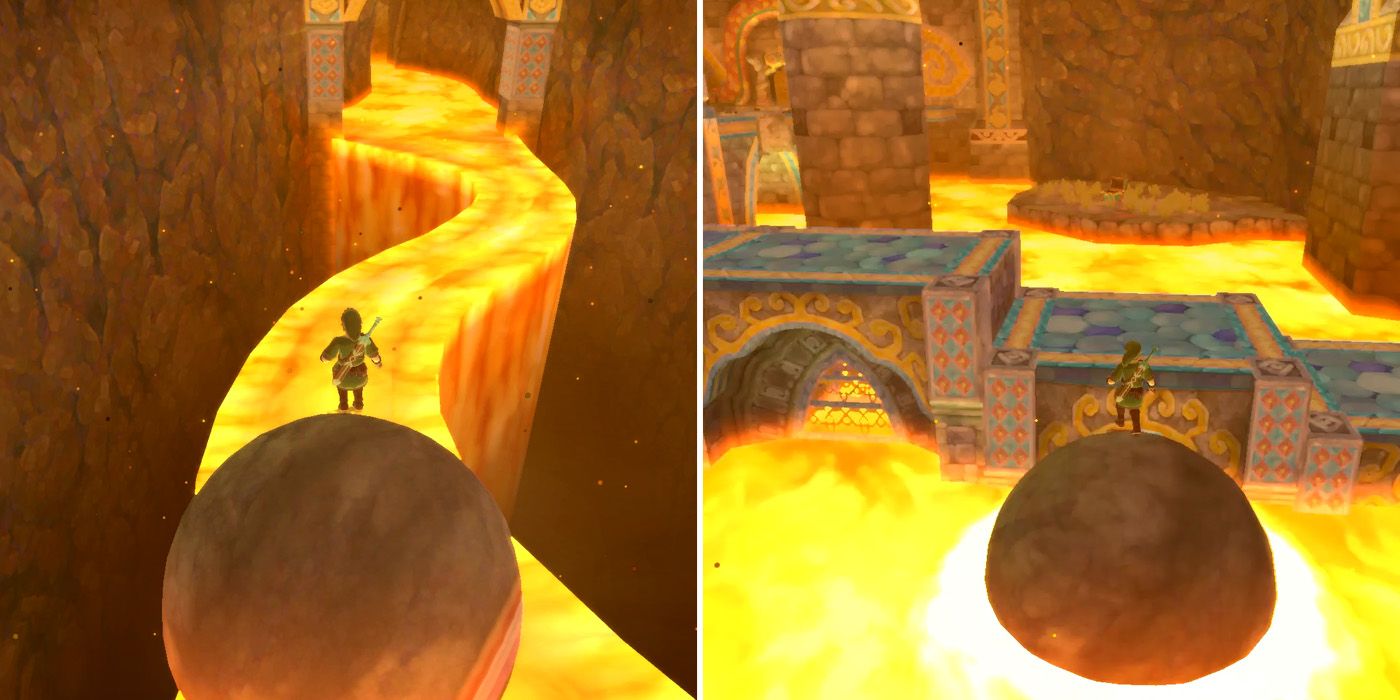
With the gate now open, players can continue rolling forwards and will soon reach a narrow and winding lava column that they'll need to navigate. It looks a lot harder than it is, however, and shouldn't provide too much challenge providing players stick to a slow and steady approach. Some more Fire Keese will appear on the other side and they're soon followed by a platform to the left with a Stalfos, some dig spots, and a chest containing another red Rupee. Most importantly though, players can now use the stone ball to push the second switch in.
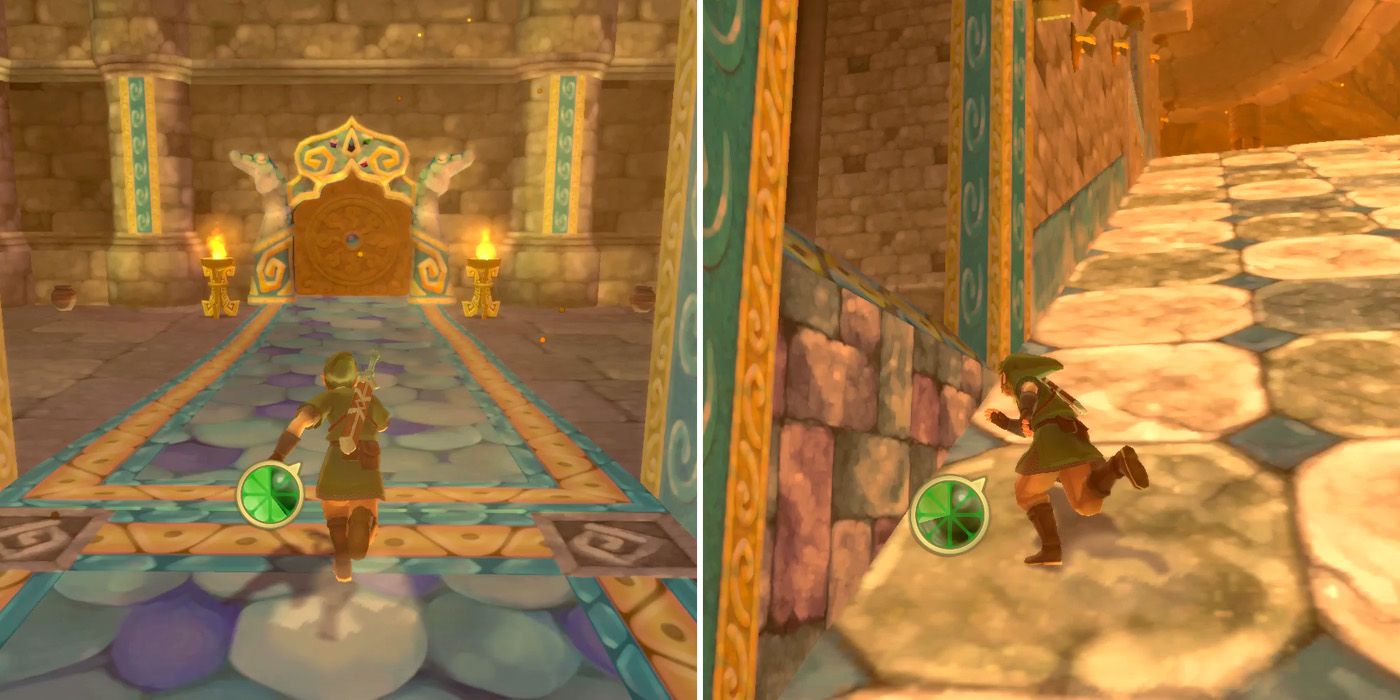
Now that players have activated both switches, they'll be able to take the door in the center of the main chamber. Immediately after doing so, they'll be faced with a large stone slope that they'll need to run up, but won't have enough stamina to make it to the top in one go. There are also a bunch of boulders rolling down, so Link will need to take refuge in the alcove that's on the left-hand side about halfway up the slope.
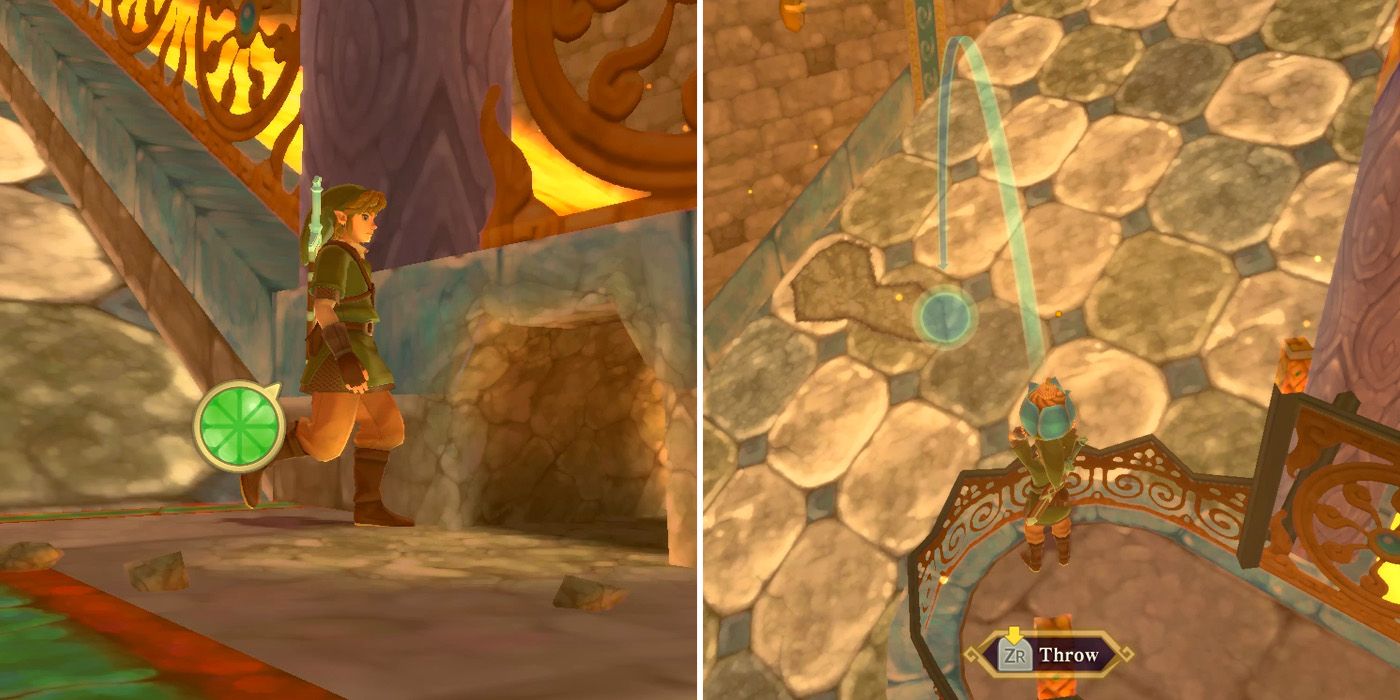
There's a second slope straight after the first, but before climbing it, players will need to crawl through the gap in the nearby fence. They'll be able to stock up on bombs here and can find a hidden hot air geyser by excavating one of the nearby dig spots. This will take them up to a raised platform, and if they follow the steps here upward, they'll soon see that there are rocks blocking access to the alcove on the second slope. To get around this, they'll need to throw a bomb from the raised area to blow these rocks up.
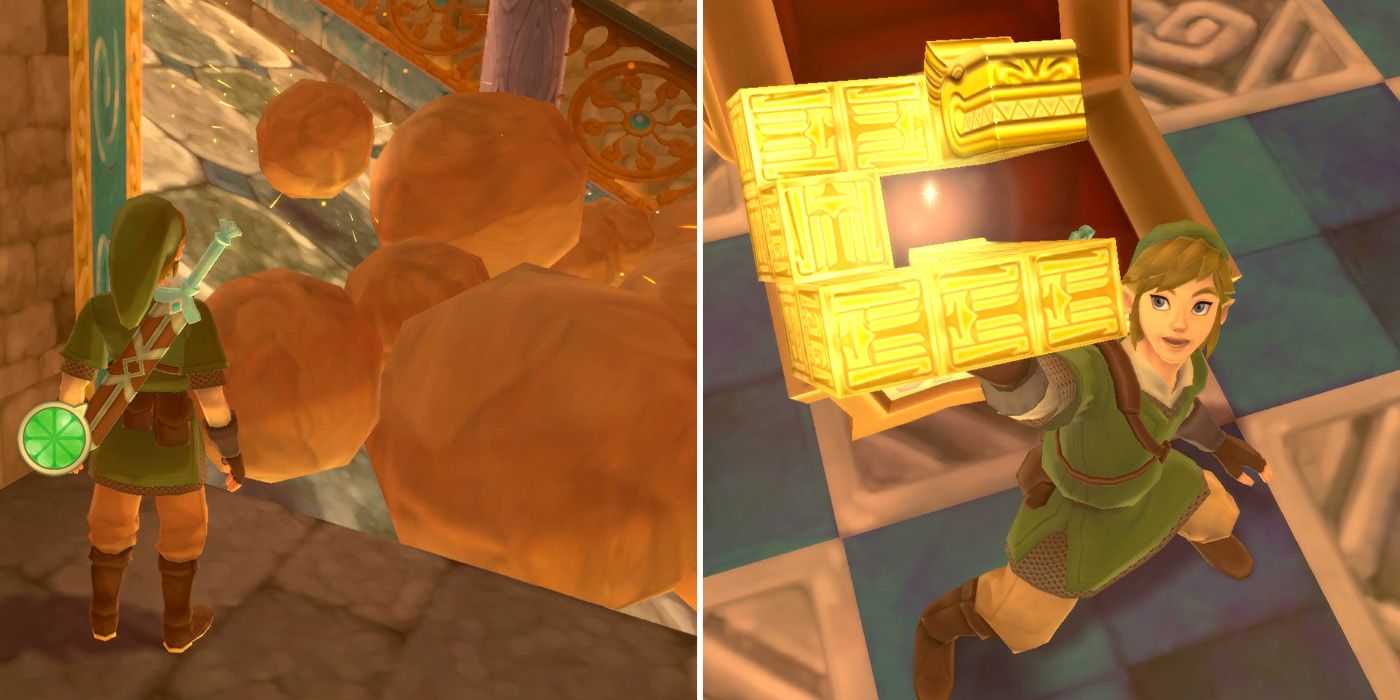
With the alcove now accessible, players can climb the second slope in much the same way as they did the first; using the alcove to take shelter from the falling boulders while also waiting for Link's stamina to refill. Once at the top, they'll need to run up the steps and follow the slope to find a chest containing the Dragon Sculpture, which is needed to open up the door to the dungeon's boss, Scaldera.
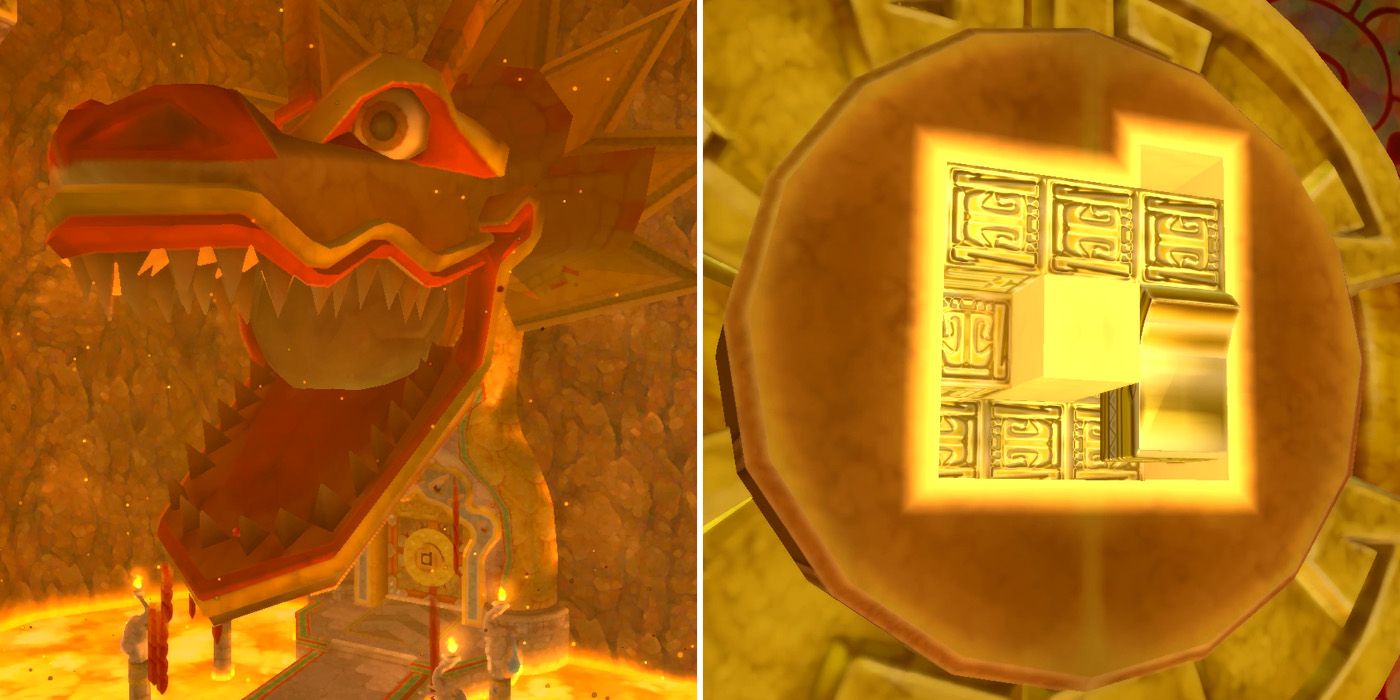
Observant players may have noticed that there is a lava-spouting dragon statue that's blocking access to the boss door. This won't be the case for long though, as as soon as Link starts making his way back down the slope, a giant boulder will fall behind him. Player's will need to run to avoid it, and it will end up flying into the dragon statue's mouth which causes the lava to stop flowing. Now, players can place the Dragon Sculpture in the door and prepare themselves for the game's second boss.
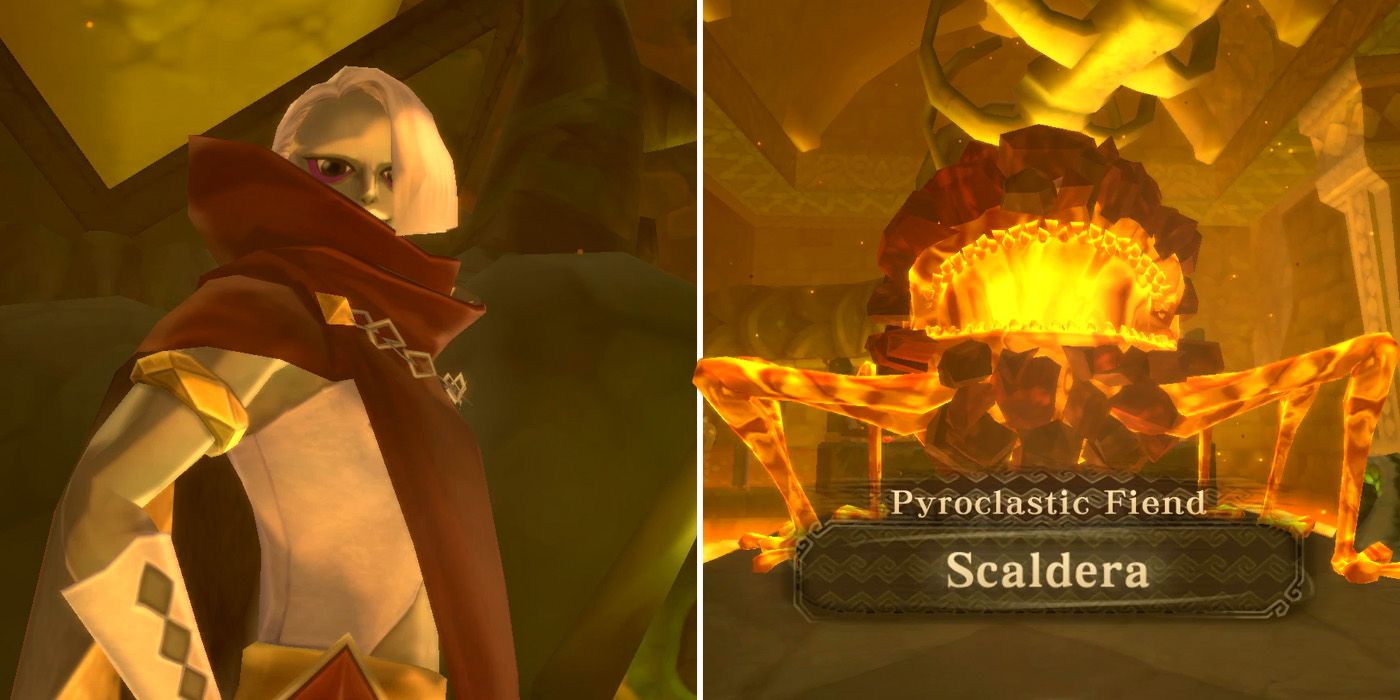
Shortly after passing through the door, Ghirahim will appear and a short conversation will take place. Players won't have to fight him this time though, with the Demon Lord instead summoning Scaldera to fight in his place. Despite its terrifying appearance, the giant boulder-like enemy is actually fairly easy to defeat, with players only needing to outrun it and dodge its fireball attacks to avoid defeat.
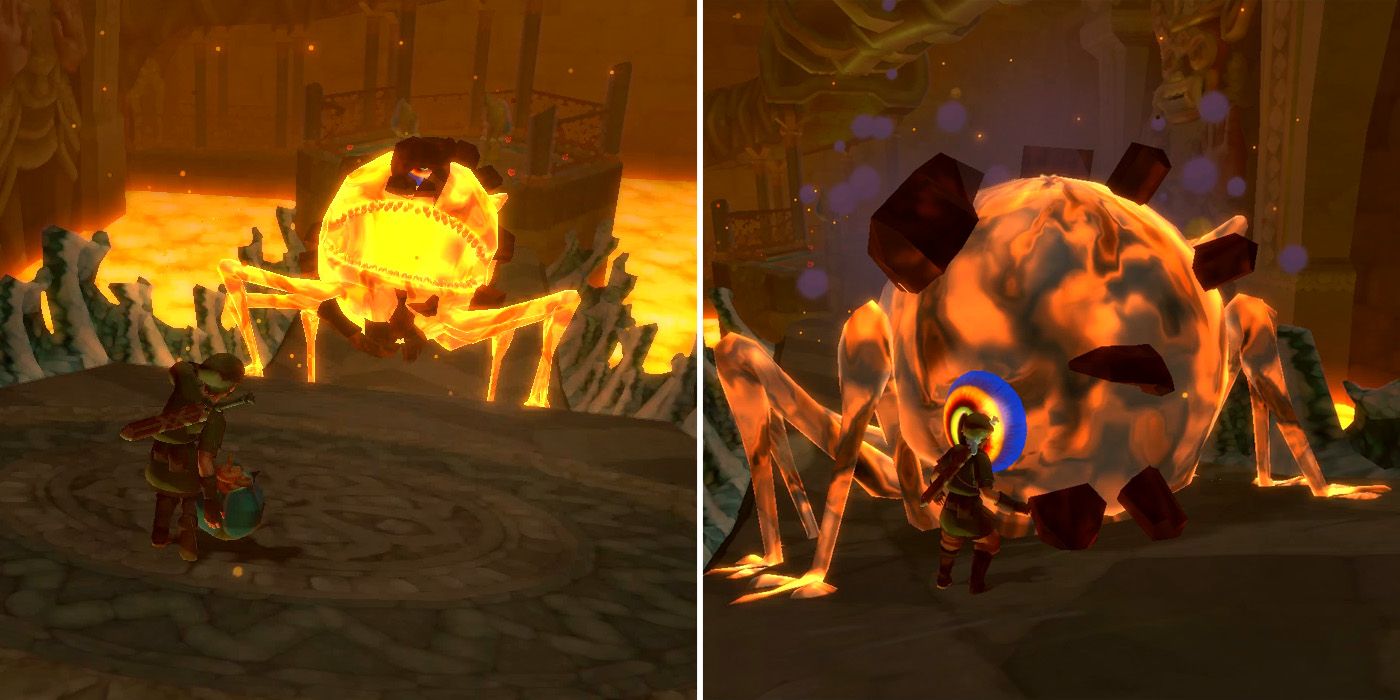
During the battle, Scaldera will chase Link up the slope, but hitting it with a bomb will cause it to roll back down. After it stops rolling, it will begin sucking in air, and it's at this point that players should aim to roll another bomb into its mouth. If successful, players will then be able to get up close to it and repeatedly hit its eye to deal damage. The eye does have a habit of moving around quite a bit though, so players should pay close attention to its position to maximize damage.
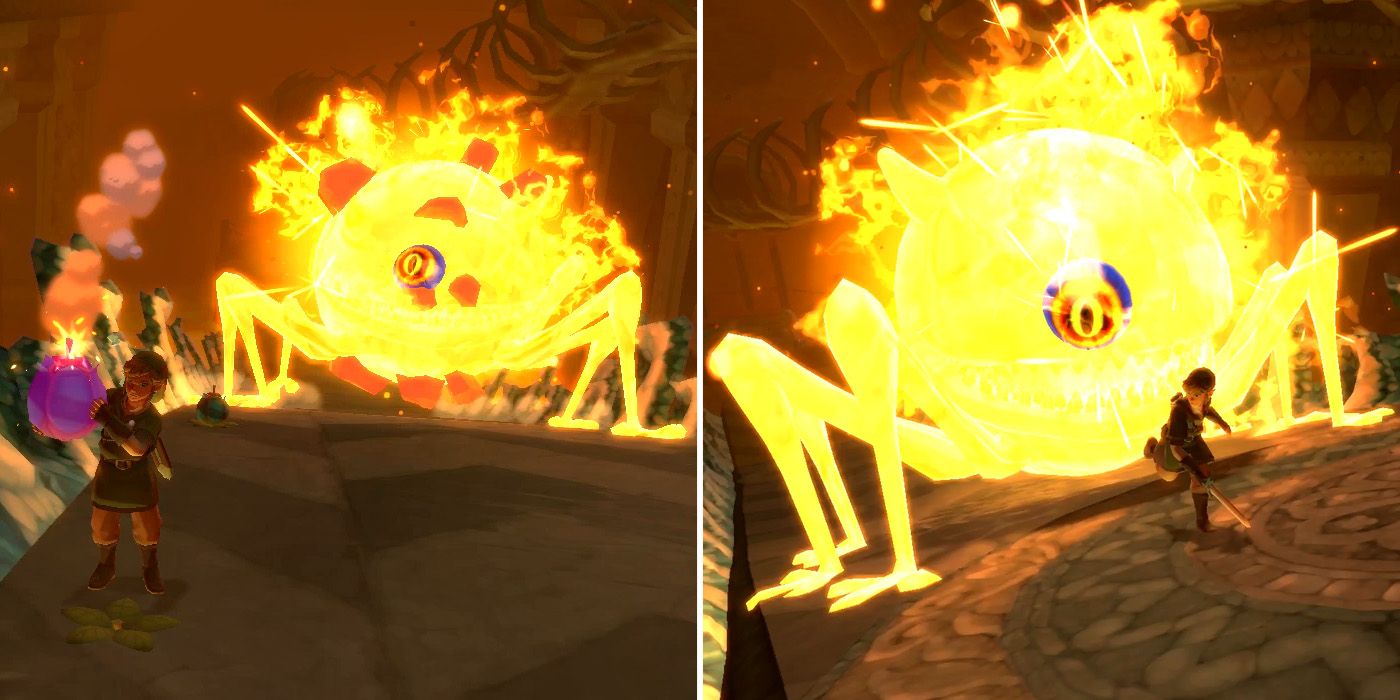
The best strategy for beating Scaldera is to hang around in the area where bombs line the slope (around two-thirds of the way up) to avoid running out. It's also possible to stock up on bombs at the very top of the slope too and there are also a bunch of hearts there for those who need them. As the fight progresses, Scaldera will begin to move much faster and can easily get ahead of Link if players aren't careful. When this happens, the boss will roll back down, which is a lot harder to dodge than its fireballs, so it's best to avoid this where possible.
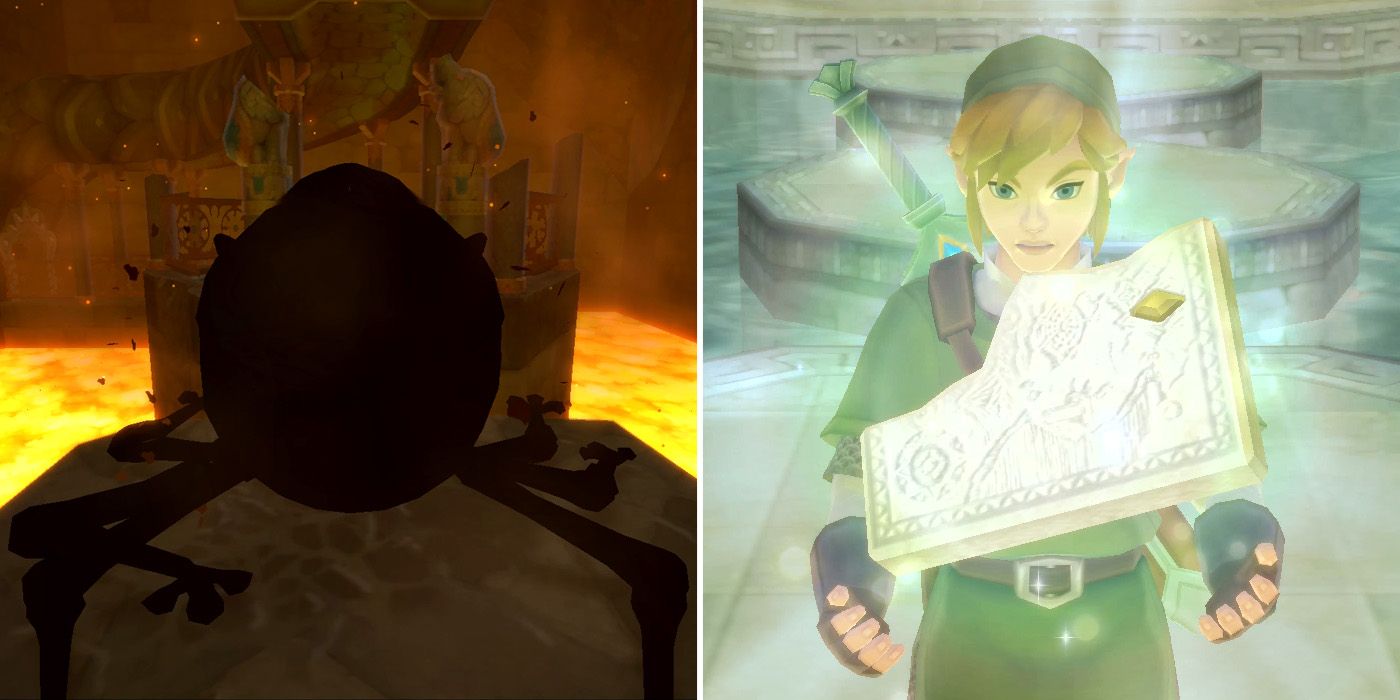
Once enough damage has been dealt, Scaldera will explode and players can help themselves to a new heart container. They'll then need to make their way to the top of the slope, where they'll find a door leading to the Earth Spring. A short cutscene will play out, and, once it's over, players can hit the floating emblem with a Skyward Strike as is now tradition. This triggers another conversation with Fi, which concludes with Link getting the Amber Tablet that he needs to access the Lanayru Desert region.
NEXT: The Legend of Zelda: Skyward Sword HD - How to Spin Attack

