Quick Links
Genshin Impact’s mysterious new Tsurumi Island is chock full of treasures, challenges, and unique Electro-themed puzzles. “A Particularly Particular Author” controls the narrative in Tsurumi, and players will need to successfully solve the puzzles at Shirikoro Peak in order to obtain the feathers required in the overarching quest. Genshin Impact fans familiar with Inazuma’s Relay Stone mechanic know there’s often frustrating trial-and-error involved, but this guide will take the guesswork out of cracking the code.
Relay Stone Puzzle 1:
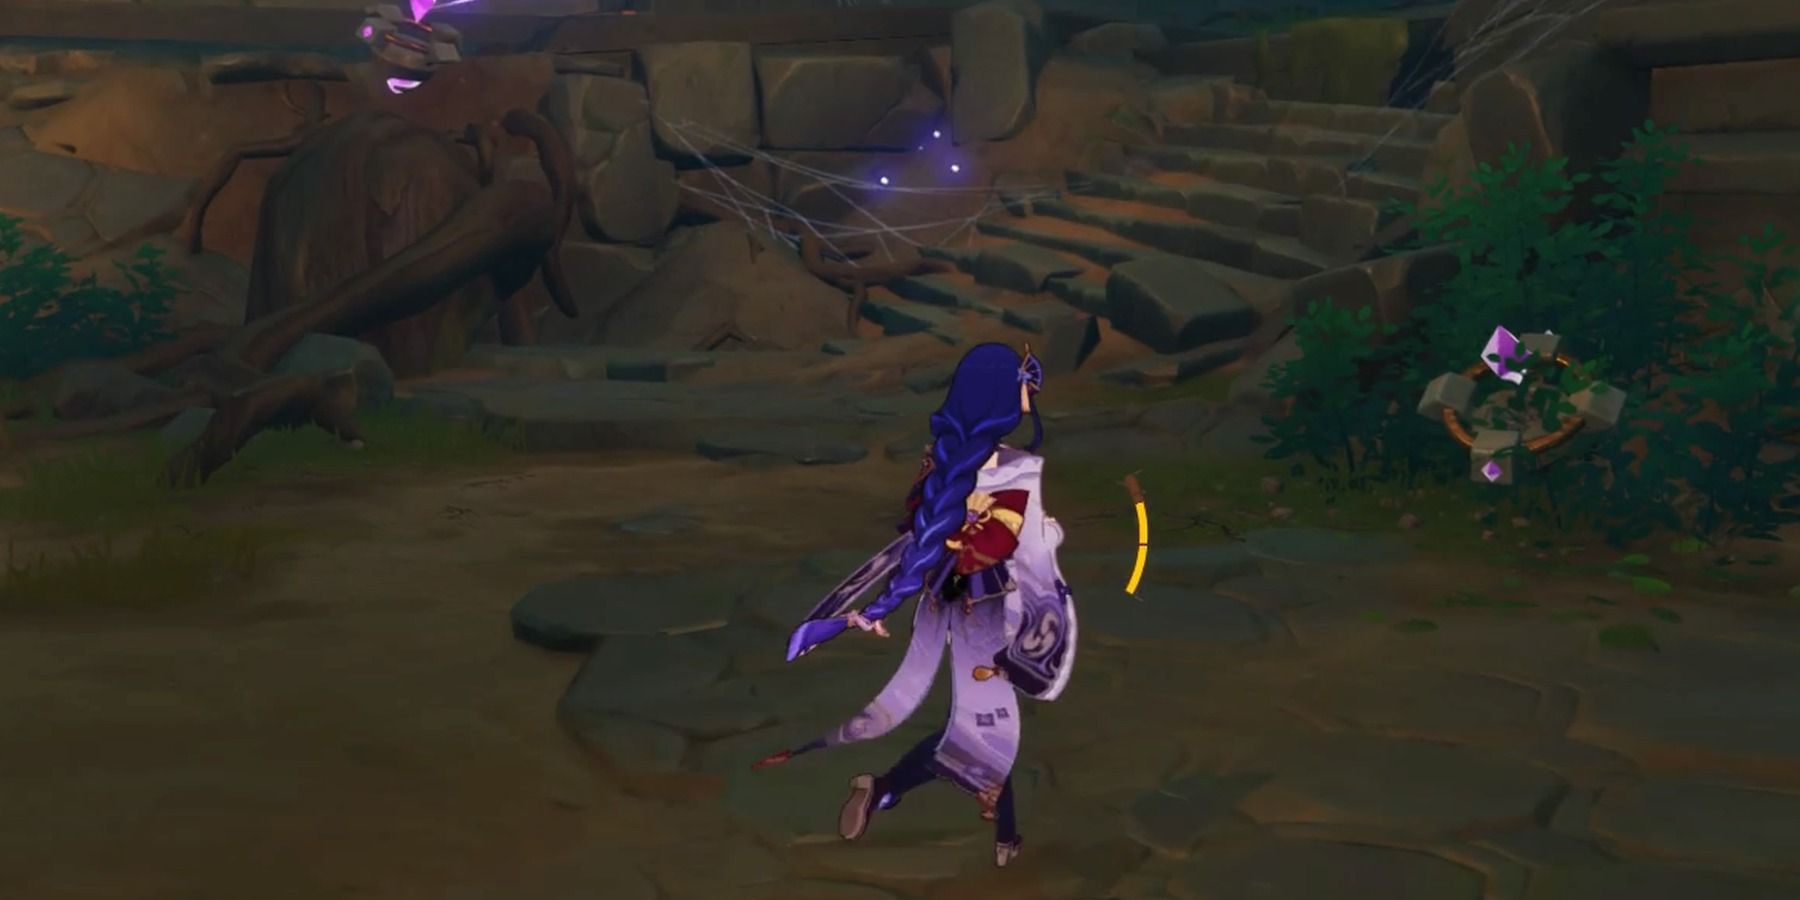
Upon entering the first chamber, players will quickly spot an example of the three different types of stones that comprise Electro Current Puzzles: a Discharge Stone, which emits electricity; a Relay Stone, which bridges the electricity from Discharge Stone to Cumulation Stone; and a Cumulation Stone, which needs electricity directed towards it for the puzzle to complete. There are a total of four Relay Stones within range that may be used, though only three are necessary.
RELATED: Genshin Impact: How to Solve Six Torch Puzzle at Shirikoro Peak (Tsurumi Island)
Two Relay Stones are positioned redundantly between Discharge and Cumulation Stones that are close enough to carry the charge independently: one is the aforementioned Relay Stone at the entrance of the chamber, the other in the far left room near the Tsurumi bird statue. A third Relay Stone is nestled in foliage below the little stone staircase, and the fourth in the hall preceding the open chamber’s entryway if needed.
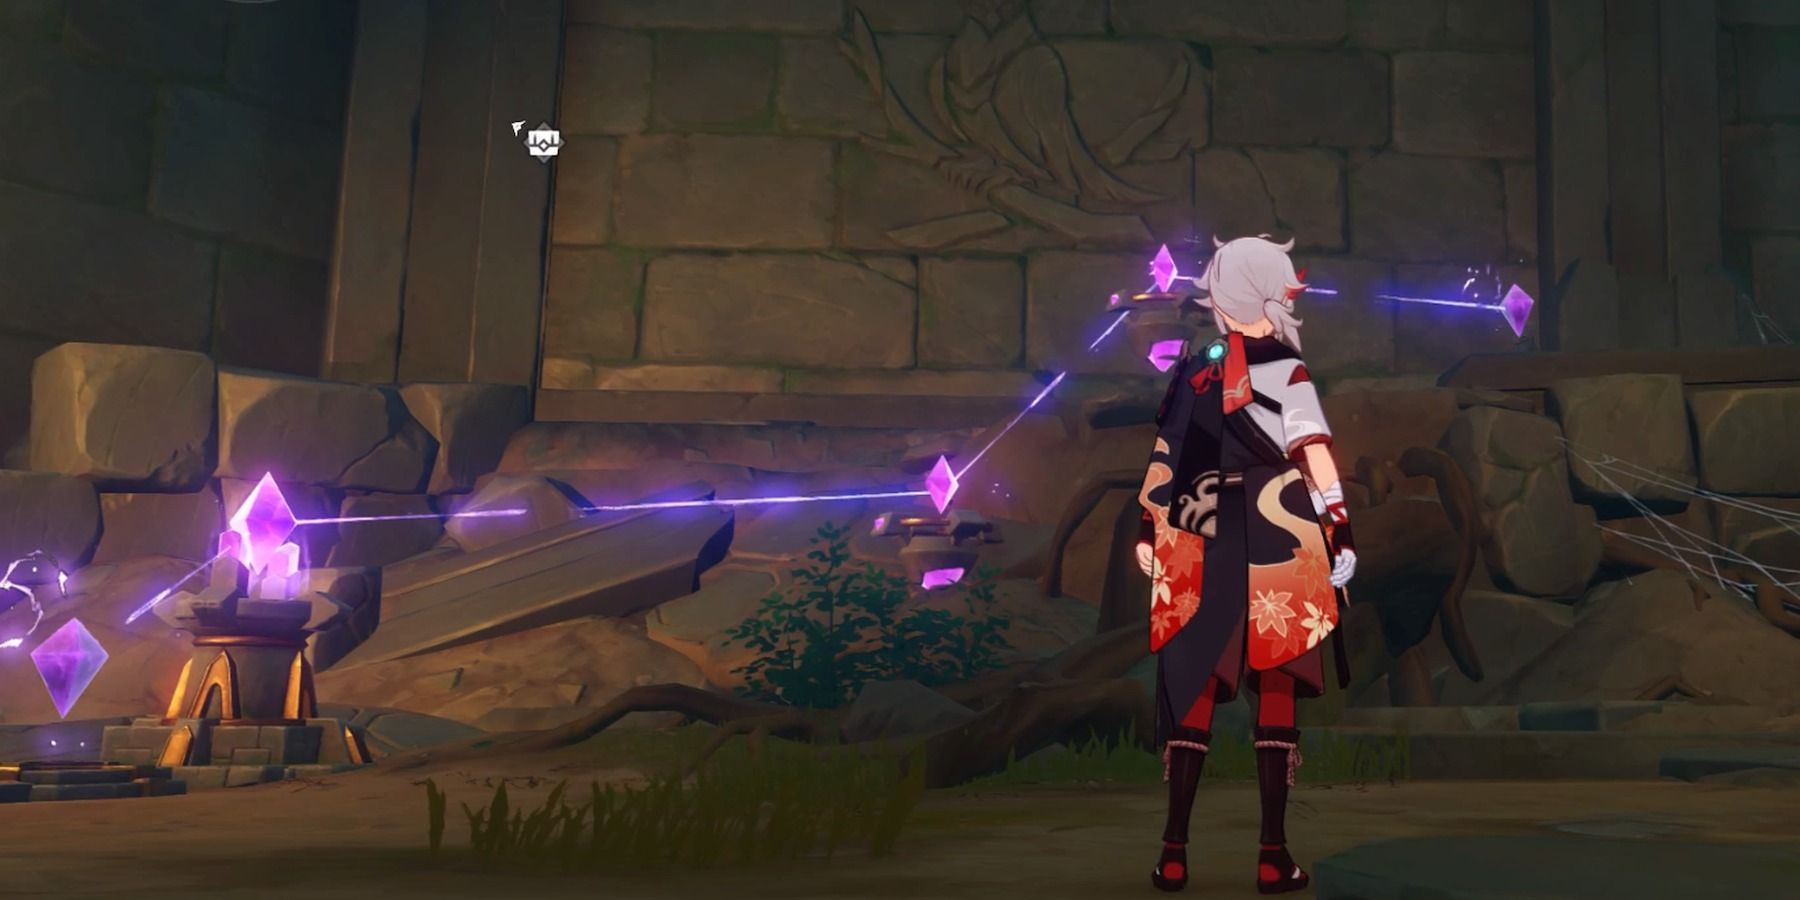
Defeat the pair of sleeping Ruin Sentinels and disperse the Relay Stones in the order pictured: two beneath the hieroglyphic eagle, and either one or two between the inground Stones slightly divided by the different rooms.
It may take a bit of experimentation position-wise for the connection to spark.
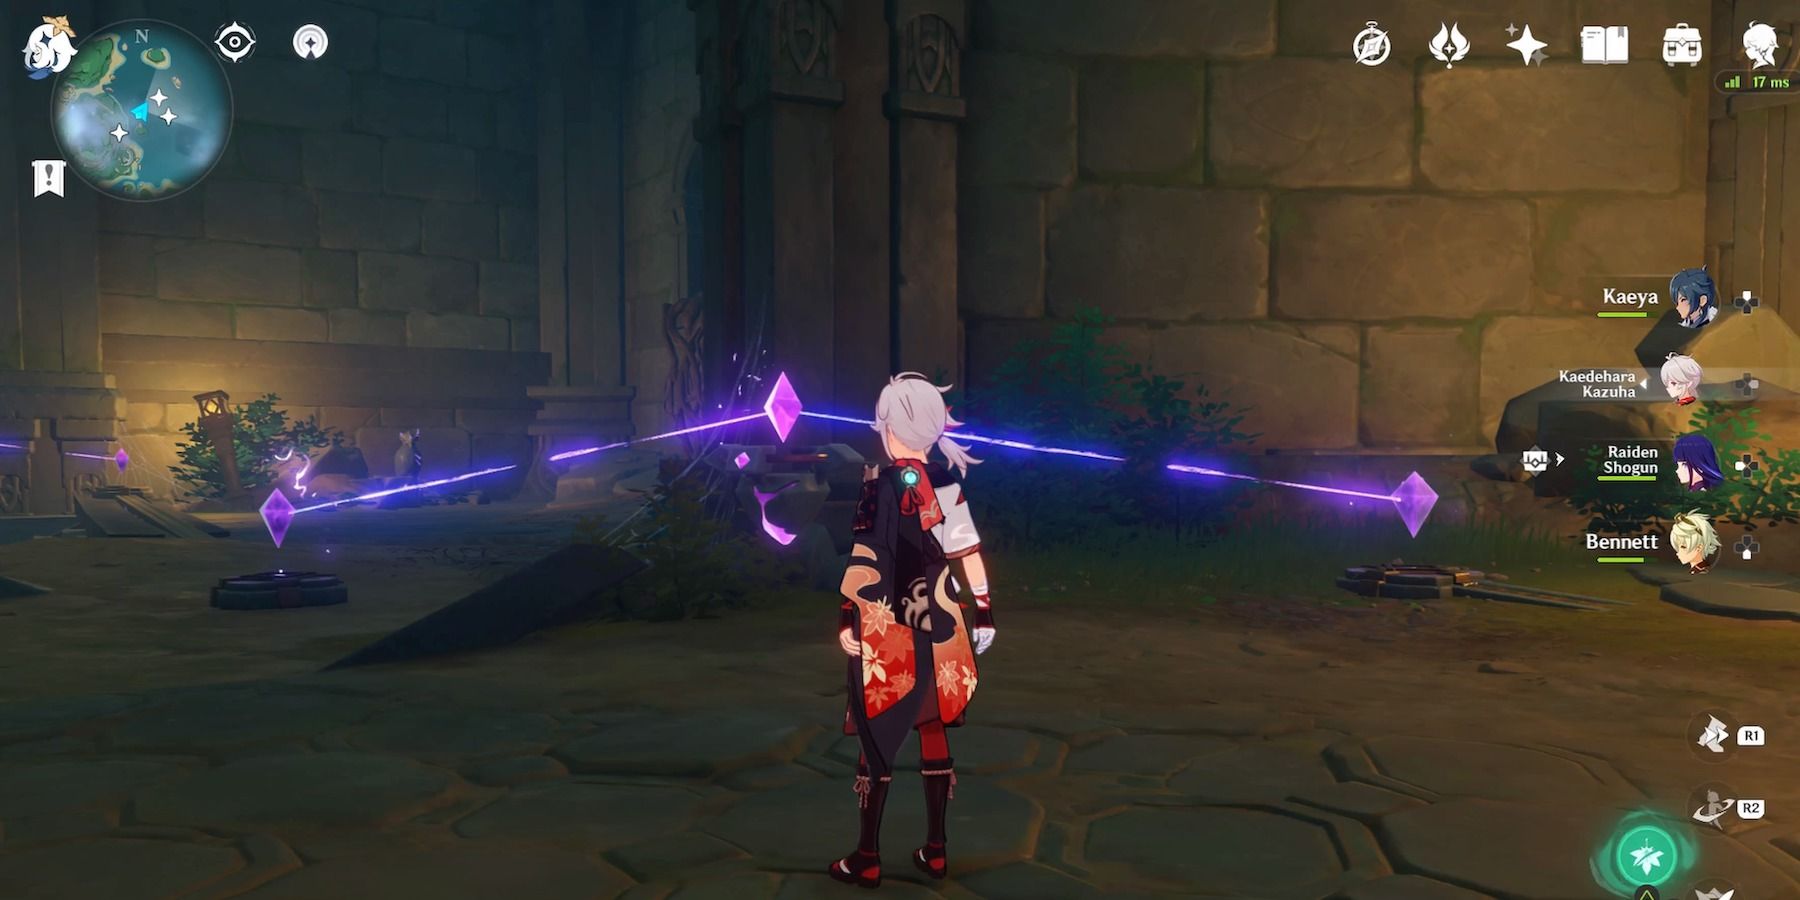
An Exquisite Chest will spawn after the Relay Stones are correctly aligned, and the door key mechanism will lose its abyssal lock. Activate the mechanism to open the door.
Relay Stone Puzzle 2:
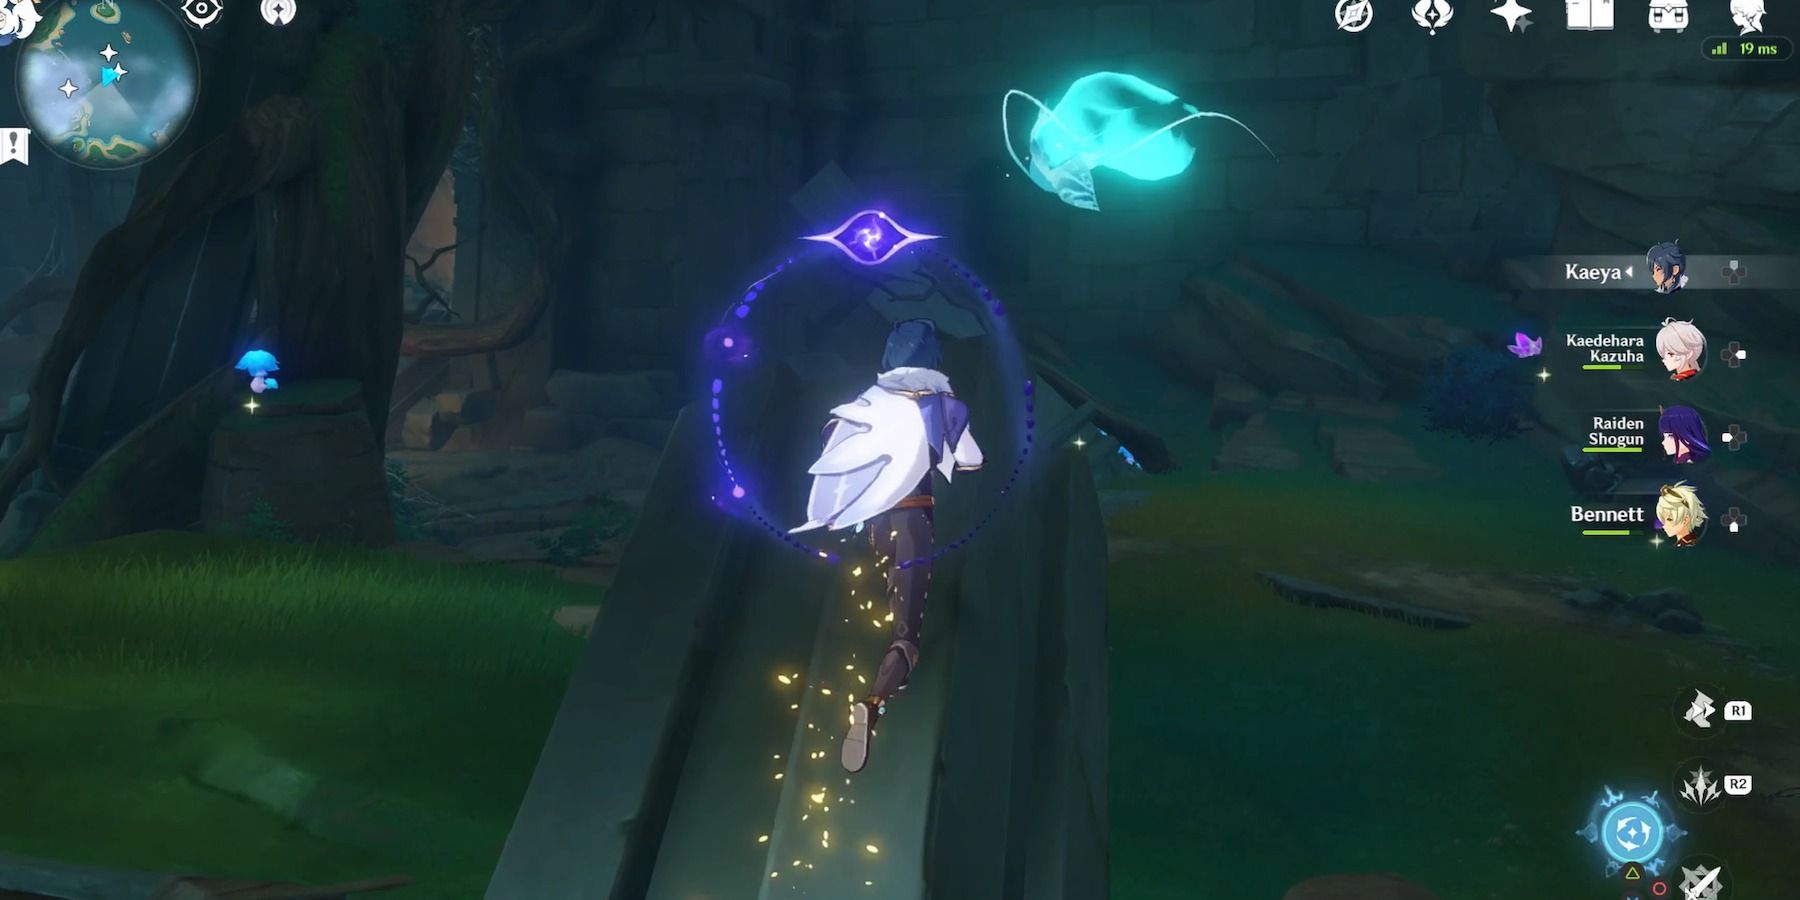
The next puzzle begins with guiding three Seelie. Players entering the new chamber will be be rudely greeted by a Ruin Guard. Defeat the Guard and encounter the first Seelie on a broken, root-wrapped column almost directly behind it.
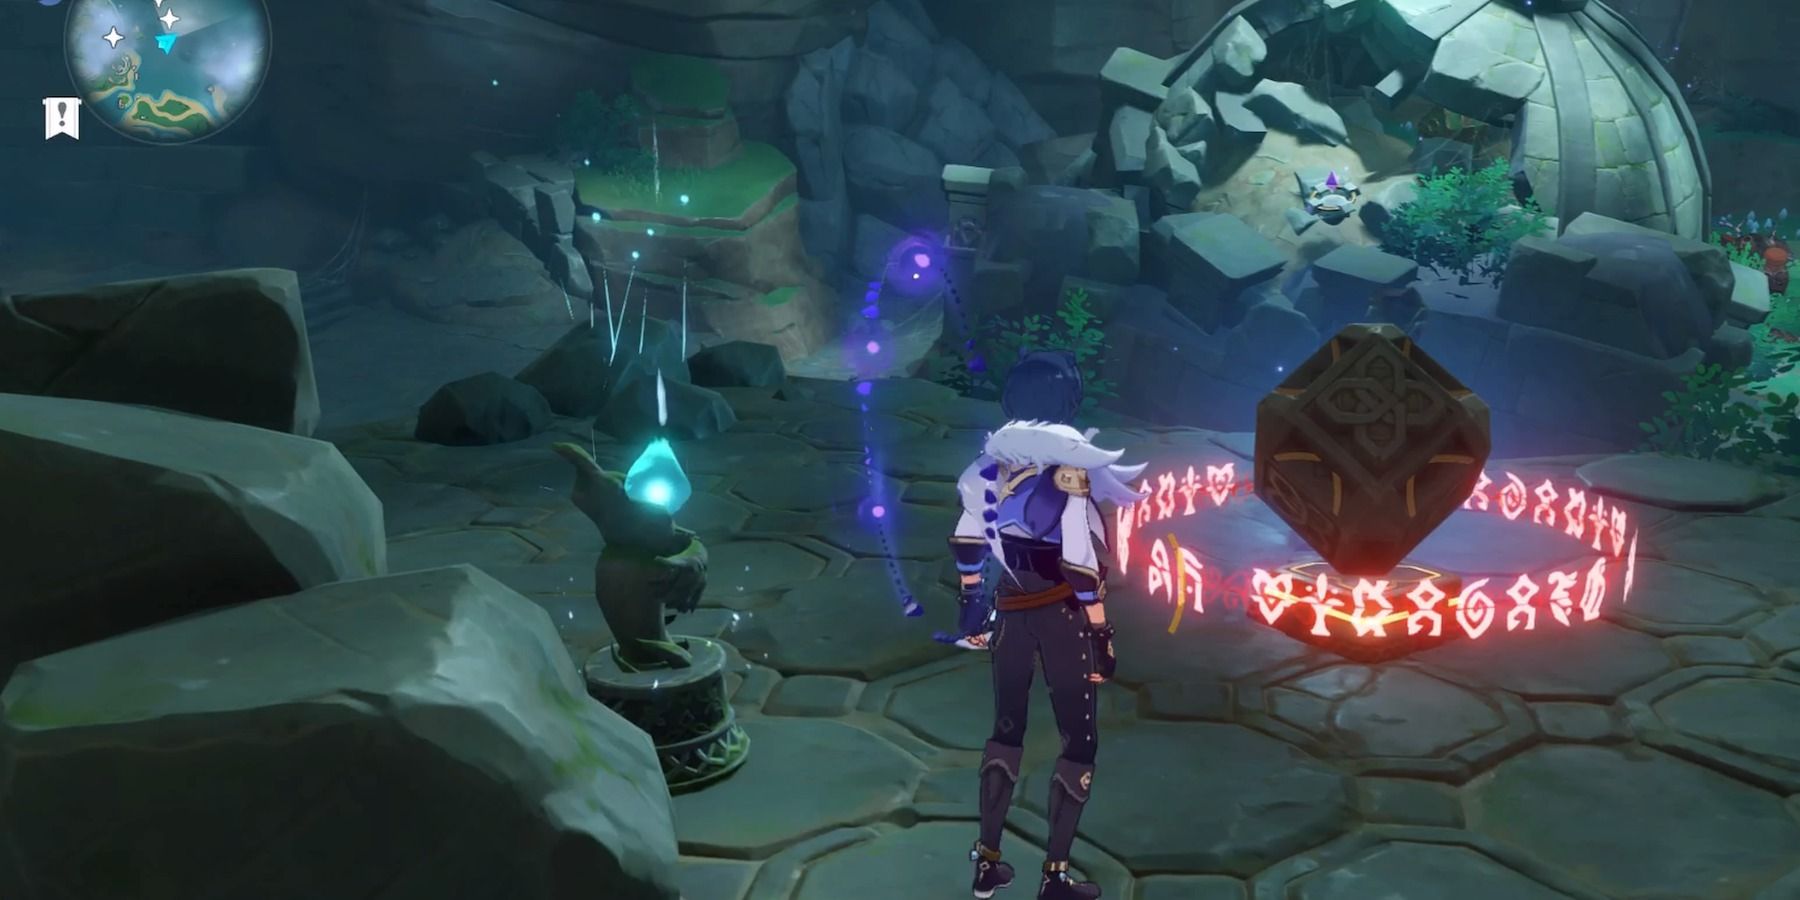
The Seelie will guide Travelers to another abyss-locked key mechanism, surrounded by three Seelie Courts – now with two empty Courts remaining. The second Seelie hovers in a chamber south-west of the key, with a mountainous mural and cobweb-framed entrance way easy to spot from a distance.
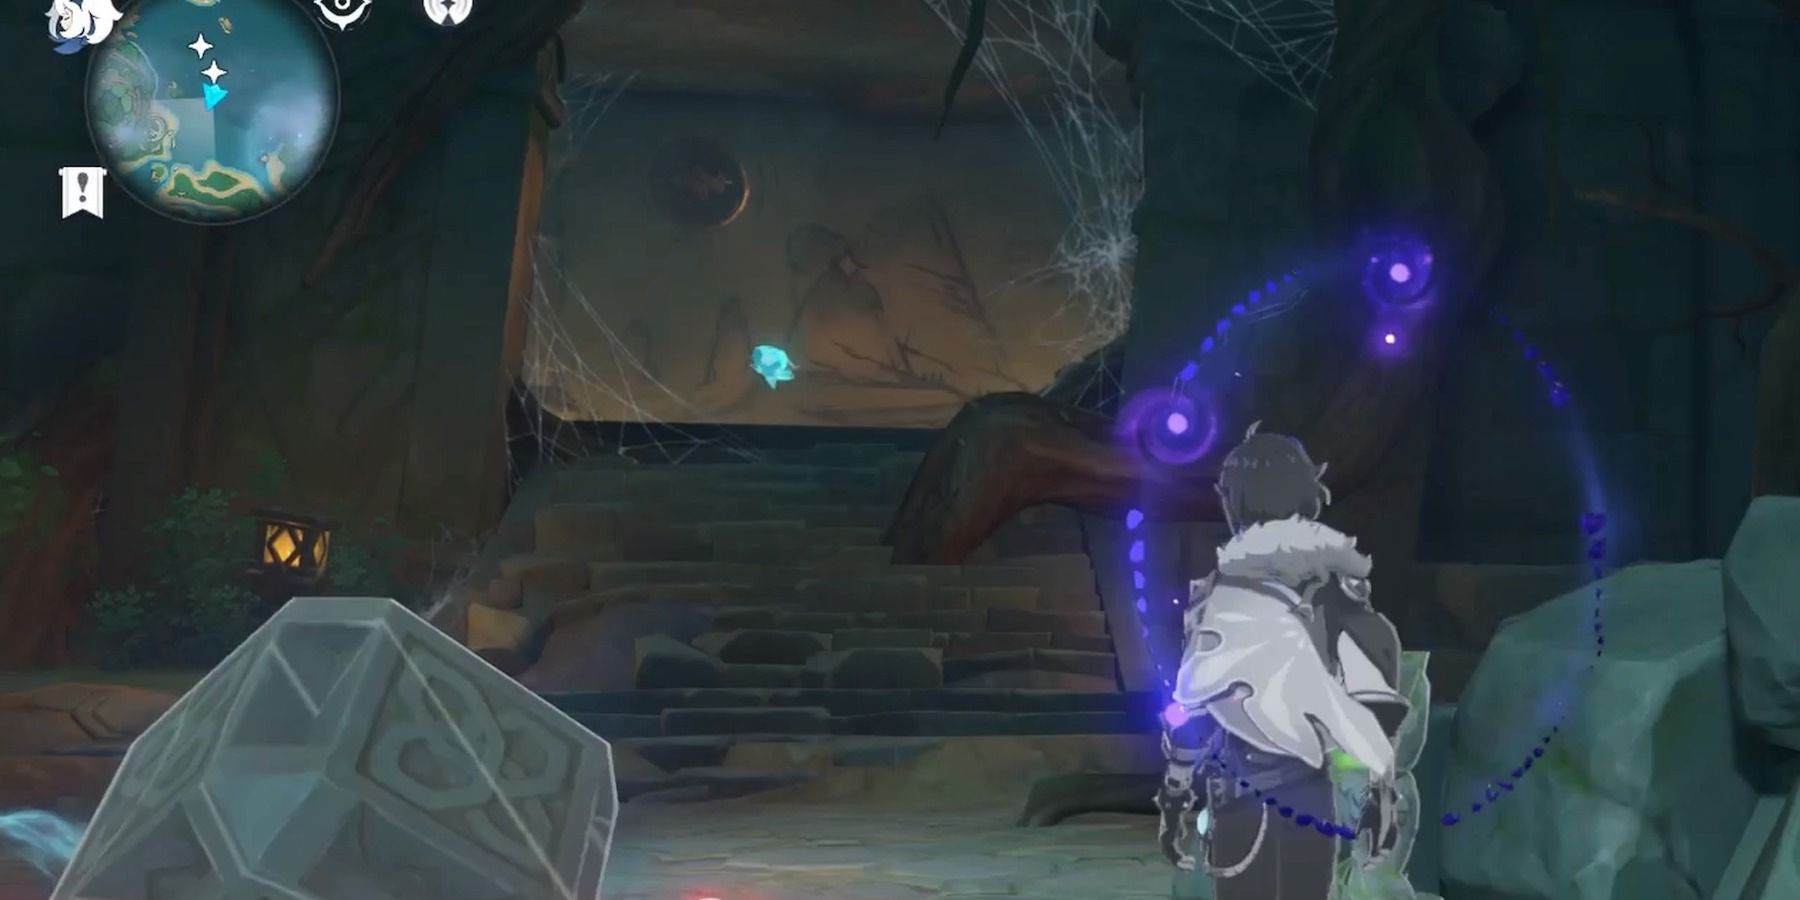
Humor the Seelie with a lazy game of hide-and-seek until it gets cozy in the next Seelie Court. Use Elemental Sight to identify a breakable rock formation north of the Seelie Court ring, as well as a Relay Stone and Remarkable Chest to keep in mind for later.
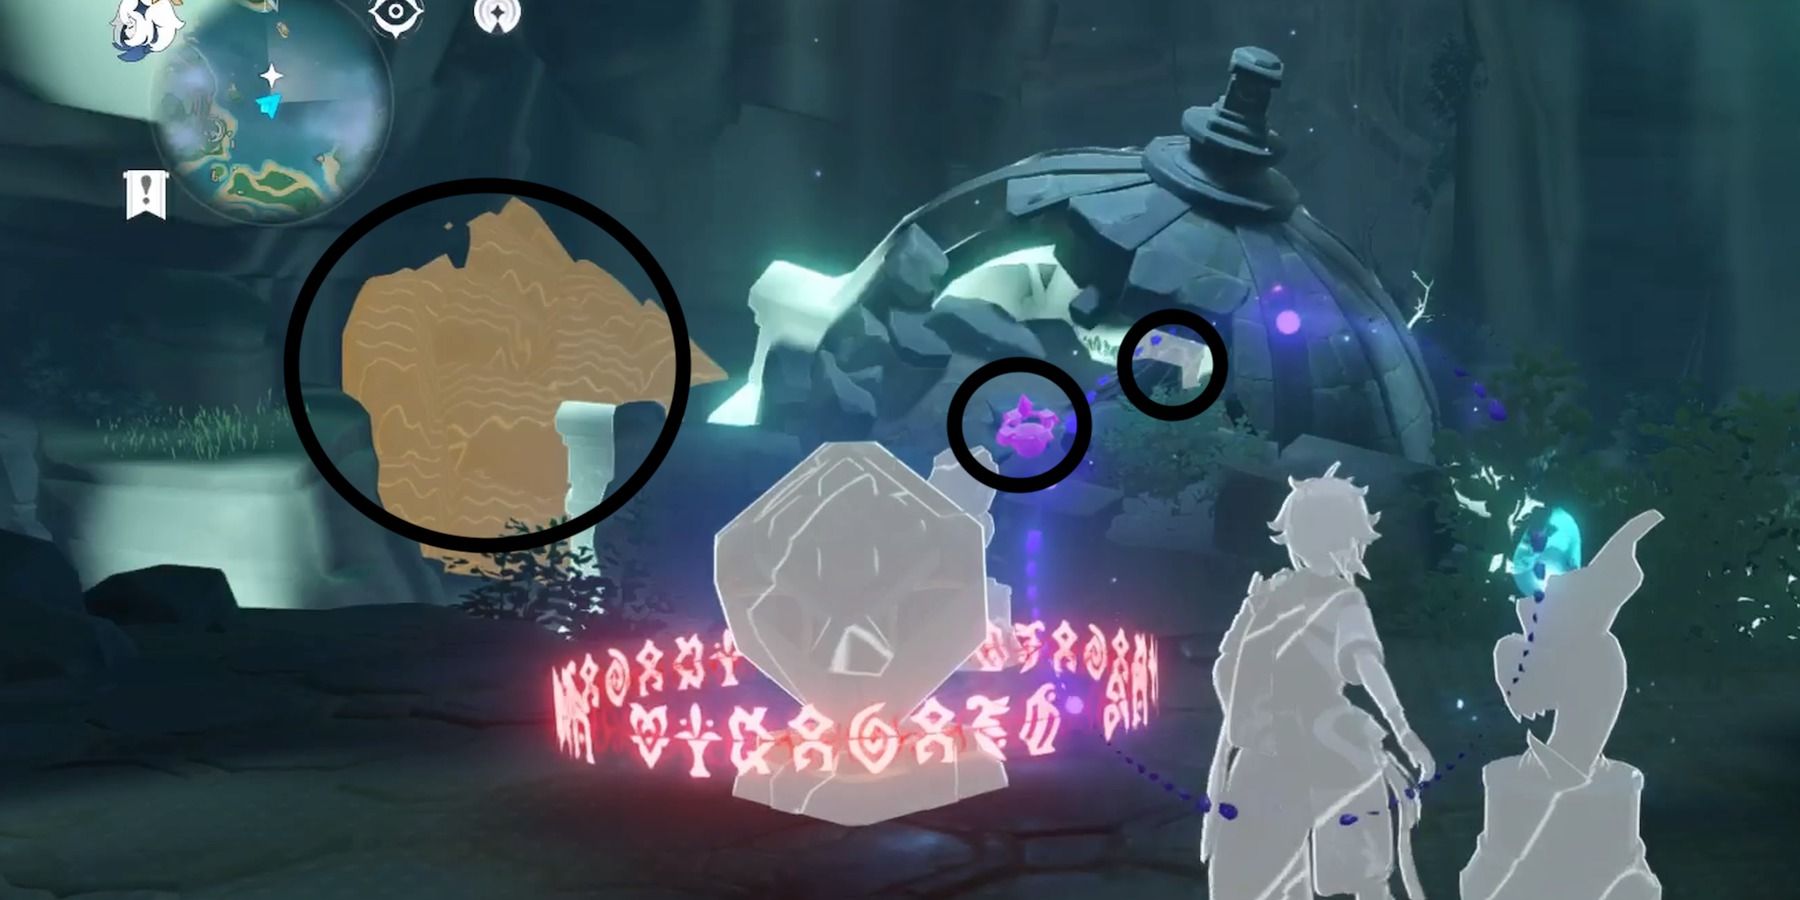
Smash the rock pile and free the third Seelie. Once the Seelie joins its circle of friends, the mechanism will unlock. Activate it, and the body of water will drain to reveal the rest of the Relay Puzzle as an Exquisite Chest spawns.
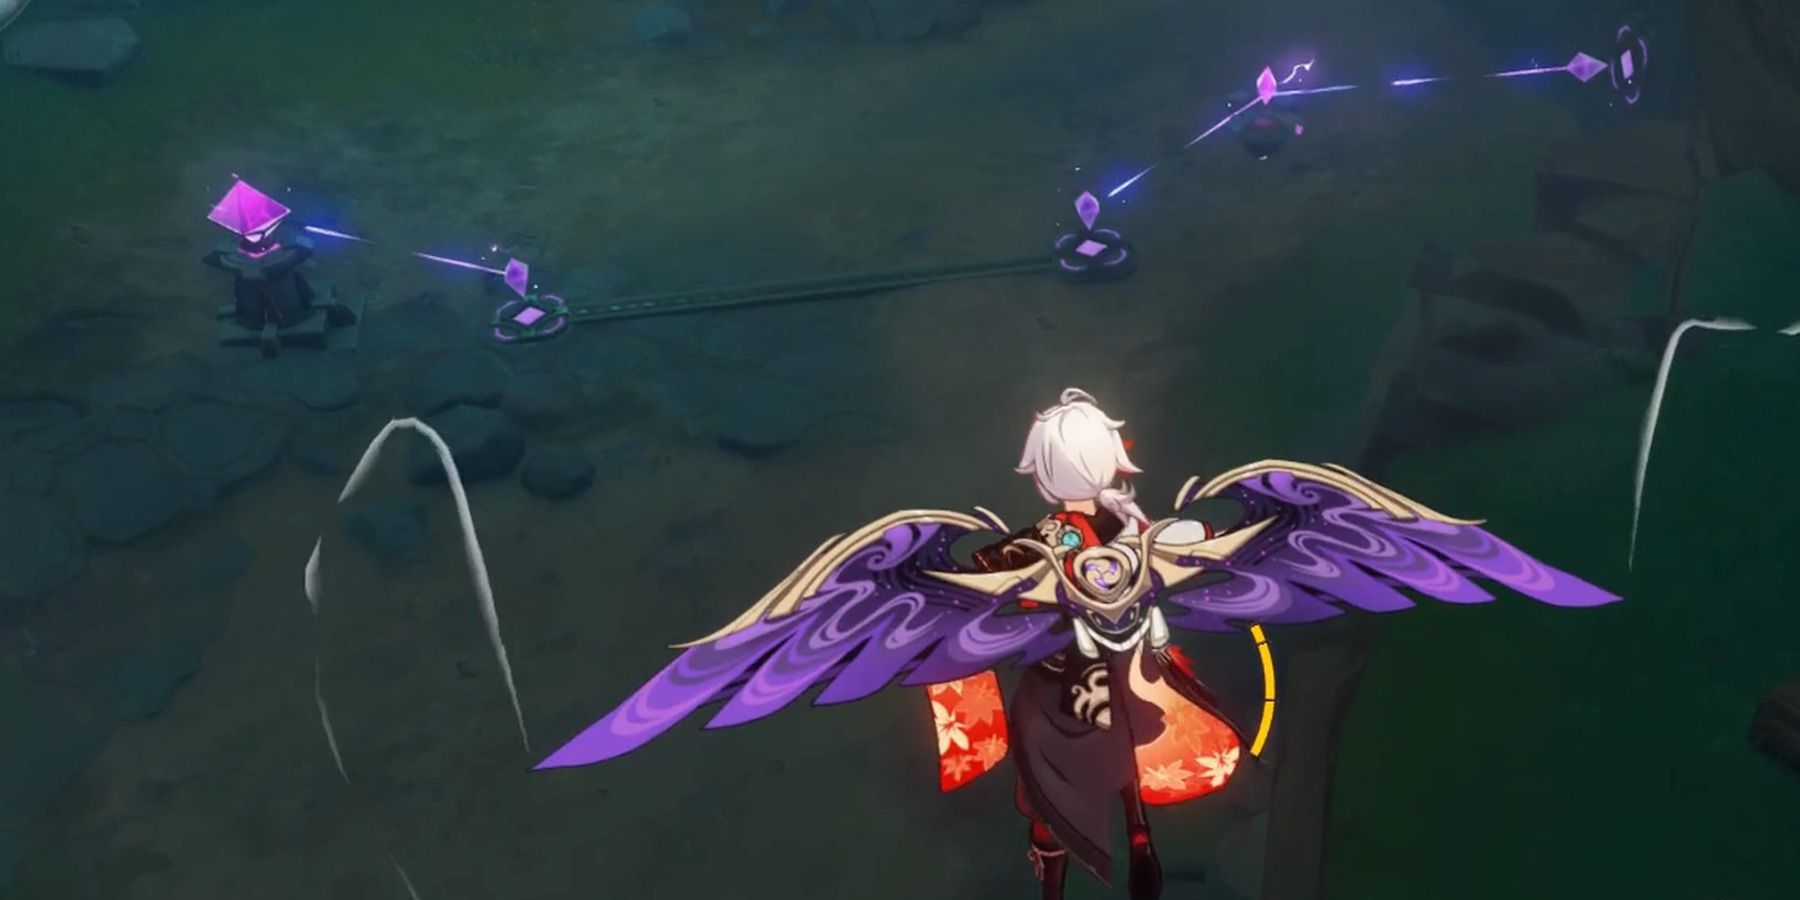
There are two Ruin Sentinels in the dry lakebed. There are also two Relay Stones: one sitting uselessly between an already established Discharge and Cumulation connection, and the other alone nearby. Position one Relay Stone between the inground Stone and the wall art Cumulation Stone, then climb back up with the second Relay Stone in tow. Place this Relay Stone between the inground Stone closest to the crumbled watchtower and the corresponding Stone directly across from it.
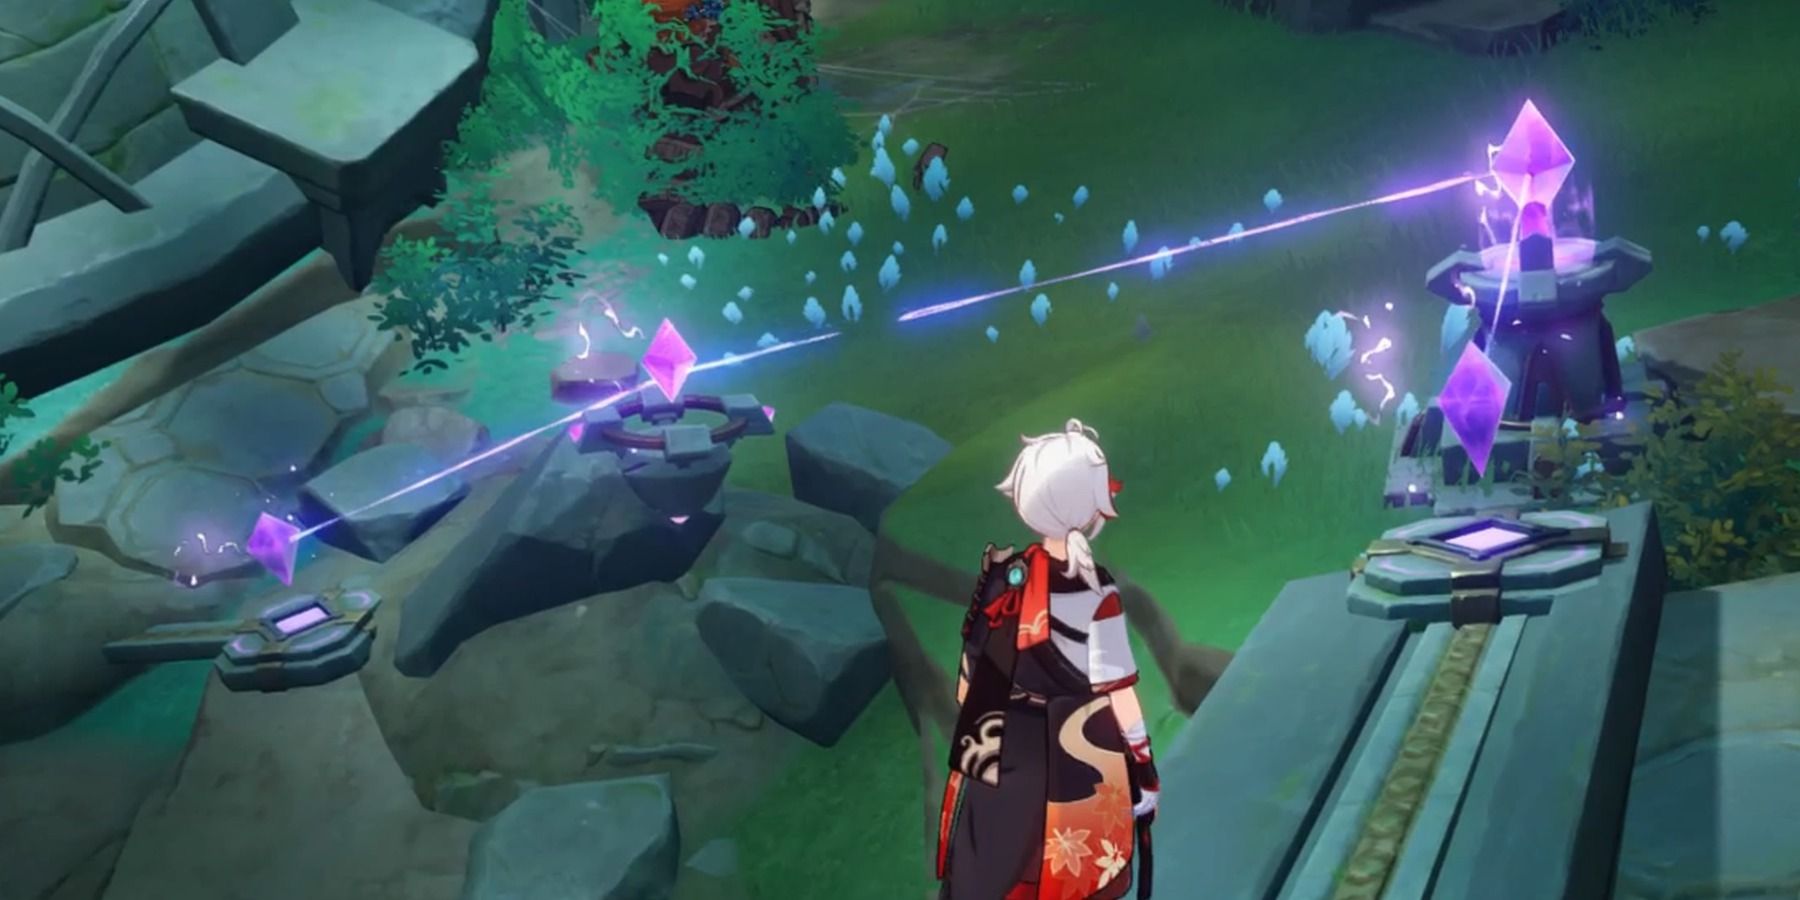
Finally, enter the watchtower and grab the Relay Stone identified earlier when retrieving the hidden Seelie (don’t forget the Remarkable Chest). Placing this Relay Stone is a little more involved: it should connect the piece closest to the Seelie Court with the Stone across a gap and slightly below it. Players will need to deploy the Relay Stone quickly while gliding down towards the partner Stone to achieve the correct angle.
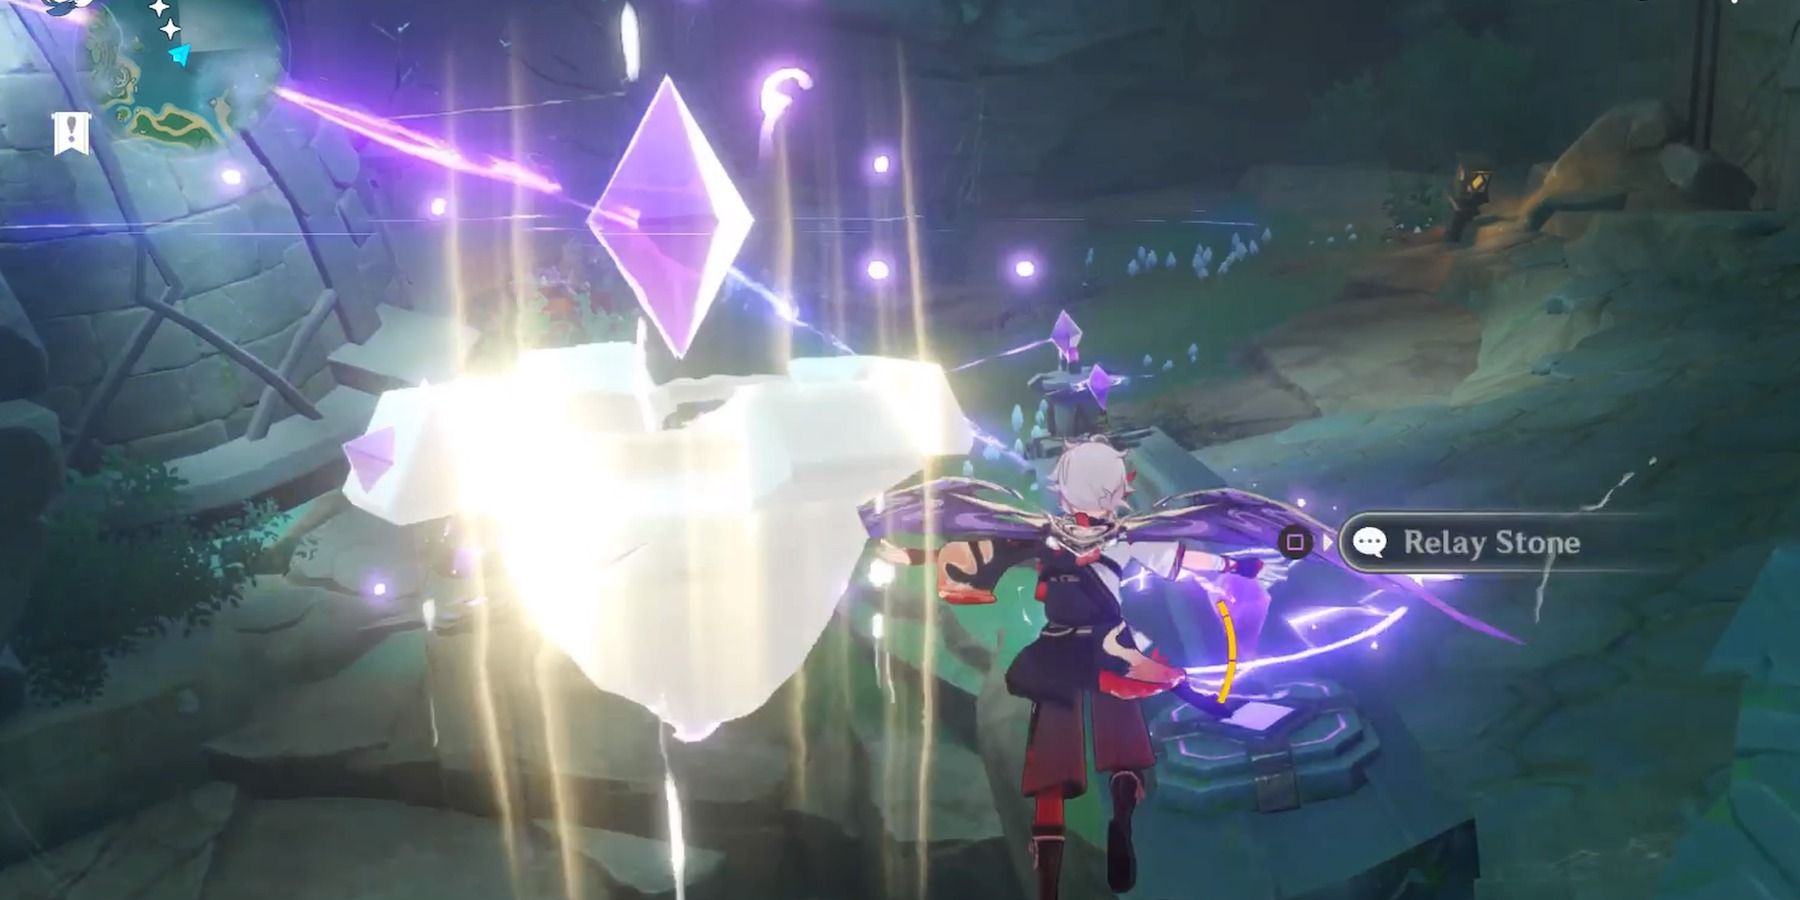
The final result should match the picture below - it may take a few tries for the charge to transfer.
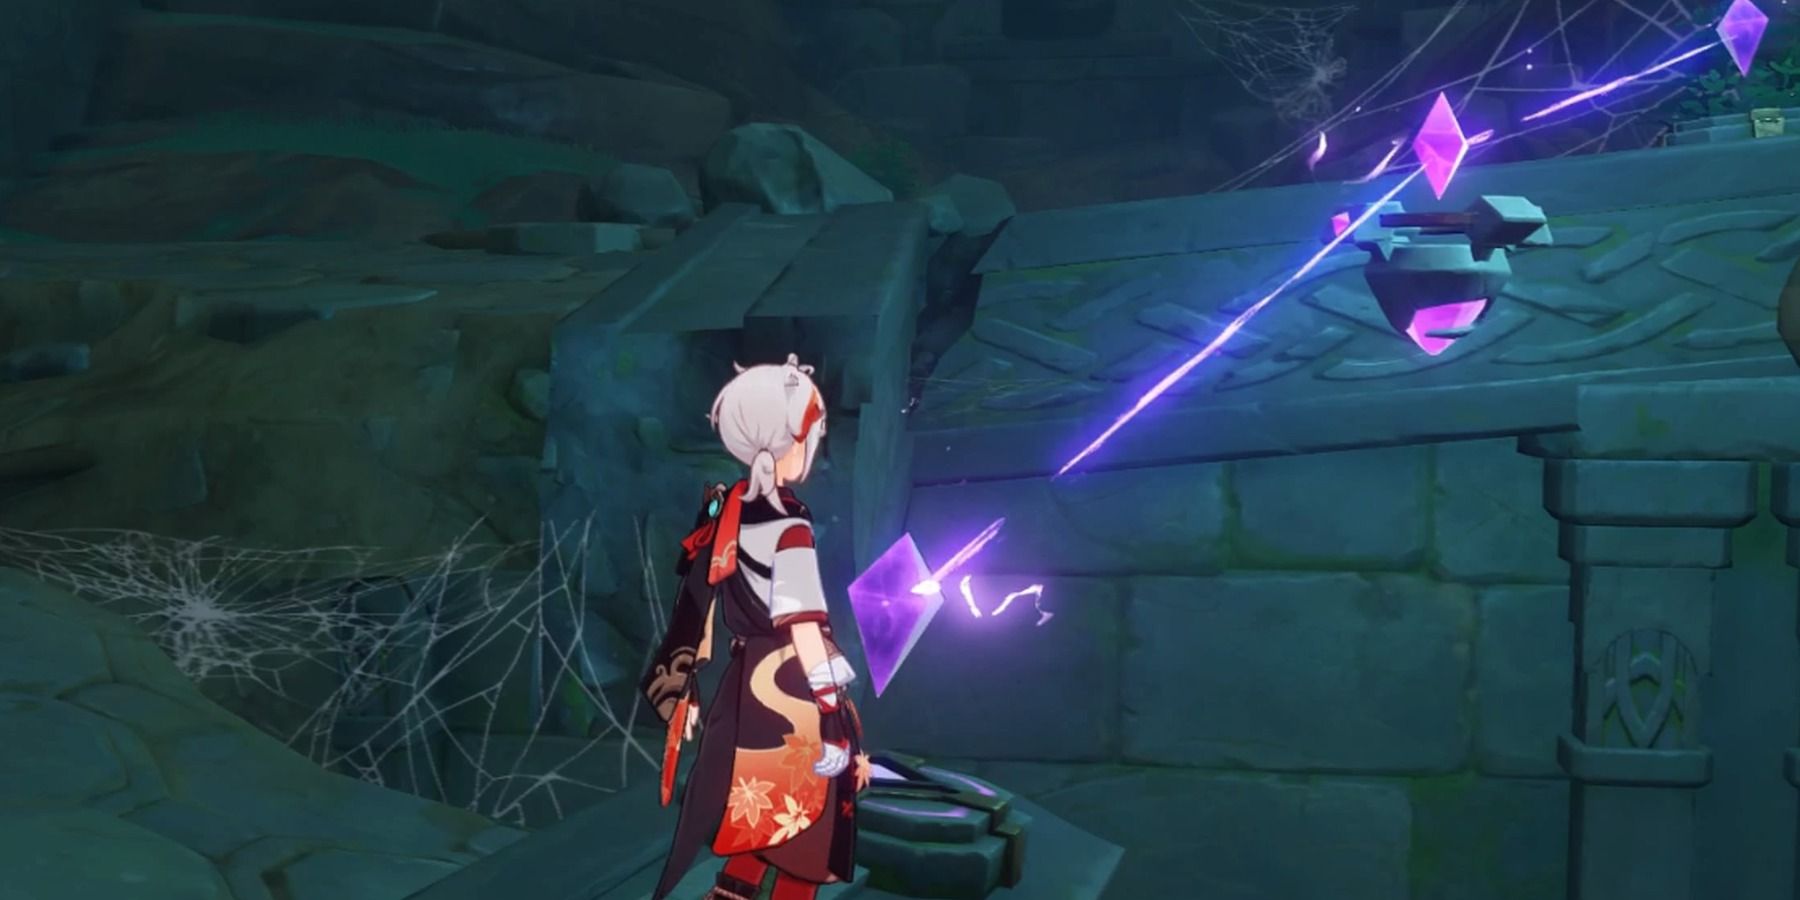
As soon as the final Relay Stone is in place, a Luxurious Chest will spawn. The mechanical key is now unlocked and players can proceed with their adventure into the tricky depths of Tsurumi's lore.
Genshin Impact is available on mobile devices, PC, PS4, and PS5.
MORE: Genshin Impact: How to Unlock Moshiri Kara Domain (Tsurumi Island)

